
P1S BMCU 370C rear mount bracket on AMS buffer/hub
Print Profile(1)

Bill of Materials



Description
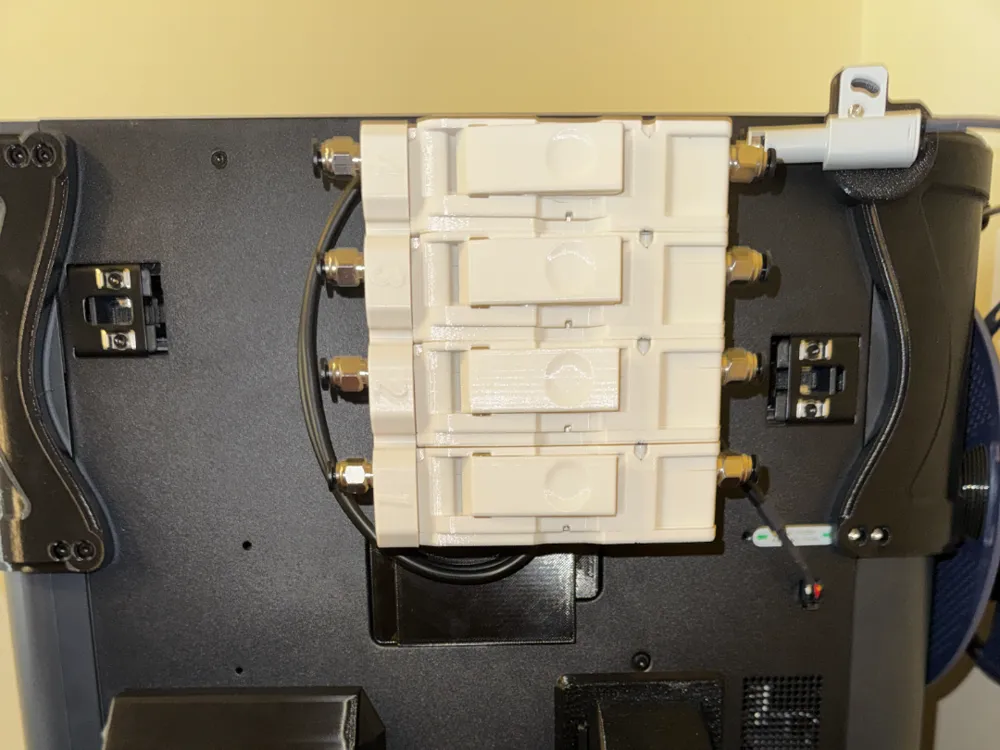
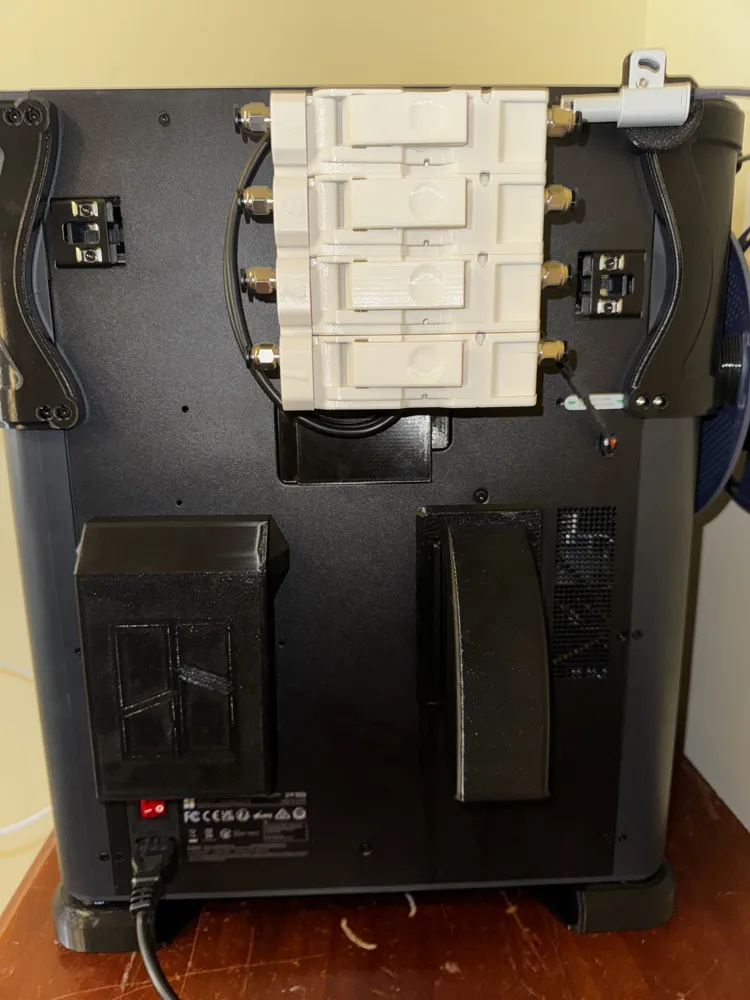
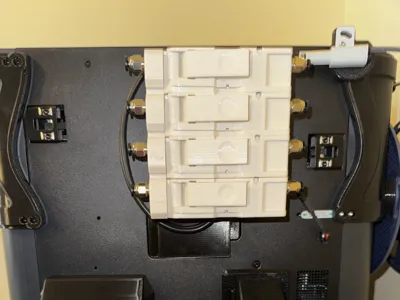
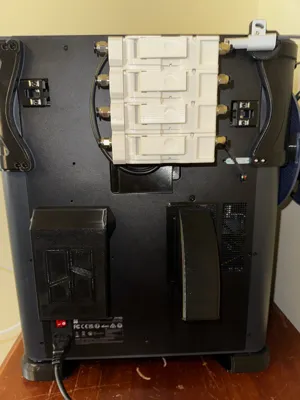
I wanted to mount a BMCU 370C B-Kit from BLV to the rear of my P1S so I came up with this bracket that mounts into the recess for the AMS Buffer or AMS Hub.
It screws into the two outer screw holes with some m3 x 8 (other m3 lengths might also work), I have listed some possible options in the Bill of Materials (if you need them)
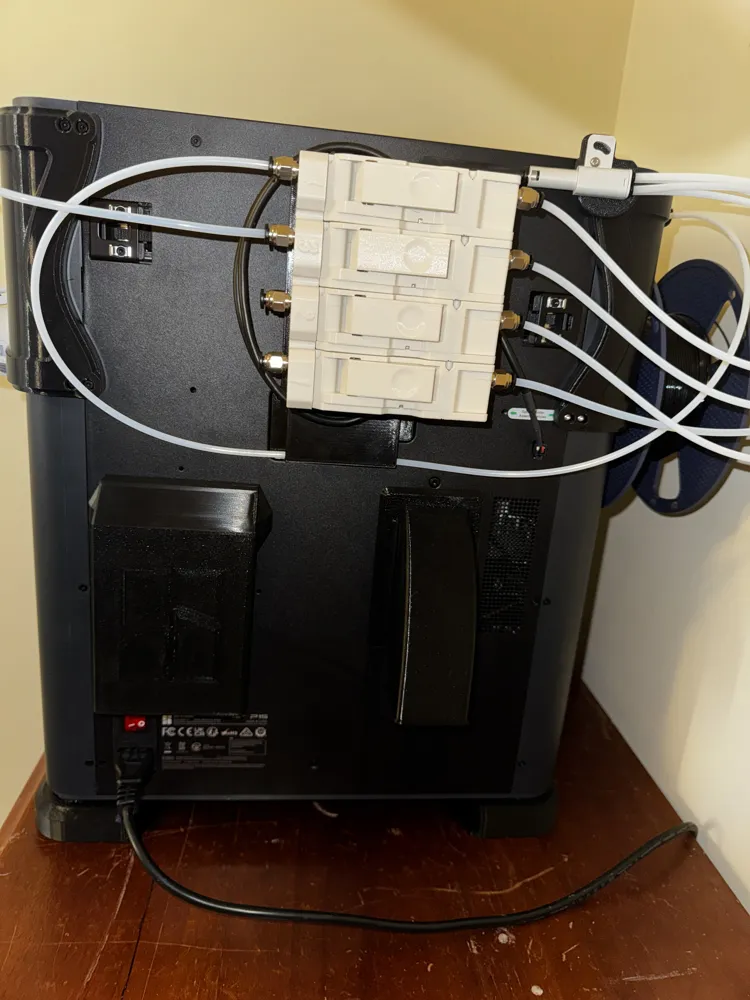
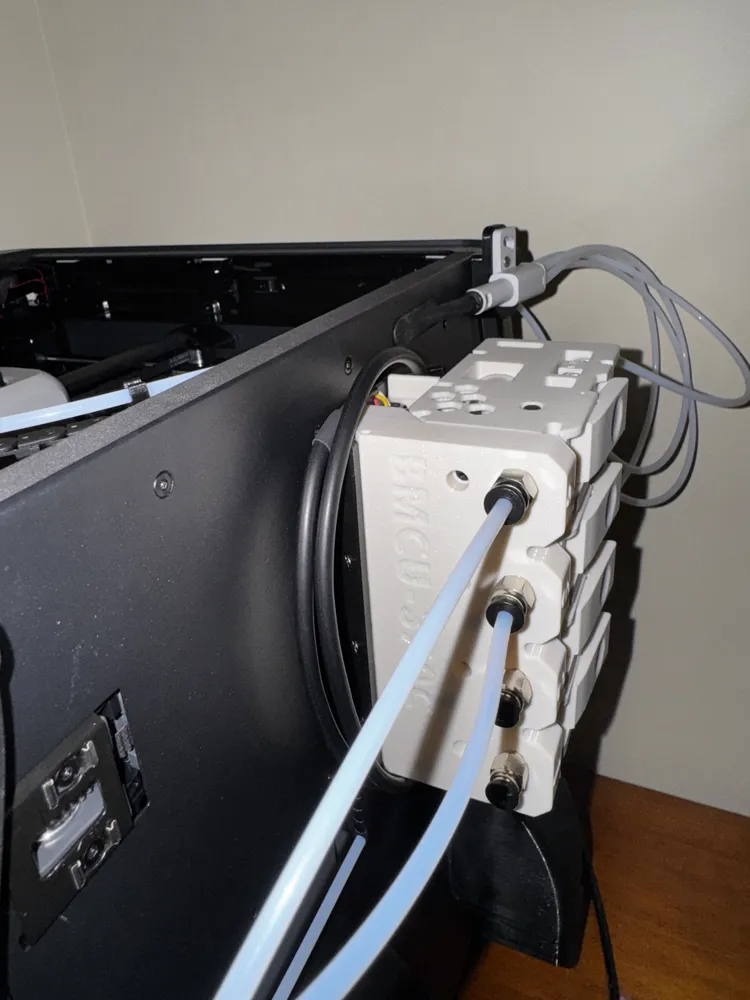
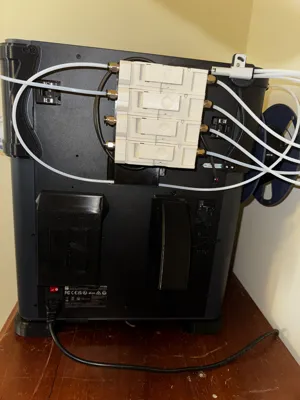
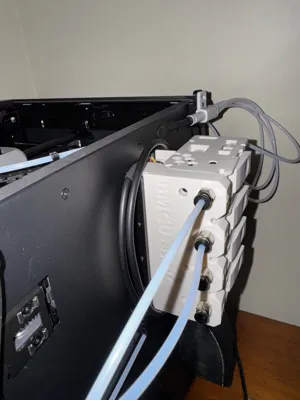
Then the BMCU screws into the bracket using the m3 x 14 self tapping screws that came with it, I have designed the bracket so that you can screw the BMCU into it facing the in/out direction to either side of the printer, I have mine feeding in from the RHS and out to the LHS and into a 4 way adapter.
Installation is pretty straight forward, print the bracket and remove the supports.
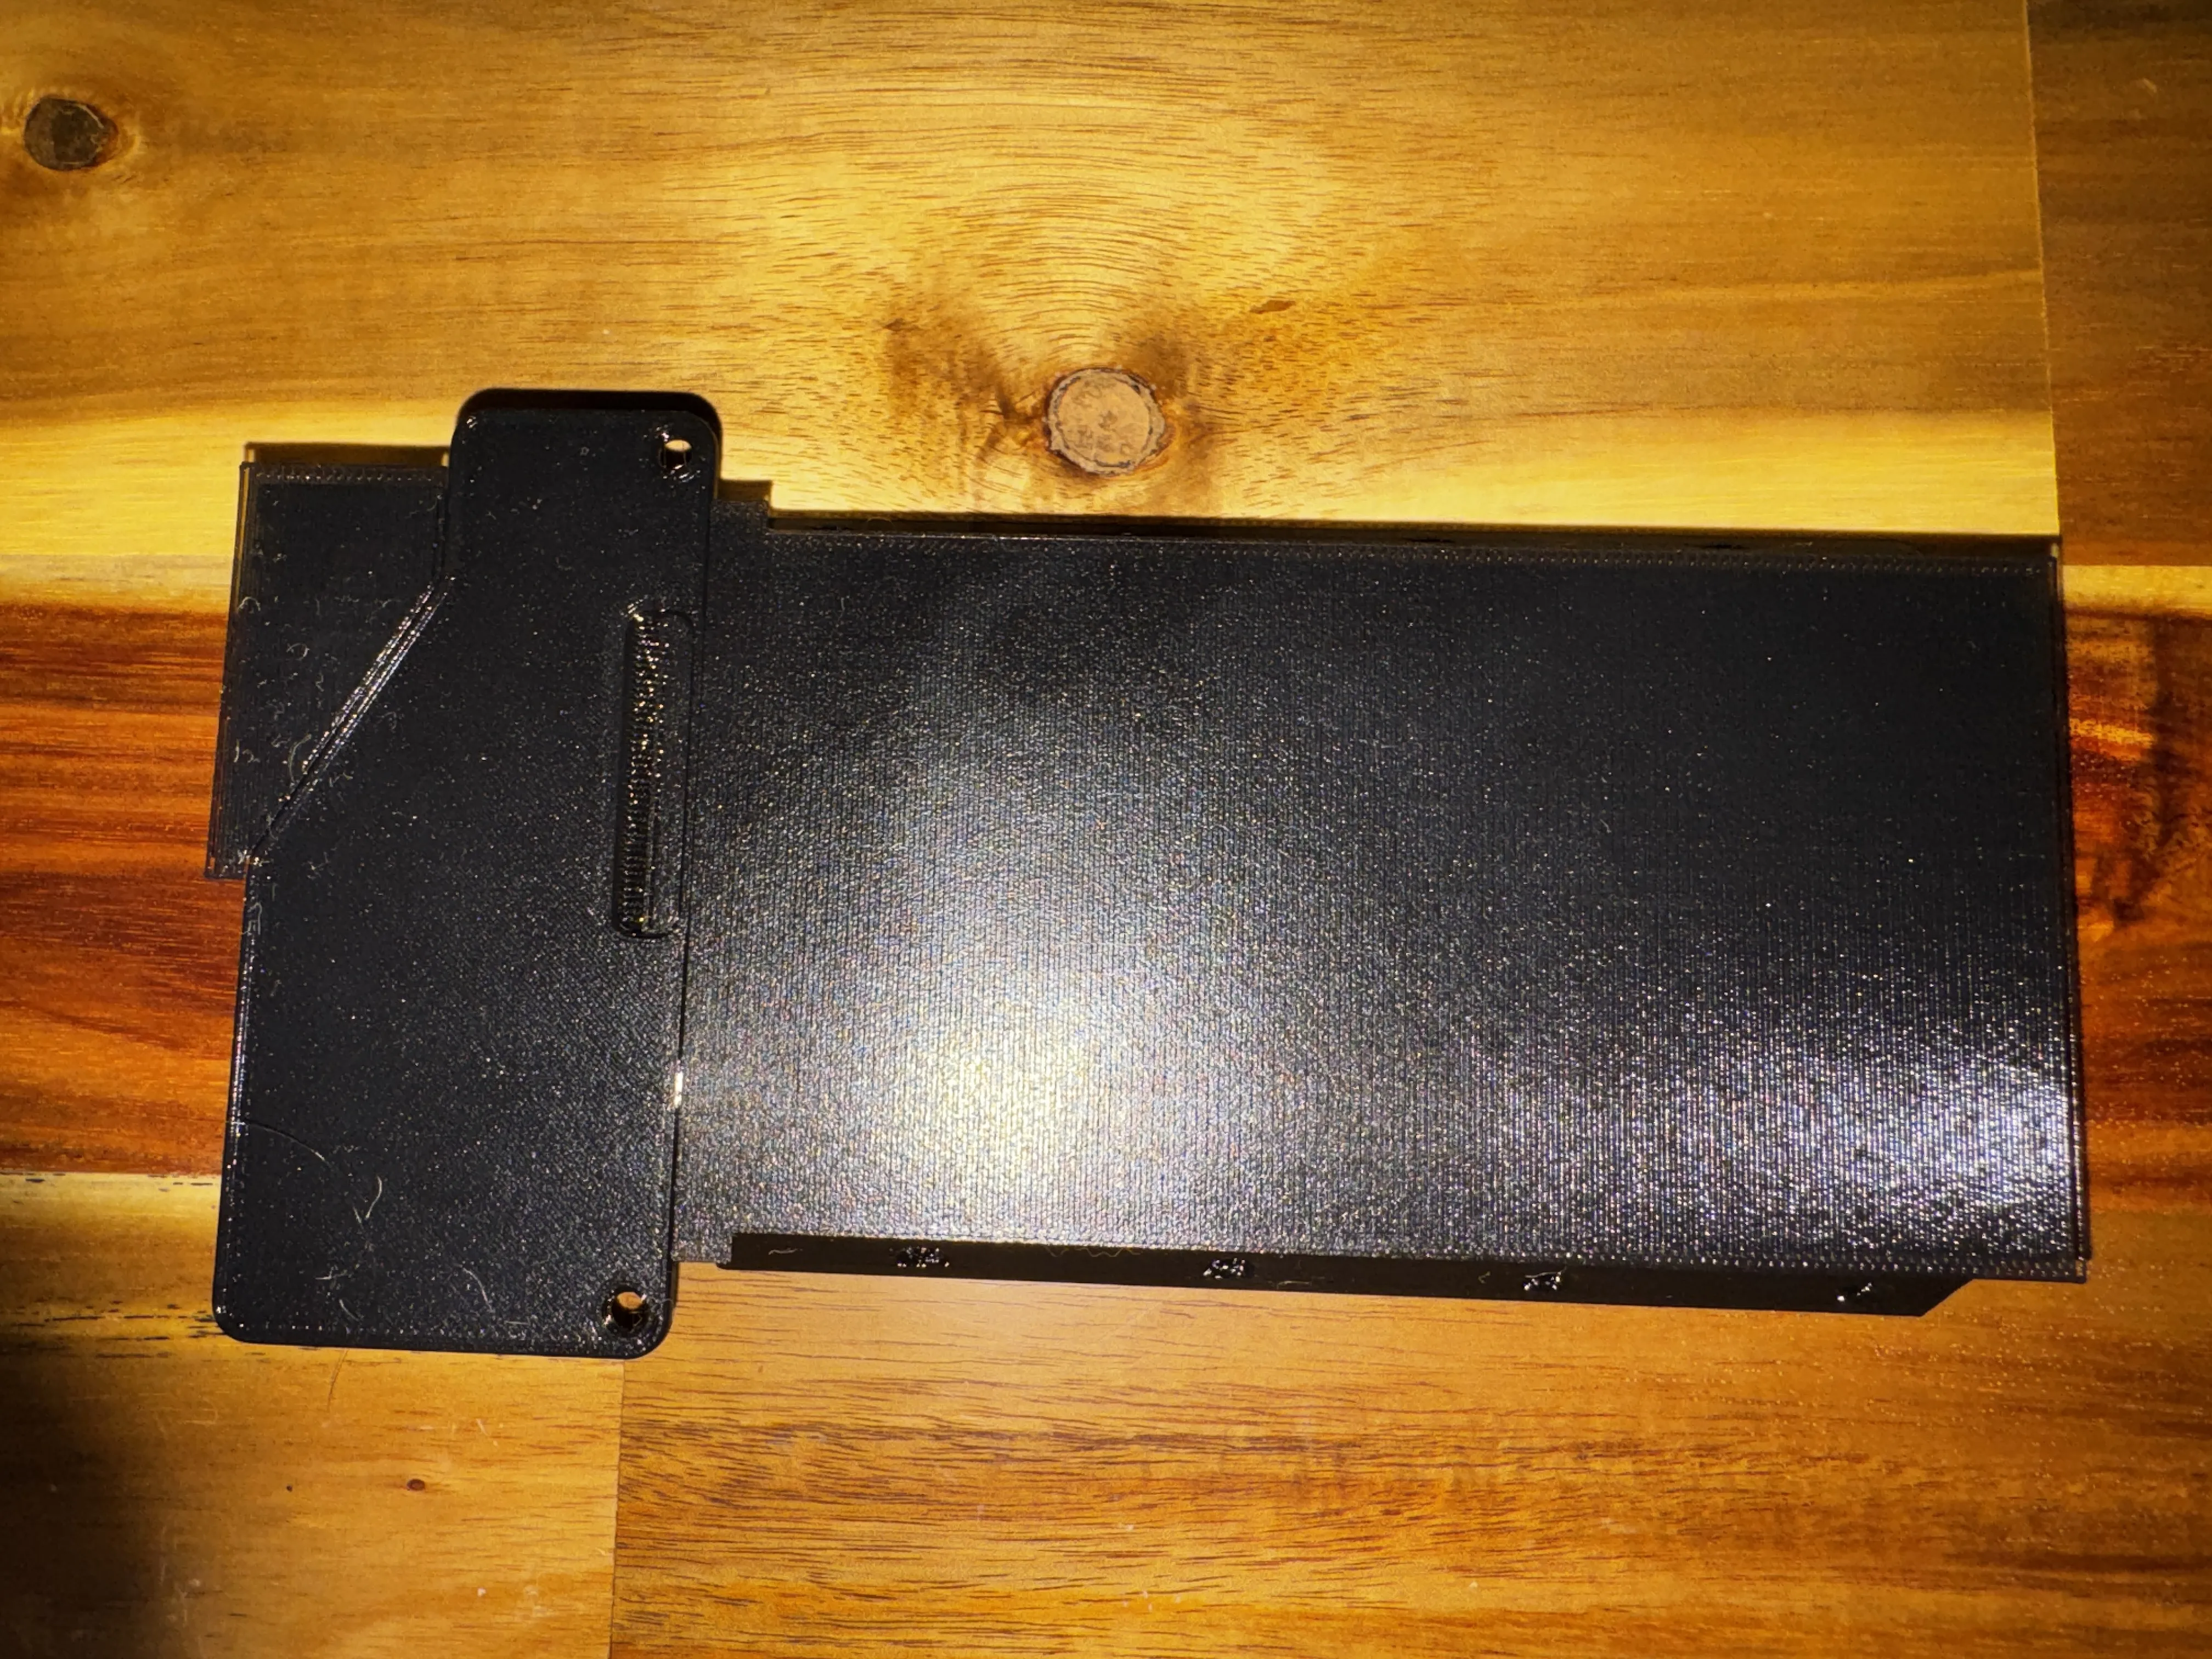
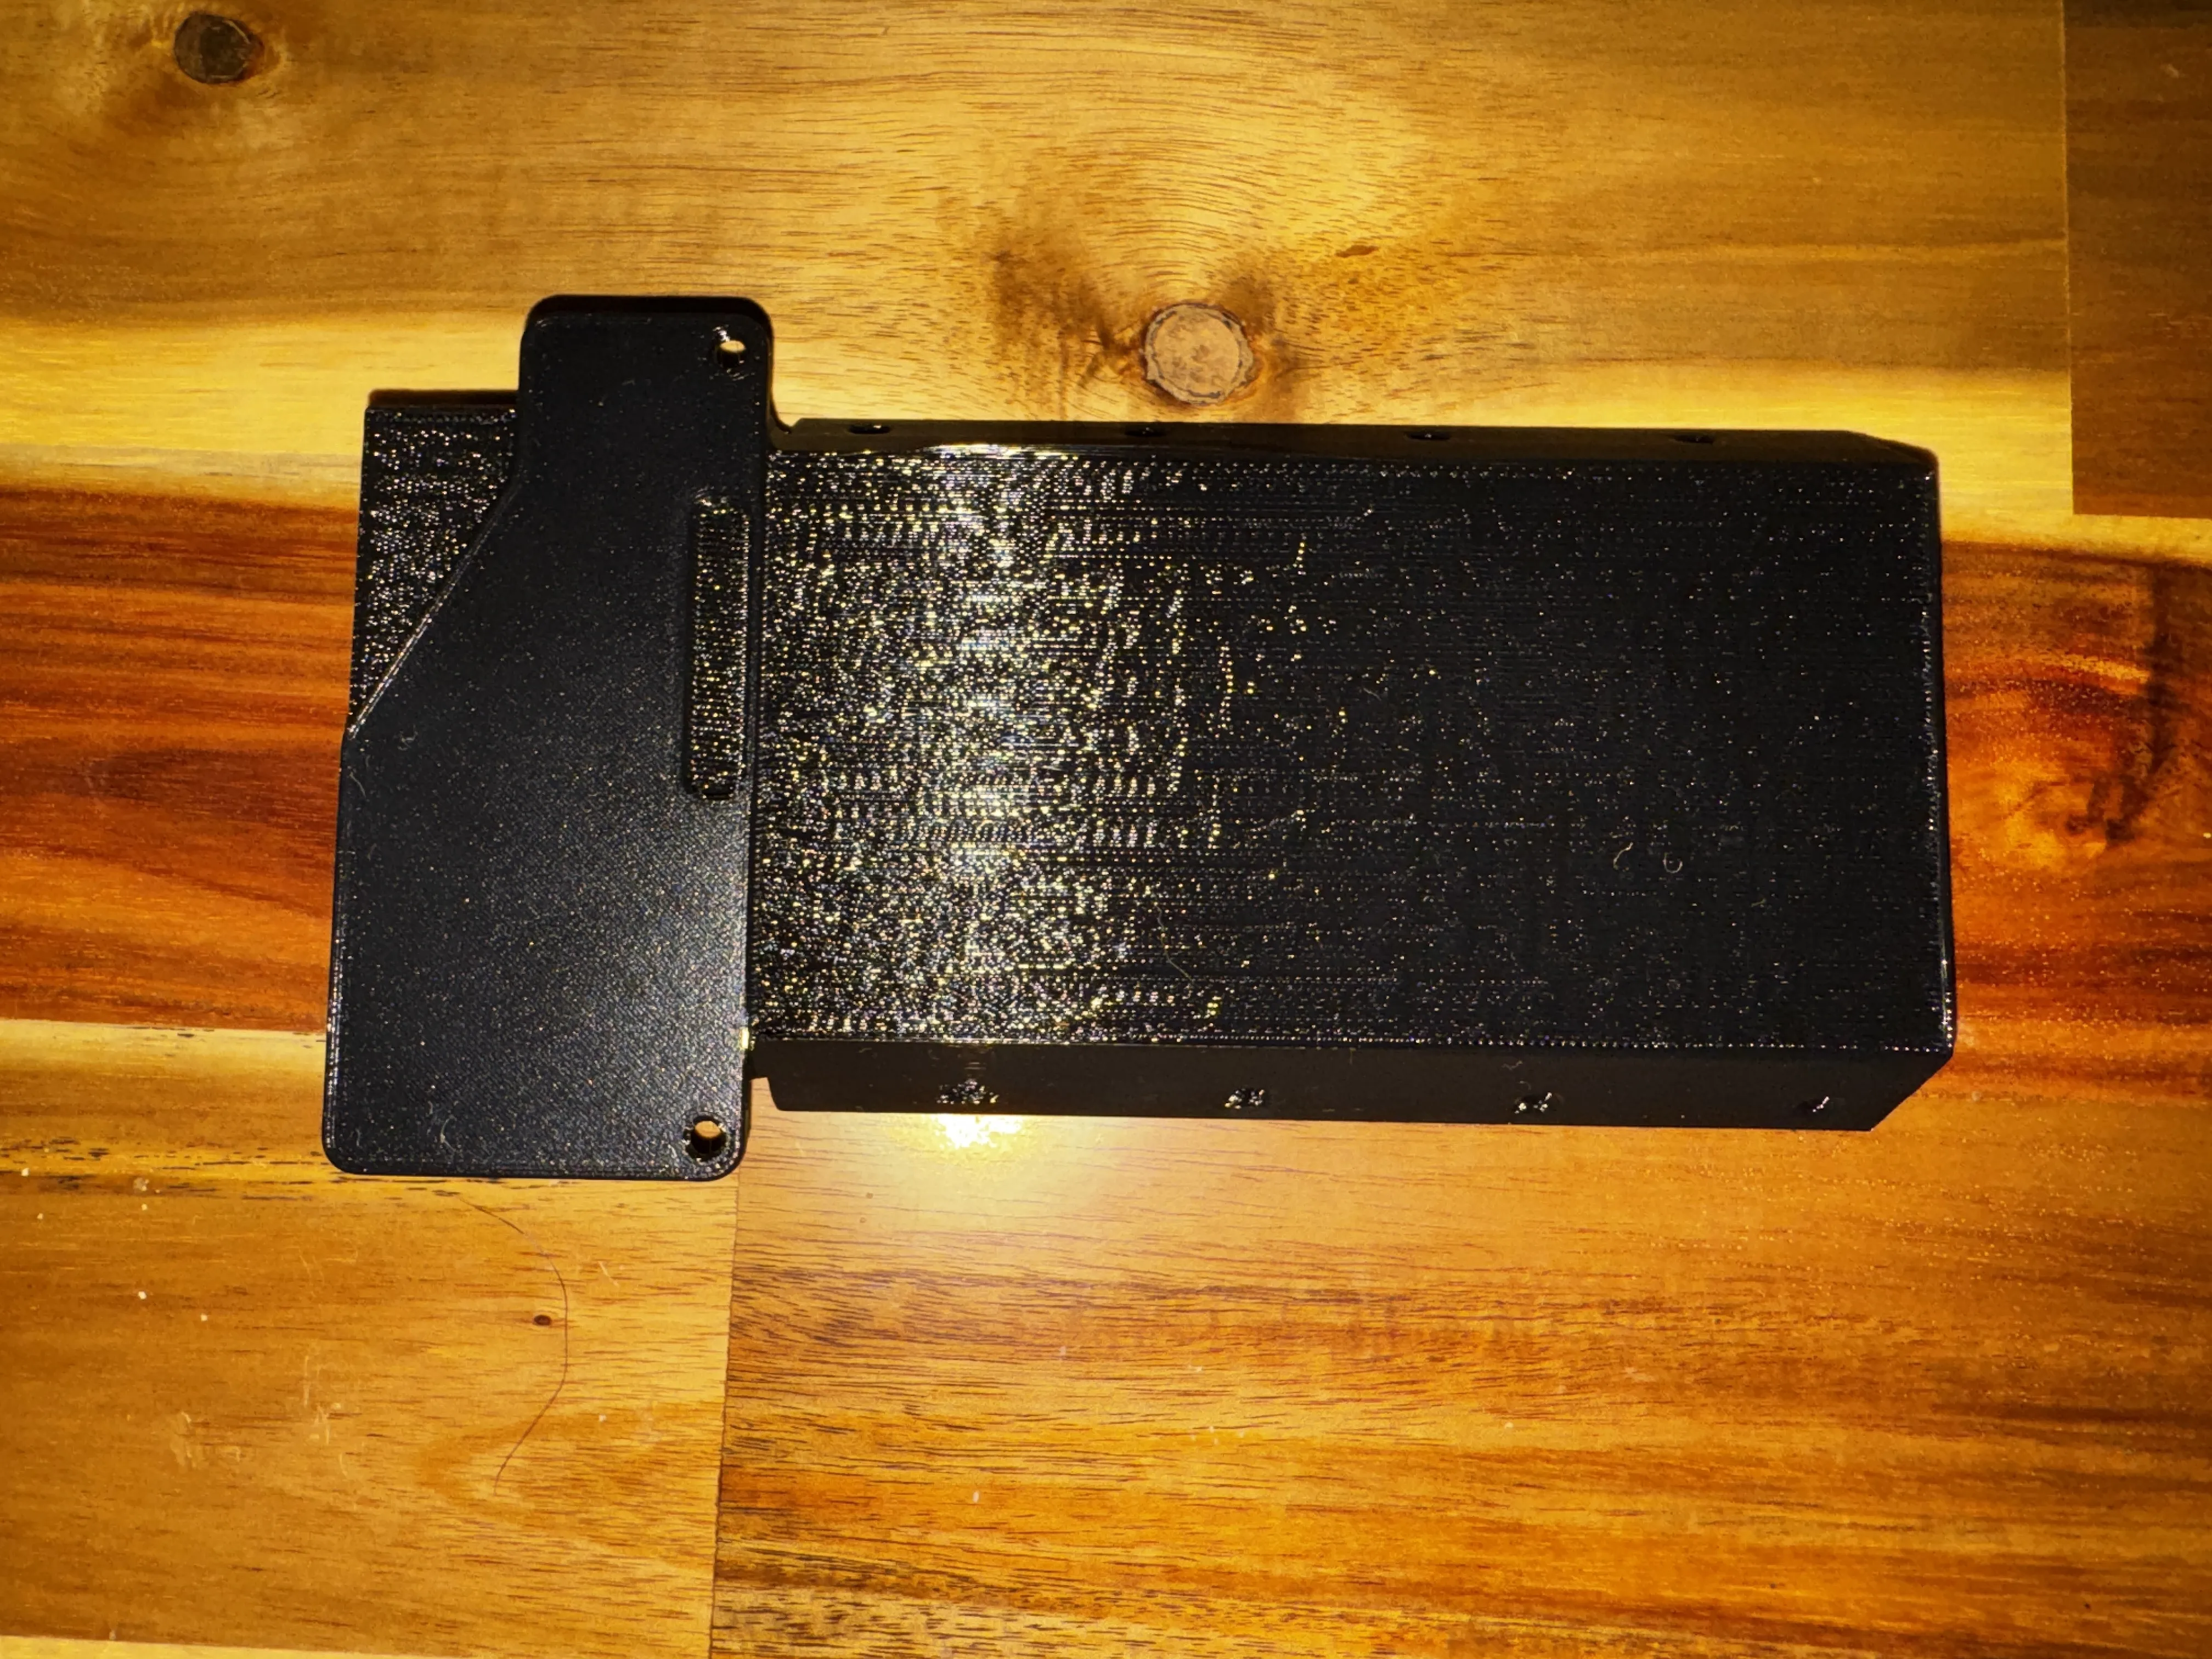
Choose the direction that you want the BMCU to feed in/out from, connect the cable and screw in the m3 x 14 self tapping screws.
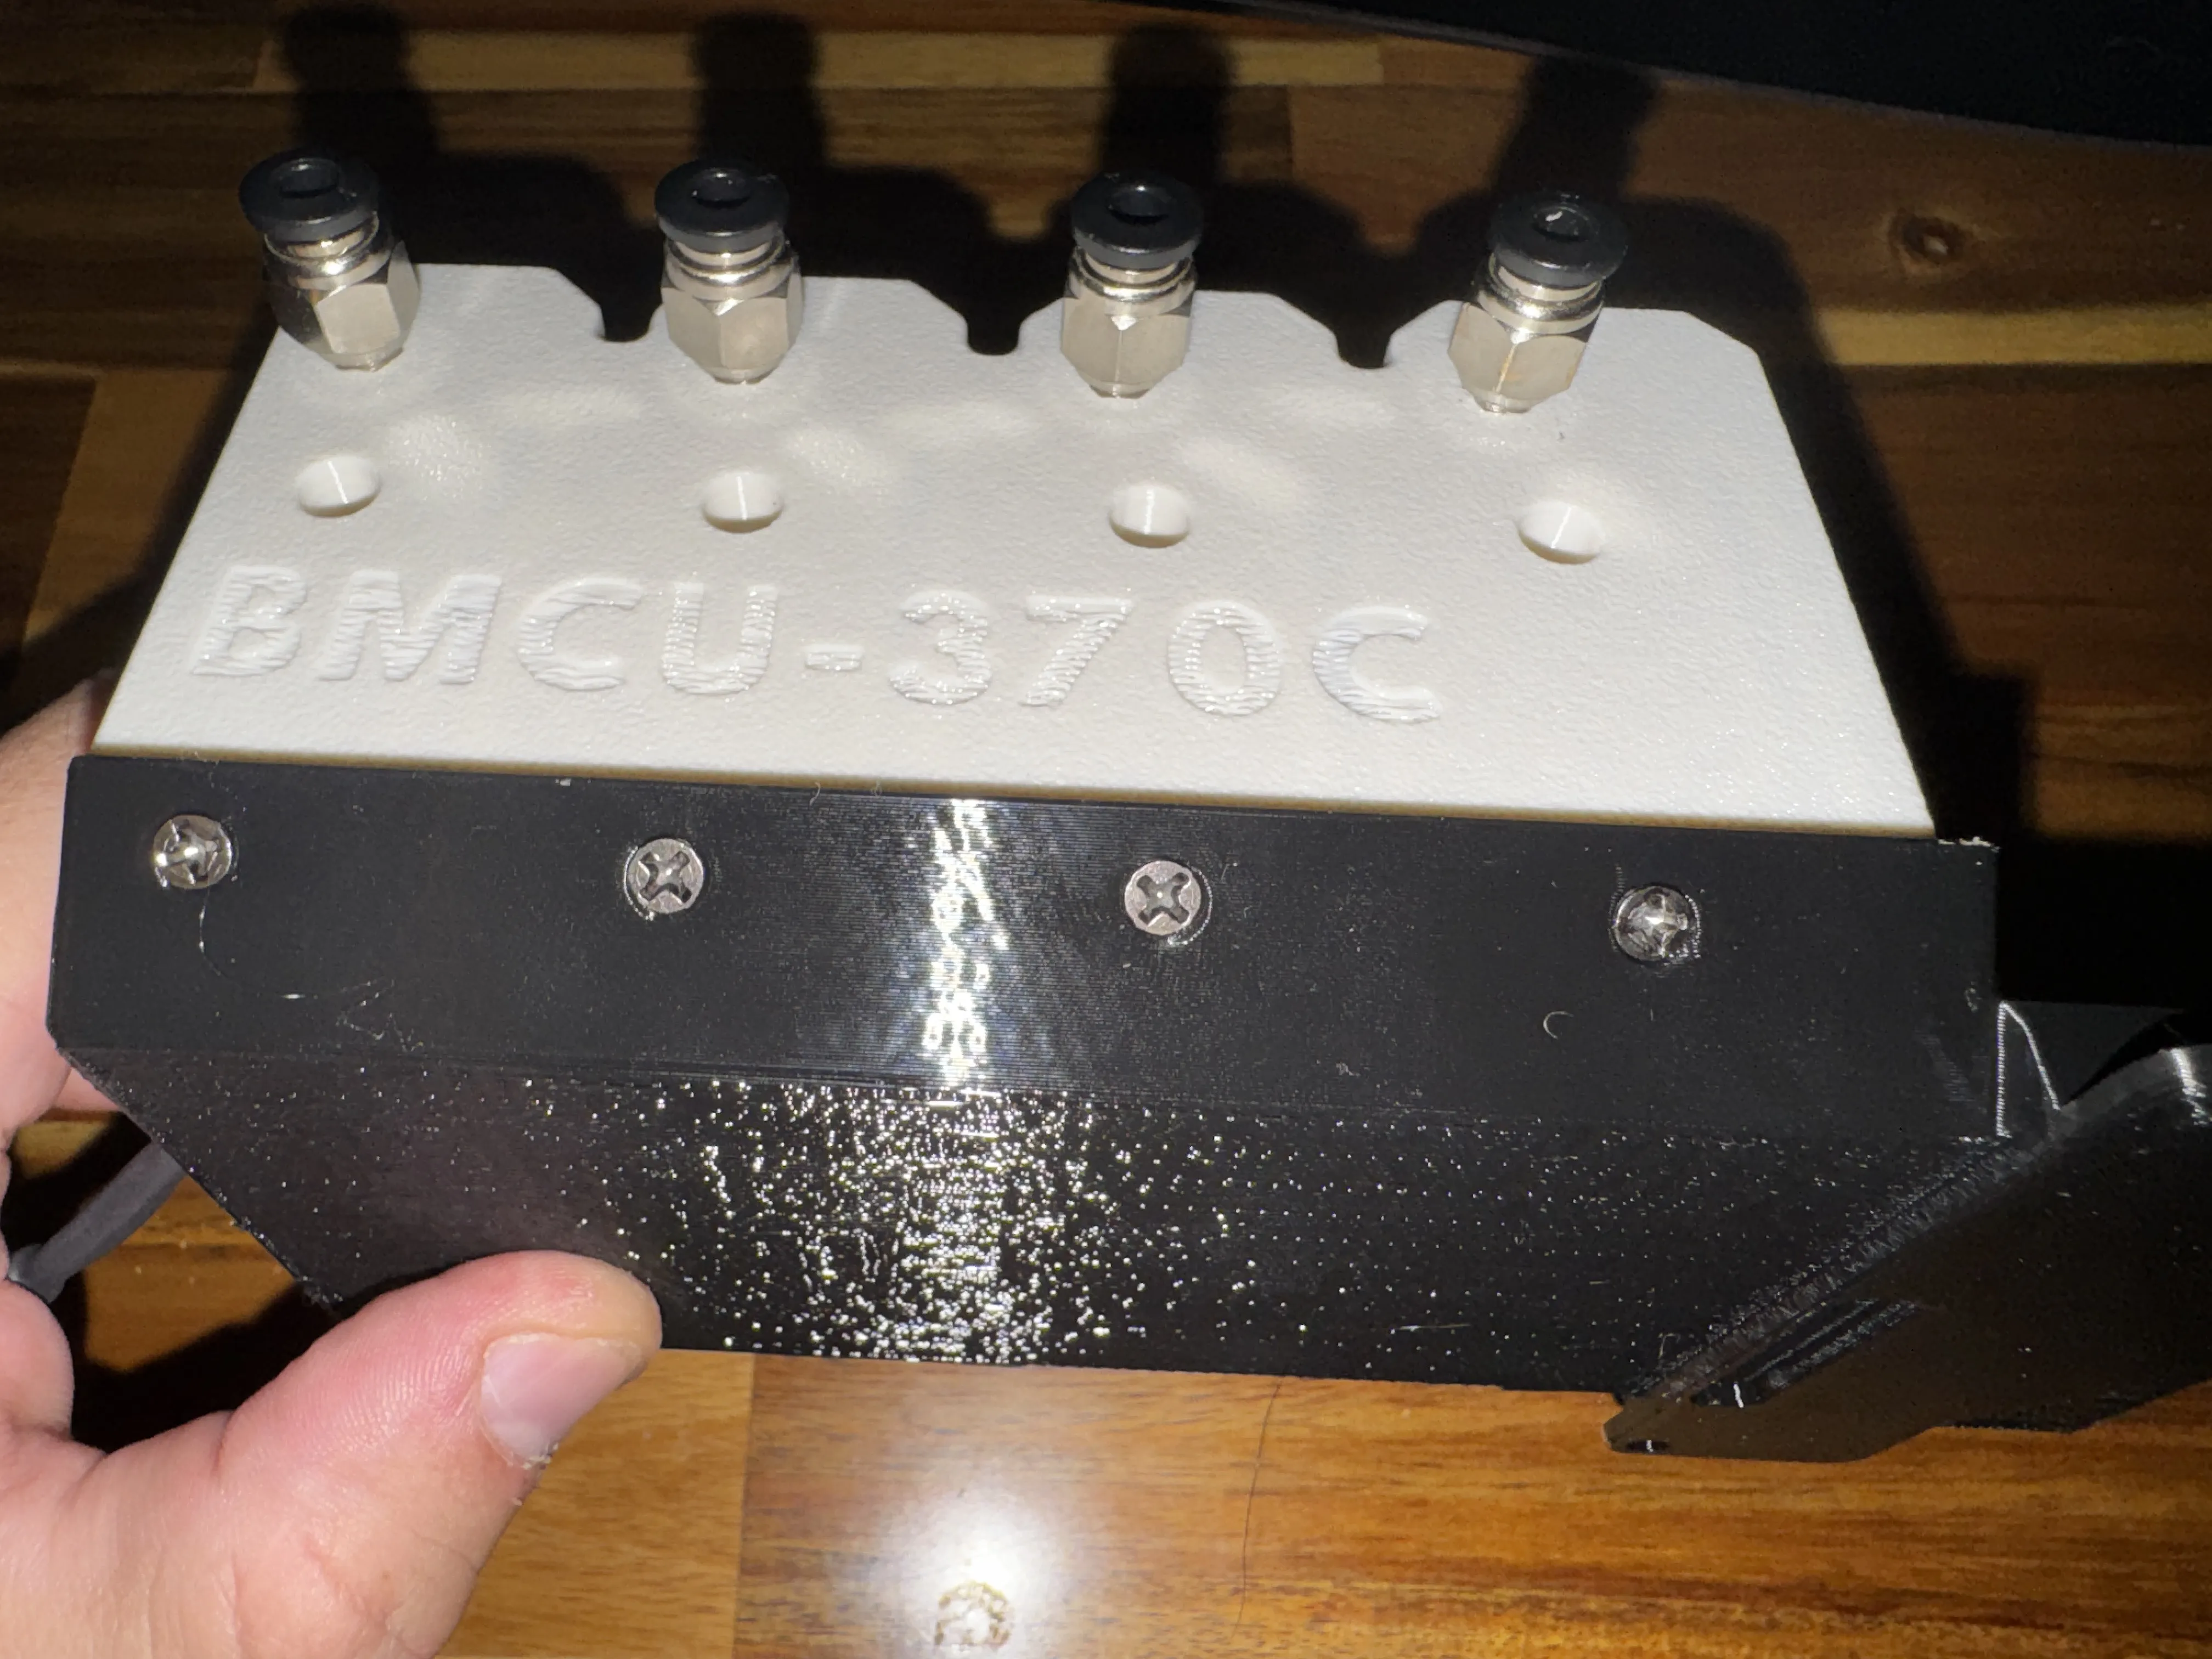
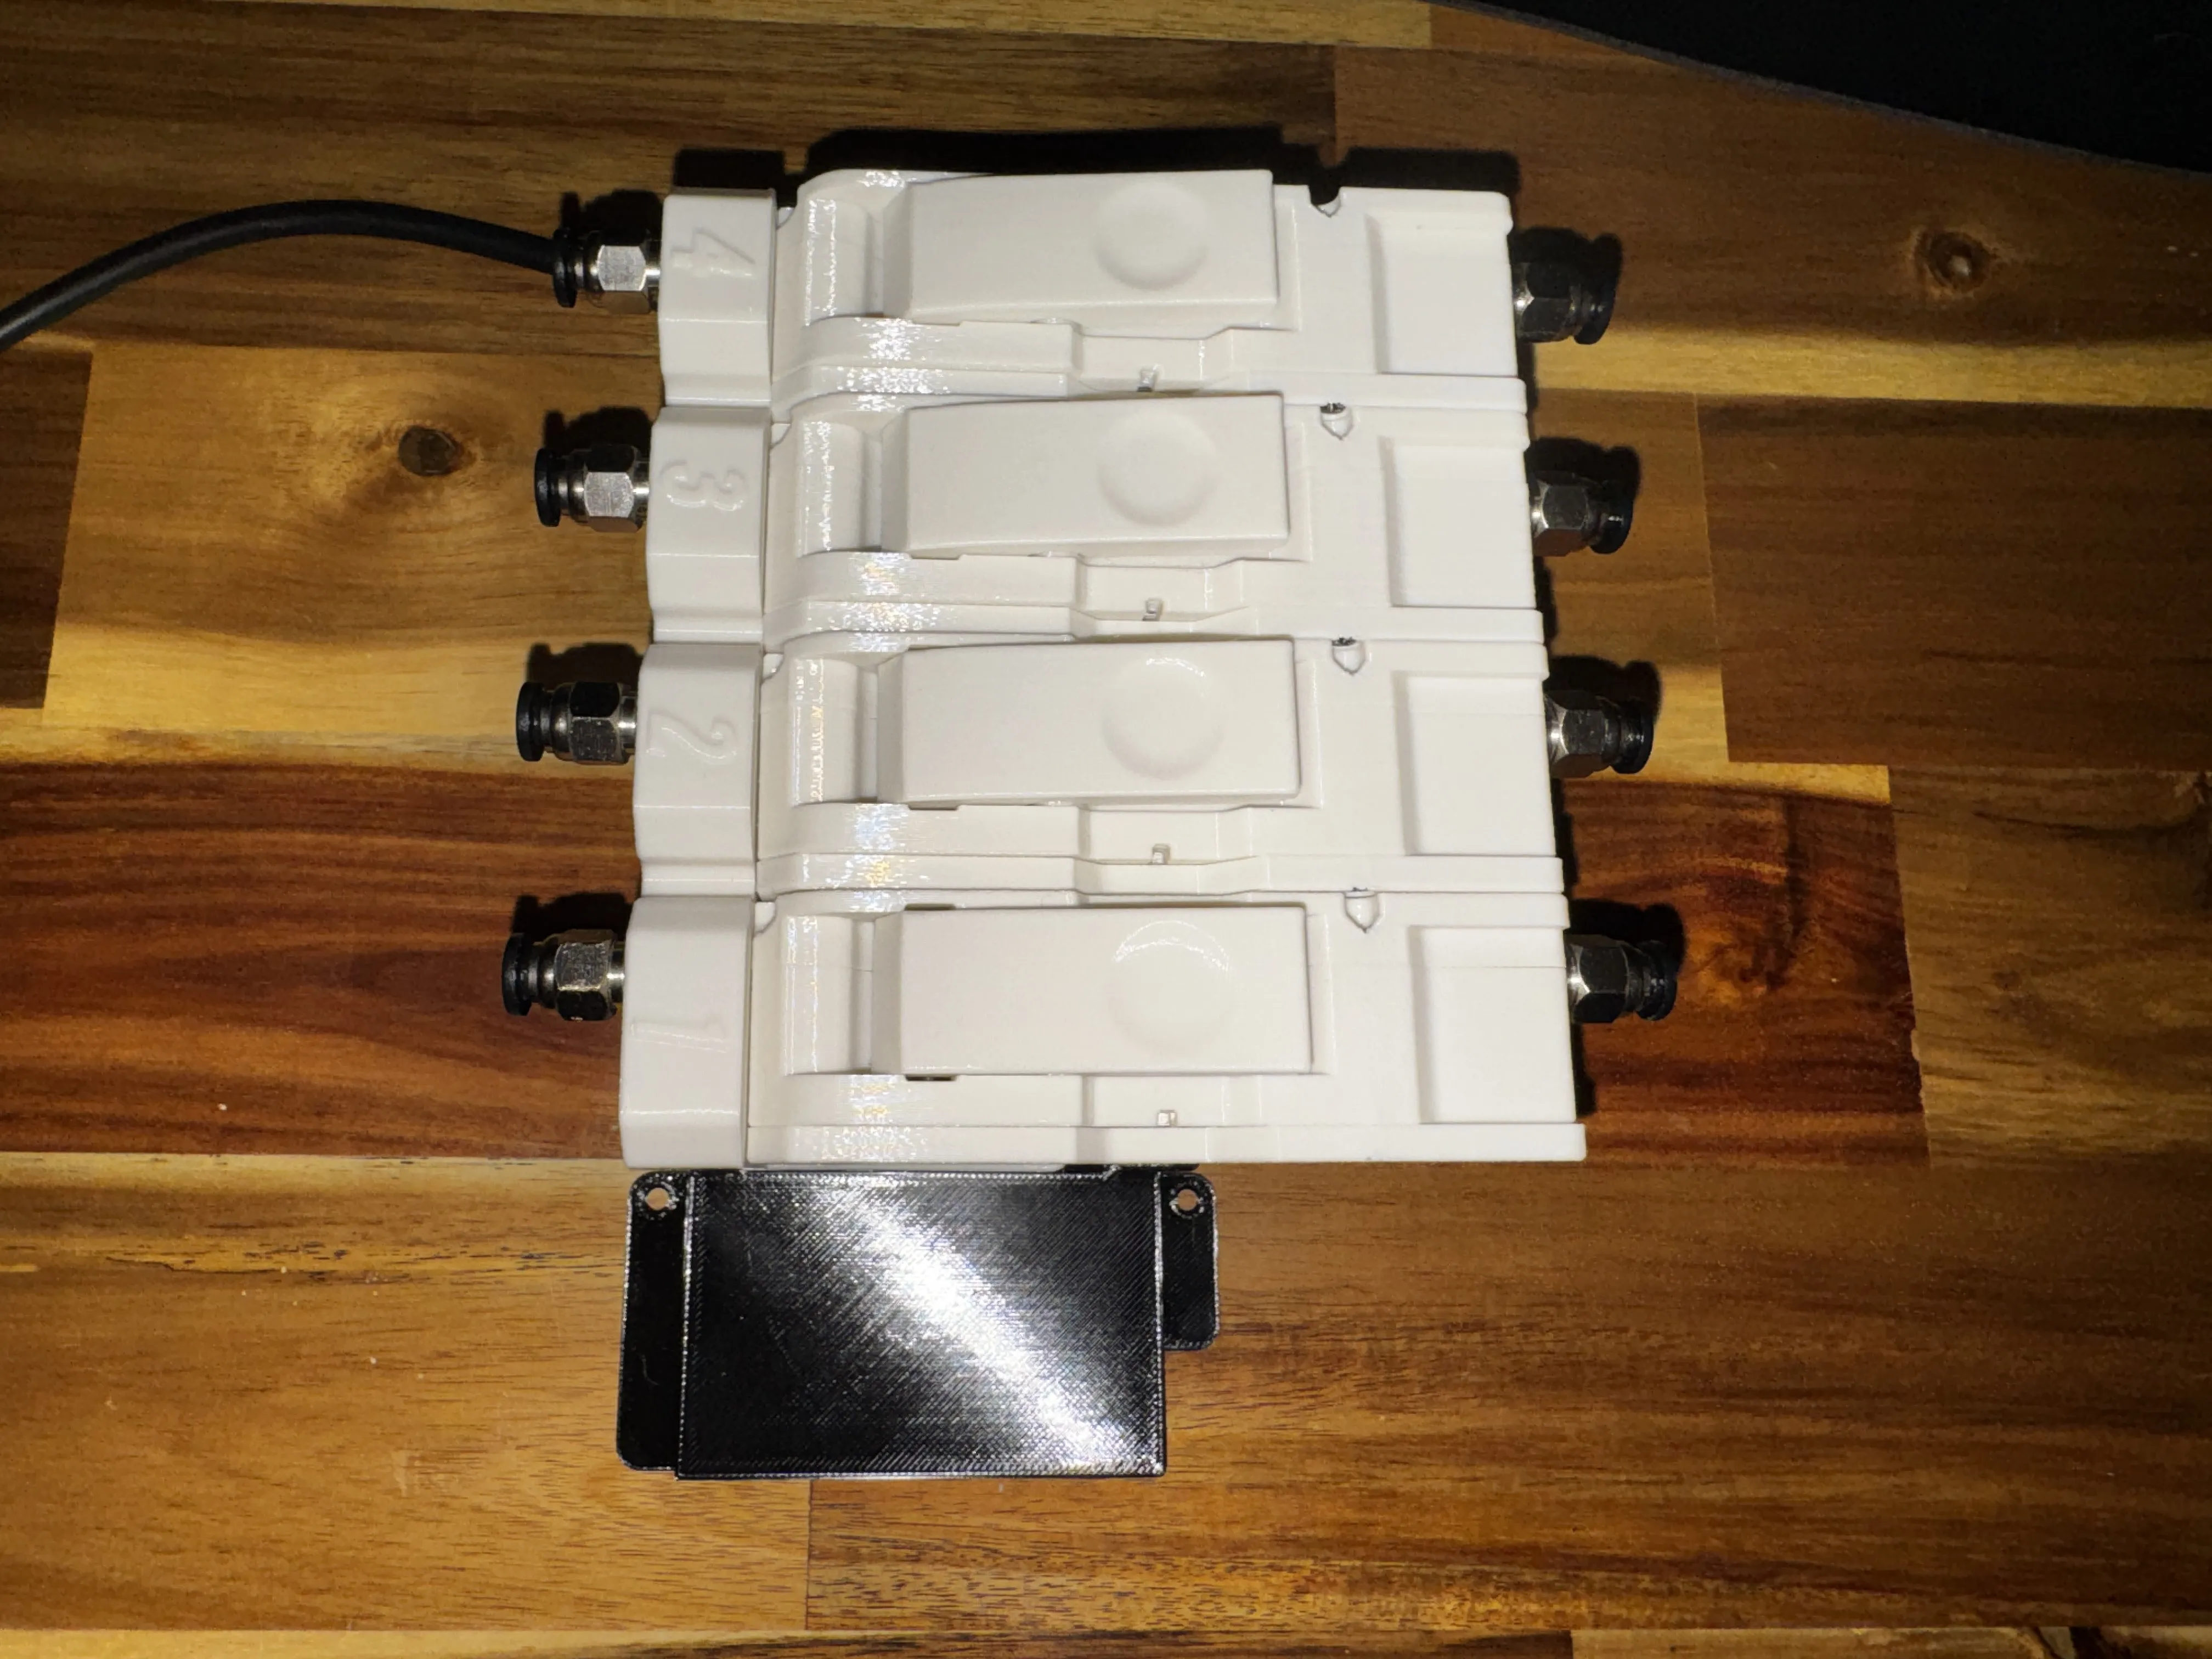
Then screw the bracket into the recess which is normally used for a AMS buffer/hub on the back of the P1S, I used m3 x 8 cap head screws that I had on hand.
Before you plug the BMCU into the P1S, be sure to turn the P1S off, so that you avoid any spike or damage that may occur during the connection process!
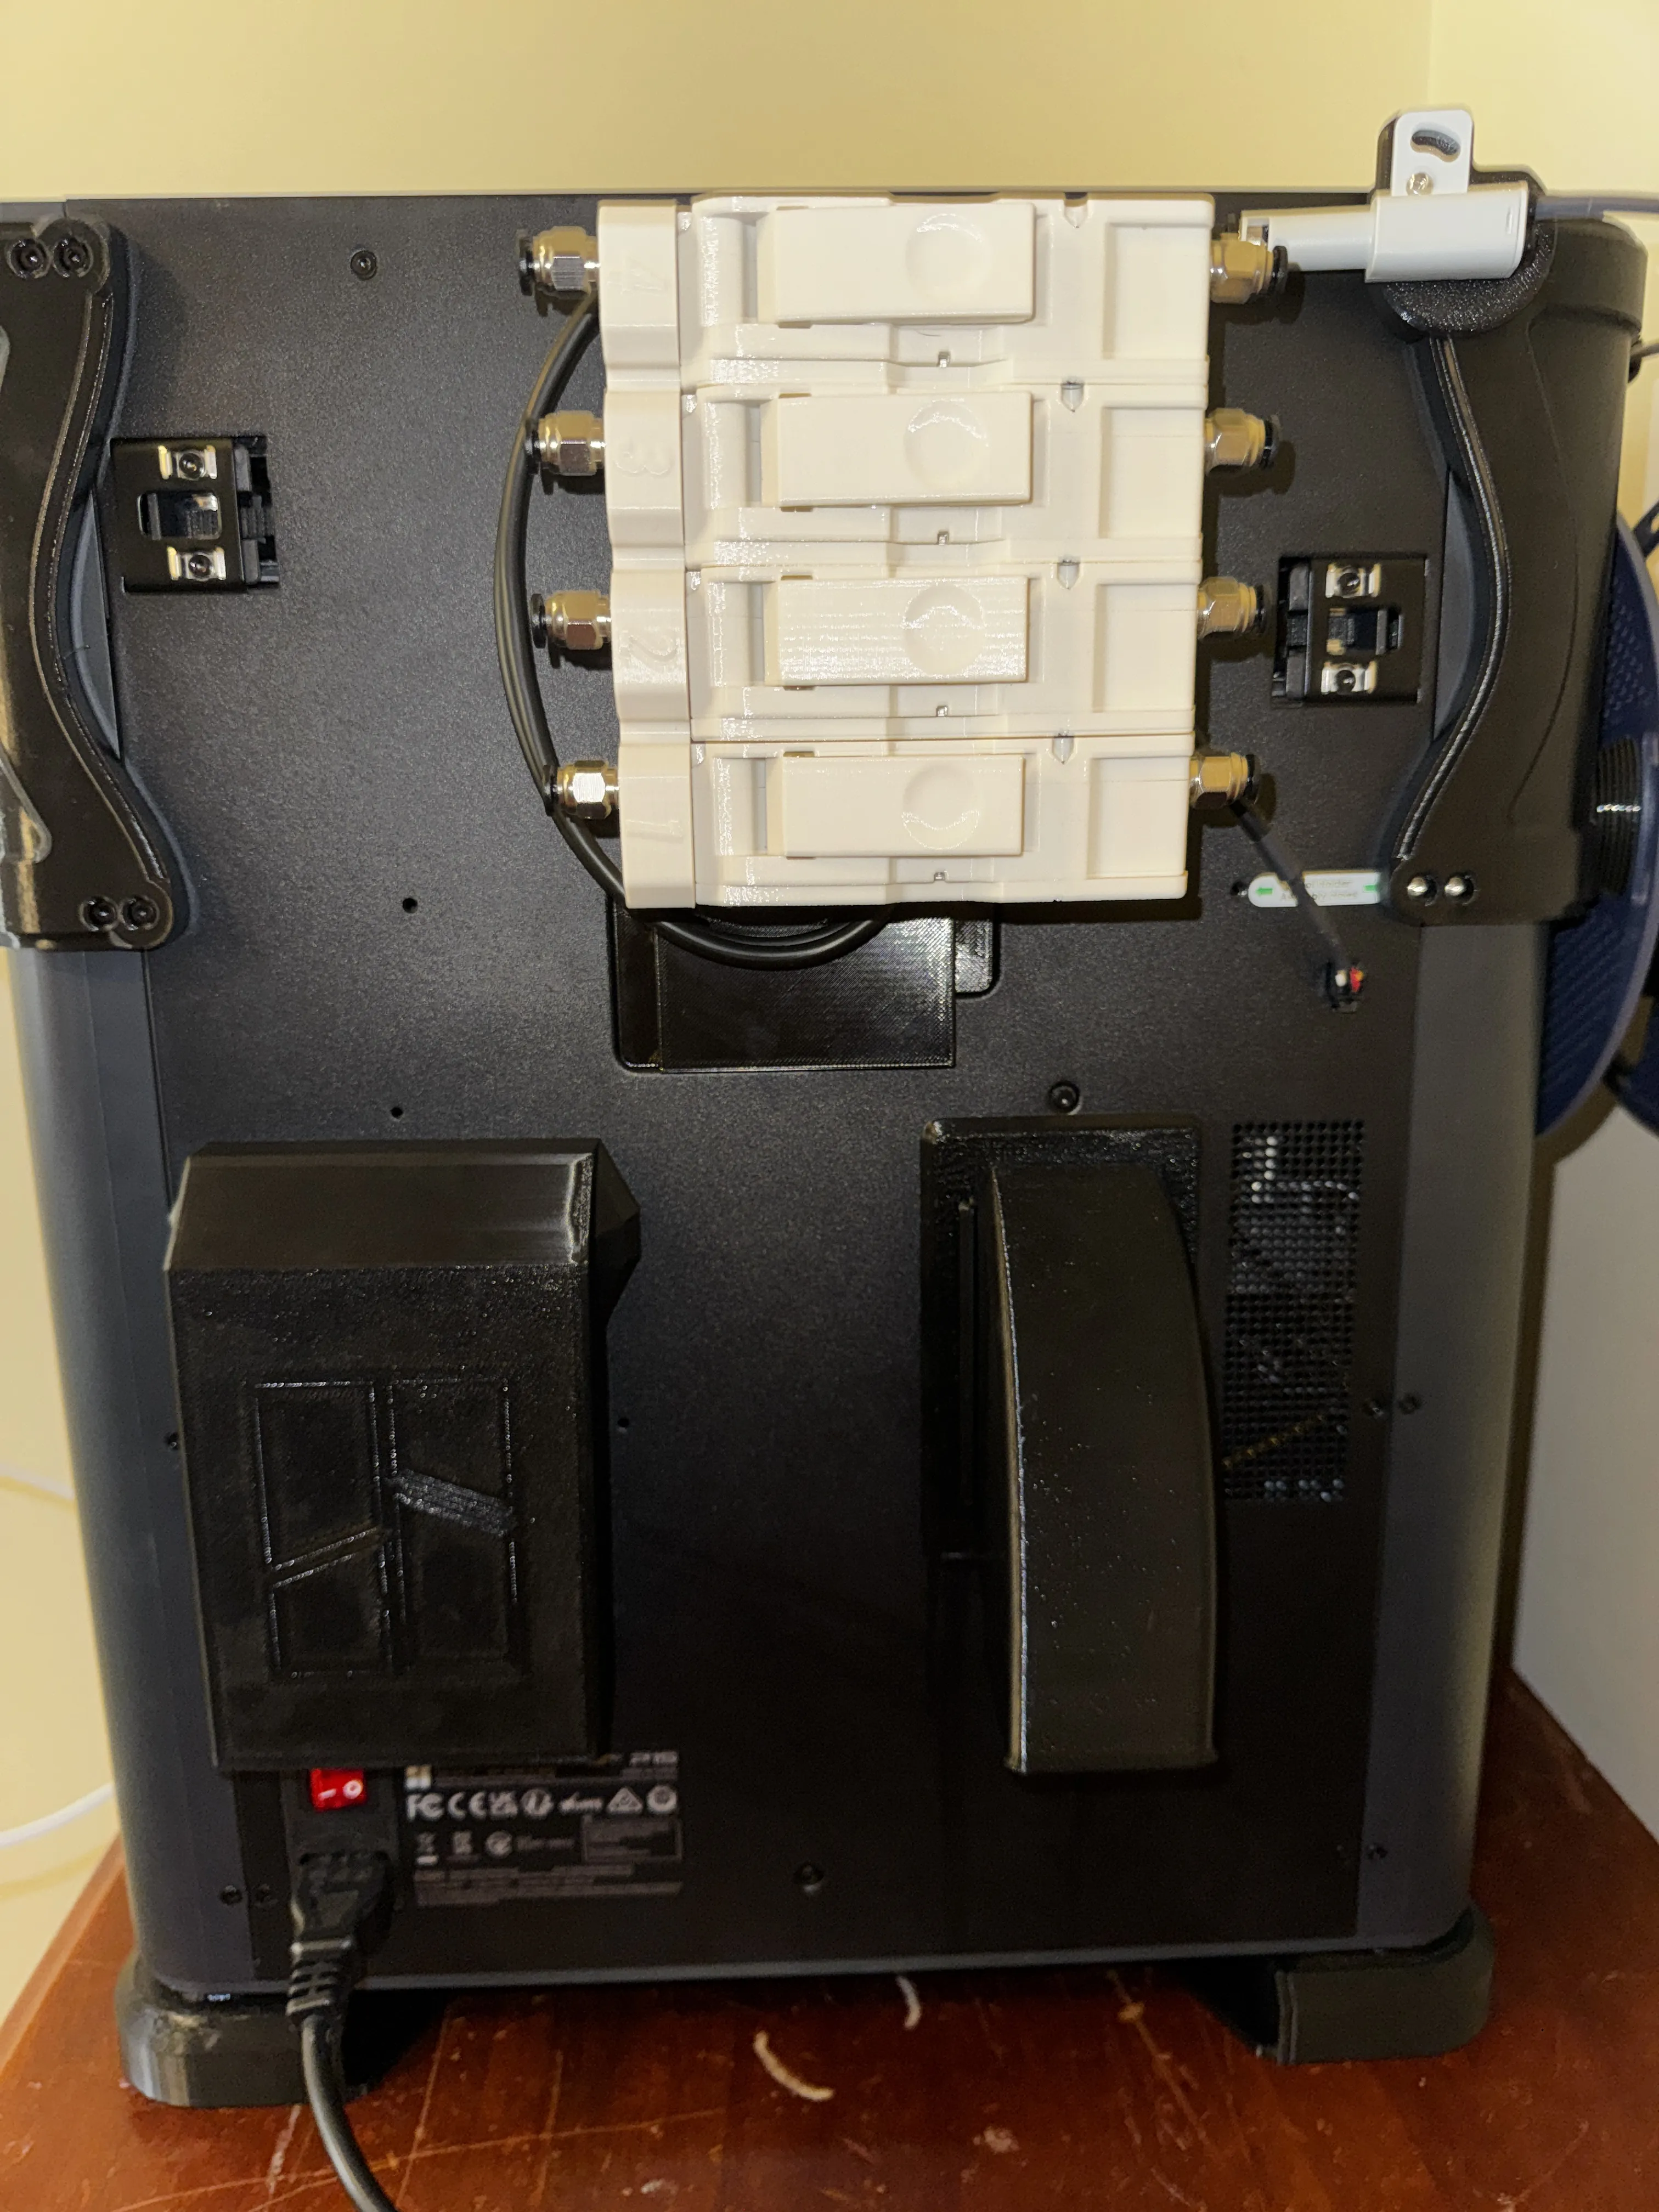
Route the cable and connect it to the P1S, then you will want to figure out how you want to route the PTFE tubes and how you'd like to order them (1 through 4) on the BMCU, the bracket has some built in guide holes that you may use for the PTFE tubes which need to cross over to the other side.
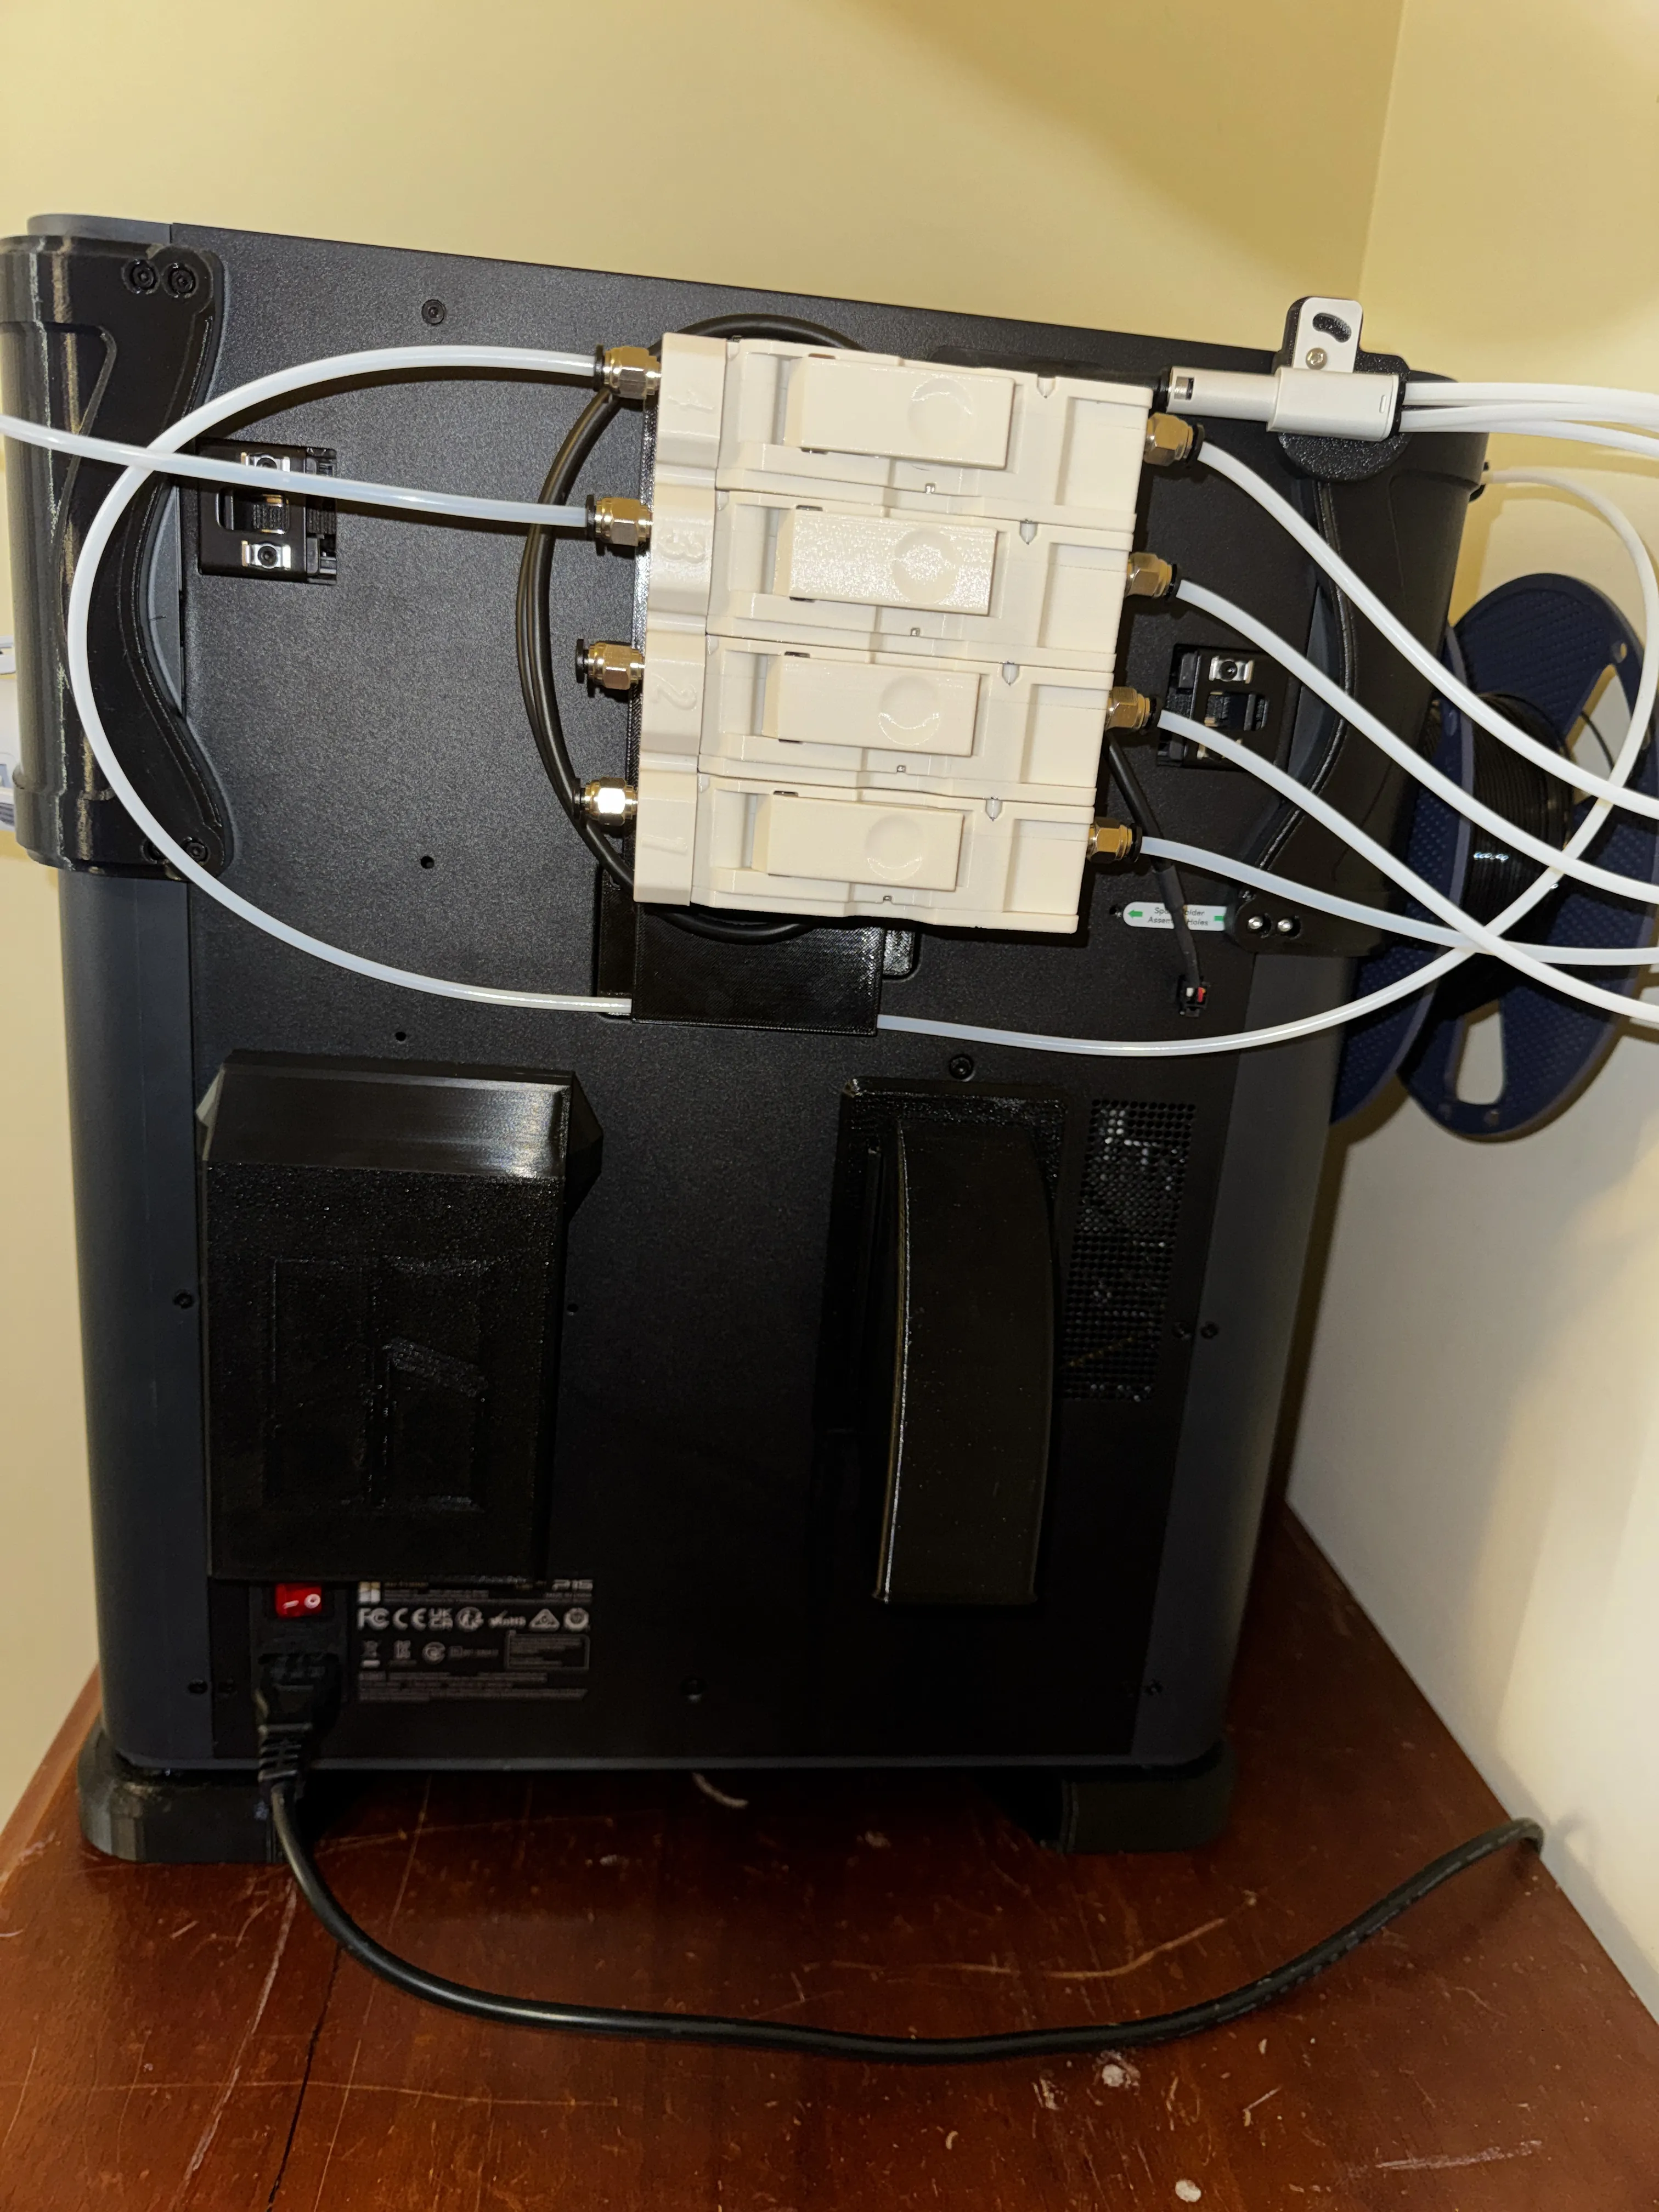
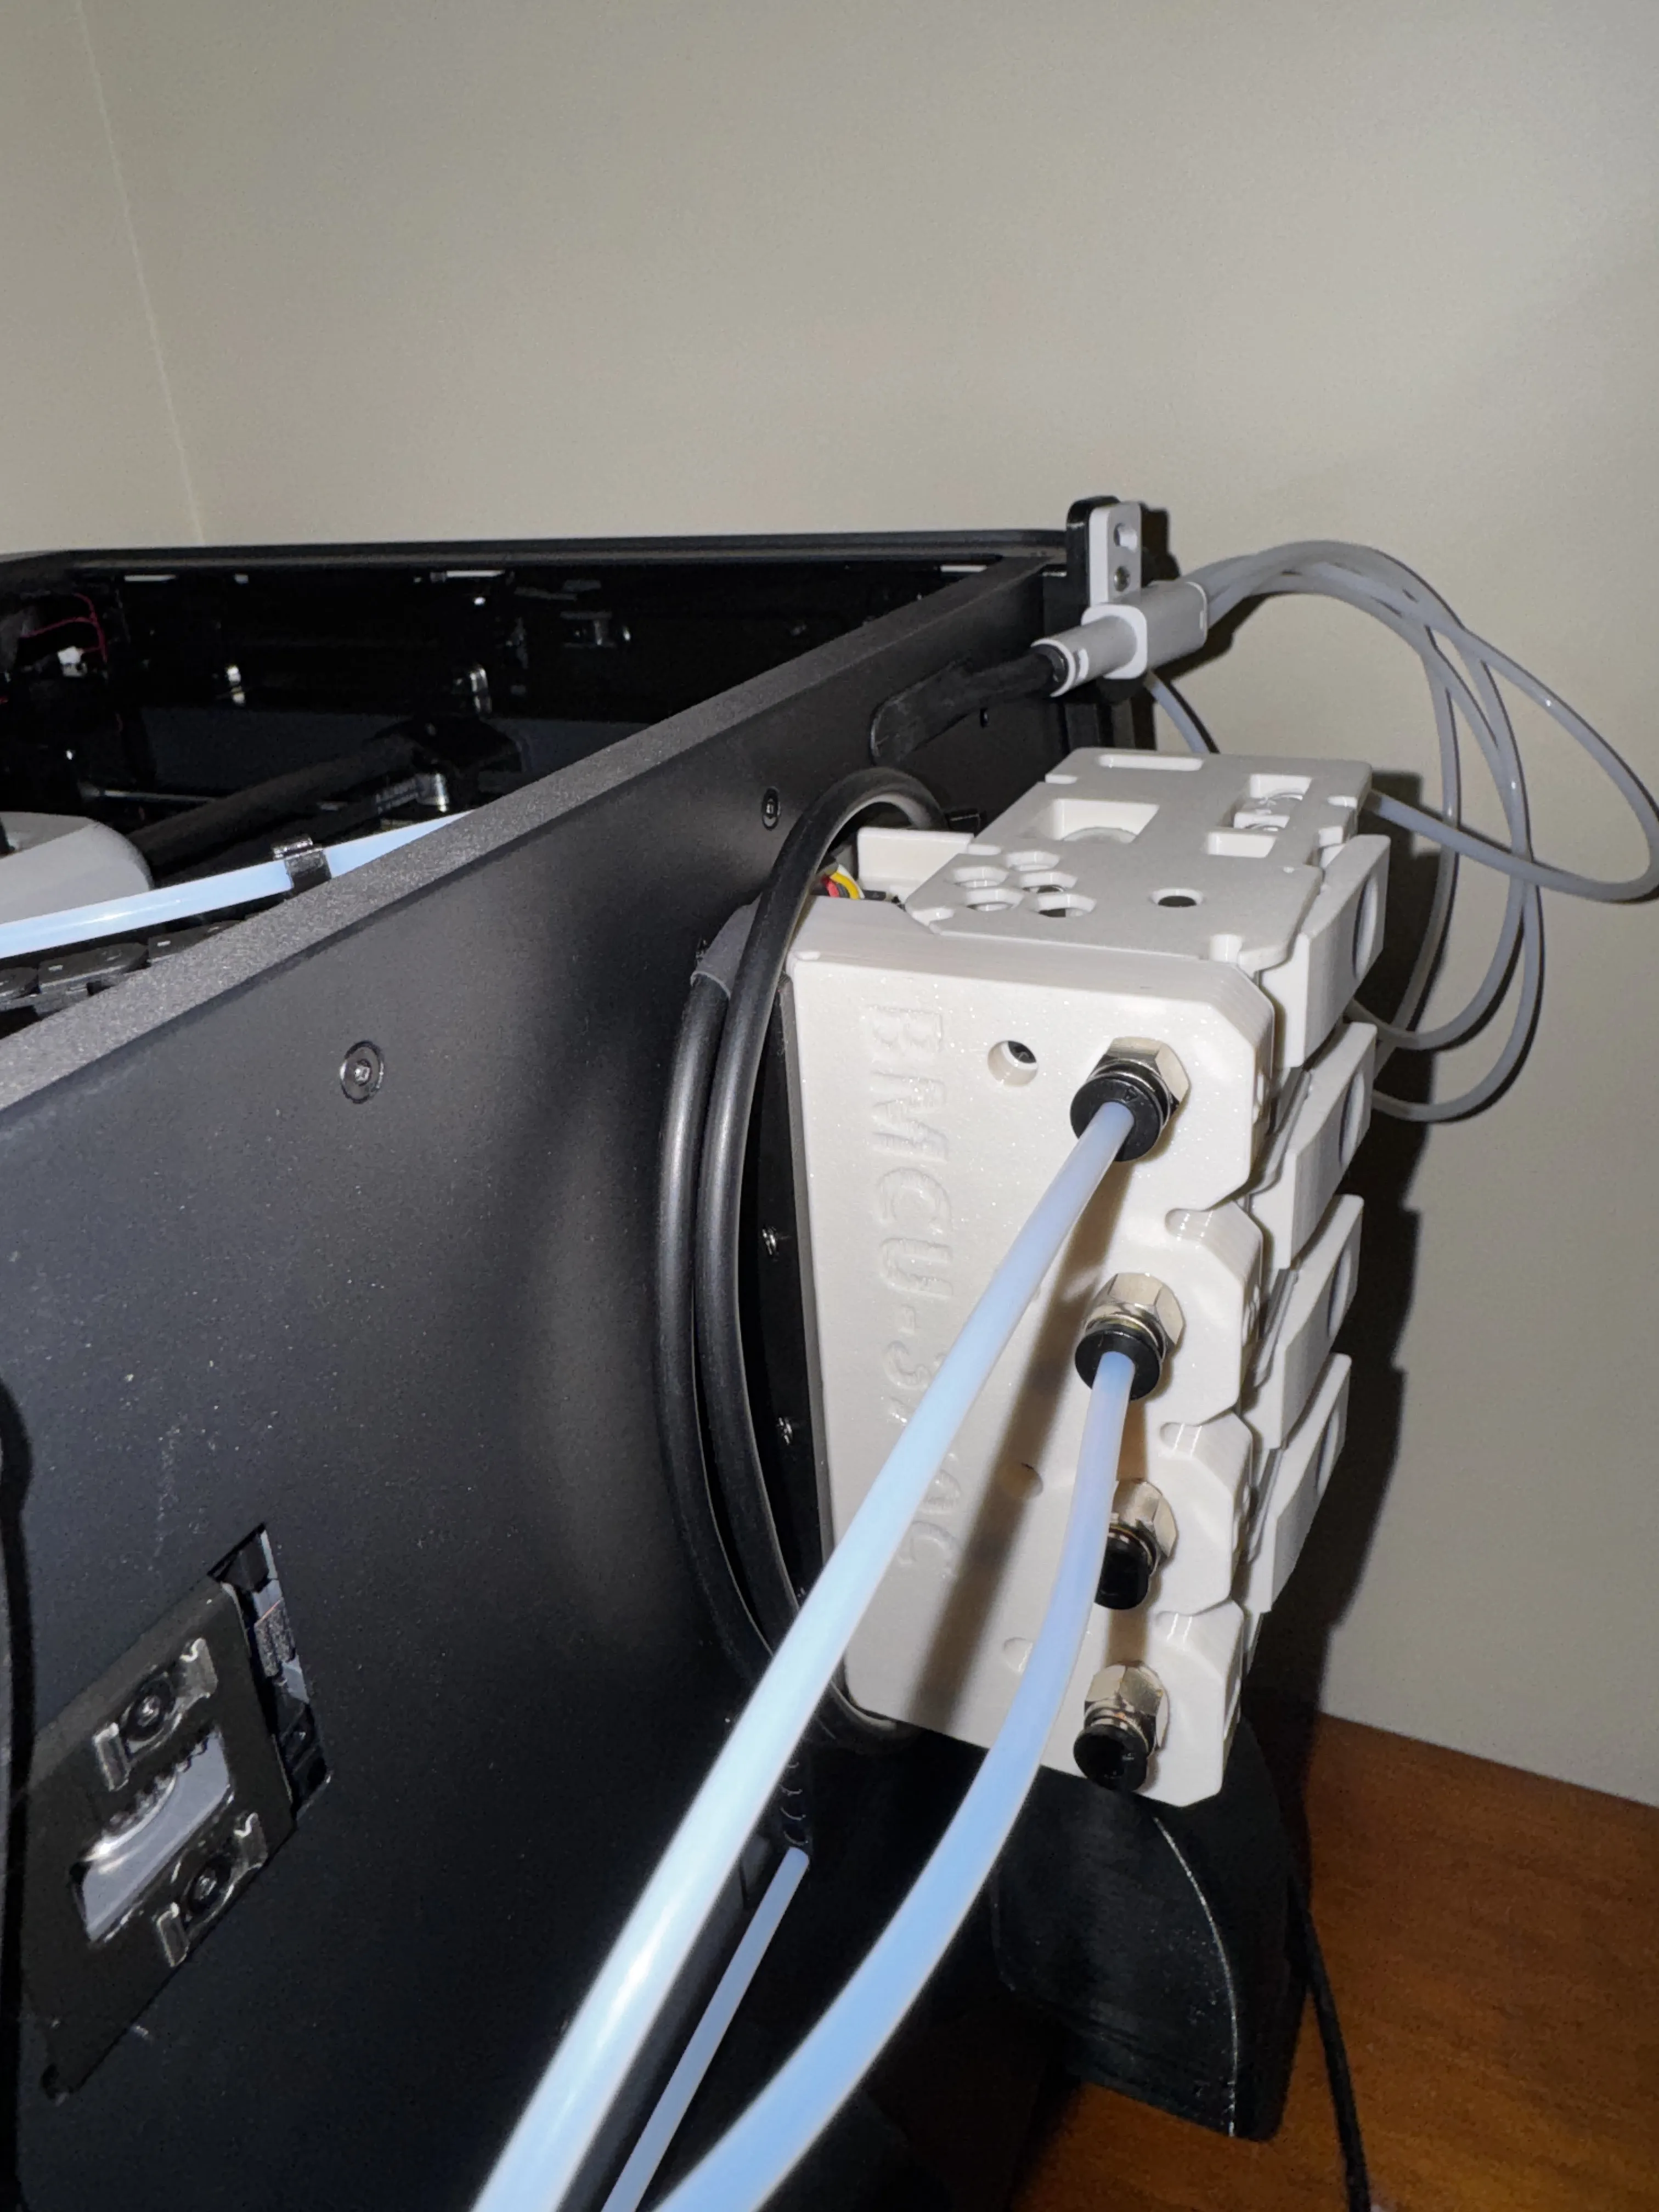
All that's left is the turn the P1S back on and see if your BMCU is detected and functional.
Boost Me (for free)
If this model/profile has helped you out, it would be awesome if you could give it a rating/boost :)
License



Comment & Rating (12)