
Test and calibration for brass threaded inserts

Print Profile(6)


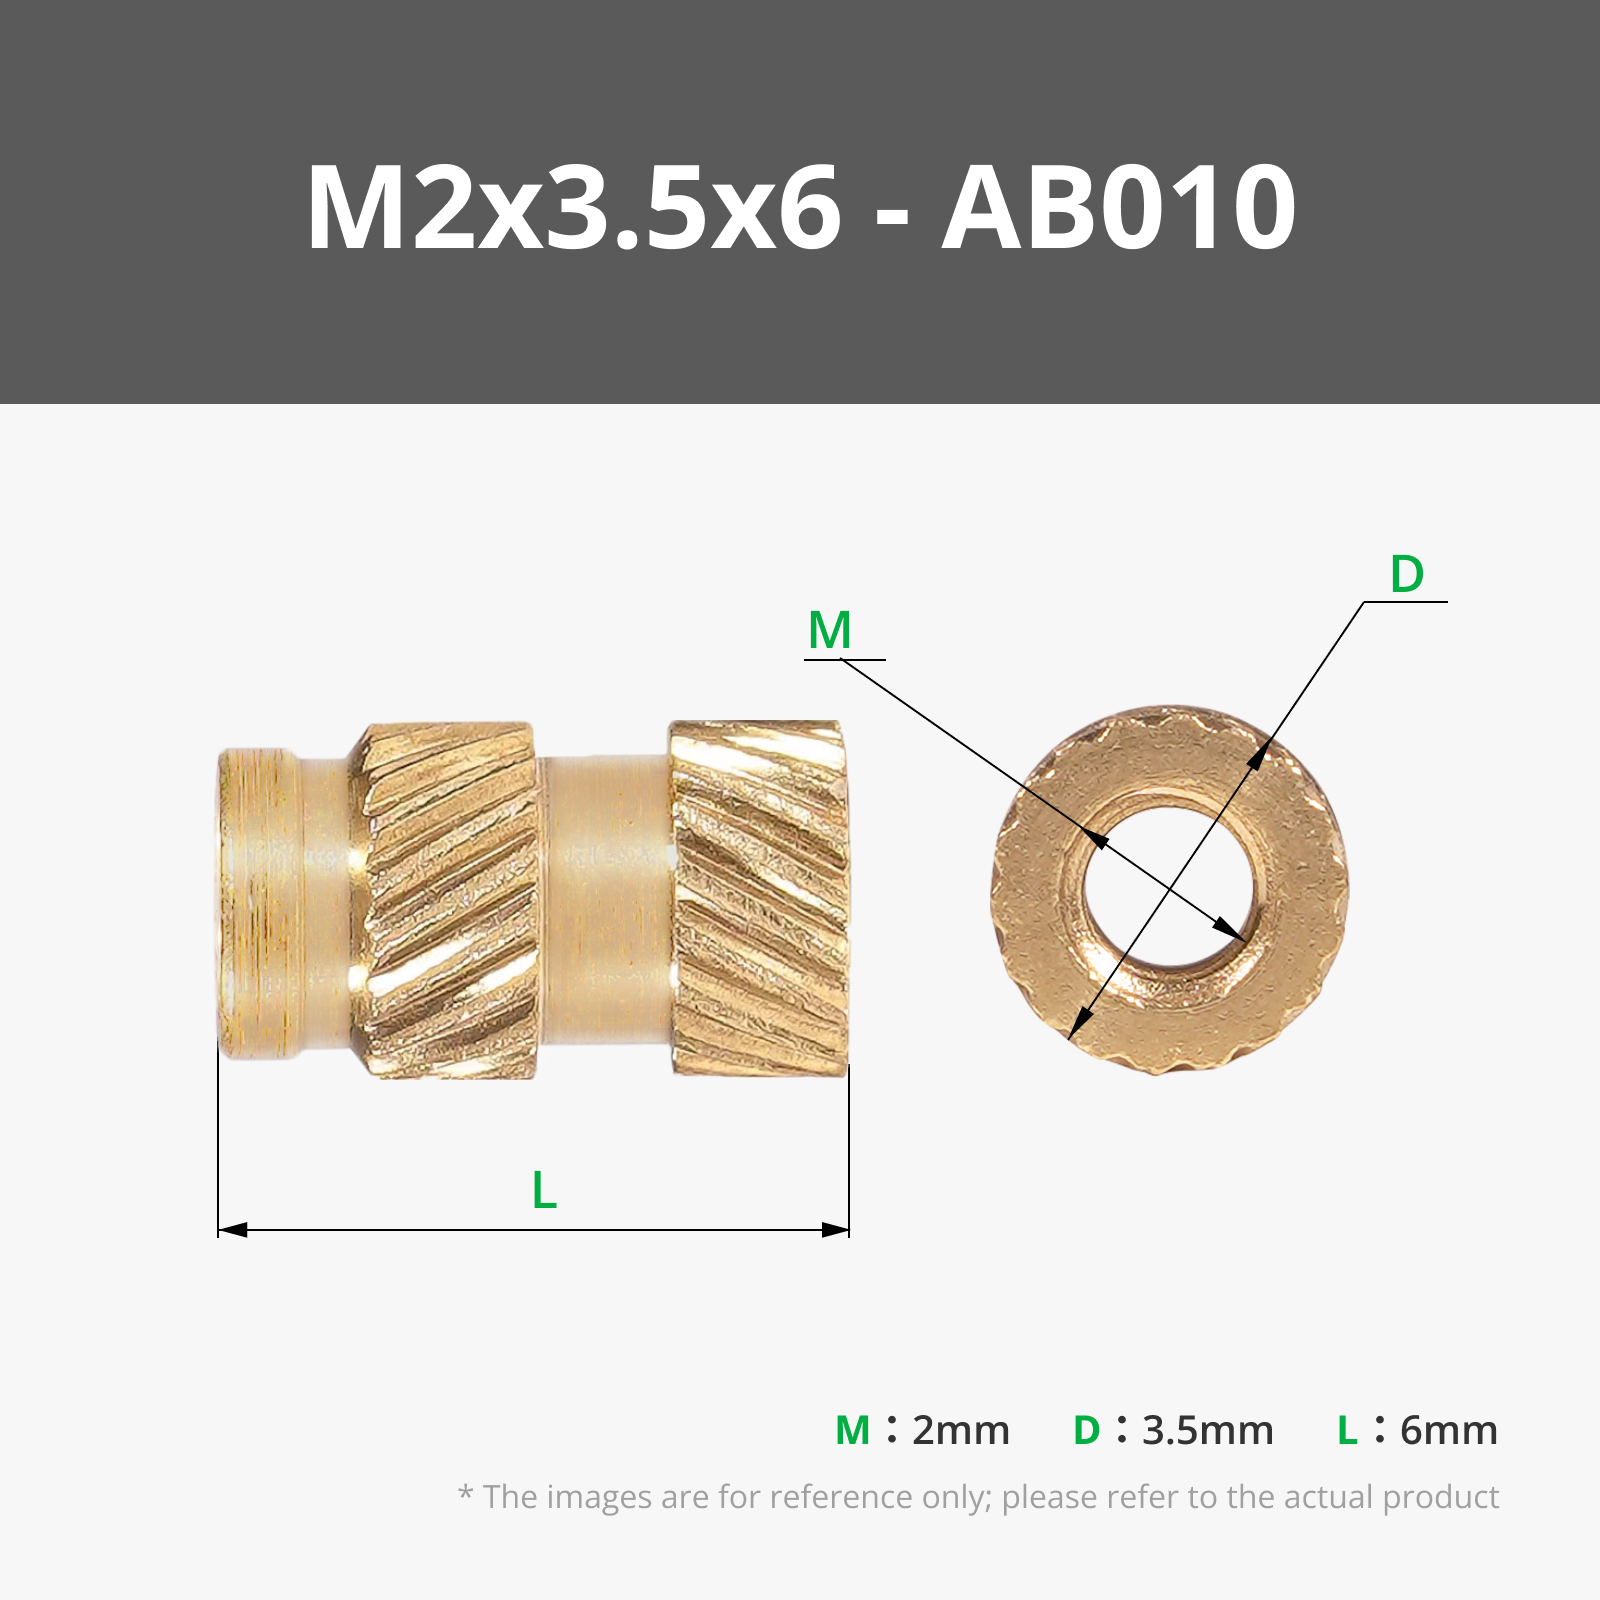
Bill of Materials



Description
💡 Support my work for free!
If my designs have been useful, just follow me on MakerWorld — one click helps me a lot! 🙏
---------------------------------------------------------------------------
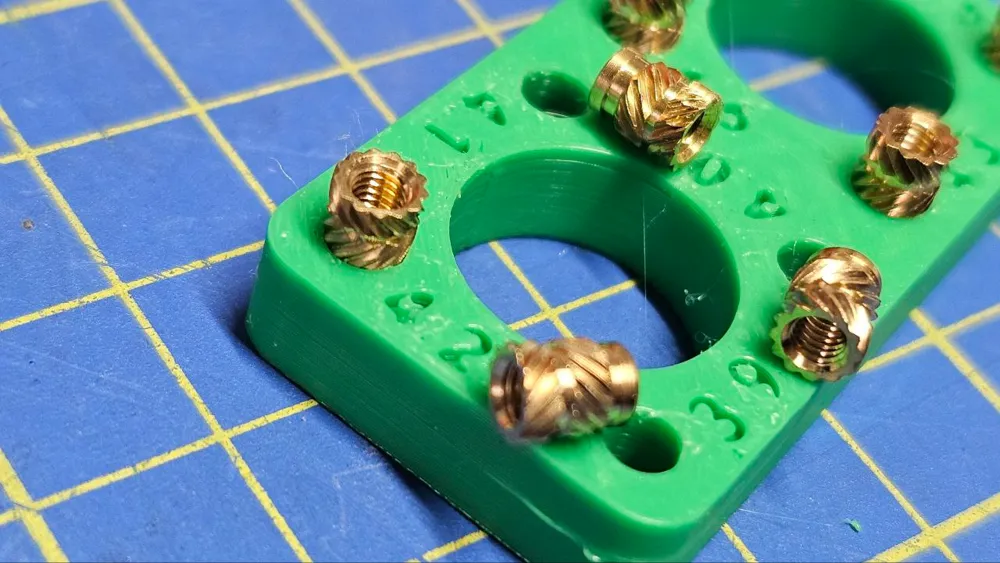
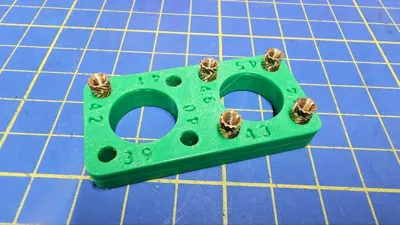
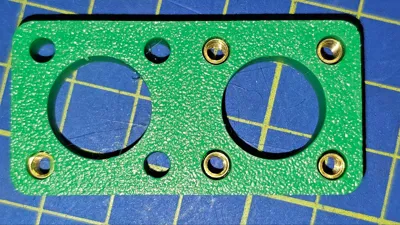
This handy tool takes the guesswork out of choosing the right hole size for brass threaded inserts.
Simply push your insert into one of the labeled holes, and you'll instantly know if it's a snug fit. No more wasted time or materials!
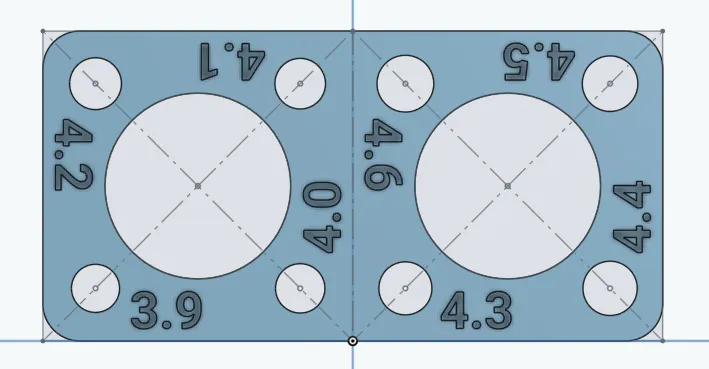
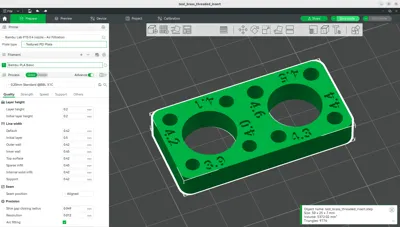
Available tests:
- M2 Brass threaded inserts
- M2.5 Brass threaded inserts
- M3 Brass threaded inserts
- more coming soon…
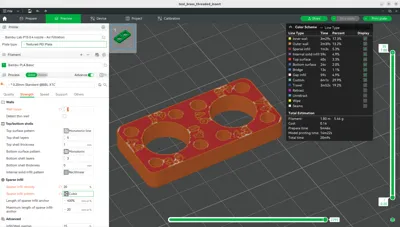
But wait, there's more! For ultimate insert strength, adjust your printer settings to ensure at least three walls around the insert. This simple tip will lock your inserts in place, ready for even the toughest jobs.
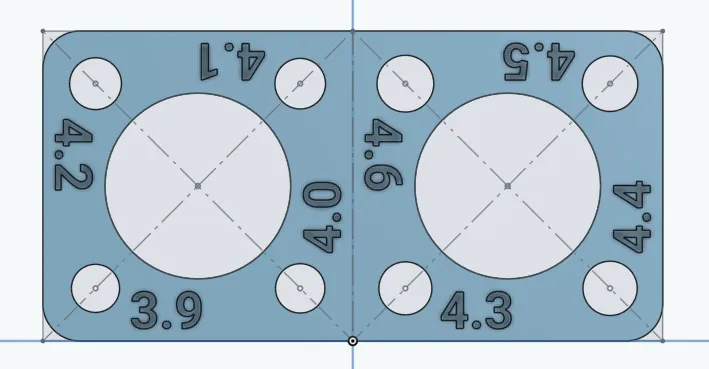
Test procedure
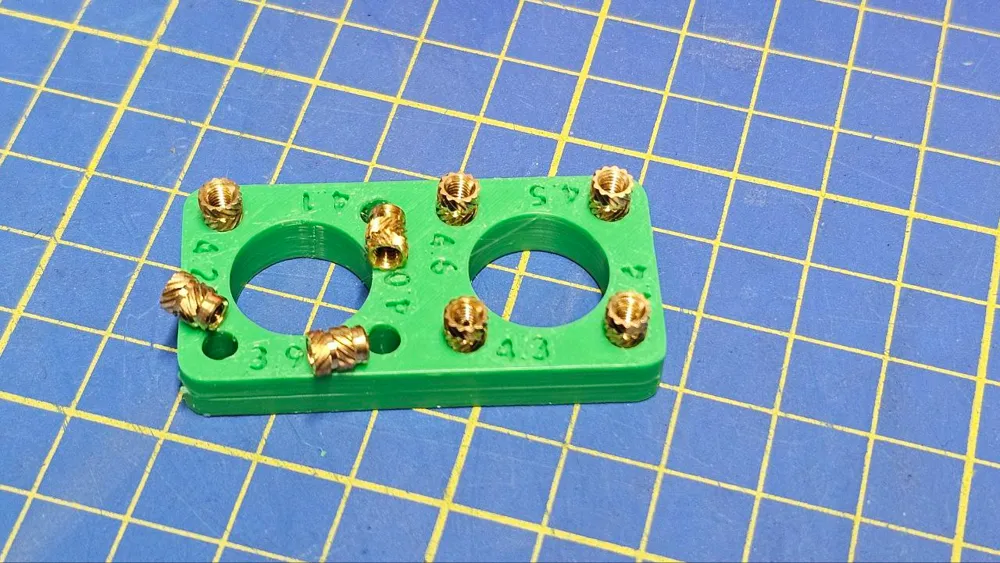
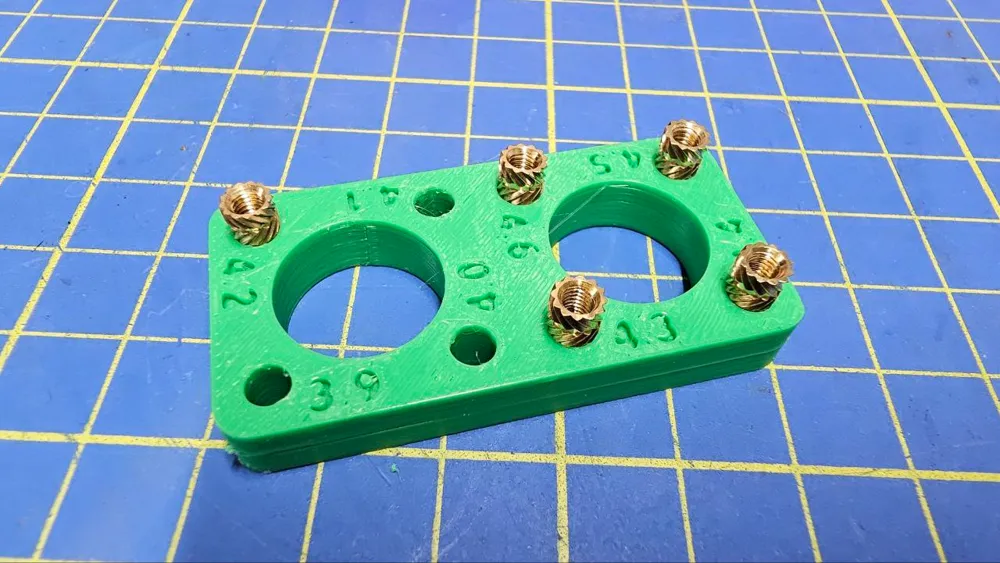
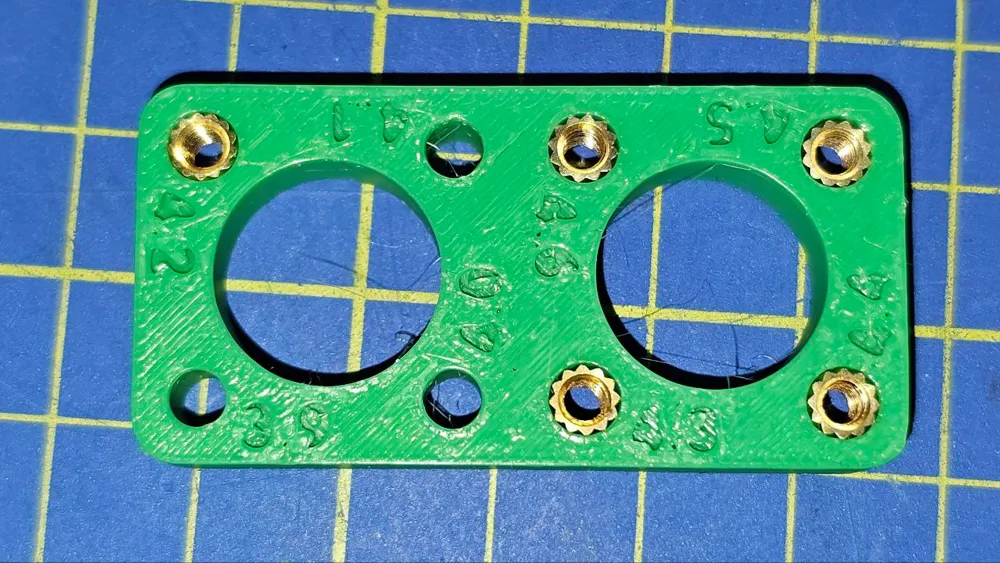
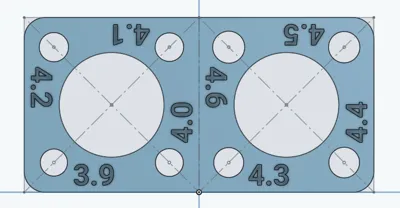
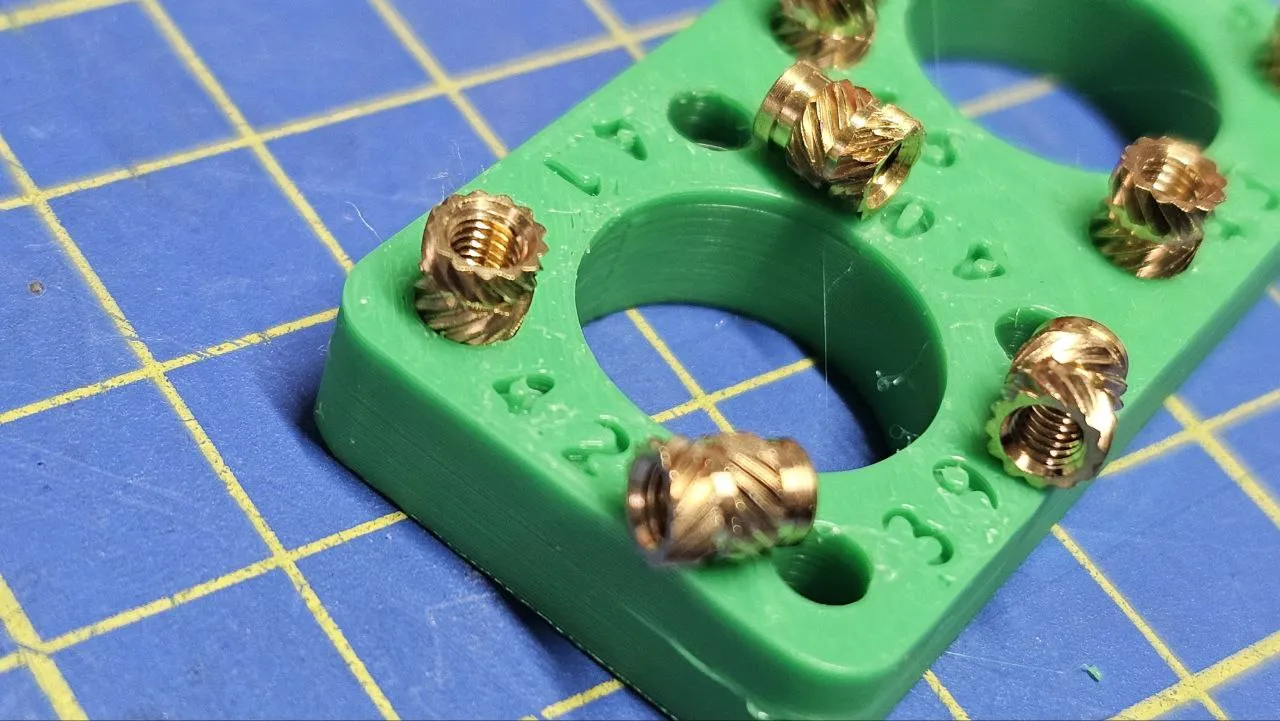
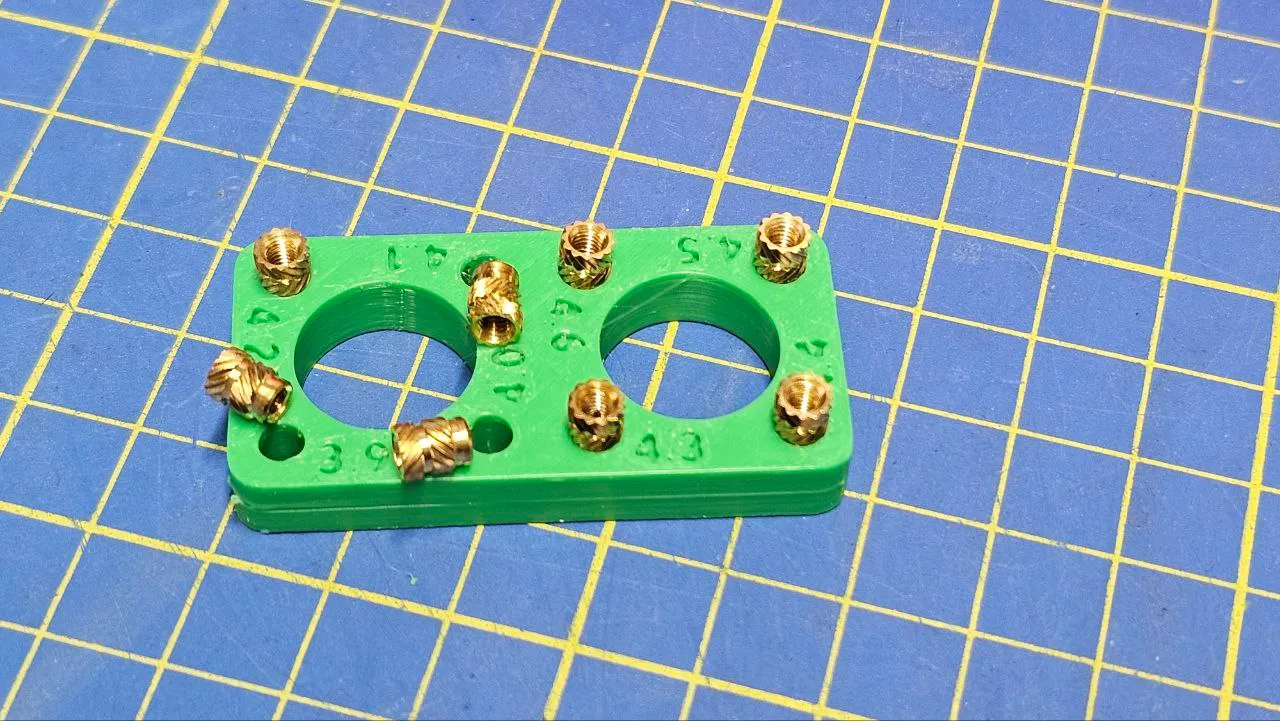
Place 8 threaded brass inserts in correspondence with each of the eight test holes and search for the ones that better fit them
 |
|  |
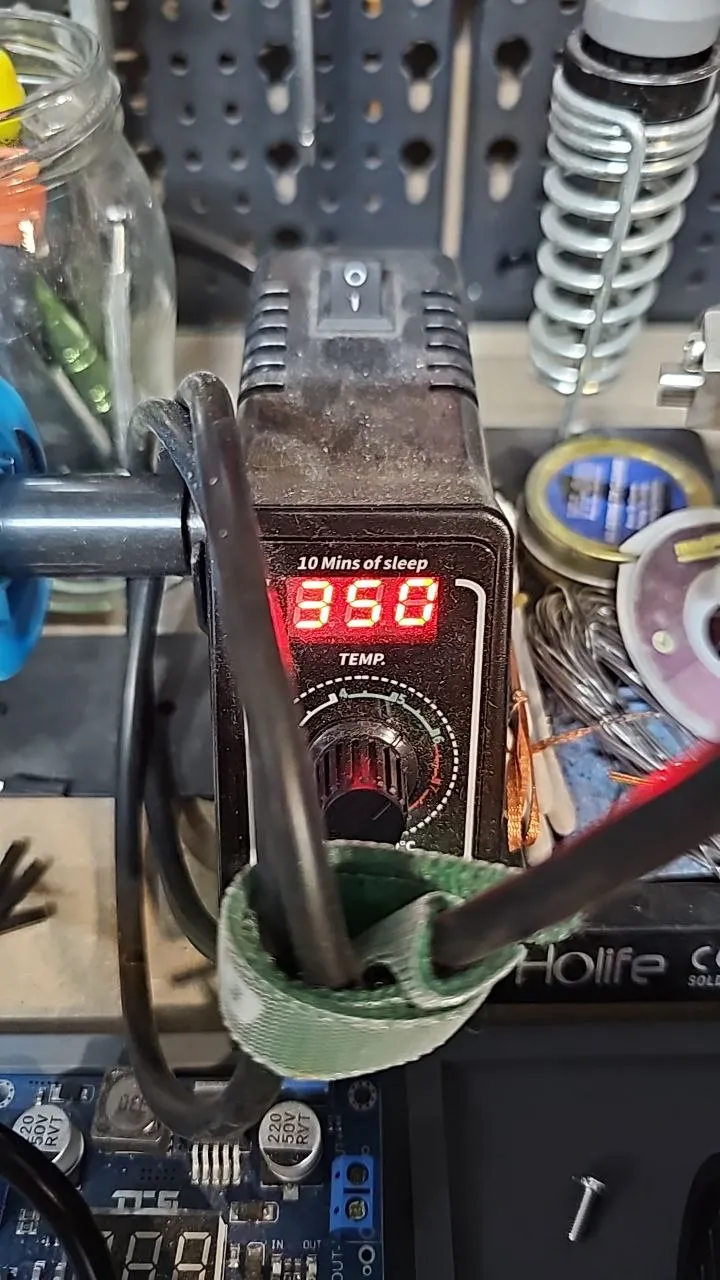
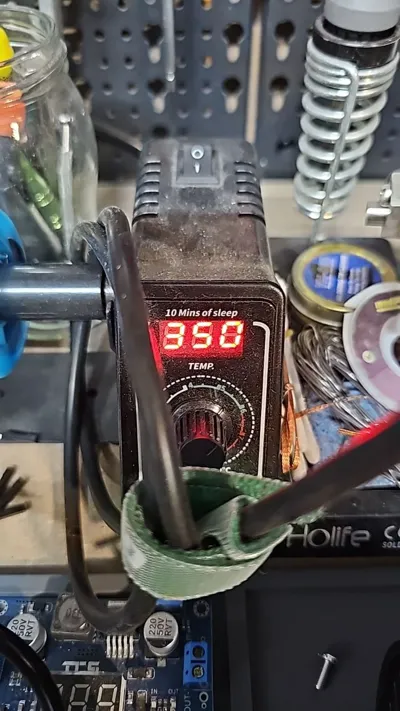
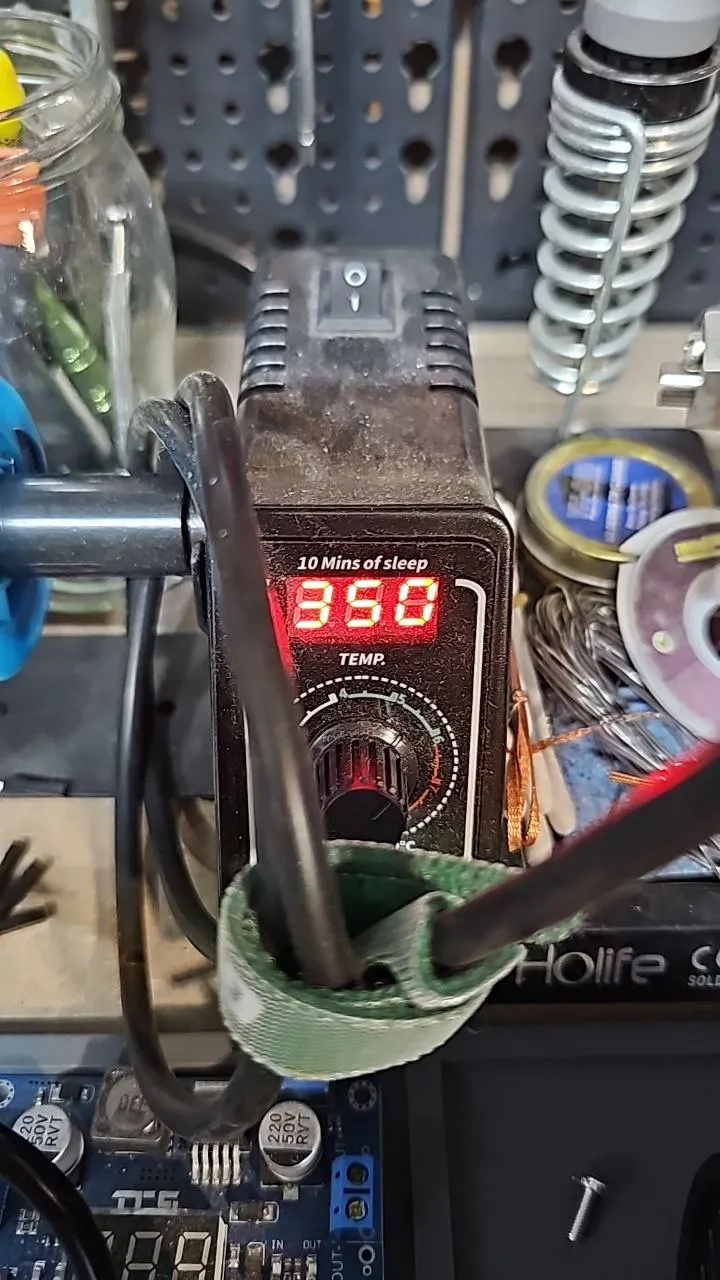
Turn on the iron welder, and set the temperature to 300°-350°.
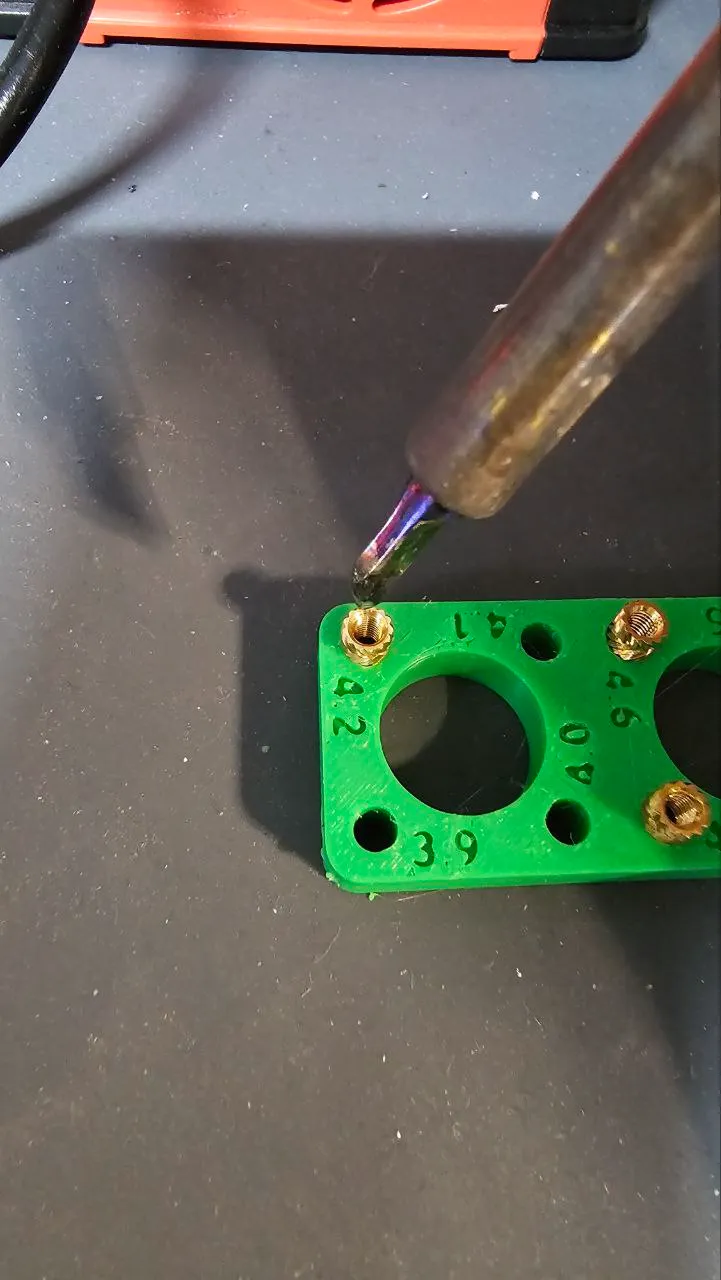
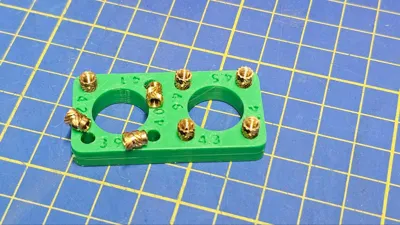
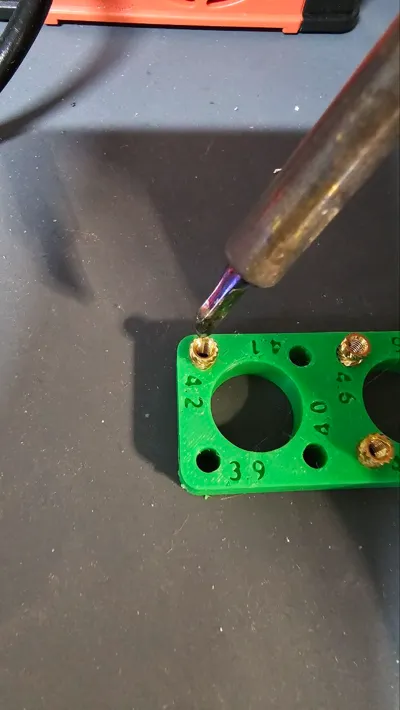
Push down each brass insert into its holes by using the edge of the welder until the top surface is parallel to the test piece's top surface.
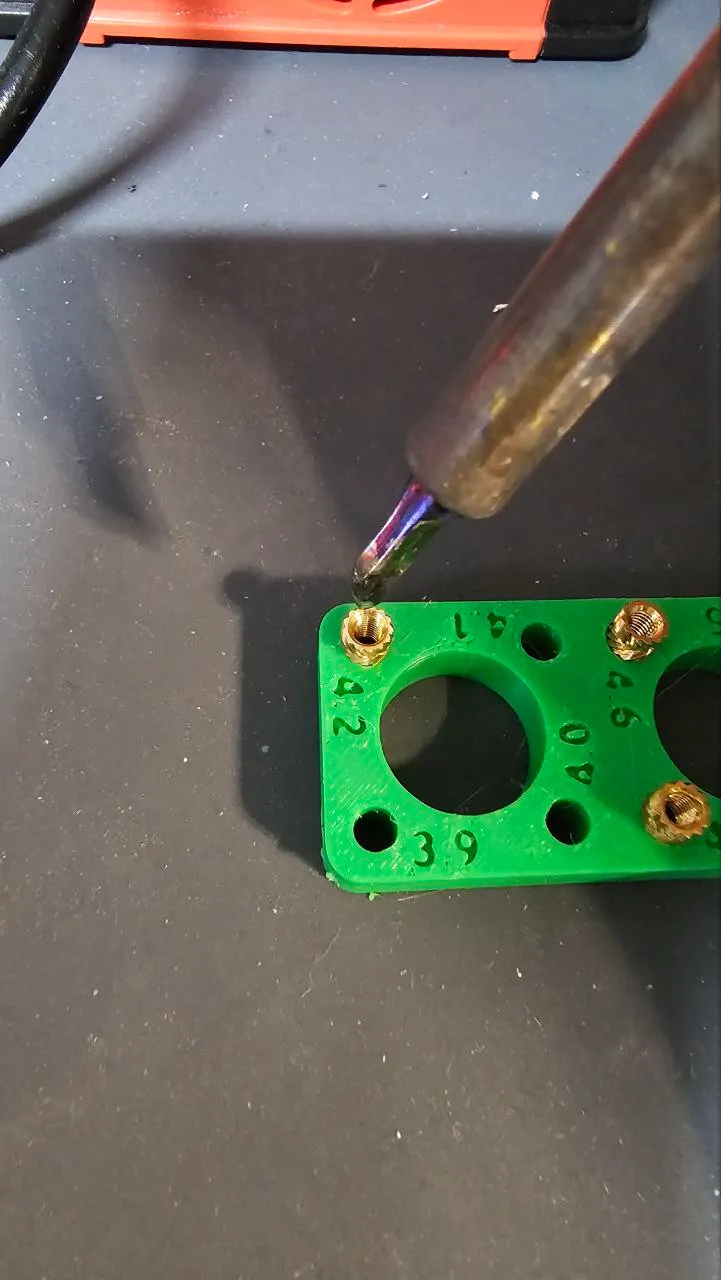
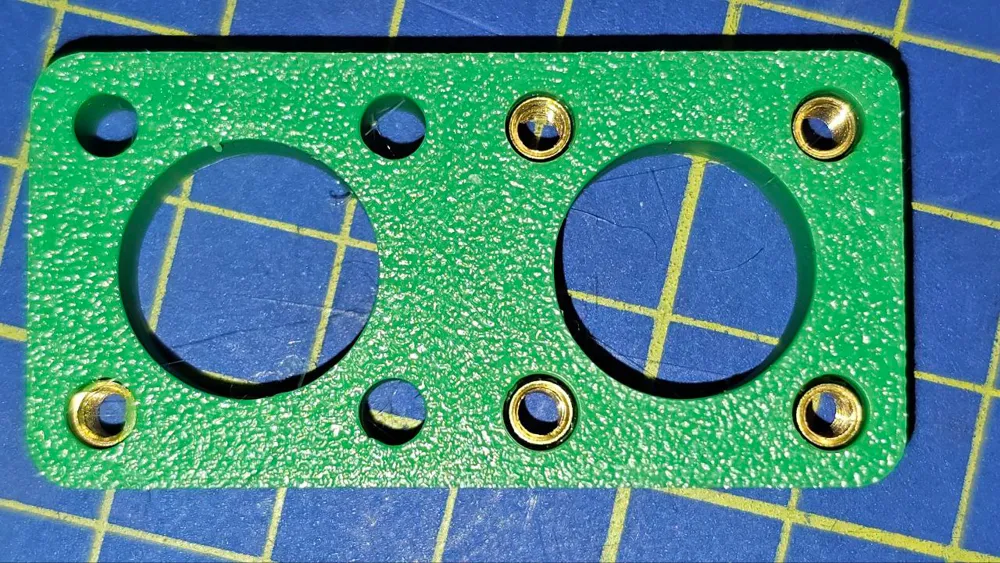
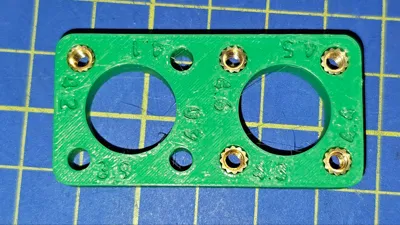
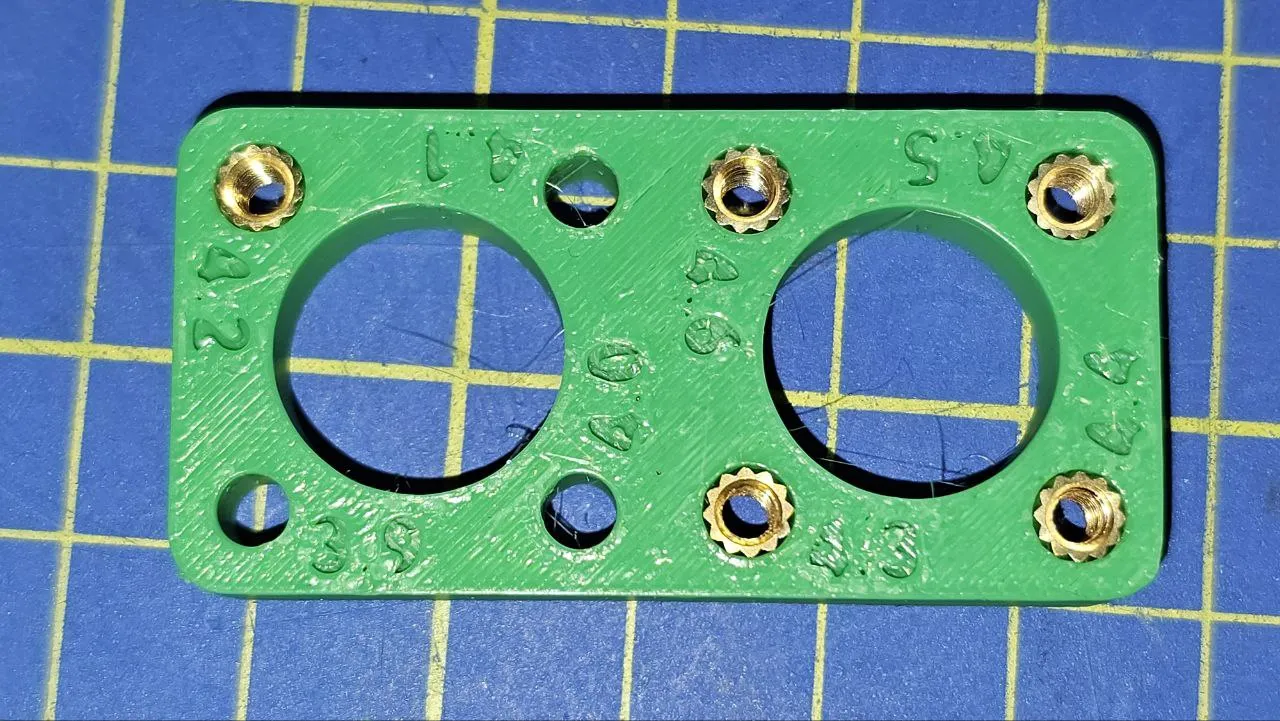
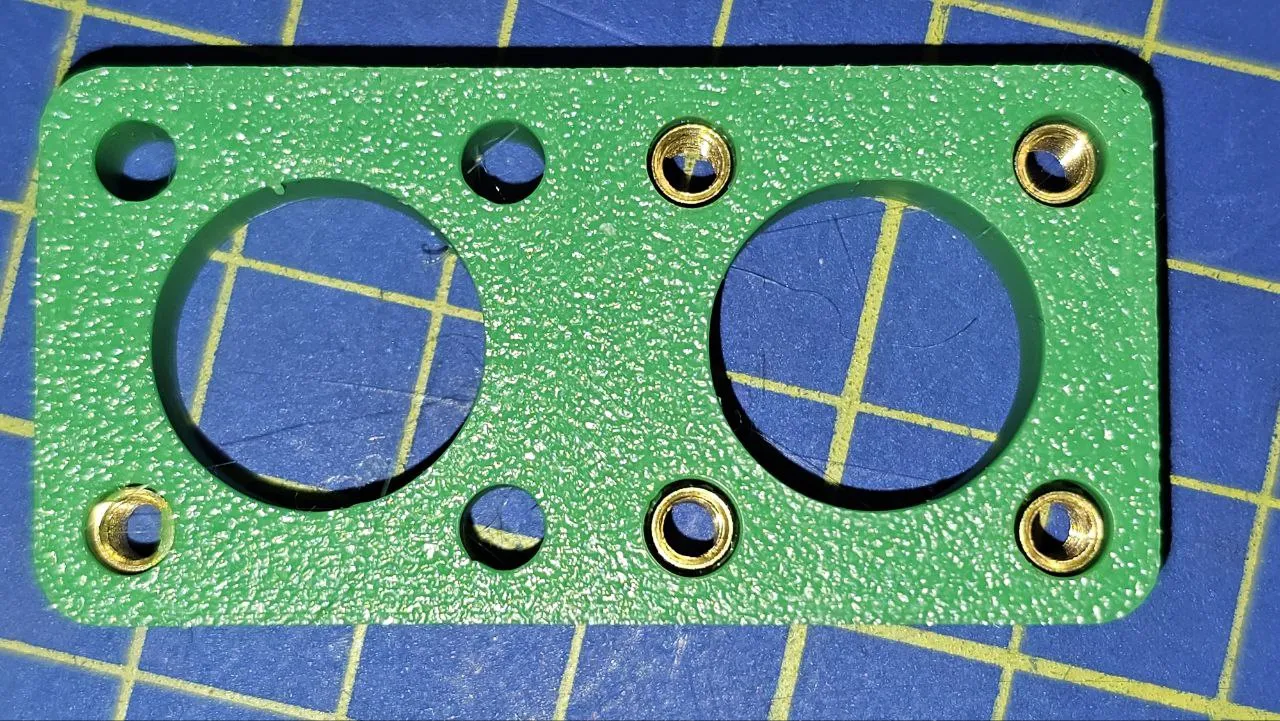
Now you can compare the result for all hole sizes from the top and bottom perspective. The bottom view allows you to get an idea of how well the insert fits into the inside of the hole and it is also useful to estimate the better depth of the holes.
 |
|  |
---------------------------------------------------------------------------
💡 Support This Project 💡
Follow me, and if you find this project helpful, please give it a thumbs up 👍🏻 to help others discover it!
Boost Me (for free)
Your Boost 🚀 also shows me you value my work, which really encourages me and motivates me to create more 3D models. Thanks for your support!
— Walter/Myzhar 😊
License

You shall not share, sub-license, sell, rent, host, transfer, or distribute in any way the digital or 3D printed versions of this object, nor any other derivative work of this object in its digital or physical format (including - but not limited to - remixes of this object, and hosting on other digital platforms). The objects may not be used without permission in any way whatsoever in which you charge money, or collect fees.


Comment & Rating (78)