


Print Profile(1)

Description
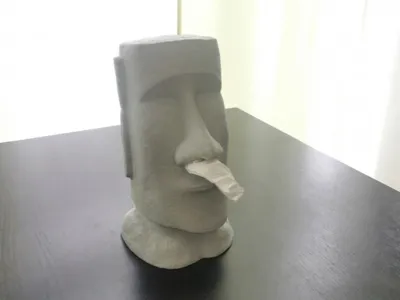
Since i got my first Moai Tissue Dispenser, people that come over want one aswell :)
The original split model by Crooked_Noozle on Thingiverse is a bit of a pain to print and also has dowel-connectors, that require post processing to make them fit properly. So i wanted a faster solution without sanding or painting.
So i used the original High-Res-Version and used it as a basis for a rework, that makes the connector piece “seamless” even if you have a smaller print volume and also used fuzzy skin to give it a nice stone effect. I've included a modifier volume for the connector if you want to use fuzzy skin.

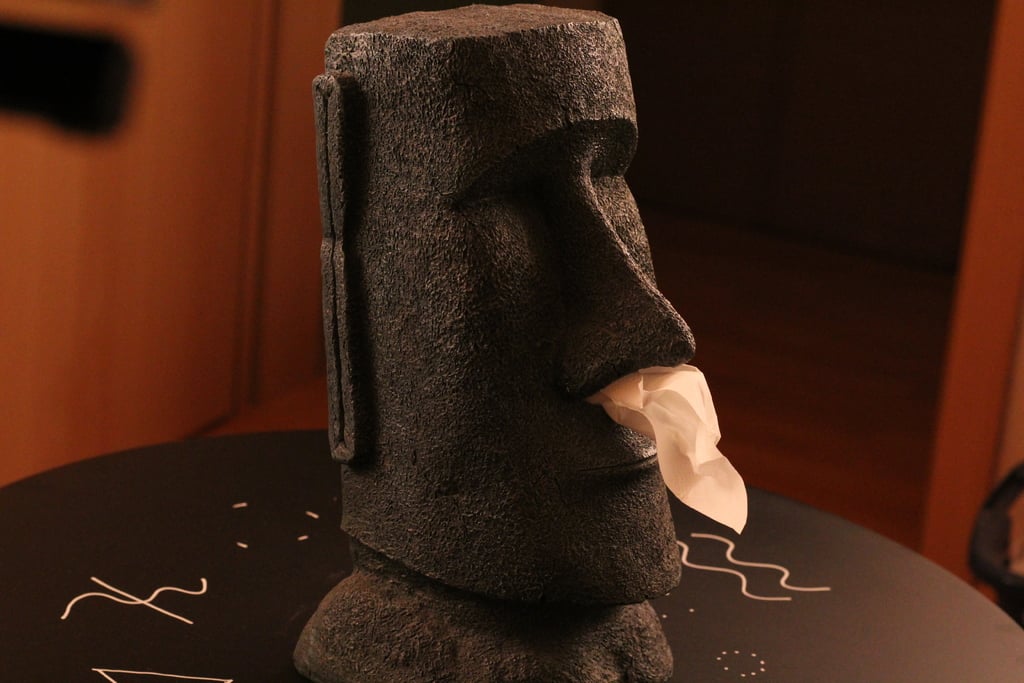
Prusament Marble Grey with Fuzzy Skin
BOM
- some good plastic adhesive (UHU Hart works well for me)
Printing
- Both pieces upright
- the upper piece should be printed on a smooth print bed (it is not critical, but makes assembly easier), the lower piece is up to you
- use organic supports for the nose and top of the head, if you increase the interface spacing to about 1 mm they will be very easy to remove
- you need supports under the nose and the top of the head - rest is support free if your printer is well tuned, for good measure, the chin can be supported aswell, since it is facing the front and looks nicer that way
- 3 wall loops and 5 to 10 % gyroid infill is sufficient
- top surface pattern should be set to hilbert curves to introduce more “noise” so it looks like a stone texture
- fuzzy skin if you like
- there is an body called “Connector Blocker" in the 3mf file that needs to be used as modifier
- contour only, point distance 0.3 and thickness 0.4 looks nice imho
- you can try printing a few test blocks to find your preferred pattern
- Print Profile as 3mf (Orca Slicer, Bambu Studio or Prusa Slicer) is provied


Assembly
- Both pieces have a tolerance of about 0.1 to 0.2 mm built in, they should fit together nicely
- make sure to remove every loose strand from the upper connector
- the connector has an undercut of 1 layer (0.2 mm) so it should be only a virtually non existant gap between the parts
- test fit the pieces and when it it looks nice, apply some glue to the upper connector and insert the bottom piece into it
- strap the 2 parts together with some elastic bands or rachet straps (be gentle, so you don't crack the part) and let the glue solidify

Boost Me (for free)
Enjoying my models? Show your support with a Boost! Boosting not only adds a few extra points my way - it also helps cover the material costs that goes into prototyping each design. Every bit of support helps me keep creating fresh, high-quality models for you to enjoy! Thank you for helping keep the creativity flowing 💡✨

Comment & Rating (11)