
Manne - Articulated Art Reference Figure
Print Profile(3)


Bill of Materials





Description
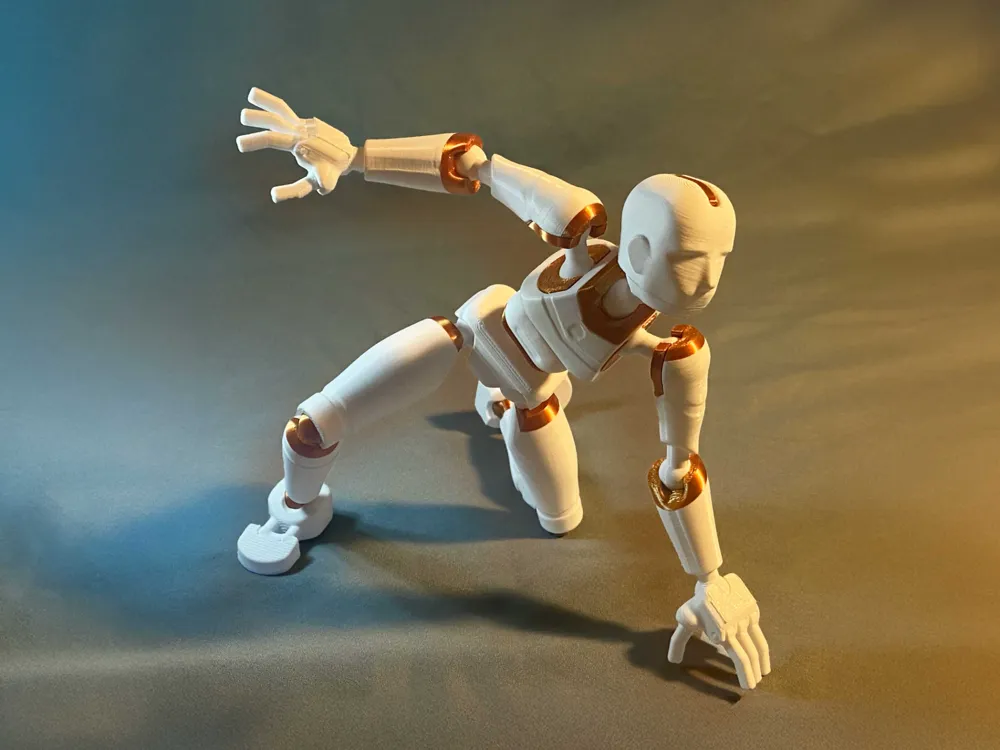
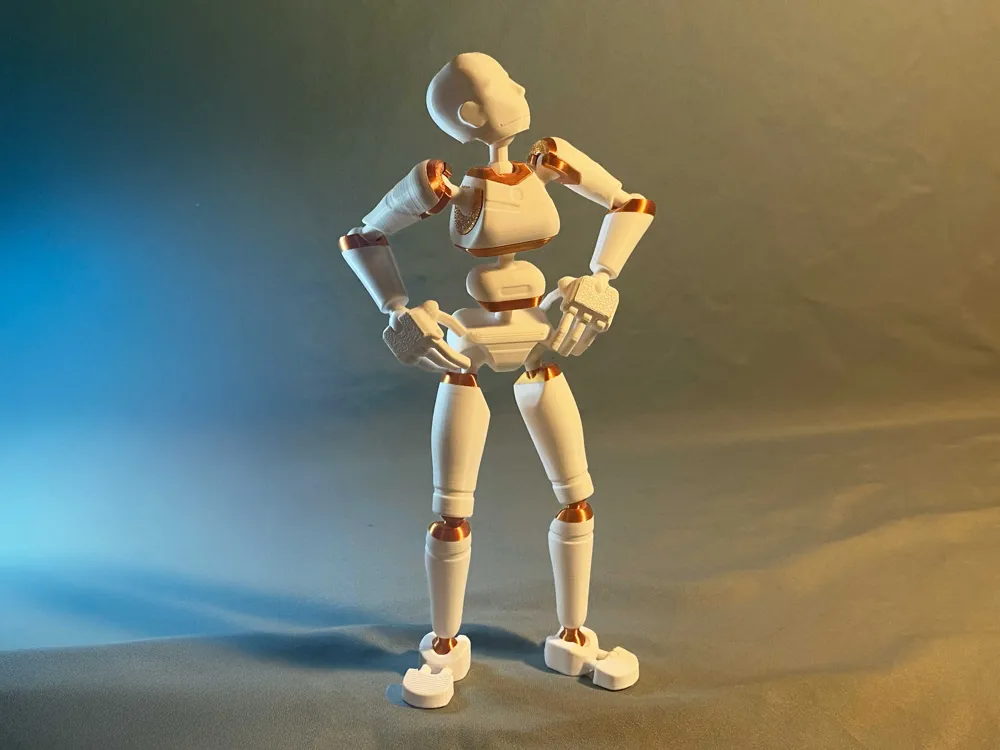
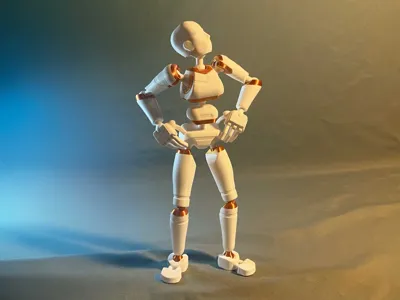
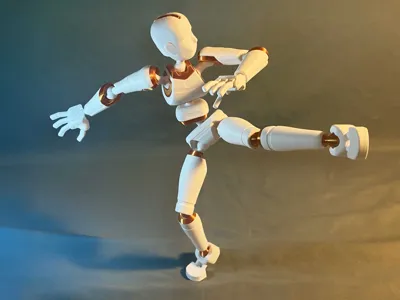
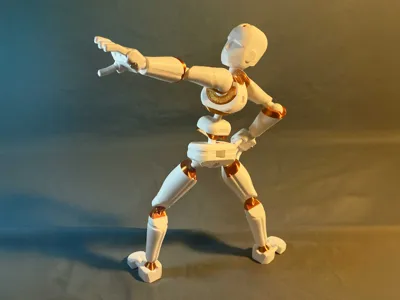
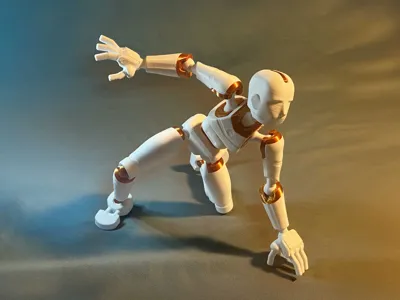
Say hello to Manne!
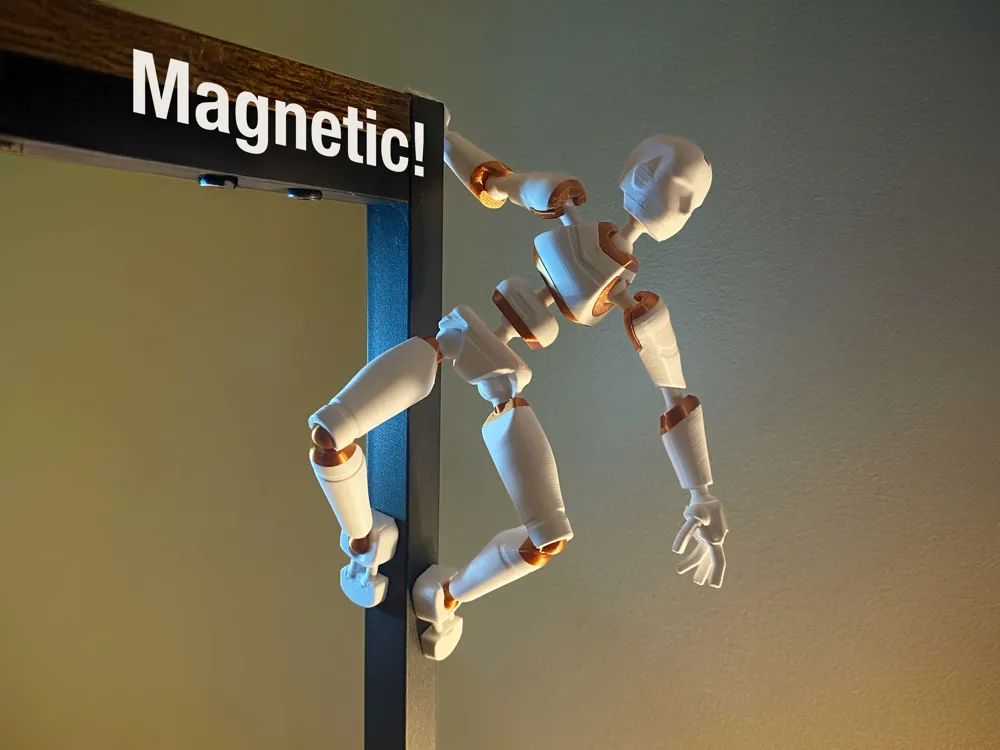
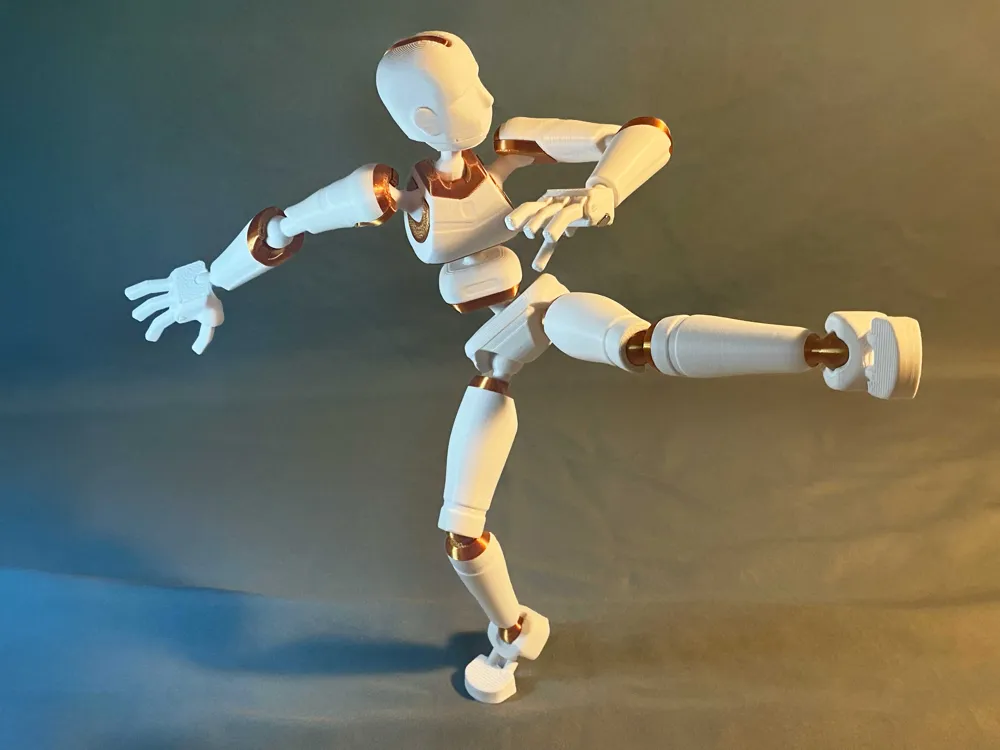
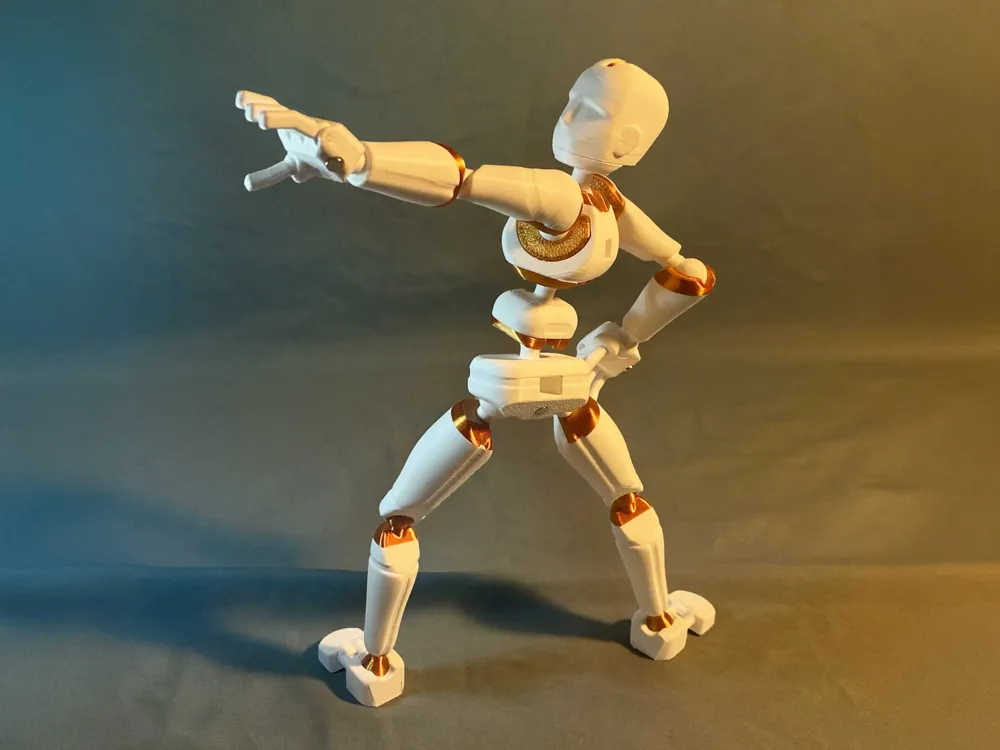
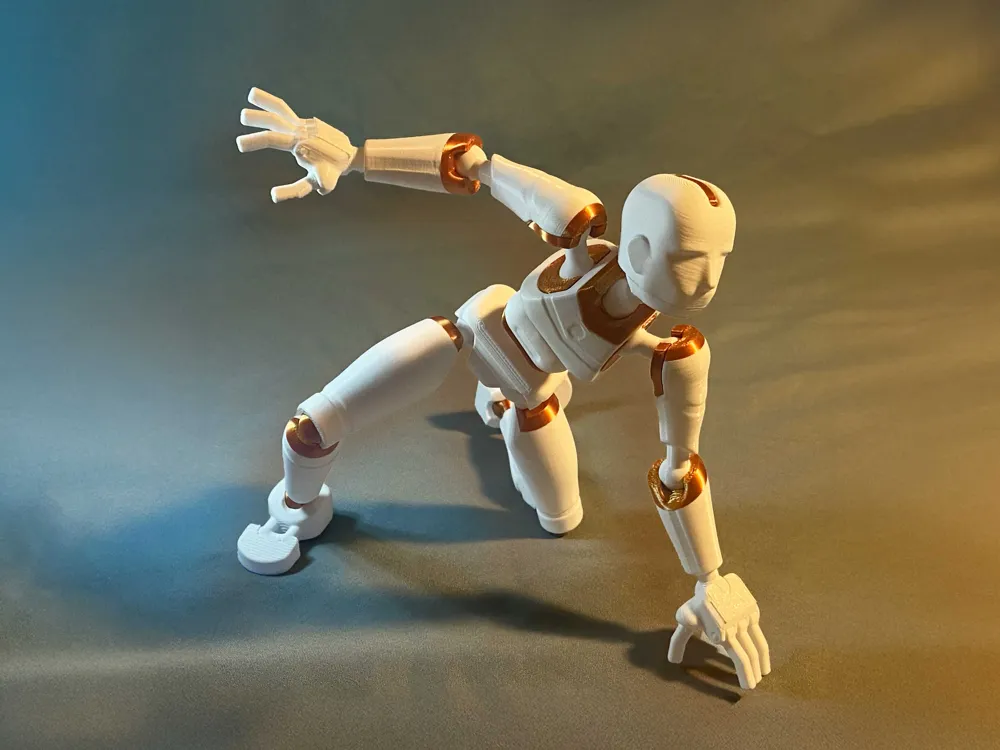
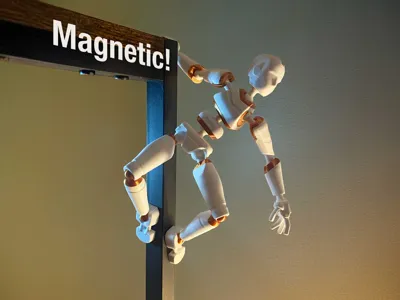
Manne is a fully articulated, posable action figure / mannequin. Works great as a drawing aid to capture poses and act as a reference model. There is also some optional inserts on the feet, hands, & pelvis for 4x2mm magnets if you want to securely attach to something metal.
Features:
- Fully articulated limbs
- Attachment points for further customization
- 4x2mm magnet inserts (Optional)
- Single Color & Multi-Part versions
Assembly:
General Tips:
Apply force perpendicular to the layer lines, with the object supported as much as possible. Prints are always weakest when pushing parallel to the layers (see pictures).
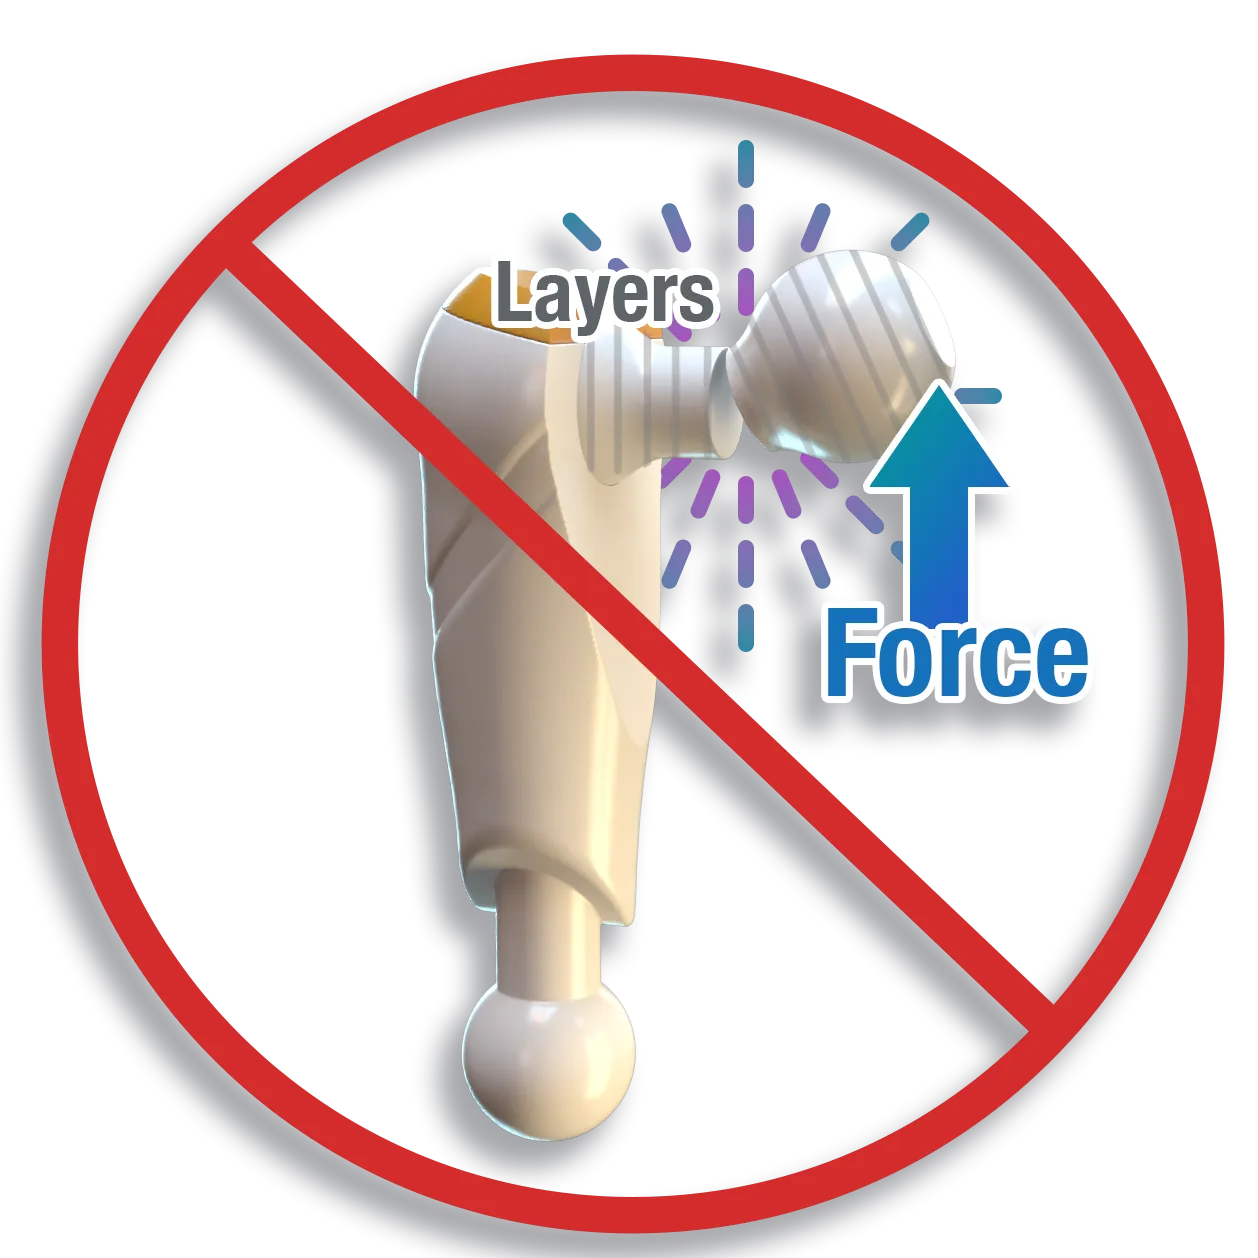 | 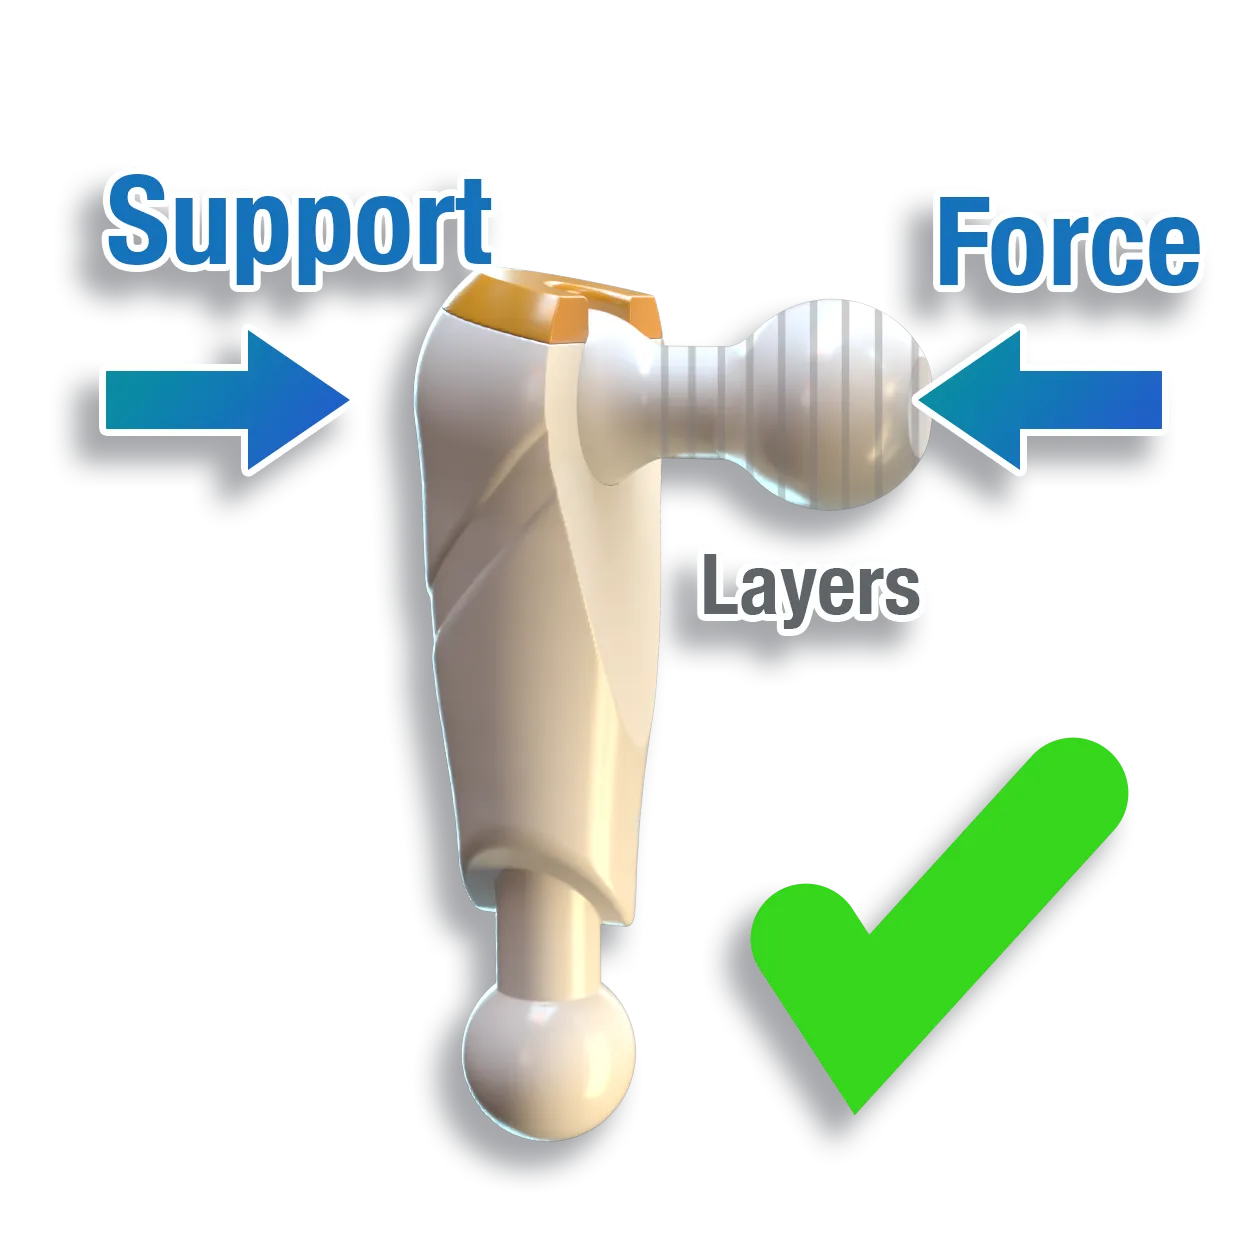 |
Loose Connection?
There will be a little variation filament to filament & based on how your printer is tuned. It is always recommended to calibrate your flow rate if you have not done so. For a loose connection you can try adding a bit of clue to the joint. Let it dry completely before re-assembling. This can provide additional friction for a tighter fit.
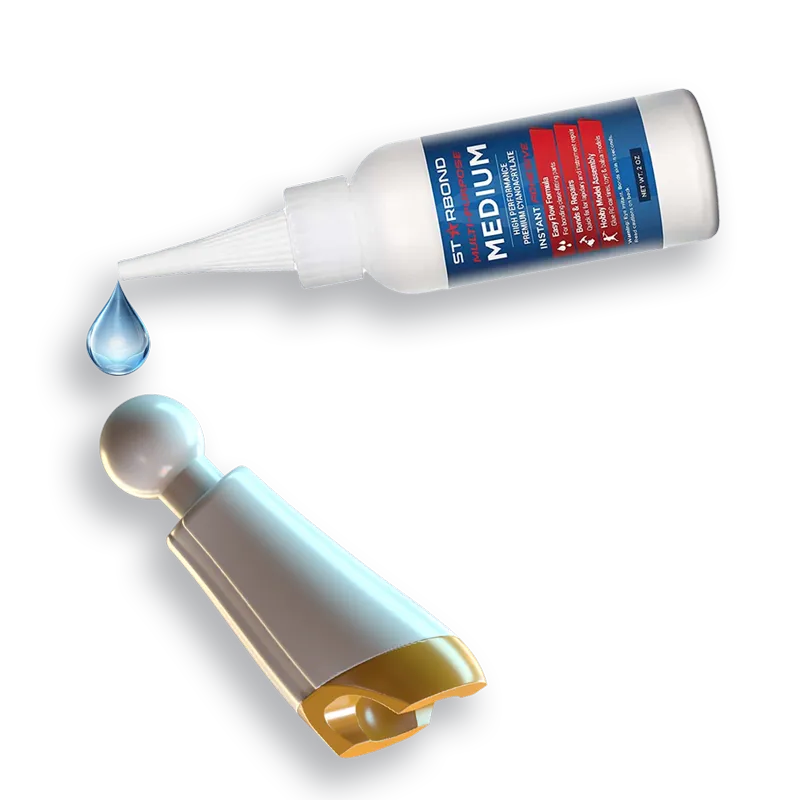
Assembly Steps:
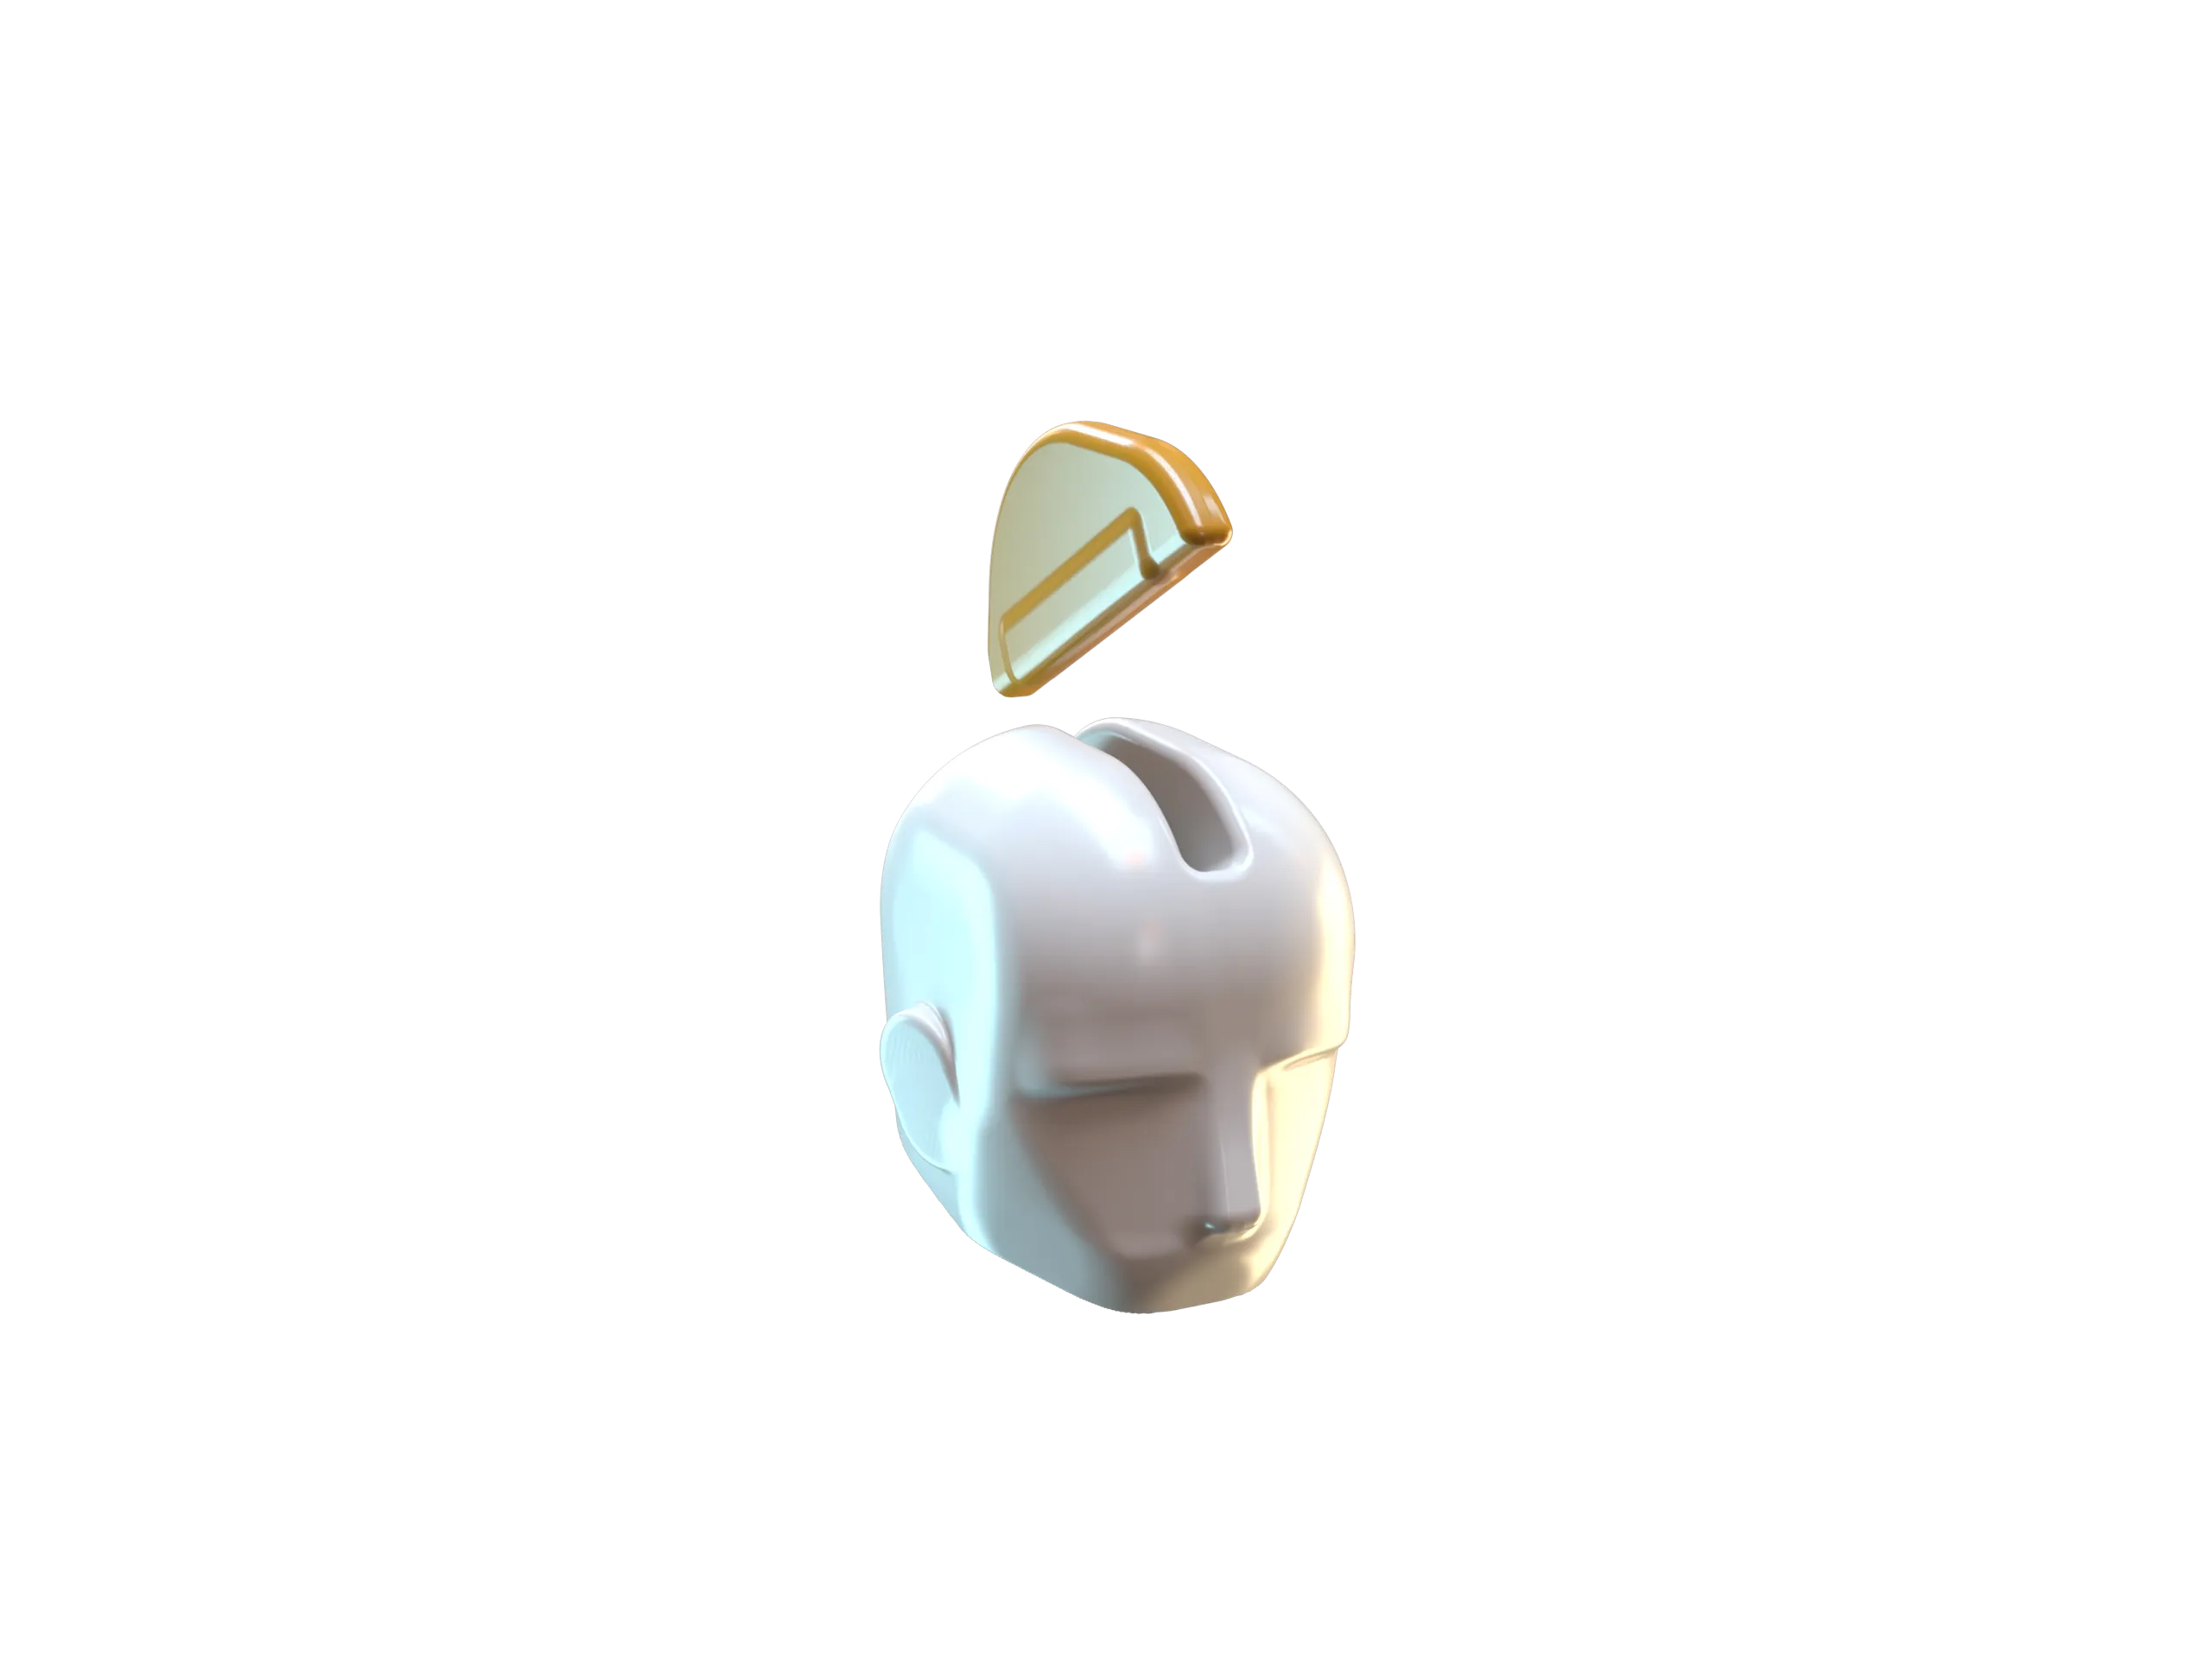 | 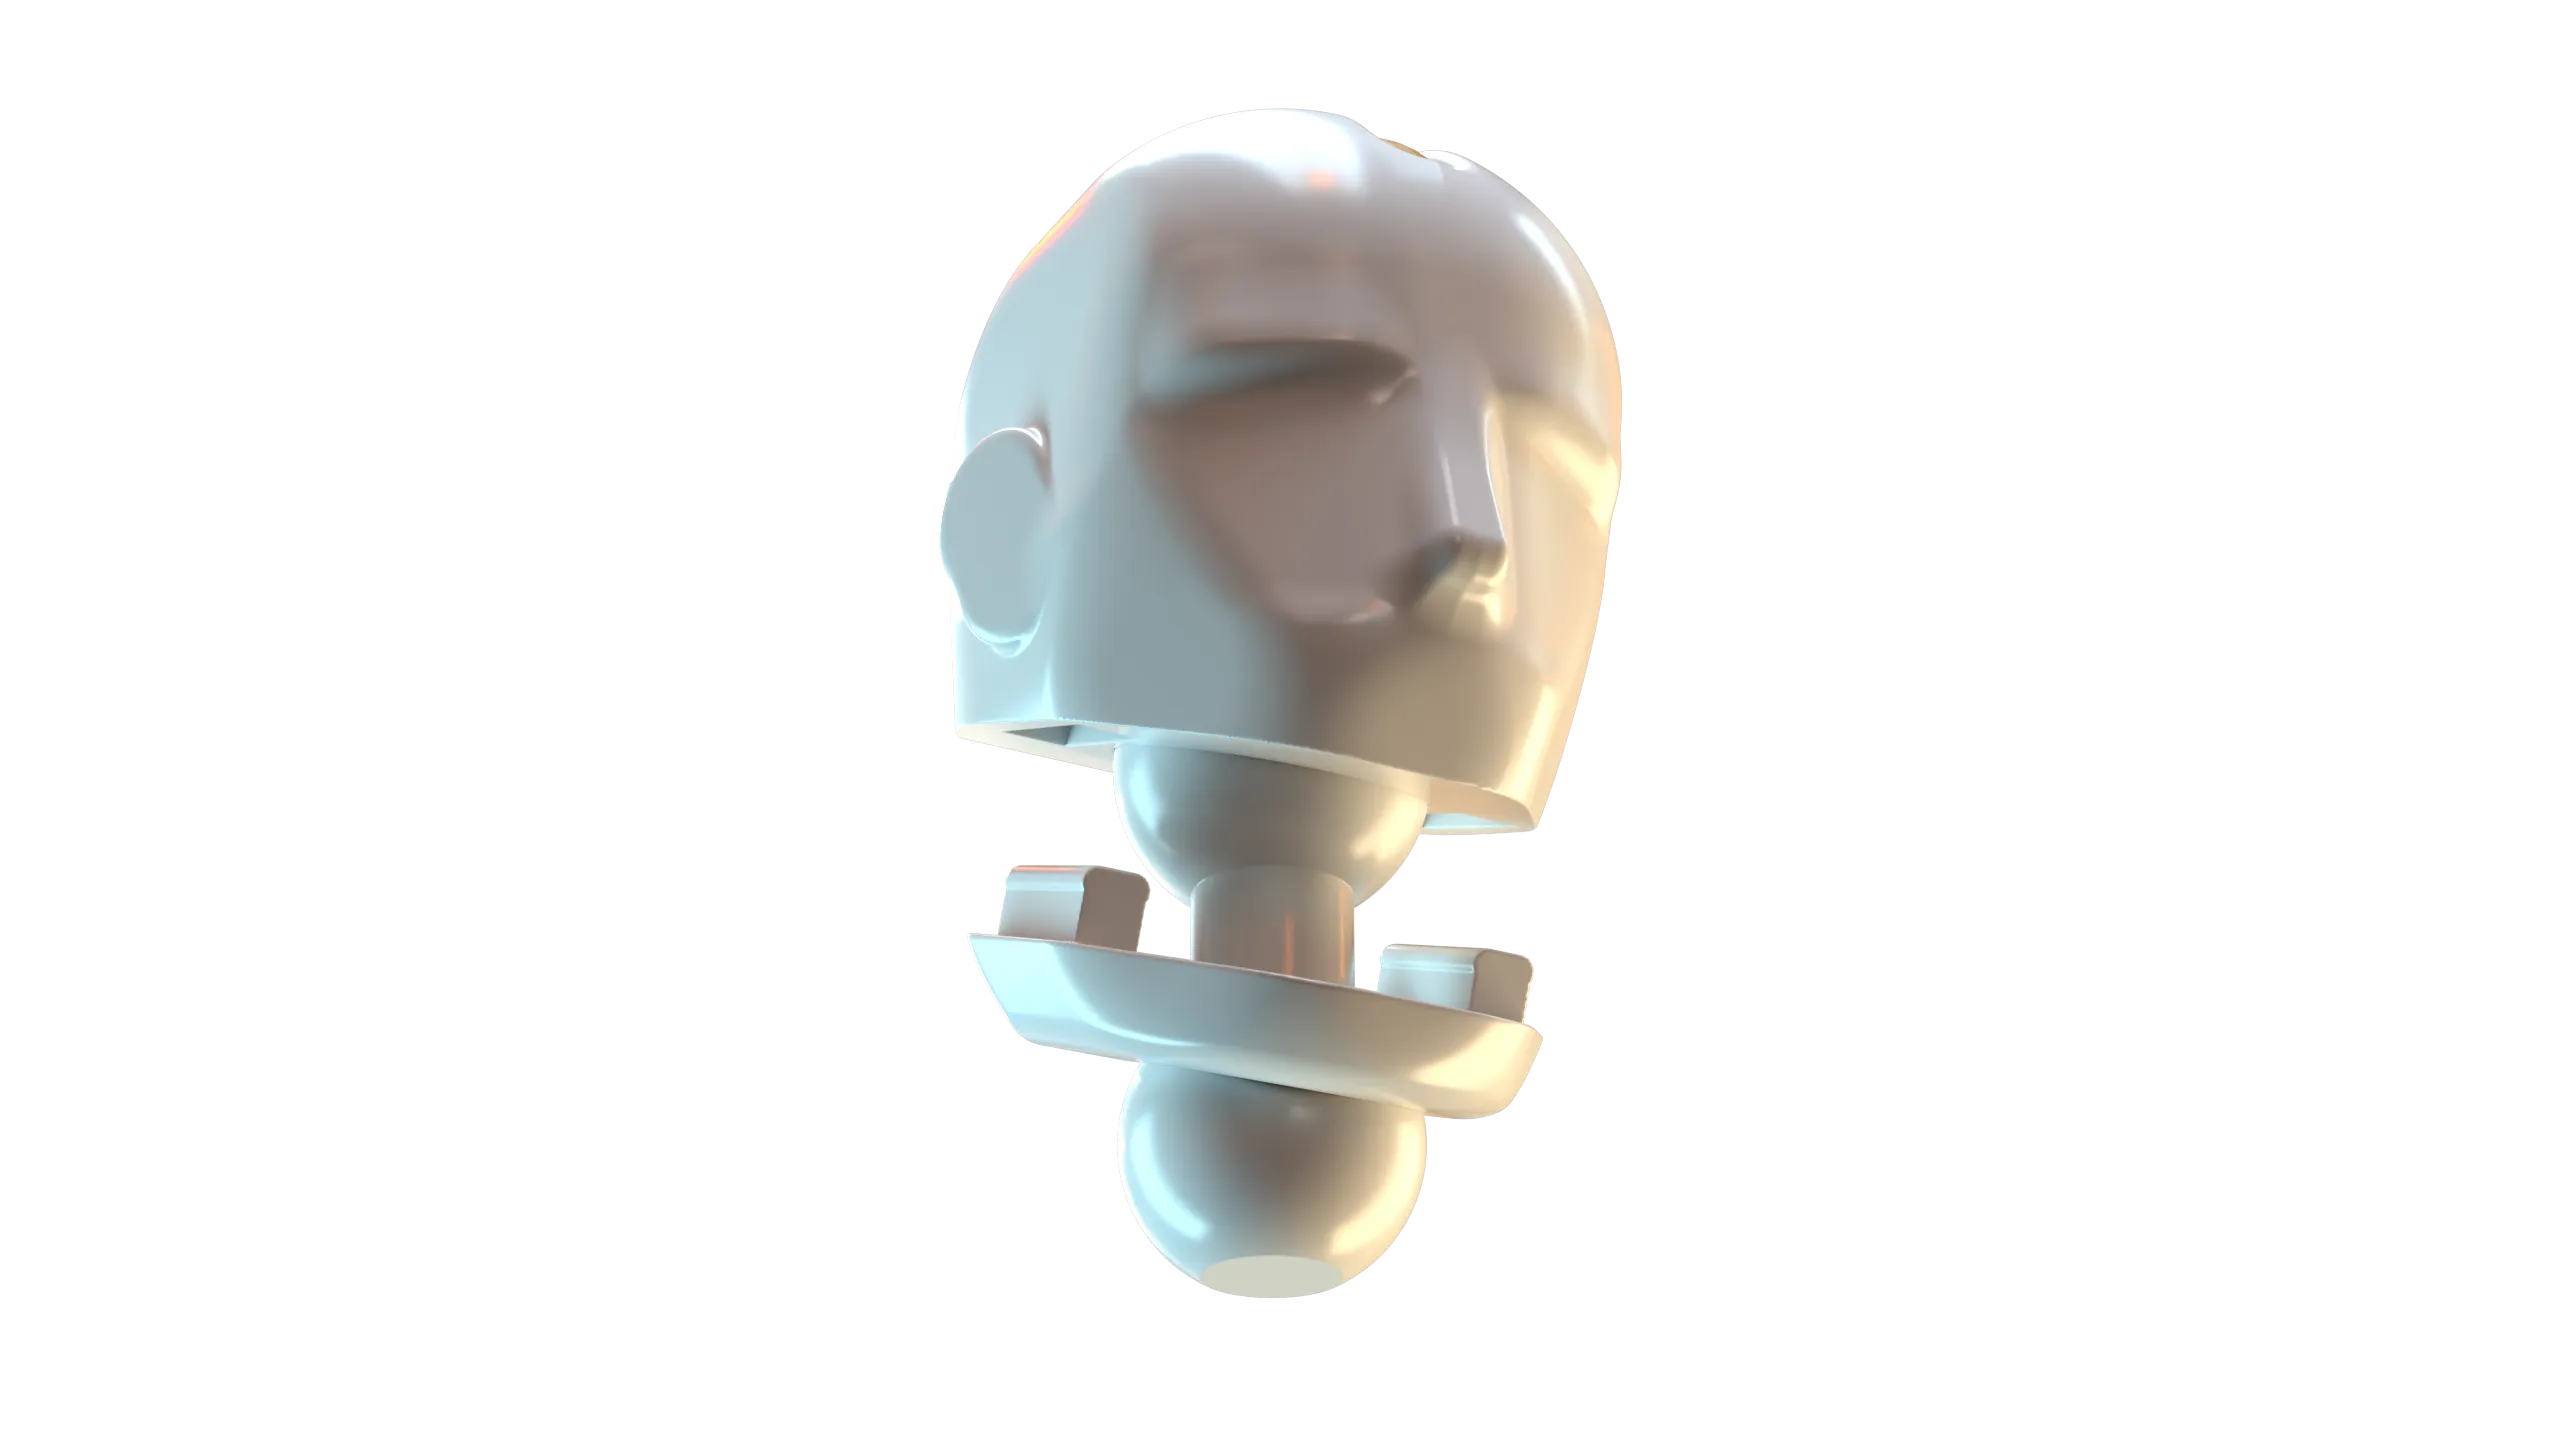 | 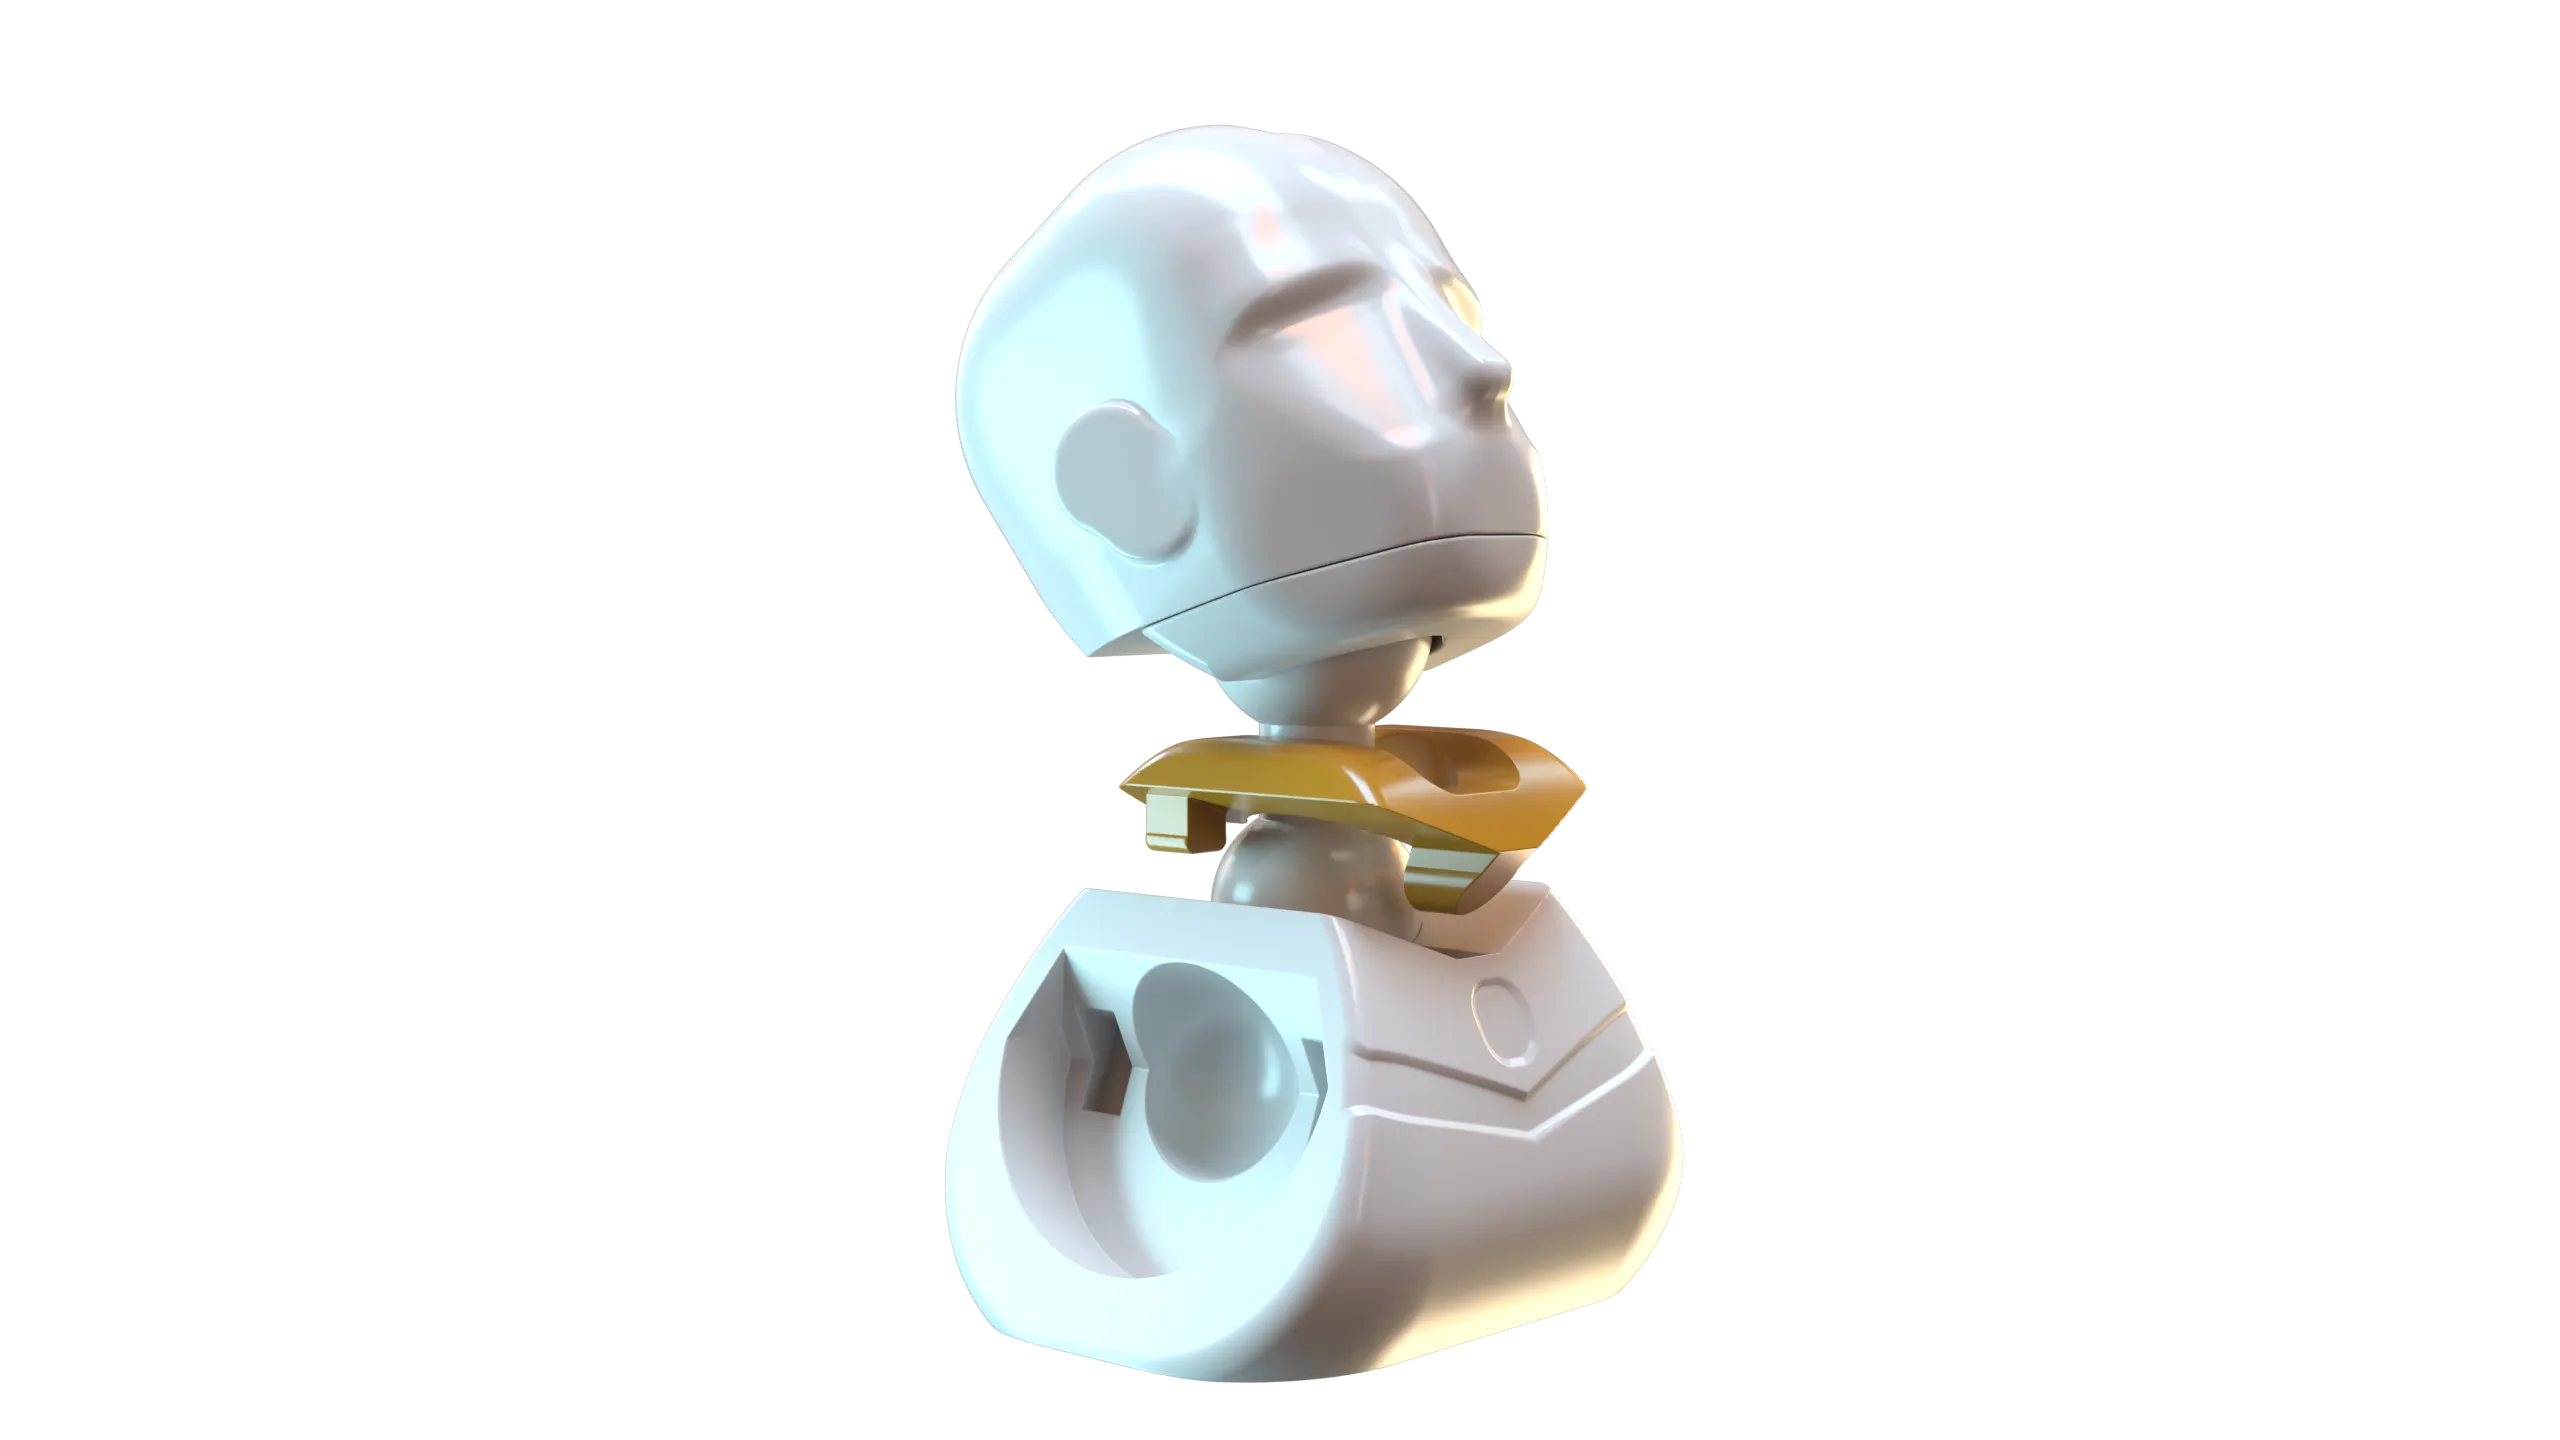 |
| Press the head accent piece firmly into place. | Slide the jaw around the neck and snap closed with the underside of the head. The ball with a flat surface goes down. | The chest connects to the head with the collar. |
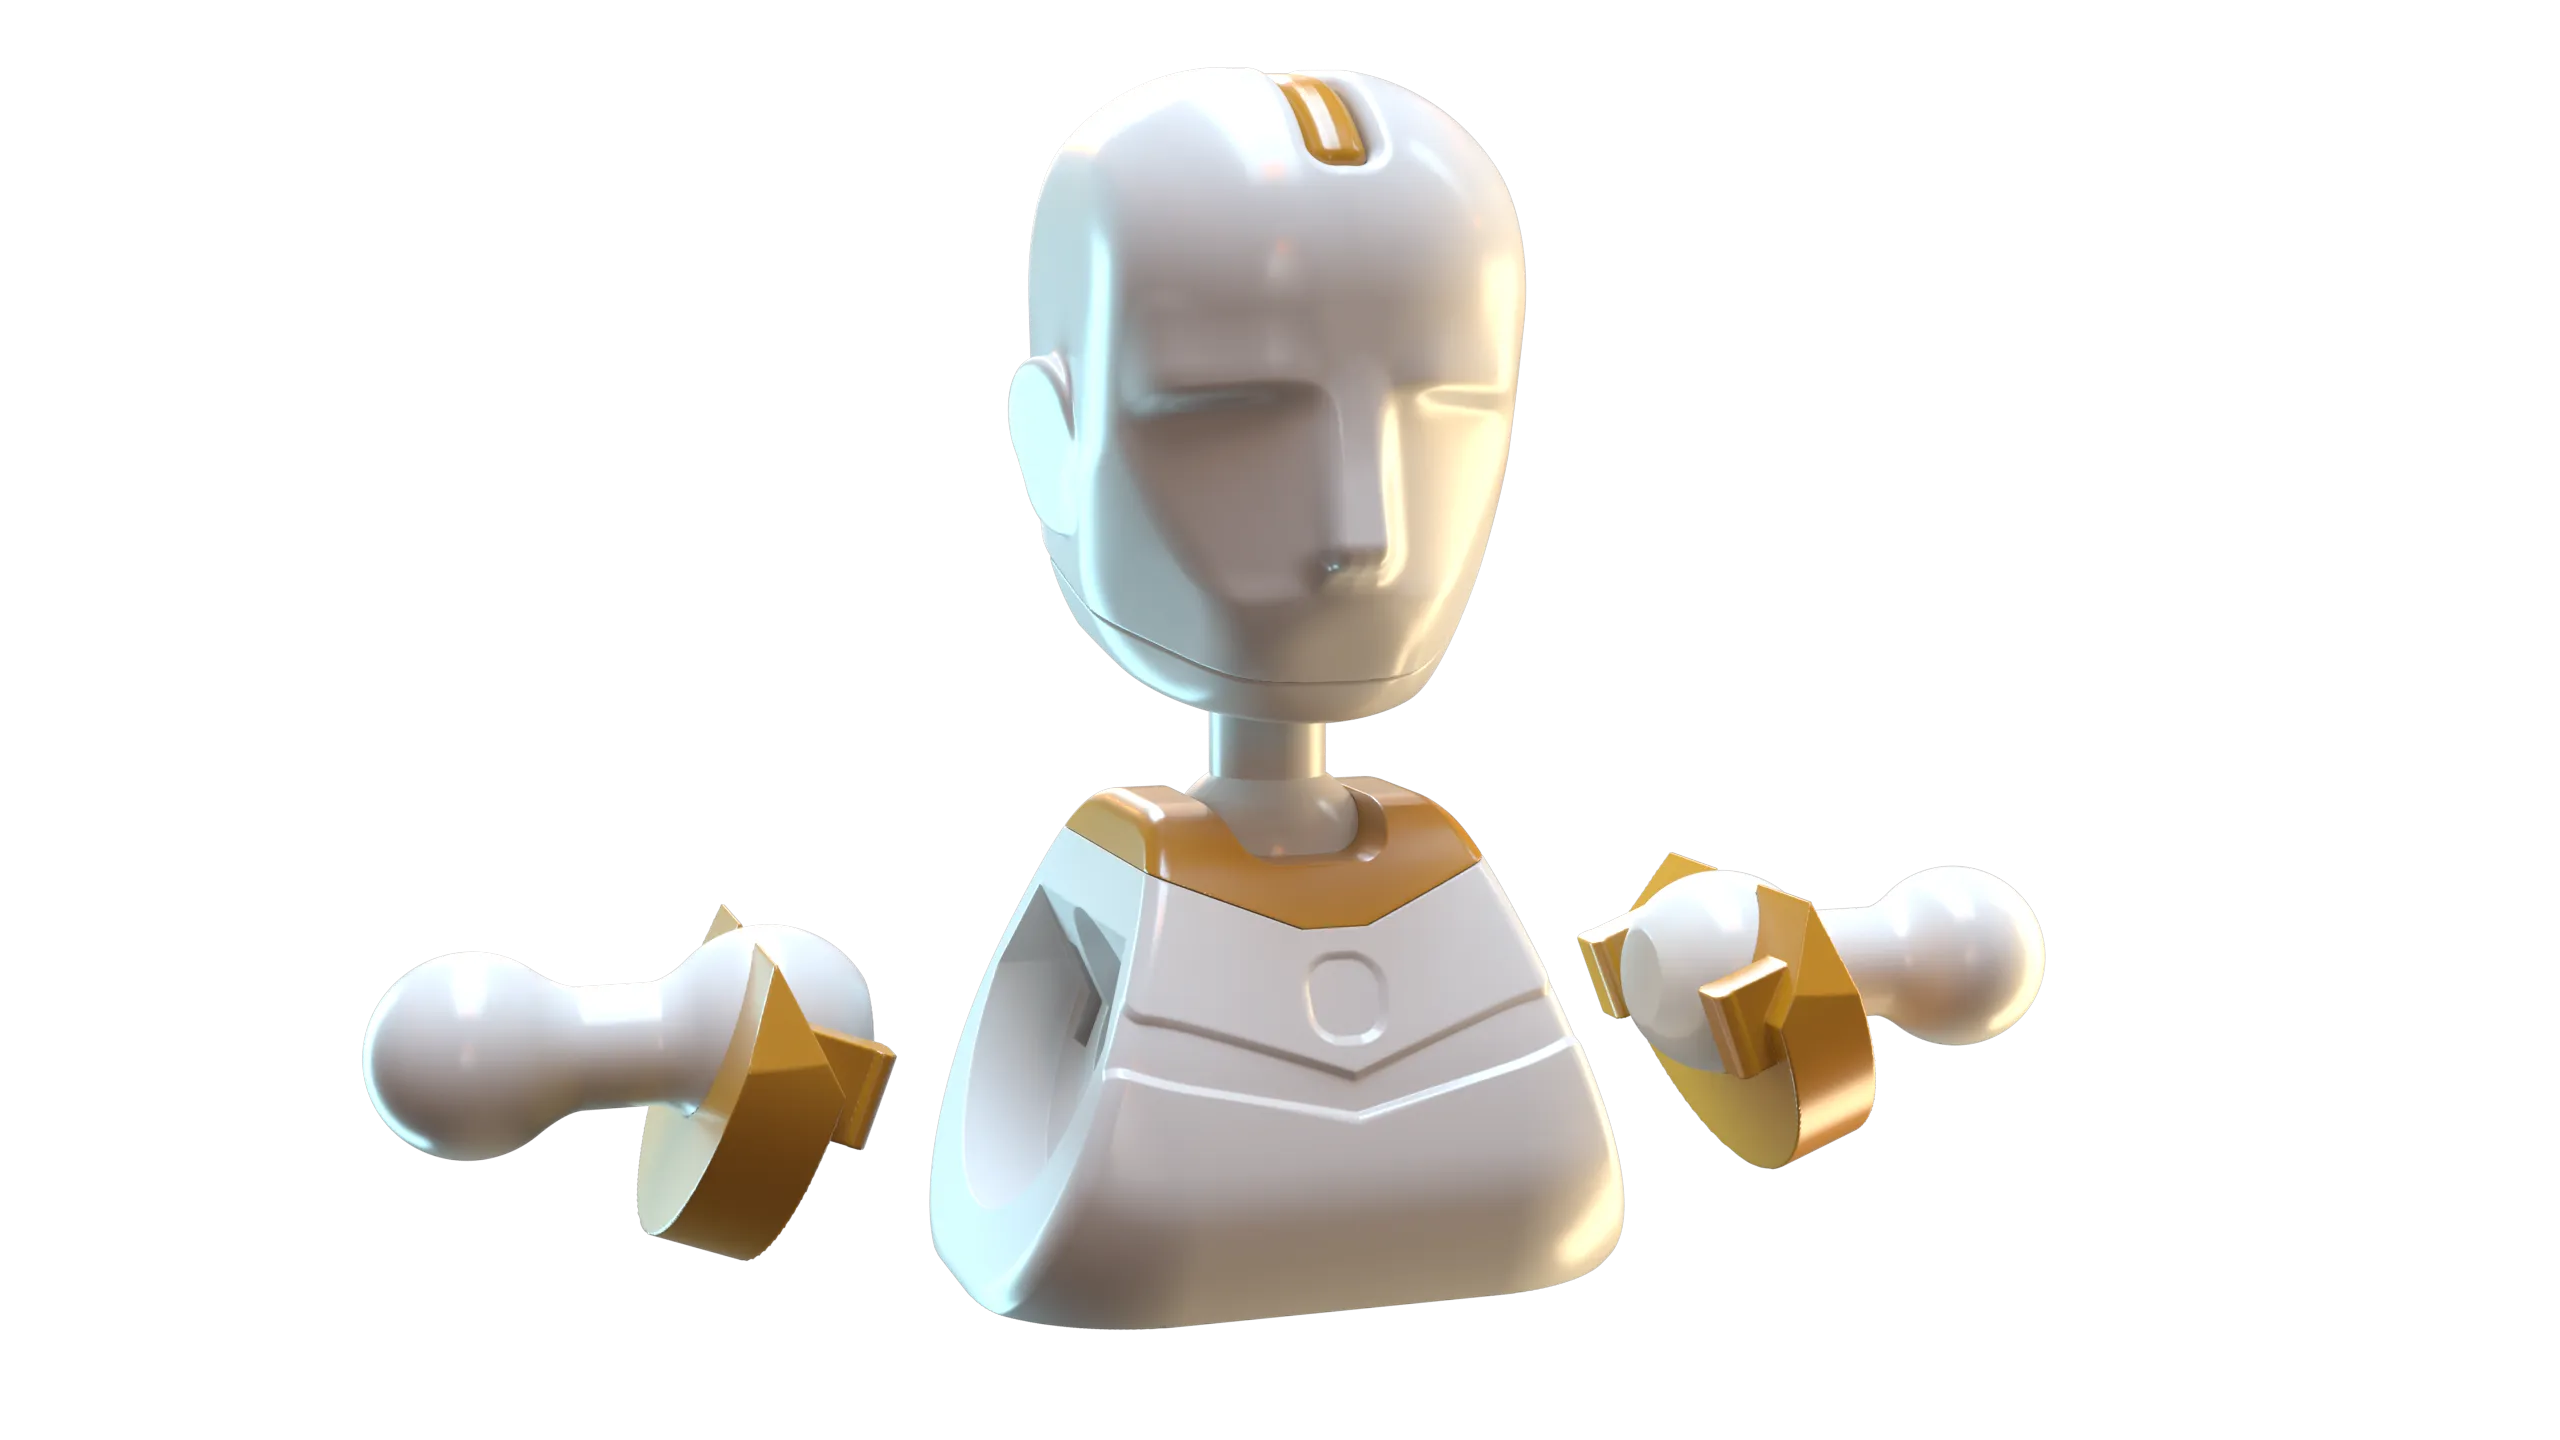 | 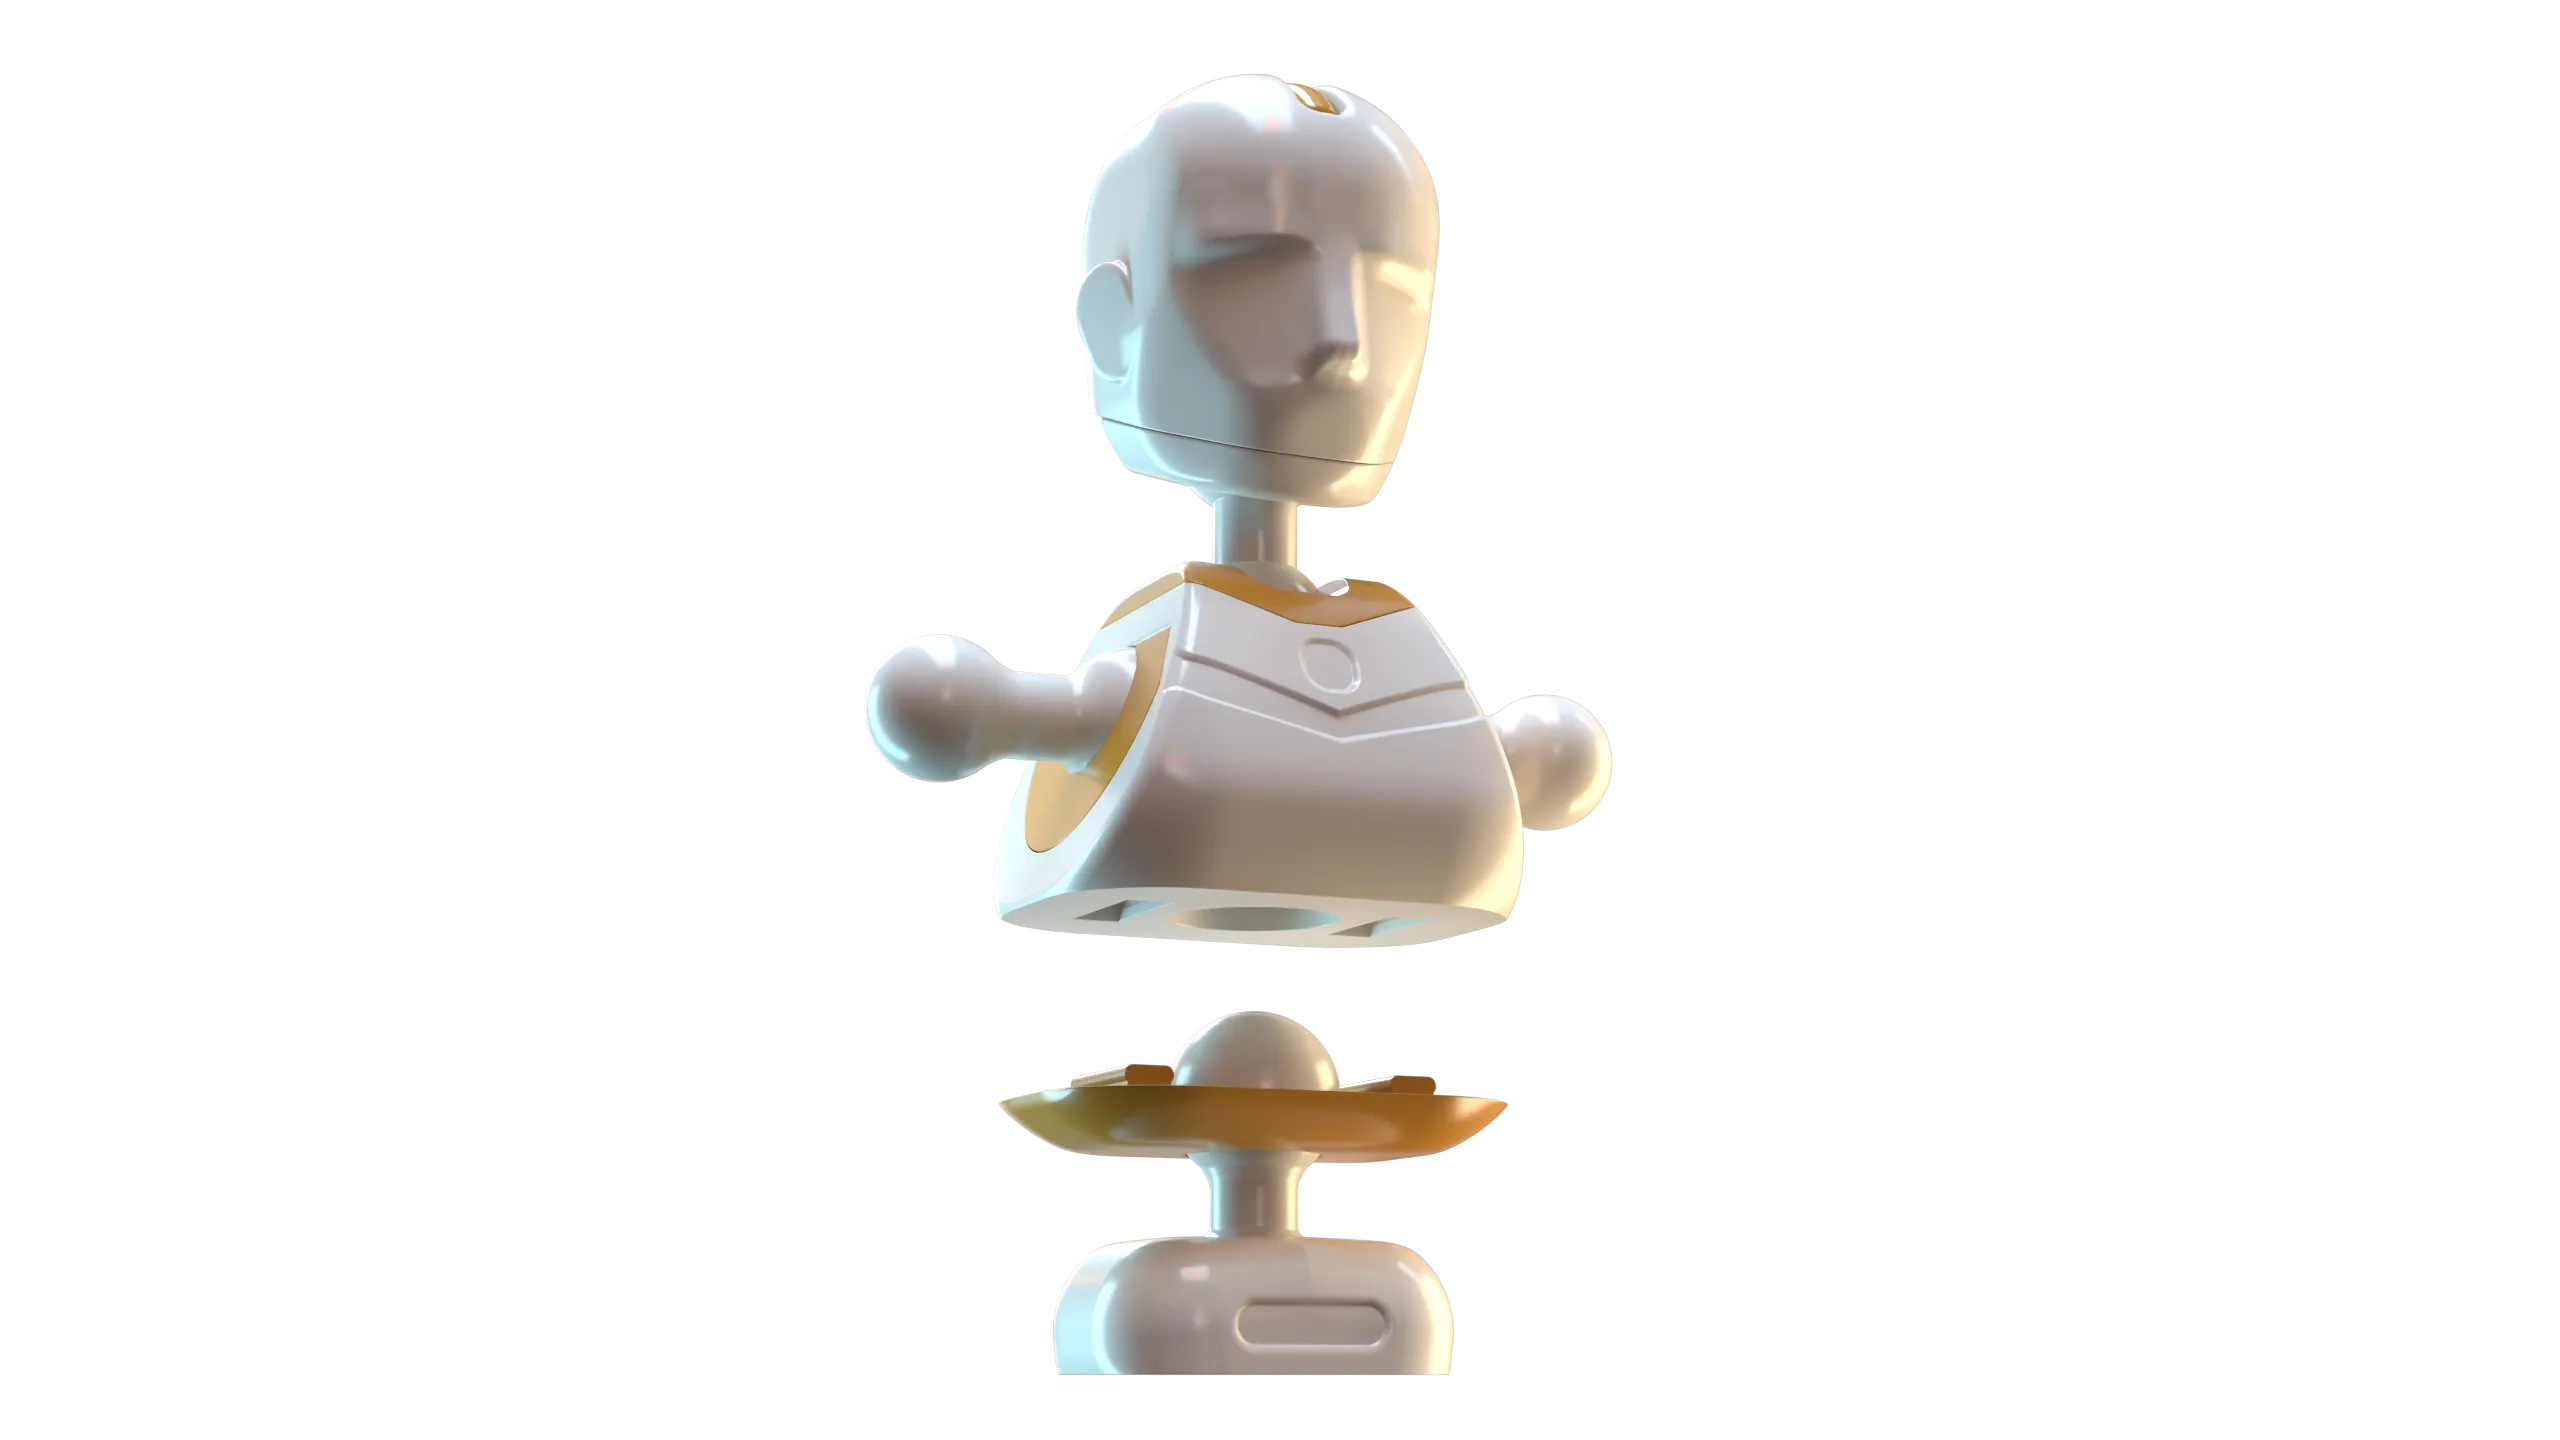 | 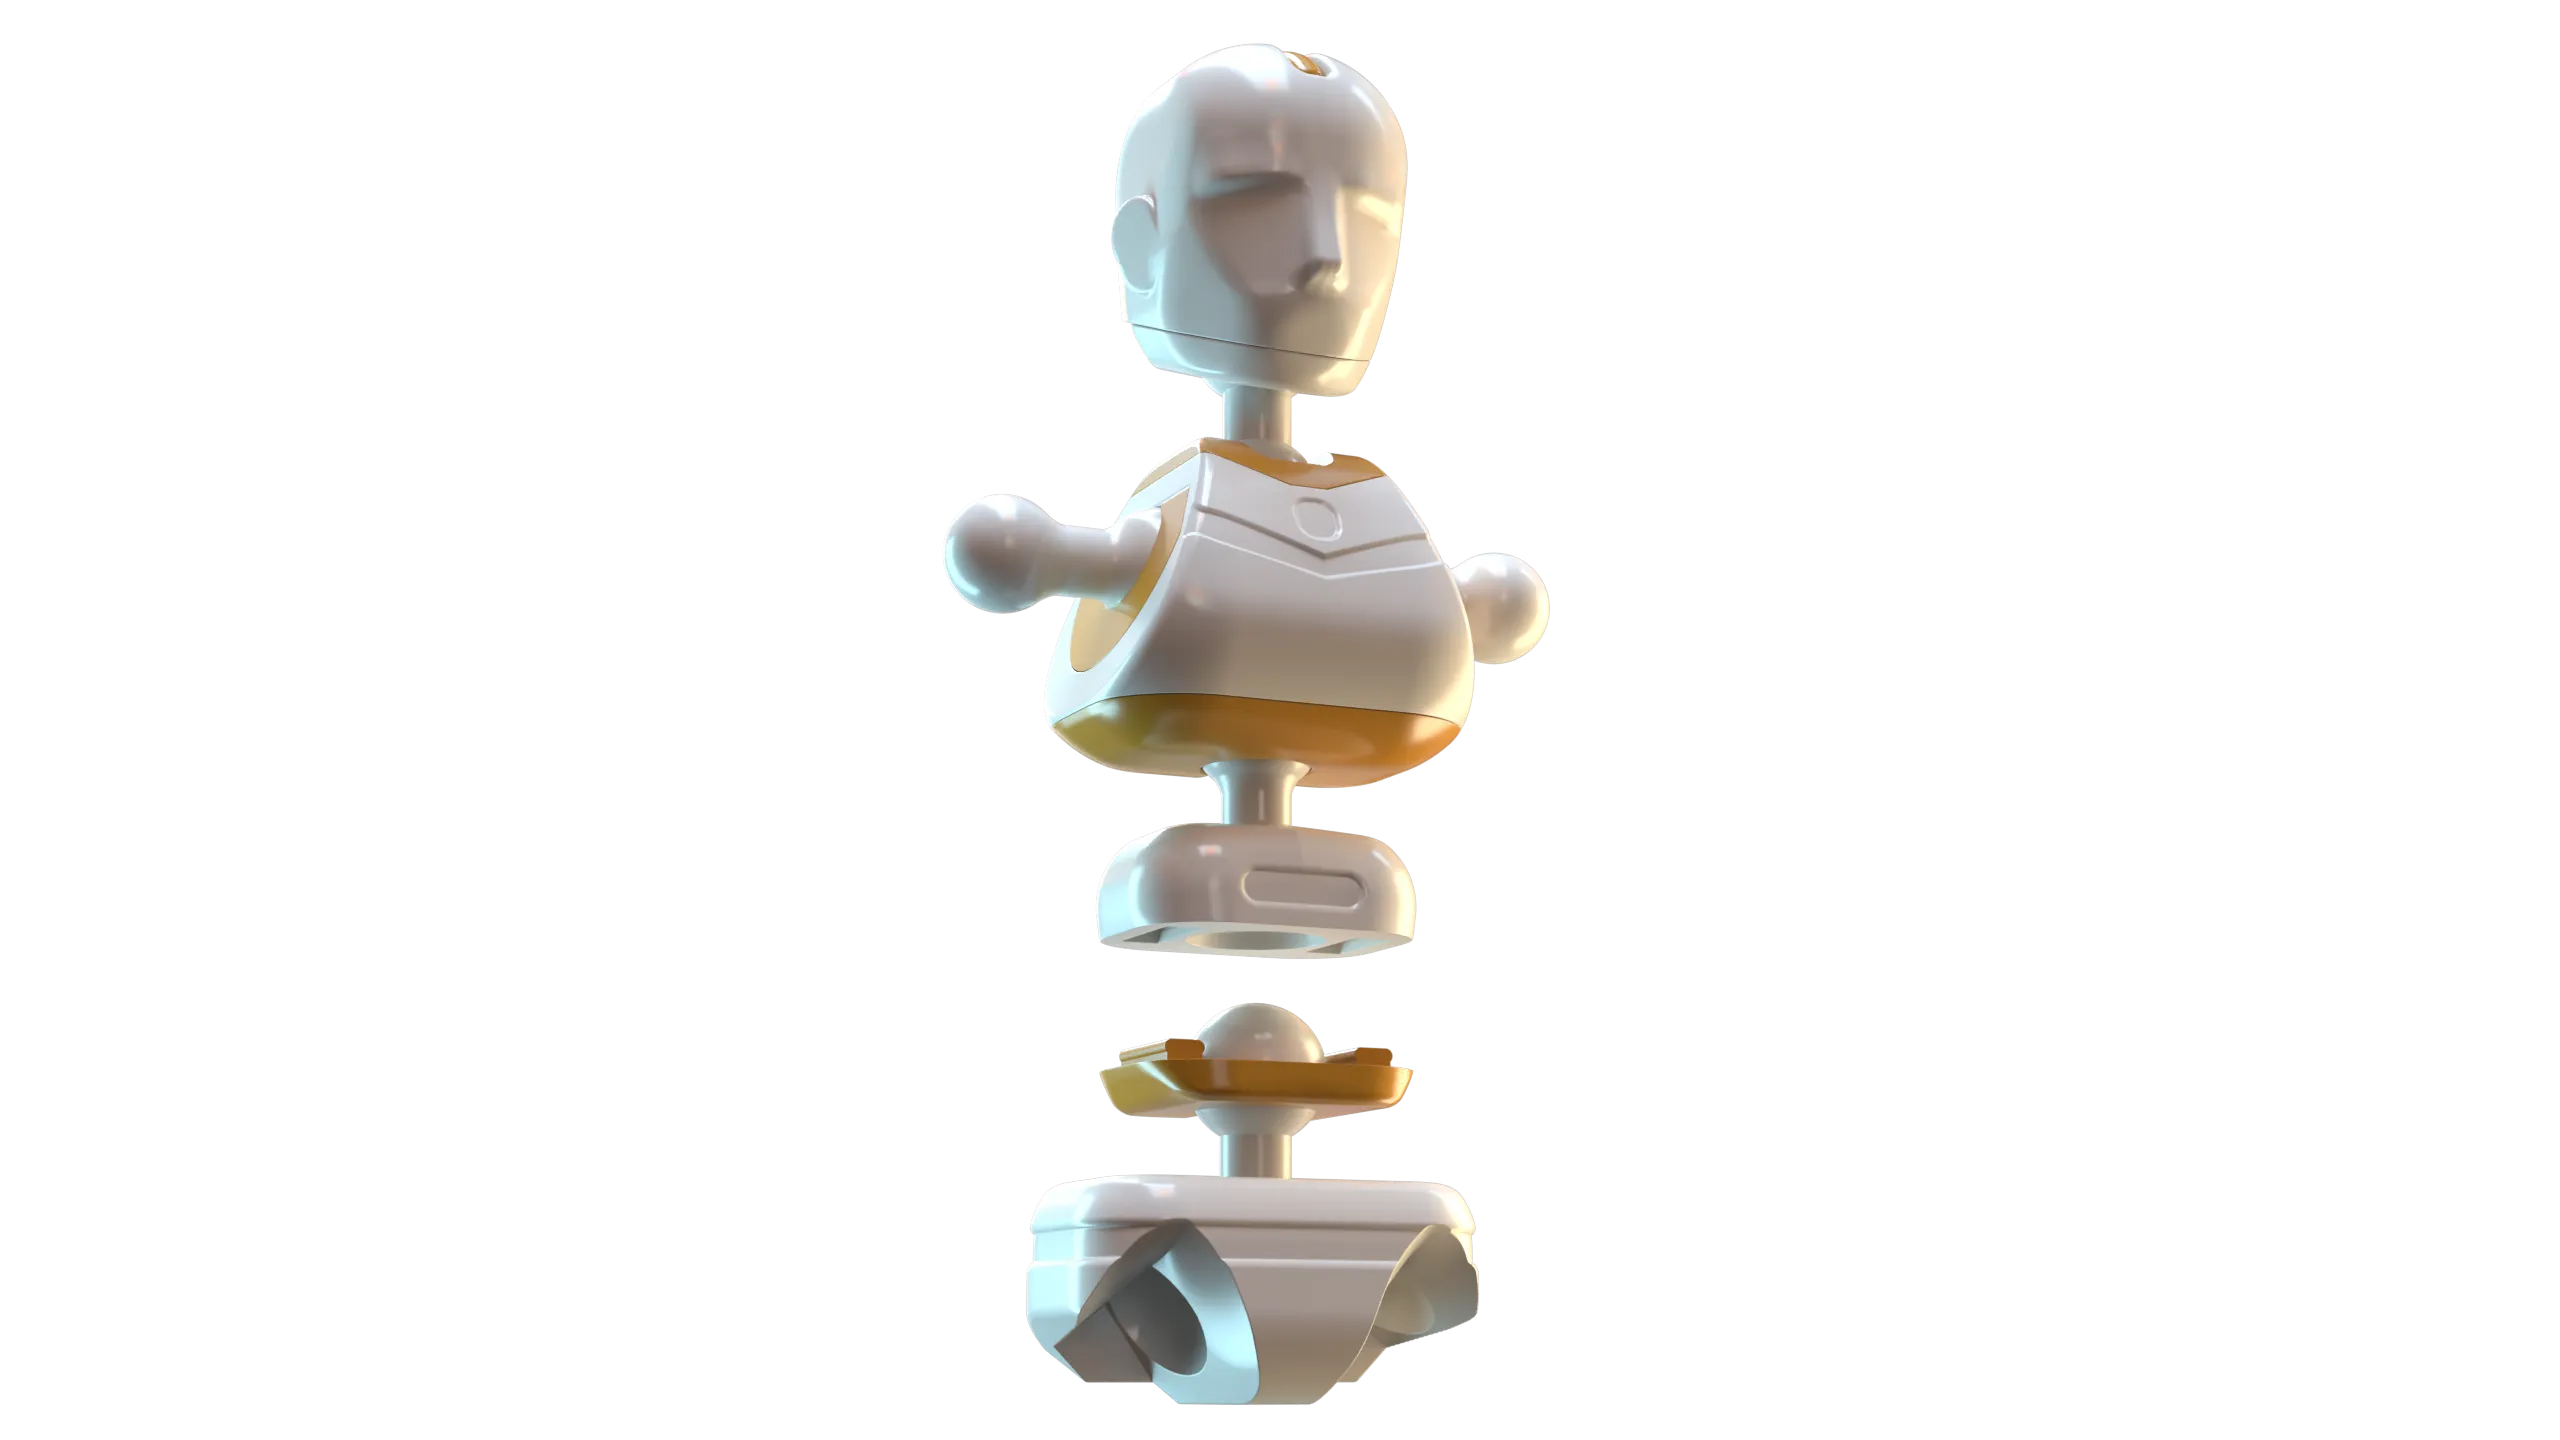 |
| Connect the shoulders using the shoulder holds. The ball joint with the flat surface should be on the inside. | The stomach connects similar to the neck. Slide the holding piece into place and press onto the under side of the chest to lock. | Follow the same steps to connect the underside of the stomach to the pelvis. |
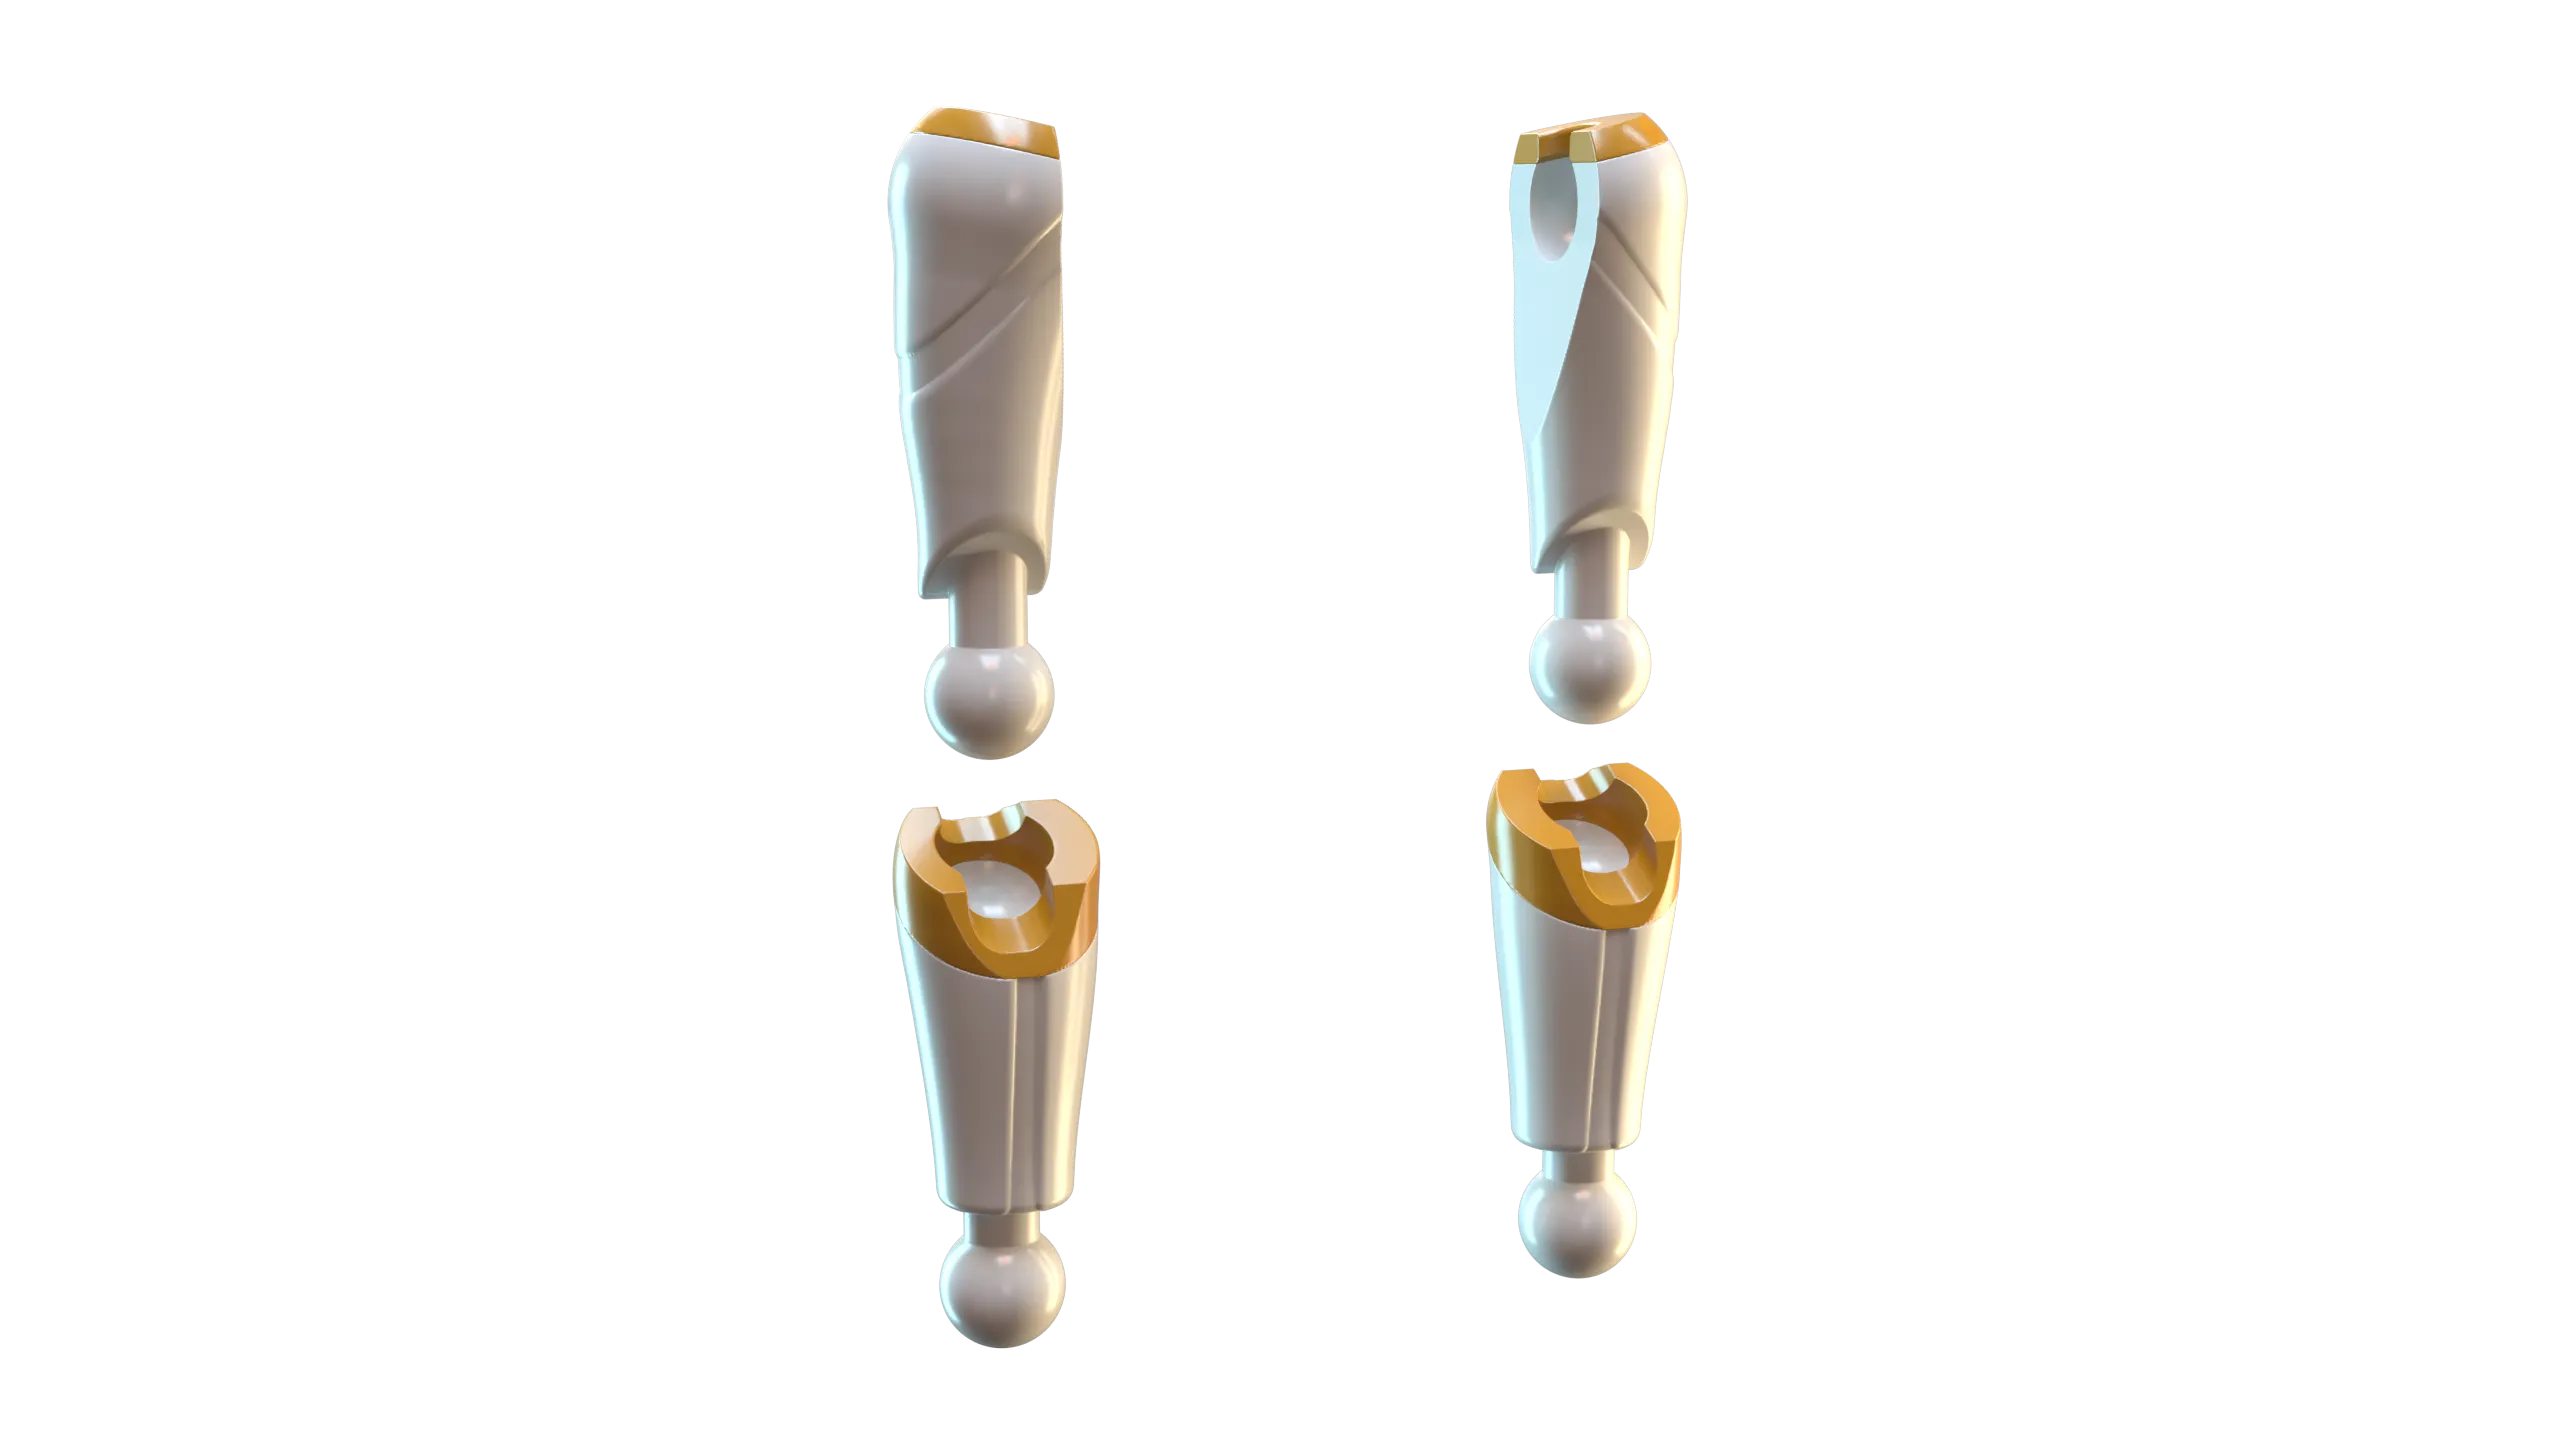 | 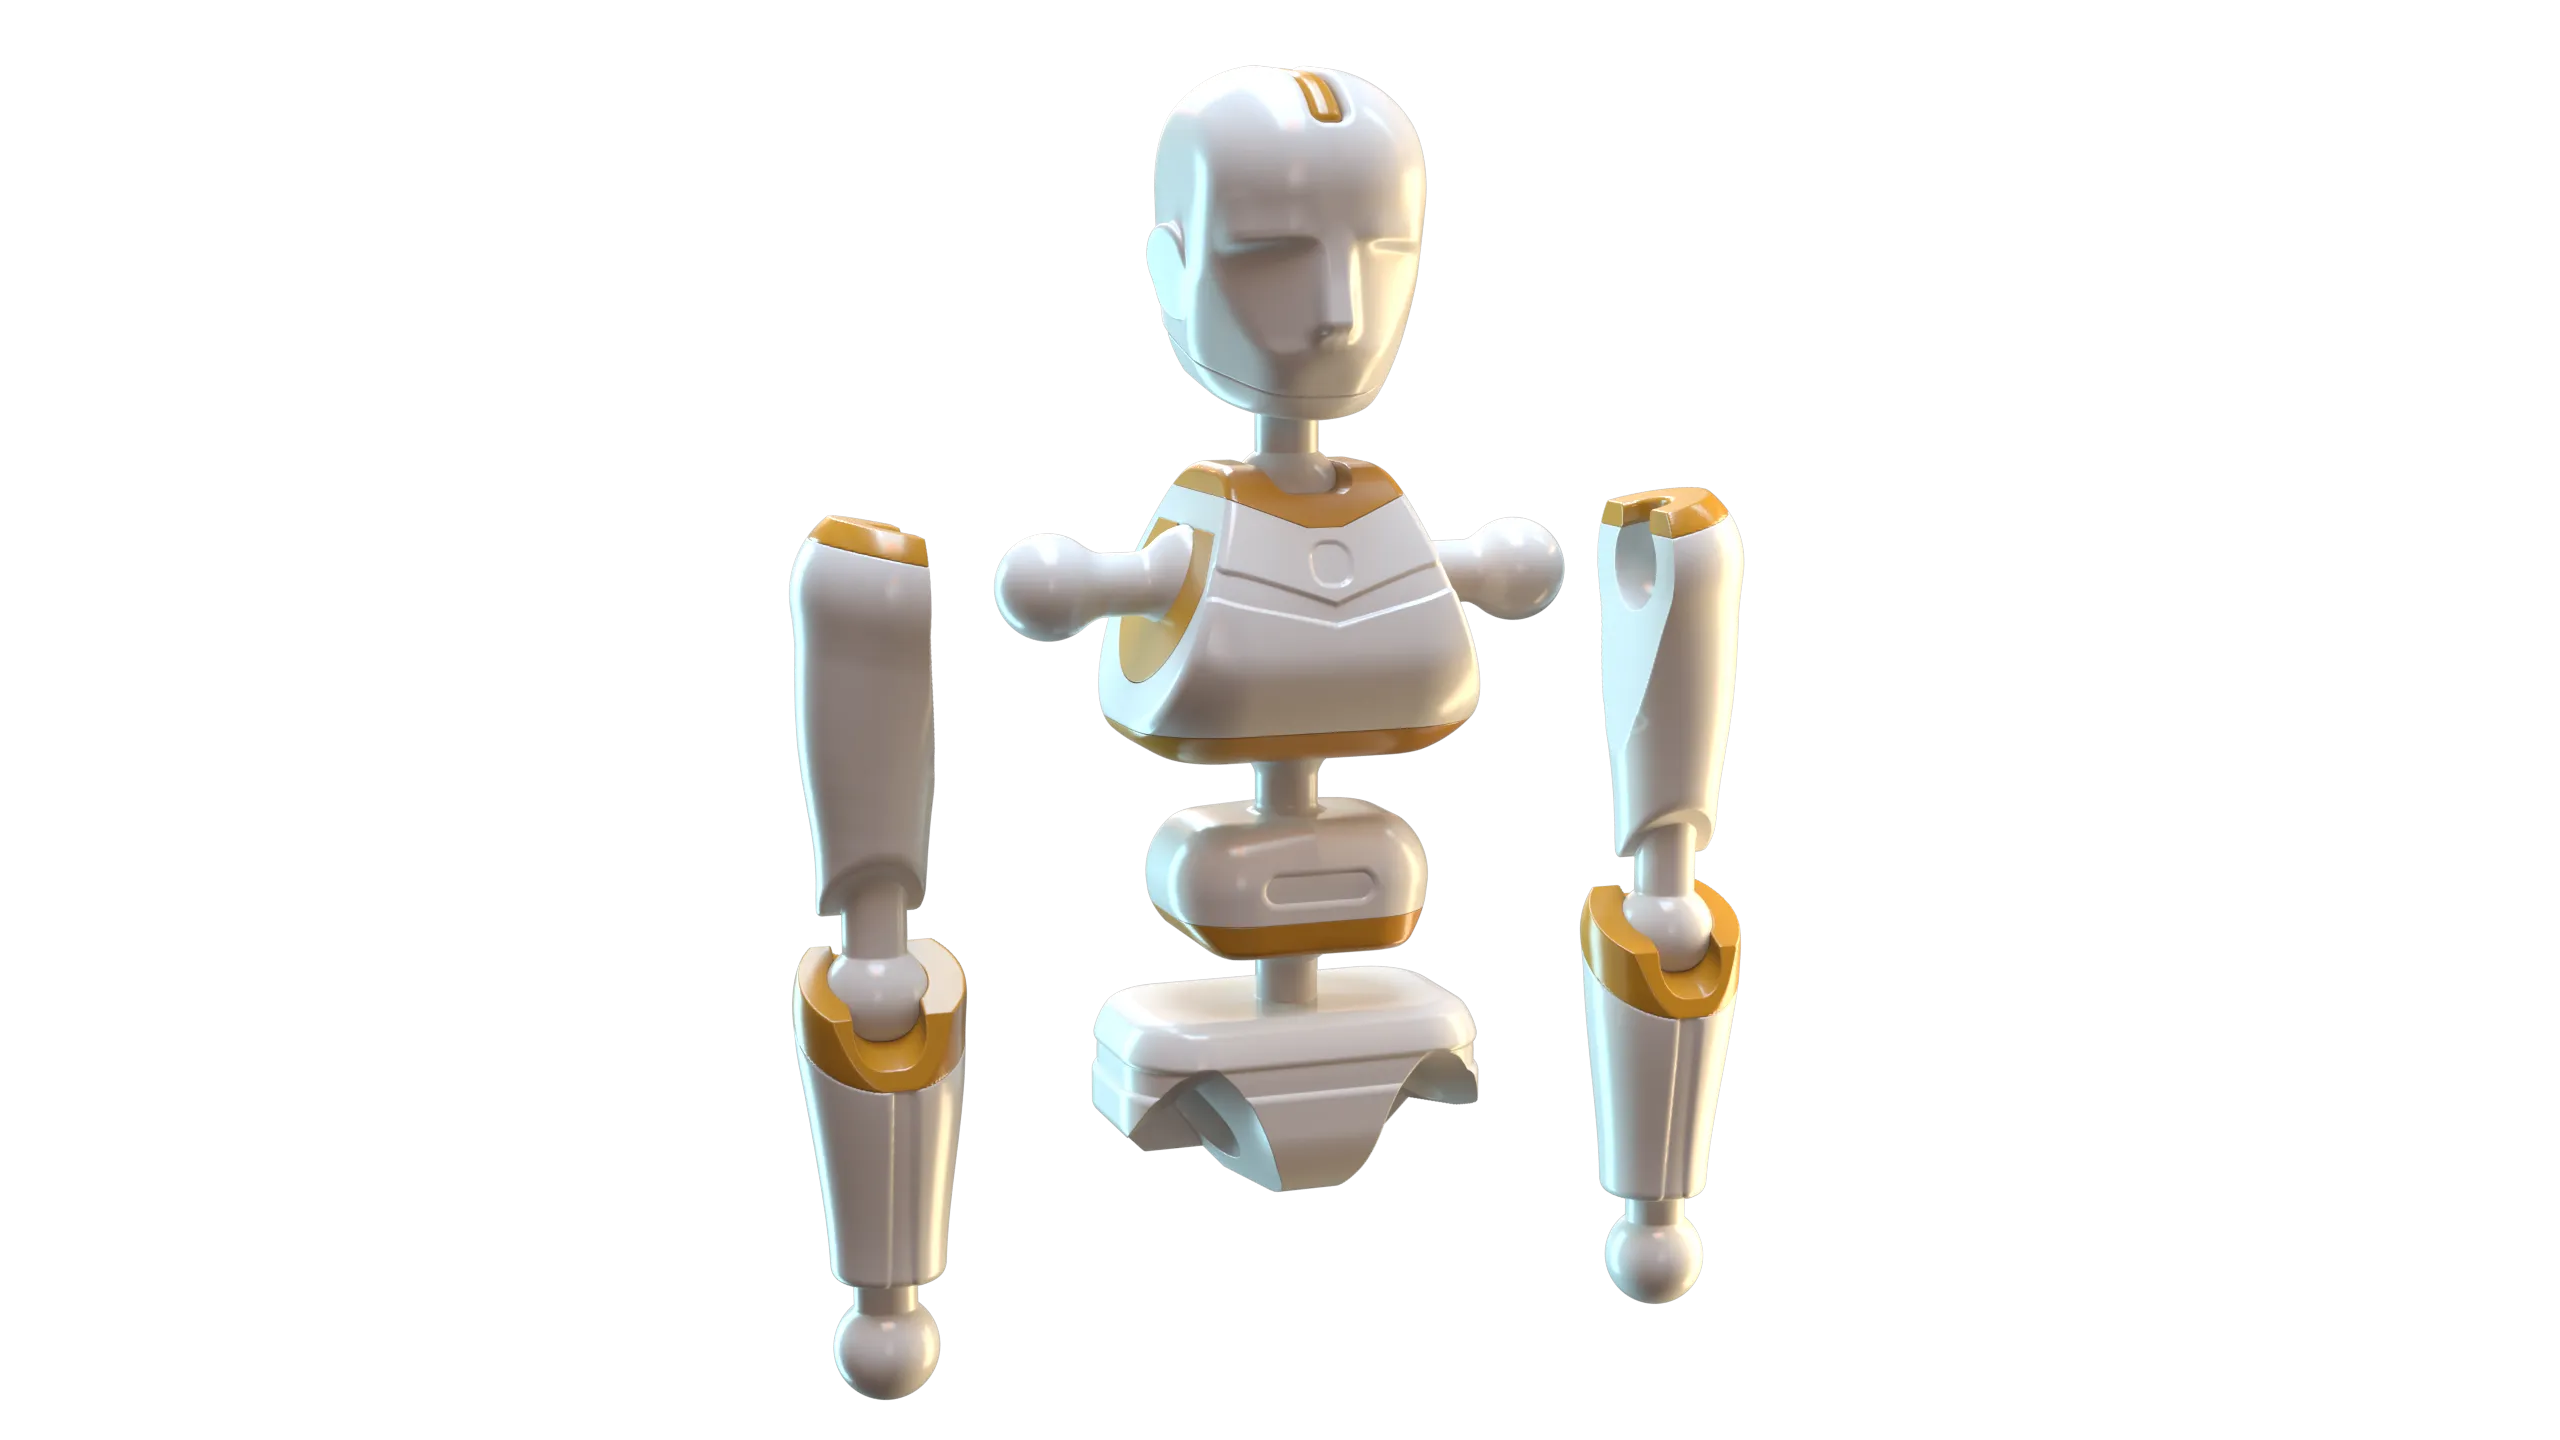 | 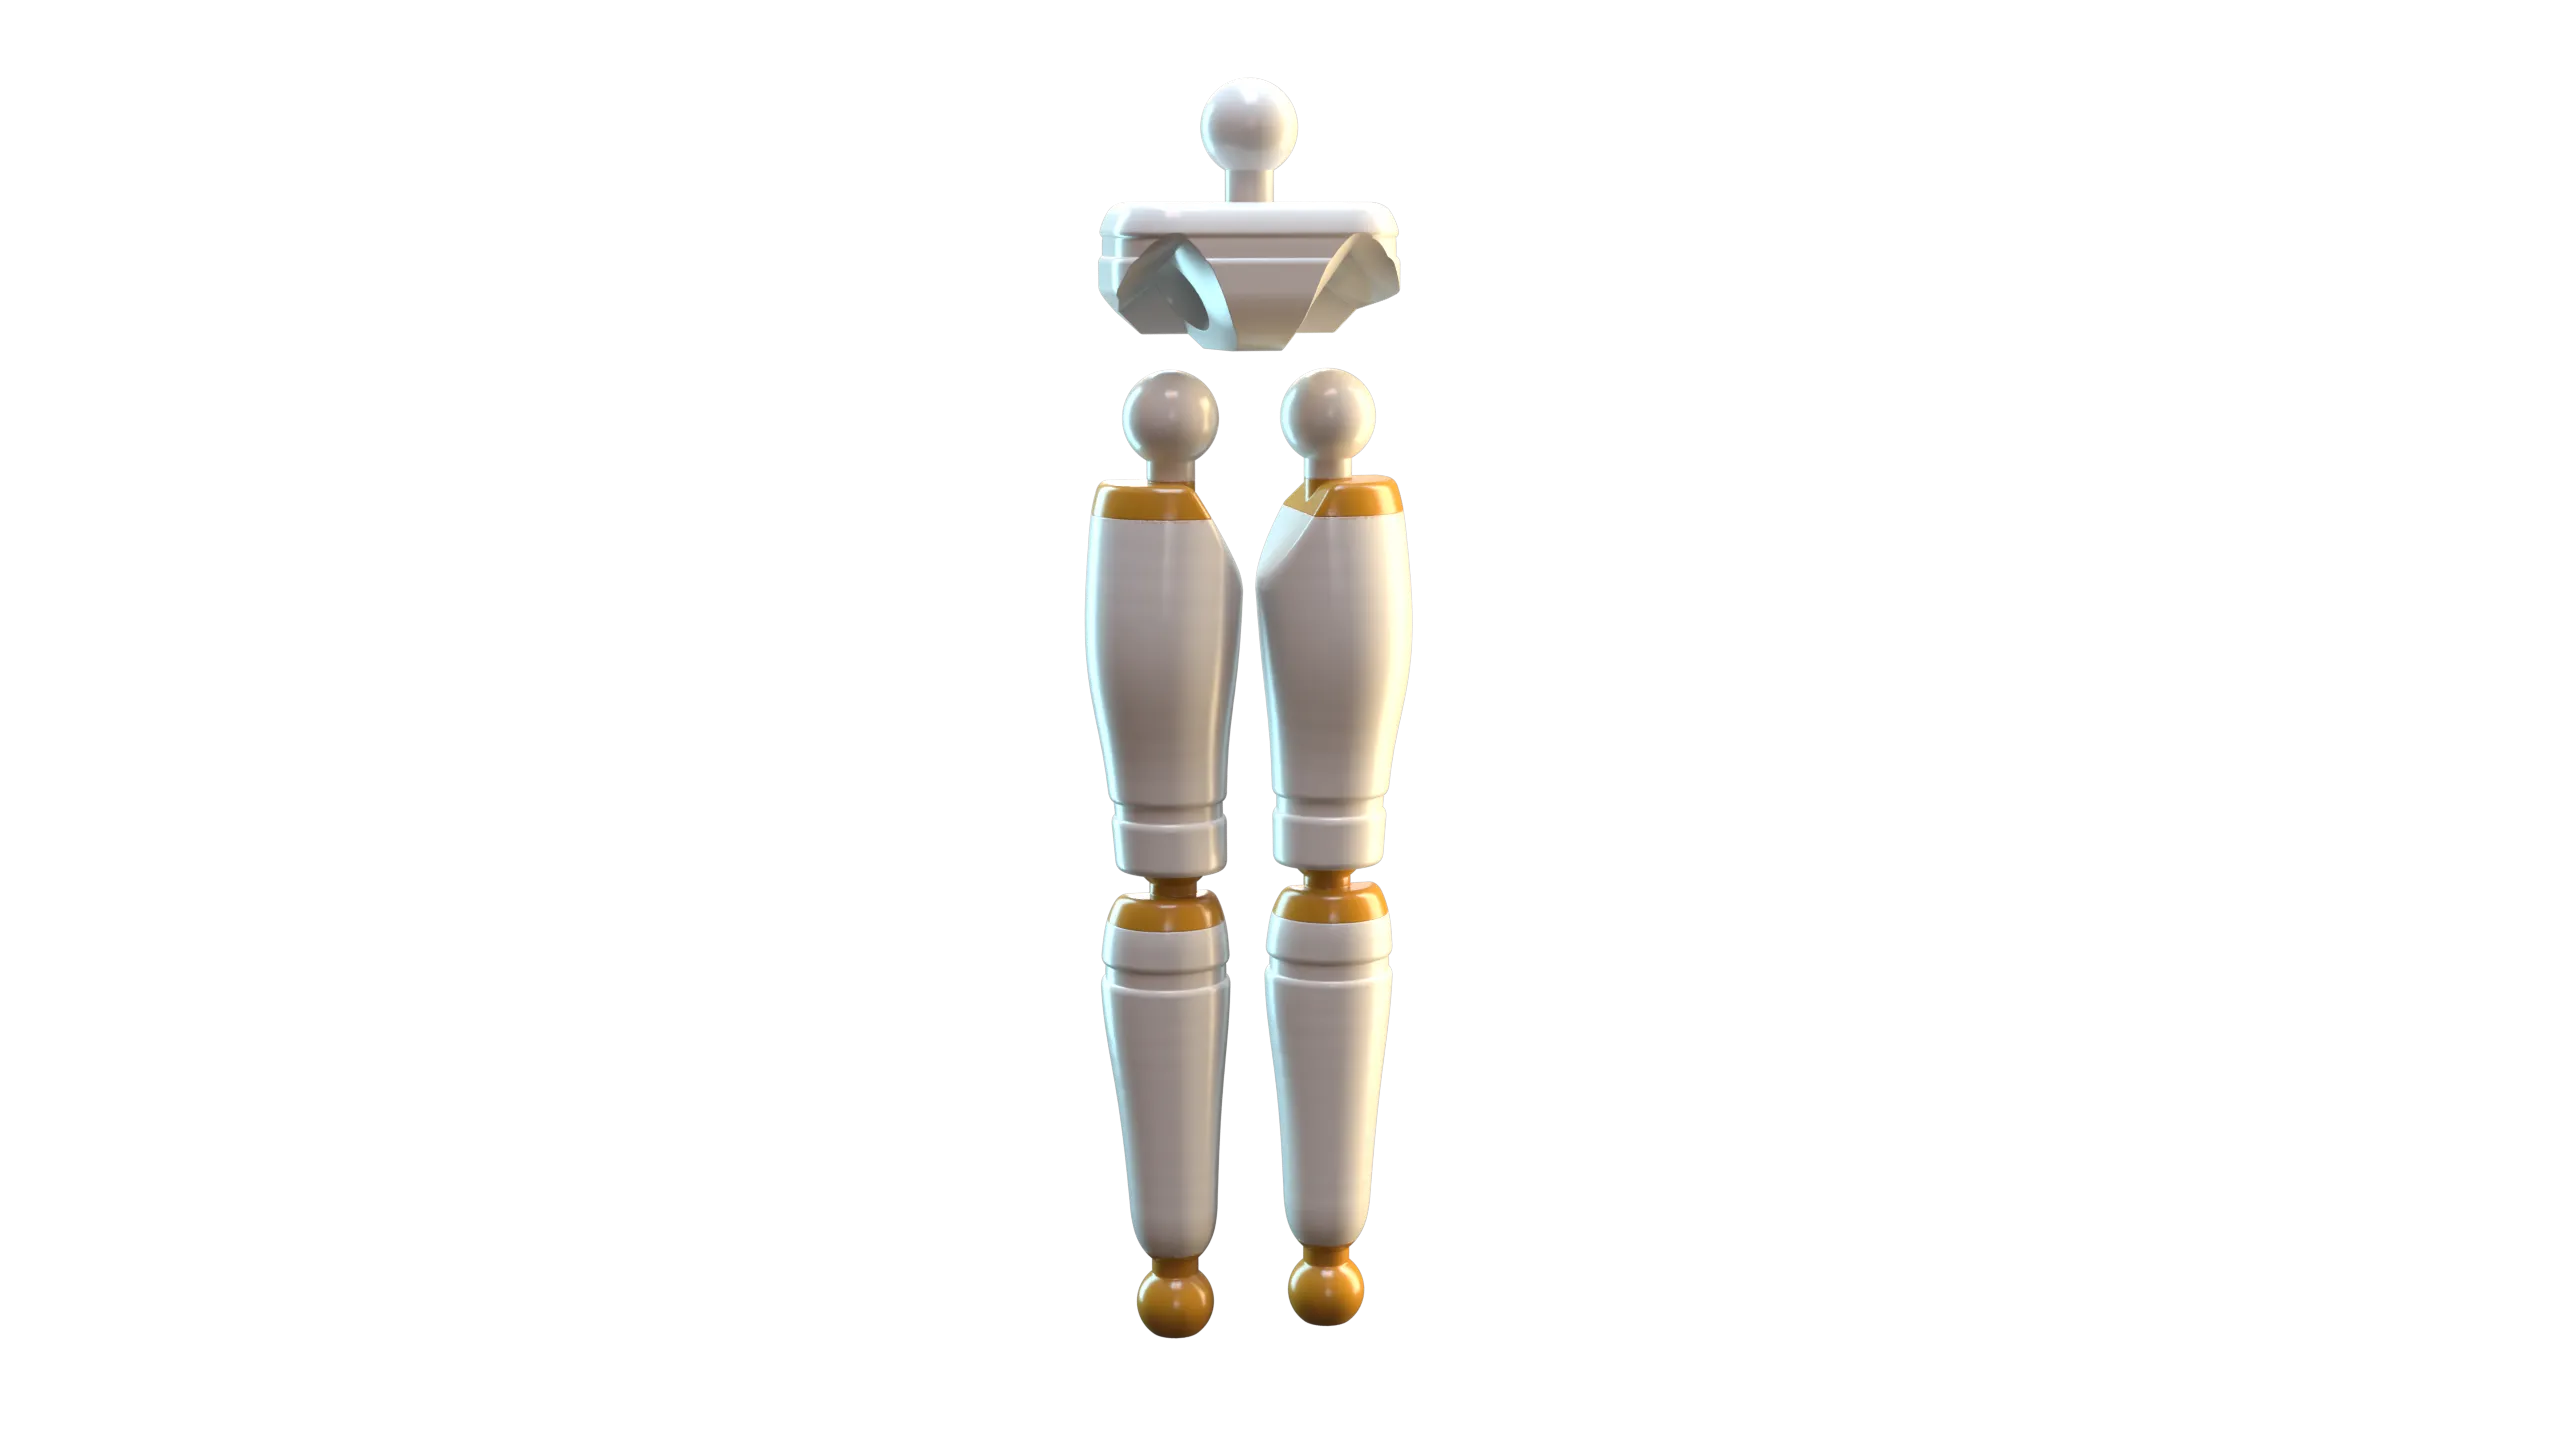 |
| The arms can be pressed into place with a direct downward force. | Press the assembled arms onto the shoulder joint. | The legs press together just as the arms did. Push the top of the legs into the pelvis joints to complete. |
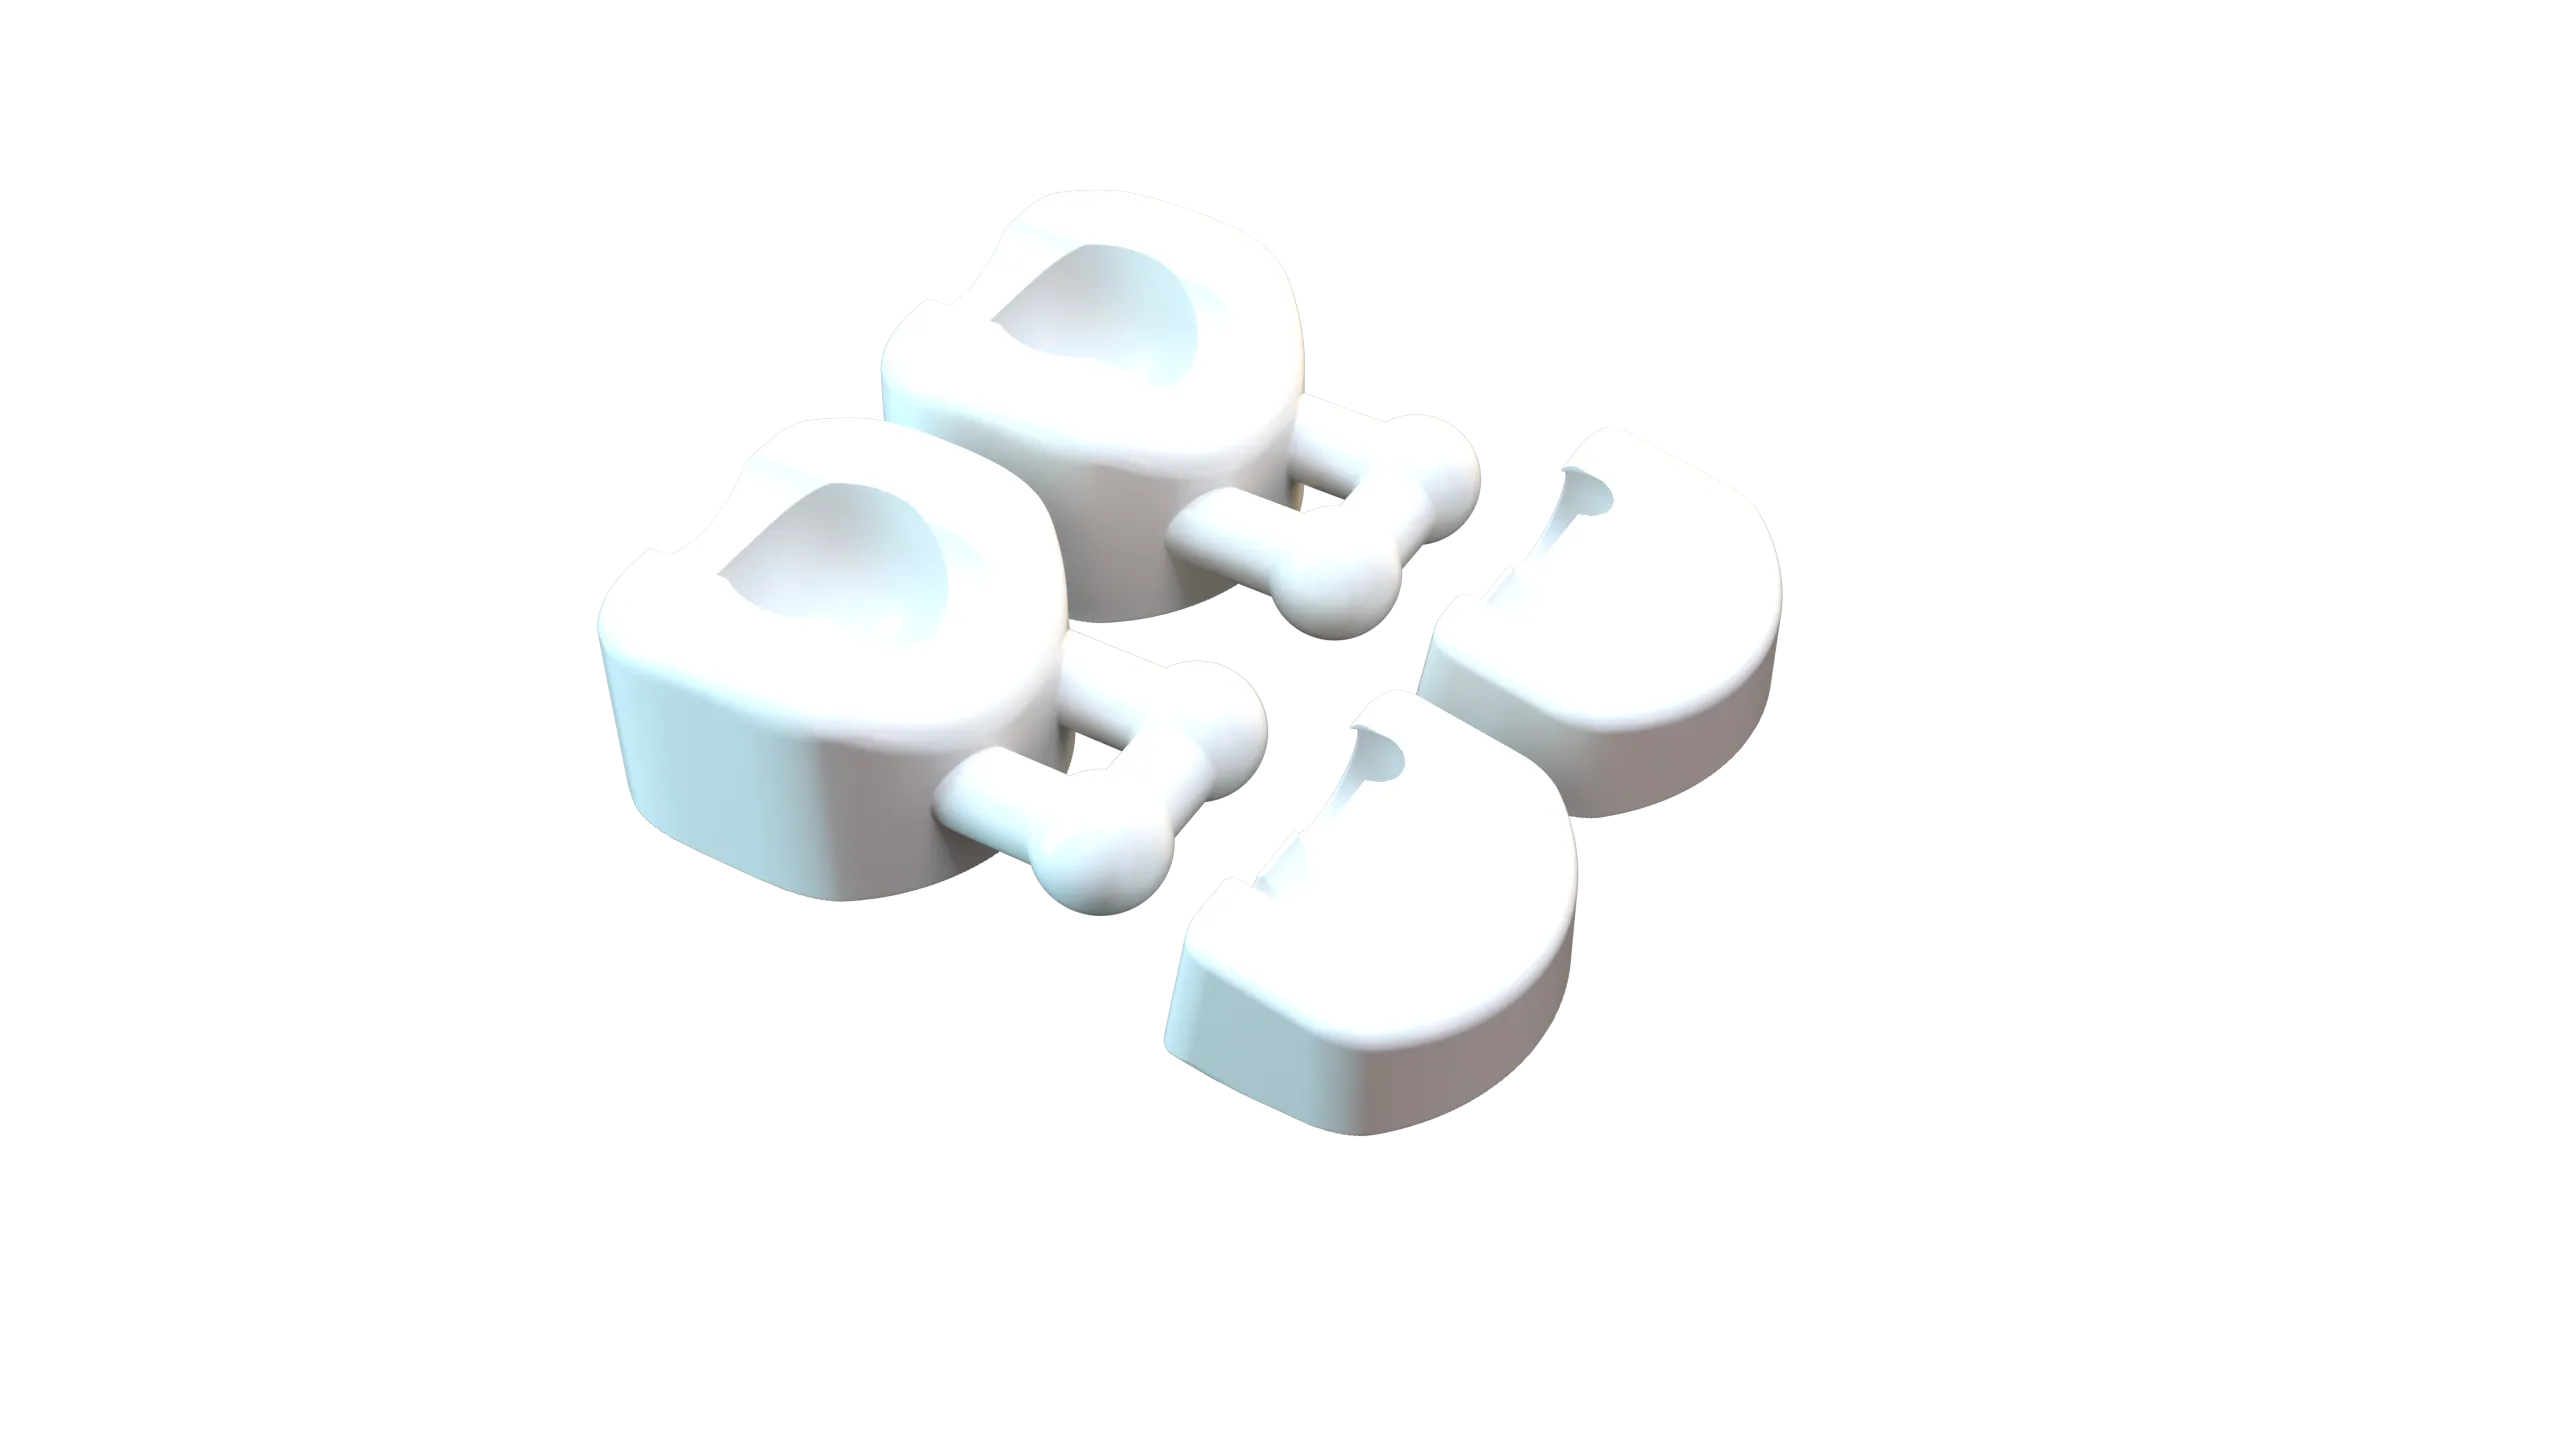 | 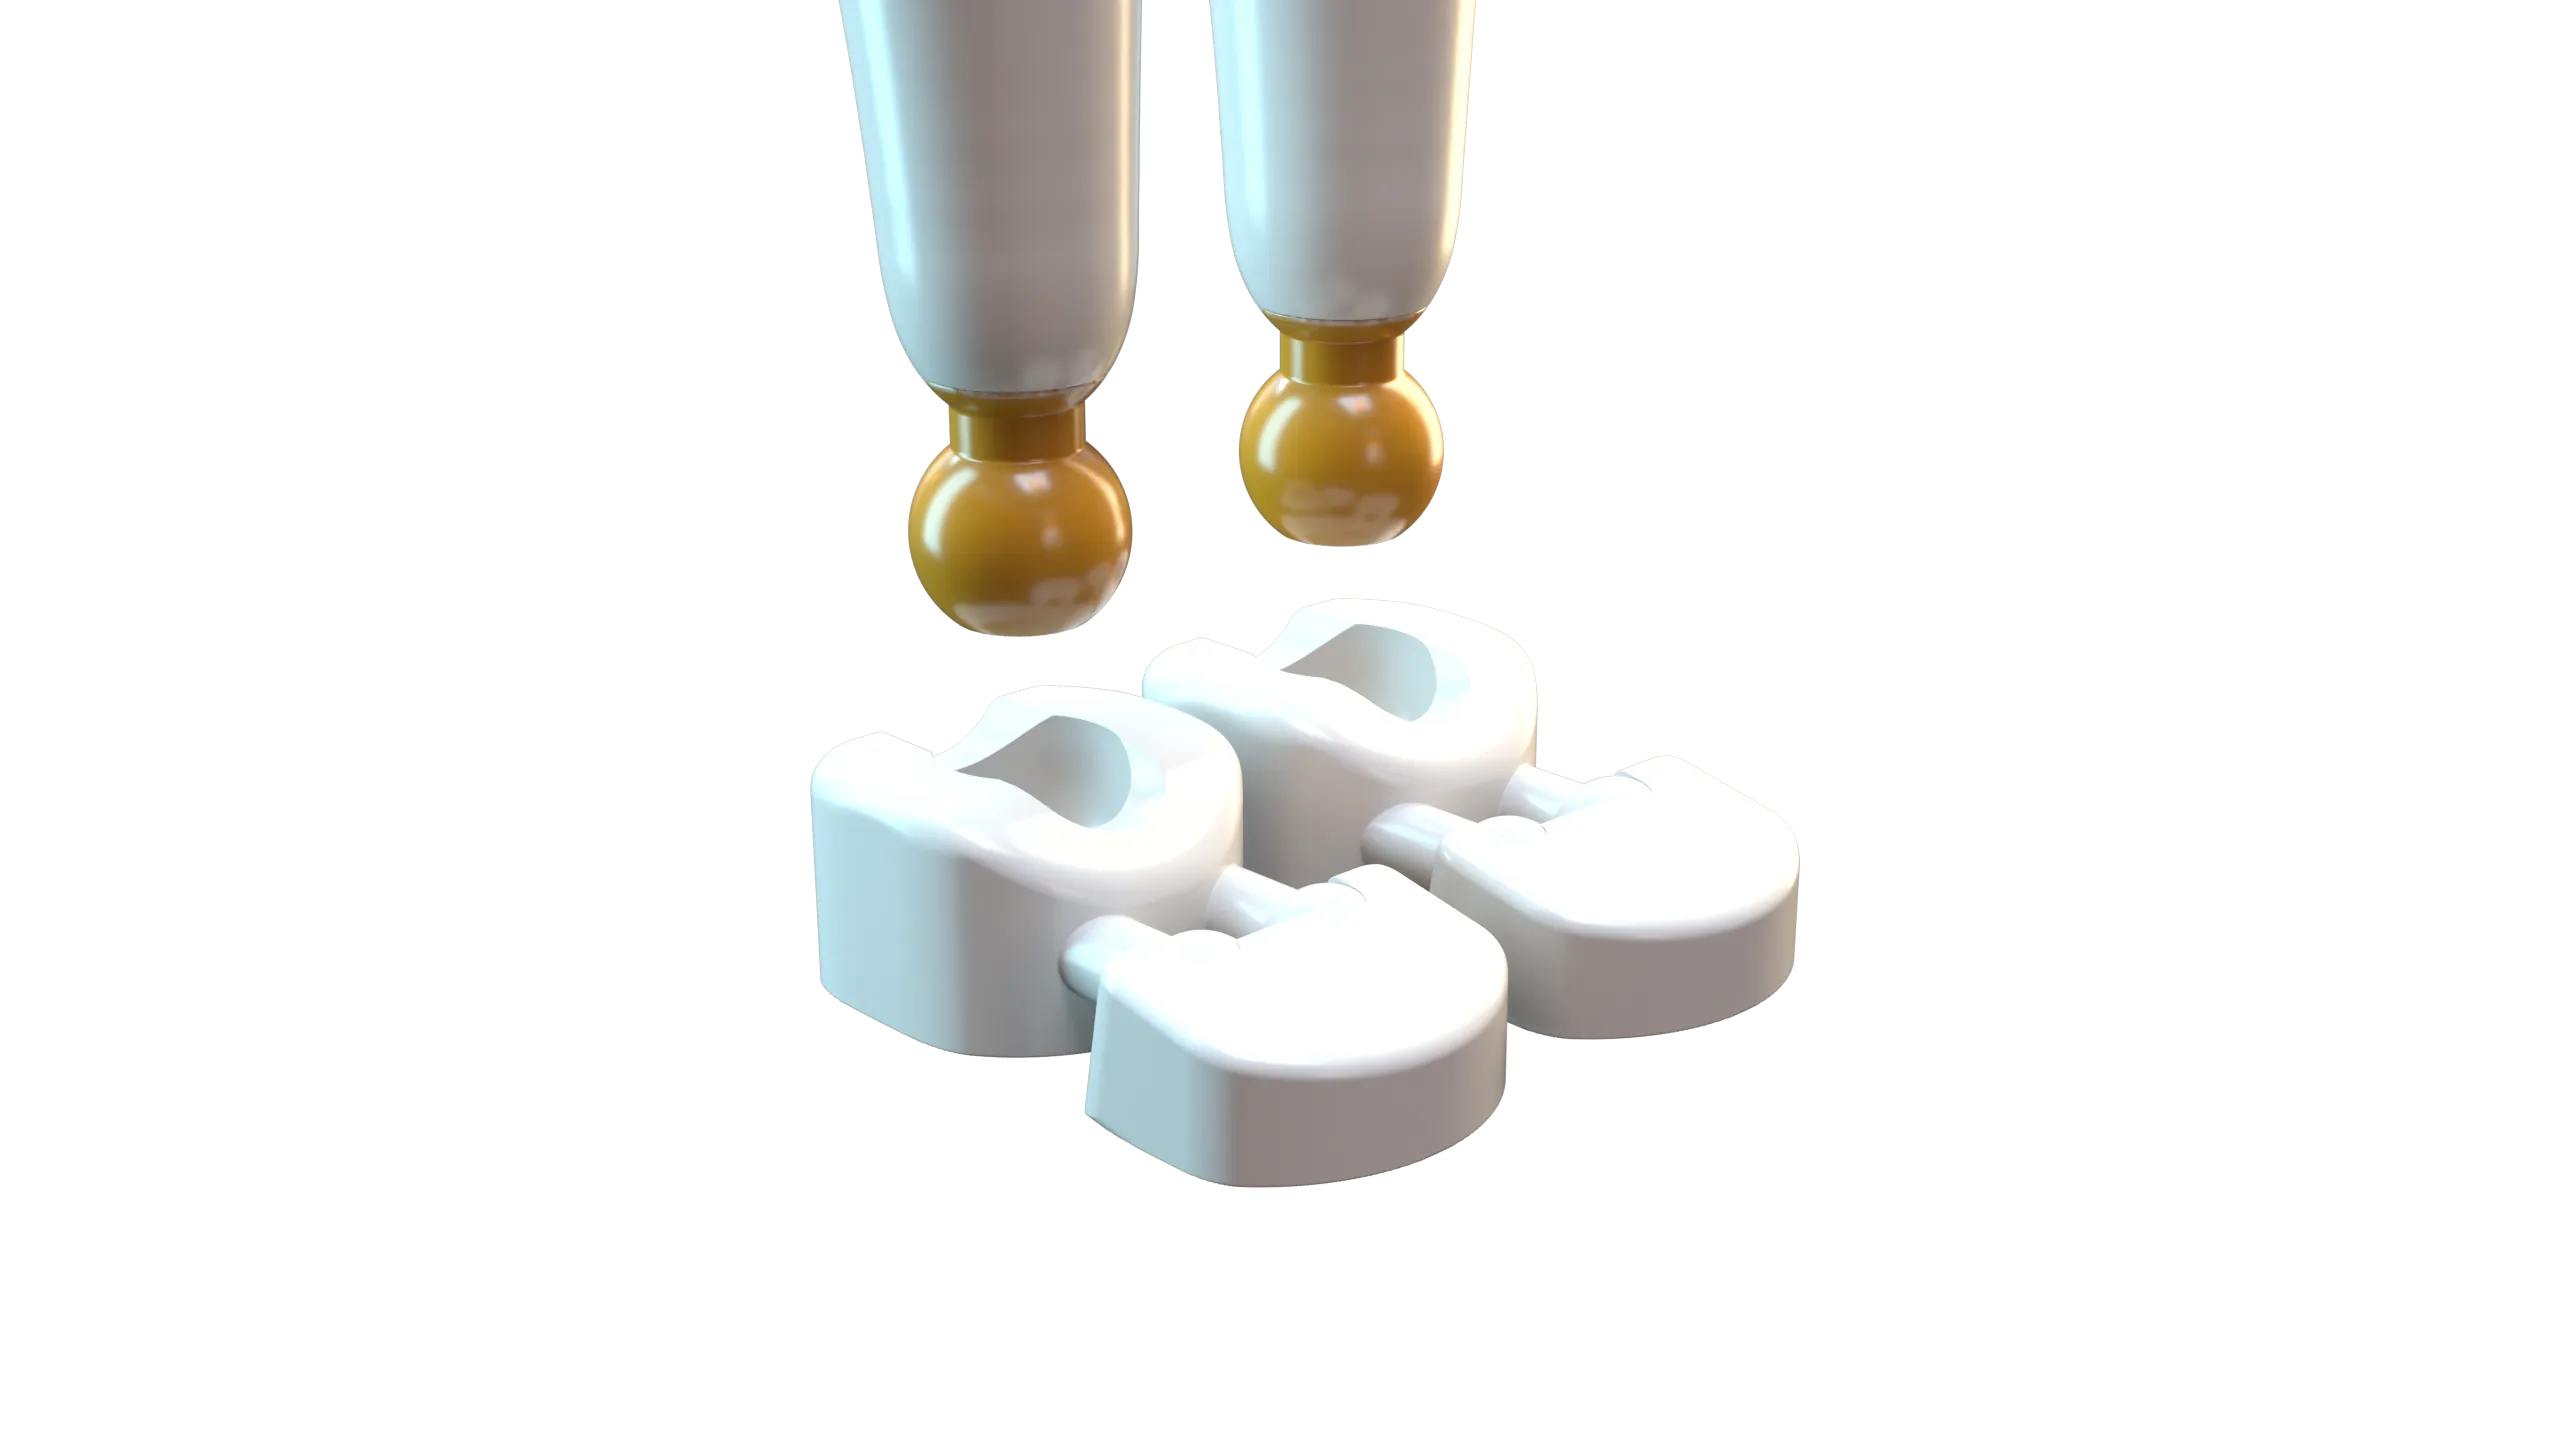 | 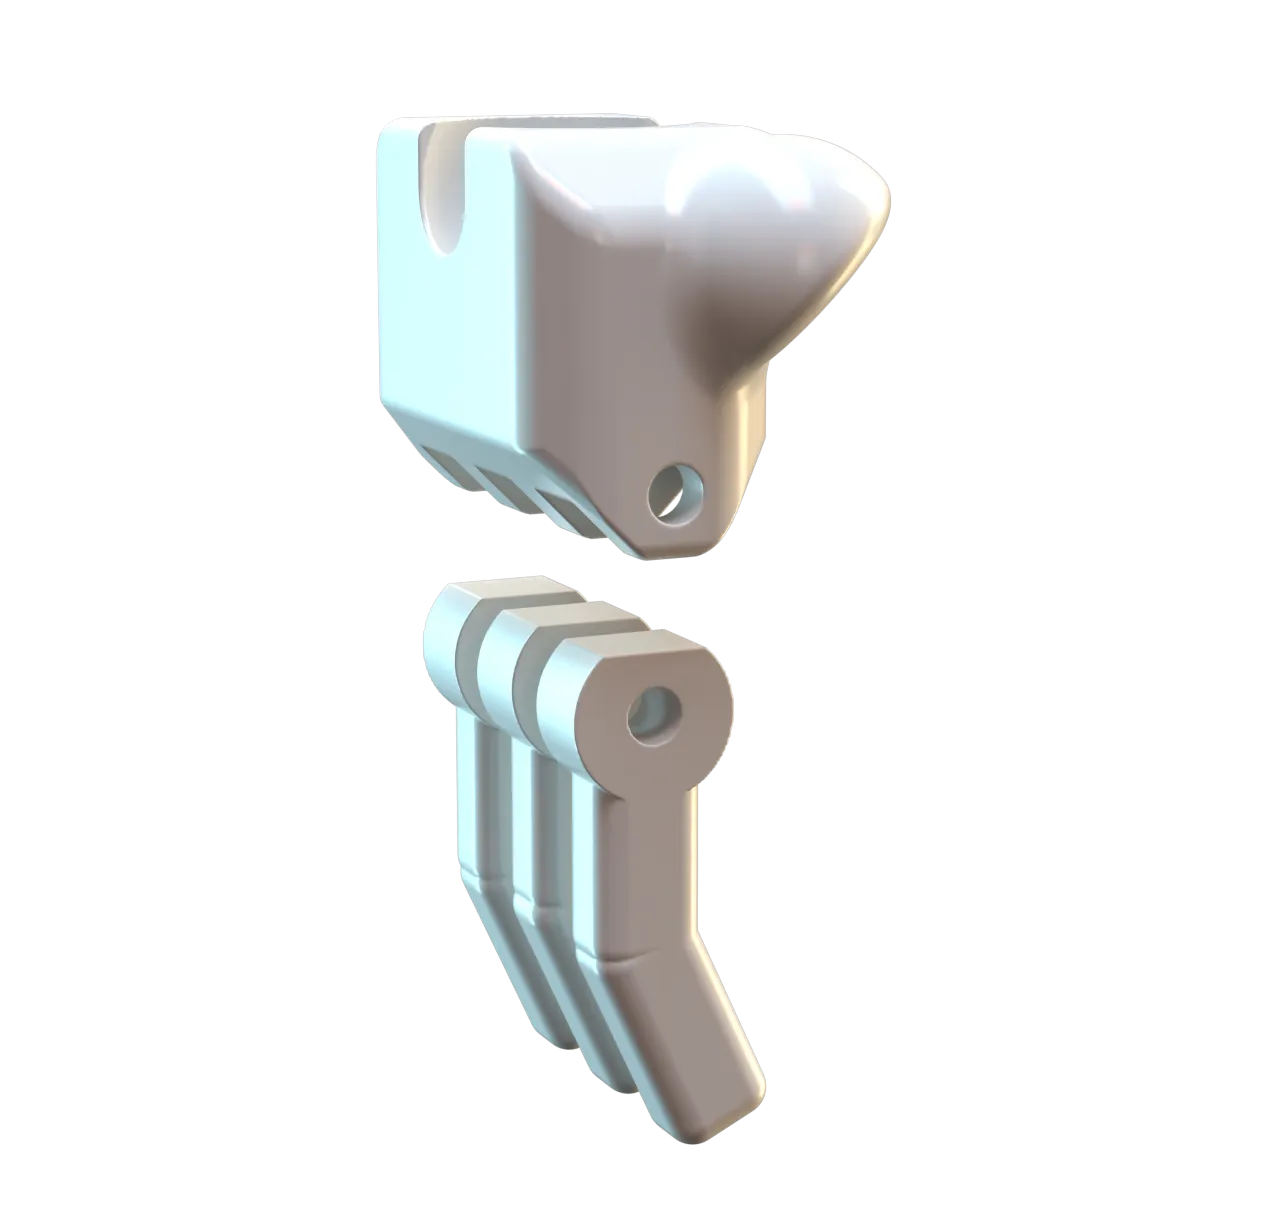 |
| Push the toes onto the heal of the foot. | Push the leg down into the foot to complete. | Use some pliers to force a length of filament through the fingers. It is a tight fit and you'll need to push a mm or two at a time. |
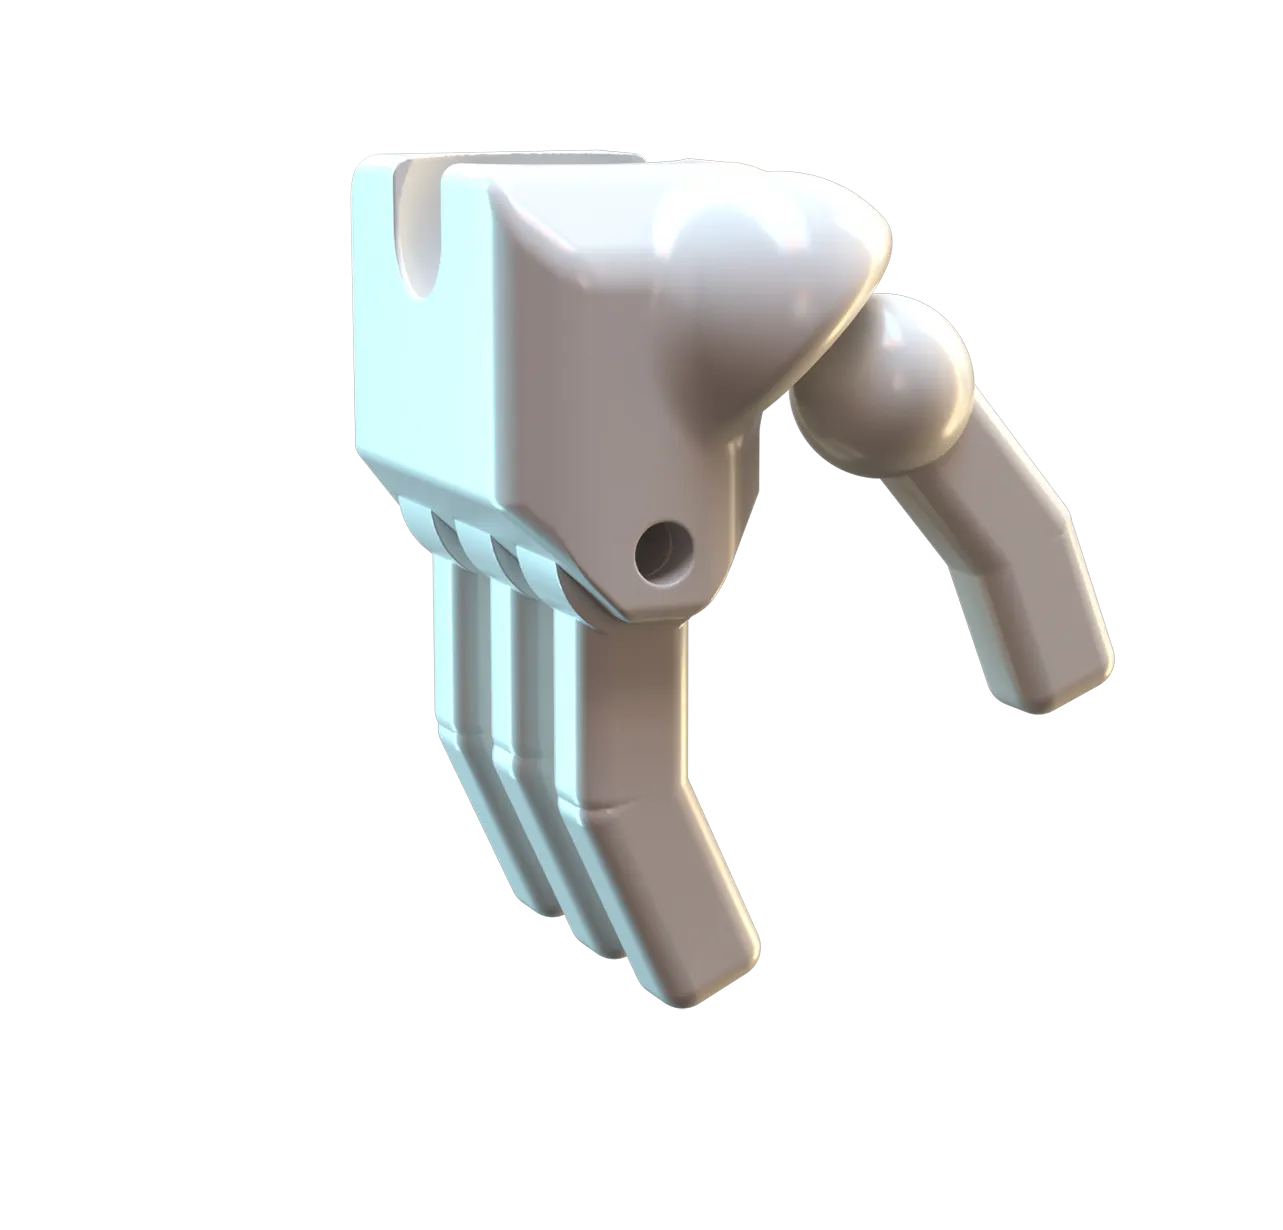 | 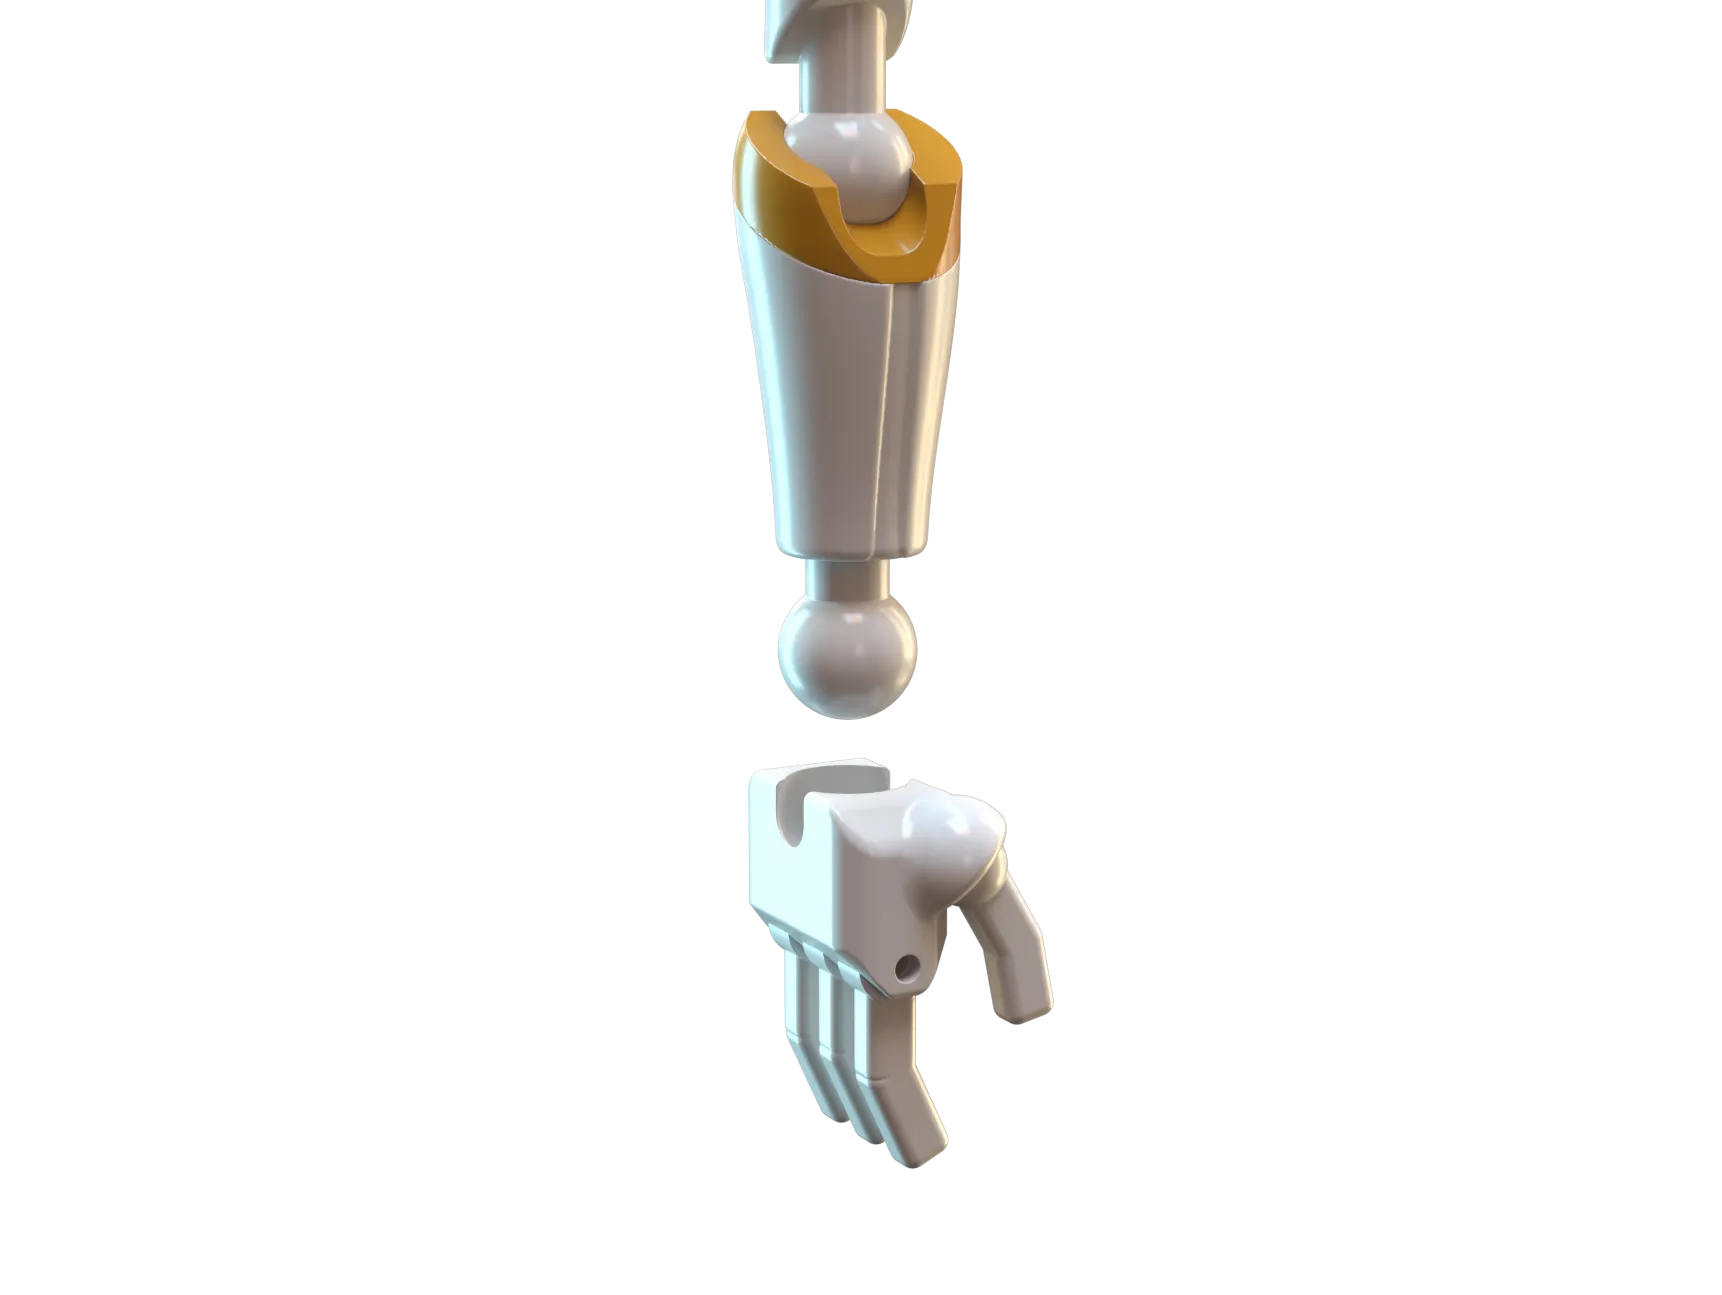 | 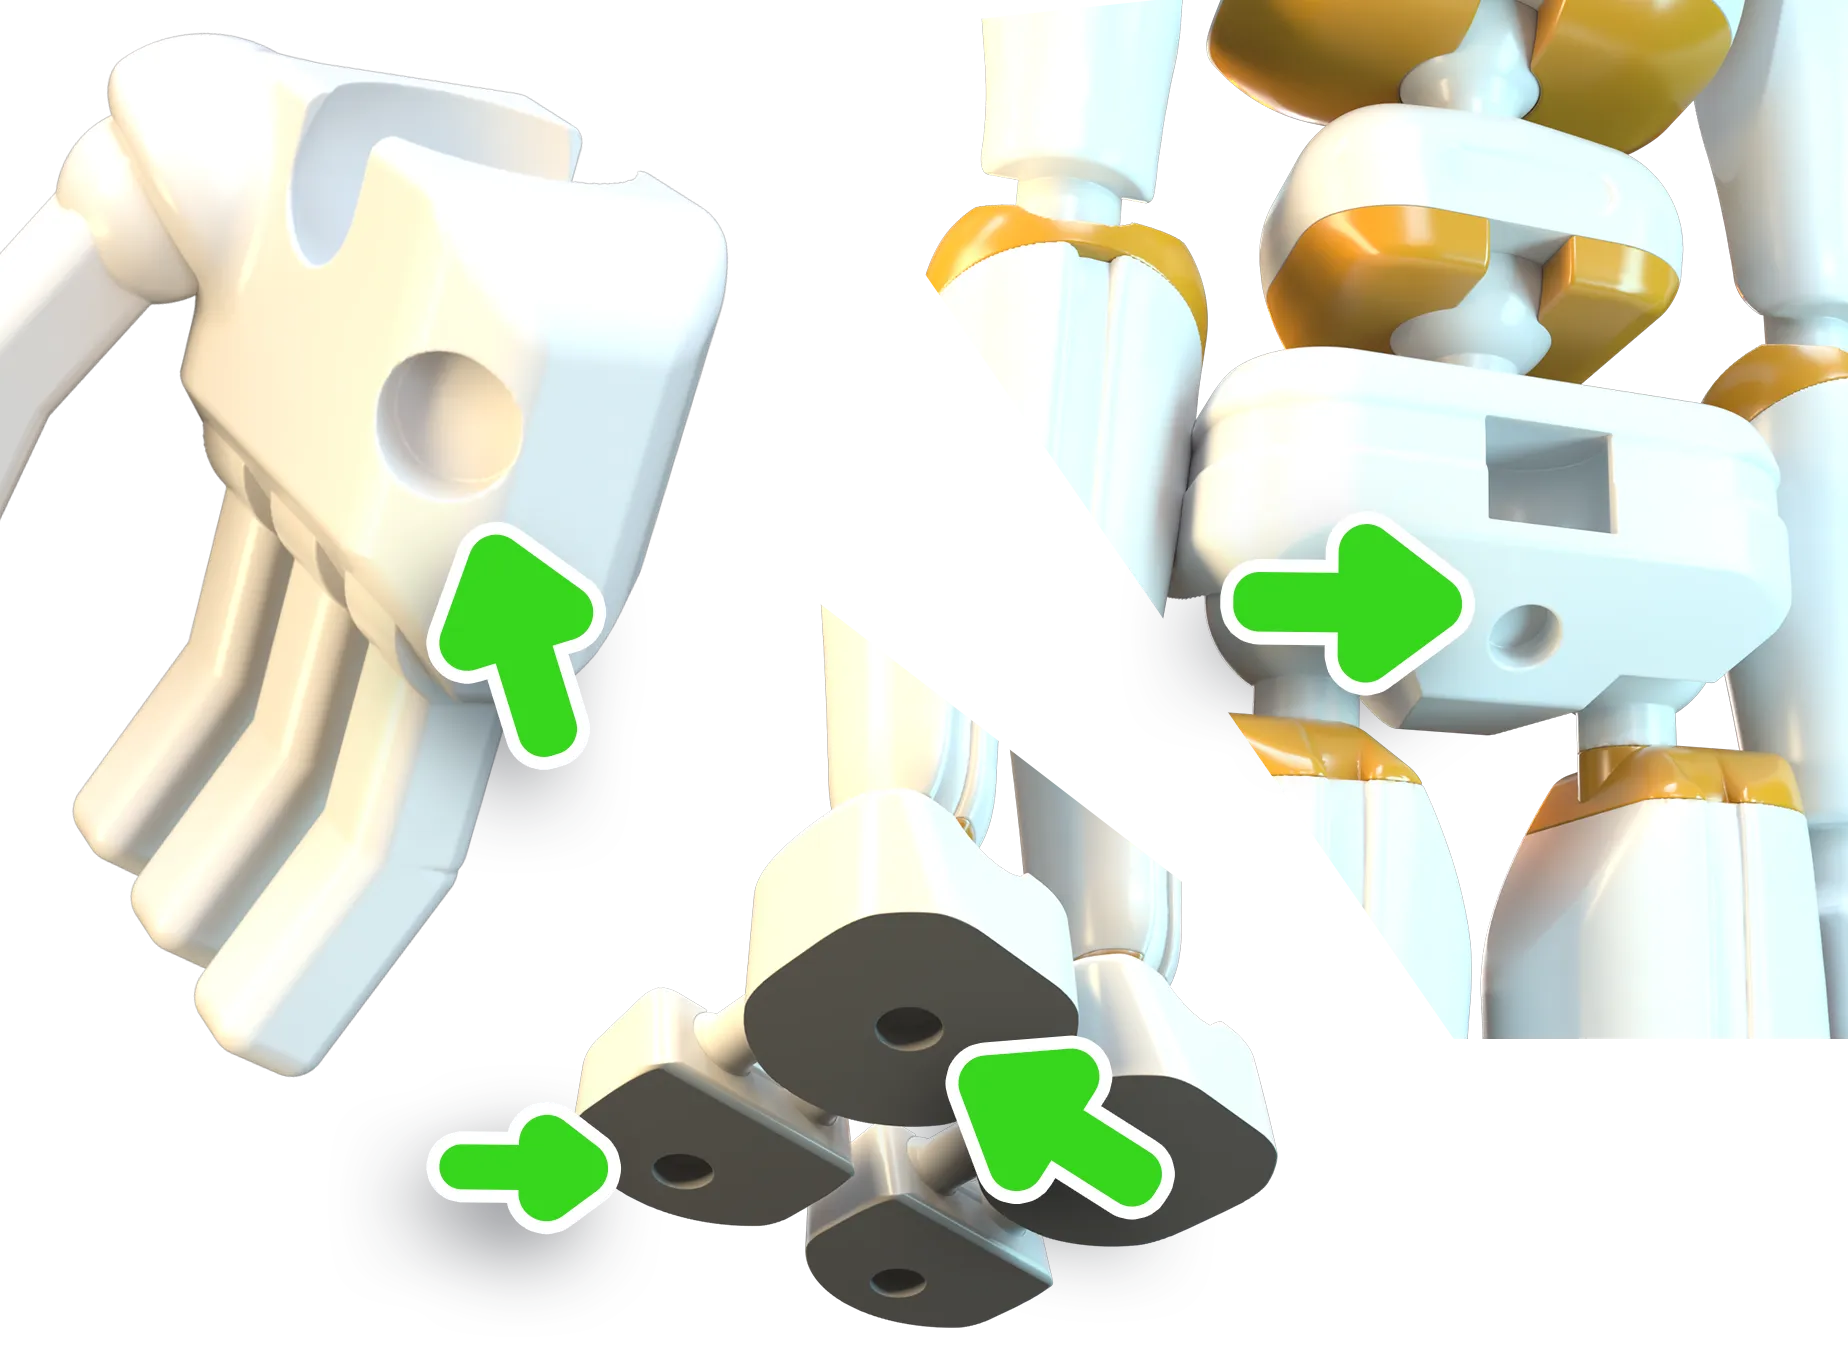 |
| The thumb is tight fit as well. I recommend using needle nose pliers and grabbing just above the ball. | With the hands assembled they can now be snapped onto the end of the arms. | If you have 4x2mm magnets you can press them into place on the hands, feet, and pelvis. |
You should now be fully assembled! Enjoy!
Boost Me (for free)
Please share pictures, recommendations, or suggestions. If you'd like to support me further feel free to drop a boost. Thank you!
License

You shall not share, sub-license, sell, rent, host, transfer, or distribute in any way the digital or 3D printed versions of this object, nor any other derivative work of this object in its digital or physical format (including - but not limited to - remixes of this object, and hosting on other digital platforms). The objects may not be used without permission in any way whatsoever in which you charge money, or collect fees.


Comment & Rating (343)