
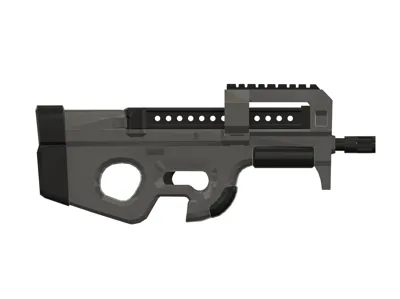
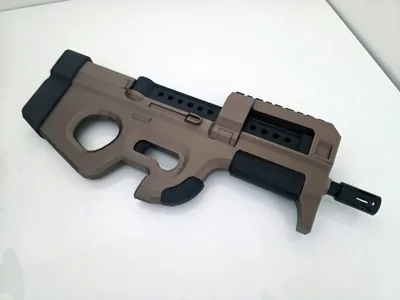
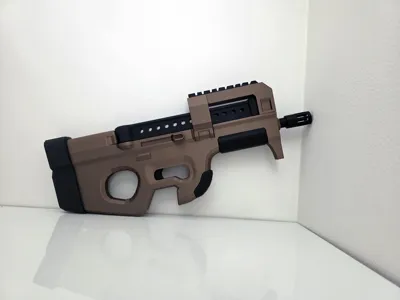
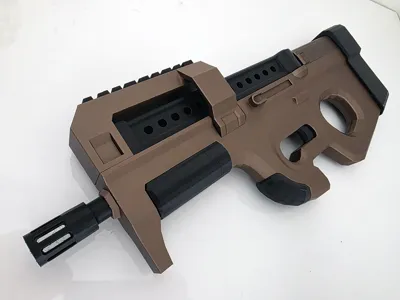
Fortnite Compact SMG P90 Model 1:1 Replica 15" Len
Print Profile(2)


Description
Membership
Models are for personal use only unless you join my $5 No-Limit Subscription. Sell physical prints of my models for as long you're subscribed!
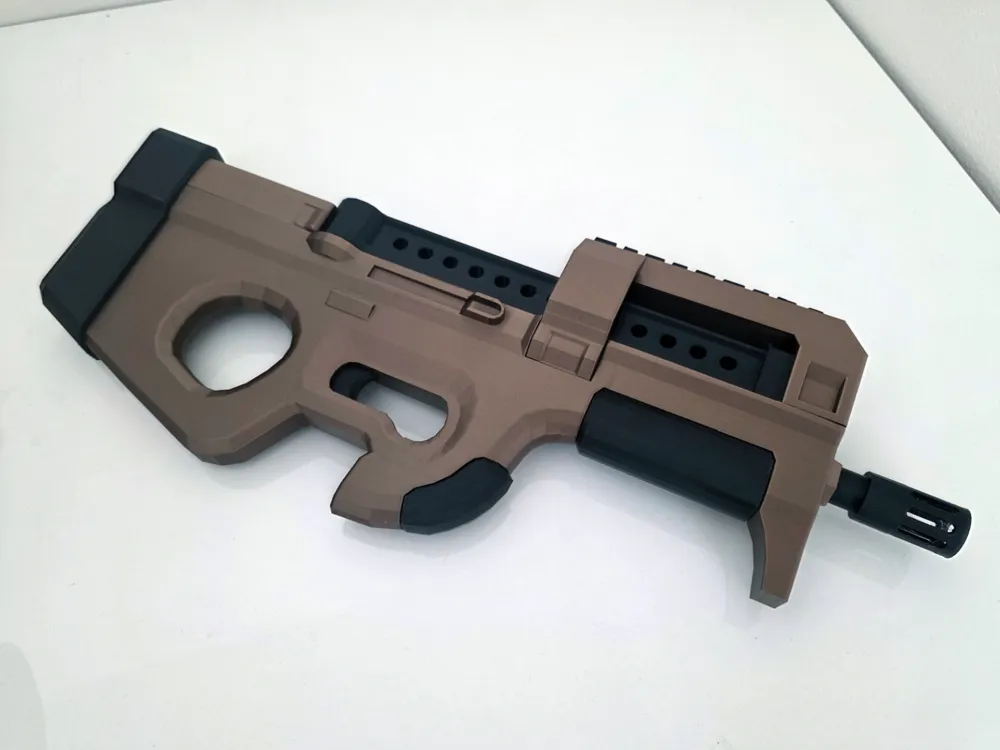
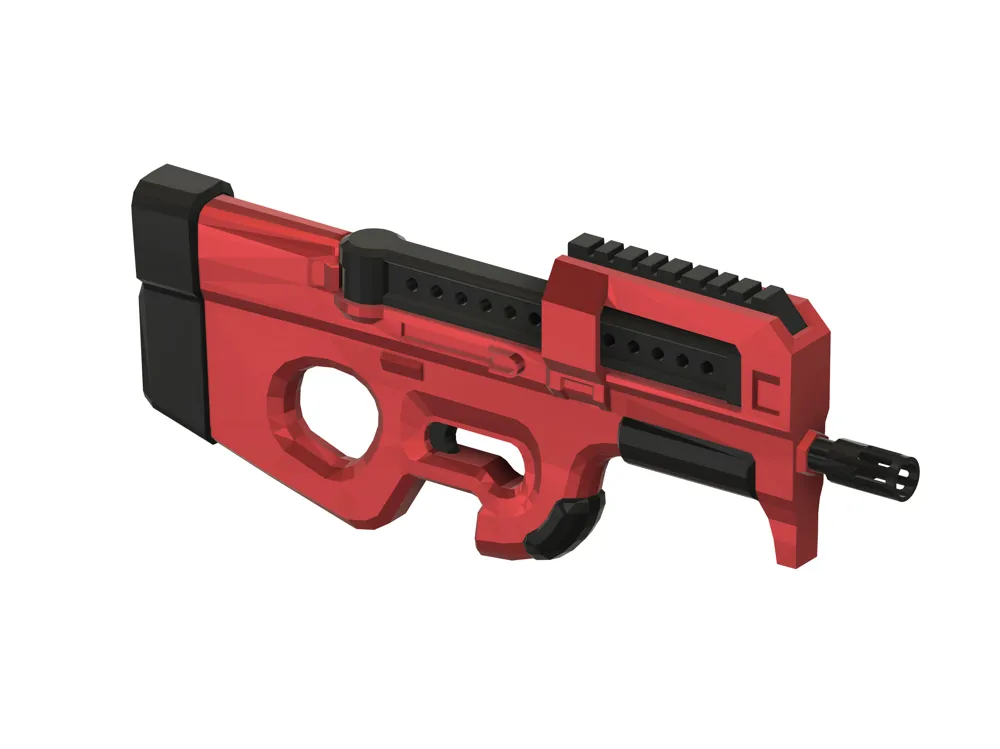
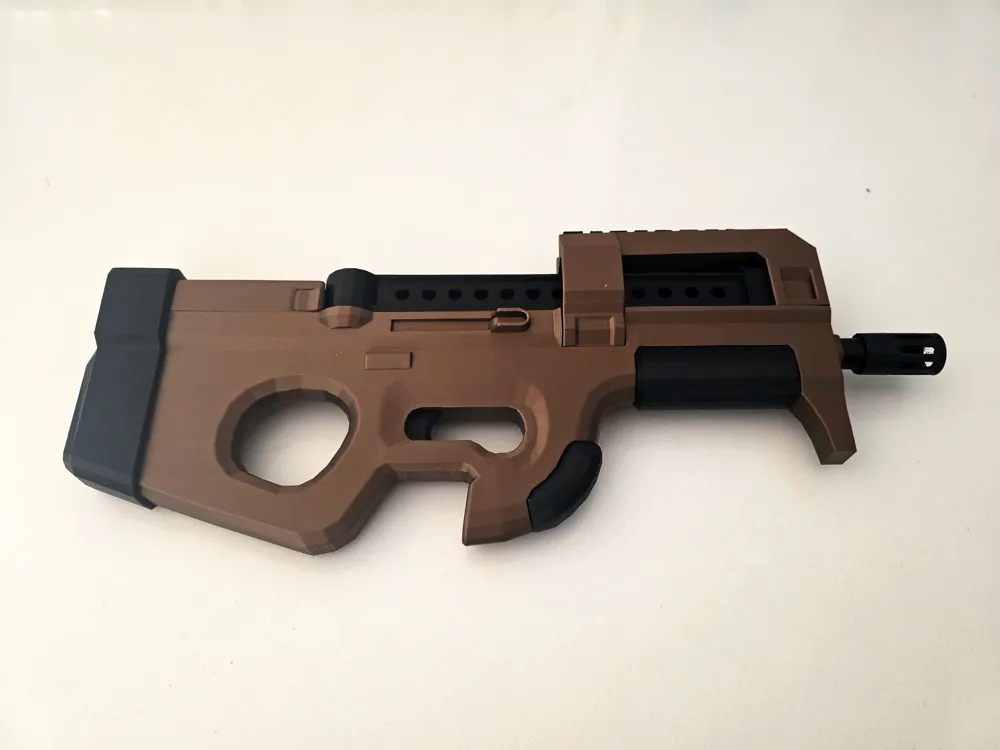
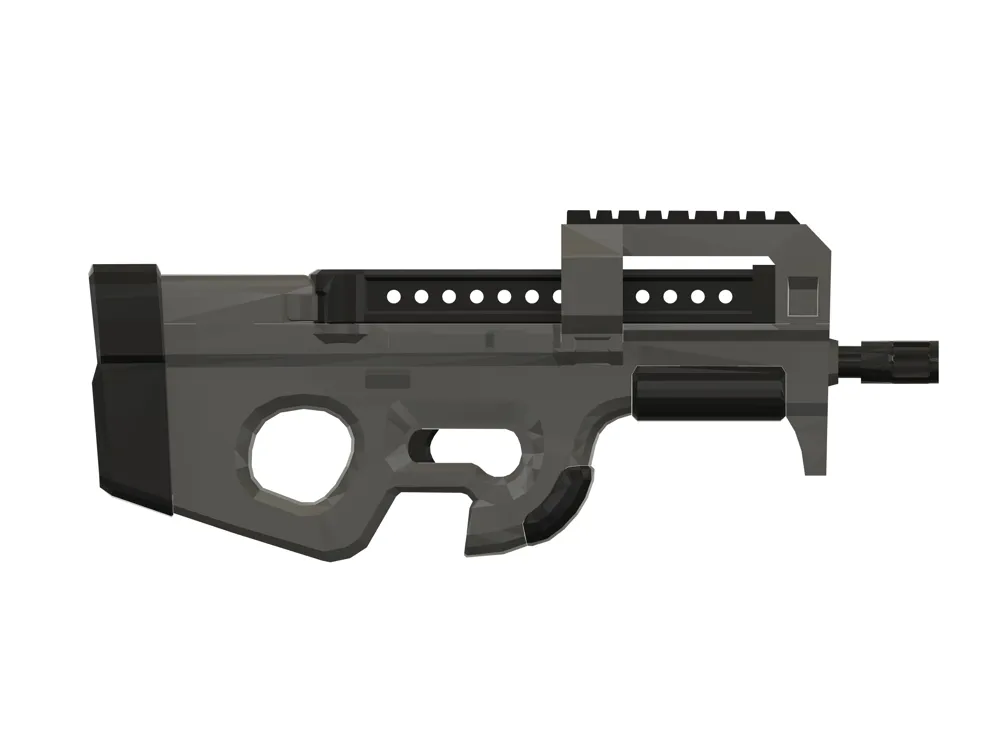
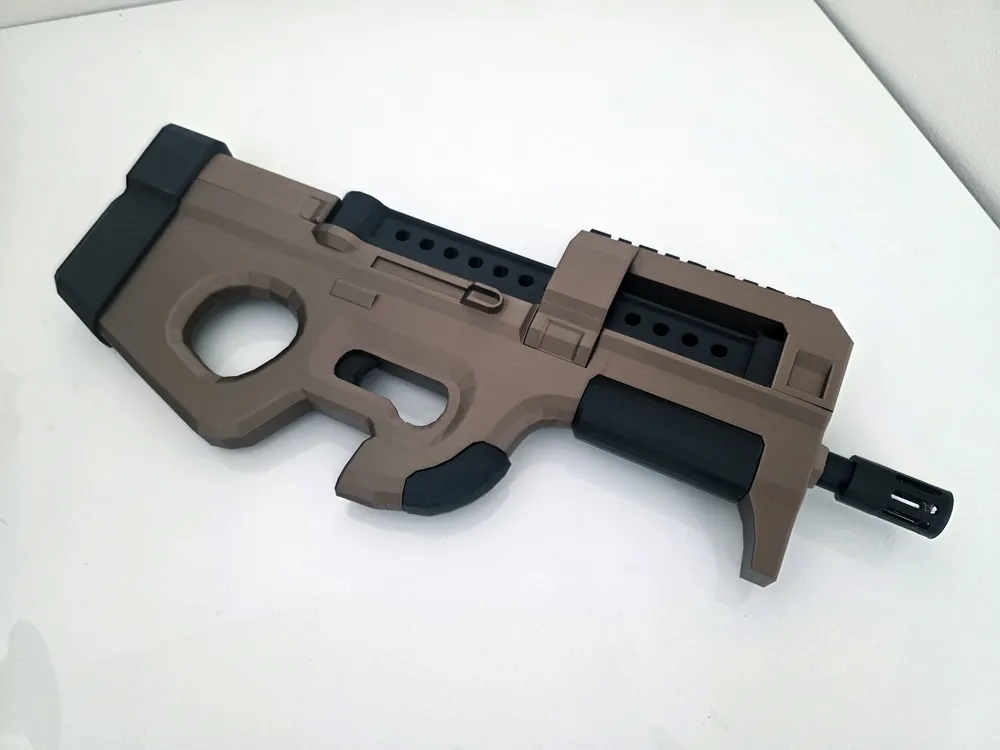
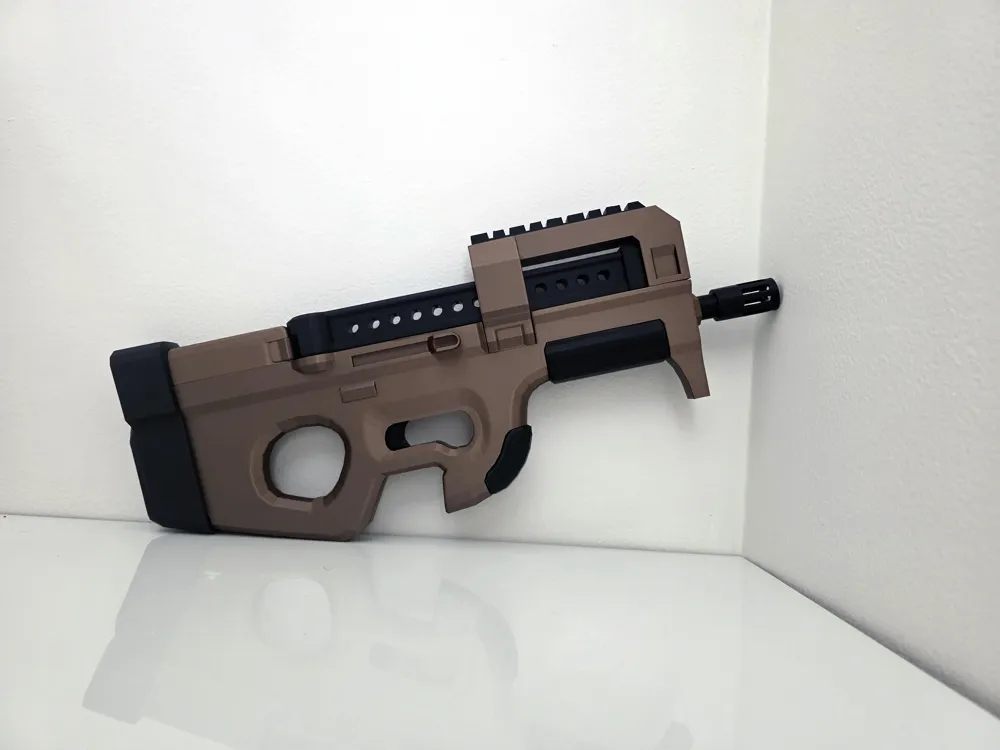
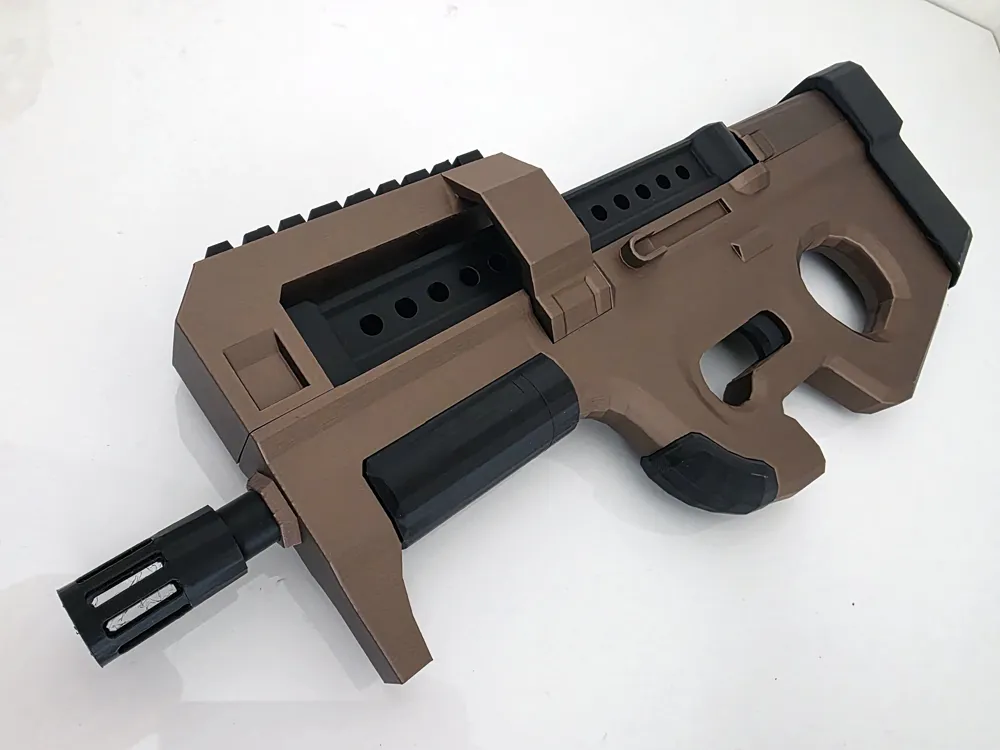
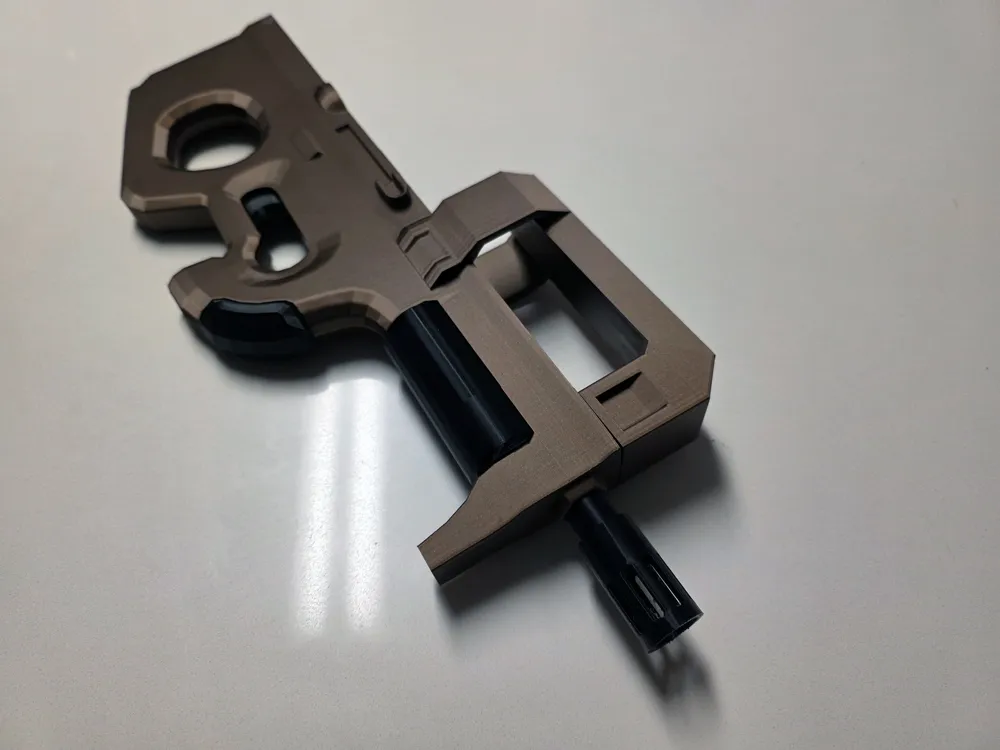
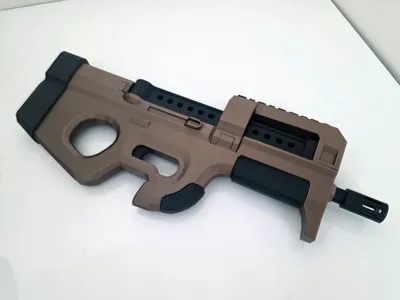
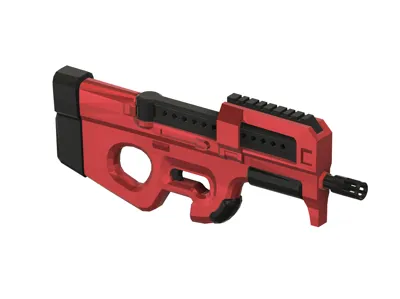
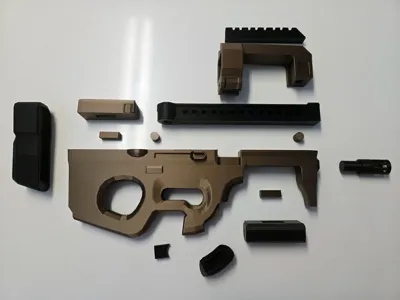
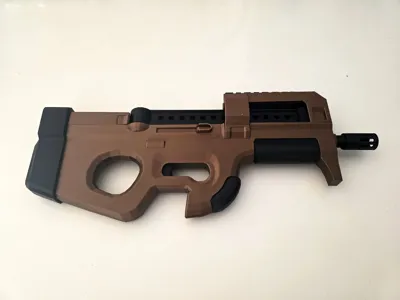
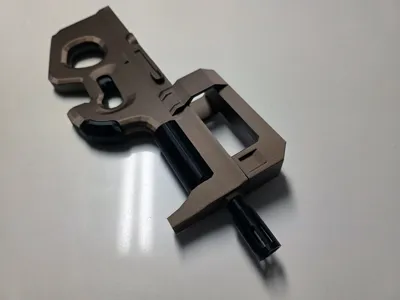
Introducing the Compact SMG P90!
Check out all of my Fortnite Guns!
- 2026: Fortnite Twin Mag SMG Electric Water Gun
- 2026: Fortnite Wrecker Revolver
- 2025: Fortnite P90 Compact SMG
- 2025: Fortnite Mammoth Pistol
- 2025: Fortnite Holo Twister Rifle
- 2025: Fortnite Scoped Burst SMG
- 2025: Fortnite Havoc Shotgun
- 2024: Fortnite Gatekeeper Shotgun
- 2024: Fortnite Scar
Many hours spent modeling, testing, printing, reprinting. You can print stress free using my custom profiles made for each plate organized by color! My first instructional PDF also attached below.
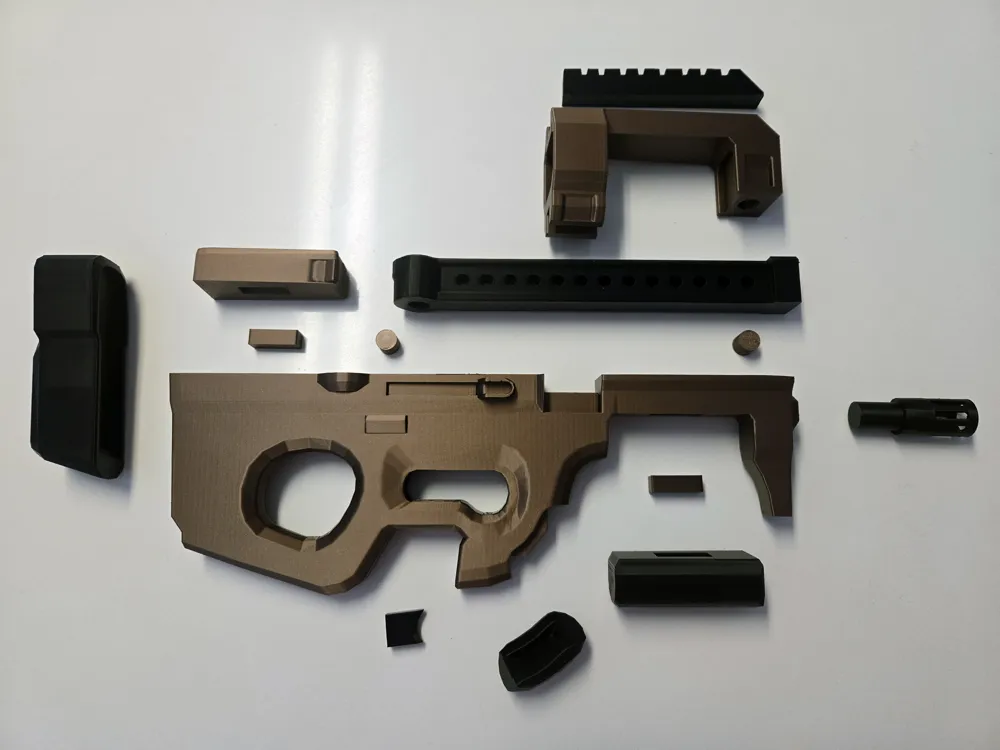
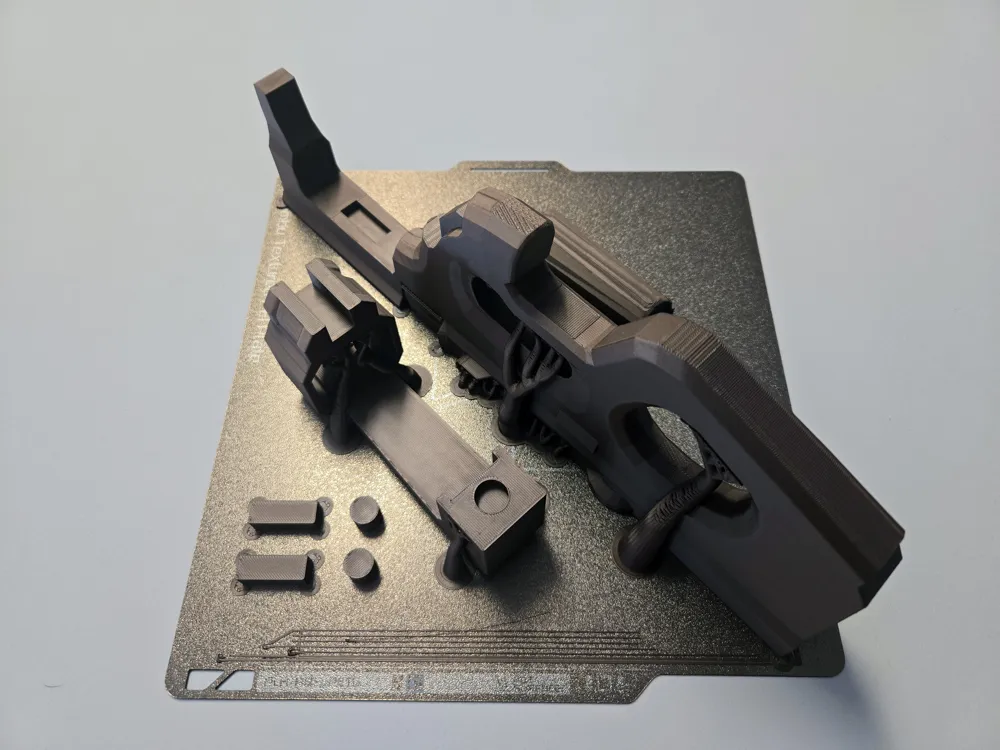
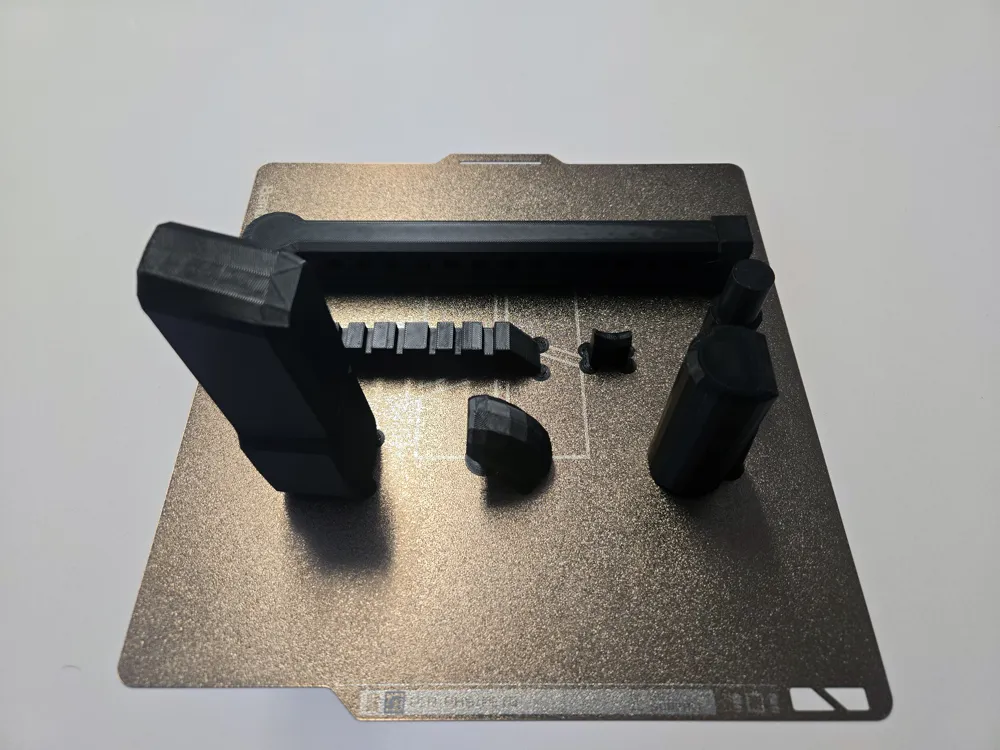
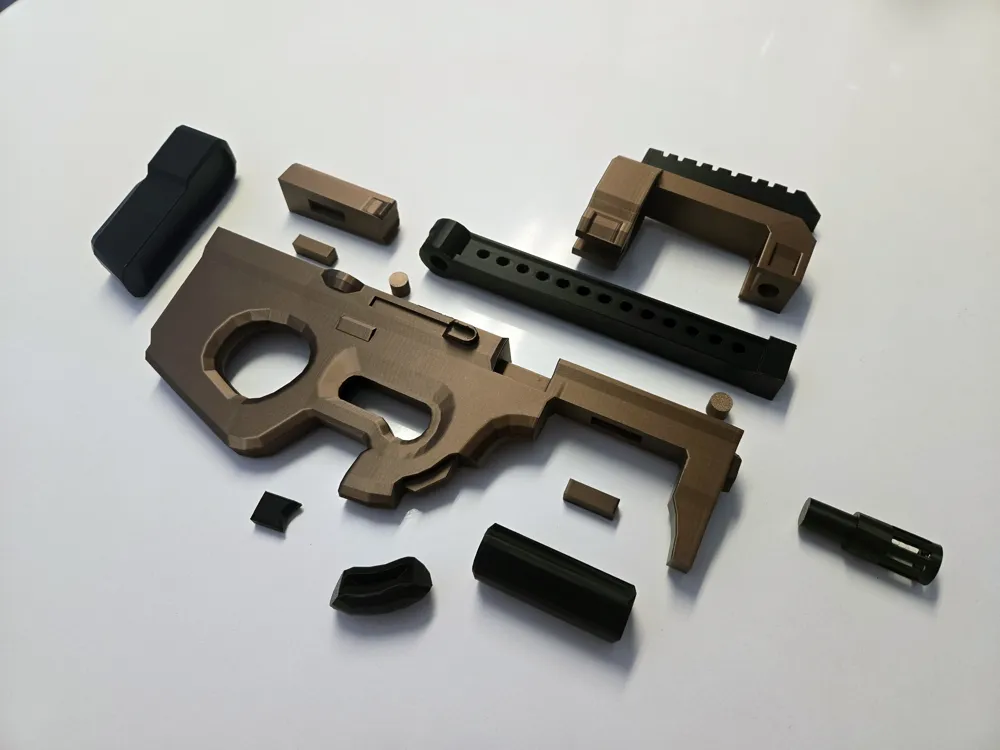
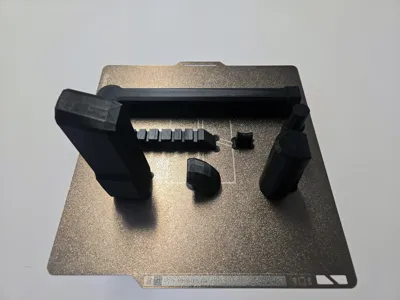
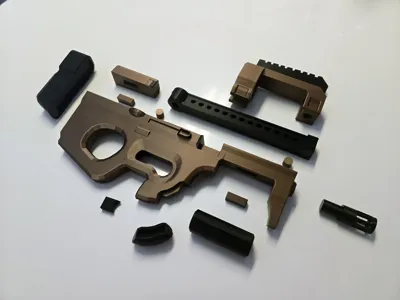
Black Parts - Rails, Barrel, Trigger, Handguard, Stock - 15% Gyroid
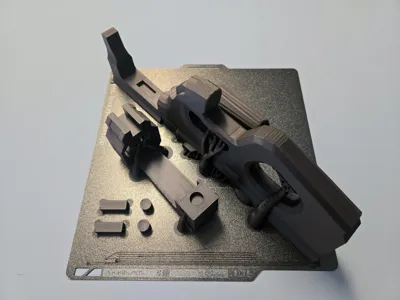
Body Parts - Main body, Rectangle pin, Circle pin - 15% Gyroid
This is one the most rewarding guns for the print time required. With Bambu continuing to create better and better printers for better prices, it's fun to think someone can print this in 6 hours with 2 A1s or P1S for half of what the X1C used to cost. I am saving up all of my model points for an H2D so all boosts, comments, downloads, and prints much appreciated!
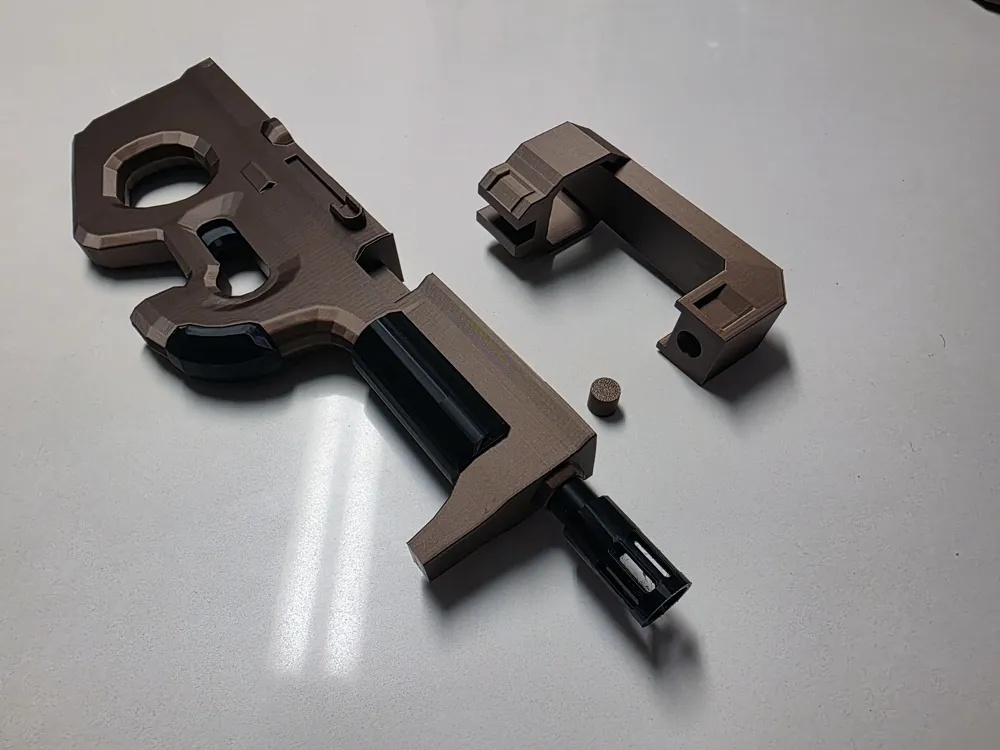
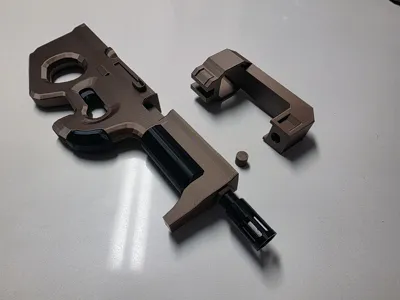
PINS: My pictures have 2 rectangle pins and 2 circle pins. After printing, I realized I could incorporate two of them directly into the model. So the current upload only has 1 rectangle pin and 1 circle pin for even easier assembly. This should be better! All feedback welcome.
I try to make all of my prints as big as possible for an X1C/A1 while keeping the main body in one piece. Seam placement is important to me and I wasn't ready to cut the gun in half. I may go back and enlarge some older guns/tweak the Mammoth next. I also want to make the Scar and P90 bigger 10-20% but have to think hard about where to place the seams. I also started playing with a non-gun item that might be popular for iOS users.
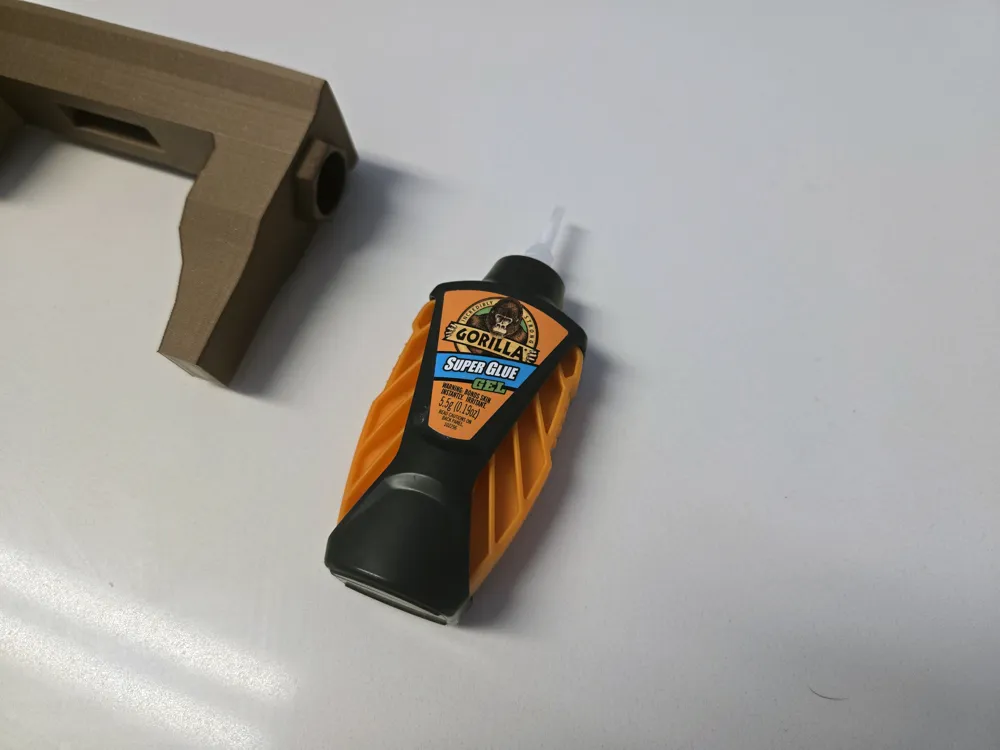
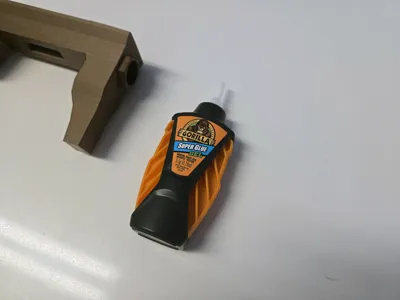
I recommend gel super glue to avoid dripping. I recommend applying the gel glue to the female side of every connection for less mess. Try not to get glue on any visible parts it will leave a mark on PLA.
What other models would you print?
Boost Me (for free)
If you have any left, I would greatly appreciate you boosting my model. They go a long way!
Documentation (1)
License

You shall not share, sub-license, sell, rent, host, transfer, or distribute in any way the digital or 3D printed versions of this object, nor any other derivative work of this object in its digital or physical format (including - but not limited to - remixes of this object, and hosting on other digital platforms). The objects may not be used without permission in any way whatsoever in which you charge money, or collect fees.


Comment & Rating (56)