World of Warcraft - Doomhammer, multi-part printing, no AMS needed, no supports


Print Profile(6)


Description
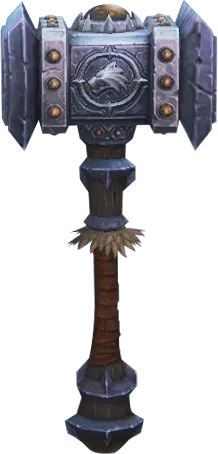
Doomhammer forged in the fury of the elements, passed down through generations, it is the vanguard of enemy destruction, a dual harbinger of salvation and destruction in prophecy
Many renowned orcs have wielded the Doomhammer Blackhand, Orgrim, Thrall Now the Doomhammer has passed into your hands, it can lead you to victory or to your demise

===================================
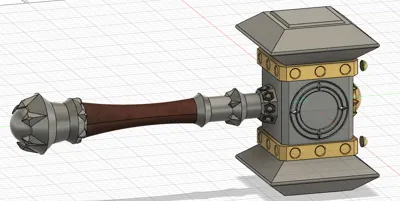
The model is printed in fully disassembled parts, no AMS needed, no supports needed, simple assembly, requires some glue
To achieve better color effects for the model, the parts have been reasonably separated, allowing for more flexible color combinations according to your preference, to create your own unique artifact
Kind reminders:
(1) Bambu Lab PLA and Sunlu PETG were used for repeated print tests, and tolerances have been adjusted to a reasonable range
(2) Before printing, please clean the build plate thoroughly, or apply glue, or increase the build plate temperature, as there are large print areas, insufficient bed adhesion may cause warping or shifting
(3) If you mix and assemble parts printed with different material properties, be sure to use materials with a high sinkage rate to print the connecting pins, otherwise, issues like difficult installation may occur
(4) If the connecting pins are too tight or difficult to insert, you can gently tap them with a rubber mallet, please be careful not to tap too hard, otherwise, the model may be damaged
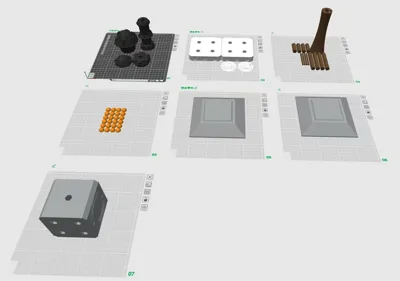
Exploded view, assemble according to the diagram (the decorative beads on plate 4 are glued into the reserved grooves on the hammer body)

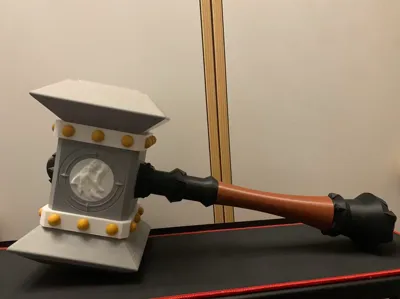
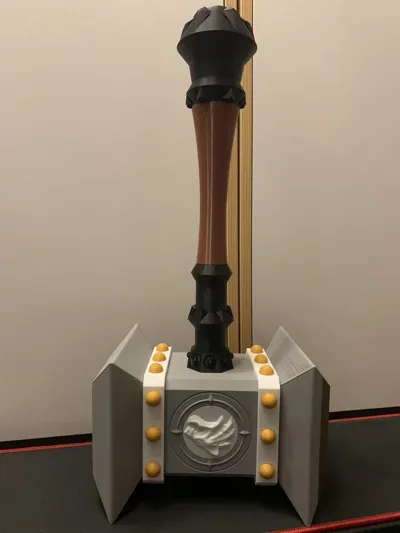
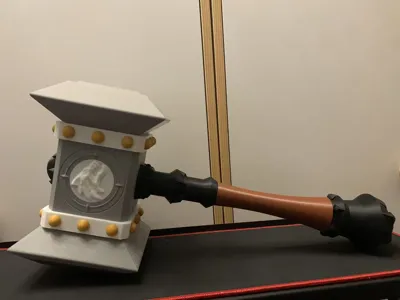
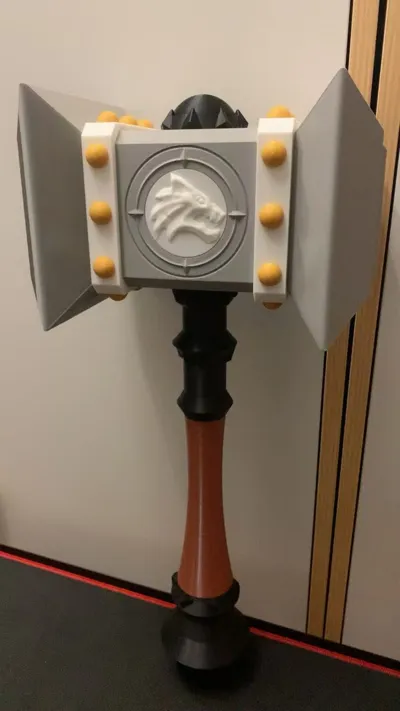
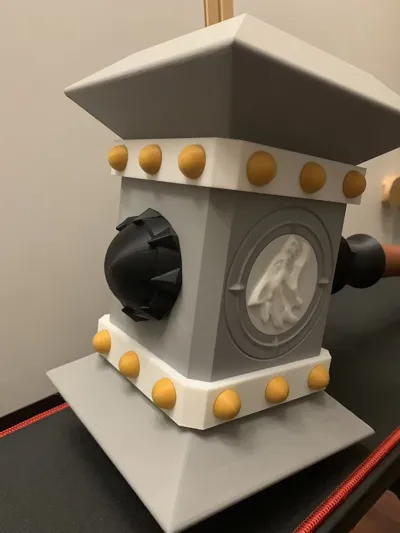
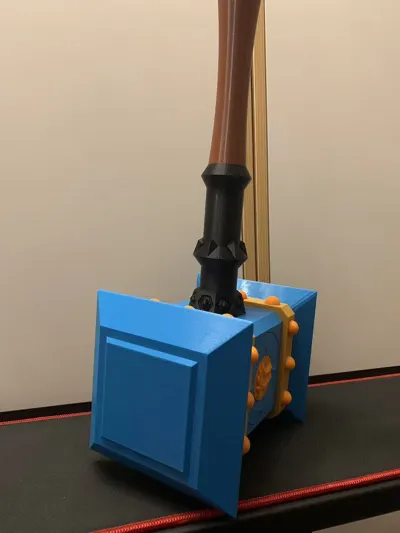
Actual photos

Actual photos at 40% scale (total height around 20cm)


Notes:
Some parts have reinforced connecting pins between them (as shown in the figure below), if for light use only, just connect the main pin in the middle section
If you need to swing it forcefully, it is recommended to reinforce the connection and add more glue, allowing it to set for 24 hours until the glue is completely cured

The model has undergone repeated refinement and verification, please print with confidence, if you have any suggestions or comments, feel free to send a private message or leave a comment
Boost Me (for free)
License
You may create derivative works based on this object, provided that all such derivative works are published exclusively on the MakerWorld platform and include proper attribution to the original creator. You may not share, upload, host, distribute, or publish this object—or any derivative work of this object—on any other digital platform, marketplace, or distribution channel. Commercial use of this object and any derivative works is strictly prohibited. This includes, but is not limited to, selling, renting, sublicensing, or using the object in any context in which you receive monetary compensation or other financial benefits.
Comment & Rating (9)