
Modular Conveyor - Wi-Fi Servo / TT motor / Manual
Print Profile(4)



Bill of Materials


Description
Boost Me (for free)
If you like this design, consider giving it a boost or leaving a comment — it really helps! 🙌
Update 14-7-2026
Fixed an issue in the handcrank hexagon shaft for the 'New A1 mini version' printprofile.
Update 23-03-2026
Improved version; new side frame design, larger shafts, poop chute option, new endcaps, inclined legs option, new drive options
- TT-motor
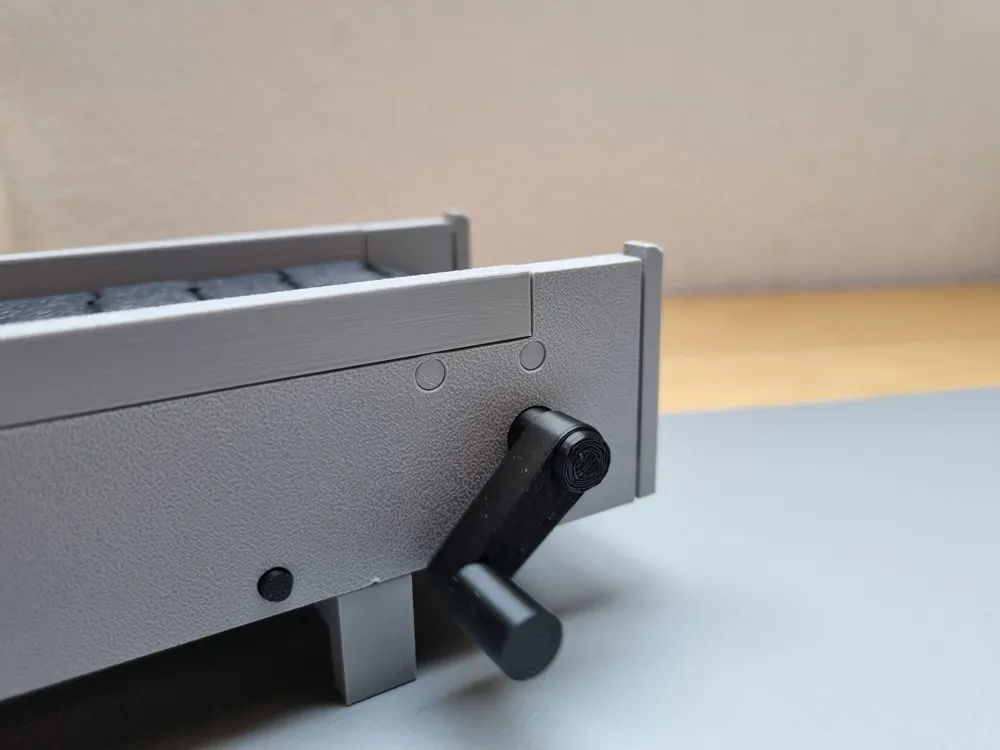
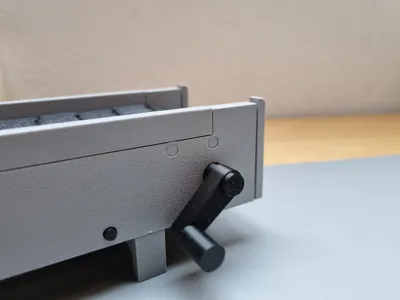
- Hand crank for use without motor
- Servo motor
Refer to the assembly guide for detailed descriptions.


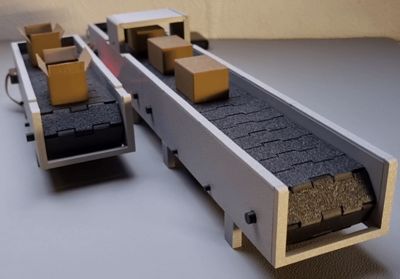
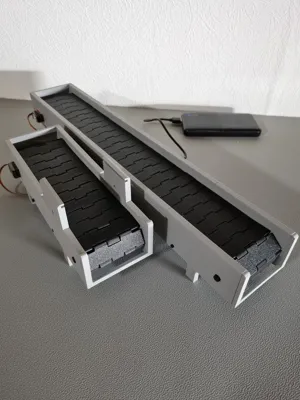
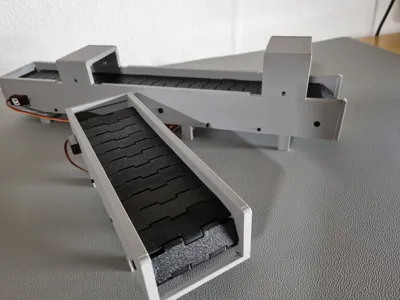
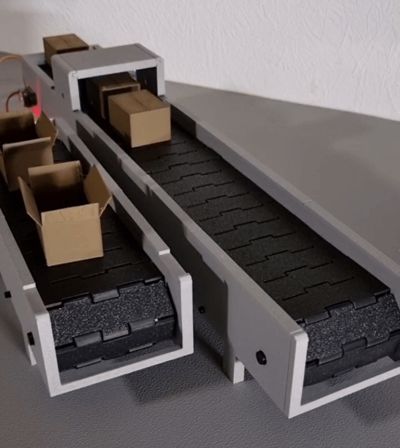
Create your own modular conveyor.
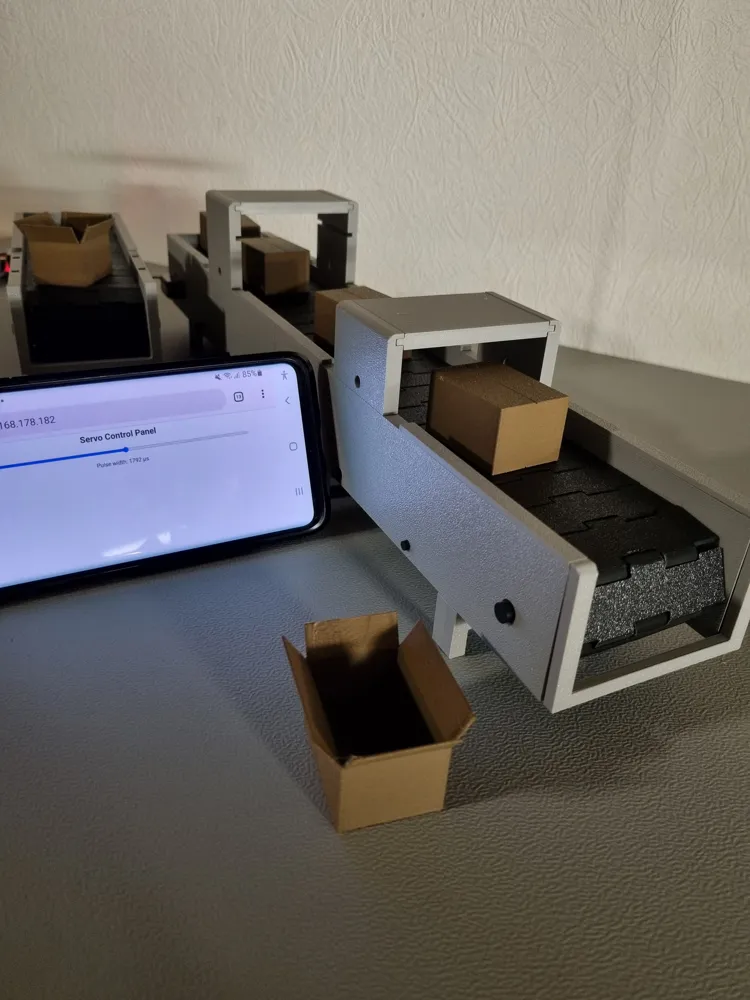
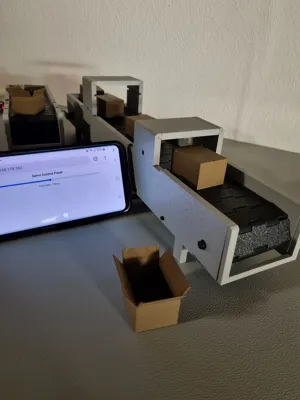
Hand operated, equipped with Bambu Lab TT-Motor or powered by an ESP32-S3 and Servo Drive controlled over WiFi.
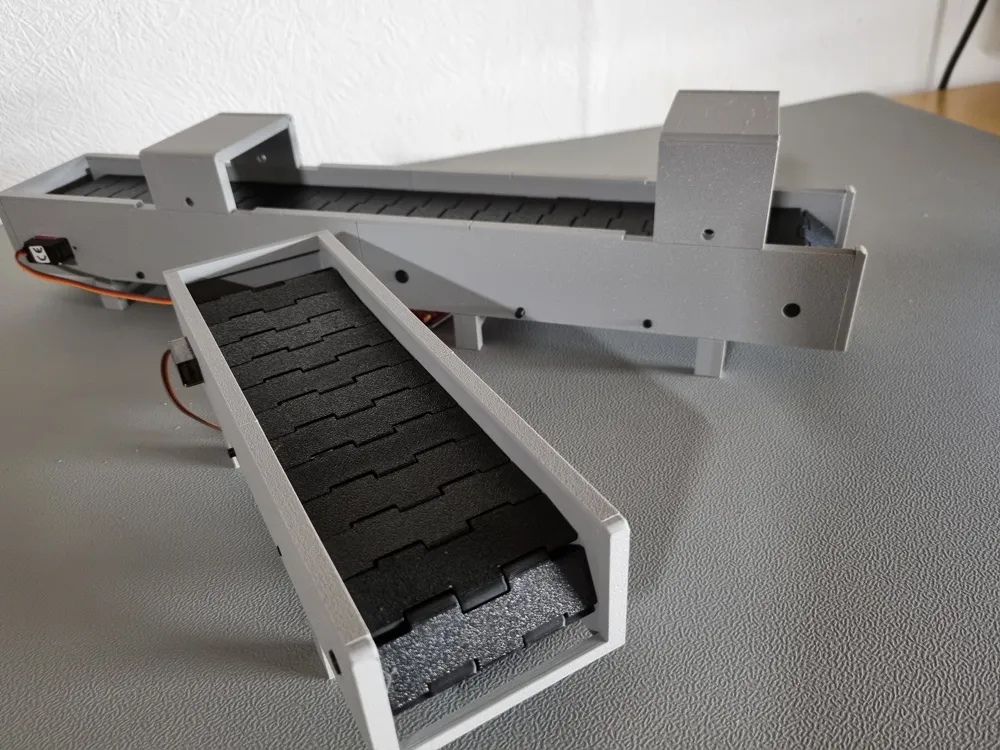
It’s fully 3D-printed and designed for experimenting with automation and control.
The modular frame can be assembled without glue — parts simply fit together for easy adjustment or reconfiguration.
Additional Top Modules can be added in the future for sensors or other accessories.
This project is a modular conveyor system designed for experimenting with automation, control electronics and mechanical design. All mechanical parts are 3D-printed, designed in Fusion 360, and optimized for reliable printing.
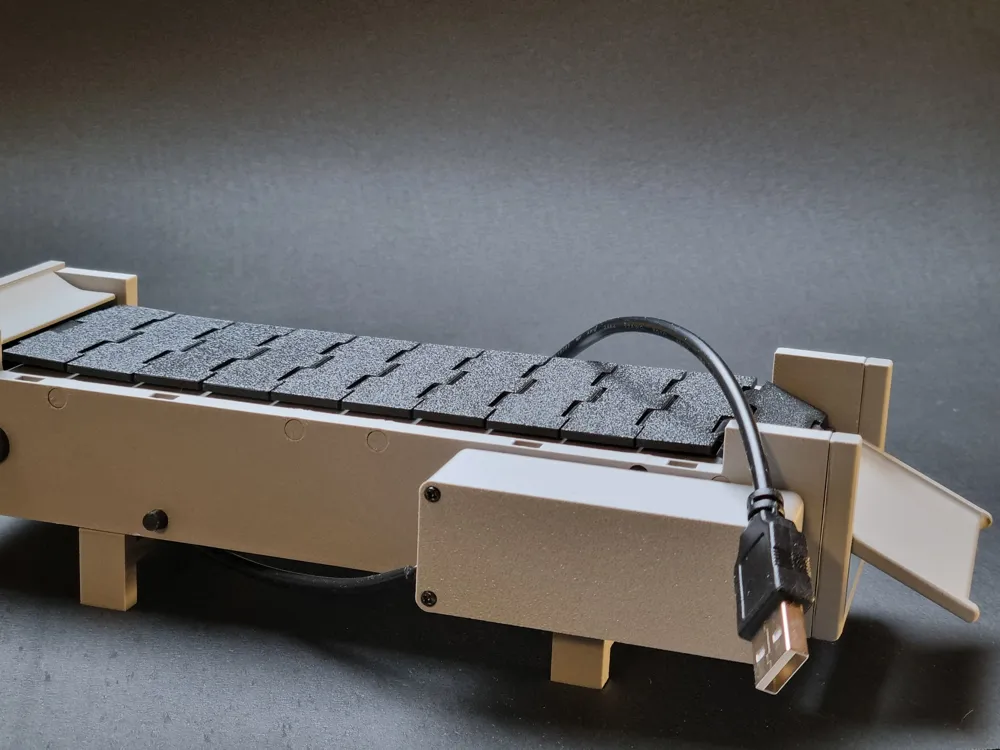
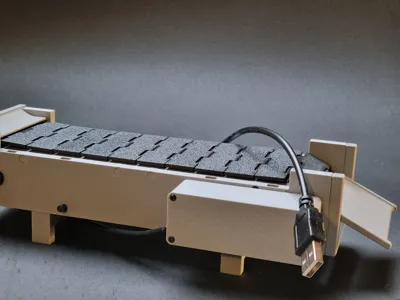
Drive options include a hand crank for operation without a motor, the simple USB TT-Motor, or the ESP32/servo motor version which can be controlled via Wi-Fi, allowing remote adjustment of belt speed and direction through a simple web interface.
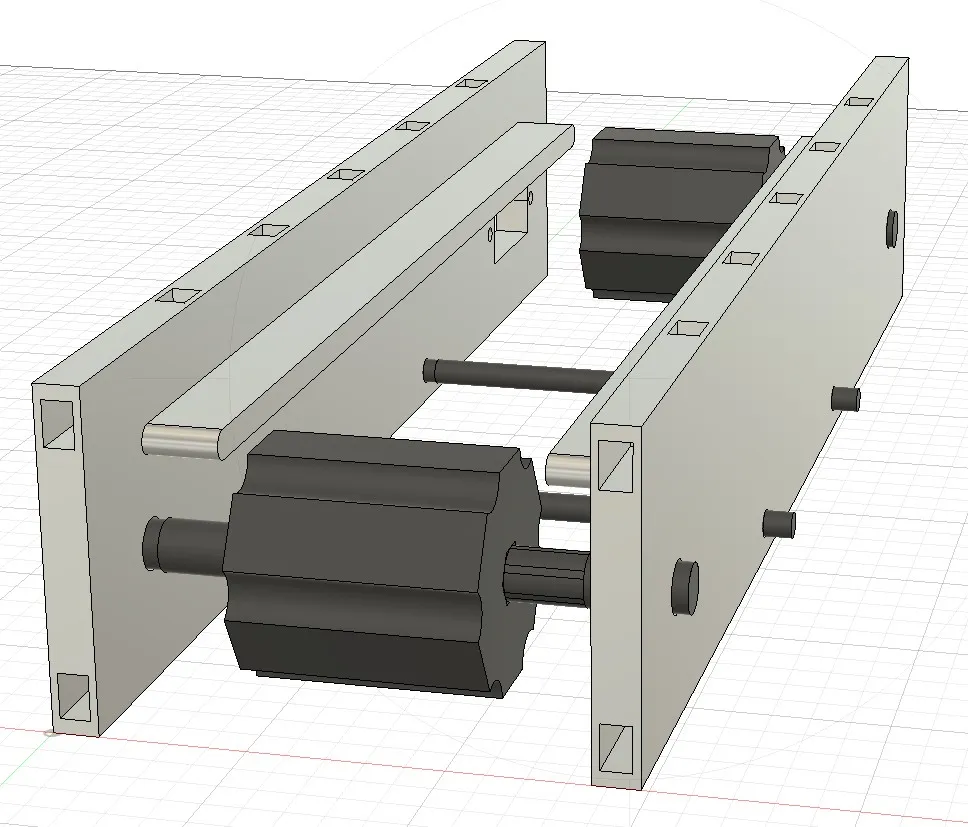
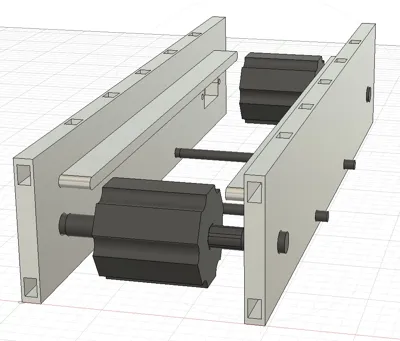
Each conveyor segment includes a printed frame, belt modules, shafts, and drive sprockets.
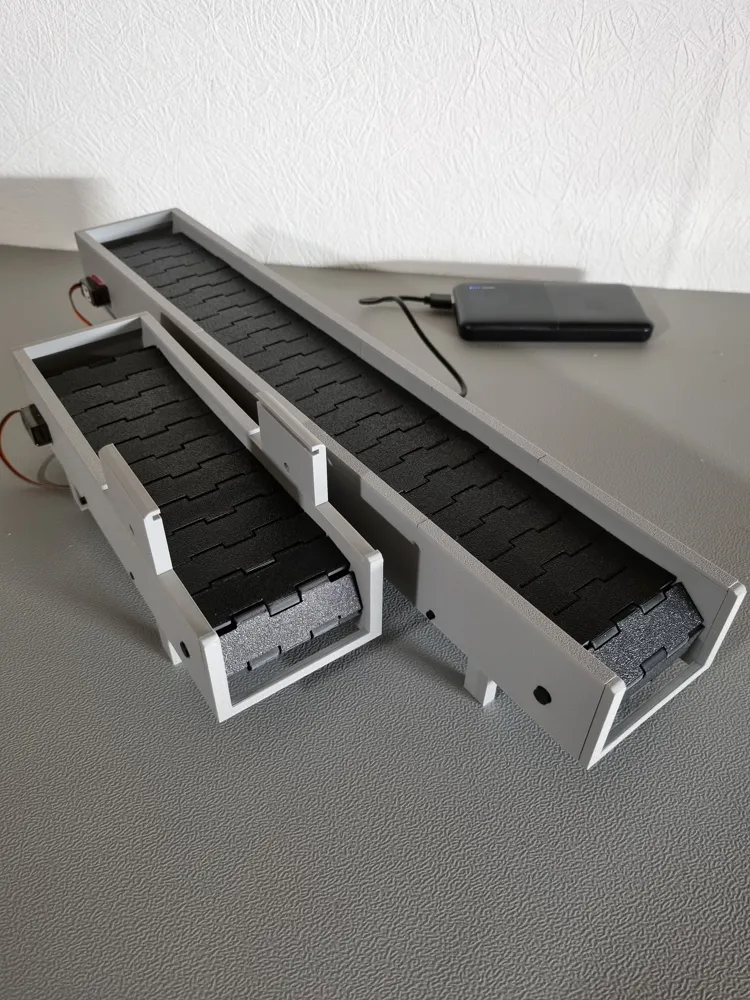
Multiple segments can be connected using frame connectors to create longer conveyors.
- Module length: 220 mm
- Total width: 74 mm
Leg height: 20 mm
Different size conveyors can be configured yourself using the Parametric conveyor generator published here.
Assembly Guide
Frame Side VariantsThe model has three different frame side types, depending on the function of the module.
TT Motor Drive Side This is the recommended default drive option
The Bambu lab TT-motor slides directly into the printed frame. Speed can be controlled by the Bambu Lab IA002 Speed controller
The motor compartment is closed with a printed cover, secured using: | 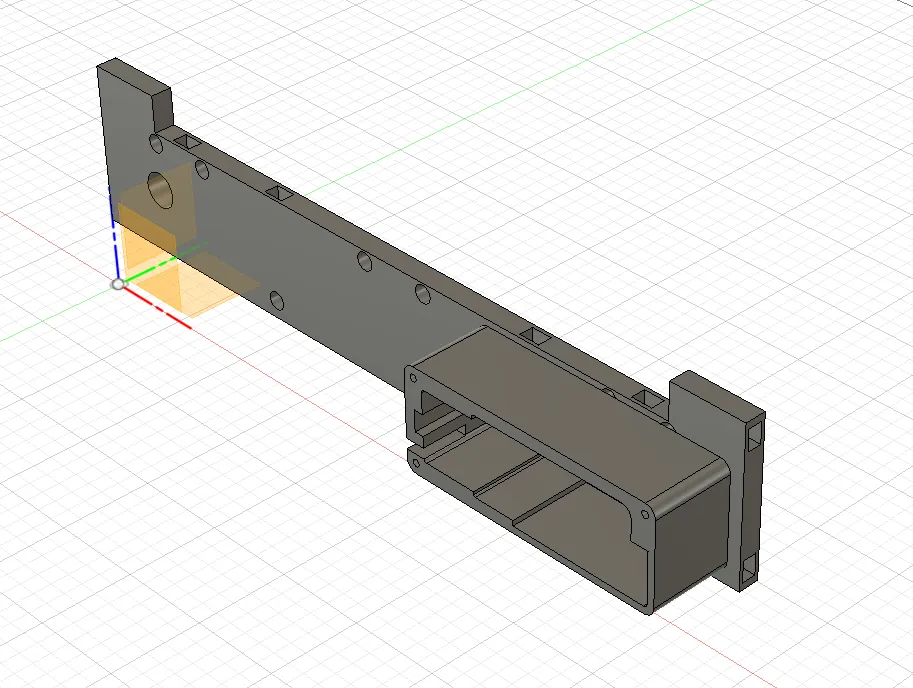 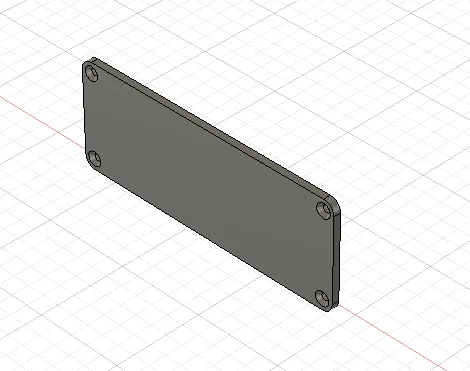 |
Servo Drive Side (alternative drive, not needed when using the TT-motor)
| 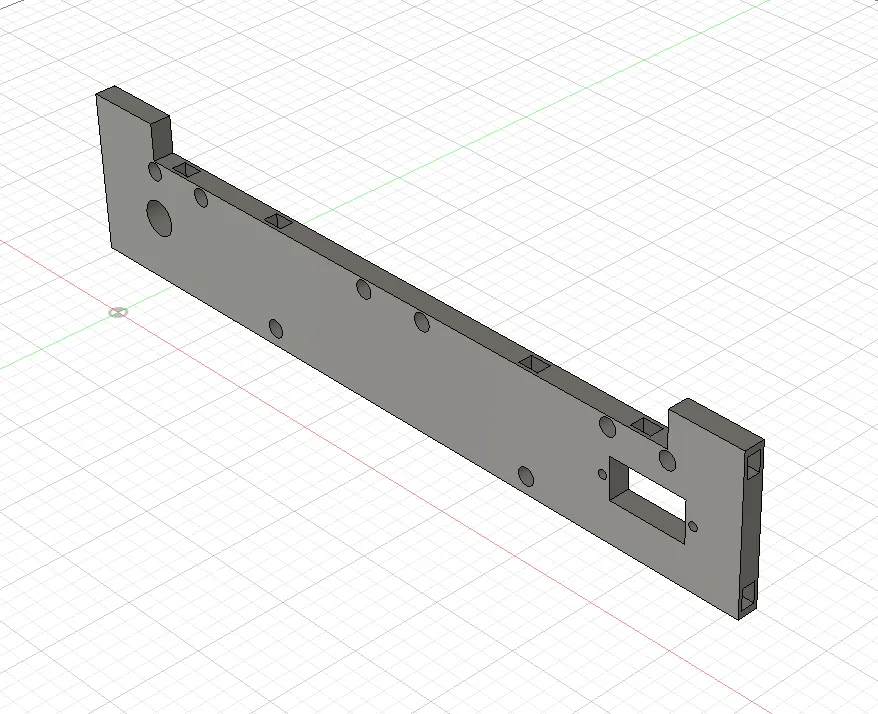 |
Passive / Universal Frame Side
This makes the system orientation-independent and simplifies multi-module layouts | 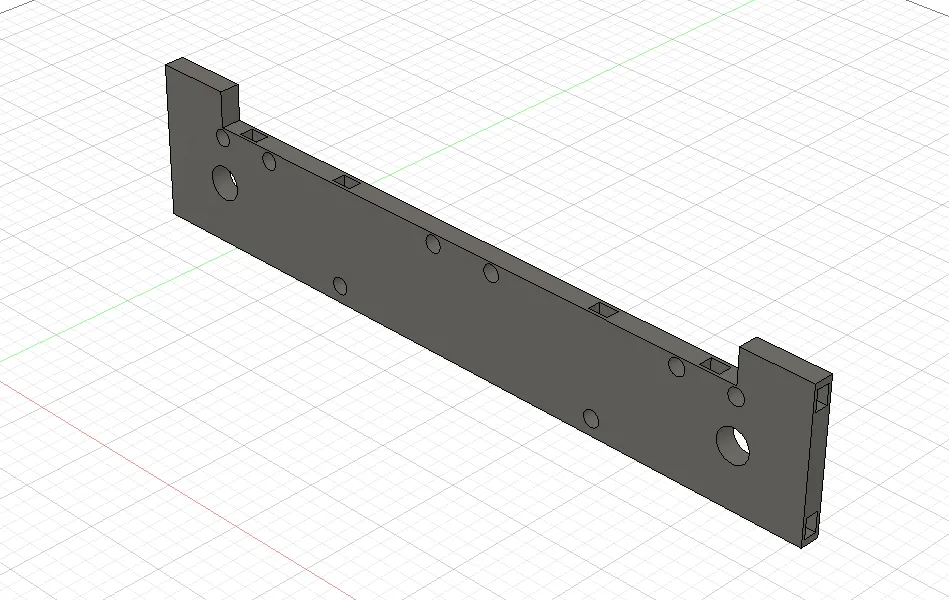 |
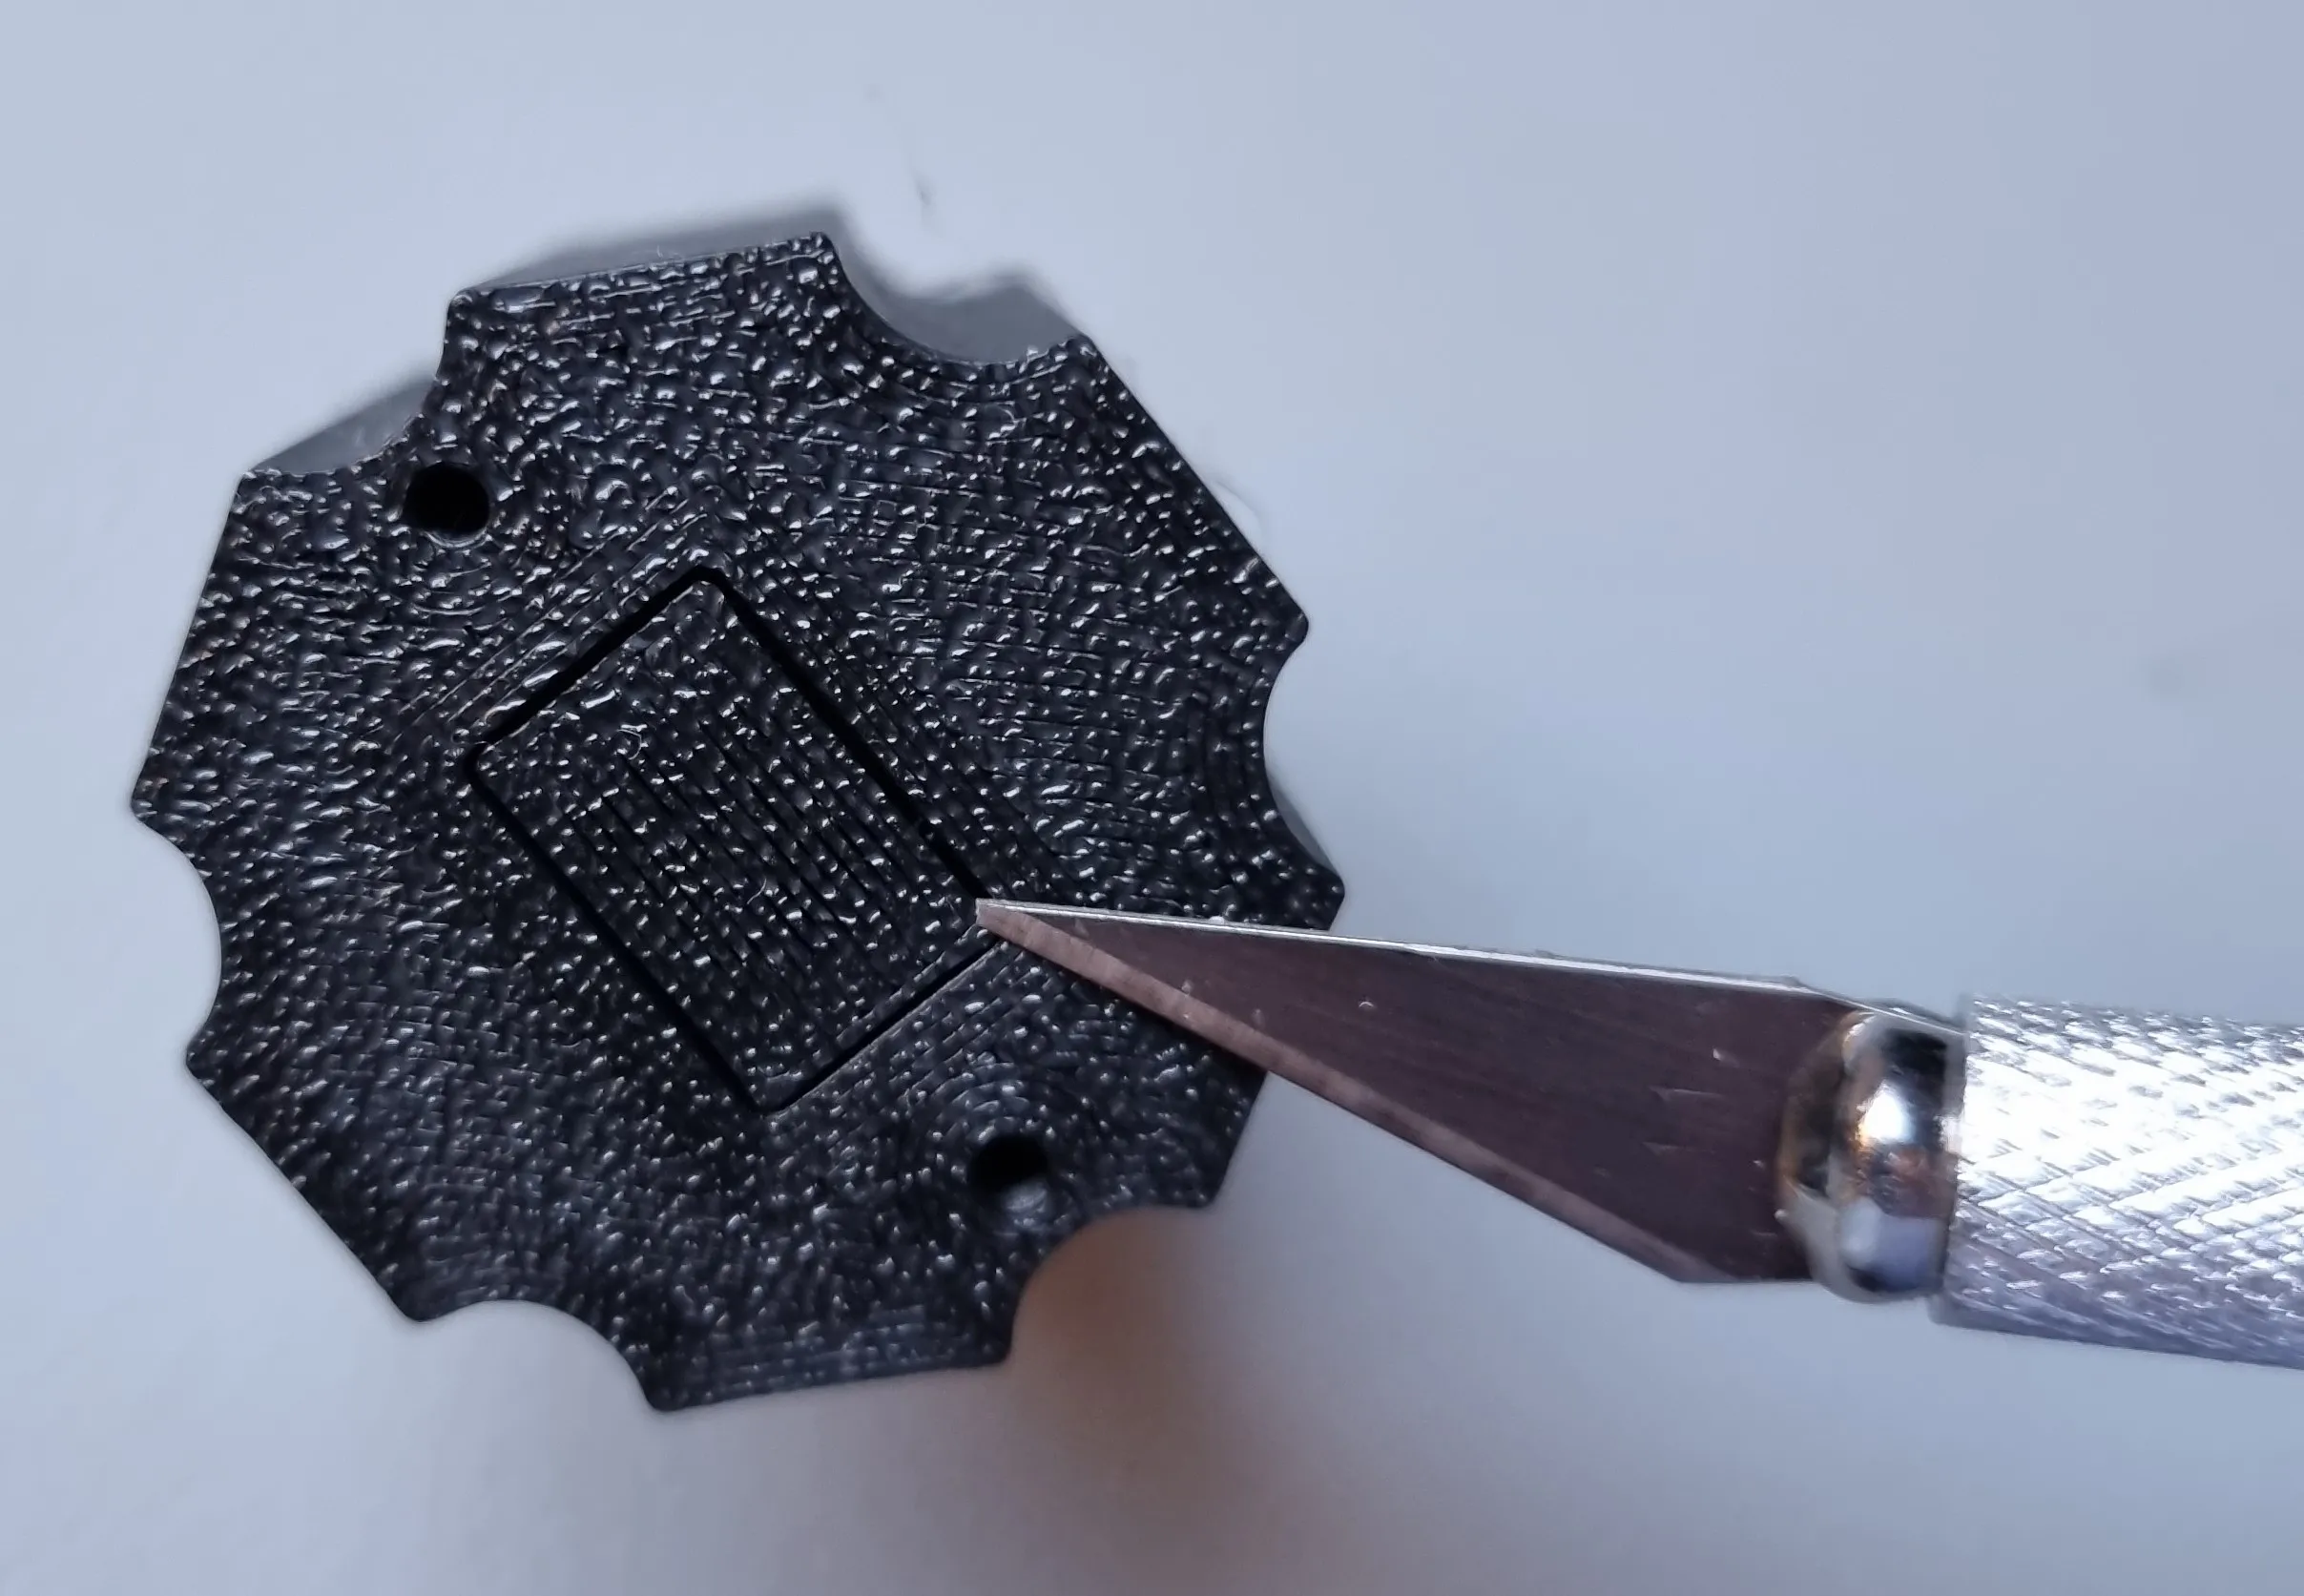
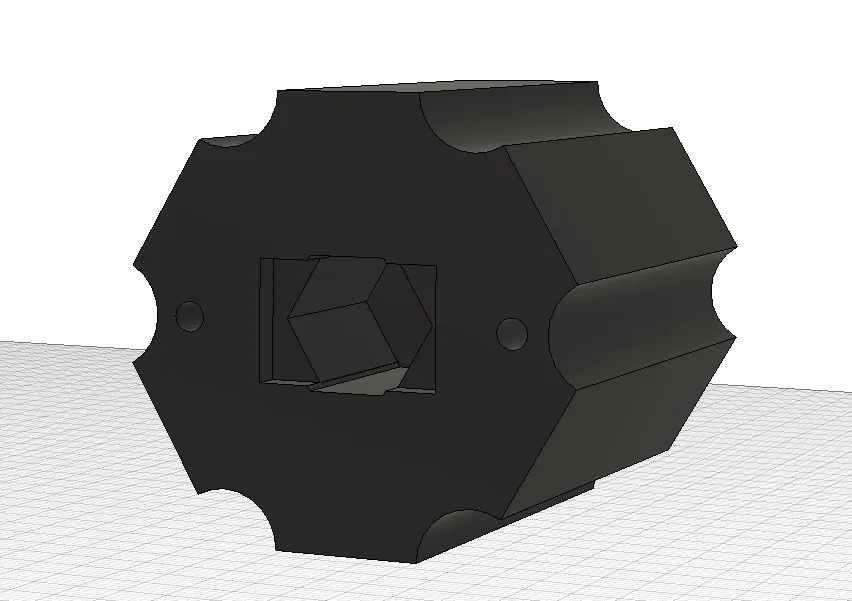
Drive Sprockets The belt loops around the drive sprockets.
|  
|
| The TT-motor shaft with corresponding hole, is used to connect the TT-motor to the sprocket | 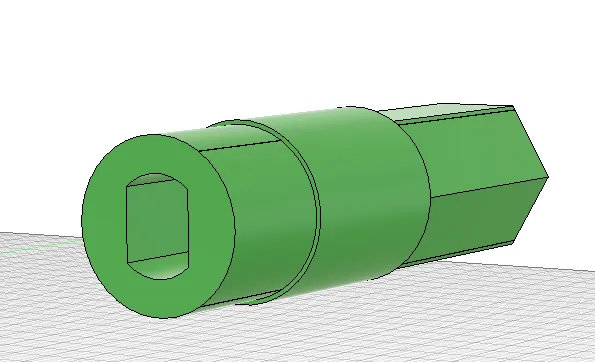
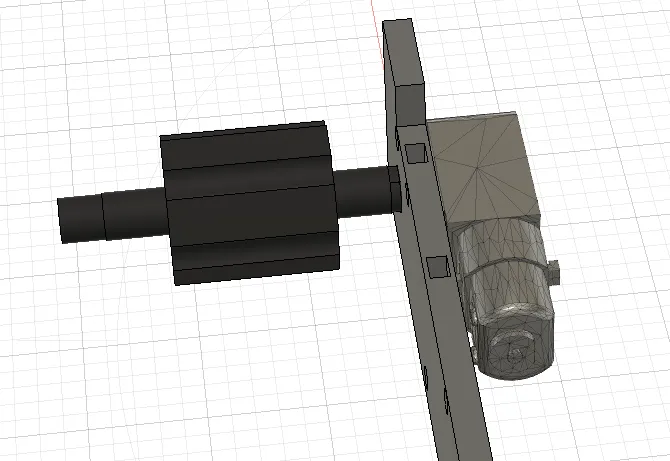 |
| Hand crank | 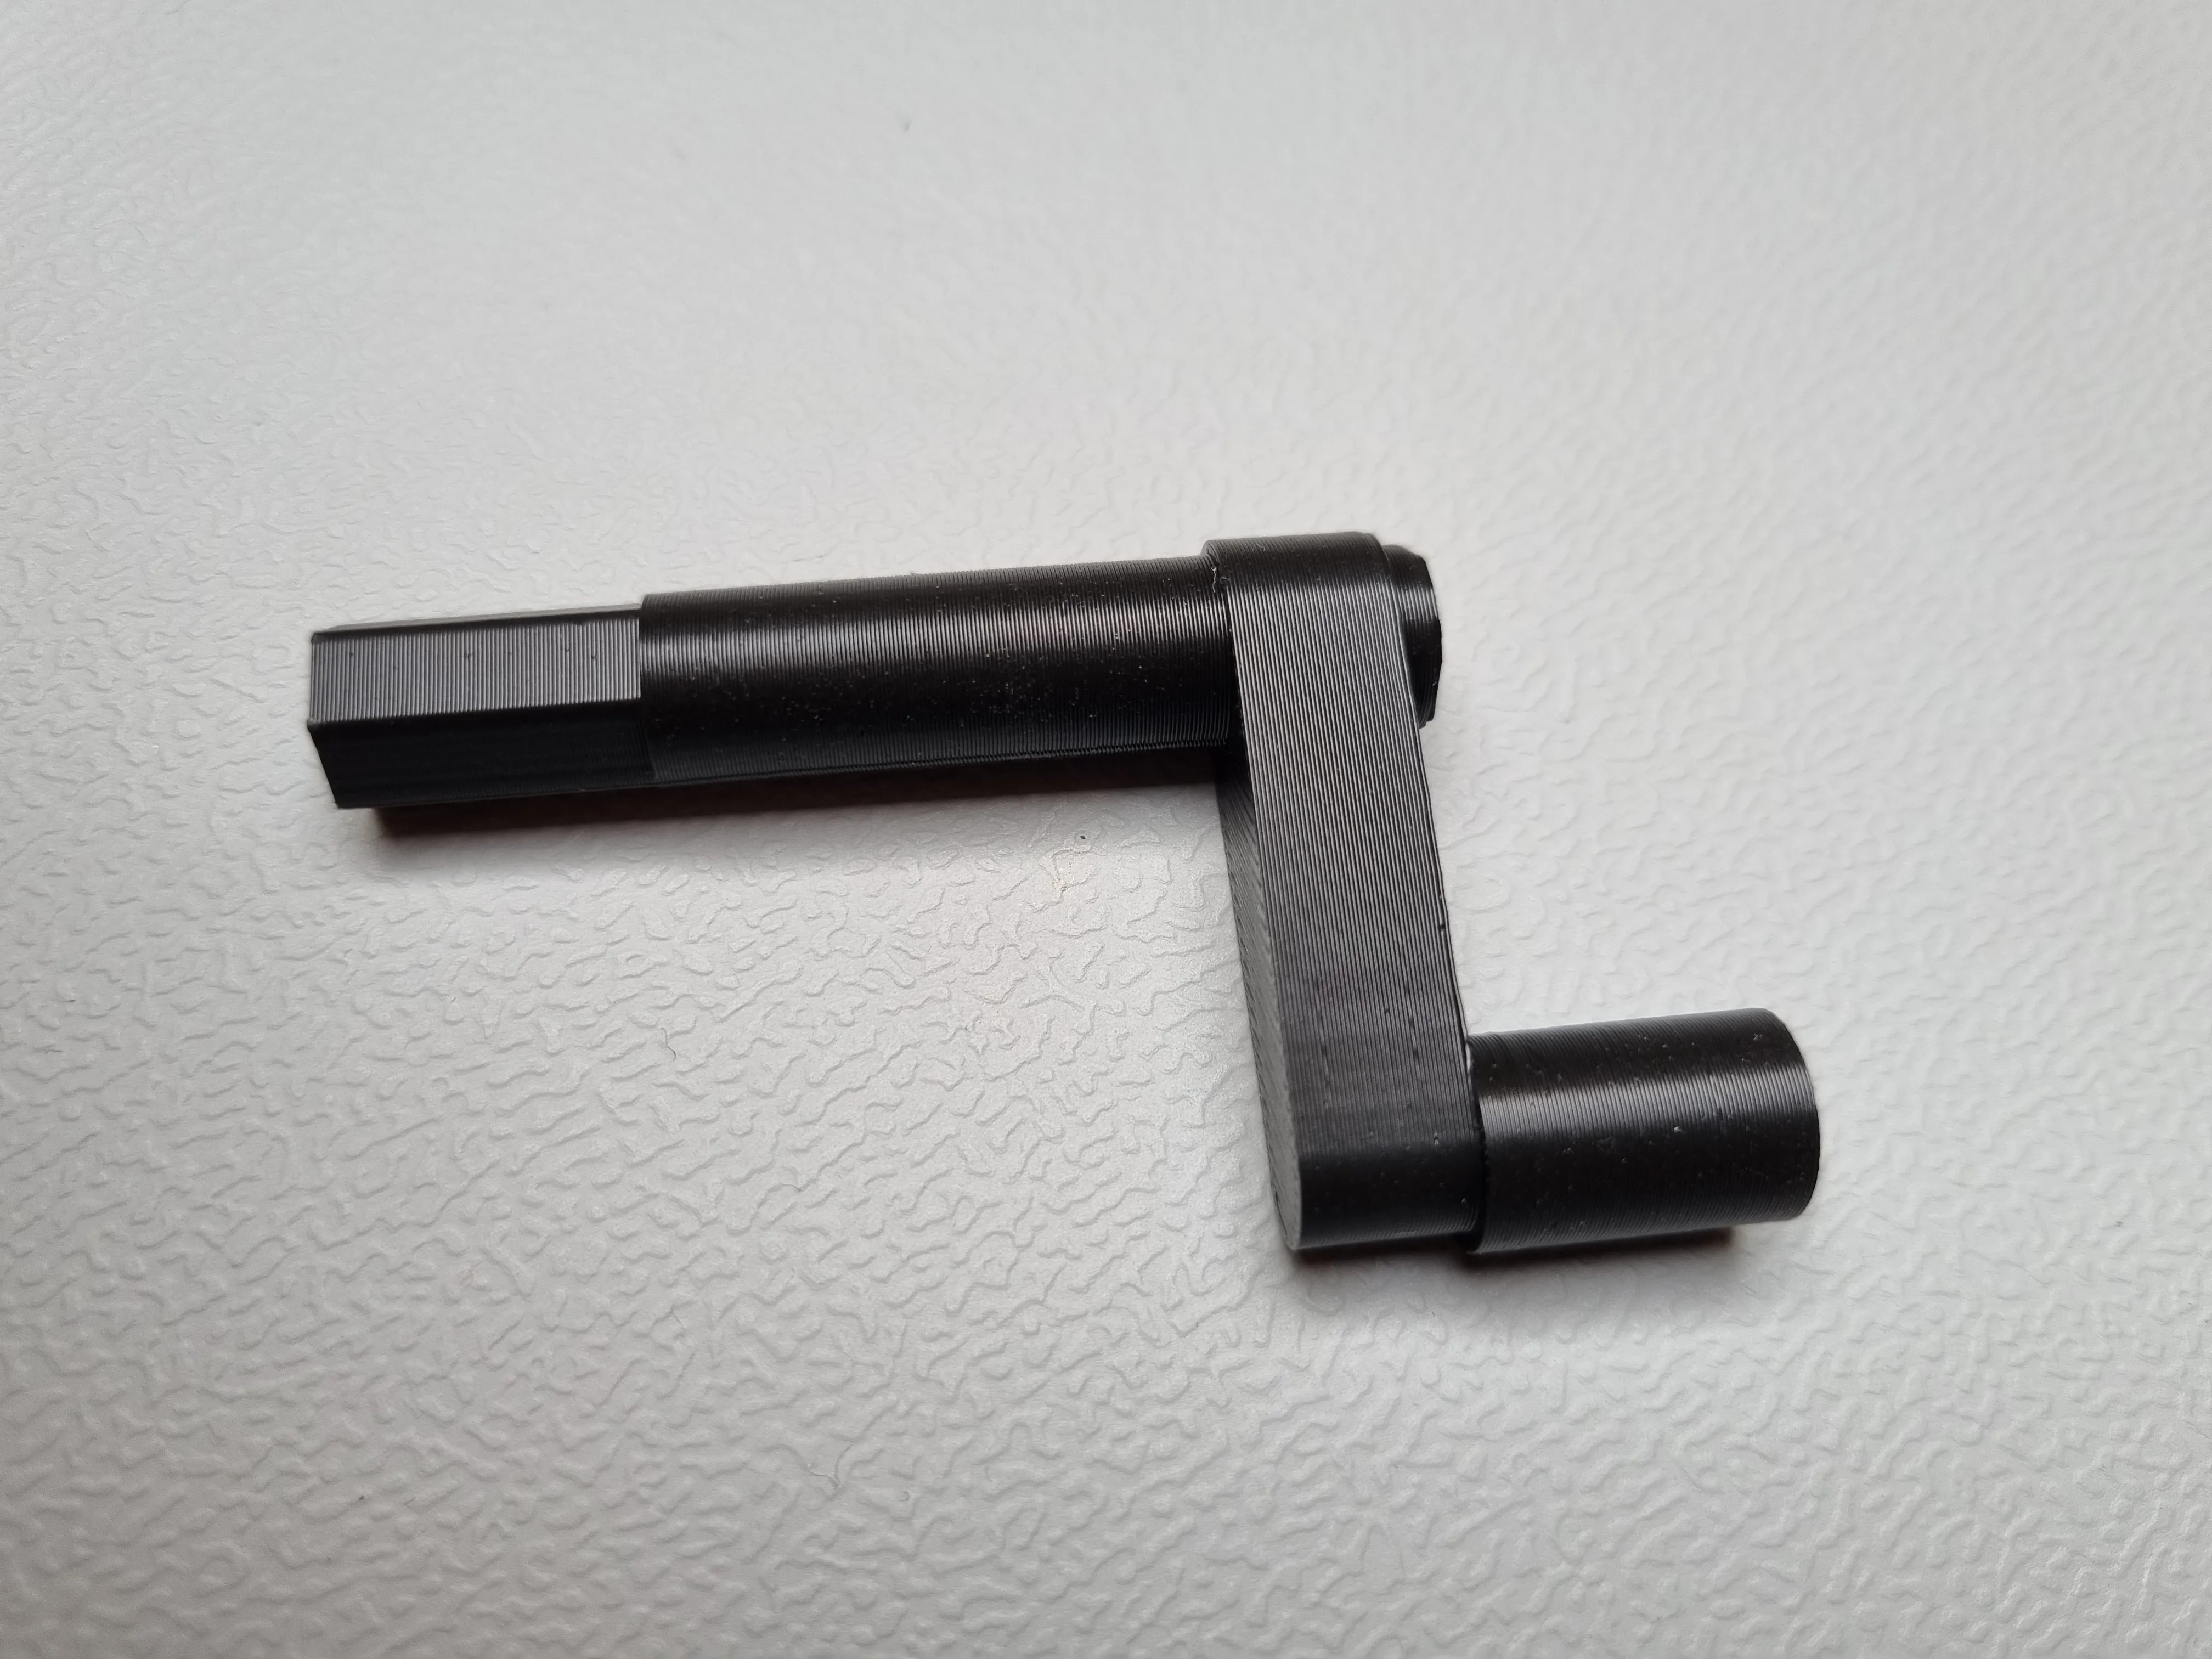 |
Servo mounting
| 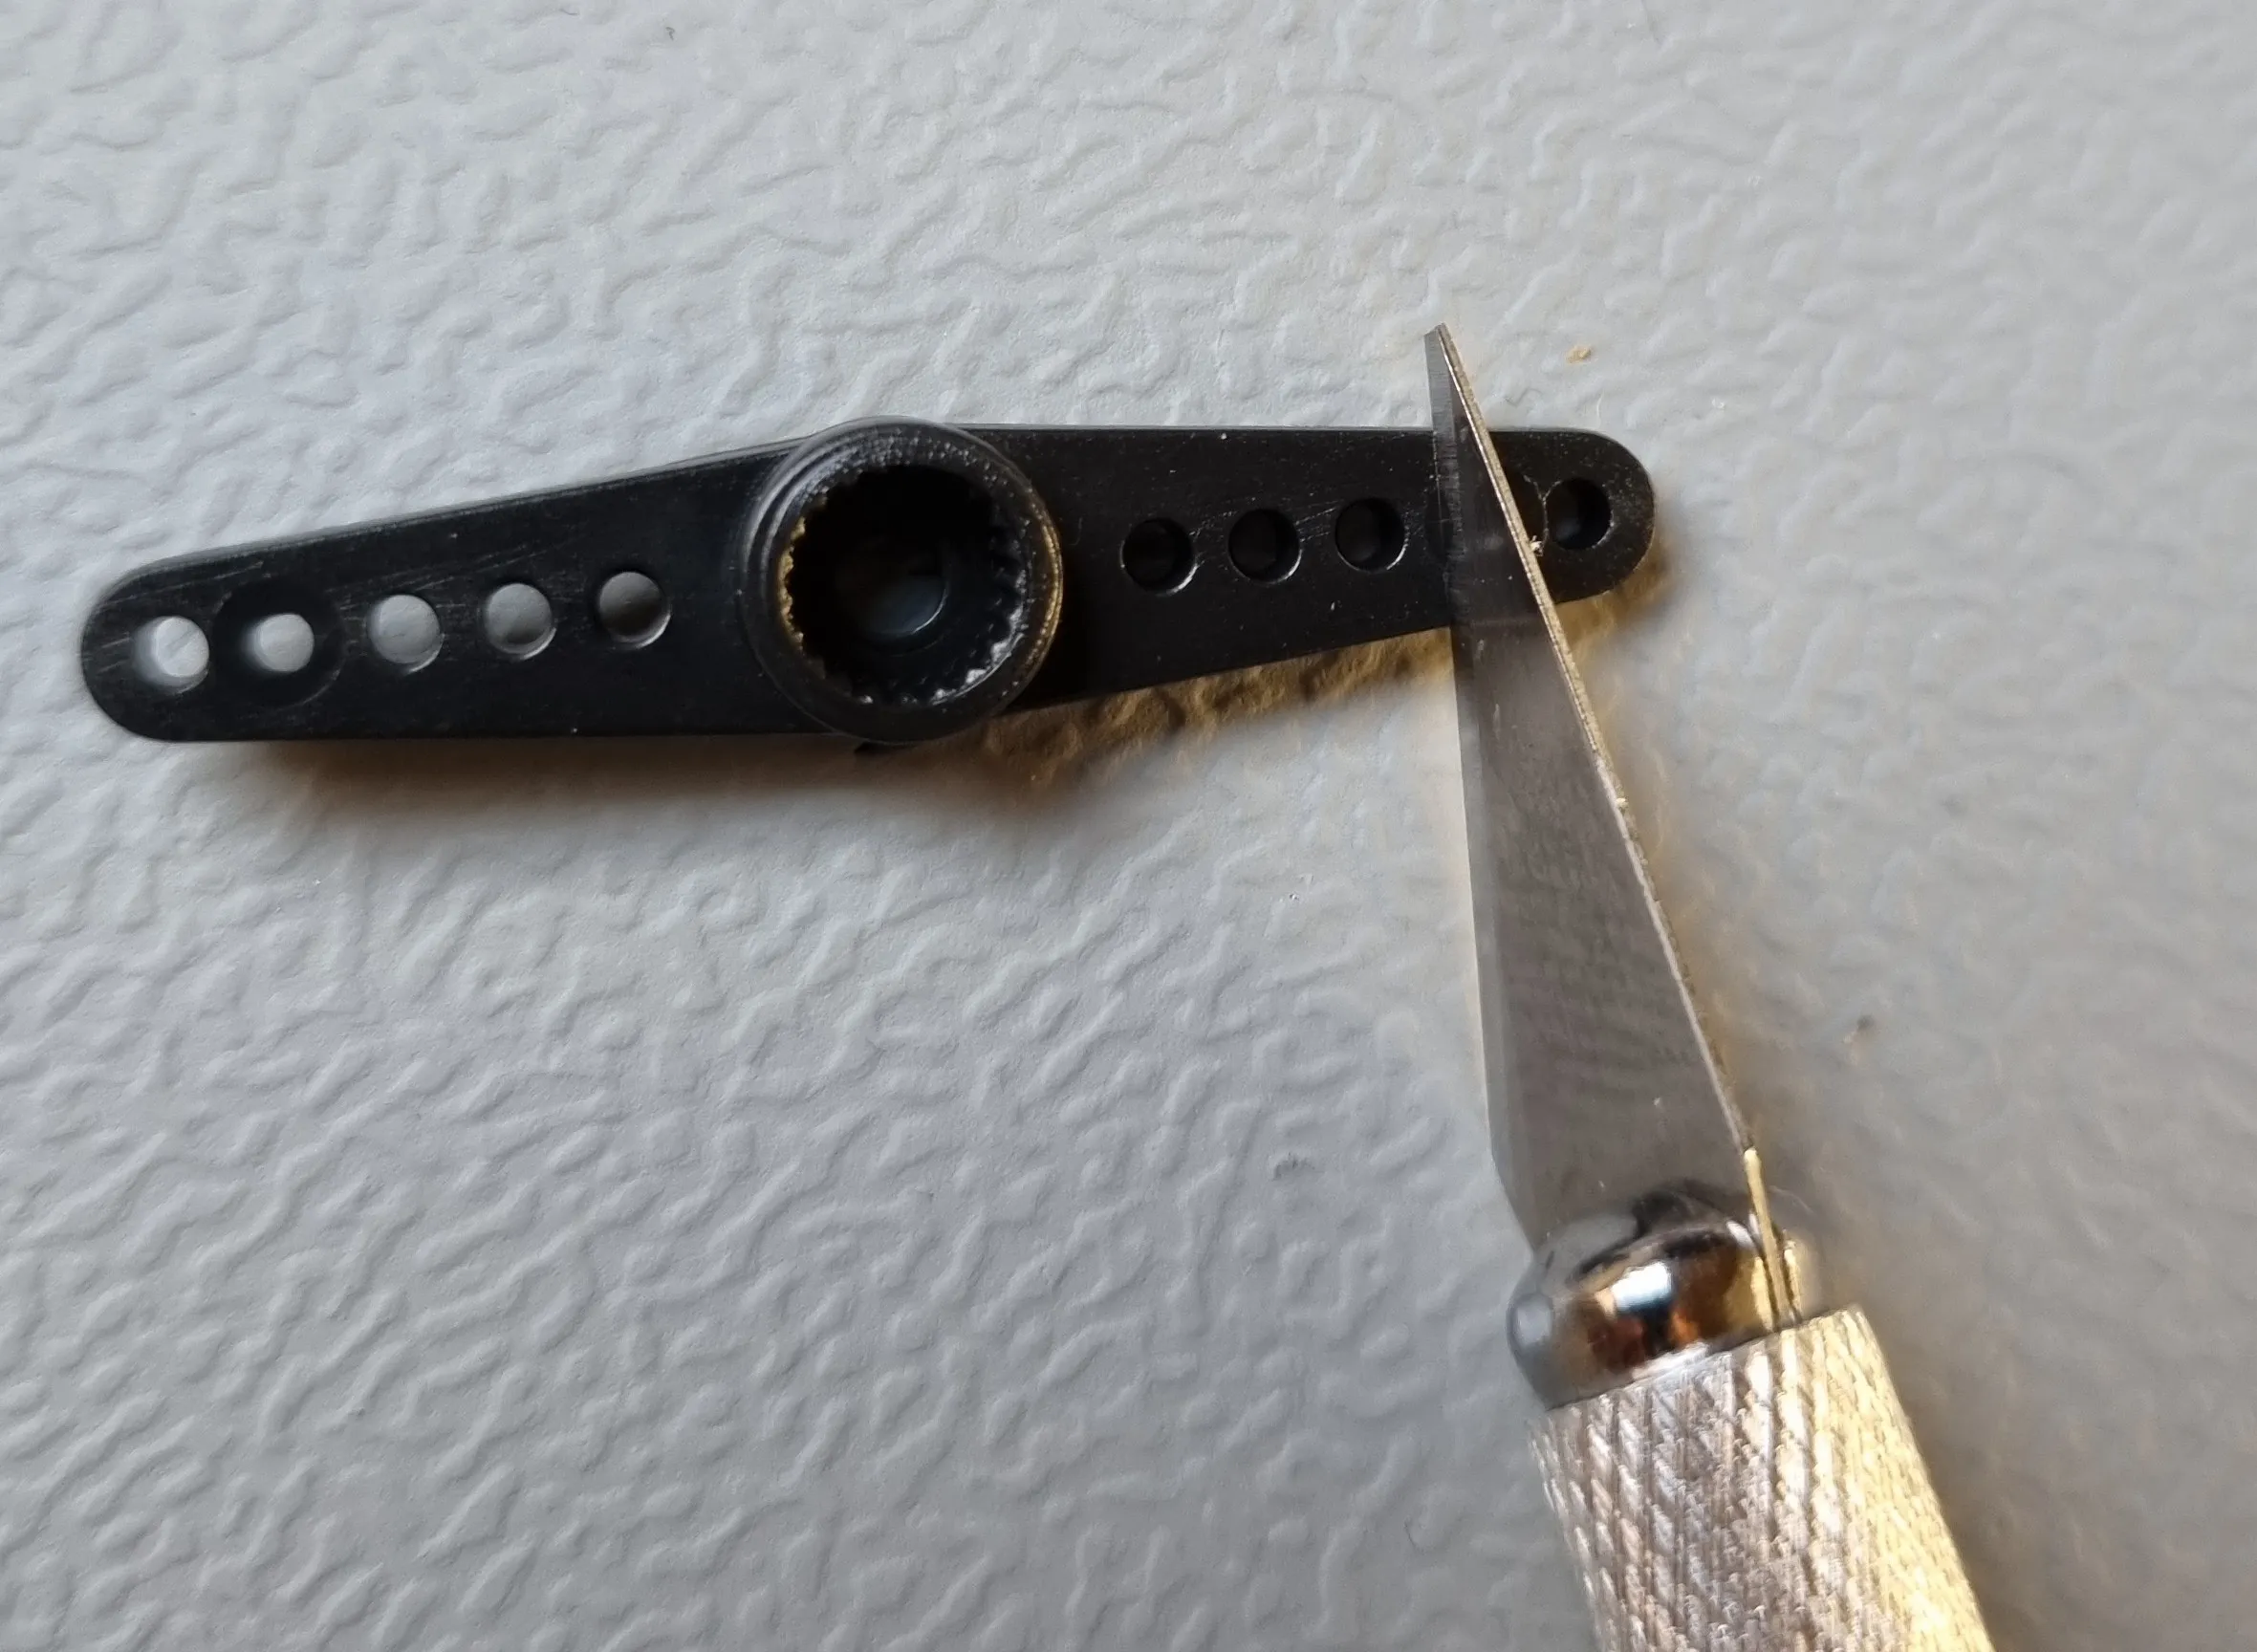 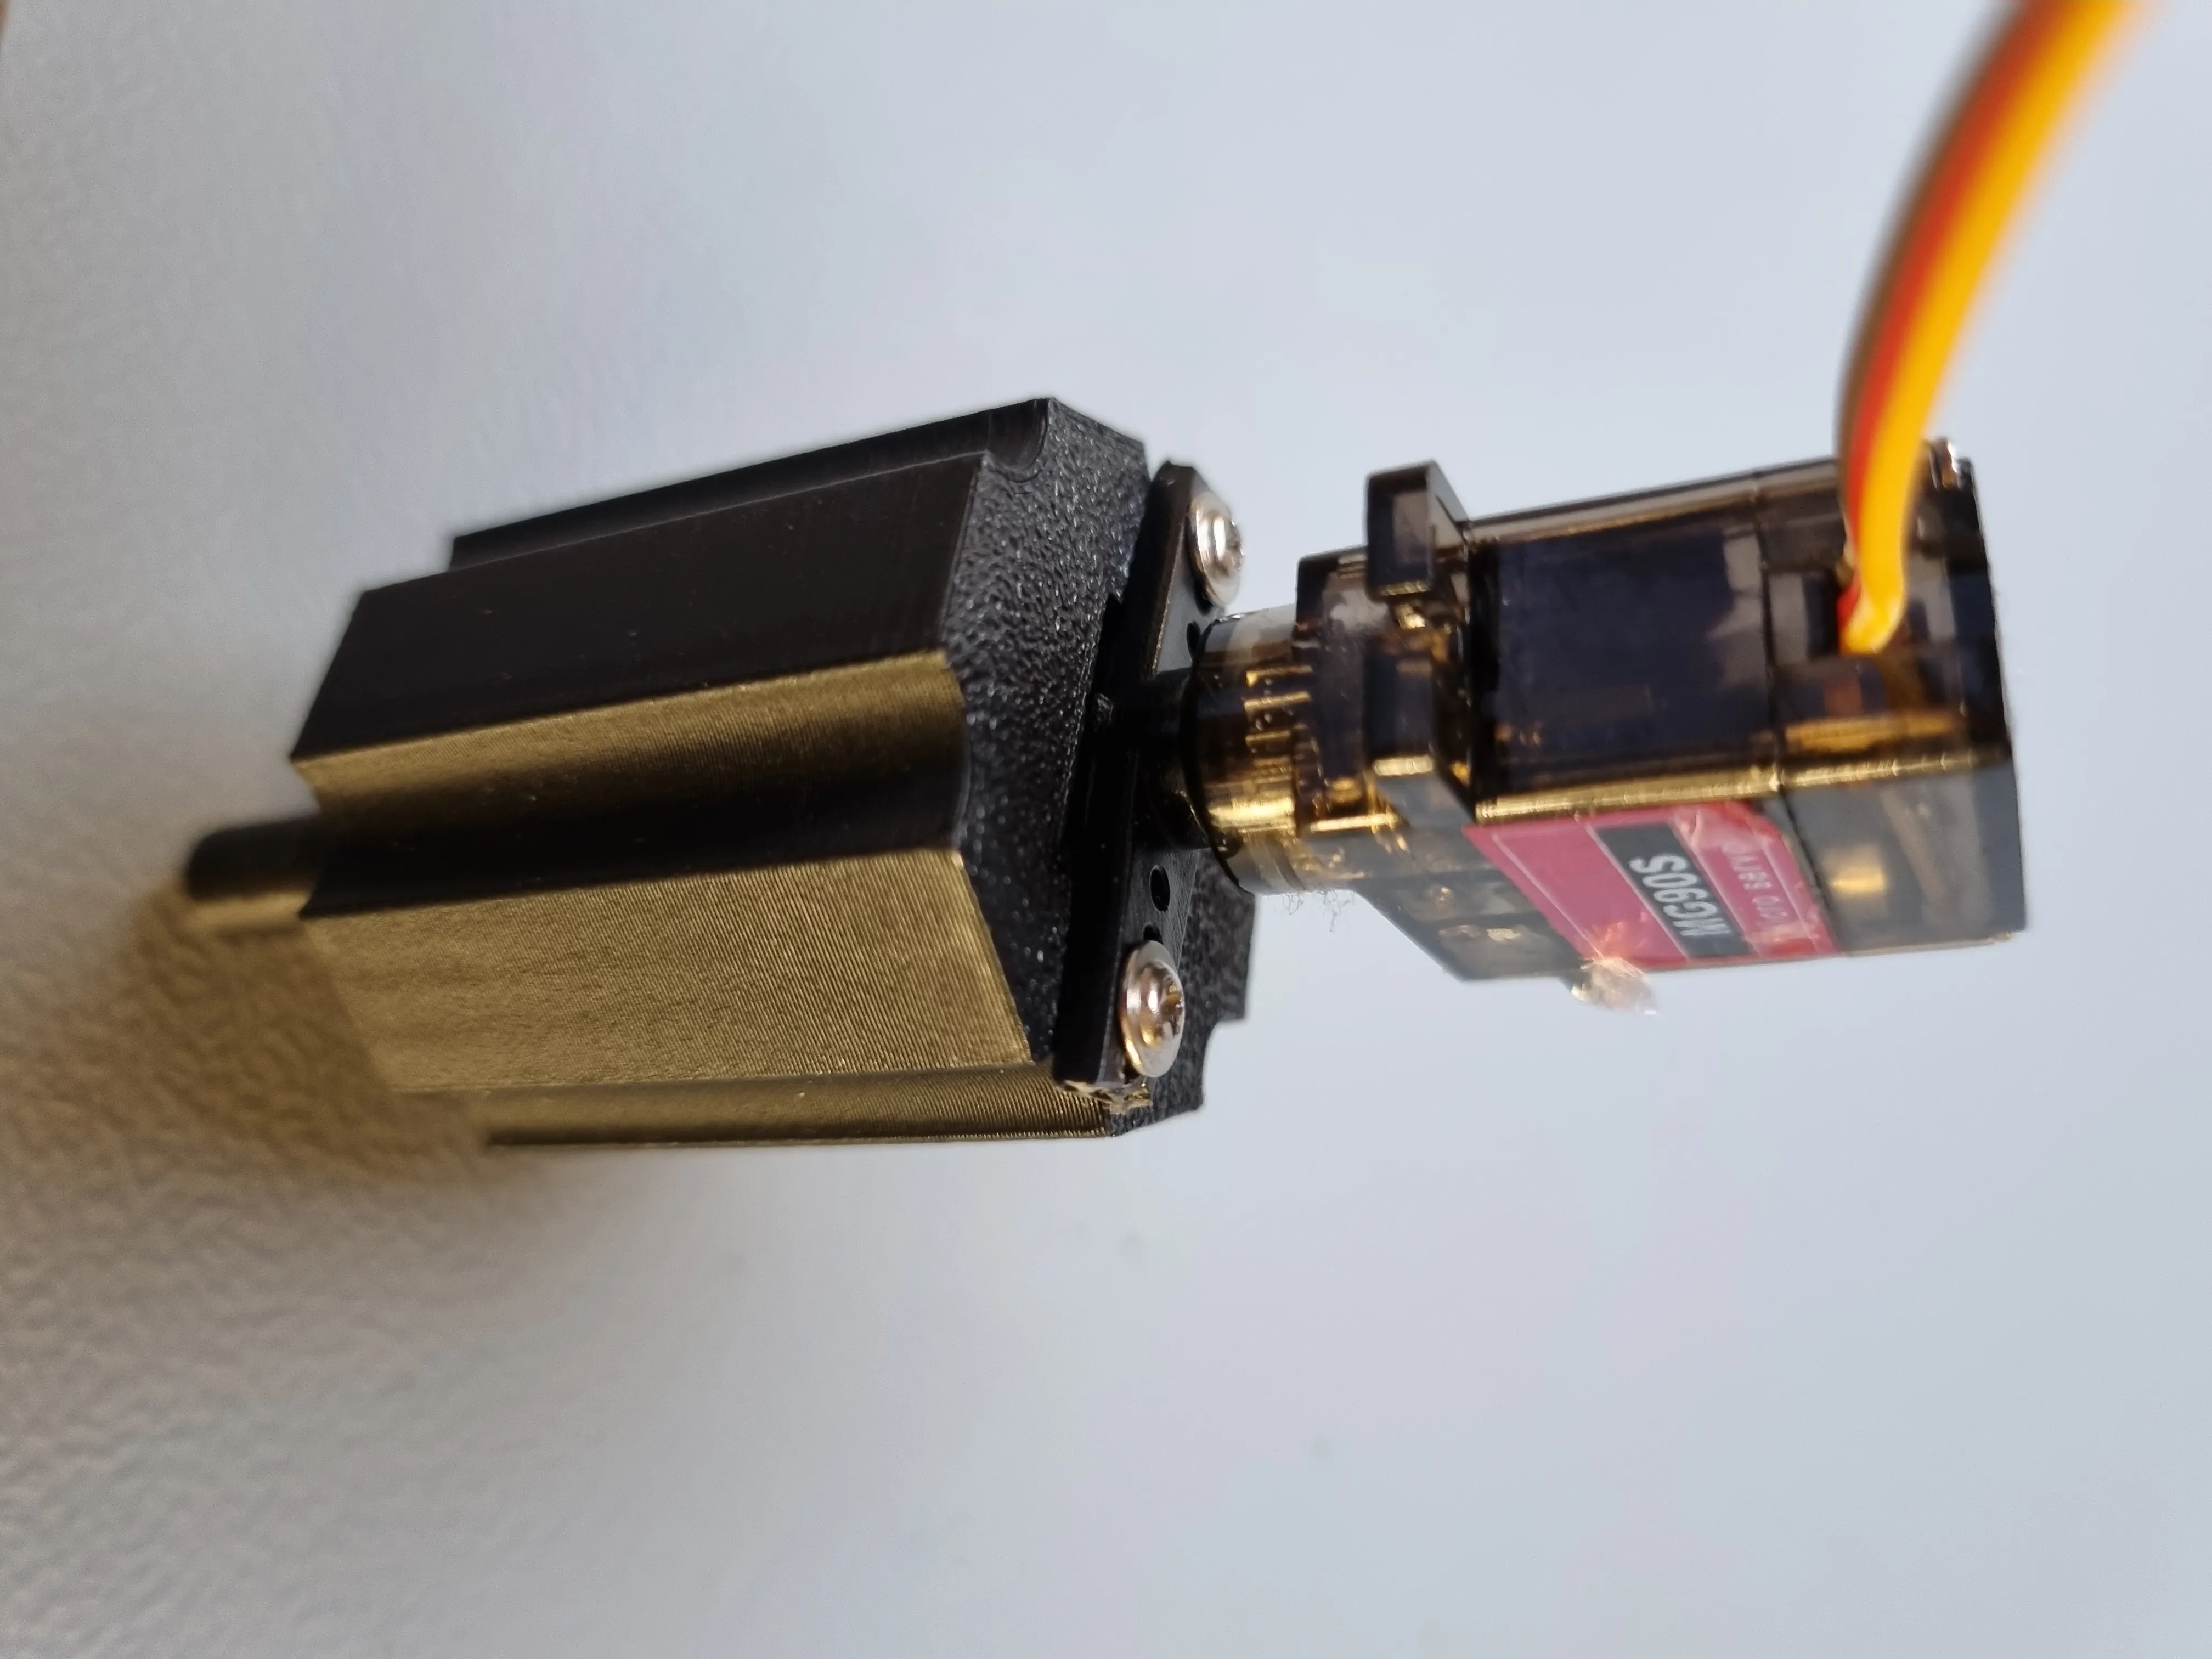 |
Passive (non-drive) sprockets The hexagon shaft without hole can be used on sides where no motor / drive system is present. | 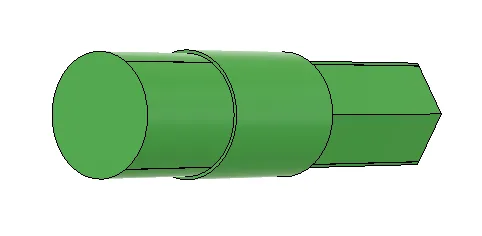 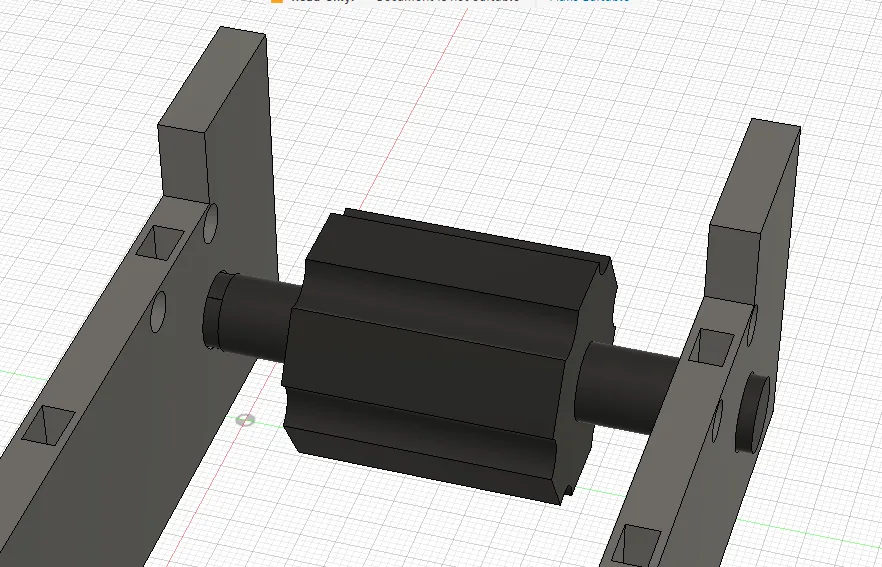 |
Belt Assembly
| 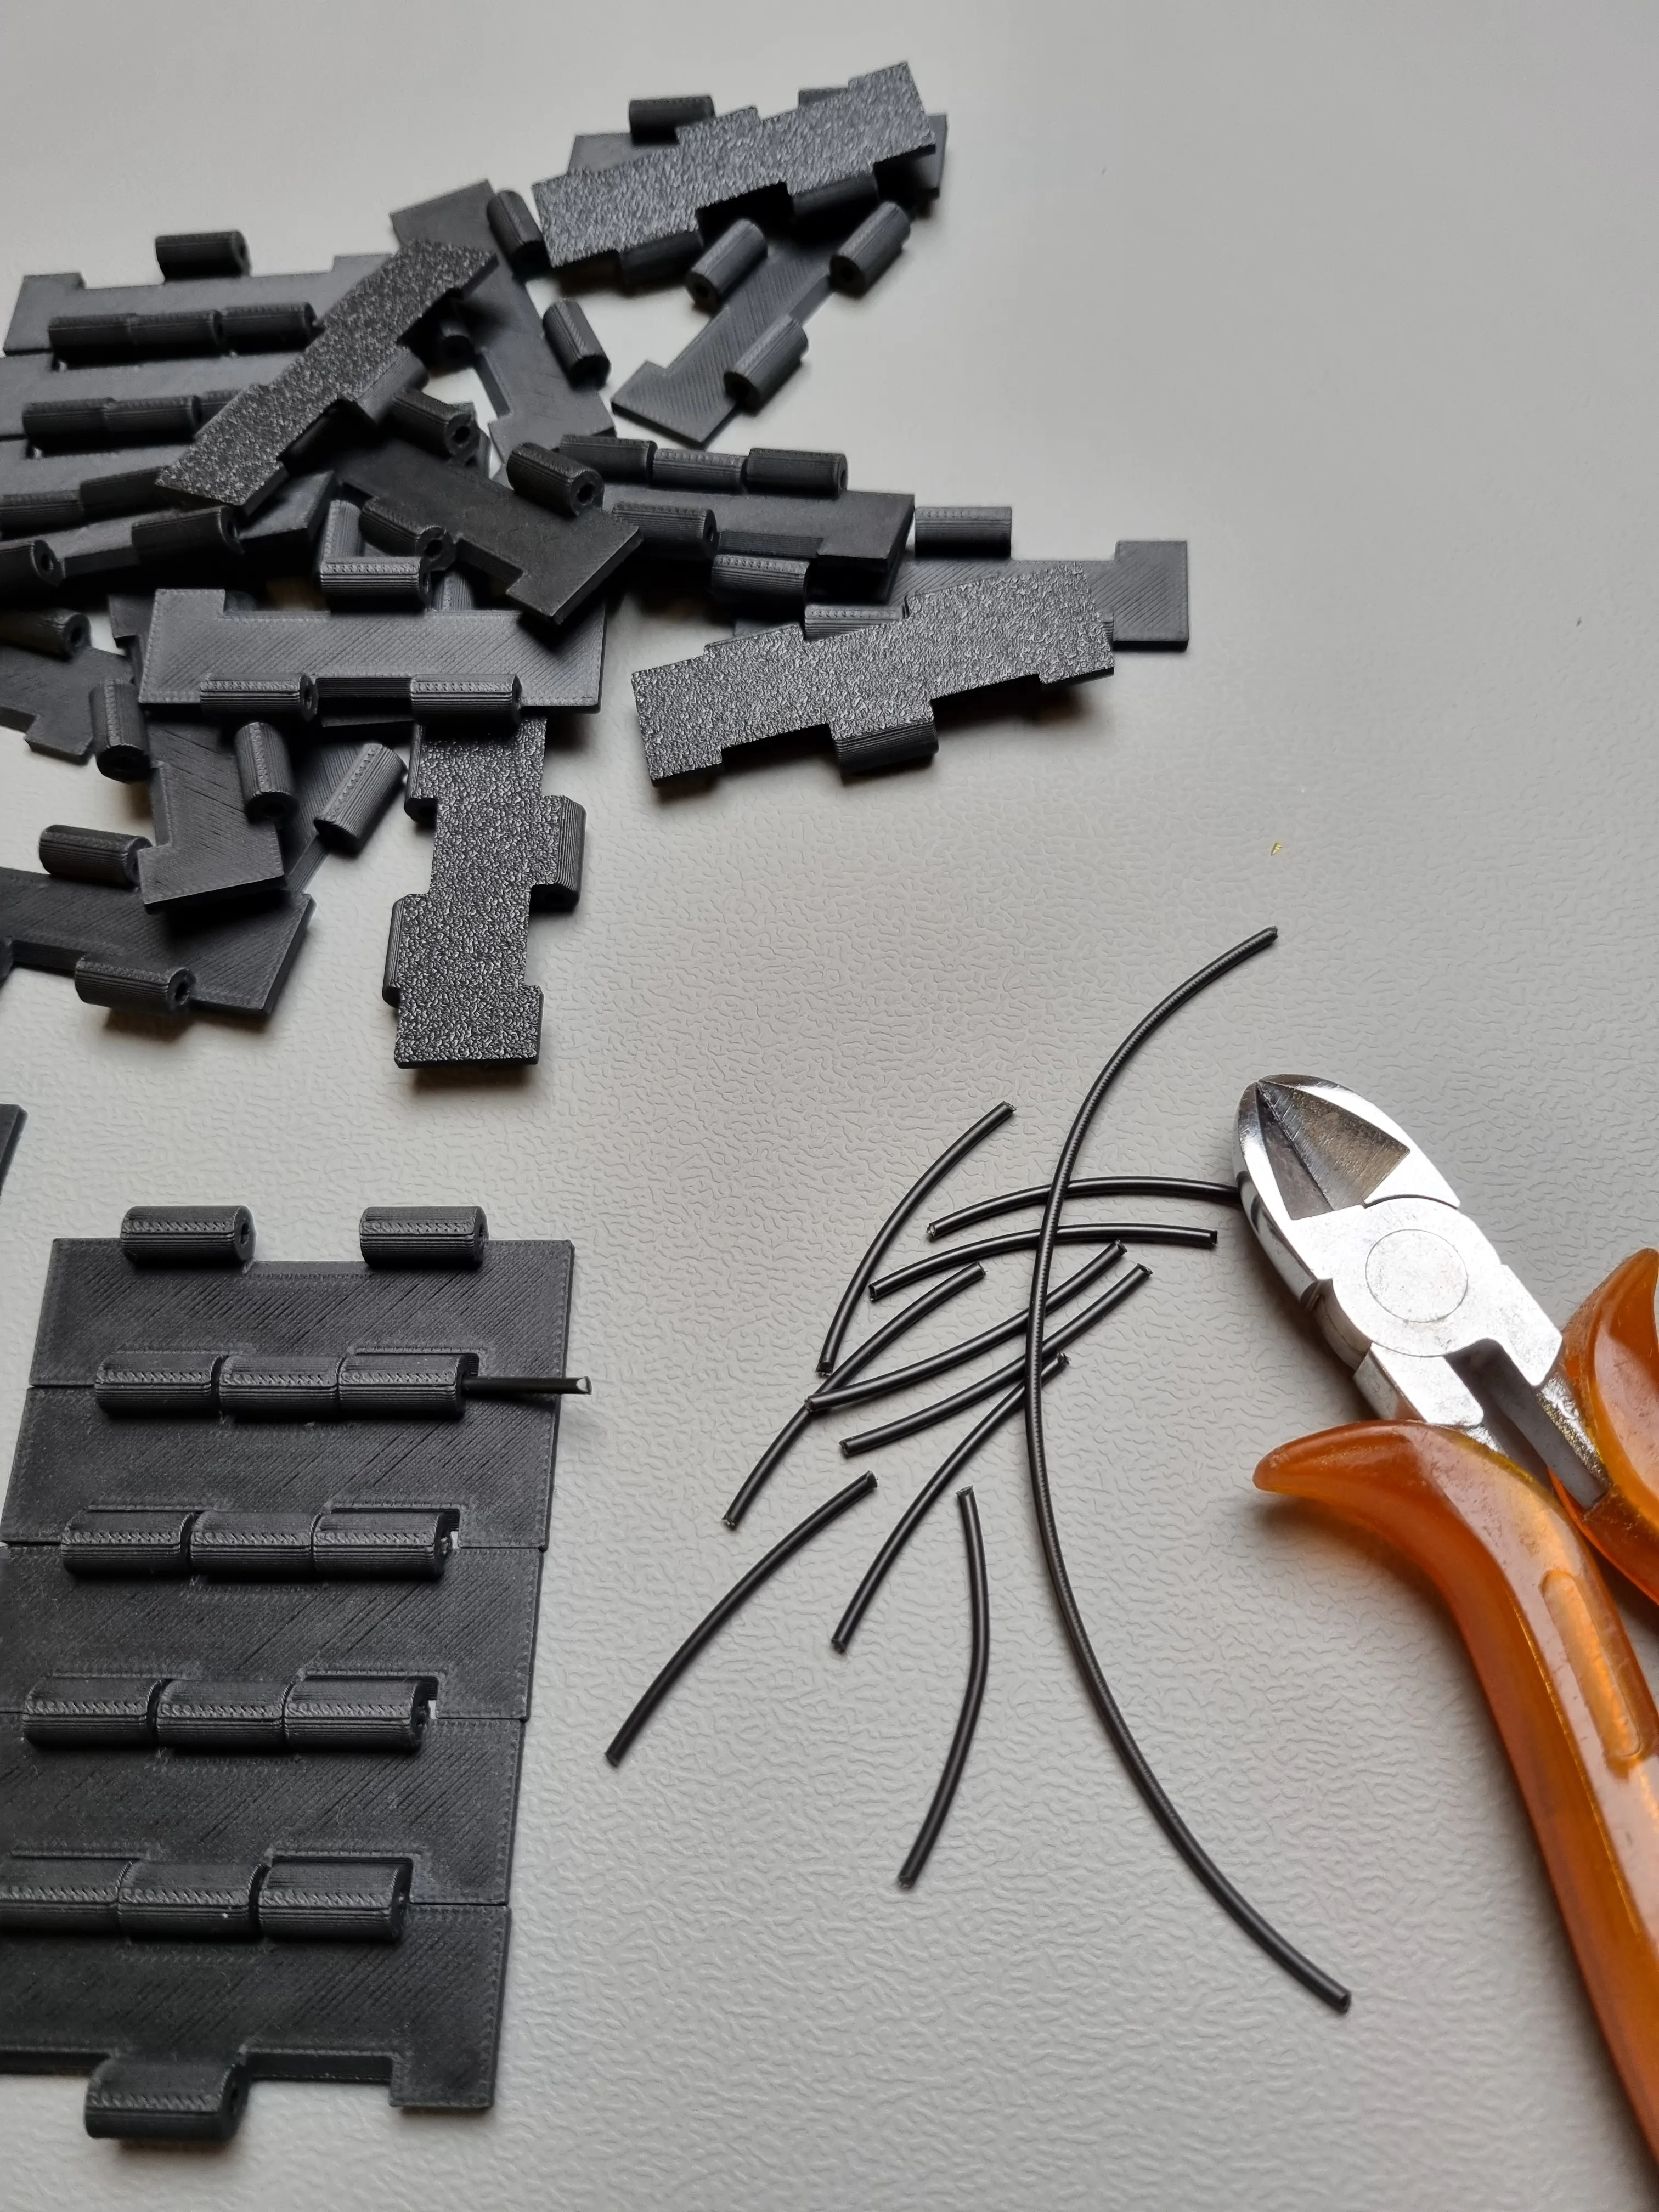 |
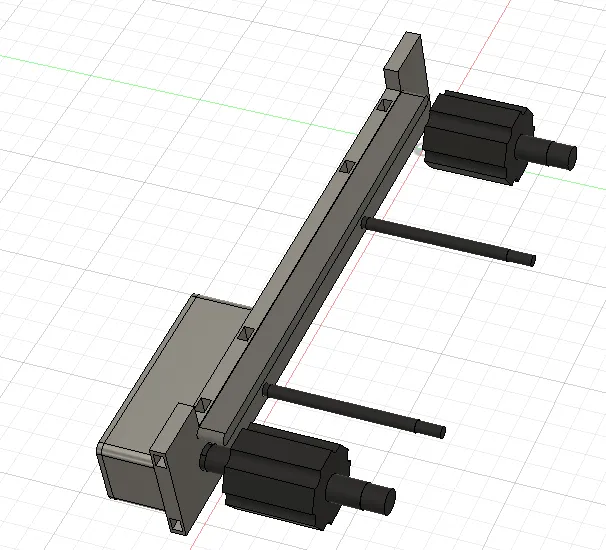
| The conveyor length can be extended by adding extra frames using connectors | 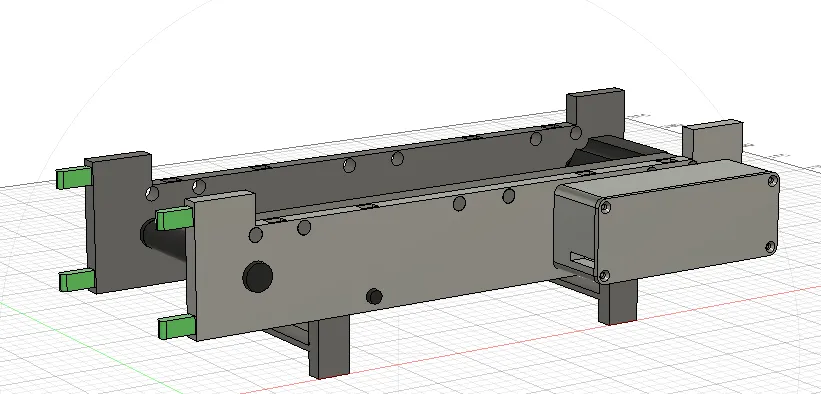 |
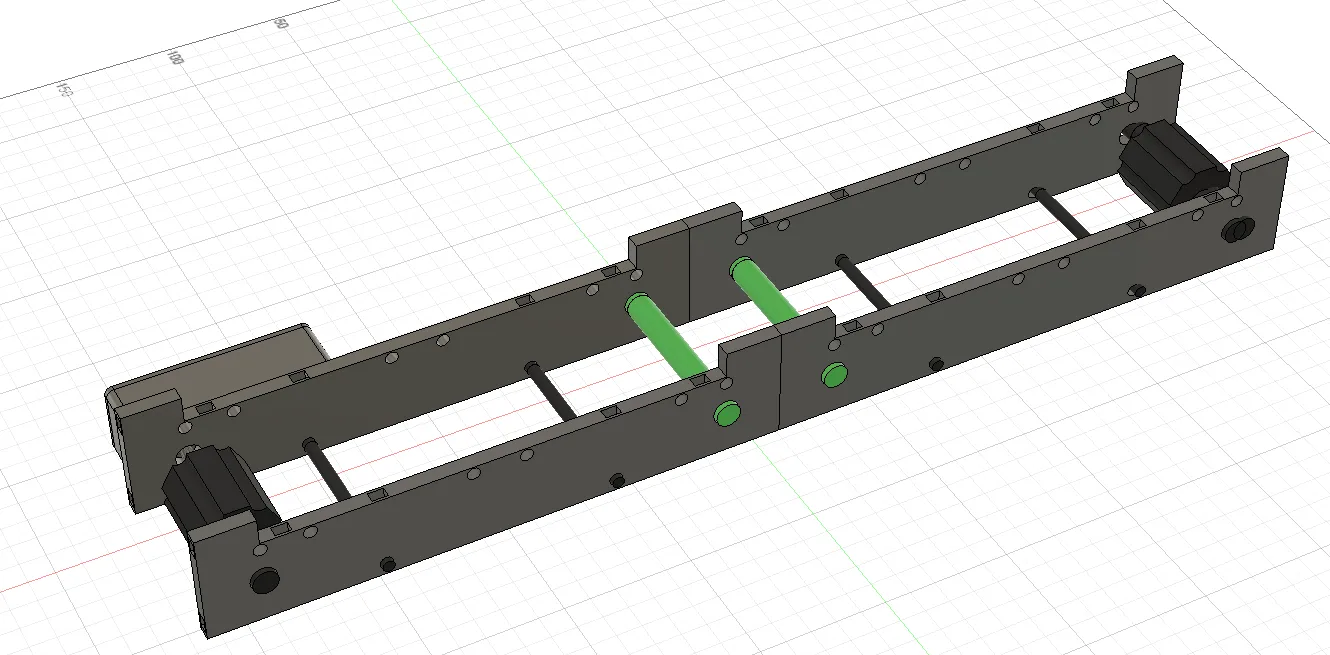
When extending the conveyor lenght with extra modules, no sprockets are required at the connecting modules. Sprockets are only required at the start and end of the conveyor. On the middle parts of the conveyor, long (thicker) shafts can be used.
|  |
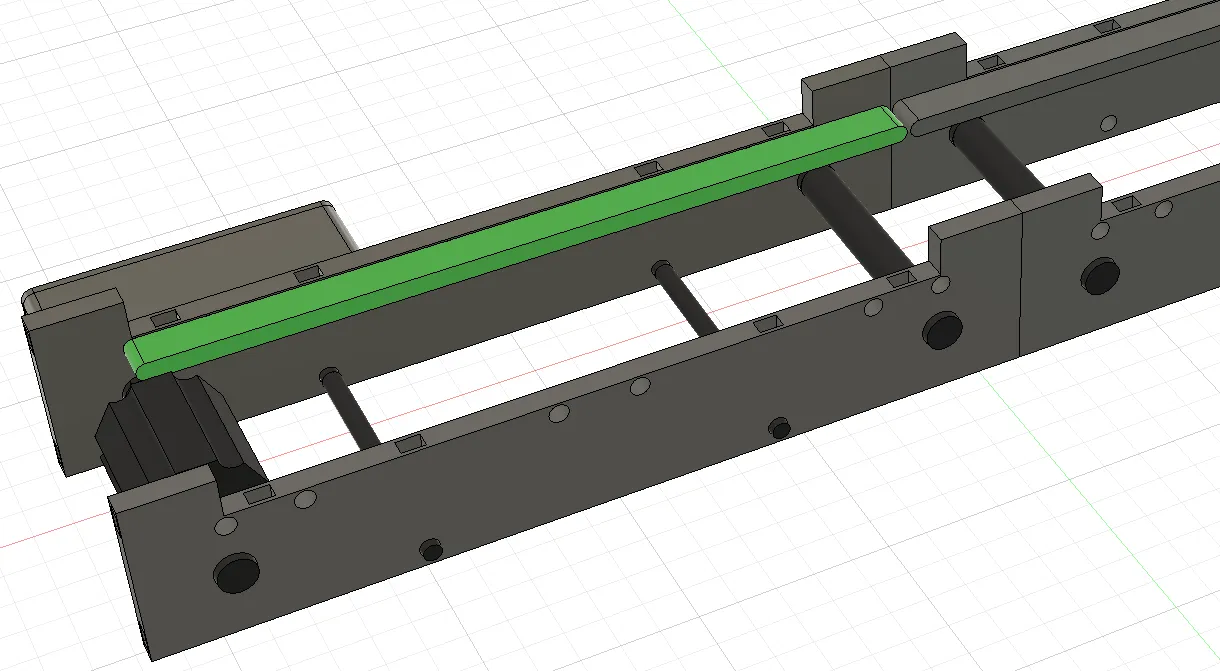
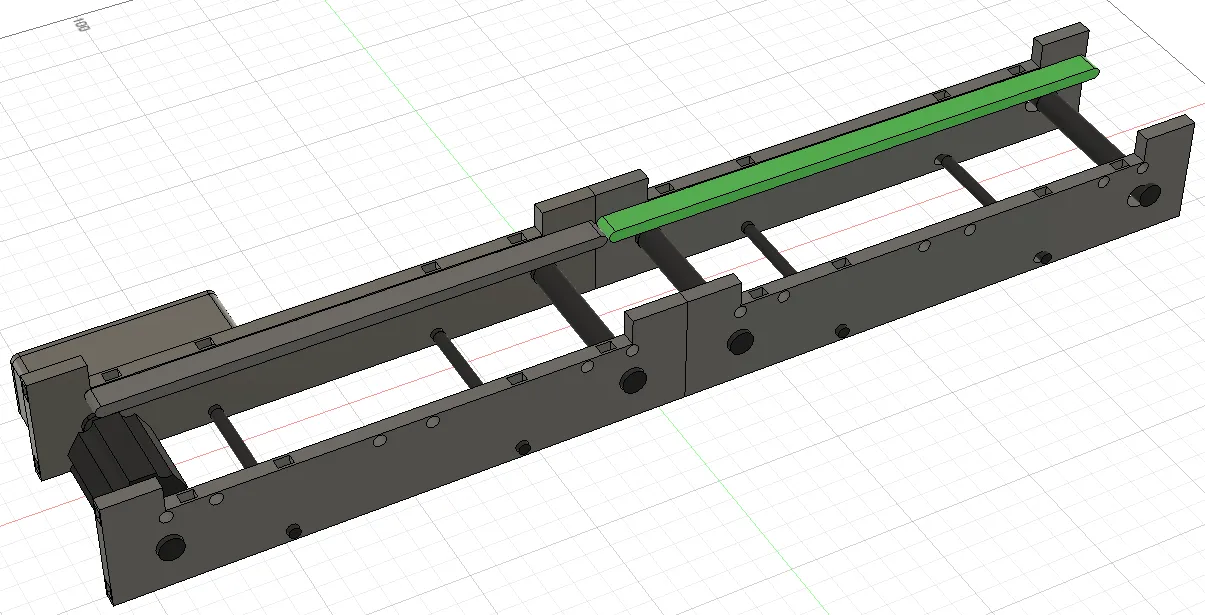
Belt guides are used to support the belt. There are 3 lengths of belt guides. Short Belt Guide
|  |
Medium Belt Guide
|  |
Long Belt Guide
|  |
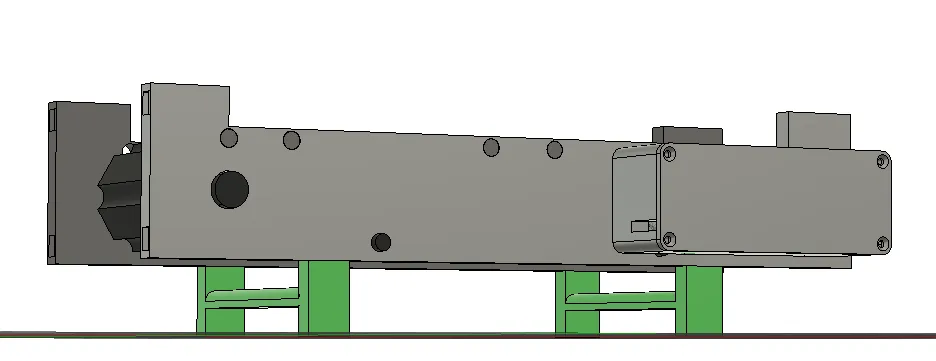
Frame Legs
|  |
|  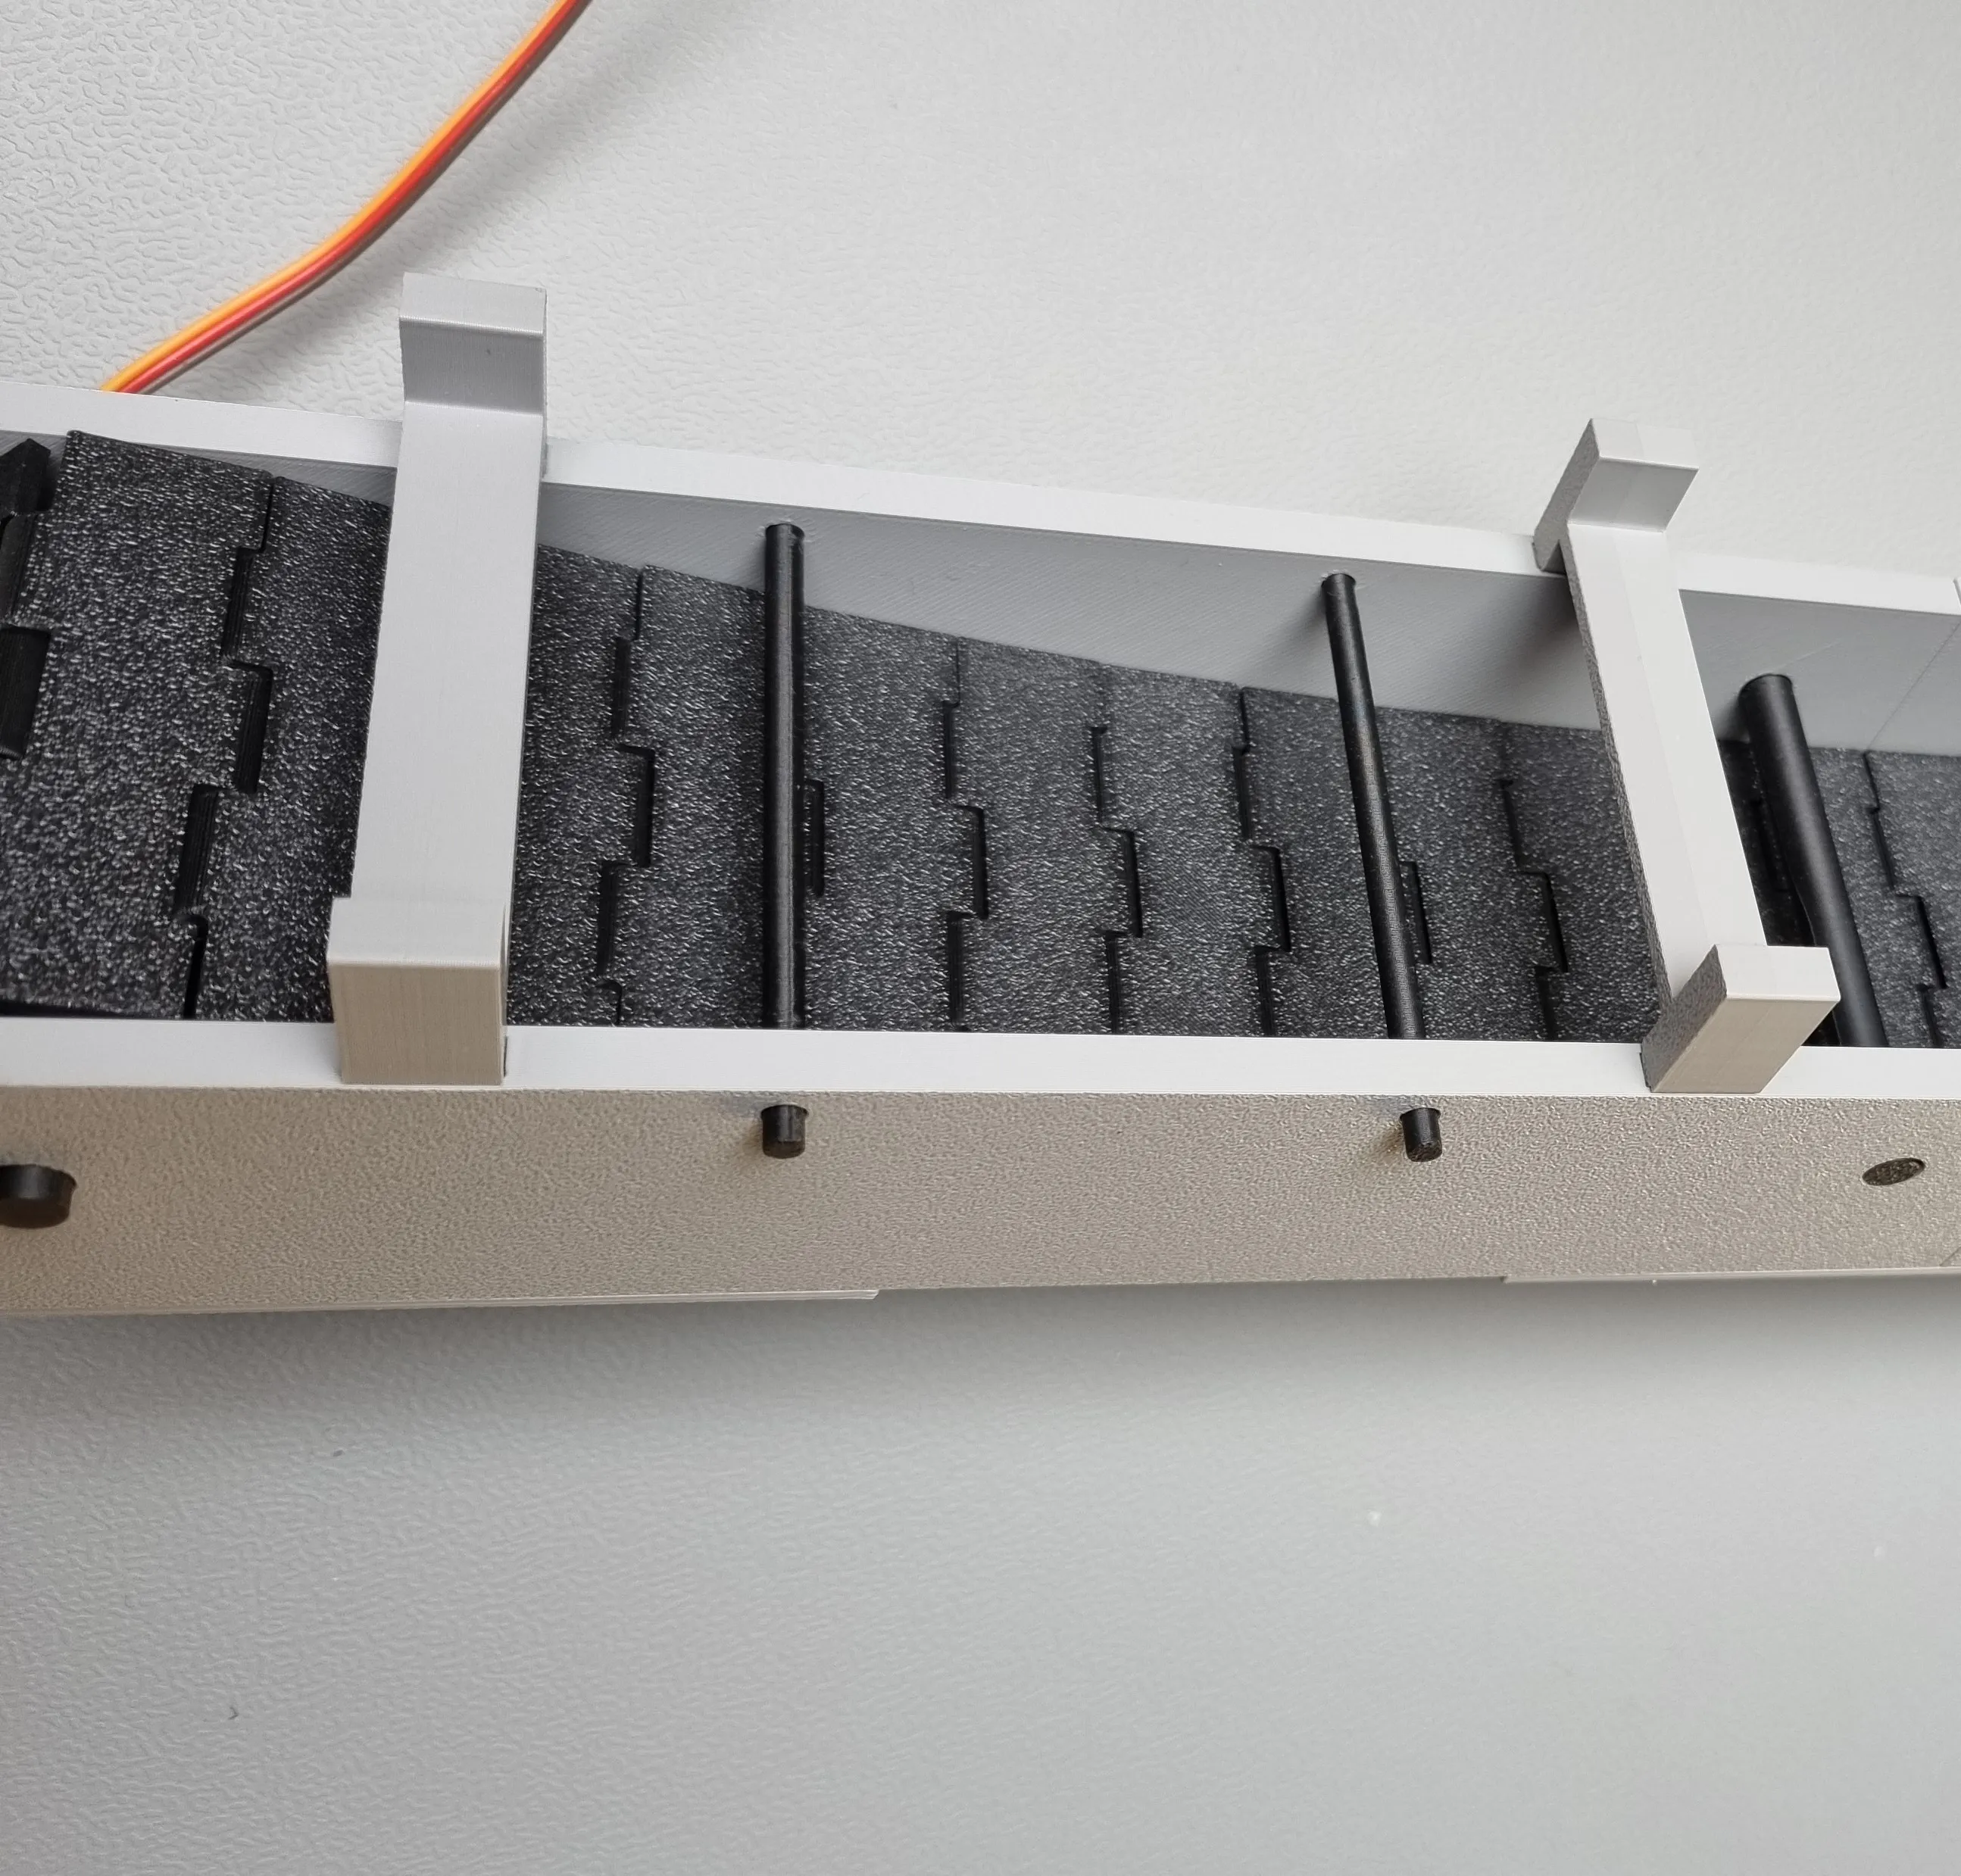 |
Top Guides
Top guides form the upper edges of the frame alongside the belt. Available in two variants:
Both are generated parametrically based on the selected module length. | 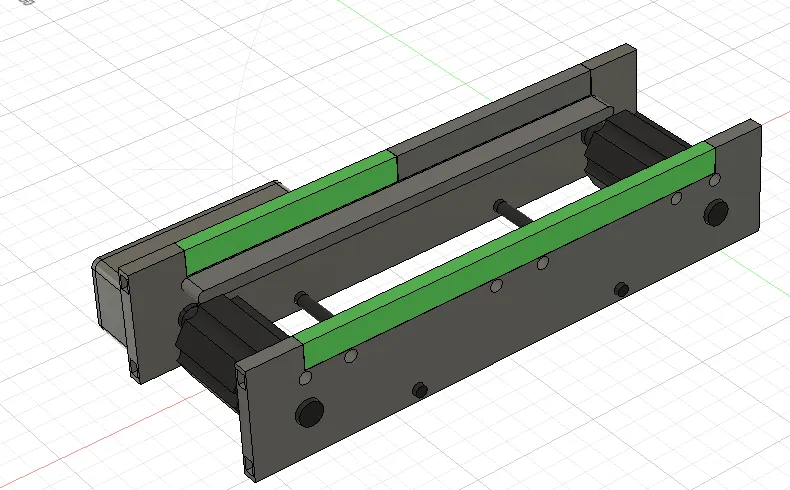 |
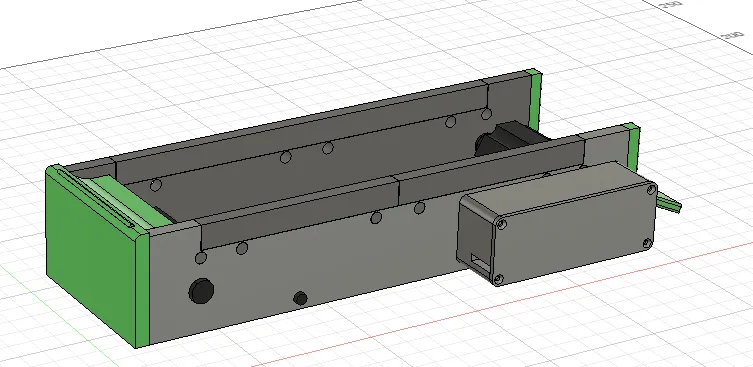
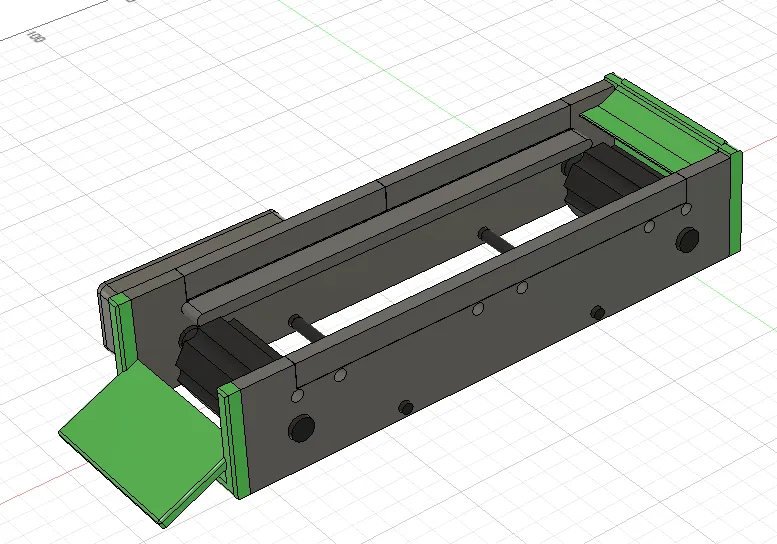
Endcaps - Two endcaps are available
|   |
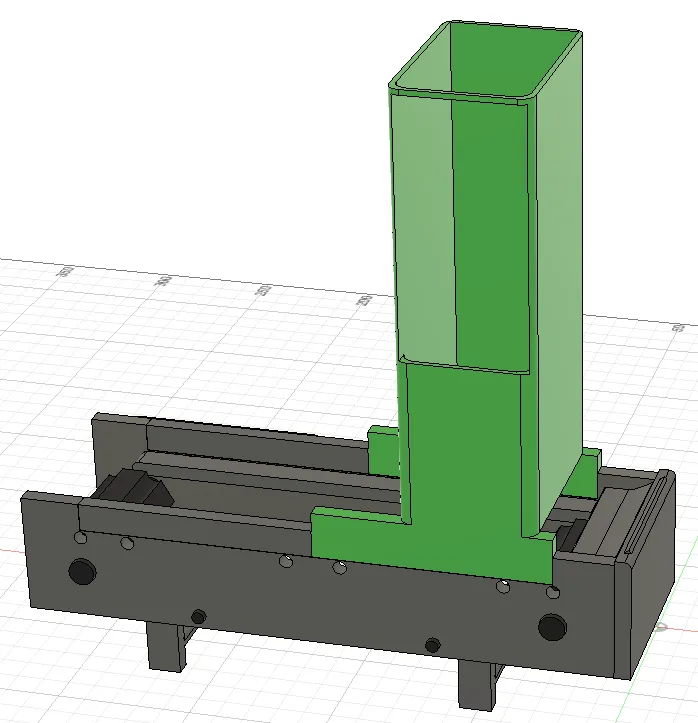
Poop Chute Module
An optional poop chute module is available for 3D printer integration.
|  |
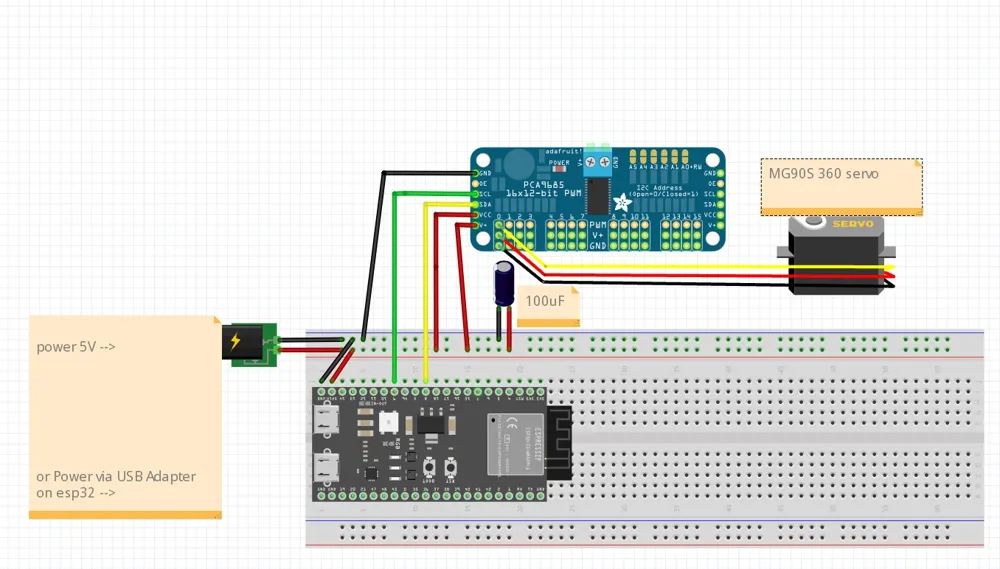
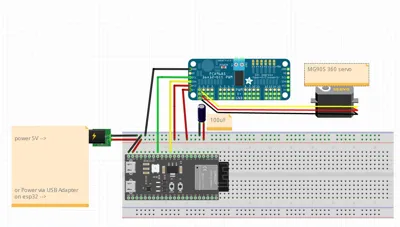
ESP32 with Servo option Electronics:
- ESP32-S3-Lipo (Olimex) board
- PCA9685 servo driver
- MG90S 360° servo
The included Arduino code connects to your local Wi-Fi network and starts a webserver for remote servo control.
For detailed print and assembly instructions, see the attached document.
Recommended Materials:
- PLA Grey – frame and top modules
- PLA Black – belt modules and shafts
- Print shafts with supports and low fan speed (~30 %)
Applications:
Ideal for makers interested in automation, IoT, and smart factory experiments.
The conveyor can serve as a test platform for control development or as a demonstration model for logistics and robotics projects.
Build your own Modular Conveyor!
Update 2-1-2026: Generate conveyors with custom with, length and heigth.Parametric conveyor generator published here.
Update 30-12: New start endcap with slide to the conveyor added on the Addon's
Update 28-12: Addon's added in extra print profile: Inclined Legs, Ribbed Belt Module, Chute Endcap
Credits:
The Mini Cardboard Box model shown in the demo photos was designed by Badr and is used here for presentation purposes.
Mini Cardboard Box by Badr on MakerWorld
Membership
Subscribe for a Commercial License to sell physical prints of my models! License stays valid as long as the subscription is active.
© 2026 3Core
Documentation (1)
License

You may create derivative works based on this object, provided that all such derivative works are published exclusively on the MakerWorld platform and include proper attribution to the original creator. You may not share, upload, host, distribute, or publish this object—or any derivative work of this object—on any other digital platform, marketplace, or distribution channel. Commercial use of this object and any derivative works is strictly prohibited. This includes, but is not limited to, selling, renting, sublicensing, or using the object in any context in which you receive monetary compensation or other financial benefits.


Comment & Rating (87)