Cyber Pad Retro


Print Profile(2)


Bill of Materials
.png)


Description
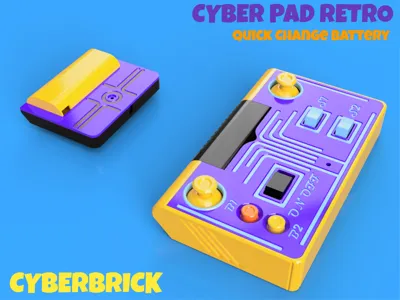
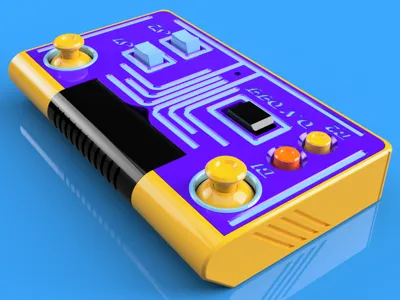
Cyber pad Retro

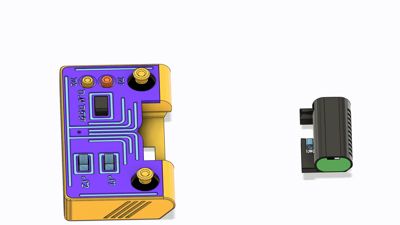
Wait, the battery comes out!
Purpose:
This is the second CyberBrick remote i have made. The first one was based on ergonomic grip and is compact size. The Cyber Pad Retro was designed around two things. To keep all the same functionality and having a quick removeable battery.
About:
The Cyber Pad Retro is a retro styled remote with a quick removeable Battery. There are also enough buttons, Switches, and Joysticks to work with most projects. Included is a charger accessory witch allows the battery to lock in to it the same way it locks into the remote.
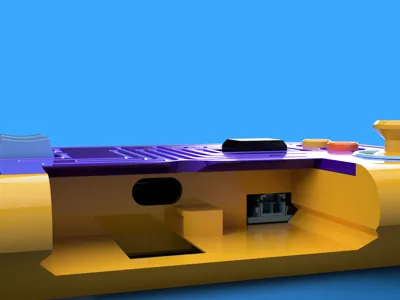
Battery removal:
- Push the spring loaded lock out of the way then pull the battery out
You can use cutout on the lid to push it out

Specs:
2 Dual-Axis Joystick Module with 3Pin SH1.0 Connectors X2
2 Momentary Button Module with 2Pin SH1.0 Connector X2
2 Three-Position Rocker Switch Module with 3Pin SH1.0 Connector X2
1 14500 7.4V 800mAh Li-ion Battery
1 Remote Control Transmitter Shield
1Power Switch Module with 2Pin XH2.54 Connector
Dimensions: L=156 W=92 H=26
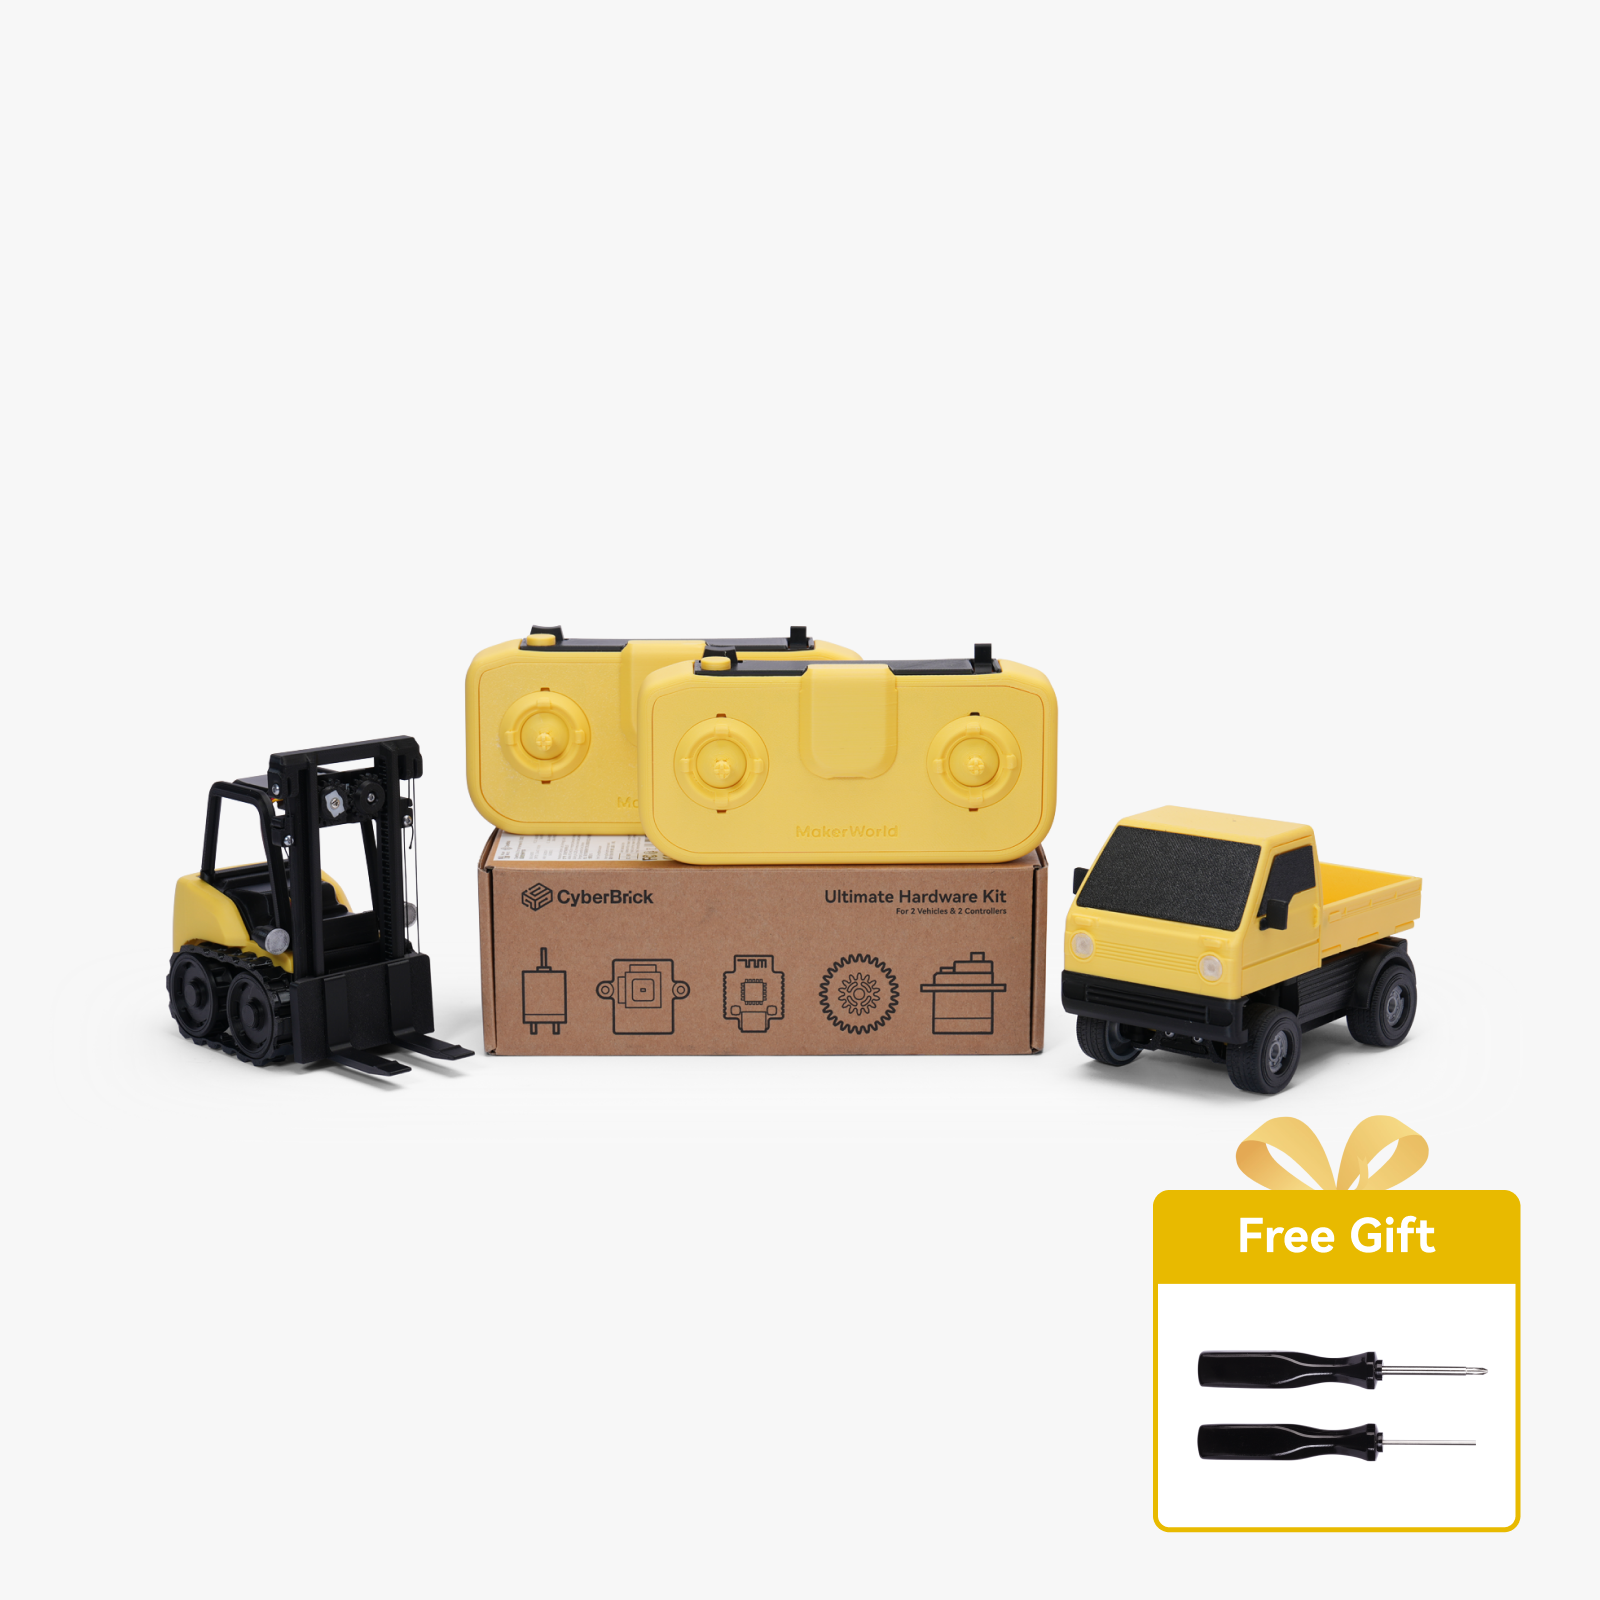
All parts are included in the Cyberbricks ultimate hardware kit but, you will need to buy a second button and 3 position switch or just not install it if you have the basic kit.
Additional Parts:
In addition to the parts listed above in the specs list you will need the 3D printed parts and the magnets and screws included in the cyberbrick kits.
- Super Glue: I use Gorilla glue pens :D
- All printed parts can be made out of PLA
Battery safety:
Li-ion battery's a are generally safer then there counterparts Li-po, they still can be dangerous if not used properly.
Proper Usage: Always use lithium-ion batteries according to the manufacturer's instructions. Avoid using chargers that are not compatible with the battery, as this can lead to overcharging and overheating.
Storage: Store batteries in a cool, dry place away from direct sunlight and heat sources. Avoid exposing them to extreme temperatures, which can increase the risk of thermal runaway (a condition where the battery overheats and can catch fire or explode).
Inspection: Regularly inspect batteries for signs of damage, such as swelling, leaks, or corrosion. Damaged batteries should be
disposed of properly and not used.
Template:

Boost Me (for free)
Printing Settings and information
- All print settings are already loaded in the print profiles
- .2 layer Hight
- 15% infill
- 2 walls
- Don't use supports on the joystick tops, joystick rings, or the threads on the top. everything else can have auto tree supports
- Use a brim in the joystick tops
- AMS profile has the color changes
- No AMS profile has a built in stop on the top plate
- For help with non AMS multicolor printing watch this: https://youtu.be/AGS3z6qCXUs?t=35
Remote Assembly Animations:
These are animated instructions you can use along with the Assembly guide
Step #2

Step #3

Step #4

Step #5

Step #6-7

Step #8-11

Step #12

Charger Assembly Animations:
These are animated instructions you can use along with the Assembly guide
Step #1-2

For help with the software and hardware CyberBrick Hardware Kit | Bambu Lab US Store
THX For Printing :)
Documentation (1)

License
You shall not share, sub-license, sell, rent, host, transfer, or distribute in any way the digital or 3D printed versions of this object, nor any other derivative work of this object in its digital or physical format (including - but not limited to - remixes of this object, and hosting on other digital platforms). The objects may not be used without permission in any way whatsoever in which you charge money, or collect fees.
Comment & Rating (6)