Search models, users, collections, and posts

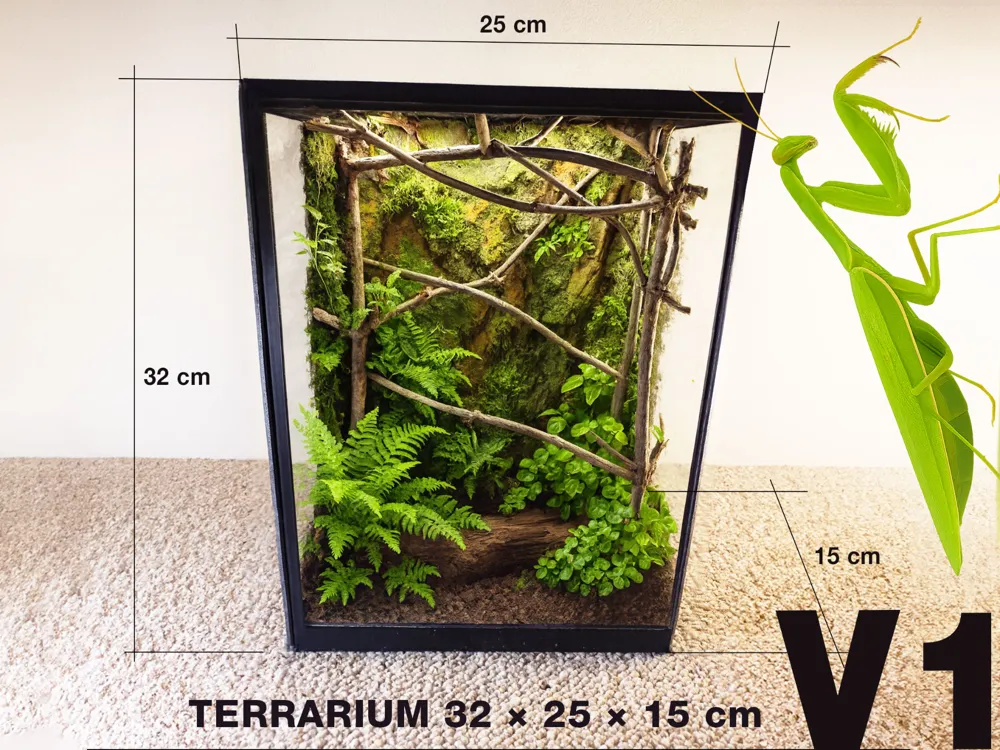
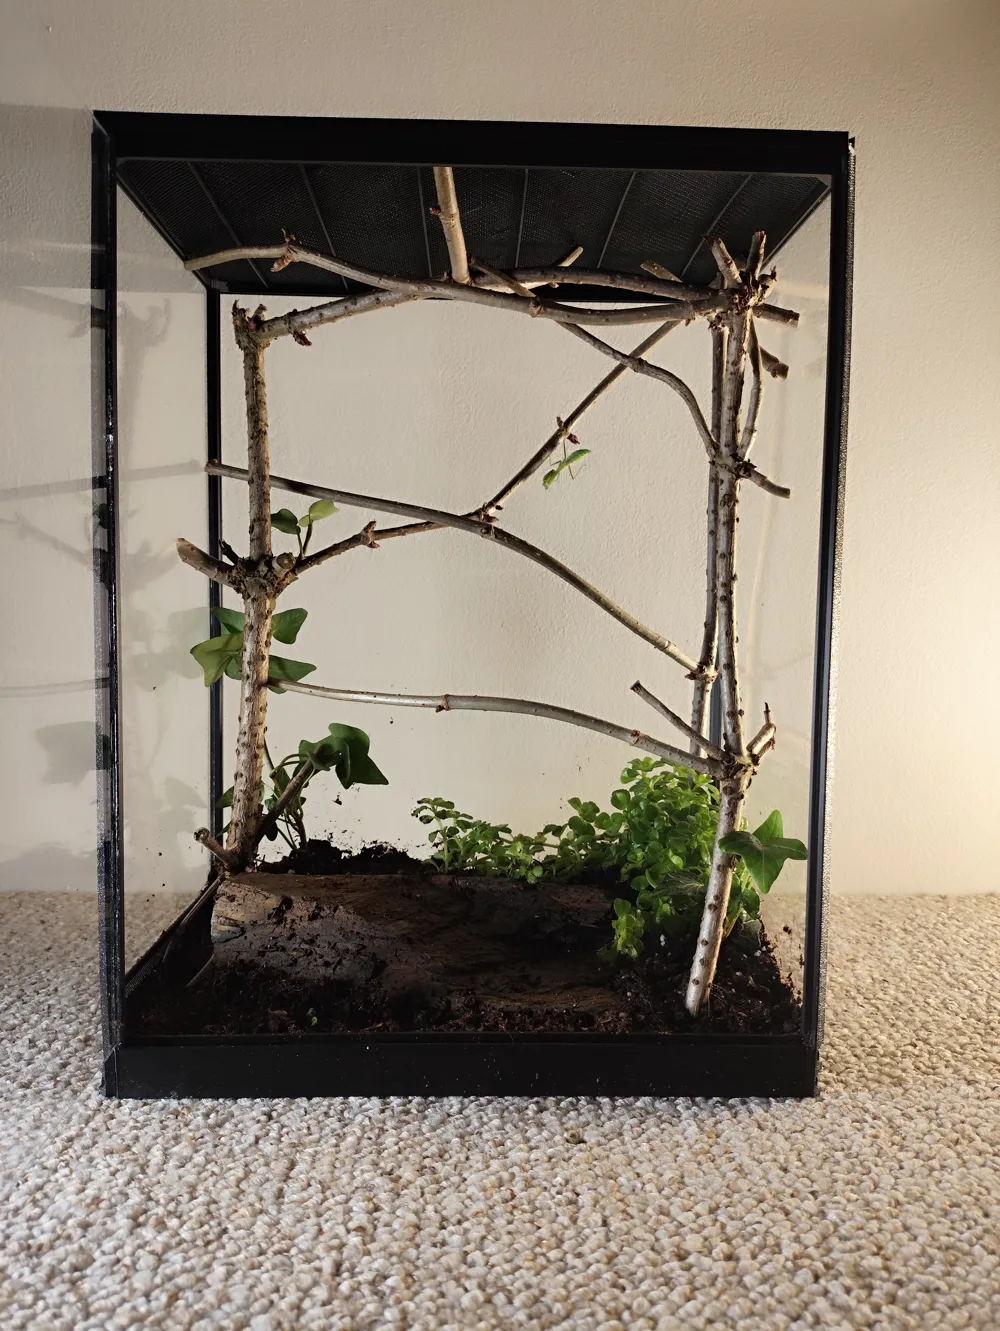
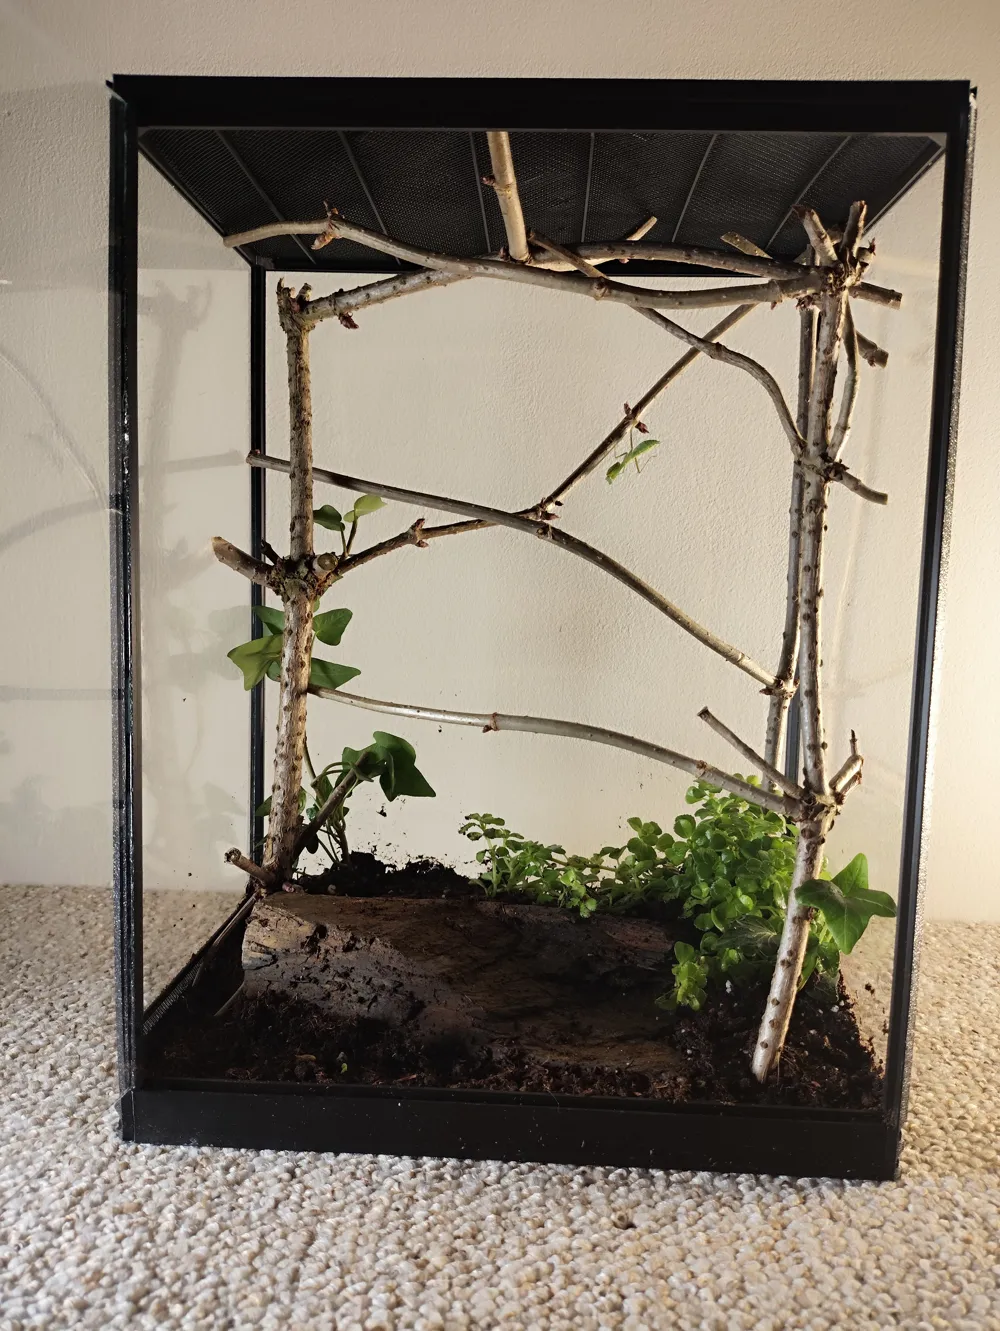
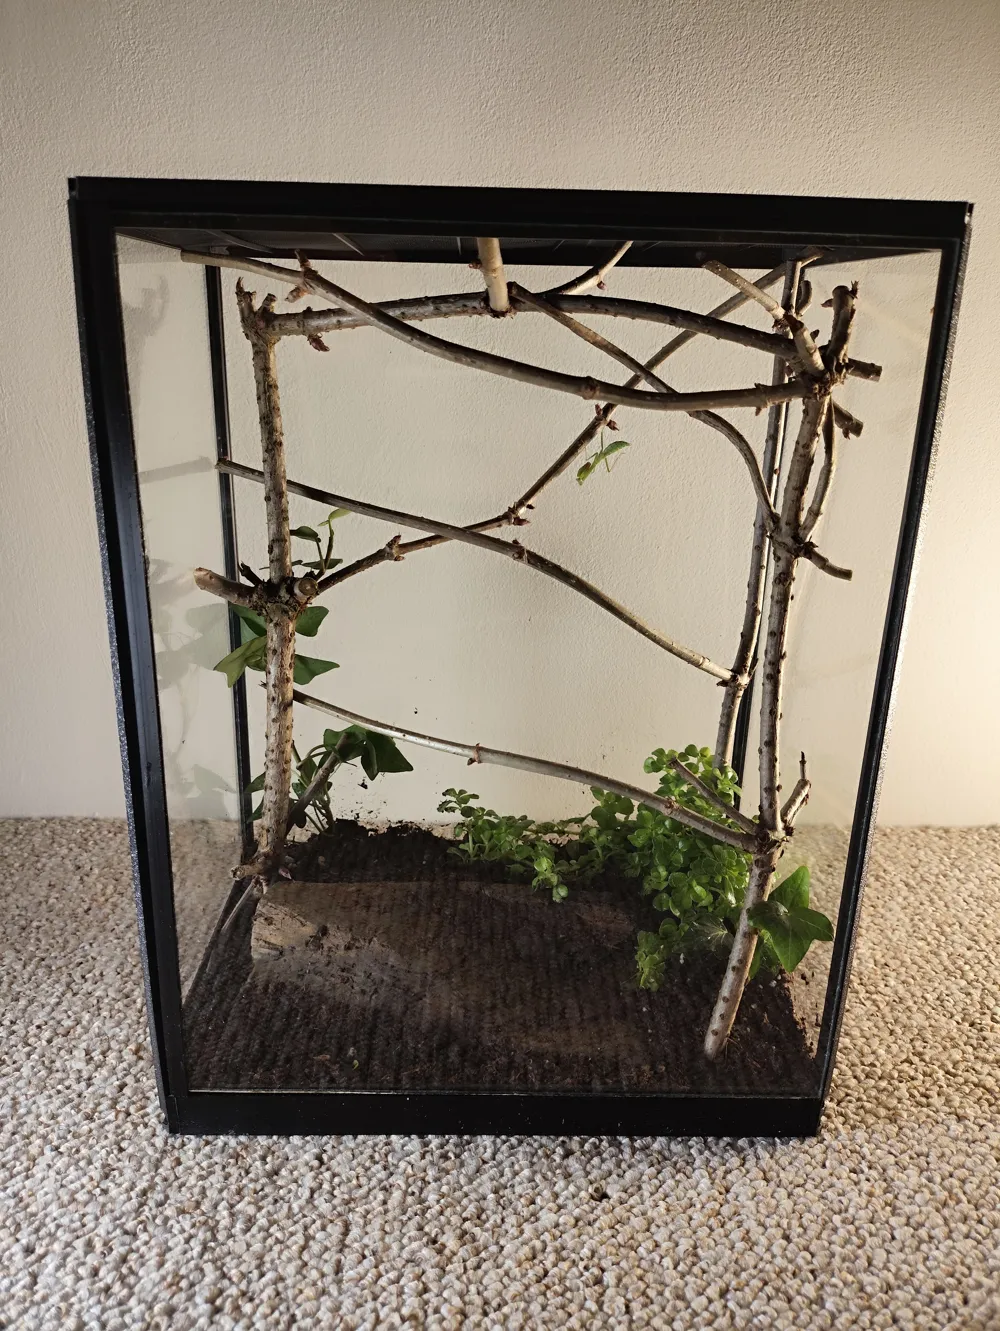
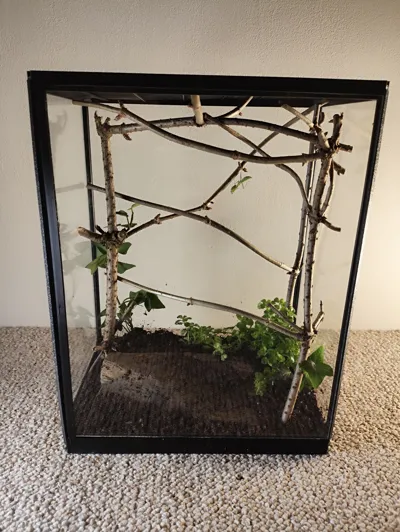
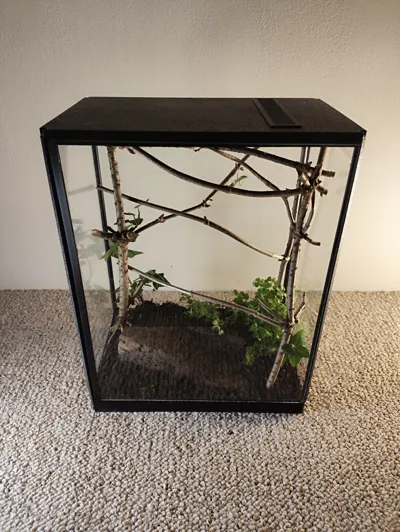
Terarrium 32 × 25 × 15 cm - Insectarium
IP Report
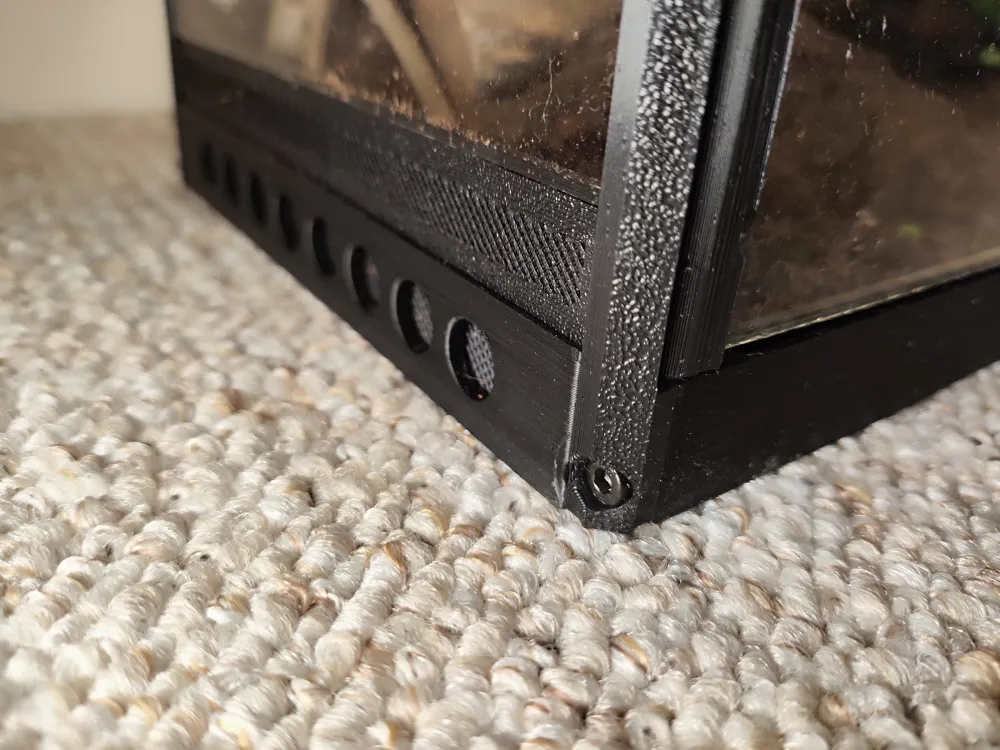
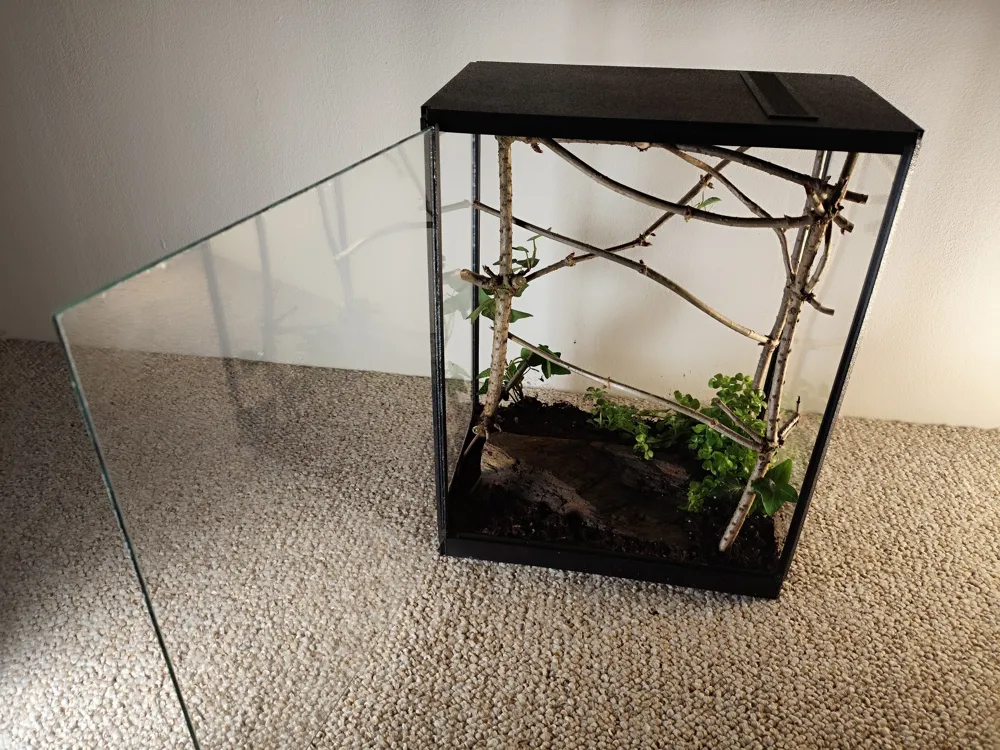
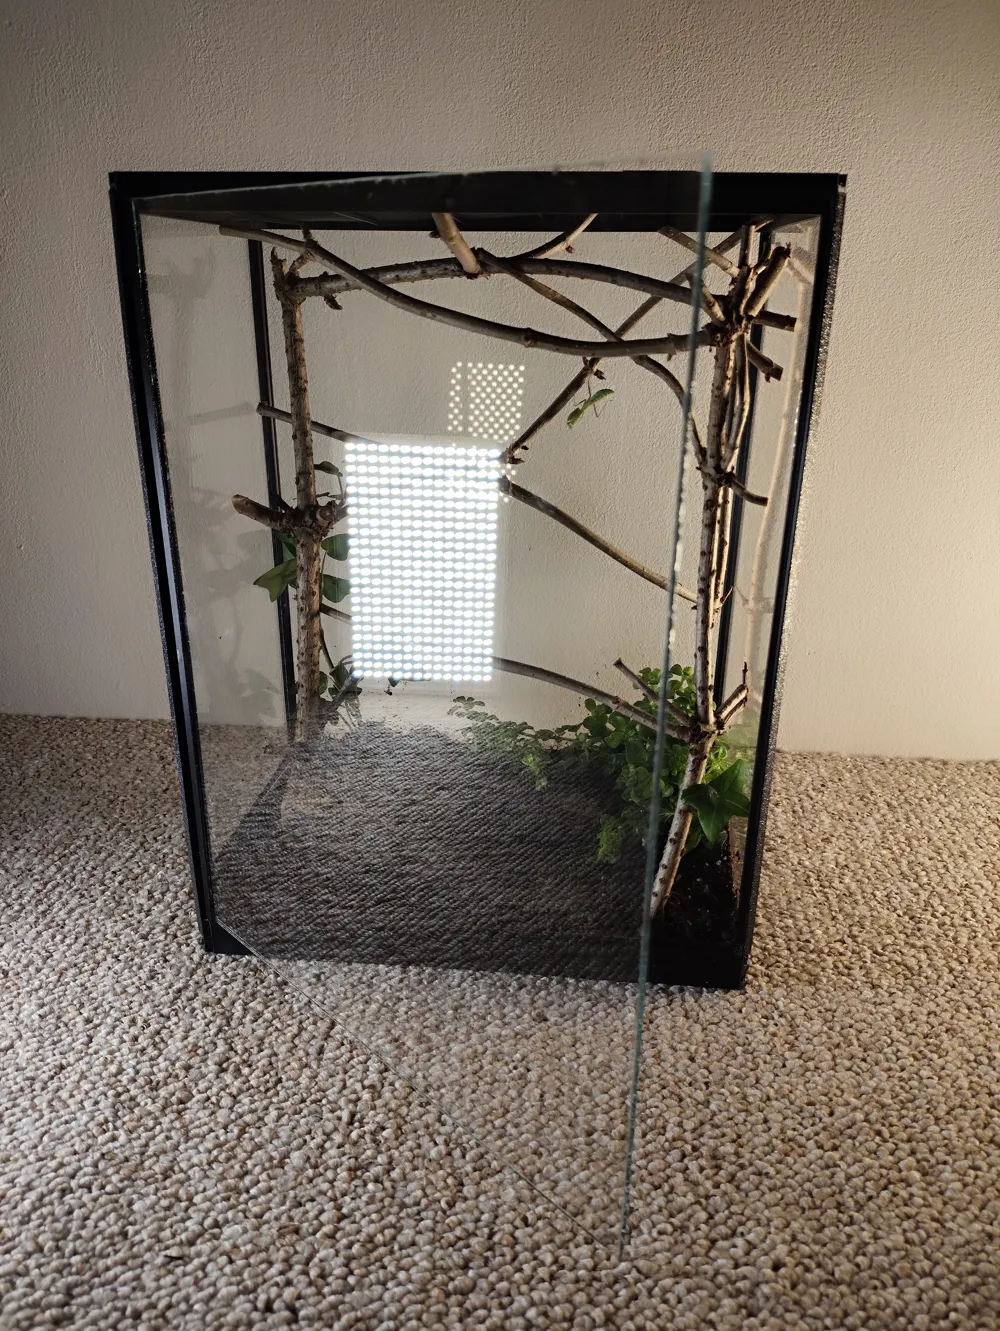
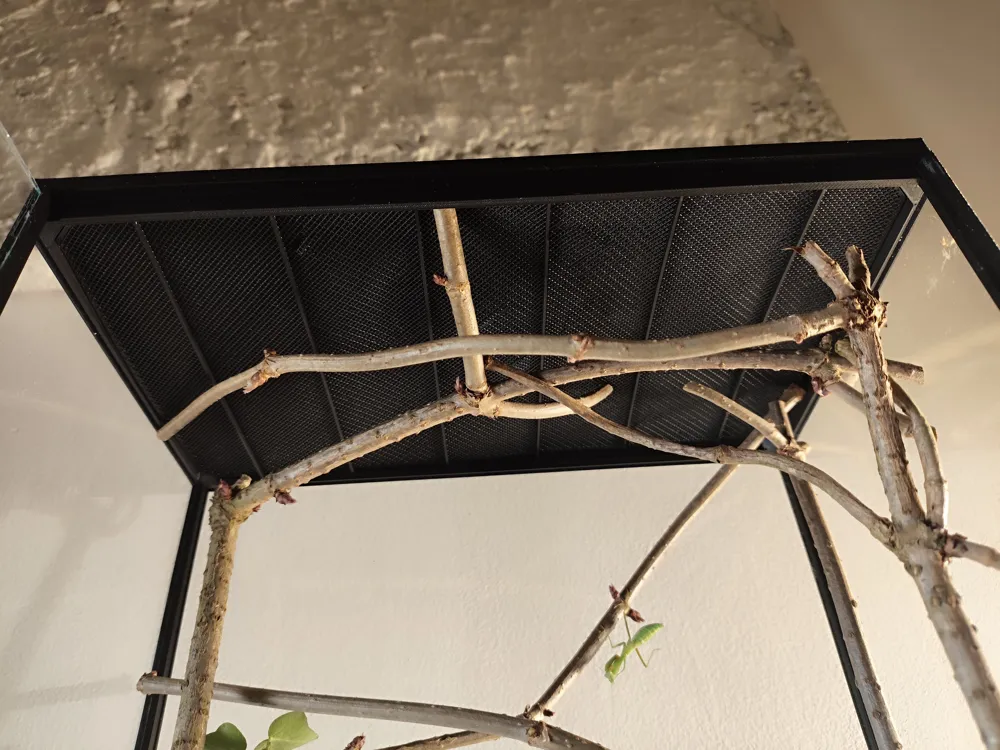
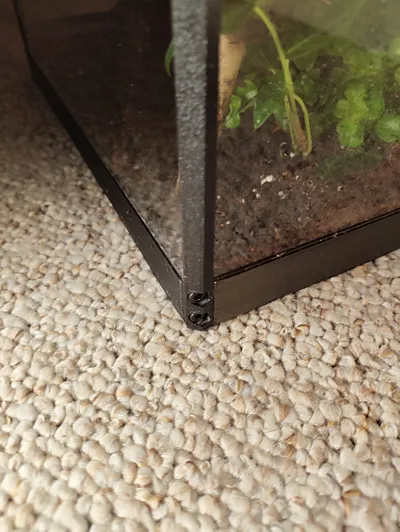
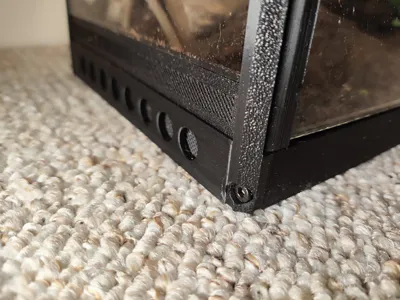
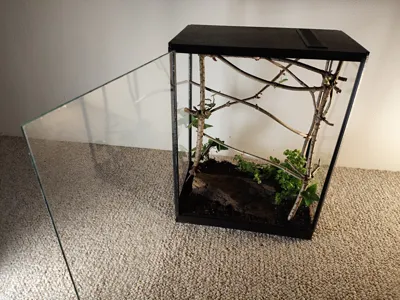
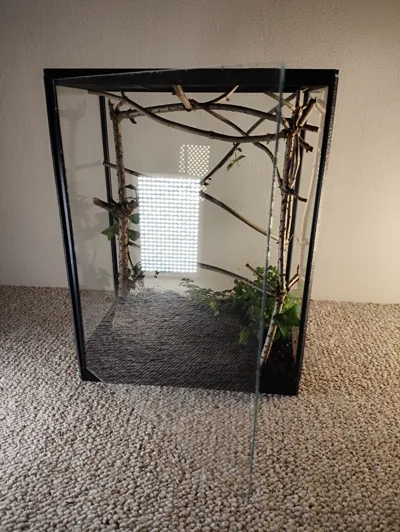
Print Profile(2)

Terrarium main parts
Designer
7.6 h
3 plates

Necessary prints for completing
Designer
38 min
1 plate
Open in Bambu Studio
Boost
192
516
4
1
135
15
Released
Description
Content has been automatically translated.
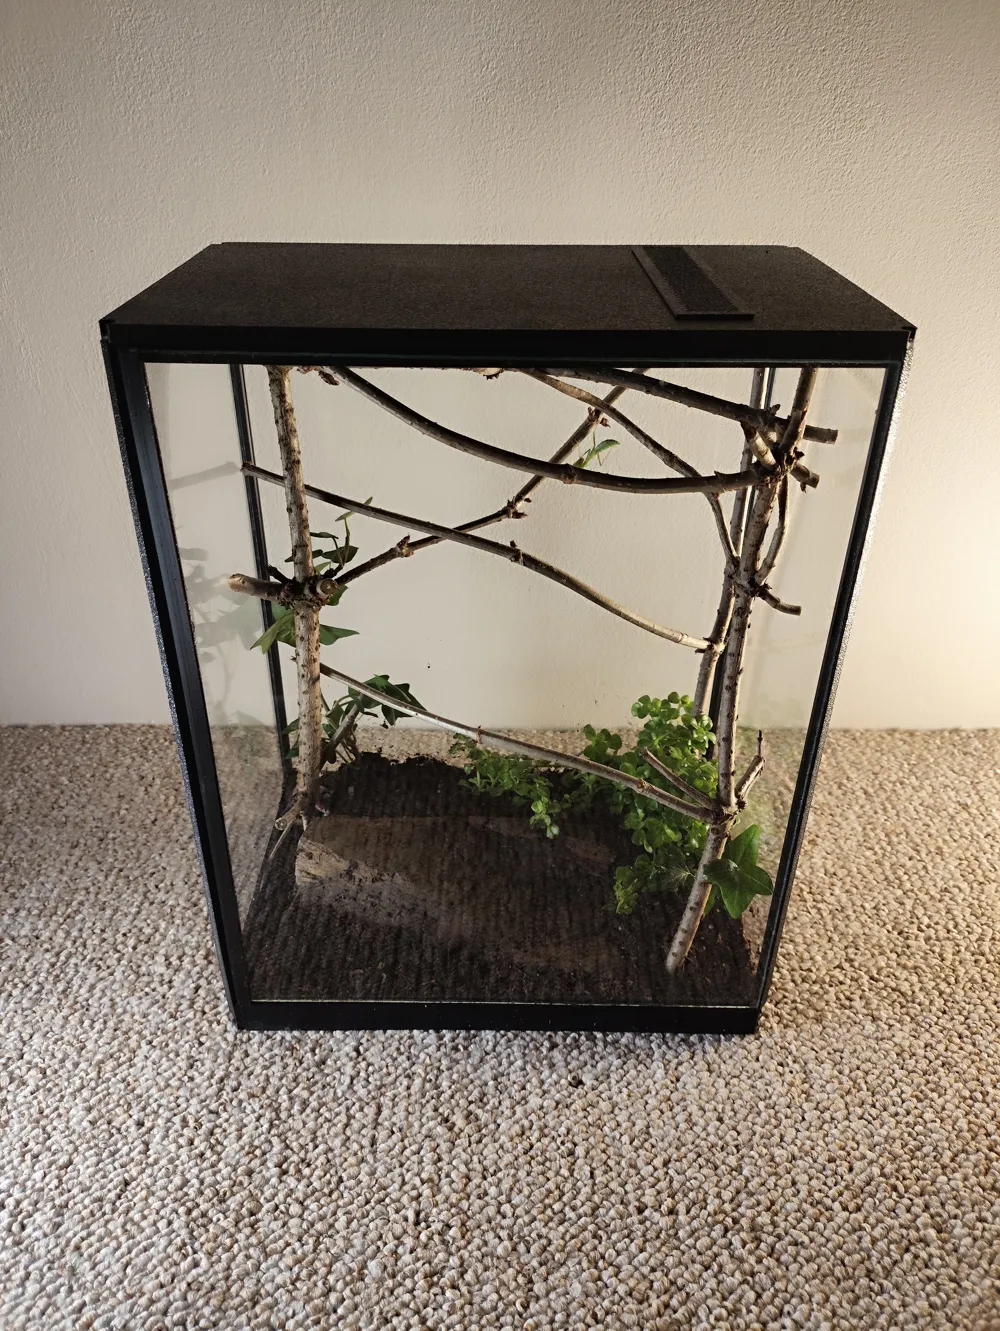
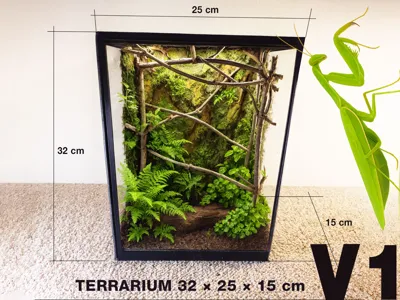
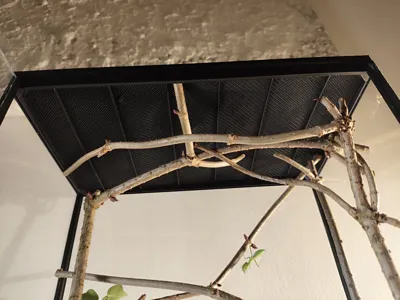
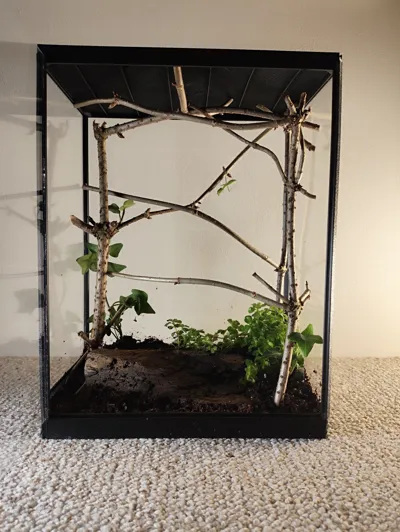
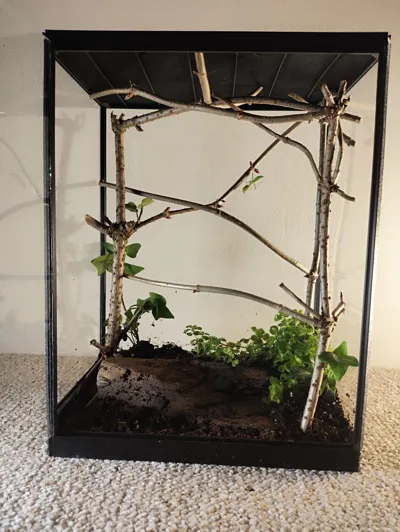
🐜 Easy-to-print terrarium (32 × 25 × 15 cm) for mantises, phasmids, spiders, and other small invertebrates
This terrarium is designed for quick and hassle-free 3D printing. The model takes approximately 8 hours to print and uses only 300 g of filament. The final enclosure measures 32 × 25 × 15 cm, making it ideal for mantises, stick insects, spiders, and other small invertebrates
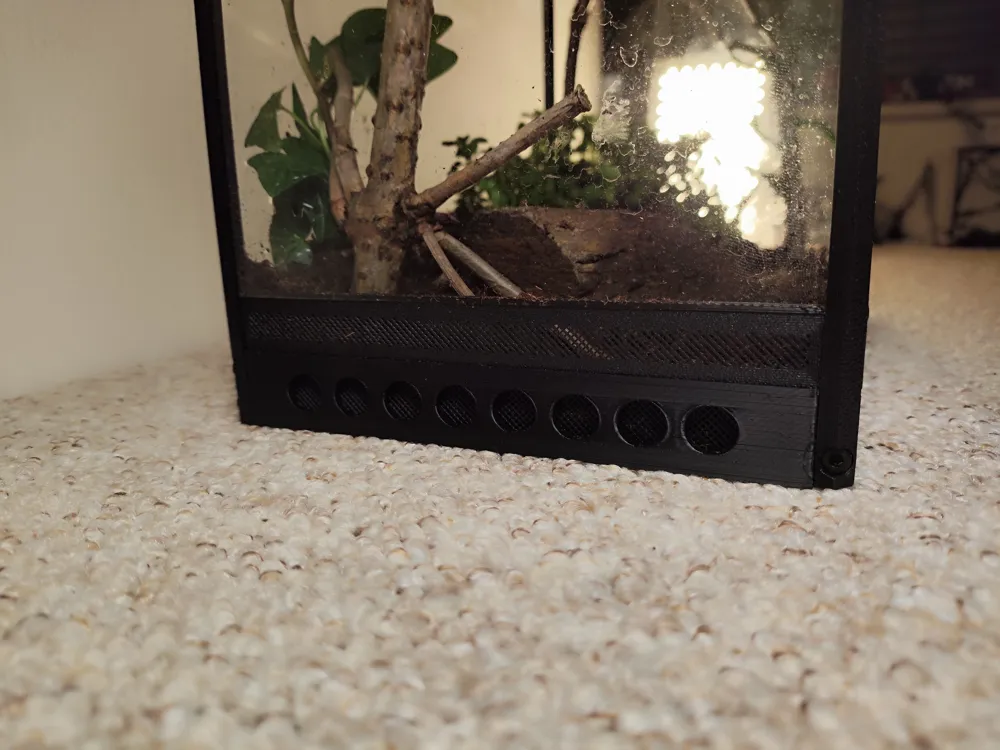
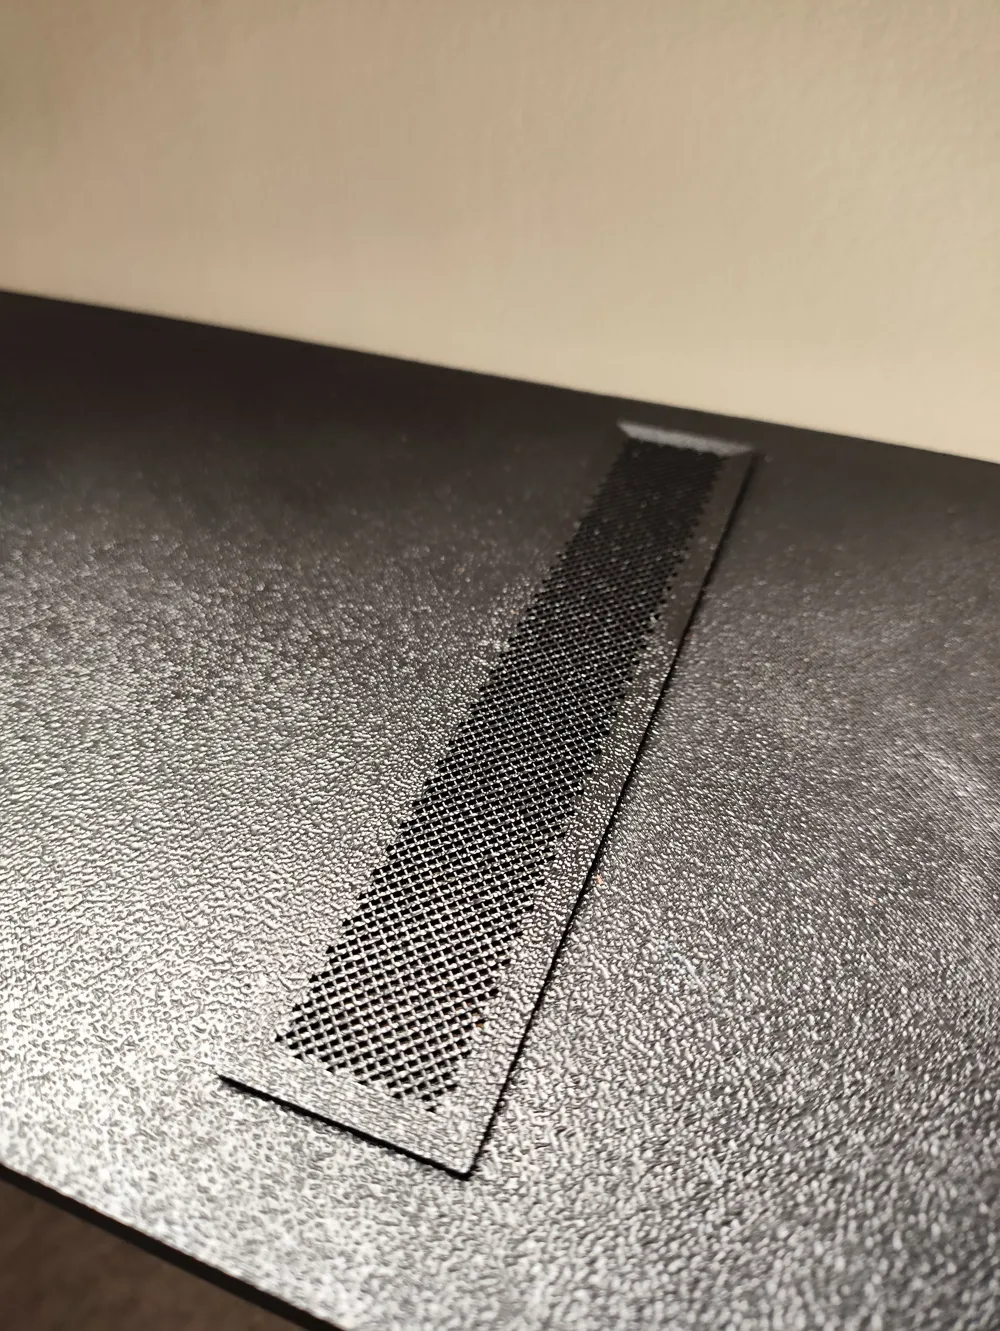
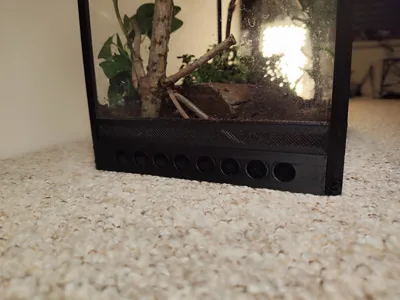
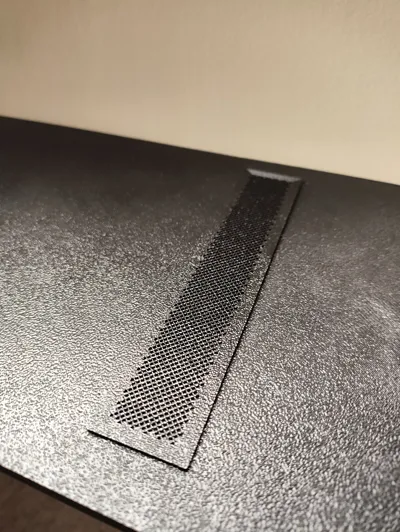
The terrarium is fully ventilated, including integrated mesh panels that are printed separately. These allow for modular upgrades in future versions (V2, V3...). The design anticipates future expansions, including:
- Magnetic door locking
- 3D background insert
- Lighting mount
- Feeder attachment for flying live prey
- Smaller versions for A1 mini and other models
🧰 Assembly requirements:
- 7 × M3 screws (approx. 10 mm length)
- 4 × M2 screws (10–15 mm length)
- 2 × nails (approx. 2–2.2 mm diameter)
- Glue (preferably two-part epoxy – tested and recommended)
- Glass panels (3 mm thick) in the following dimensions:
- Front door: 234 × 297 mm
- Right side: 140 × 297 mm
- Left side: 140 × 282 mm (or 140 × 297 mm if no substrate is used – ventilation sits above the base)
- Back: 240 × 297 mm
🛠️ Assembly steps:
- Print all parts
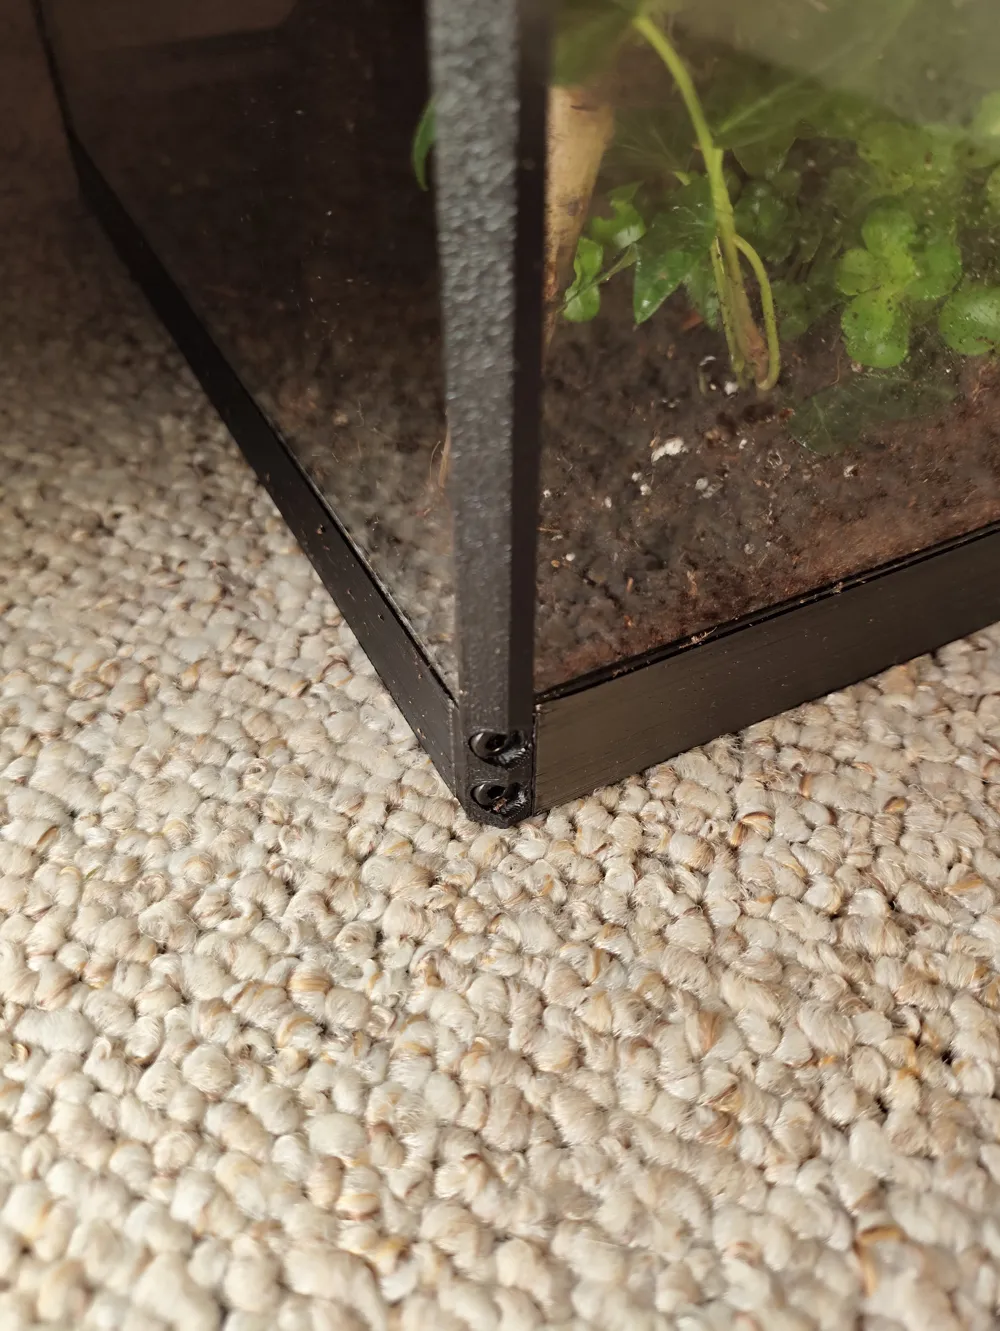
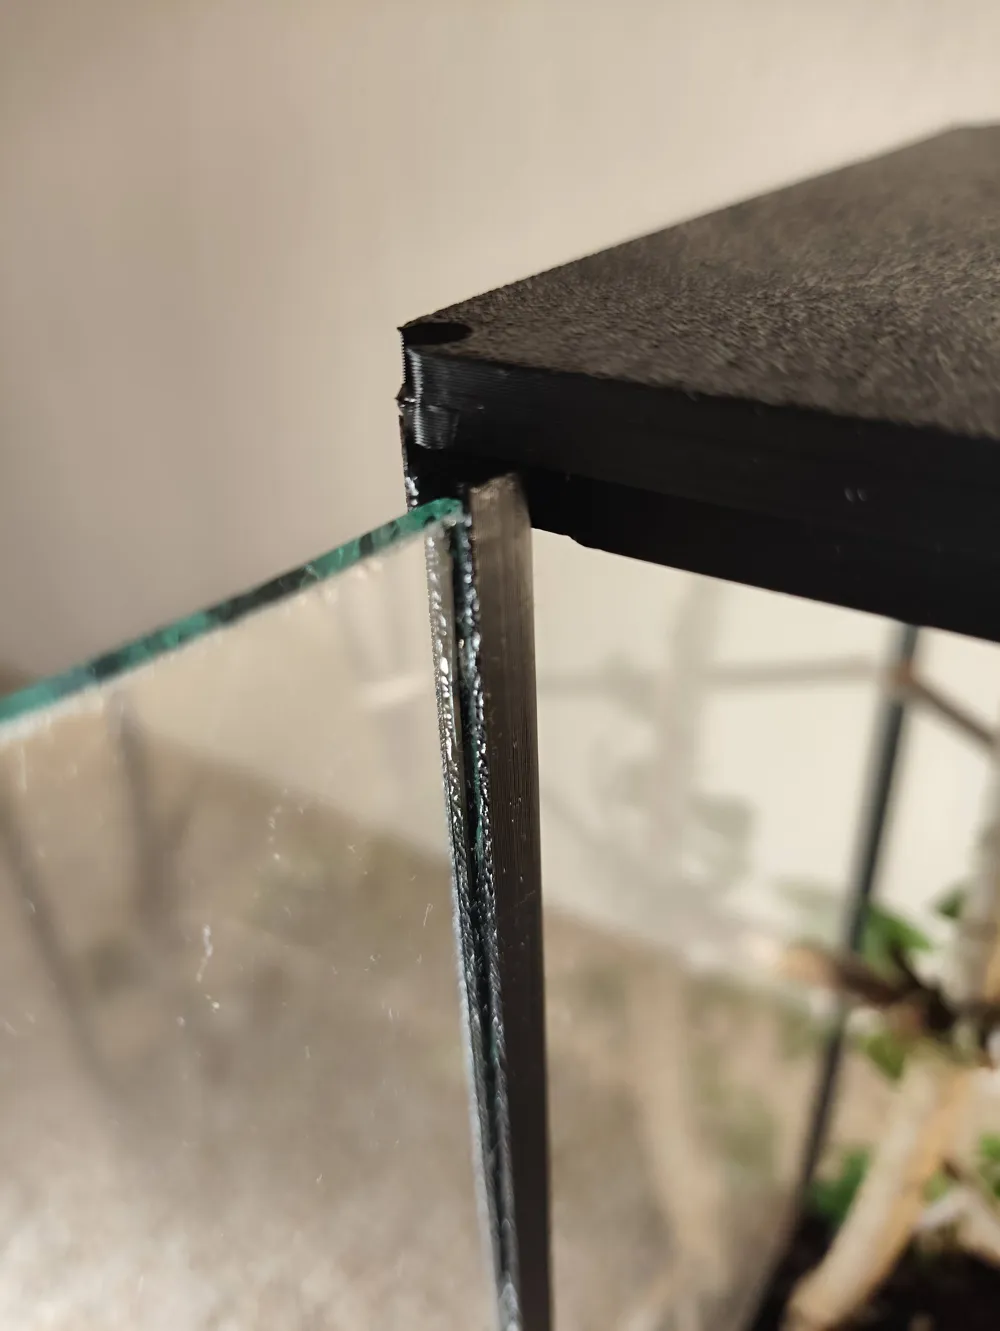
- Screw the legs into the base (they’re uniquely shaped, so you can’t mix them up) – 7 × M3 screws, approx. 10 mm
- Insert the left mesh panel into its slot (or use the solid insert if you plan to add substrate)
- If you used the solid insert, place the mesh panel above it, under the glass
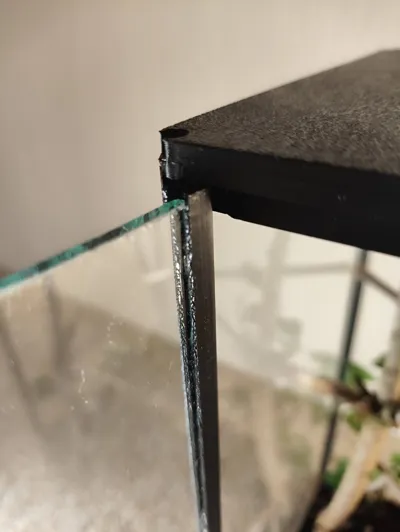
- Insert the glass panels
- Glue the hinge part to the left long edge of the 234 × 297 mm glass panel
- Cut off the nail heads and insert the nails into the hinge from top and bottom
- Leave approx. 3–4 mm of nail sticking out at the top, trim the rest
- Do the same at the bottom, but leave about 10 mm sticking out
- Snap the largest mesh panel into the lid
- Slide the lid onto the legs, glass panels, and door
- Secure the lid from above using 4 × M2 screws (10–15 mm length)
Over time, I will also add a video tutorial on how to assemble a terrarium
For now, if the glass is cut precisely, just close it and it will stay perfectly closed
License

This user content is licensed under a
Creative Commons Attribution-Share Alike


Comment & Rating (4)