
Samsung A9+ tablet case with wall mount
Print Profile(6)



Description
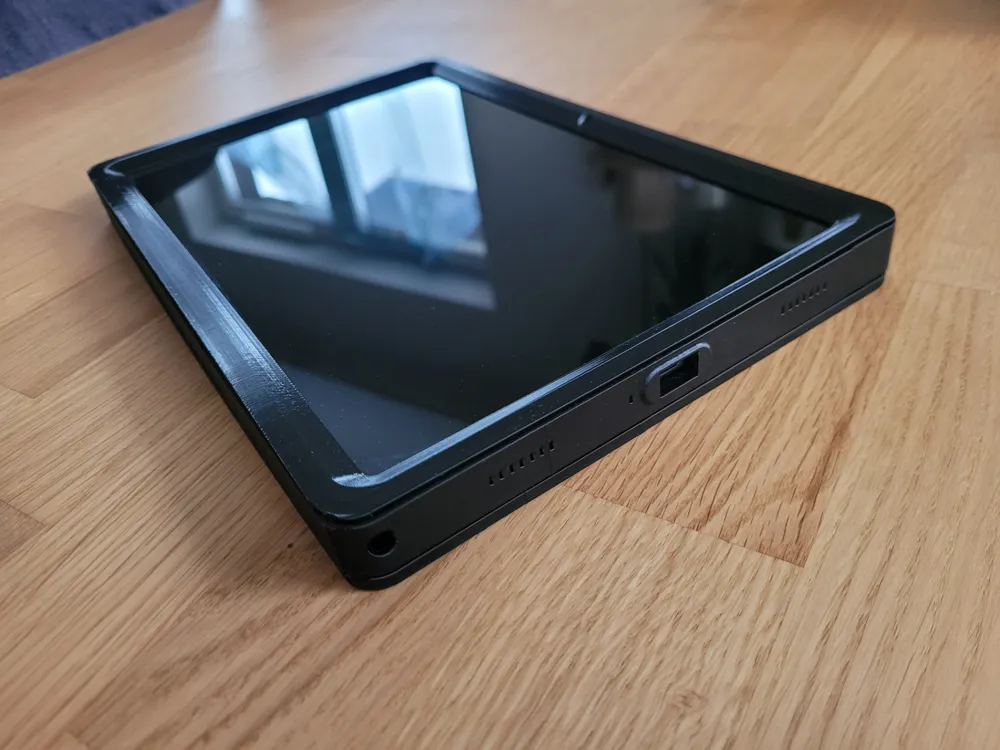
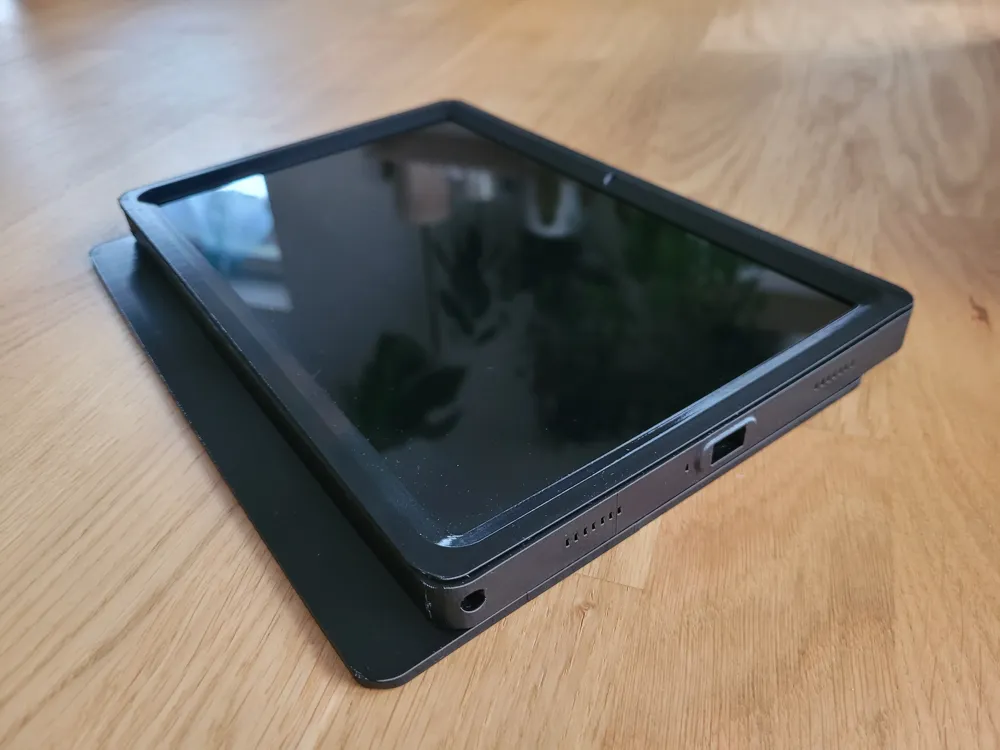
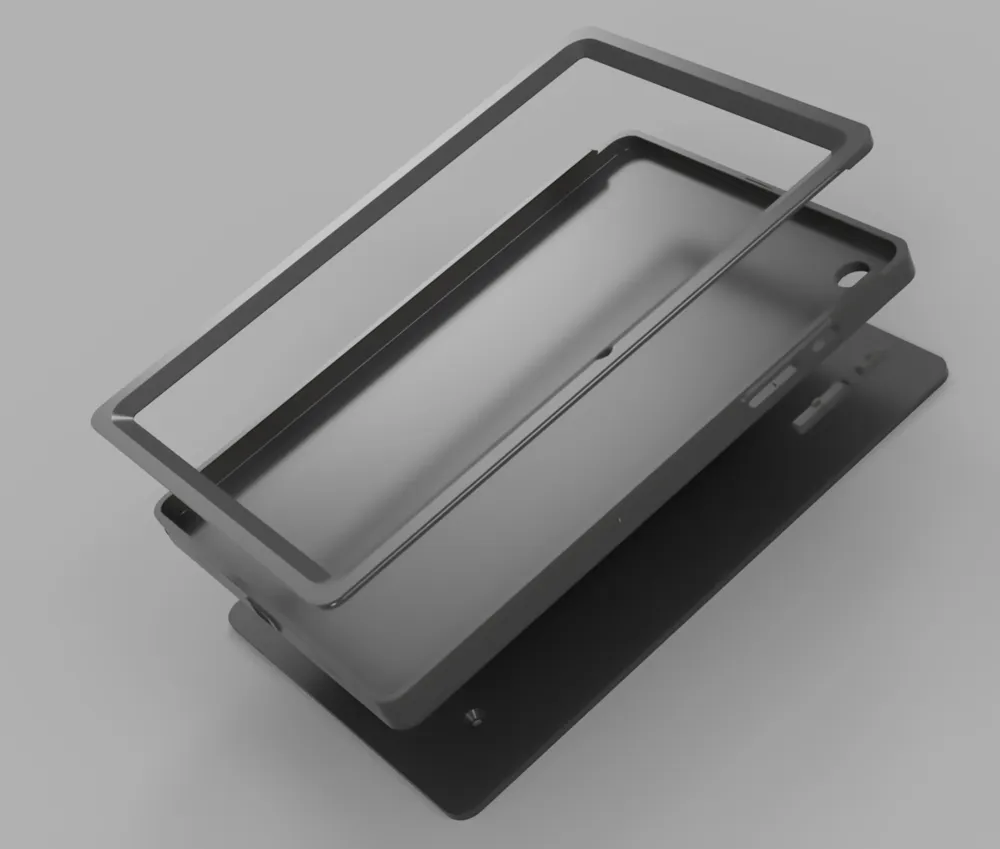
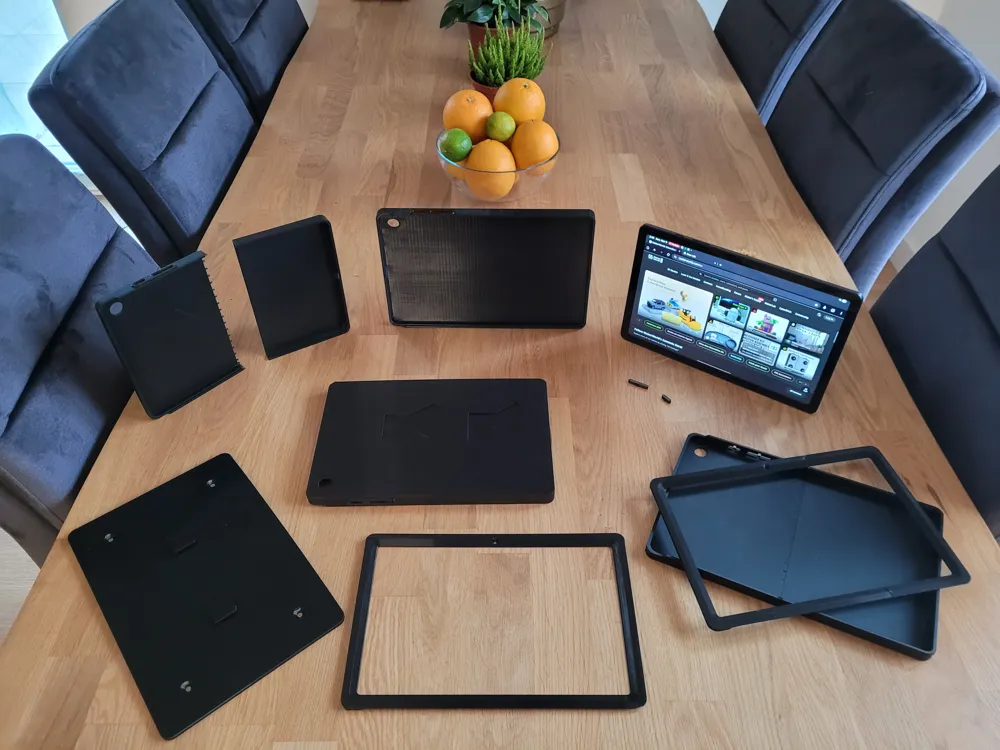
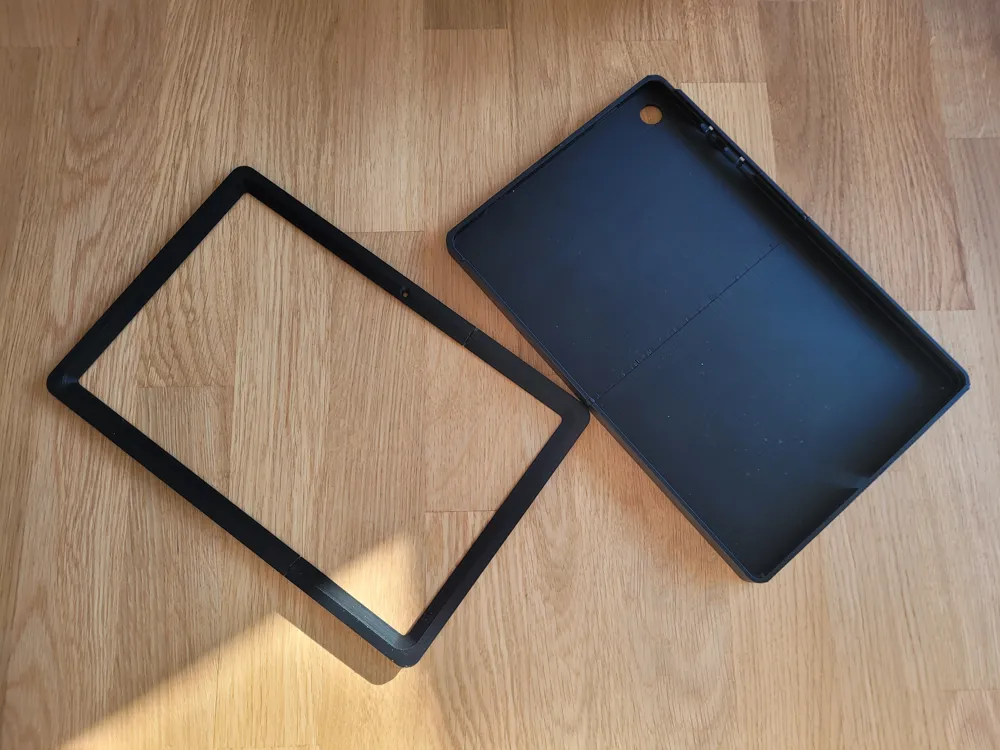
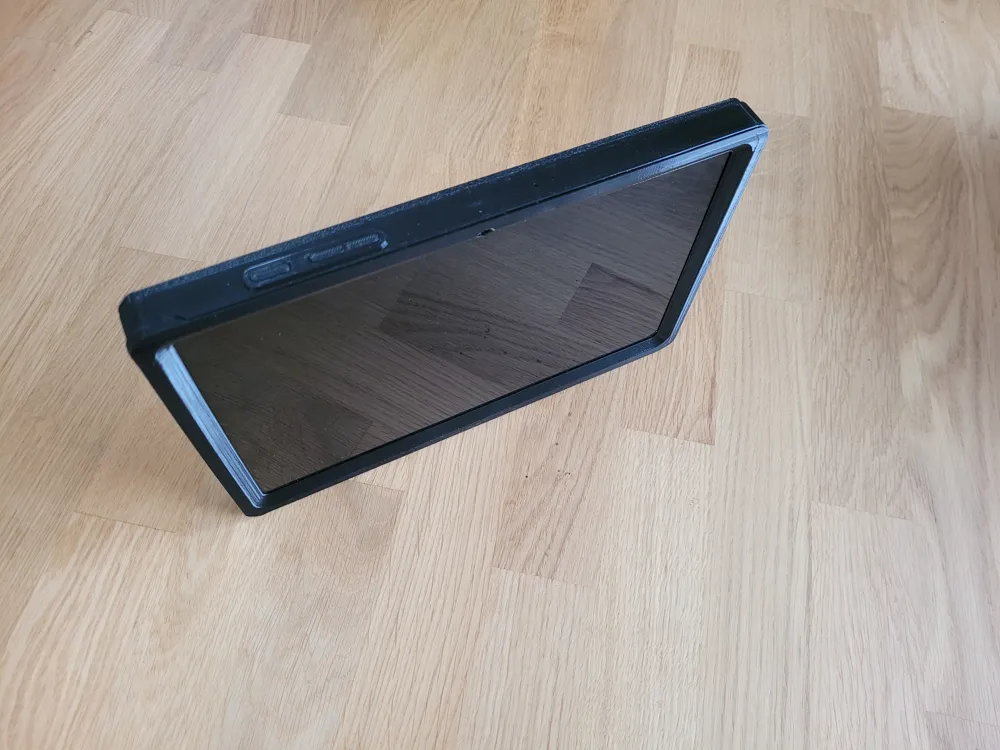
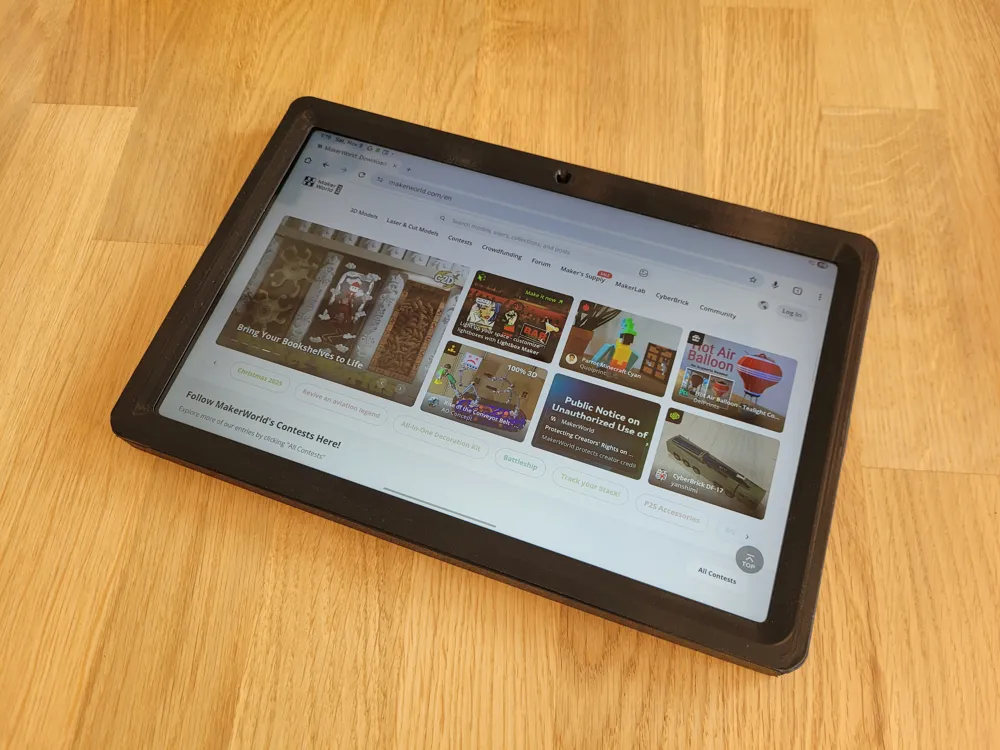
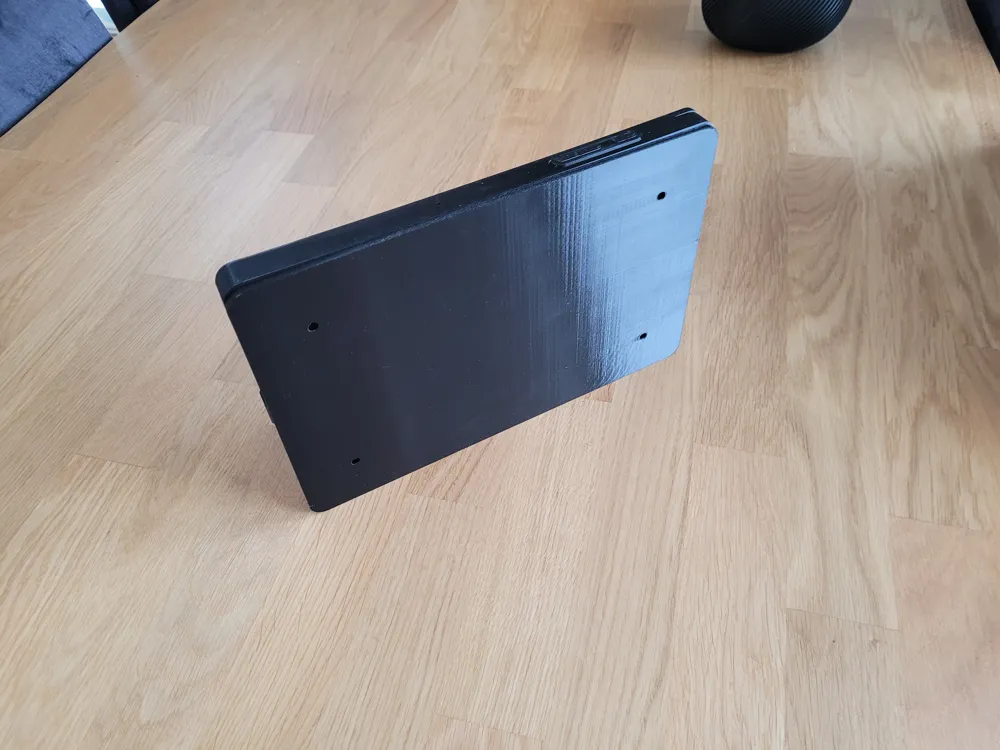
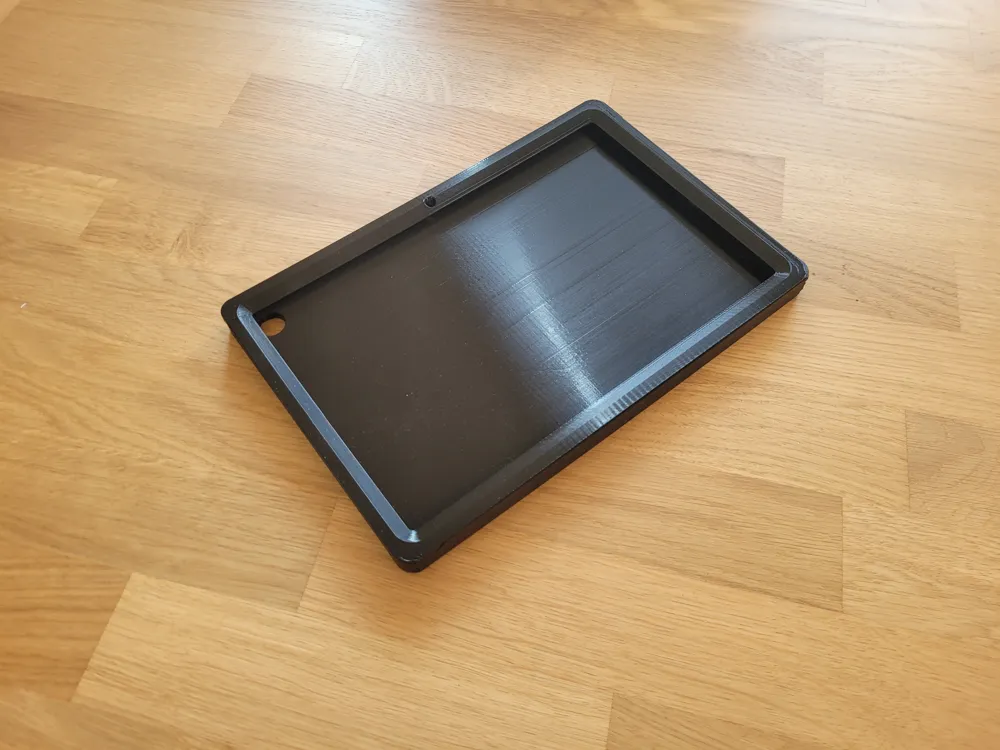
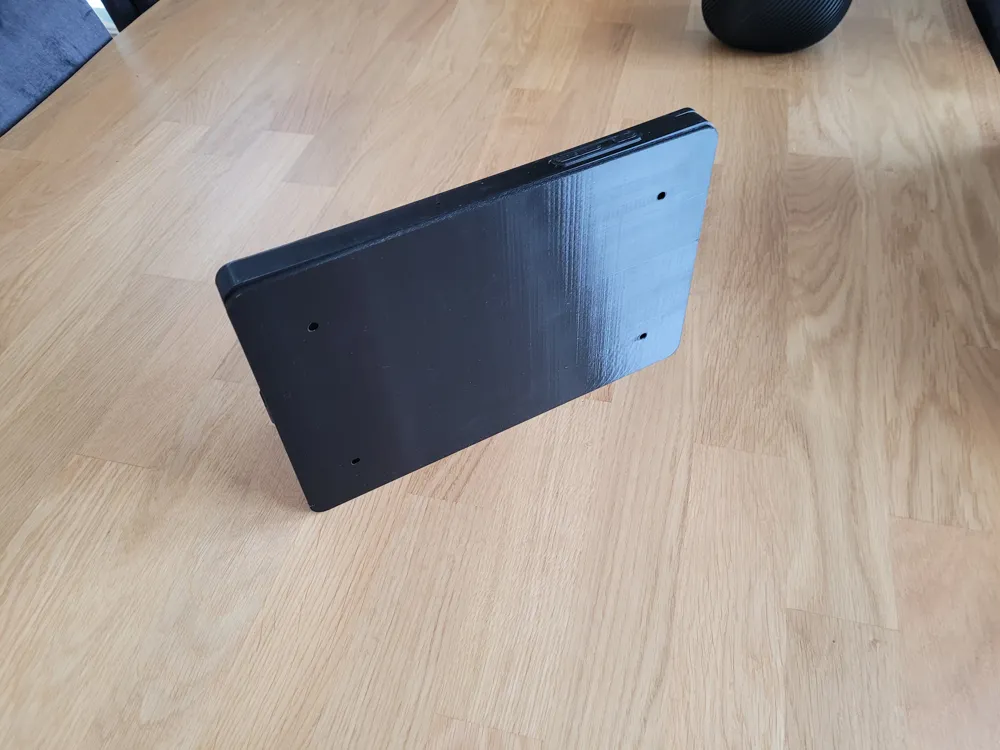
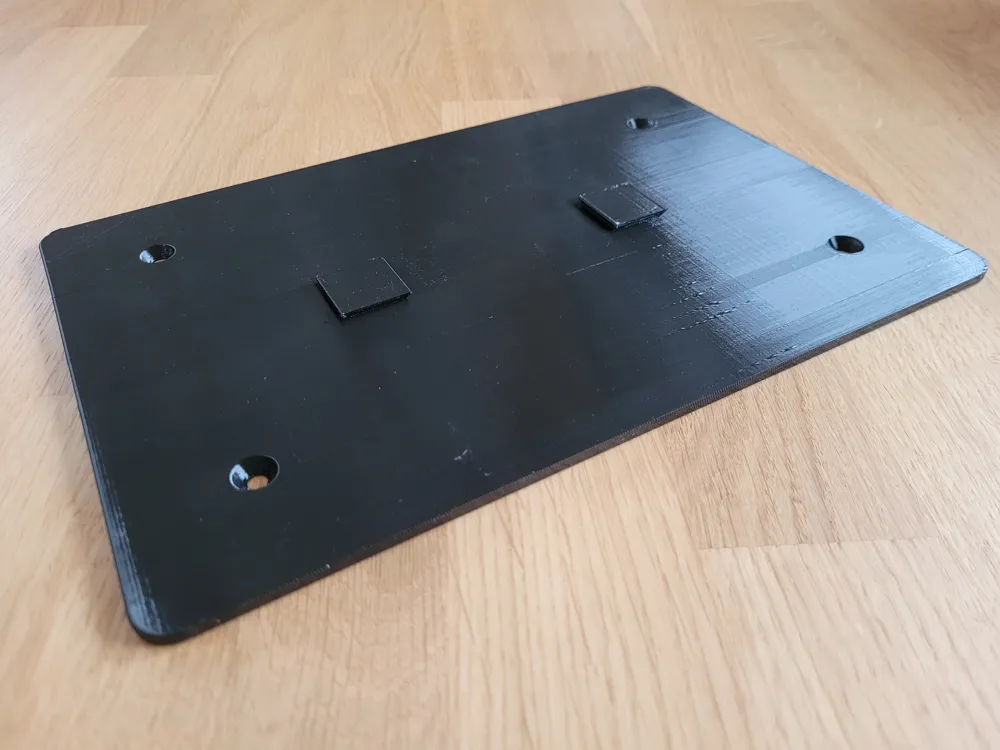
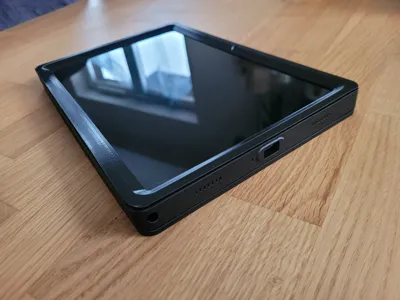
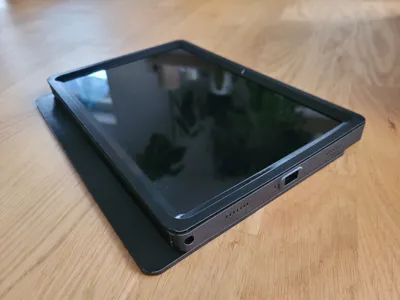
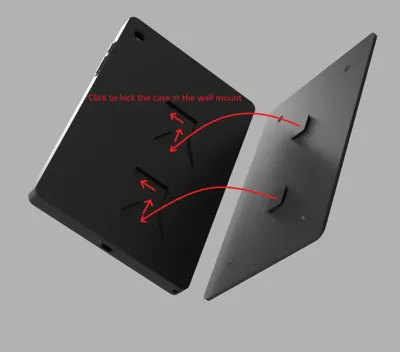
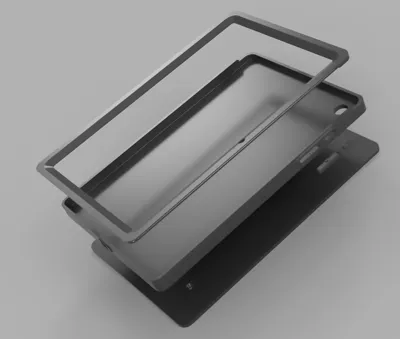
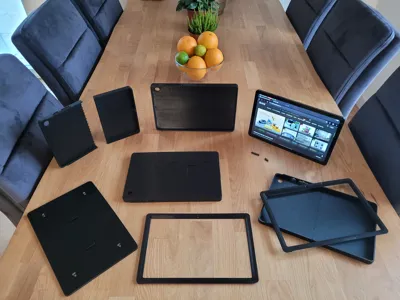
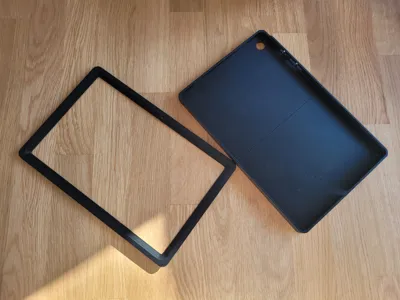
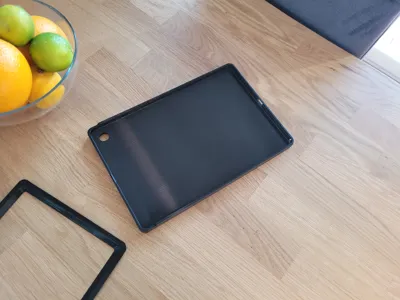
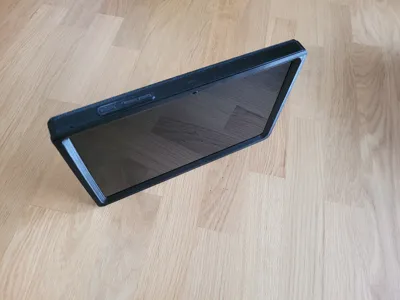
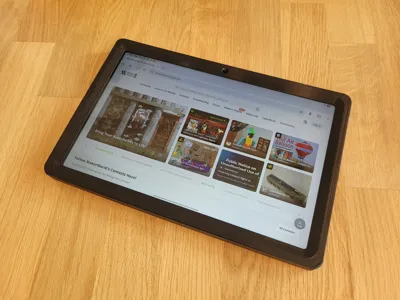
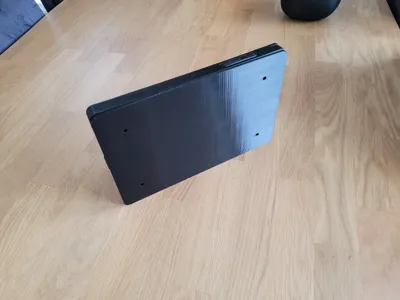
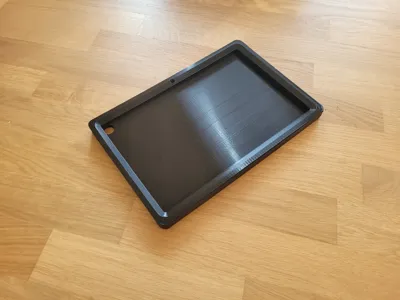
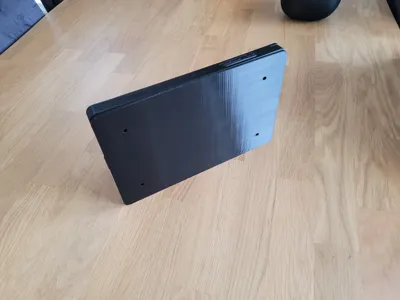
Samsung A9+ hard cover. Originally intended as DIY HomeAssistant control panel - see the option with the wall mount screw holes and the option with automatic wall holder lock mechanism - but can also serve as a cover for regular use.
Ensure perfect fit:
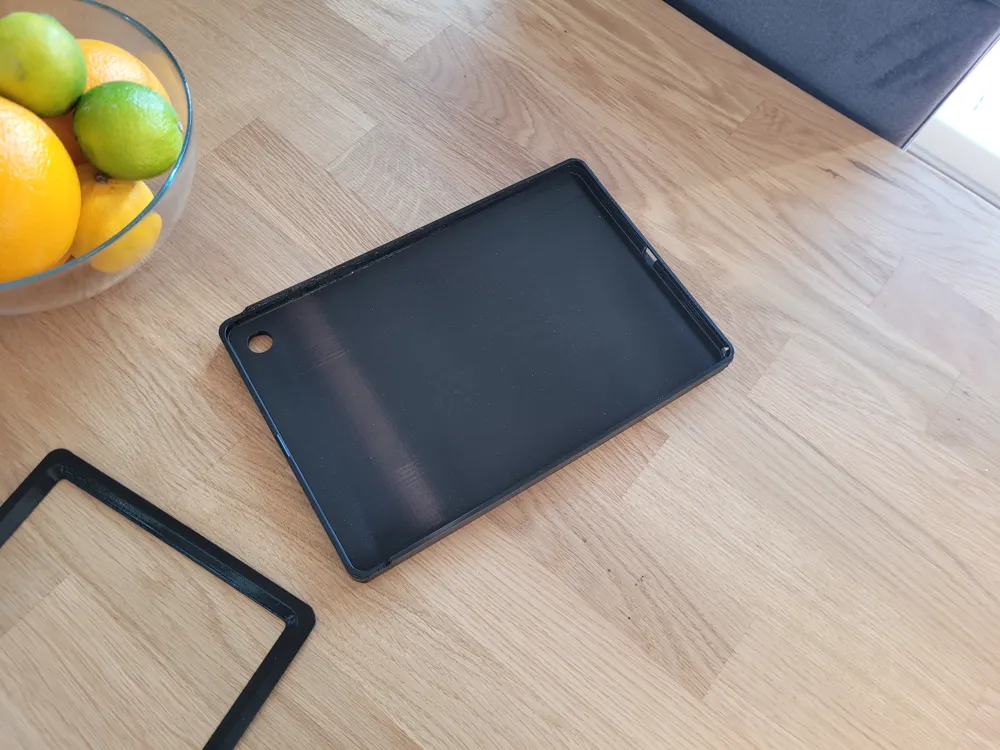
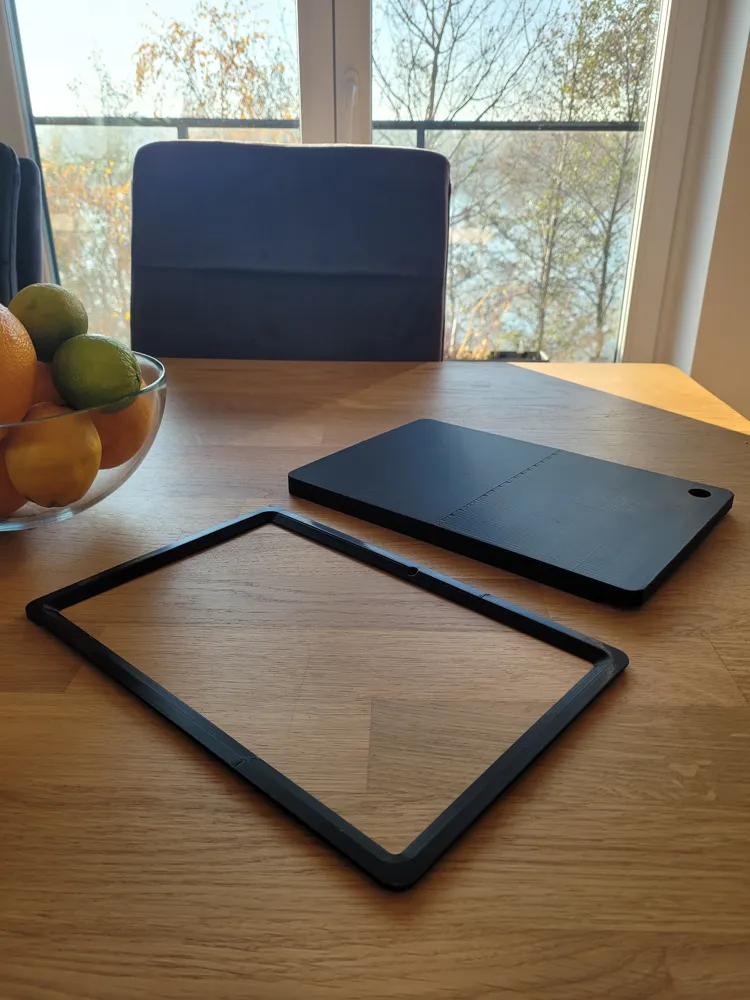
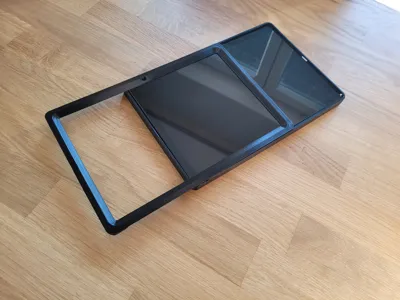
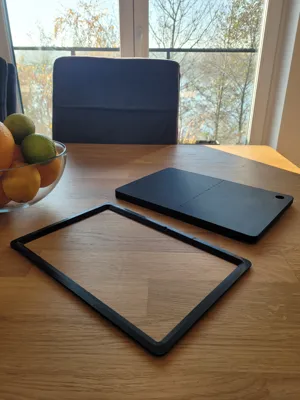
Print profiles contain models scaled up by 100.70% - that turned out to provide the perfect fit using Sunlu PLA and Sunlu PETG. If you use different printer or filament you may need some adjustment. My advise is to cut the bottom part into smaller pieces and print just one piece for fitting to save filament. :)
Important note:
Tablet needs to fit into the case bottom without any tension or pressure. I've seen users of other case designs complaining about broken screens when the device was being squeezed by a too tight case for long time. Screen glass is typically glued to LCD panel so if you strongly squeeze it for a long time it may separate.
Different form factors / mods:
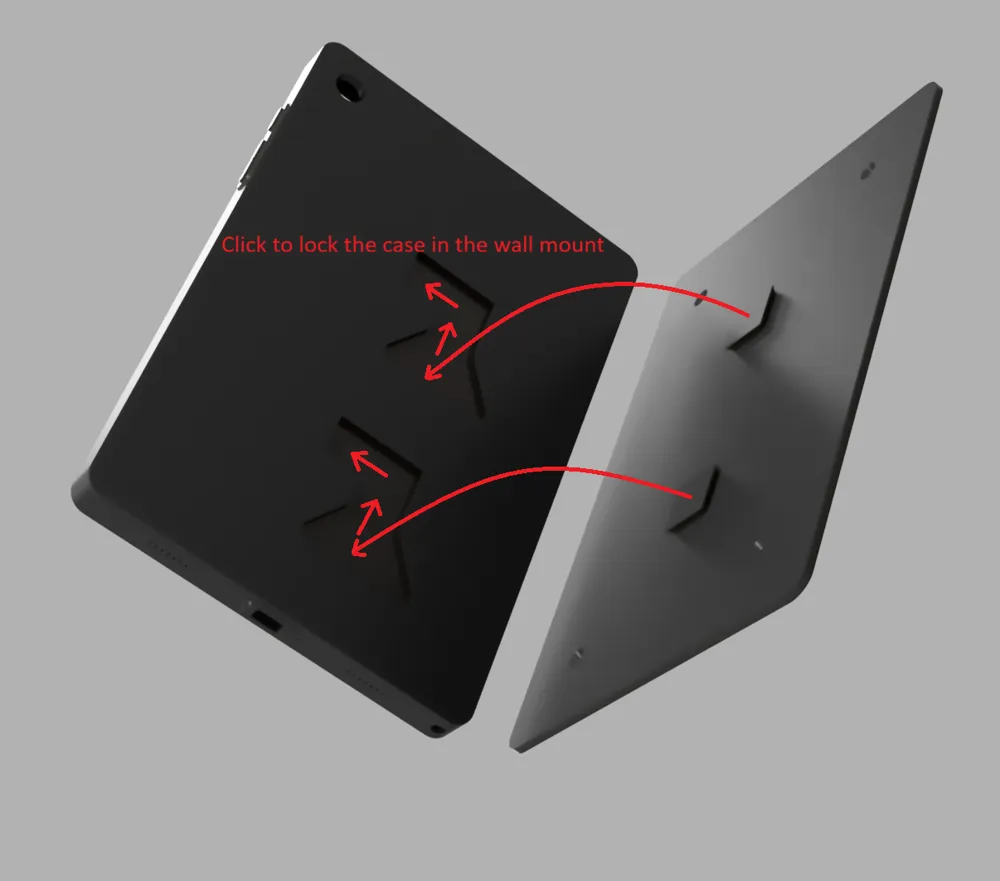
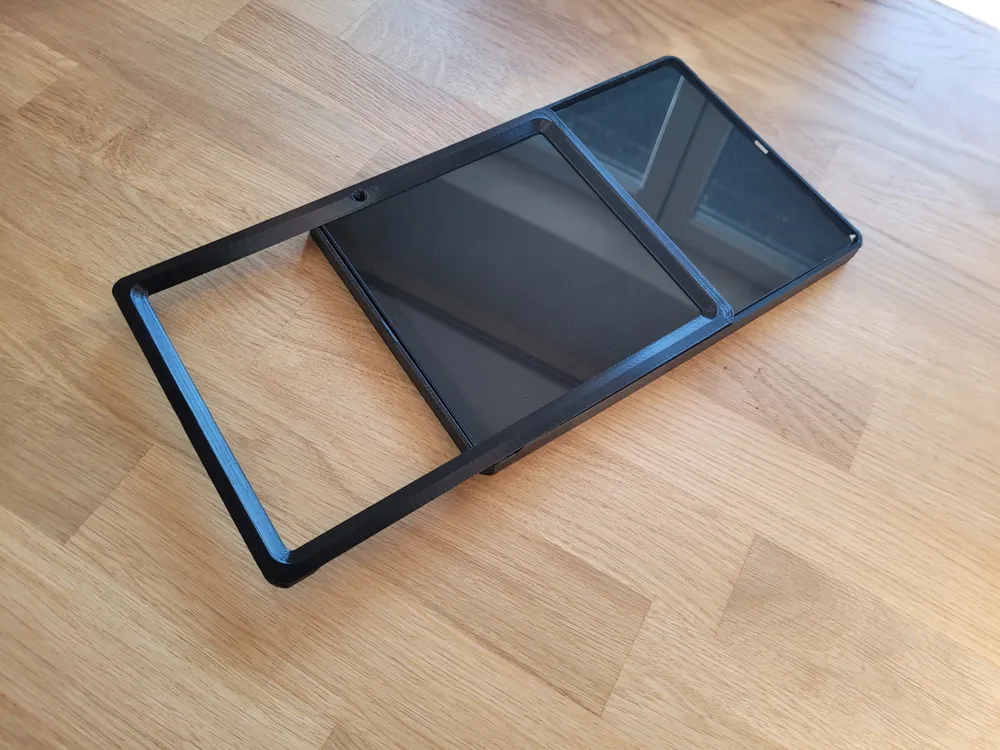
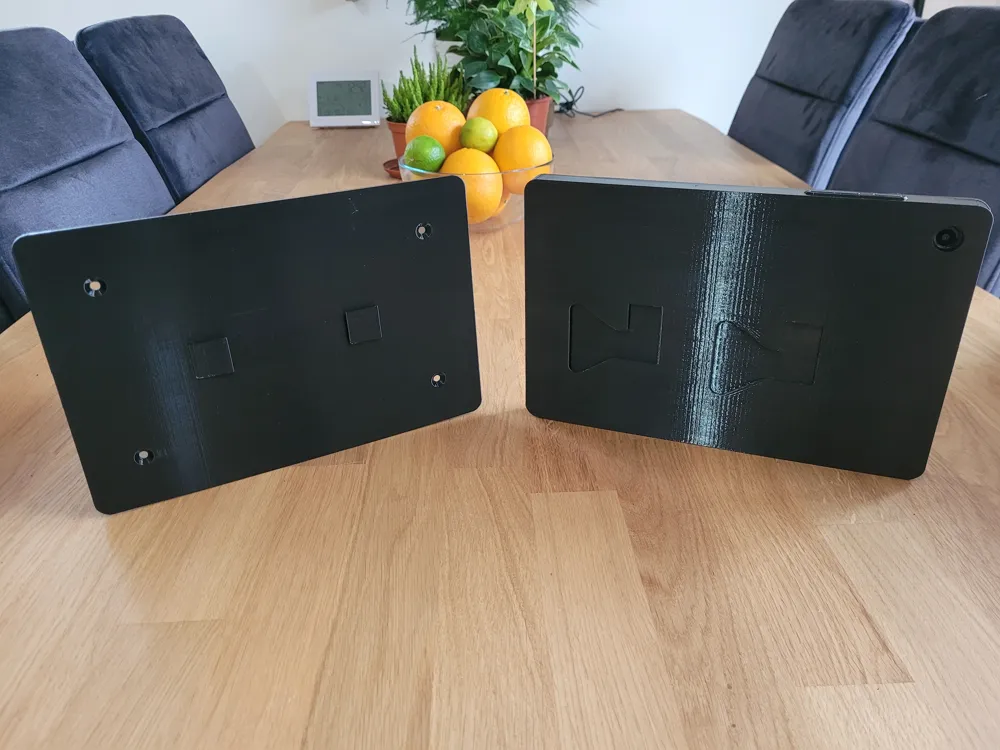
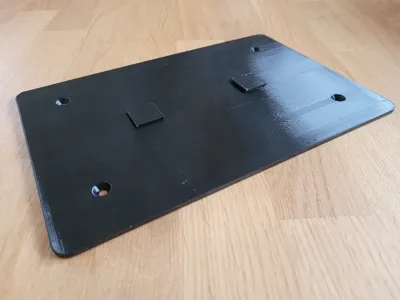
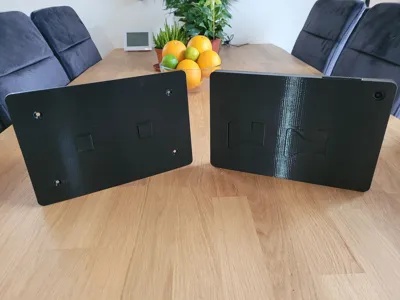
Included profiles deliver different part mods from which you can build a case in different form factors, basic one for a regular use without any wall mount option. There's also a case bottom mod with screw mounting holes so that you can mount the case on a wall. Finally there is also my favorite mod - that allows to lock the case in a wall holder using secure lock mechanism:
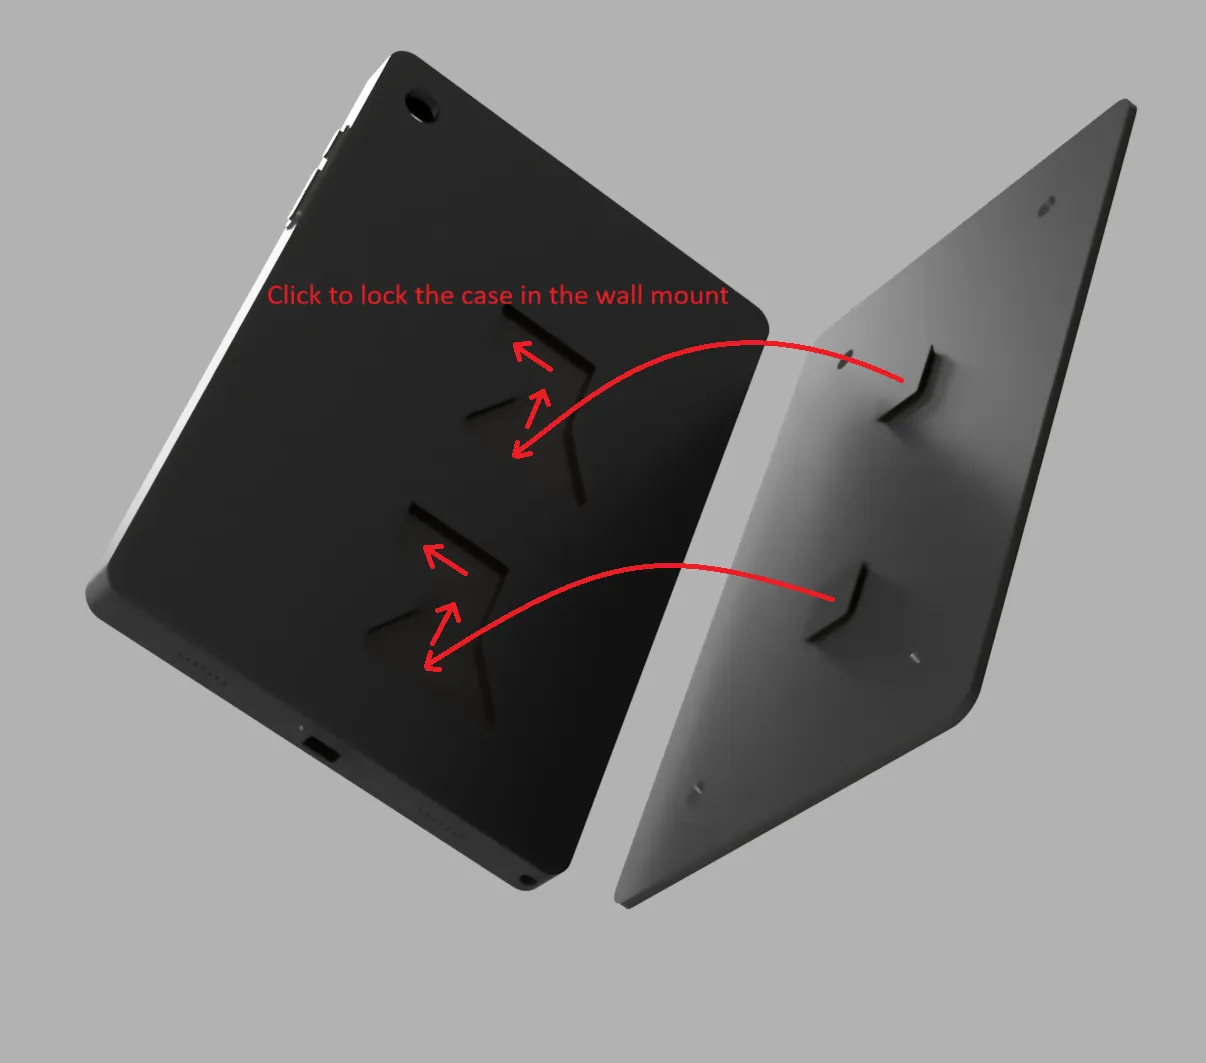
This way you can quickly mount/unmount the tablet on the wall without any tools.
Functional buttons:
Buttons are fully functional. In my prints they were working fine just out of the box ( or rather a printer ) but if it's not moving smoothly just work it out little bit. They're supposed to work, they're not for decoration.
Supports:
All the parts are designed to be printed laid flat without any supports but it requires a plate slightly bigger that P1S's 256x256x256. That's why my print profiles put the parts in vertical position but if you have a printer with bigger build plate then just go ahead an put the parts flat for even better results, shorter print times and filaments saving by avoiding supports.
In my print profiles I used support interface layers for smoother surfaces. If you print with PLA use PETG as an interface material and the other way round - if you use PETG then use PLA as an interface material. If you print with ABS you can use HIPS for your interface. And finally, you can just skip using support interface layer - supported surfaces may just be little more rough though.
Important note:
If you decide to use support interface don't forget to check if the flushing volume is increased to max values ( 900 for Bambu Studio ). Otherwise your print will suffer from vertical cracks as default flushing volume is not enough and the first layer after the interface layer is still poisoned by the interface filament that severely reduces layer adhesion.
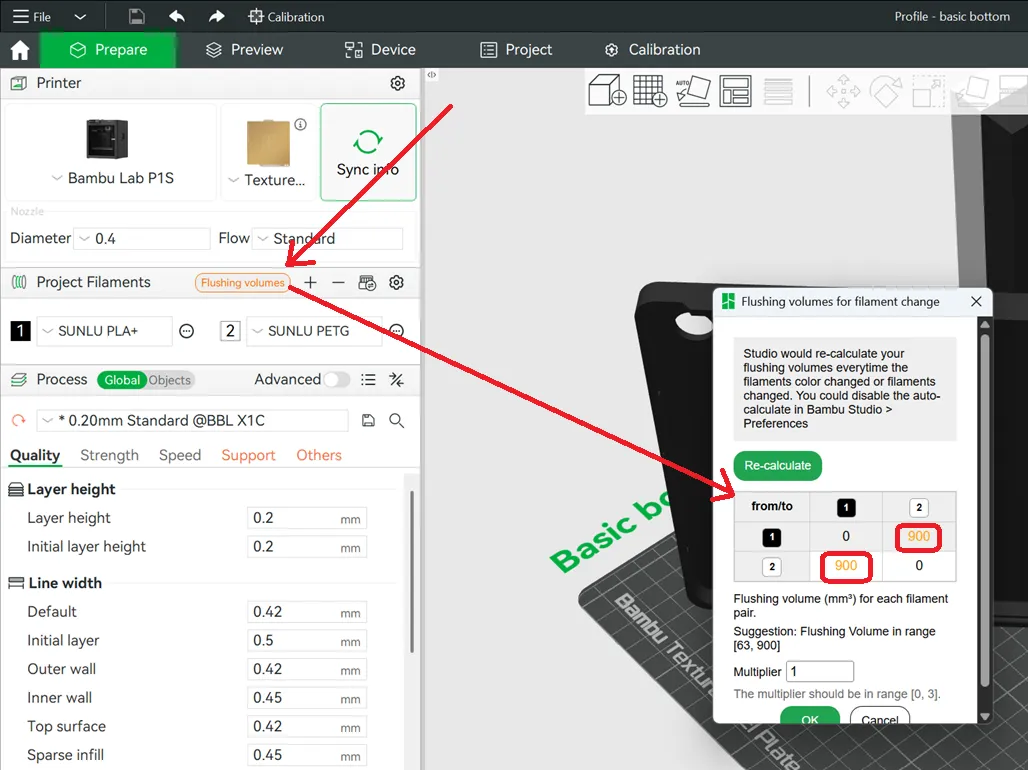
My print profiles include flushing volume settings but if you fiddle around the filament settings it might be reset so don't forget to double check it.
Feedback:
Let me know if you were able to print the parts successfully and also if you have any ideas for improvements. Remember to share some pics!

Boost Me (for free)
If you like the design don't hesitate to boost :)
License

You shall not share, sub-license, sell, rent, host, transfer, or distribute in any way the digital or 3D printed versions of this object, nor any other derivative work of this object in its digital or physical format (including - but not limited to - remixes of this object, and hosting on other digital platforms). The objects may not be used without permission in any way whatsoever in which you charge money, or collect fees.


Comment & Rating (13)