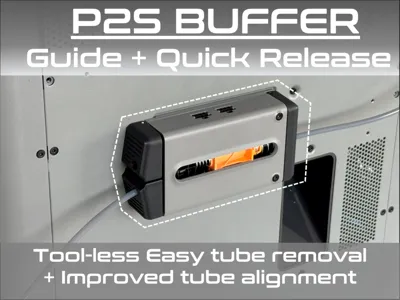
P2S Buffer Guide + Quick Release


Print Profile(3)


Bill of Materials


Description
Following my previous models Guide + Quick Release for AMS Buffer and AMS Hub Guide + Quick Release, I could not let my P2S without the same upgrade! 😁
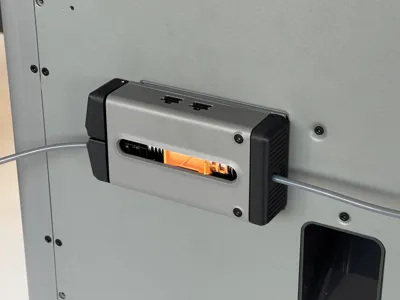
So here it is now, the P2S Buffer Guide + Quick Release!

The goals are still the same :
- keep the perfect alignment of the PTFE tube at the exit, and keep this as close as possible of the internal sliding system, where other models are sometimes bolted far away from the Buffer, this one will guide the filament right at the exit of the system. This can remove issues with retractation error messages when the AMS failed to pull or push the filament, it also reduce the wear of the mechanism and the PTFE tube as the filament has less friction

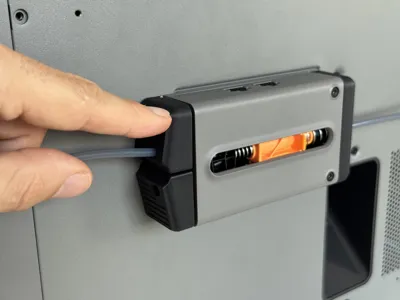
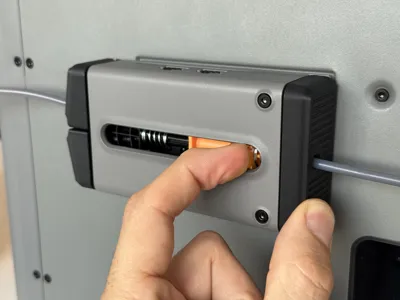
- add a quick and tool-less release of the PTFE tube is an obvious advantage : with a small push on the buttons the PTFE tubes will be released, no need for a tool anymore, no need to fight with the tip of your fingers anymore. It is even better if like me the access to the back of your printer is not easy


…and refine the look to make it as most “OEM” as possible. I hope you will like it, even if it is a not very visible area of the printer!
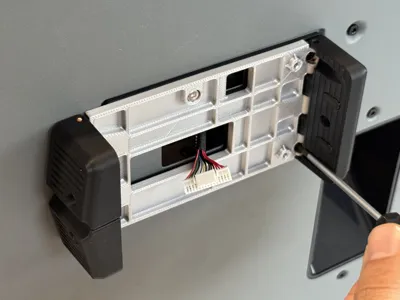
This time there is no need to deal with the buffer internal components, you just have to bolt your P2S Buffer onto the Base Bracket, which holds the release buttons. So the look will be even cleaner than before :

❓ You will need a total of 53g of the filament of your choice : PLA is sufficient here, it is stiffer and this area should not suffer from high temperature or UV, but PETG will also work (probably fine as well with ABS, ASA or any carbon filament, but not tested yet on my side)
The model is composed of 5 printed parts :
- 1× Base Bracket with openings corresponding to the rear panel of the P2S, which holds the buttons
- 2× Input Buttons. They rotates around a piece of filament for a smooth and reliable movement
- 1× Output Button, it also rotates around a piece of filament
- 1× Rear Shim that fill the gap of the rear panel dimple, and allows to move the assembly to the left (in order to increase the gap around the poop chute)
- optional : you can use TPU inserts to damper the noise of the buttons (totally over engineered I agree but still a nice addition)
- You will also need 2 short pieces of filament for the buttons assembly (PETG if possible)
🧰 Extra Supply : For this model, you will also need the following parts
- 2× M3-6 screws
- 1× M3-8 or M3-10 screw
🔧 Assembly : Take a look at the enclosed Assembly Guide at the bottom of this page. It does not request any special process, you just have to insert two pieces of filament into holes, to create the buttons articulations
🔨 Disassembly : there are access holes on the bottom of the buttons to push out the filament pieces should you need to explode the assembly
I hope you will enjoy it. As always : do not hesitate to reach me by message should you find an improvement or need of an adaptation.
Documentation (1)
License
You shall not share, sub-license, sell, rent, host, transfer, or distribute in any way the digital or 3D printed versions of this object, nor any other derivative work of this object in its digital or physical format (including - but not limited to - remixes of this object, and hosting on other digital platforms). The objects may not be used without permission in any way whatsoever in which you charge money, or collect fees.
Comment & Rating (148)