
Personalised gingerbread Xmas gift tag - Set 2
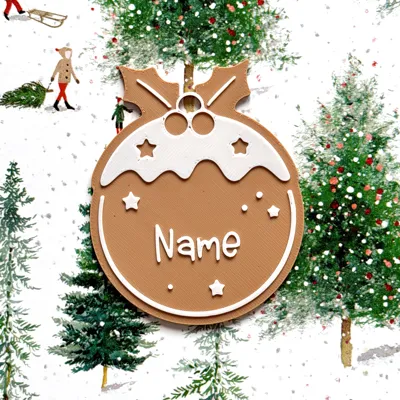
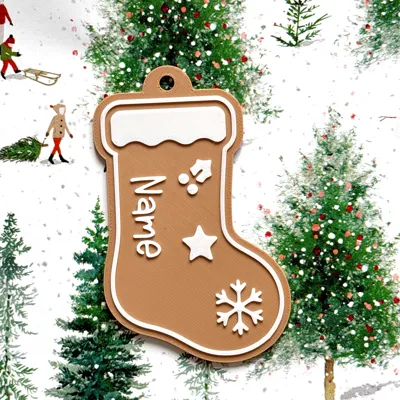
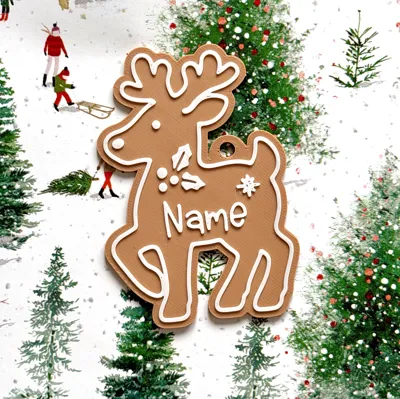
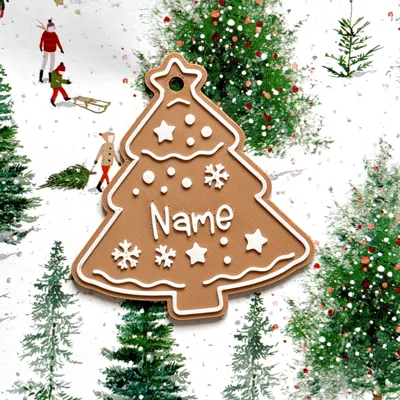
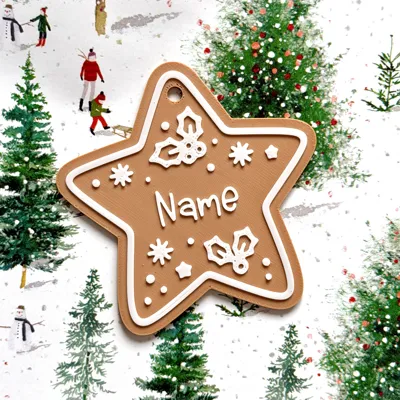
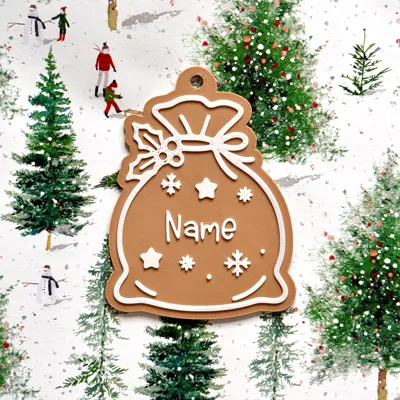
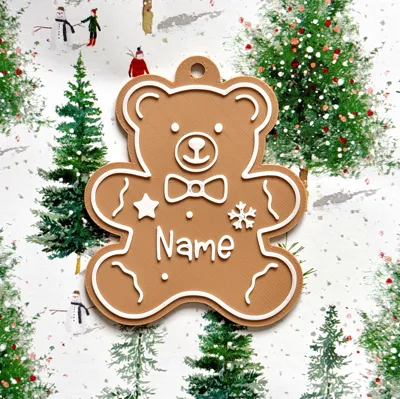
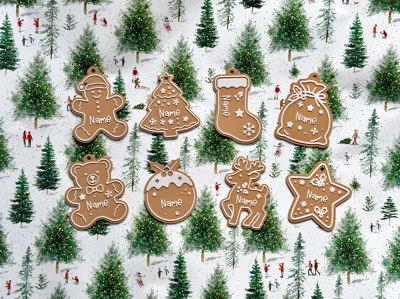
Print Profile(8)





Description
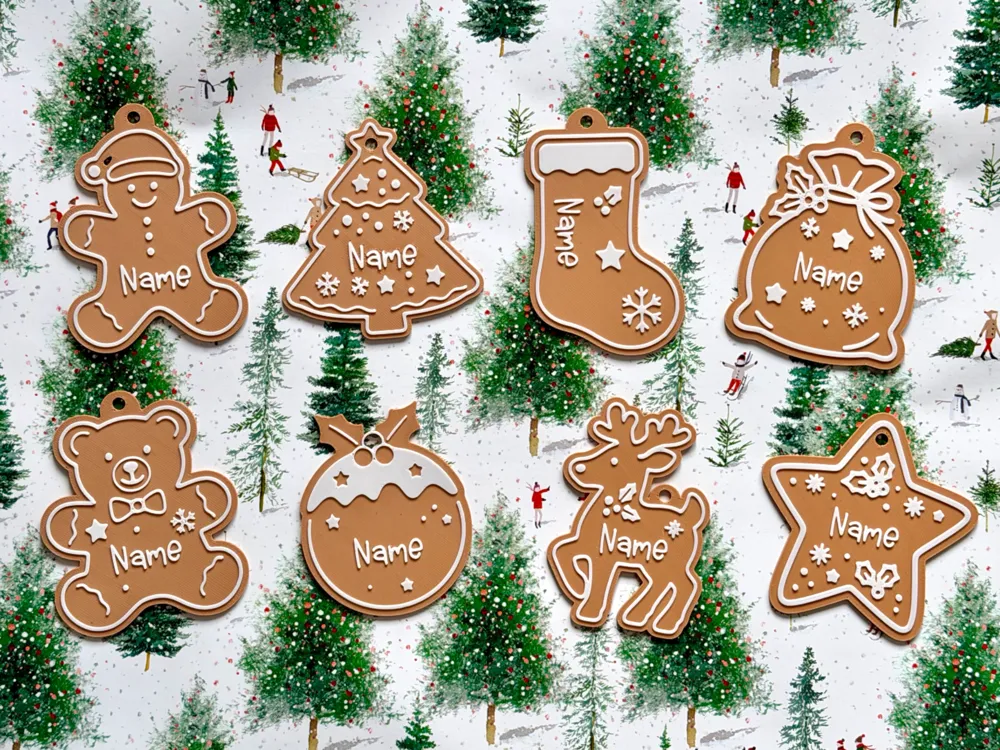
🎄Customisable gingerbread style Christmas gift tags - No AMS required! - Set 2🎄
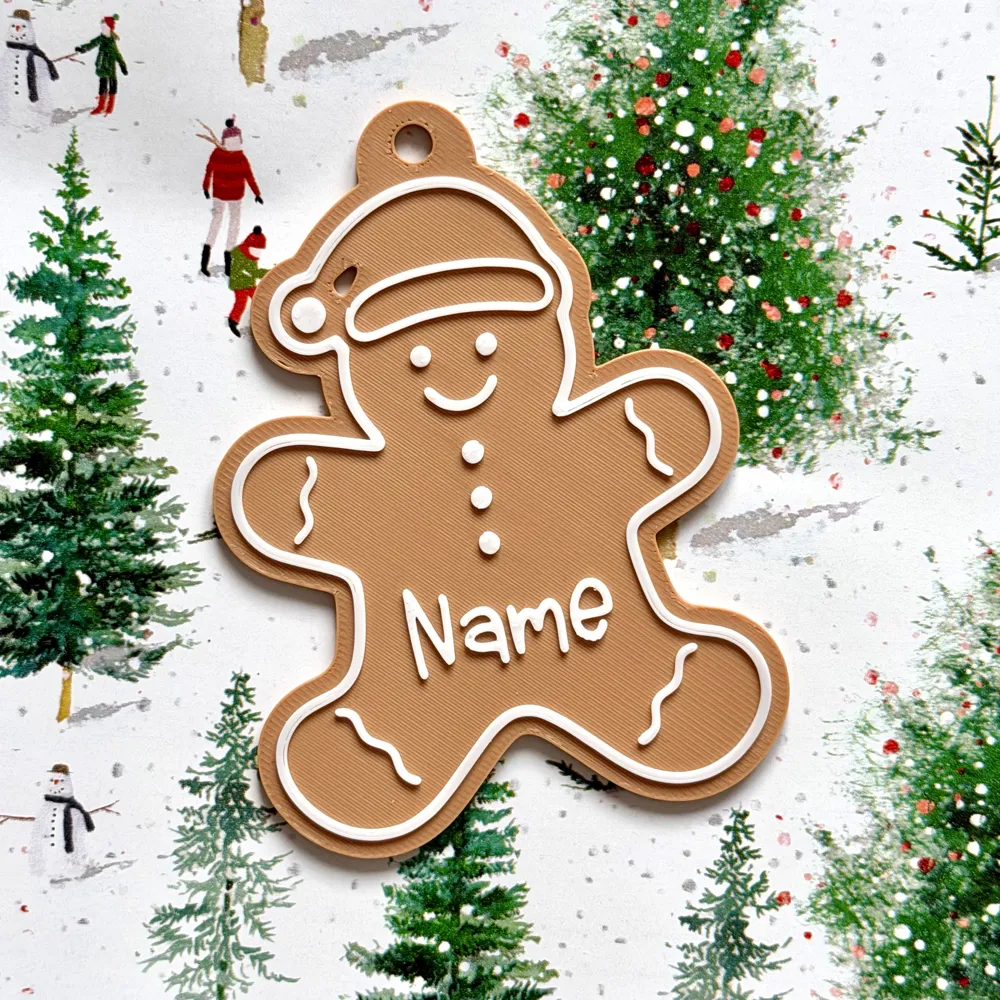
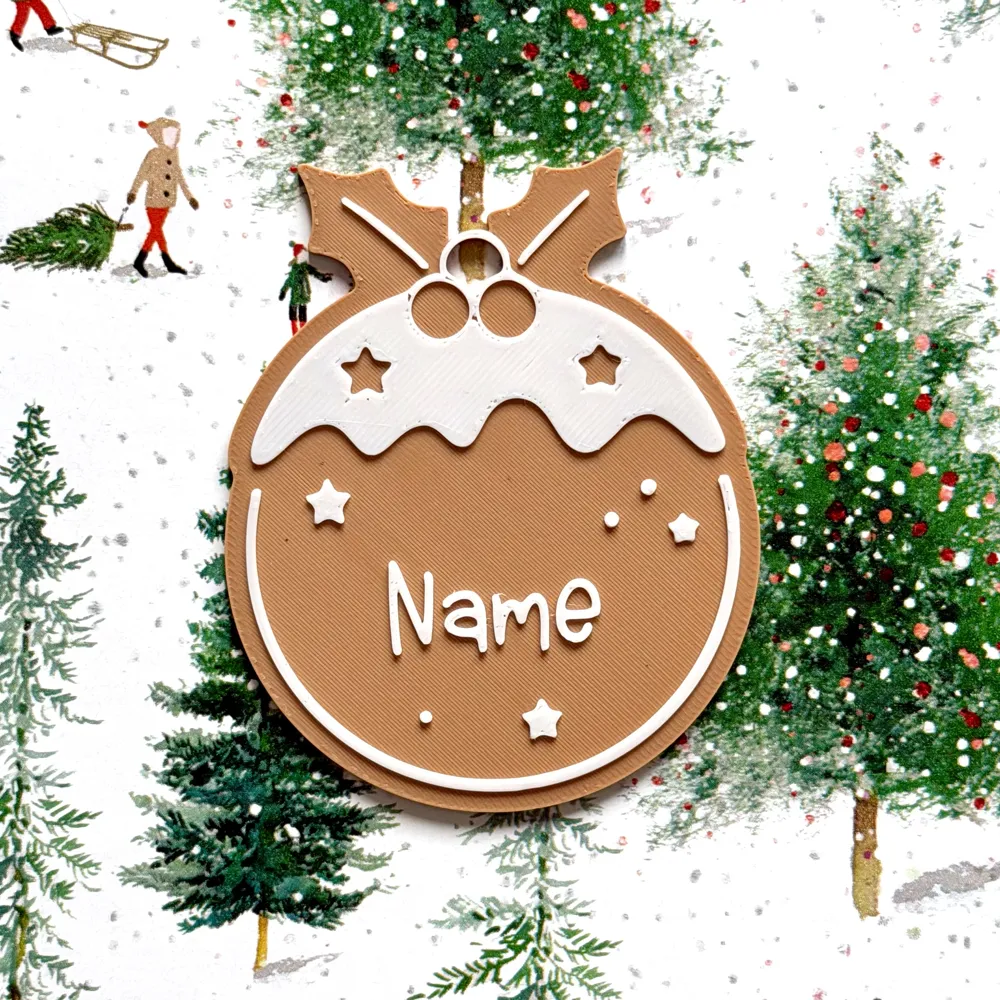
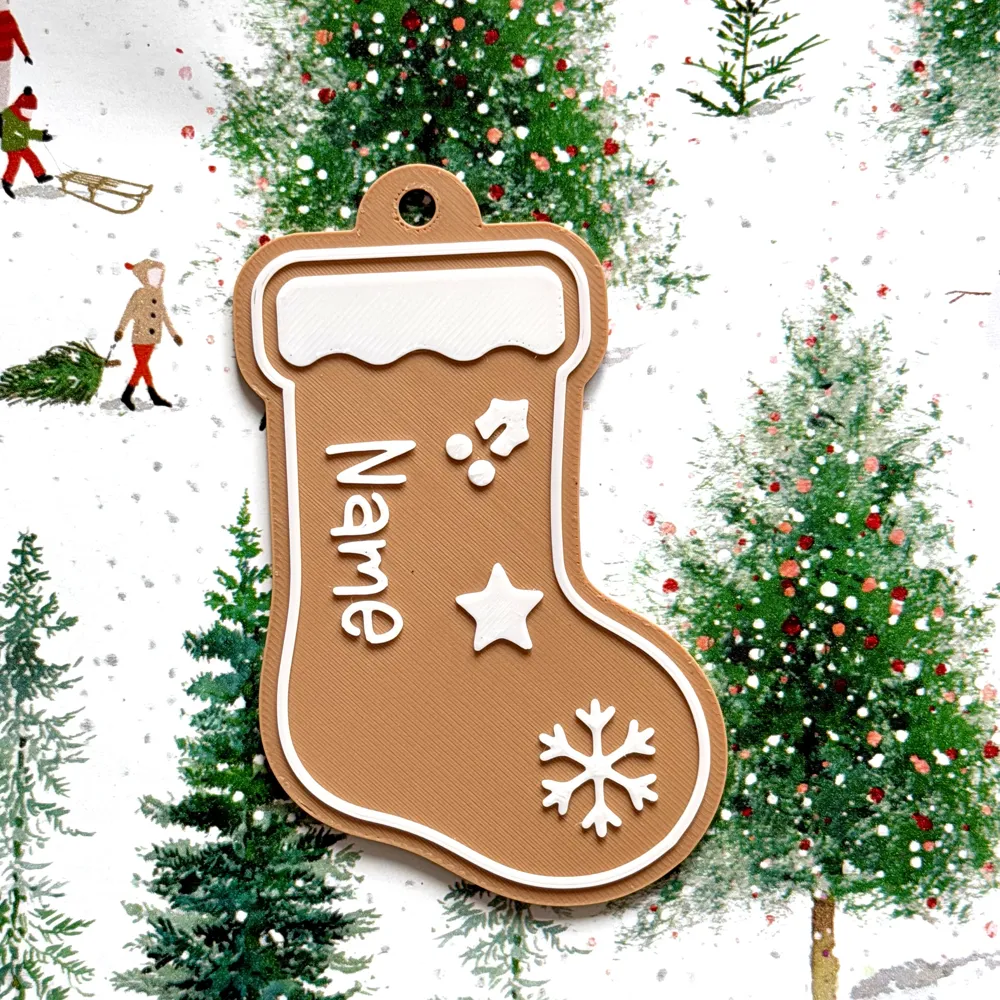
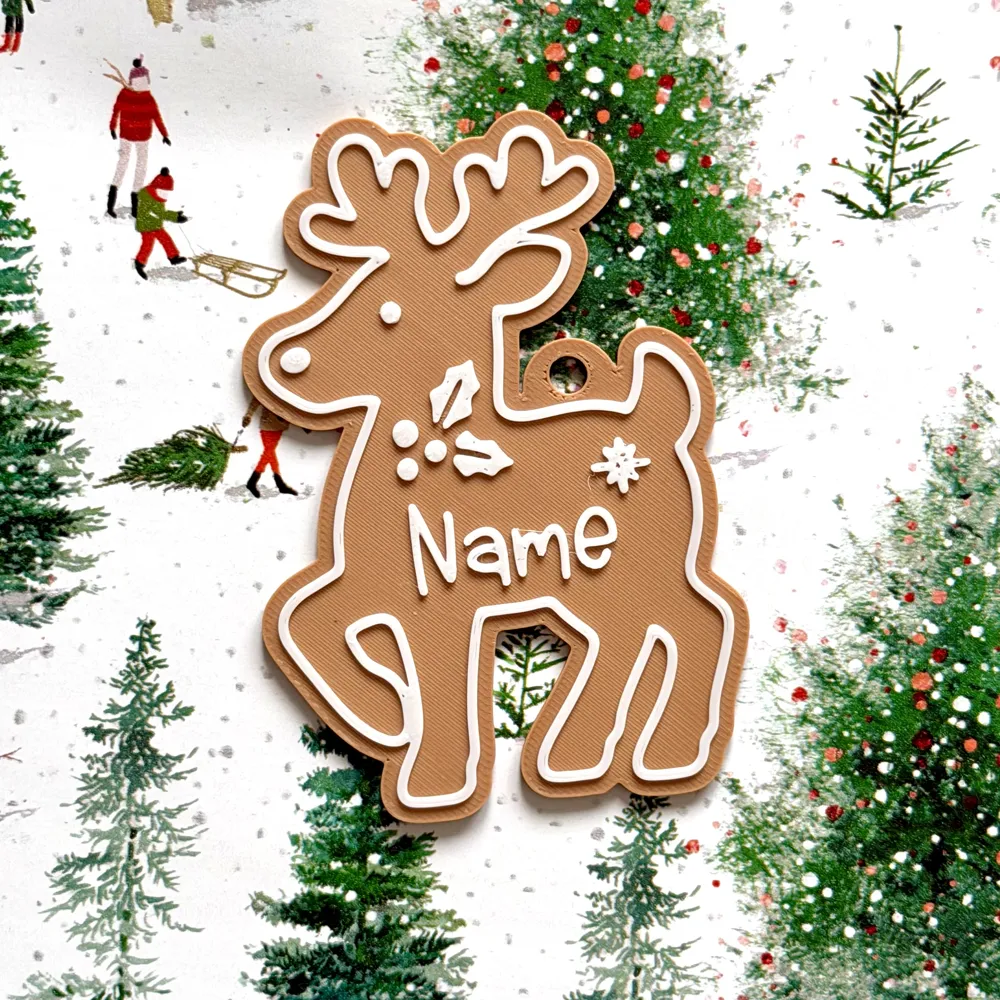
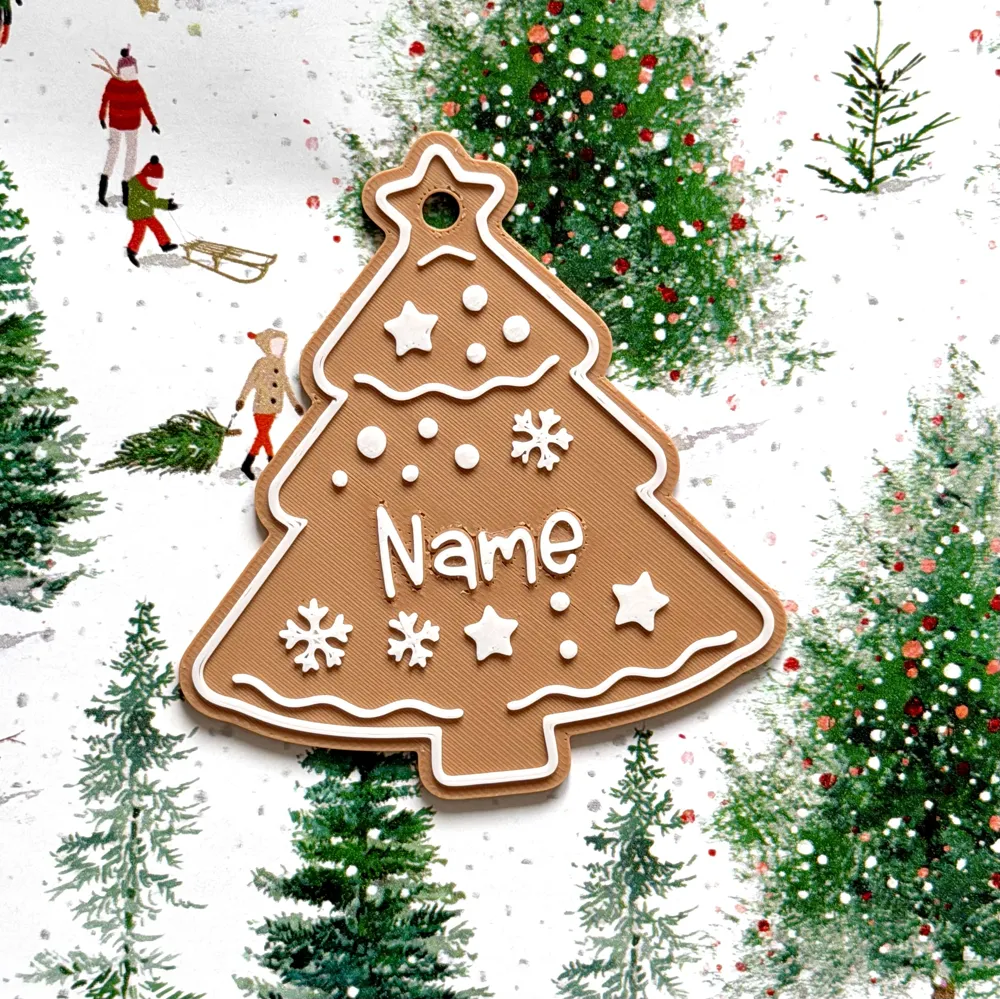
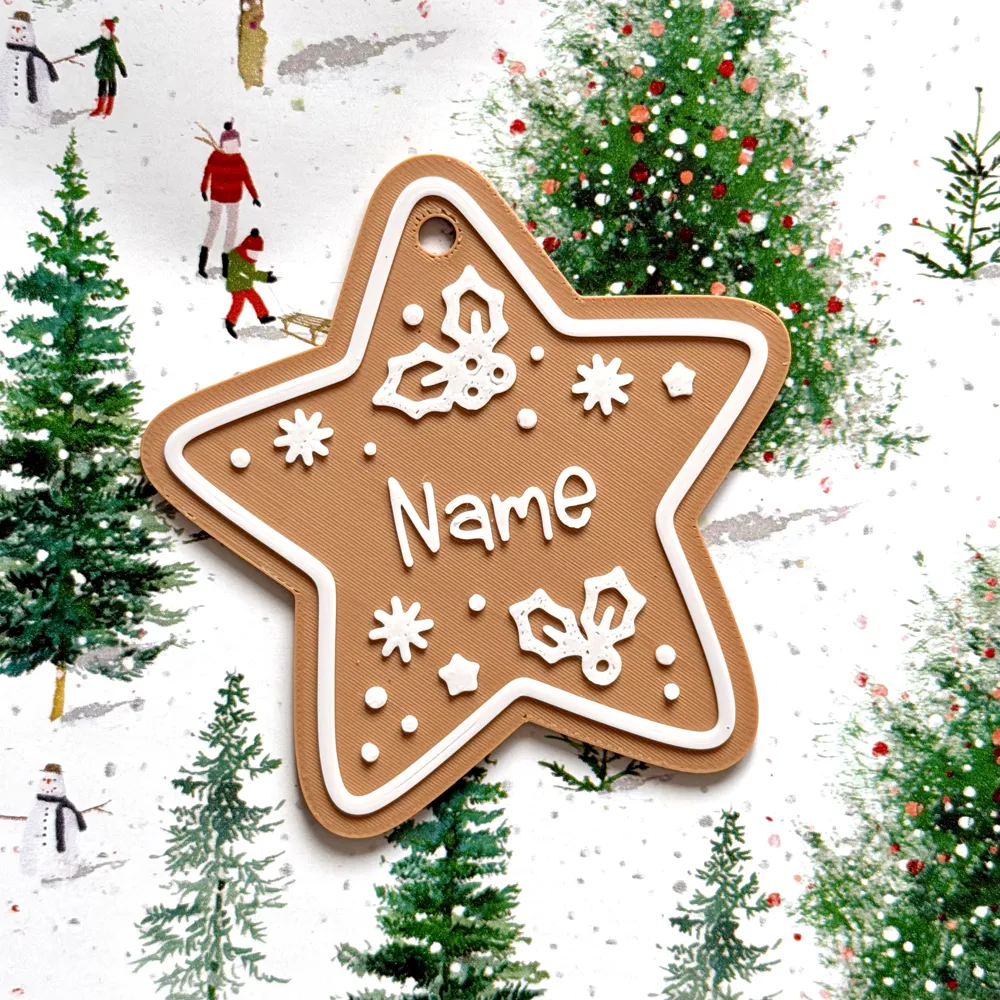
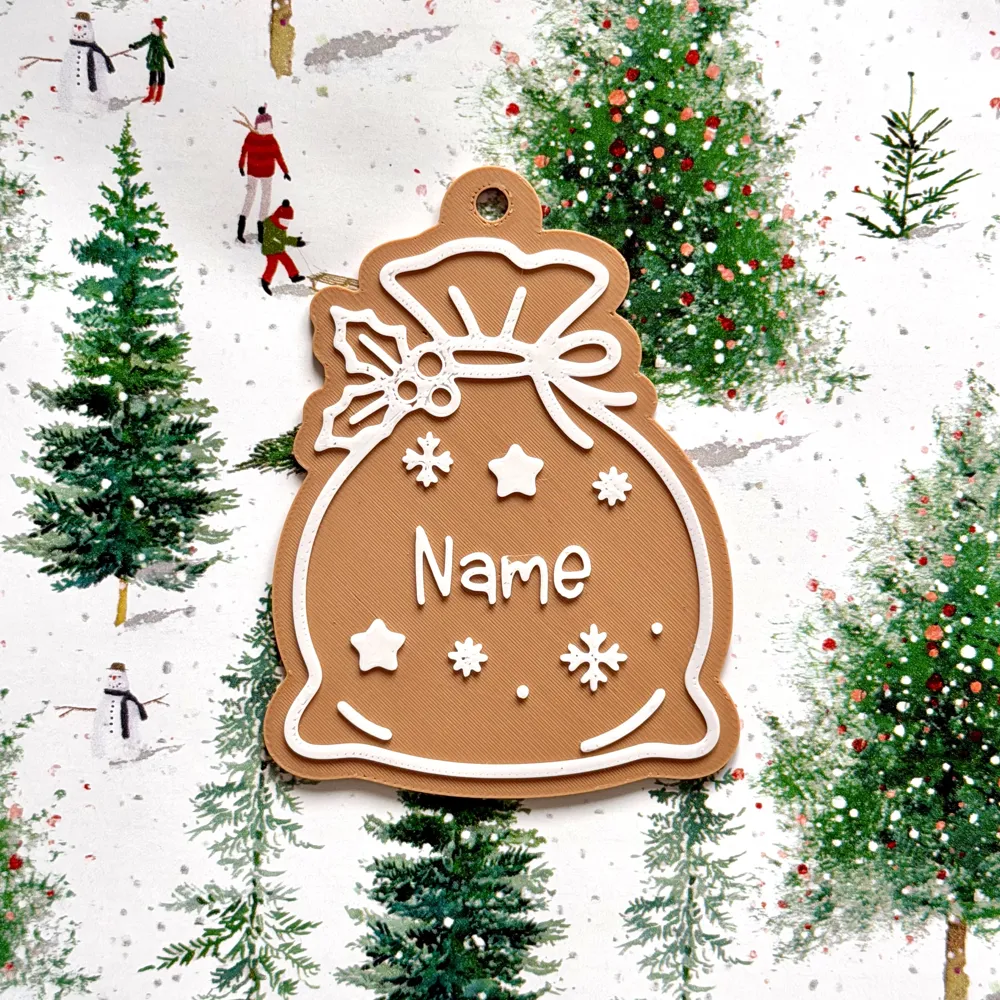
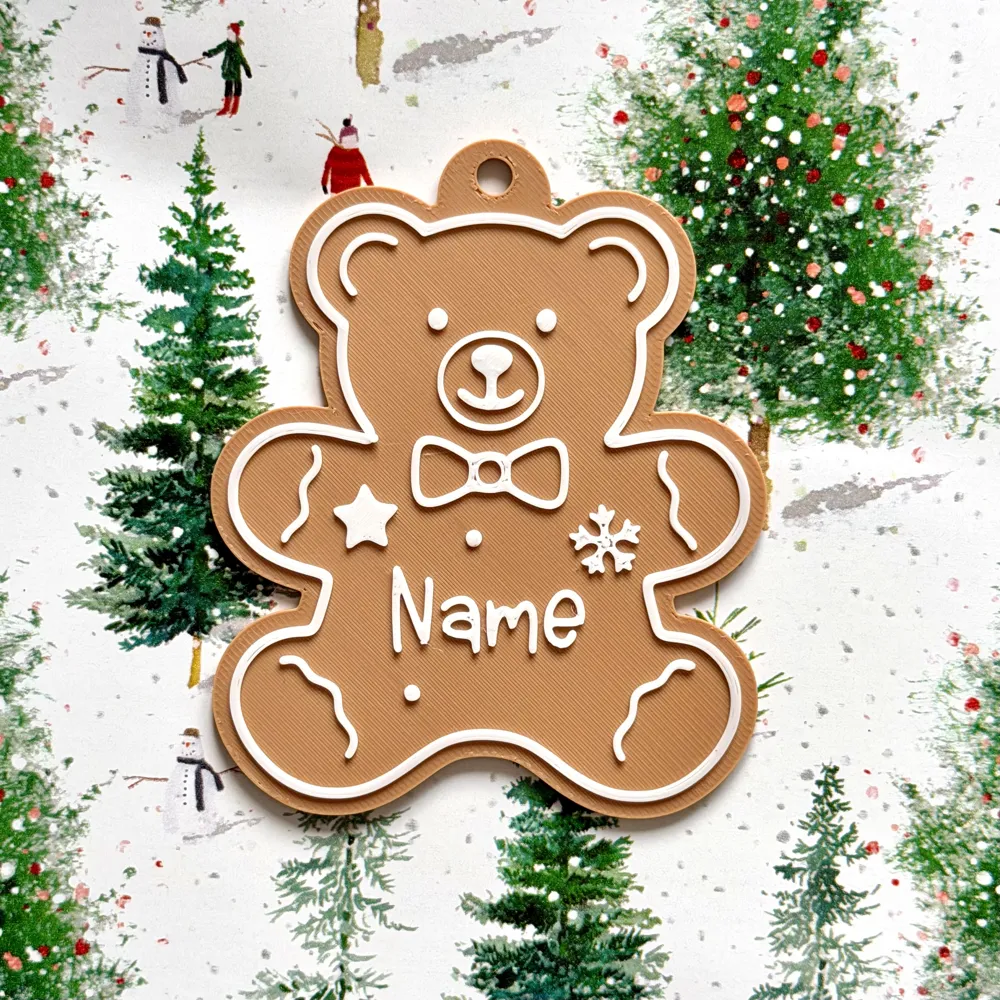
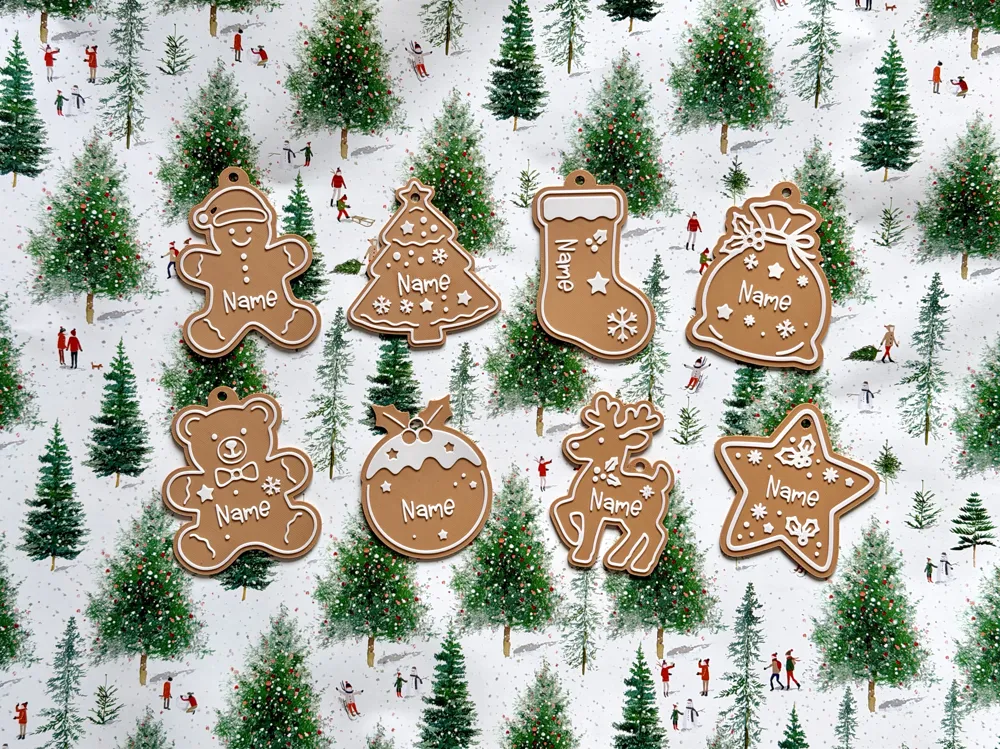
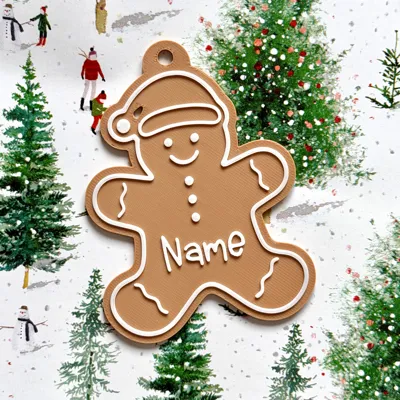
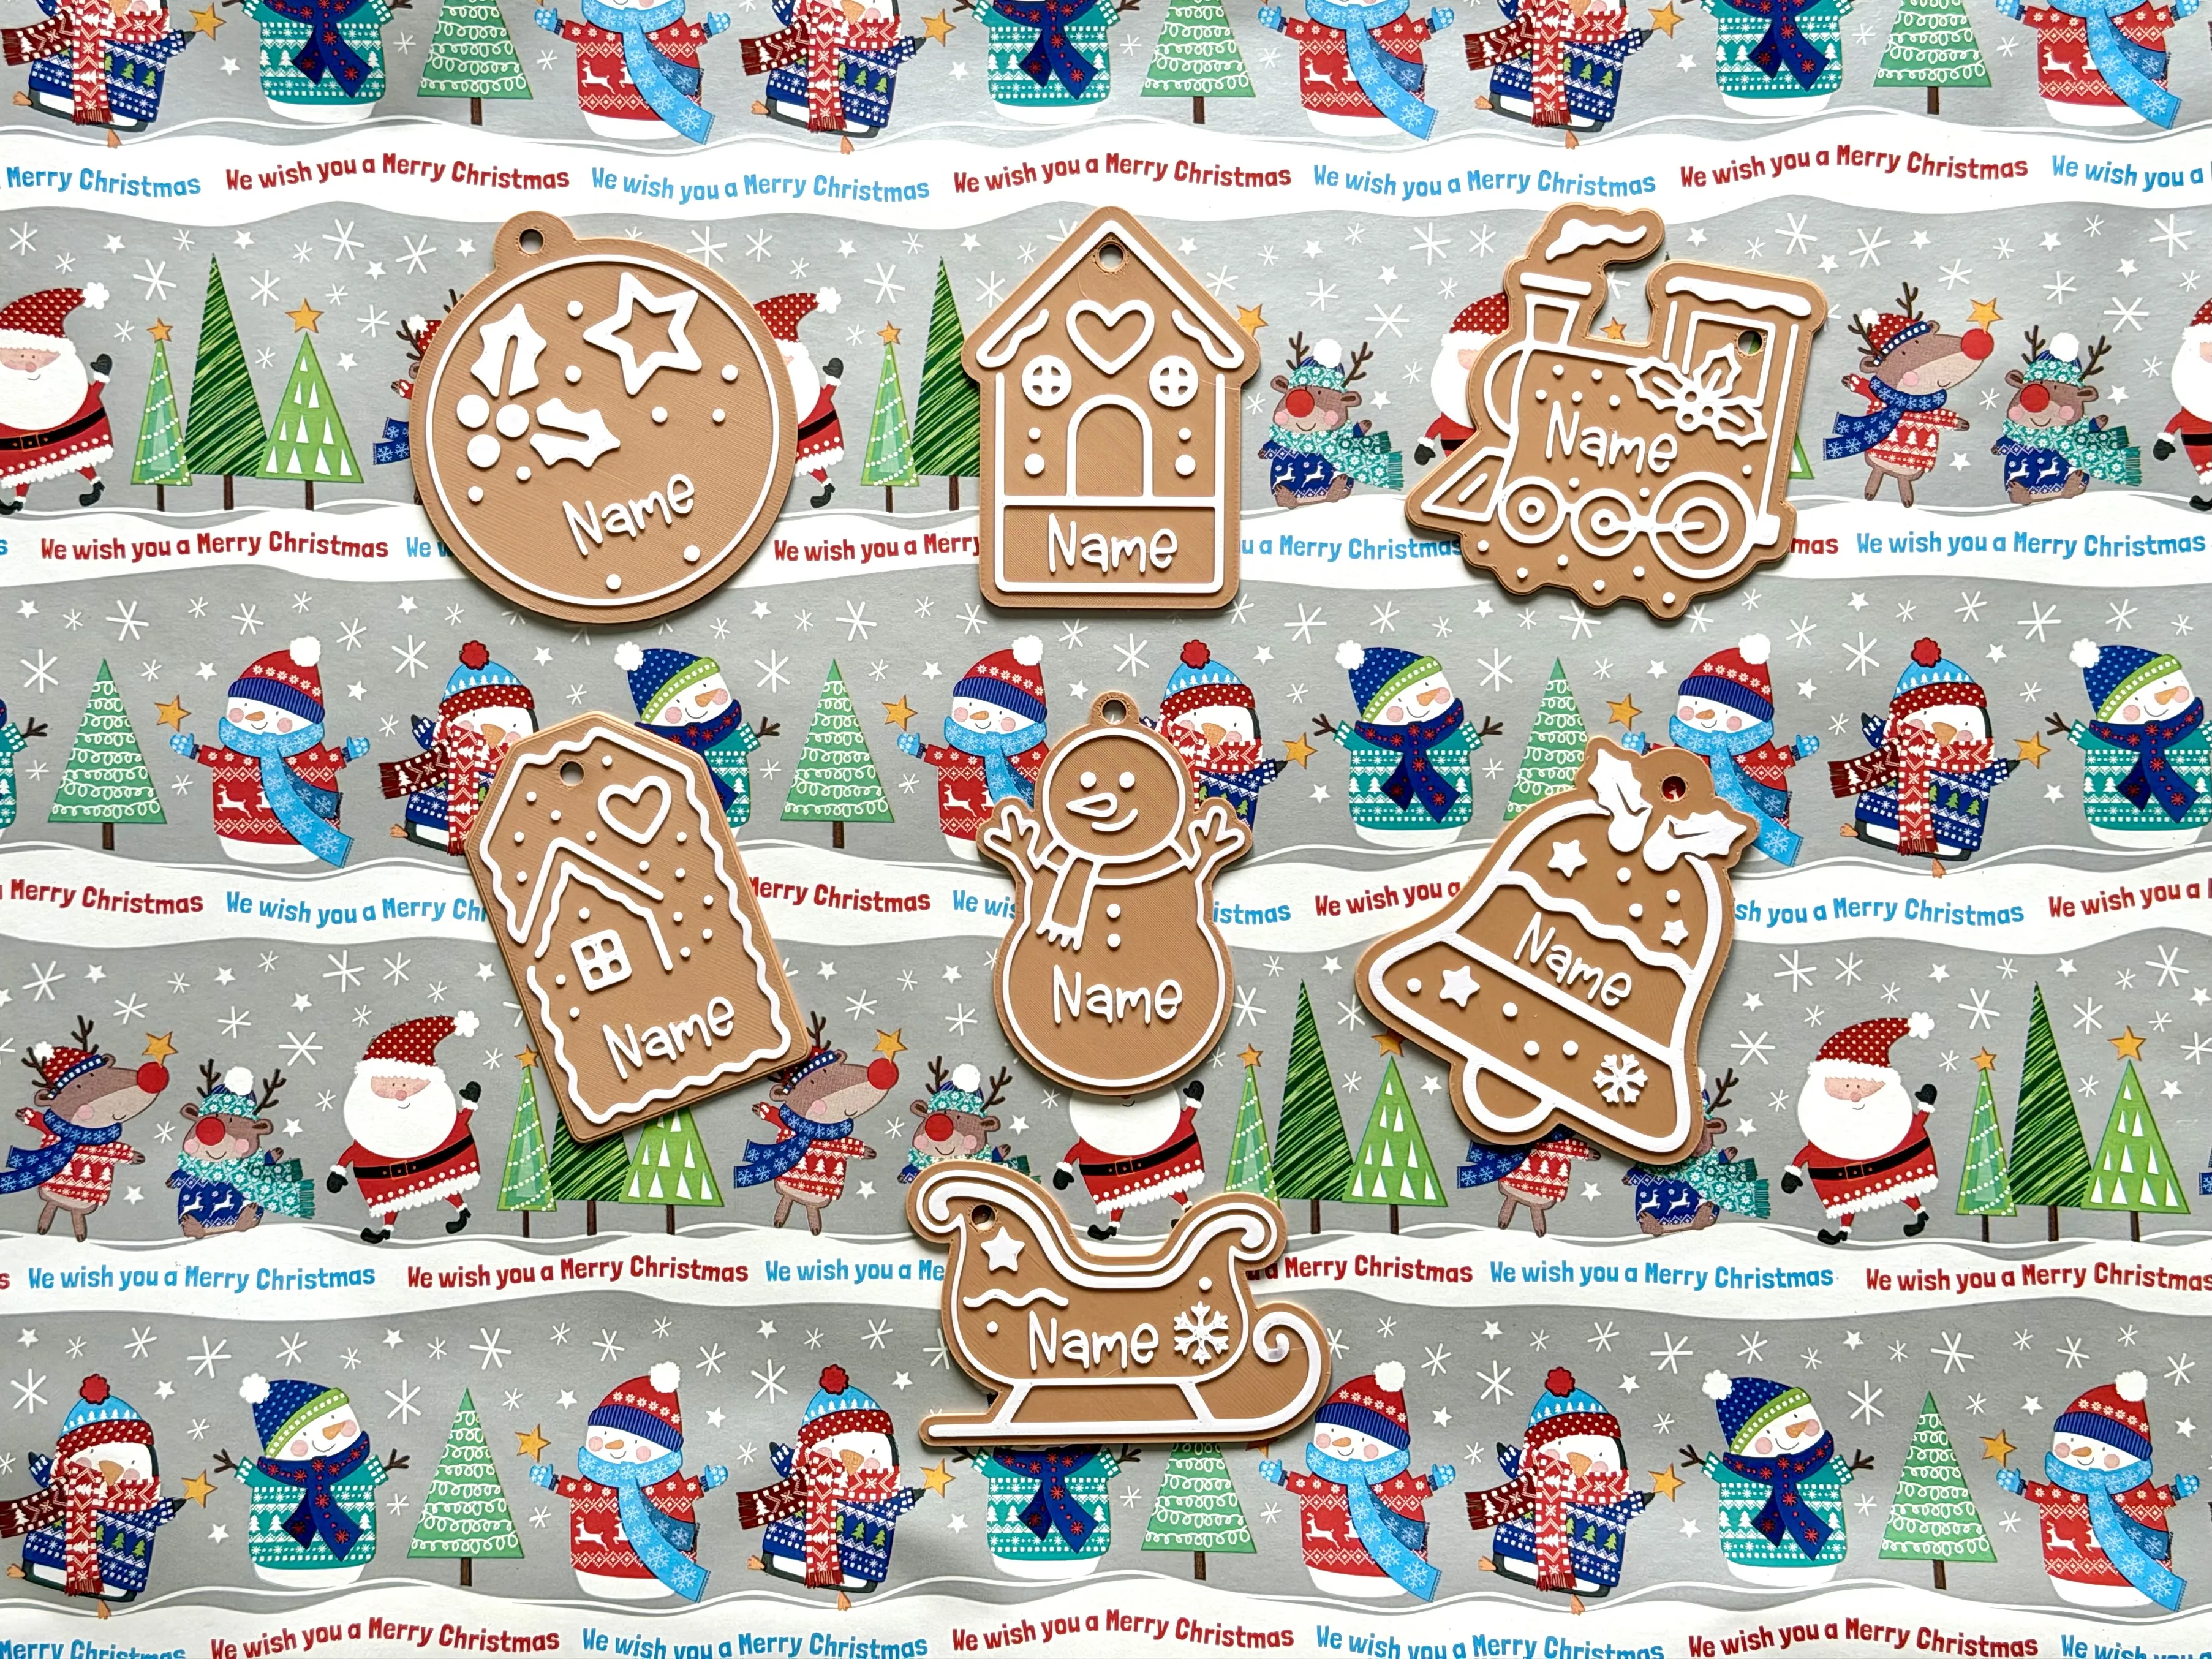
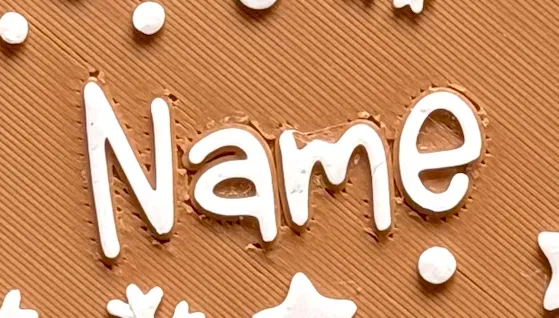
Get festive with your printer! These are my second set of customisable gingerbread Christmas gift tags. These fun, personalised Christmas gift tags are styled like iced gingerbread biscuits (cookies) in eight different Christmas themes.
They’re fast and easy to print, and you can personalise the name directly in Bambu Studio.
No AMS needed, details in the Printing section below.
For anyone new to changing settings within Bambu Studio, don't panic! - I've walked through each step with screenshots - If at any point you've made changes that you aren't happy with, just hit undo (Ctrl-Z/Command-Z) and start those changes again.
Boost Me (for free)
🎄If you like this set of Christmas gift tags, please consider a boost as a way of supporting me on here🎄
Set 1 is available here:
🎨 Customising Your Tag
First off, if you want to match the style I've used here, you'll need to install the “Winter Wishes” font, that's free to download from Da Font here: https://www.dafont.com/winter-wishes.font
After installing, restart Bambu Studio so the font becomes available to use.
Editing the Name
1. Open your chosen tag file (print profile) in Bambu Studio.
2. In the Process panel, click Objects.
3. Expand the plate and object list until you find “To Name”.
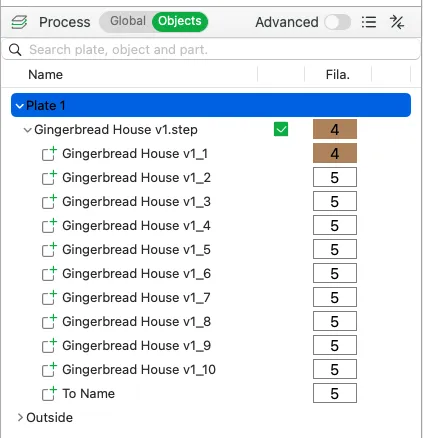
4. Left-click to highlight it.
5. Right-click → Edit Text.
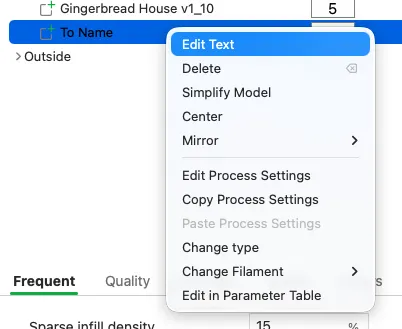
6. Enter your custom name in the Input Text box.
7. Choose the Winter Wishes font (or search for it).
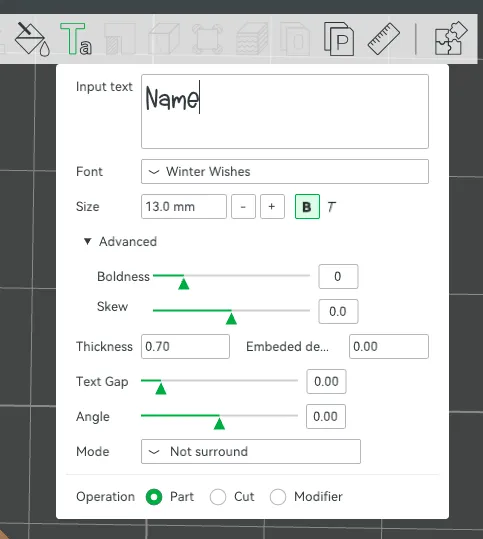
💡 You can use another font if you like, but note that this print profile was designed around “Winter Wishes.” Thin or intricate fonts may need line-width adjustments. Always check the preview before printing.
Font and Size Notes
- The font size is typically 12 or 13, depending on the model.
- For longer names, reduce the font size slightly and check the preview before printing to see if any line width adjustments are needed.
- Do not change the Z height, keep it at 0.75mm so the name prints at the correct layer.
Moving the Name
If you need to reposition it:
- Select the To Name object, then click Move from the top toolbar.
- Use the arrows to adjust placement.
- Do not change the Z height from 0.75mm.
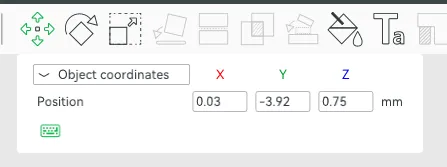
Once you are happy, save your project before slicing, this allows you to easily re-print the tag without having to make the changes again.
🖨️ Printing Setup
Each tag has its own print profile, so just download the ones you want. Some designs have more name space than others.
Build plate: Your choice
Filament examples:
- Bambu Matte PLA Caramel (for gingerbread)
- Bambu Basic PLA White (for icing)
Links for both can be found within the BOM (Bill of Materials) on this page.
AMS Users
Load both filaments into the AMS, you’re ready to print!
Non-AMS Users
1. Slice plate or click Preview, scroll to Layer 8* on the right handside scroll bar.
2. Right-click → Add Pause.
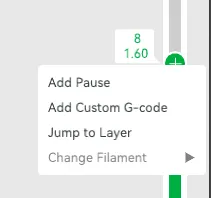
3. Start printing with your gingerbread colour.
4. When the printer pauses, swap to the white filament and continue.
* If in the preview on layer 8 you don't just see the gingerbread part, please check the Z height of the name (under move) to ensure it is at 0.75. If you have resized (under Further Personalisation below), please check the Z height under Scale is 2.20mm
🔧 Further Personalisation
For longer names, consider resizing the tag to keep lines from becoming too thin.
How to Resize
1. Select the whole tag (not individual parts).
2. Click Scale from the top toolbar.
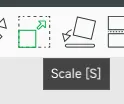
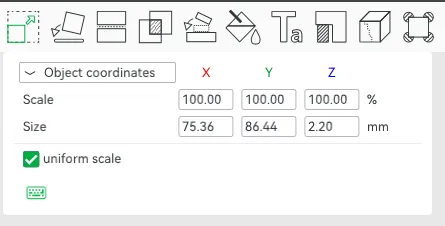
3. Adjust the largest dimension first.
4. Once happy with the size, untick Uniform Scale.
5. Set the Z height back to 2.20mm.
This keeps the gingerbread layer at 1.5mm, icing at 0.7mm, and the name at 0.75mm. Double-check the Z height of “To Name” (Move → verify it’s 0.75mm).
Finally, slice and preview your model. If the fill looks odd or too thin in the name, tweak the inner and outer wall line widths of To Name (the ones with padlock icons) until it looks solid. I'd recommend following the same process if changing fonts too.
🧰 Troubleshooting
If your tag slices or prints with the name appearing too early (before the icing layer), or you see white “icing” artefacts appearing on the gingerbread section, don’t worry!
This usually happens because Bambu Studio has automatically changed the Z height of the name object.
Here’s how to fix it:
1. In Bambu Studio, click on the To Name object in the Objects panel.
2. Click the Move icon in the top toolbar.
3. Check the Z height value, it should be 0.75mm.
4. If it’s not, simply change it back to 0.75 and hit Enter.
💡 Once corrected, re-slice your model. You should now see the name start at layer 9 or later, with no premature printing on the gingerbread layer.
📦 Model Doesn’t Match Preview / Wrong Colours / Odd Layout / Dots instead of lines or shapes
If your model looks misaligned, missing colours, or prints incorrectly, please make sure you are using the supplied 3MF print profiles, not the raw STL or STEP files.
The 3MF files contain all the model specific tuning, including:
- Correct object positioning including Z height
- Colour allocations
- Line width settings
- Print specific adjustments
To use them properly:
- Either click “Open in Bambu Studio” directly from MakerWorld,
or - Download the .3MF file and open it manually in Bambu Studio.
❌ Avoid using the raw STL or STEP files unless you specifically want to rebuild your own profiles, they do not include the tuned print settings.
Please remember, however delicious these may come out looking, they are not edible - Please supervise any young children you are giving these to! 😊
License



Comment & Rating (335)