


Print Profile(1)

Description
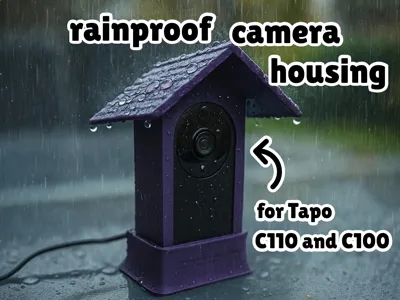
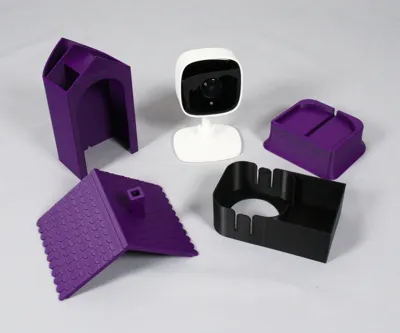
This is a rainproof housing designed for the Tapo C110 or C100 camera. Shaped like a small house, it reliably protects your camera from rain and moisture. An optional base tilts the camera back by 2° to better capture objects on a surface — for example, birds or squirrels feeding on a table.
Assembly instructions:
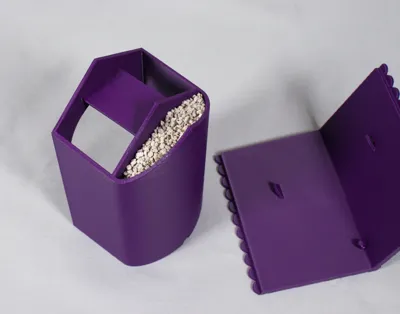
- Fill the hollow space inside the housing with sand or another heavy material to give it extra stability.
- Glue the roof onto the housing using super glue or a two-component adhesive.
- Once dry, remove the original Tapo camera base and clip the camera into the inner housing part.
- Don’t forget to plug in the power cable before inserting the camera!
- Slide the inner housing with the camera into the outer shell from below.
- Optionally, place the housing on the base stand for a more stable setup.
That’s it — your camera is now protected and ready for outdoor use!
I personally use this setup to film birds and squirrels while they feed. What will you use it for? 🐦🐿️
Boost Me (for free)
Do you have a suggestion for improvement, did you run into any problems, or would you do something differently? Please let me know, and if you like this housing, give me a boost!
Enjoying this model?
Support my work with a coffee!

License
You may create derivative works based on this object, provided that all such derivative works are published exclusively on the MakerWorld platform and include proper attribution to the original creator. You may not share, upload, host, distribute, or publish this object—or any derivative work of this object—on any other digital platform, marketplace, or distribution channel. Commercial use of this object and any derivative works is strictly prohibited. This includes, but is not limited to, selling, renting, sublicensing, or using the object in any context in which you receive monetary compensation or other financial benefits.
Comment & Rating (6)