
Print Profile(5)
Description
⚠️ Important Listing Information
- THIS LISTING IS FOR THE FRAME ONLY. Compatible track models can be found below.
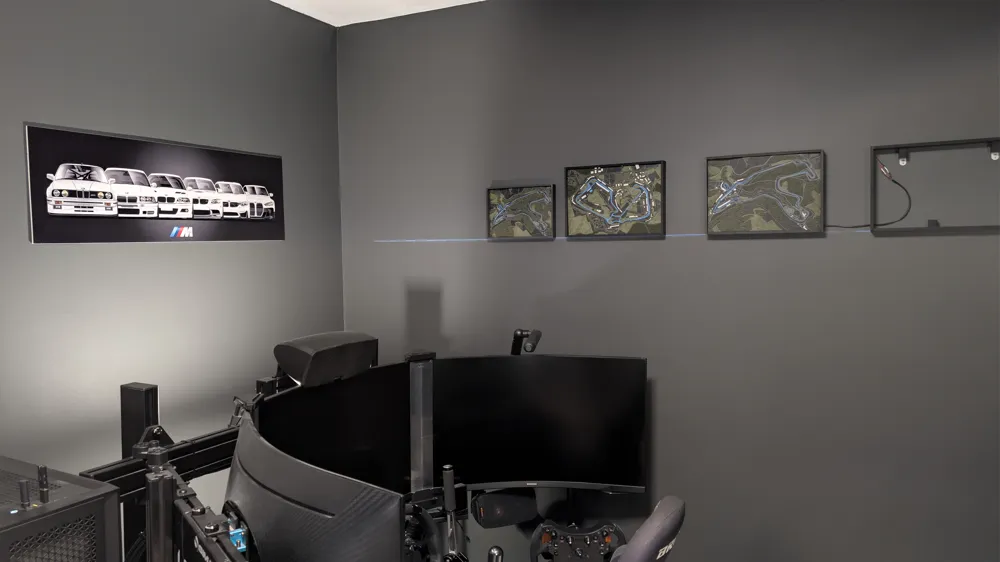
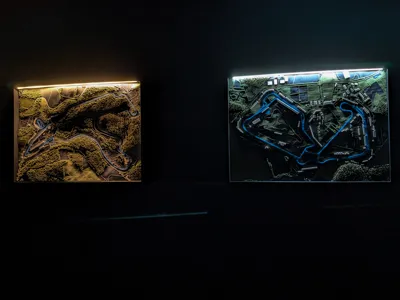
- The LED version has been discontinued and is no longer supported, but the files will remain available for those who wish to use them.
- The legacy LED assembly guide and parts list can still be found at the bottom of this page.
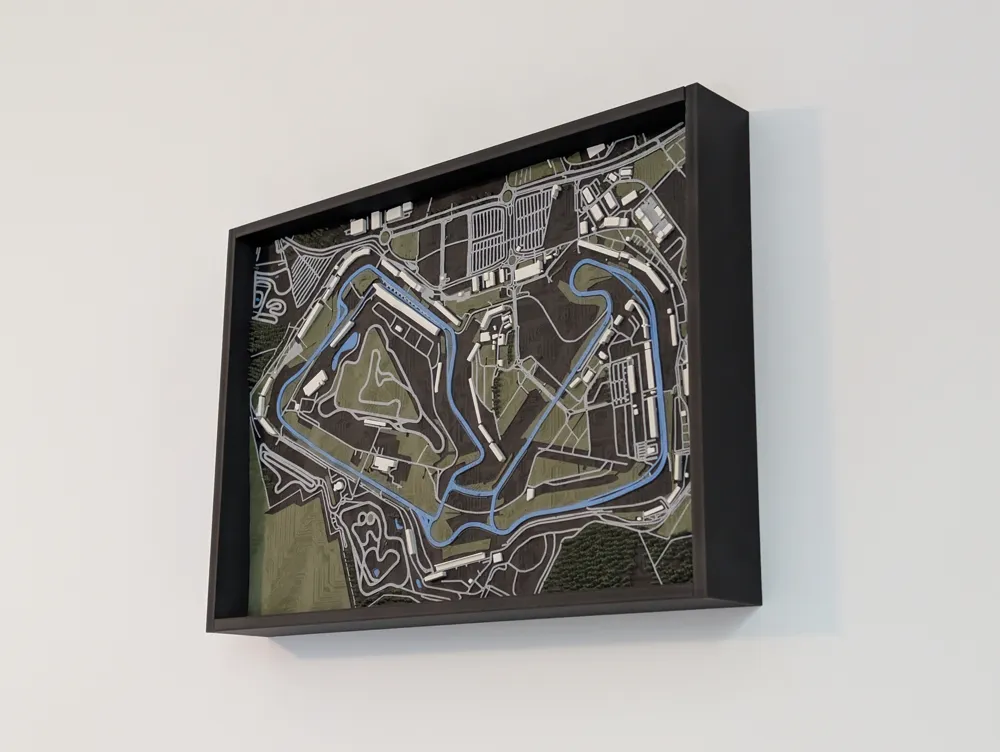
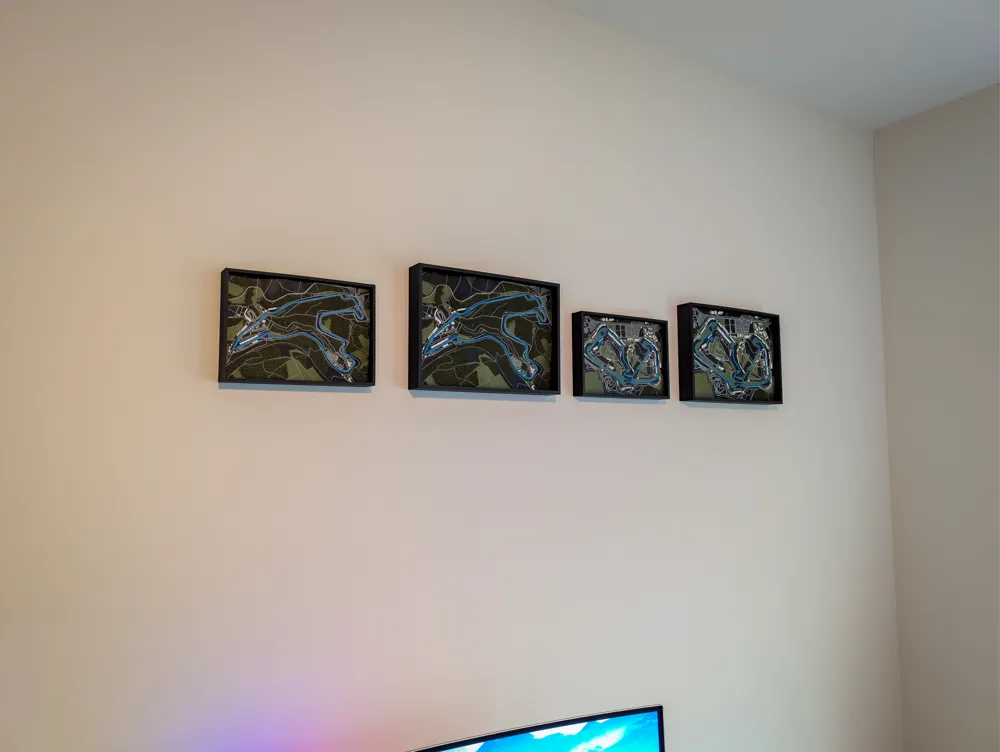
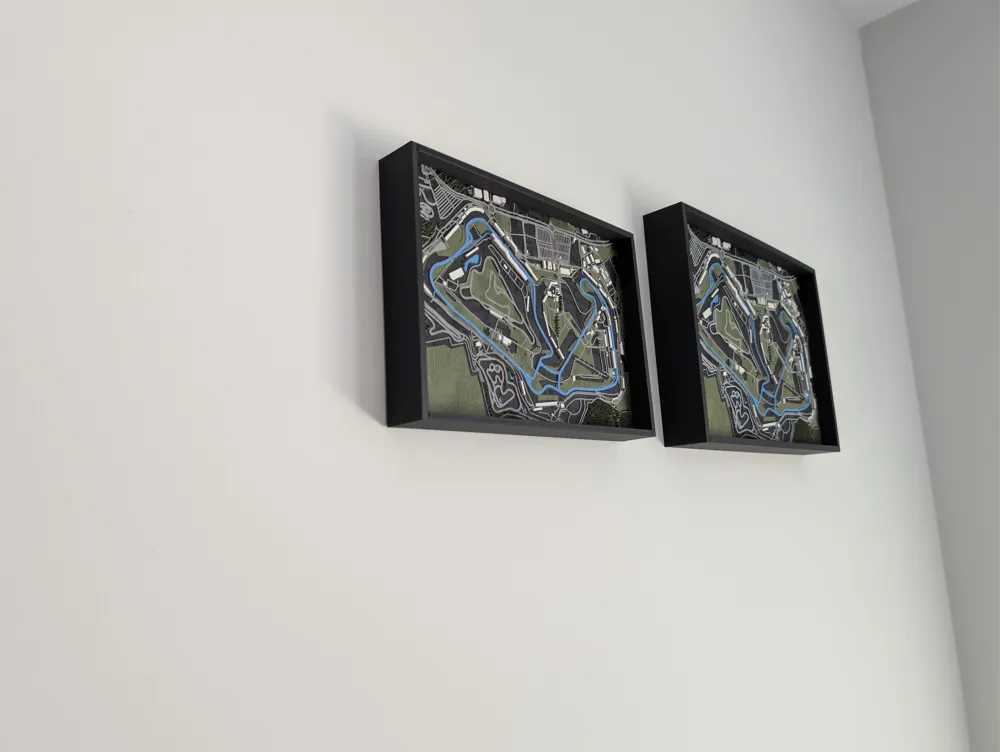
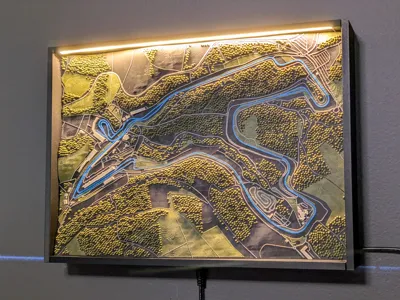
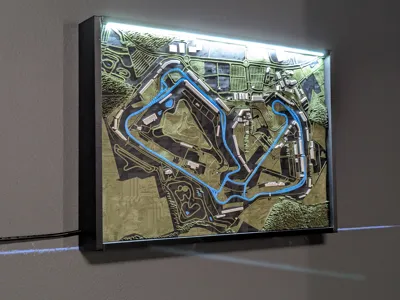
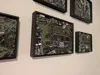
🖼️ 3D Track Display Frame
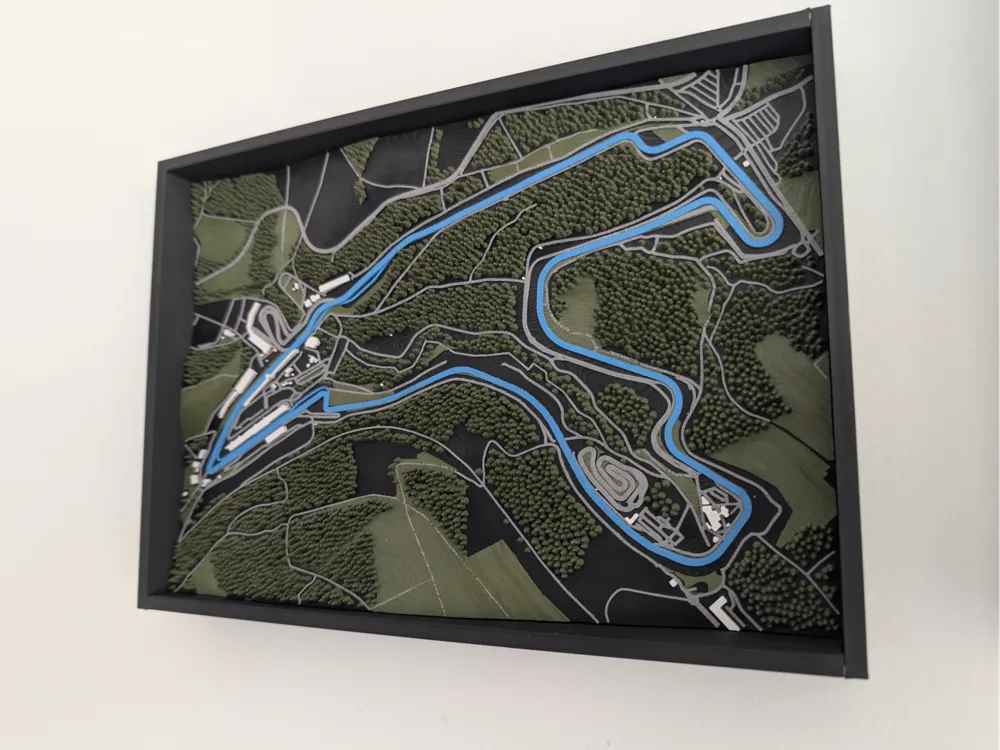
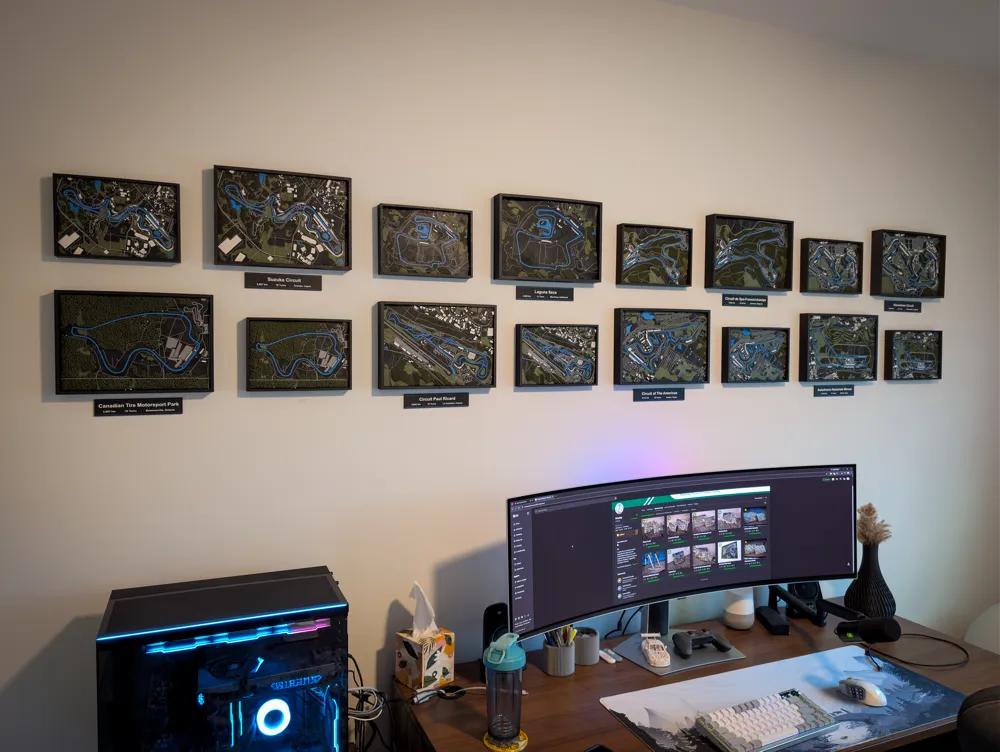
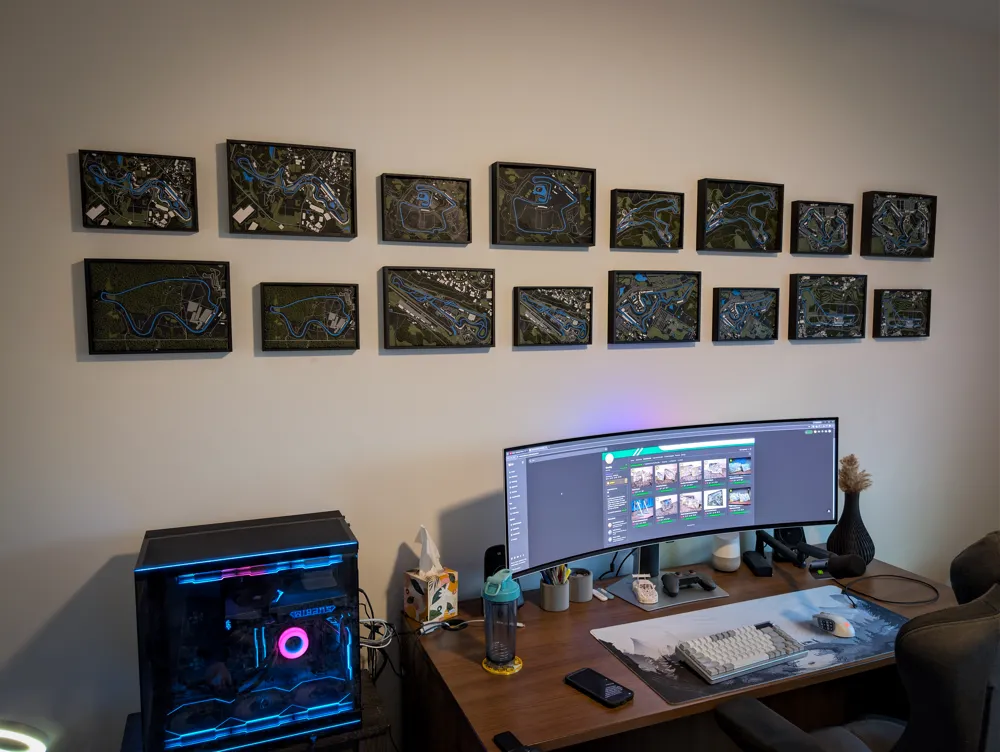
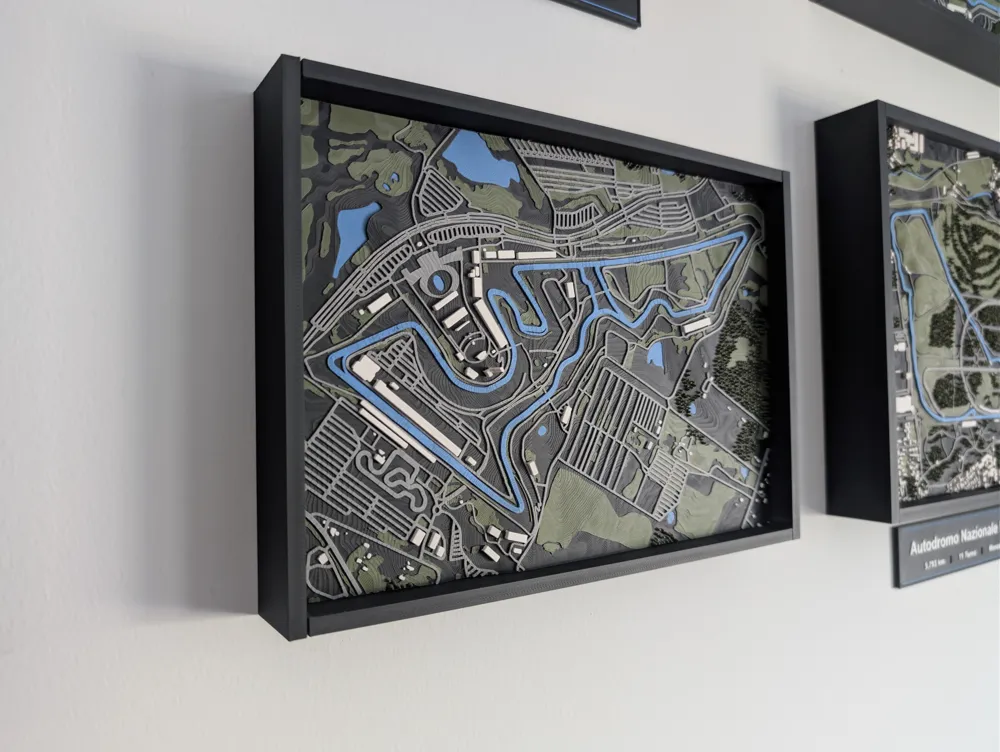
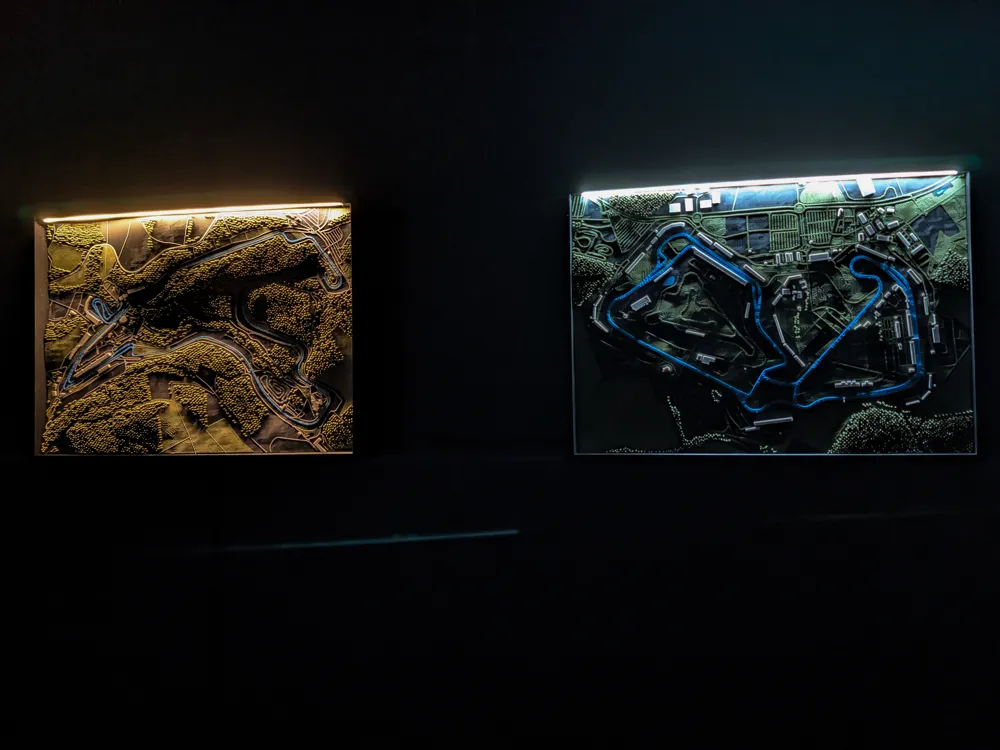
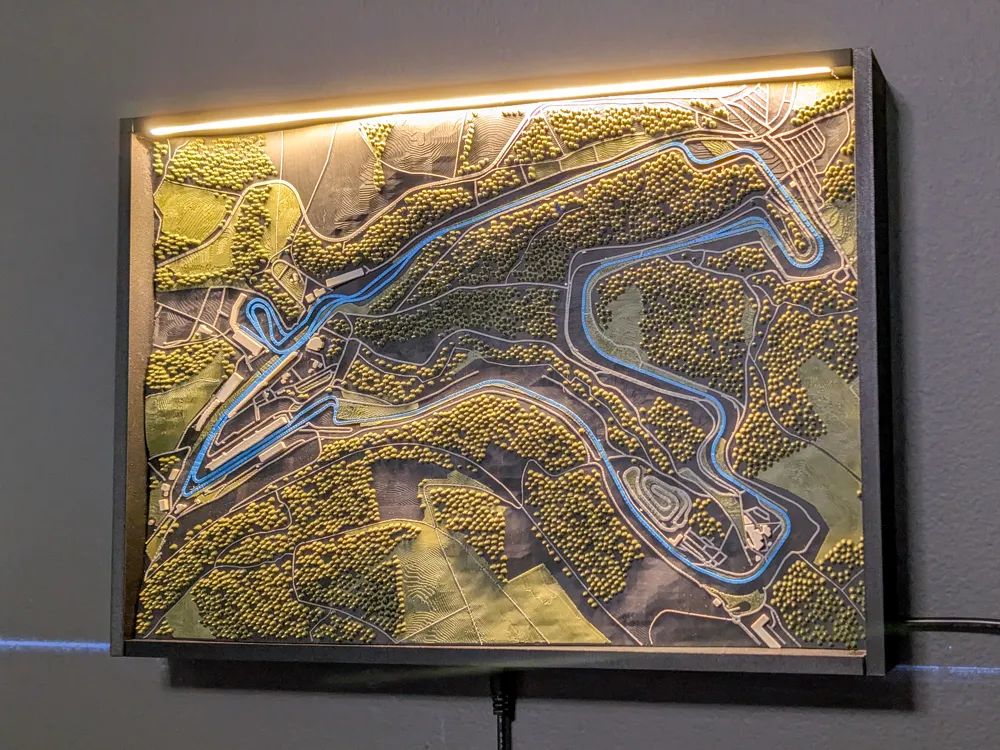
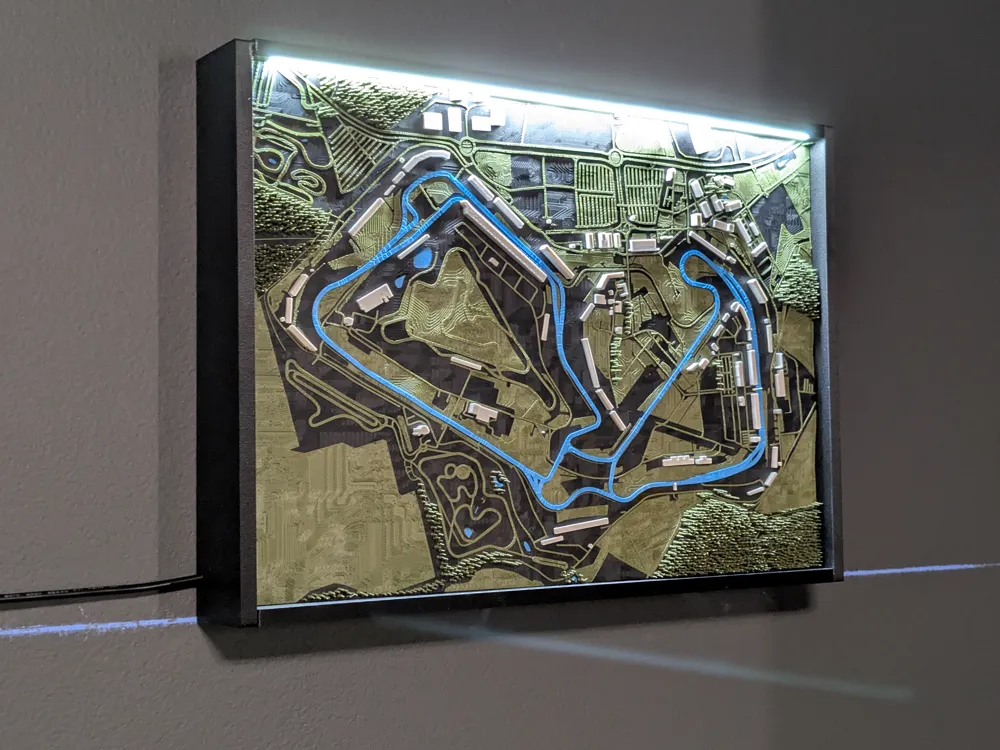
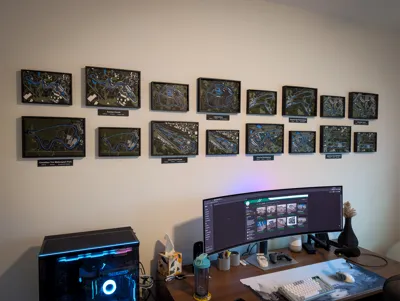
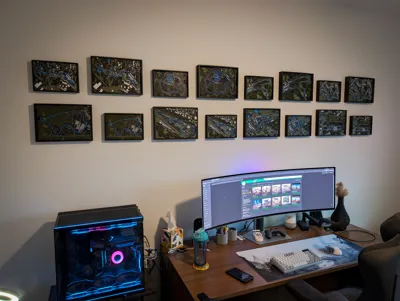
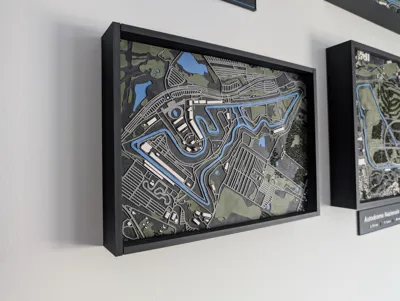
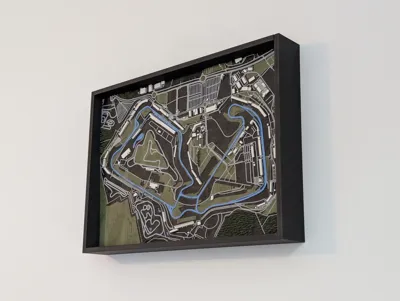
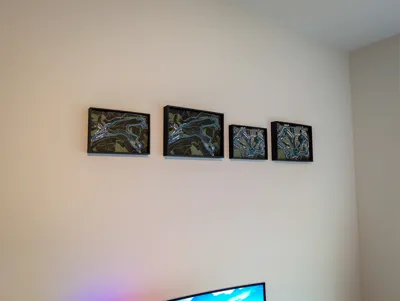
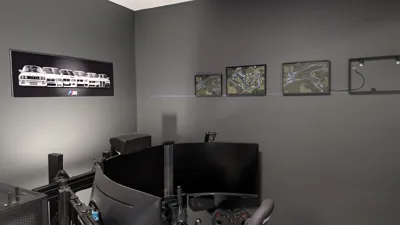
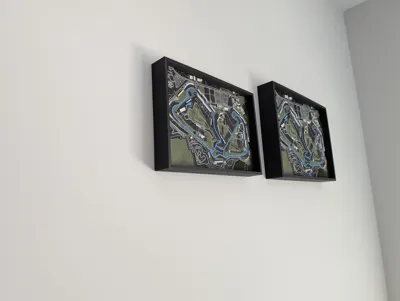
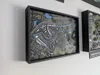
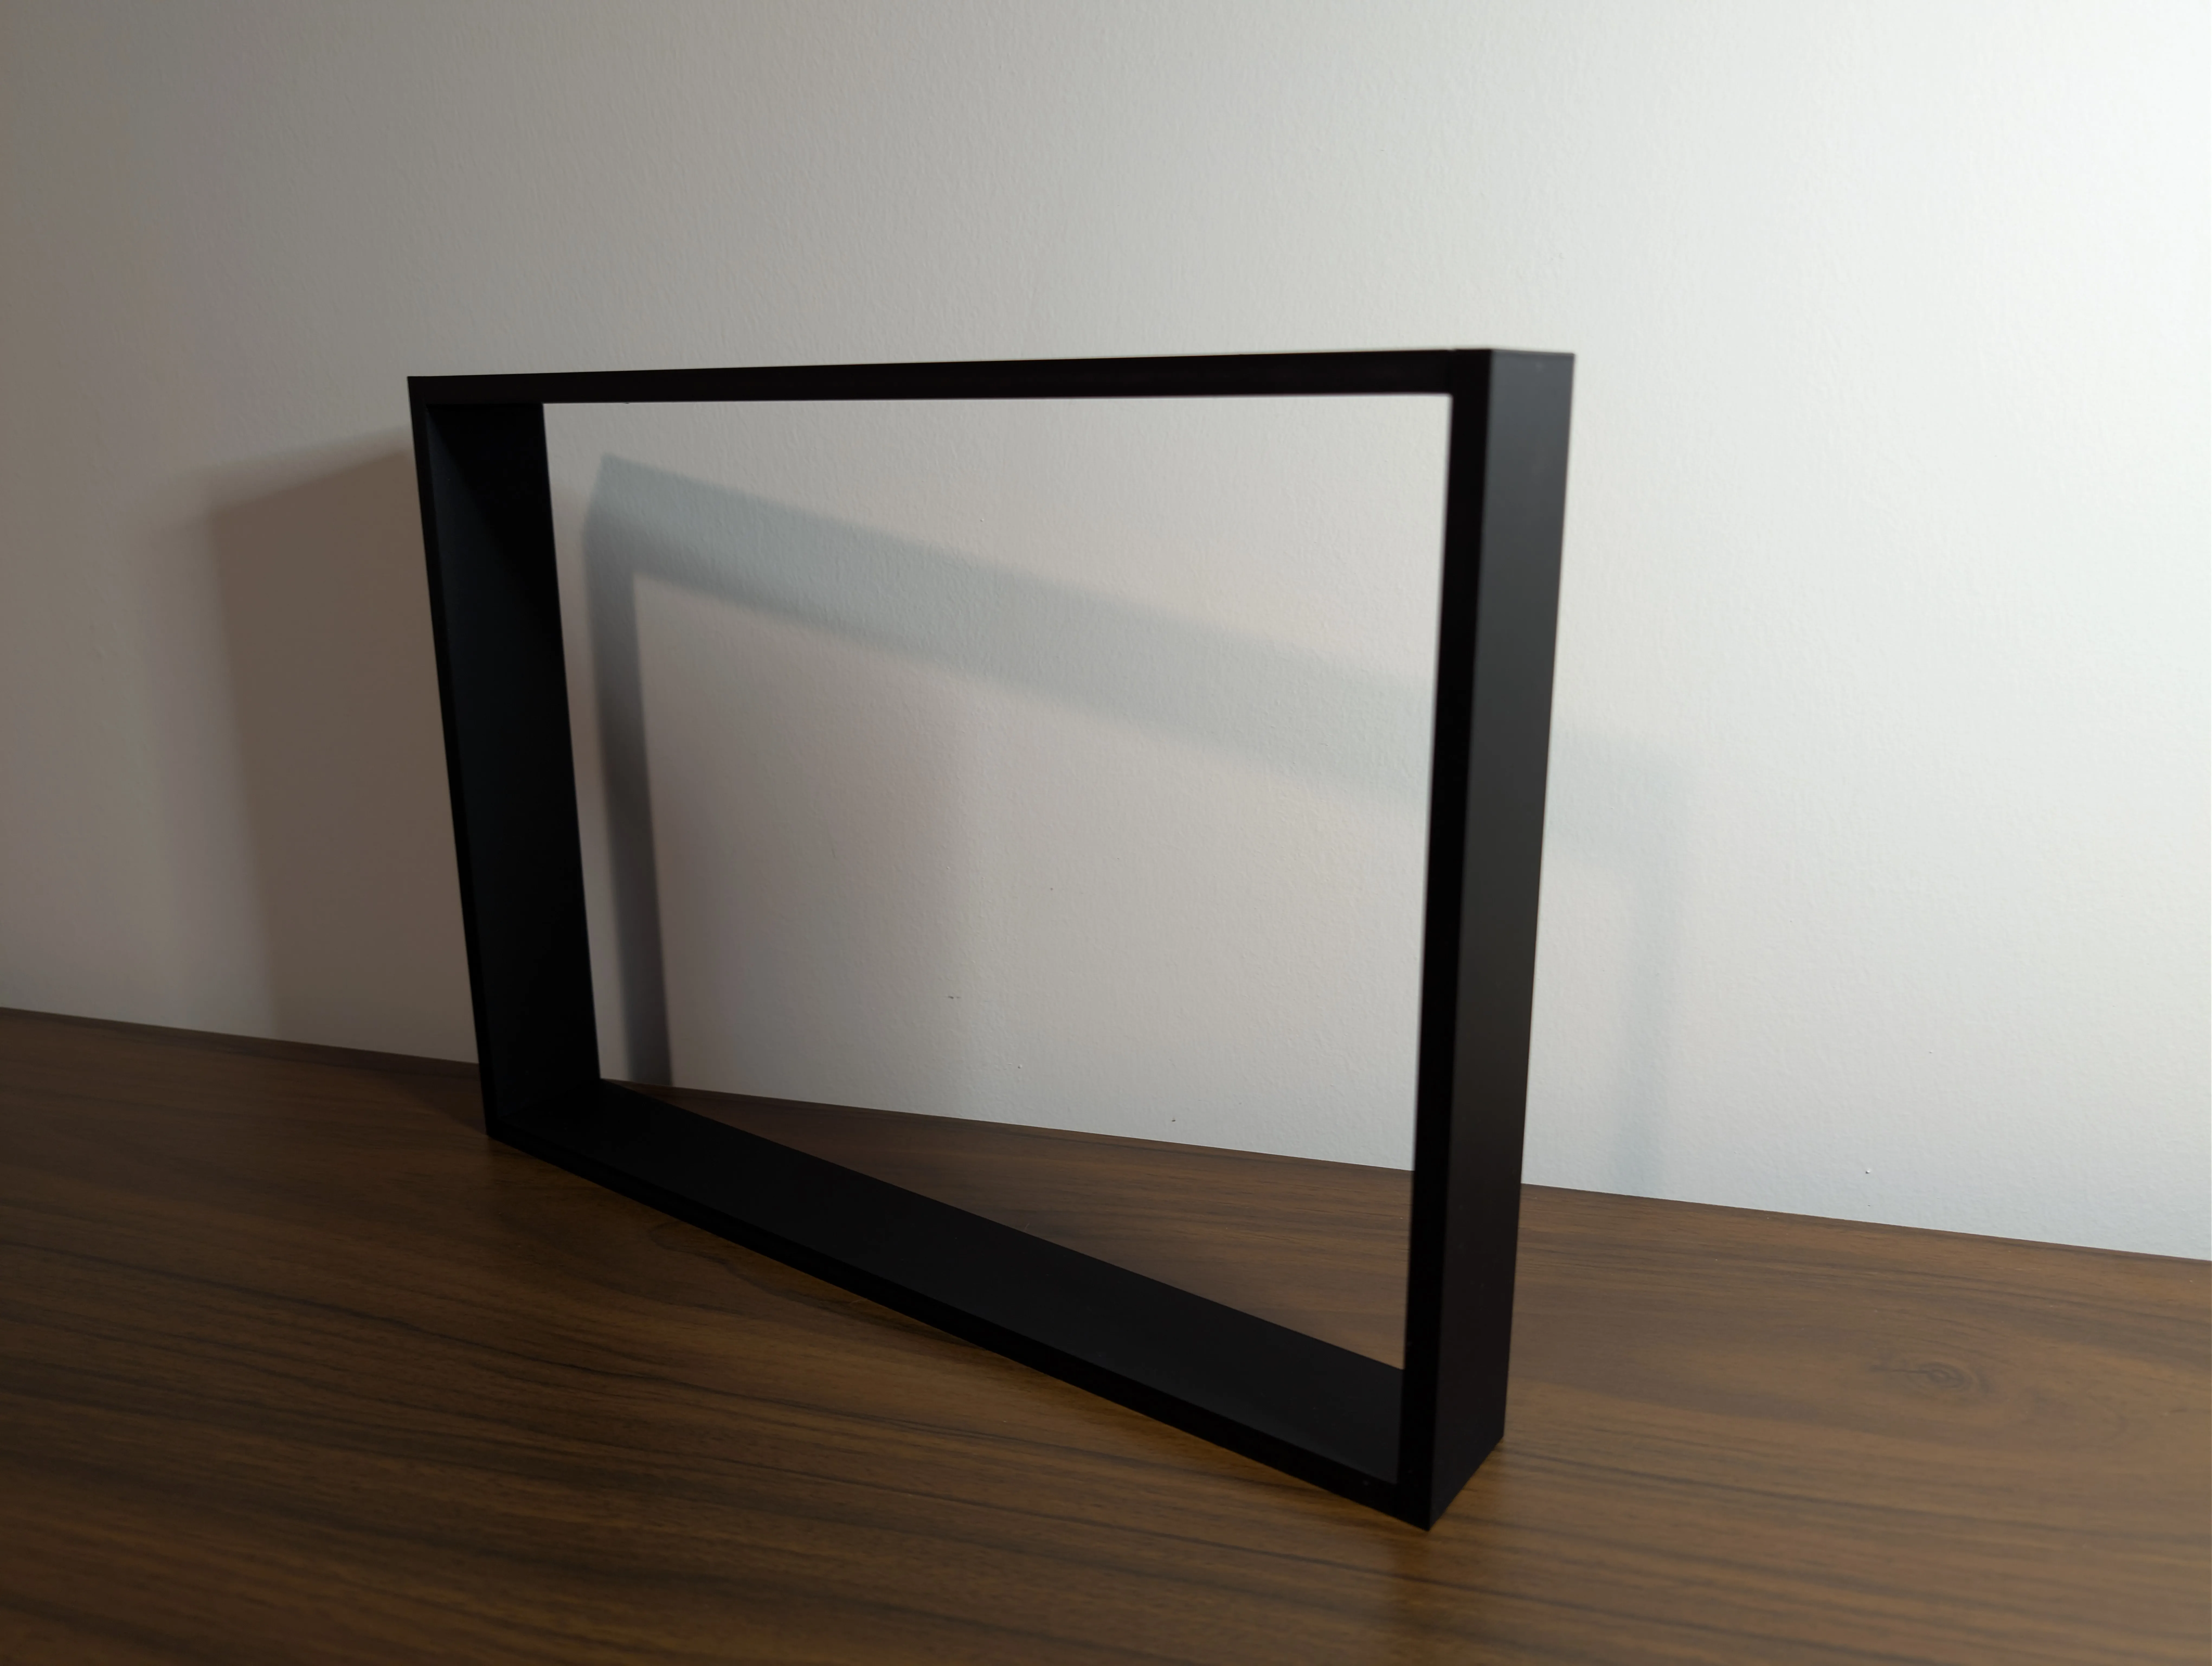
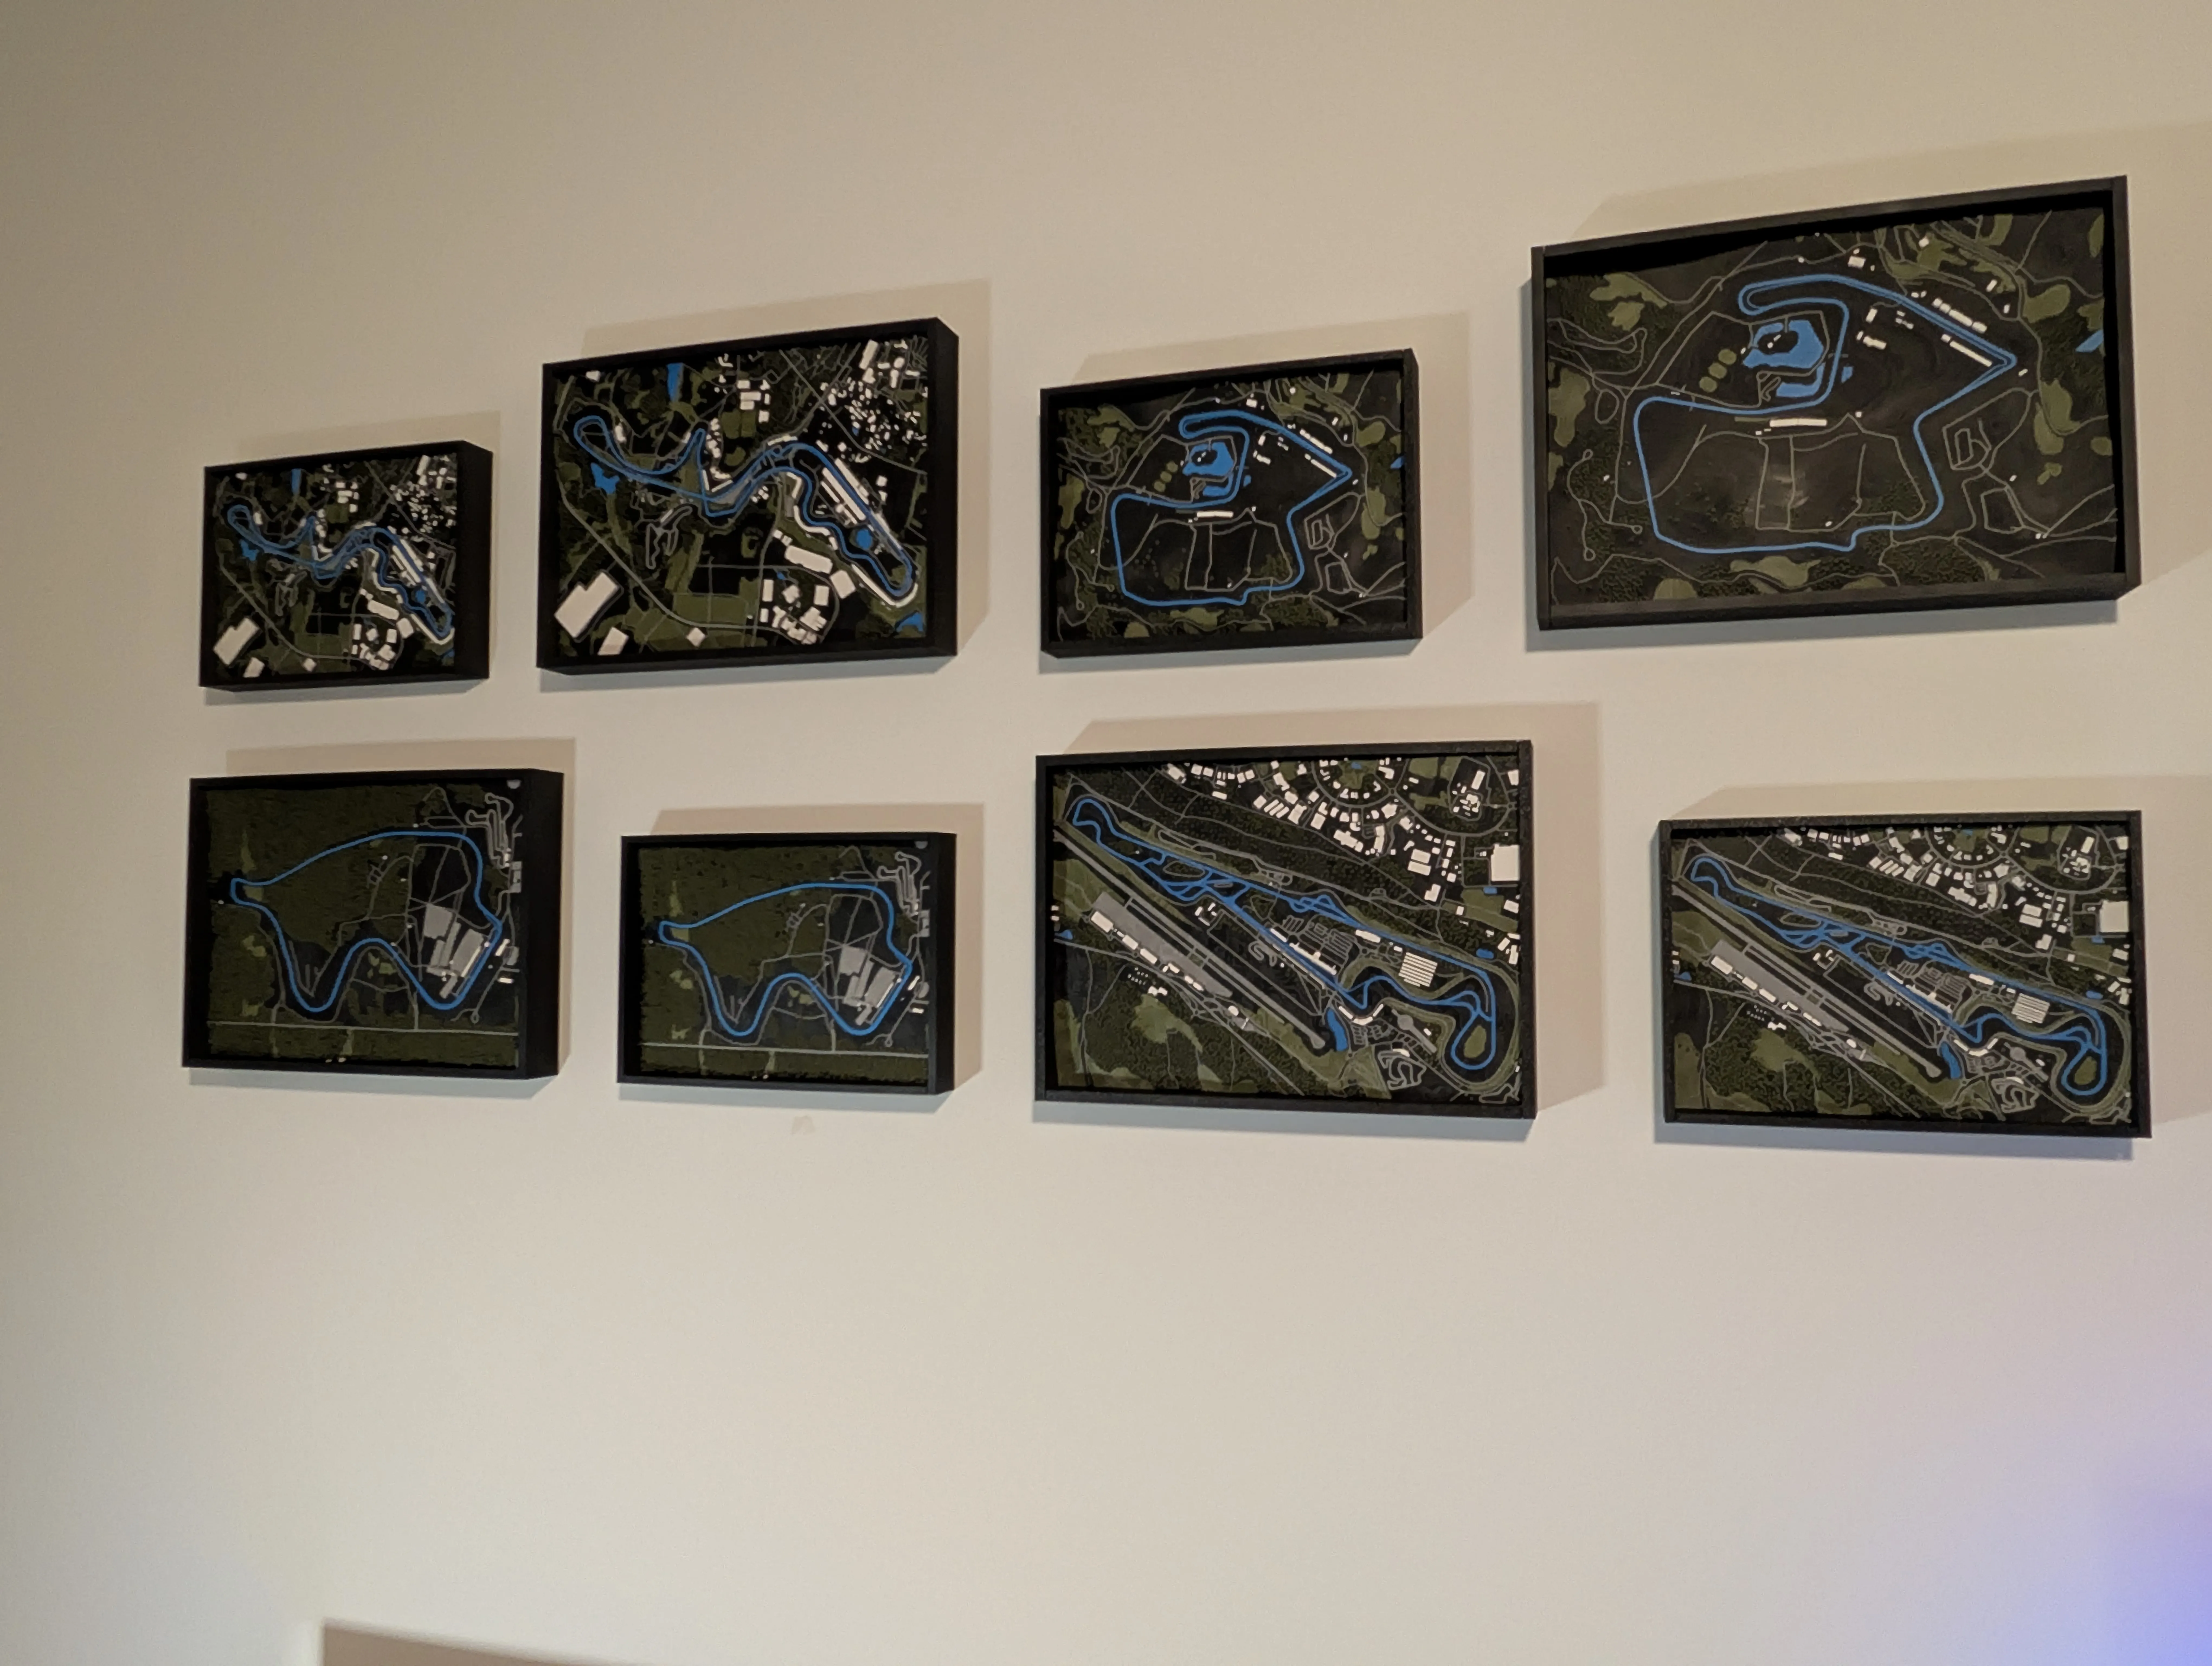
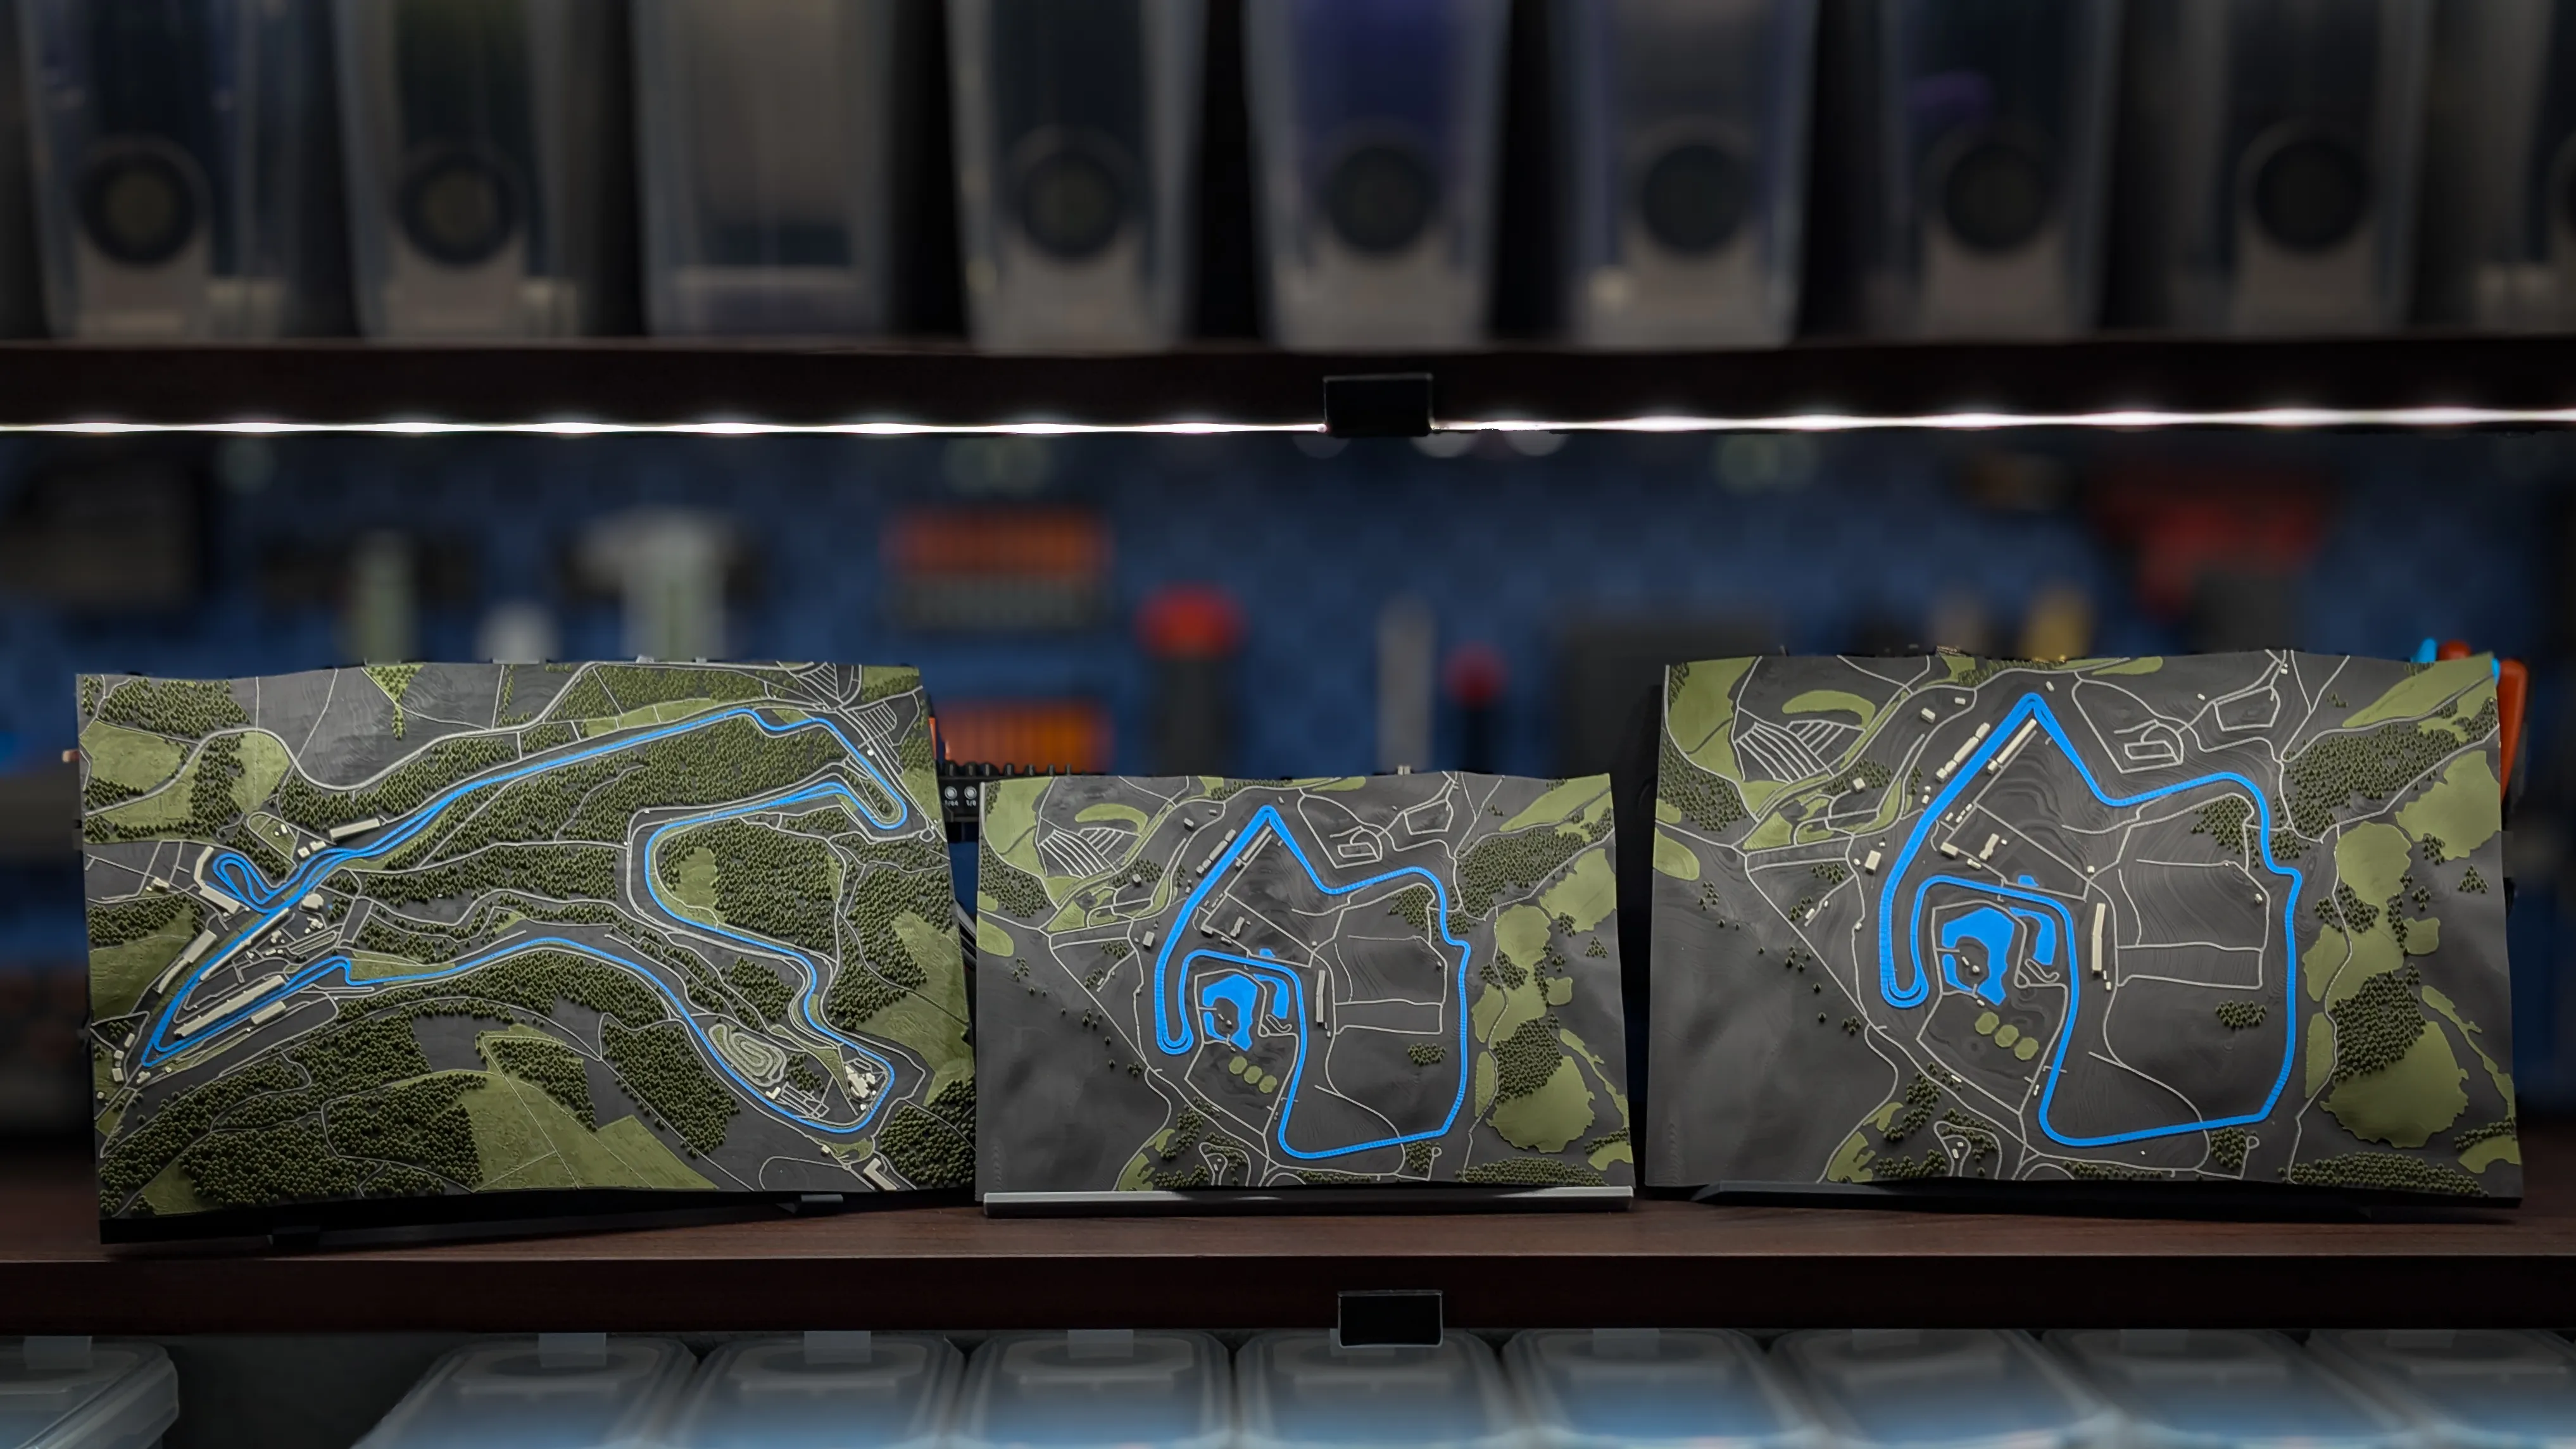
Designed specifically for displaying my 3D track models, this frame adds a clean finished border while hiding the wall-mounting hardware. The spacers position the track within the frame to create better depth, shadows, and a more balanced presentation.
🛠️ Frame V3 Features
- No-glue assembly using triangular press-fit pins
- Cleaner seam placement along the inside corners
- Hidden wall-mounting hardware
- Track-specific spacers for proper depth positioning
- Tuned part orientation and print settings for improved consistency
- Clean, finished appearance for wall-mounted track displays
Each display uses:
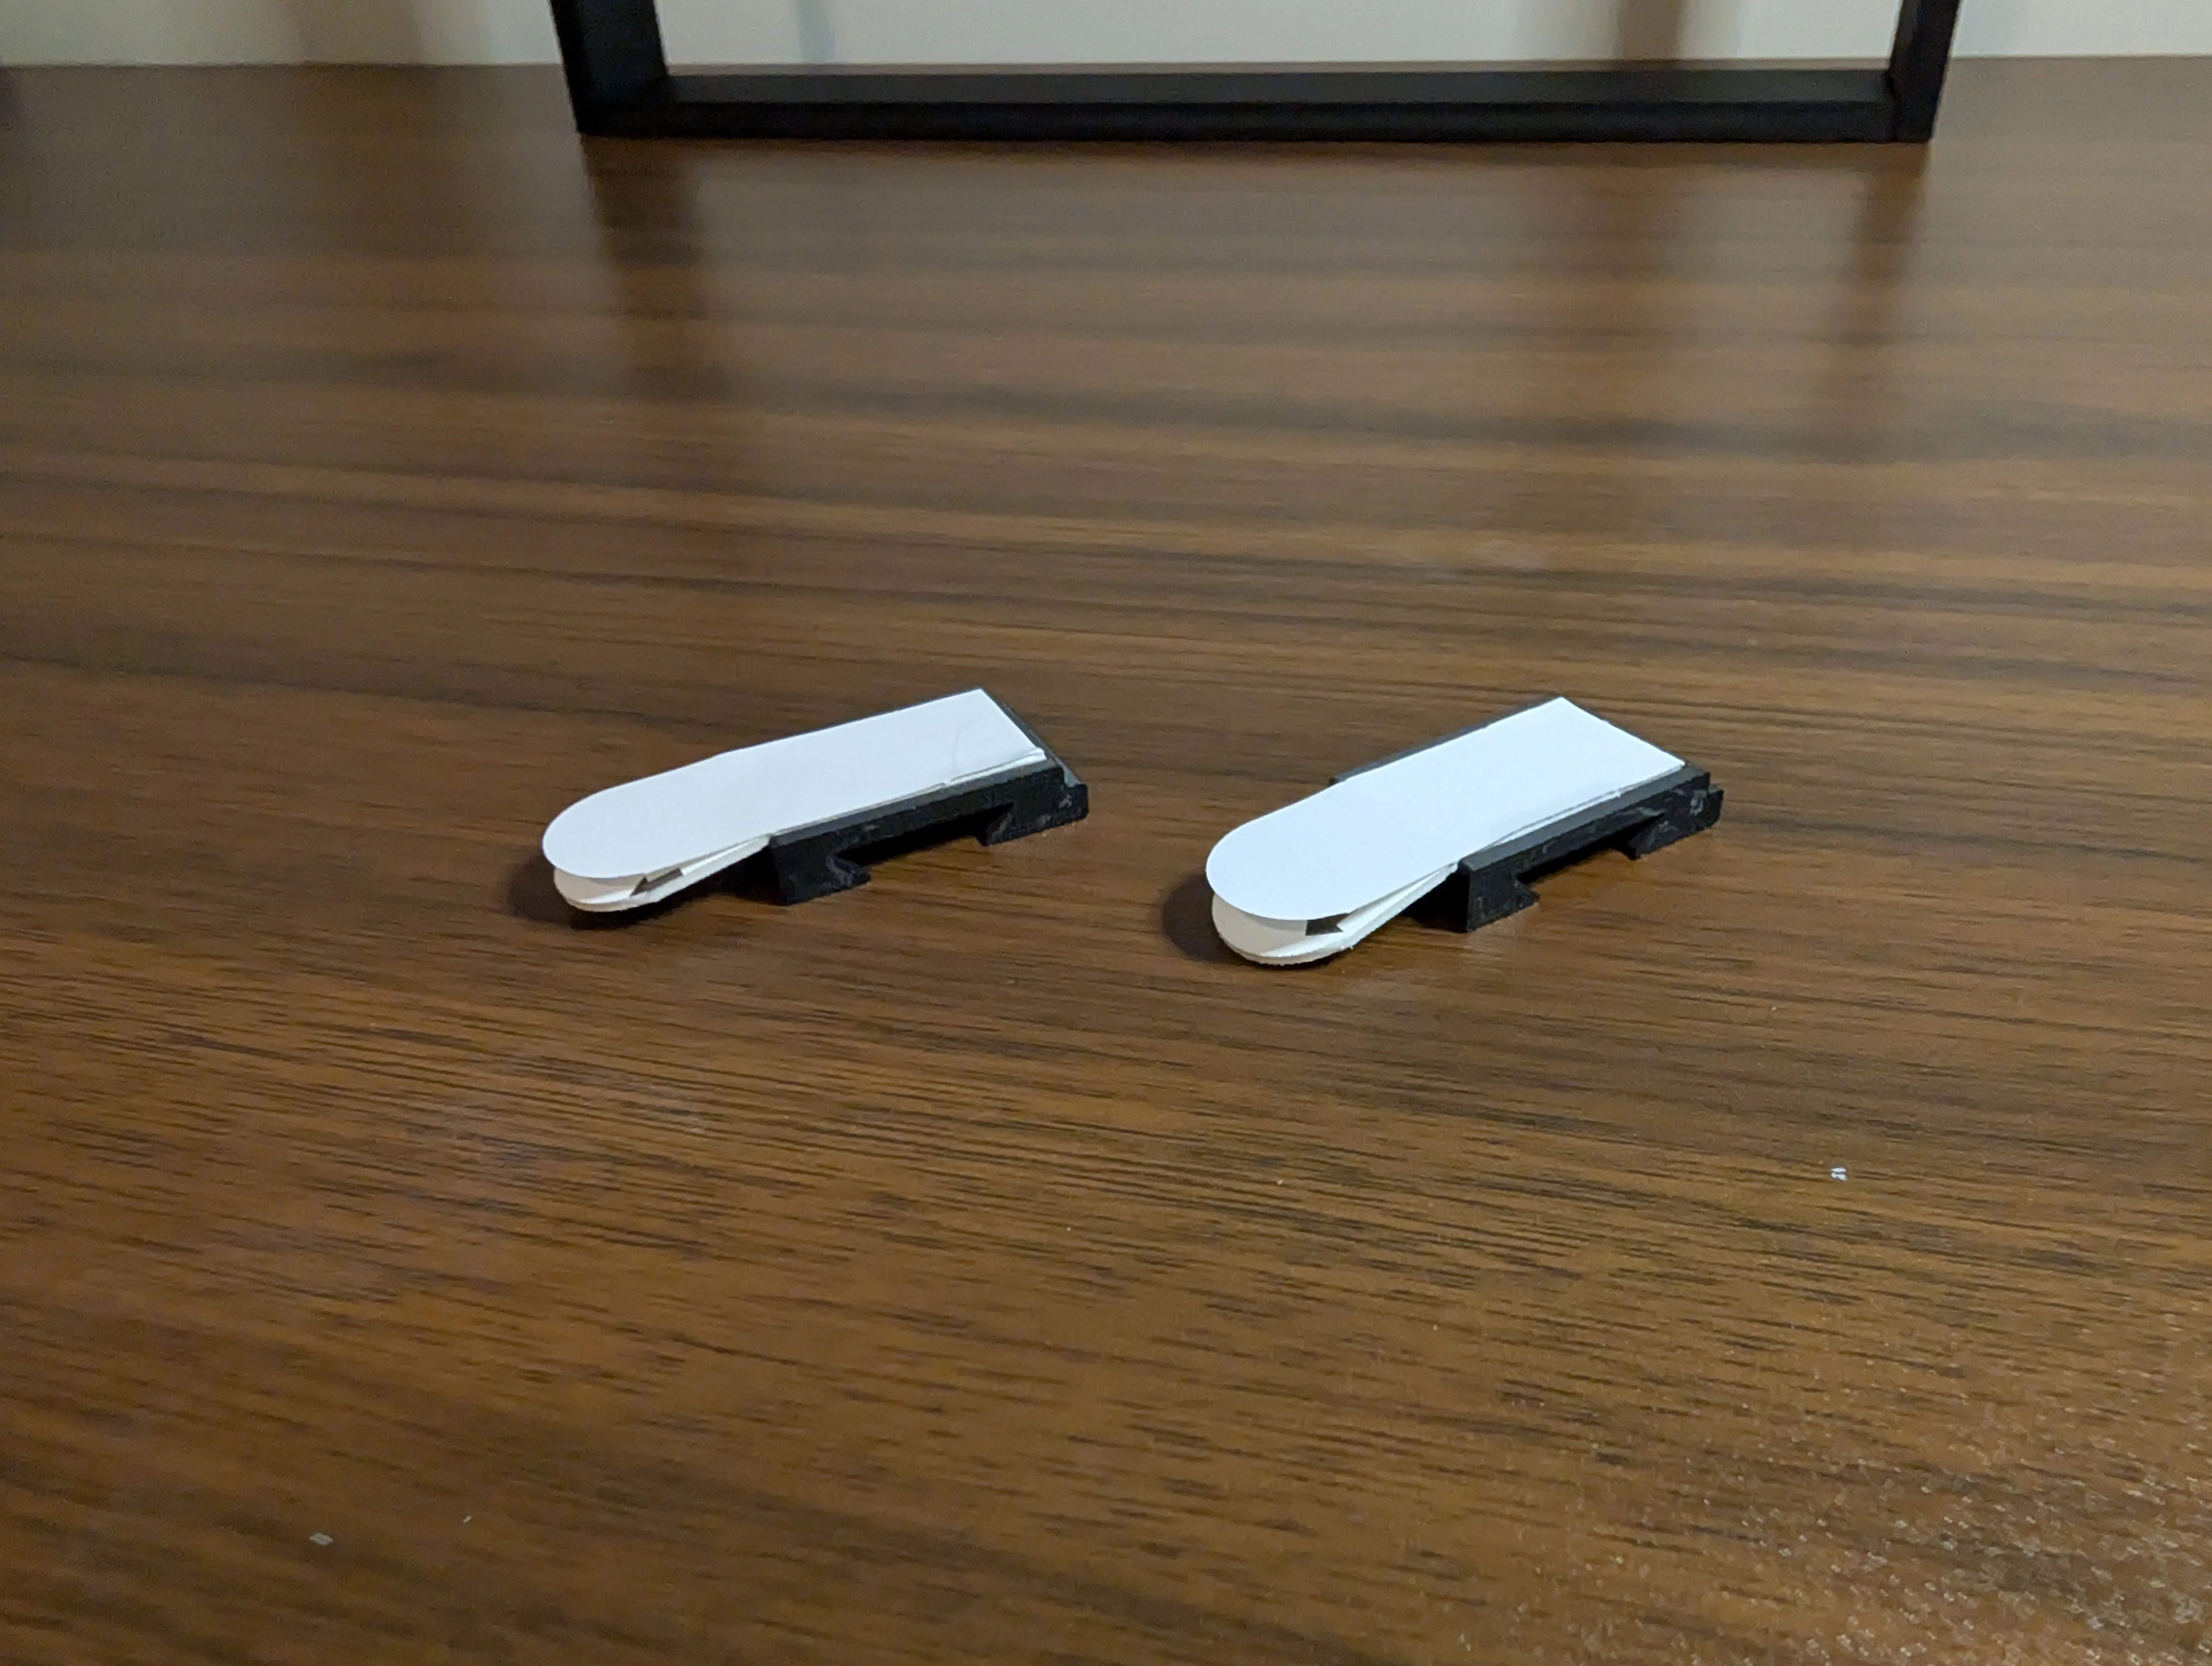
- 2 frame mounting tabs
- 2 track-specific dovetail inserts
- 2 track-specific spacers
V4 Track-Specific Piece Updates
V4 applies only to the track-specific inserts and spacers, not the frame itself.
- Each track now uses recalculated spacers for more consistent positioning inside the frame.
- The mounting tabs now use a two-piece dovetail system.
- The wall-mounted tabs and Command strips can remain in place when swapping tracks, eliminating the need to replace strips or re-level the mounting tabs.
The sections below cover which parts to print and how to assemble and install the complete frame system.
🧰 Assembly & Installation
Before You Start
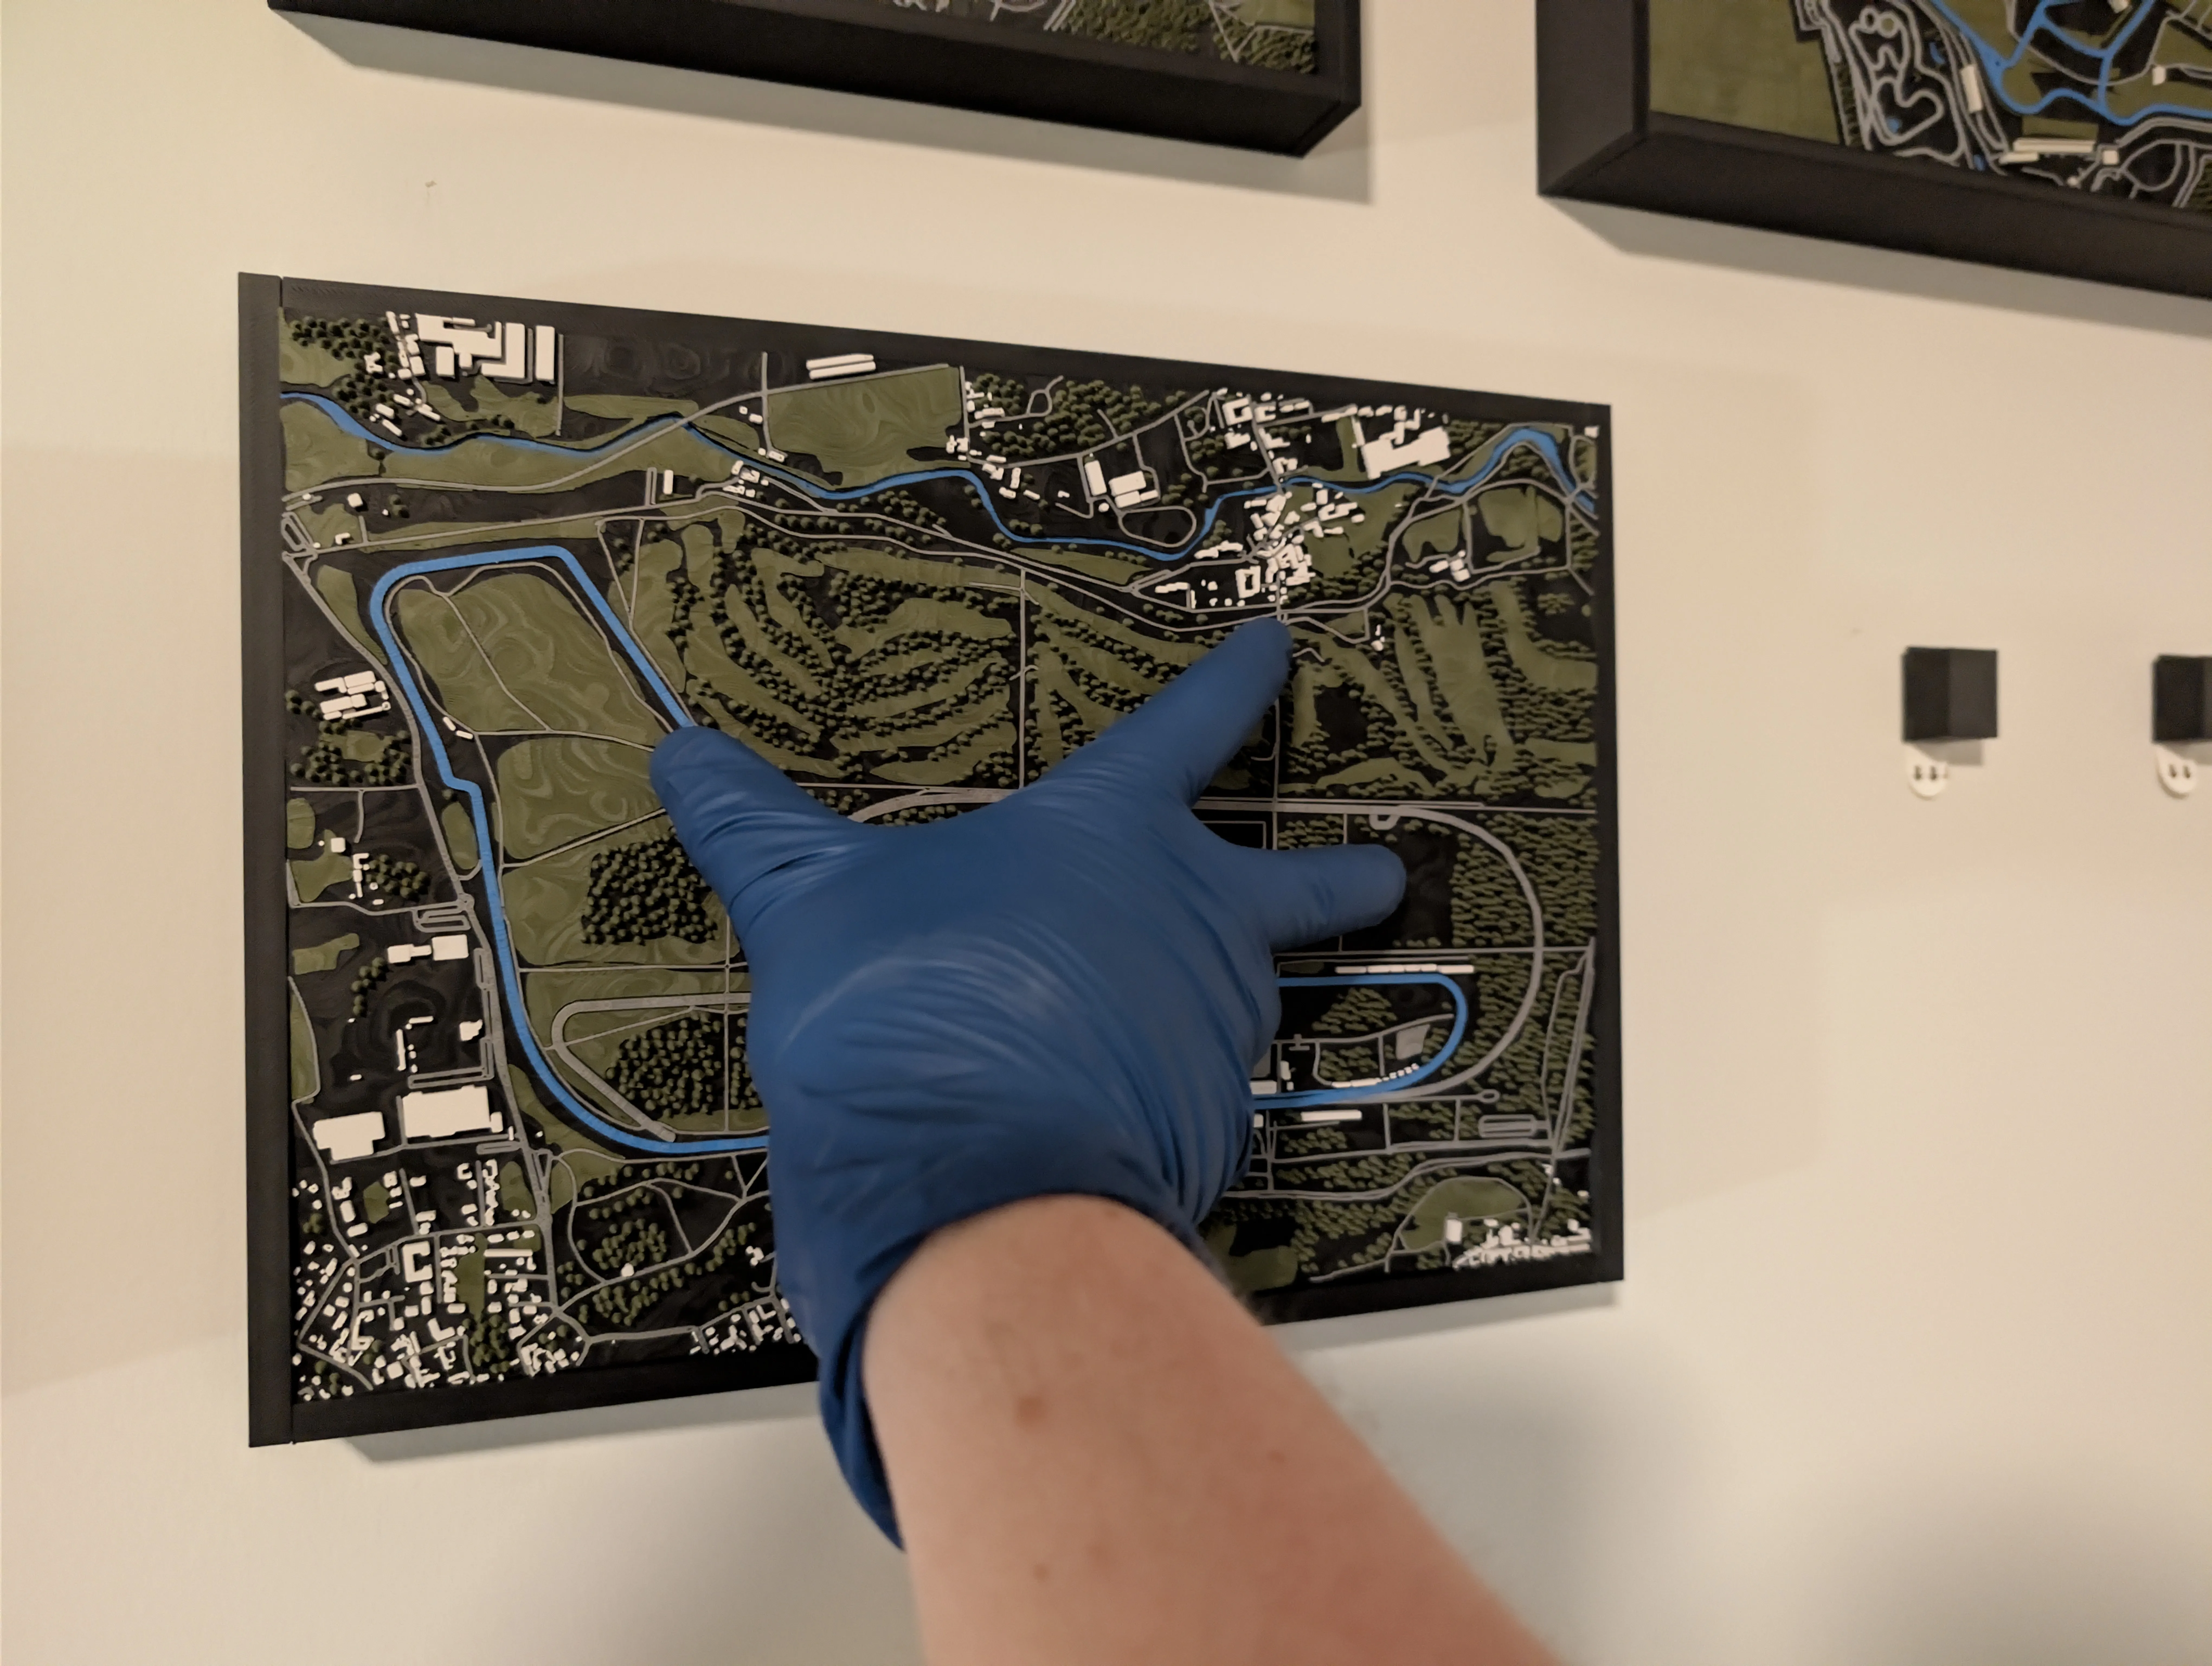
Wearing gloves is highly recommended, especially with matte charcoal PLA. It picks up fingerprints very easily and they can be difficult to remove.
Frame Assembly
- Use needle-nose pliers, a pick tool, or something similar to start removing the supports from the top-piece channel. Once loosened, the support should pull out easily.
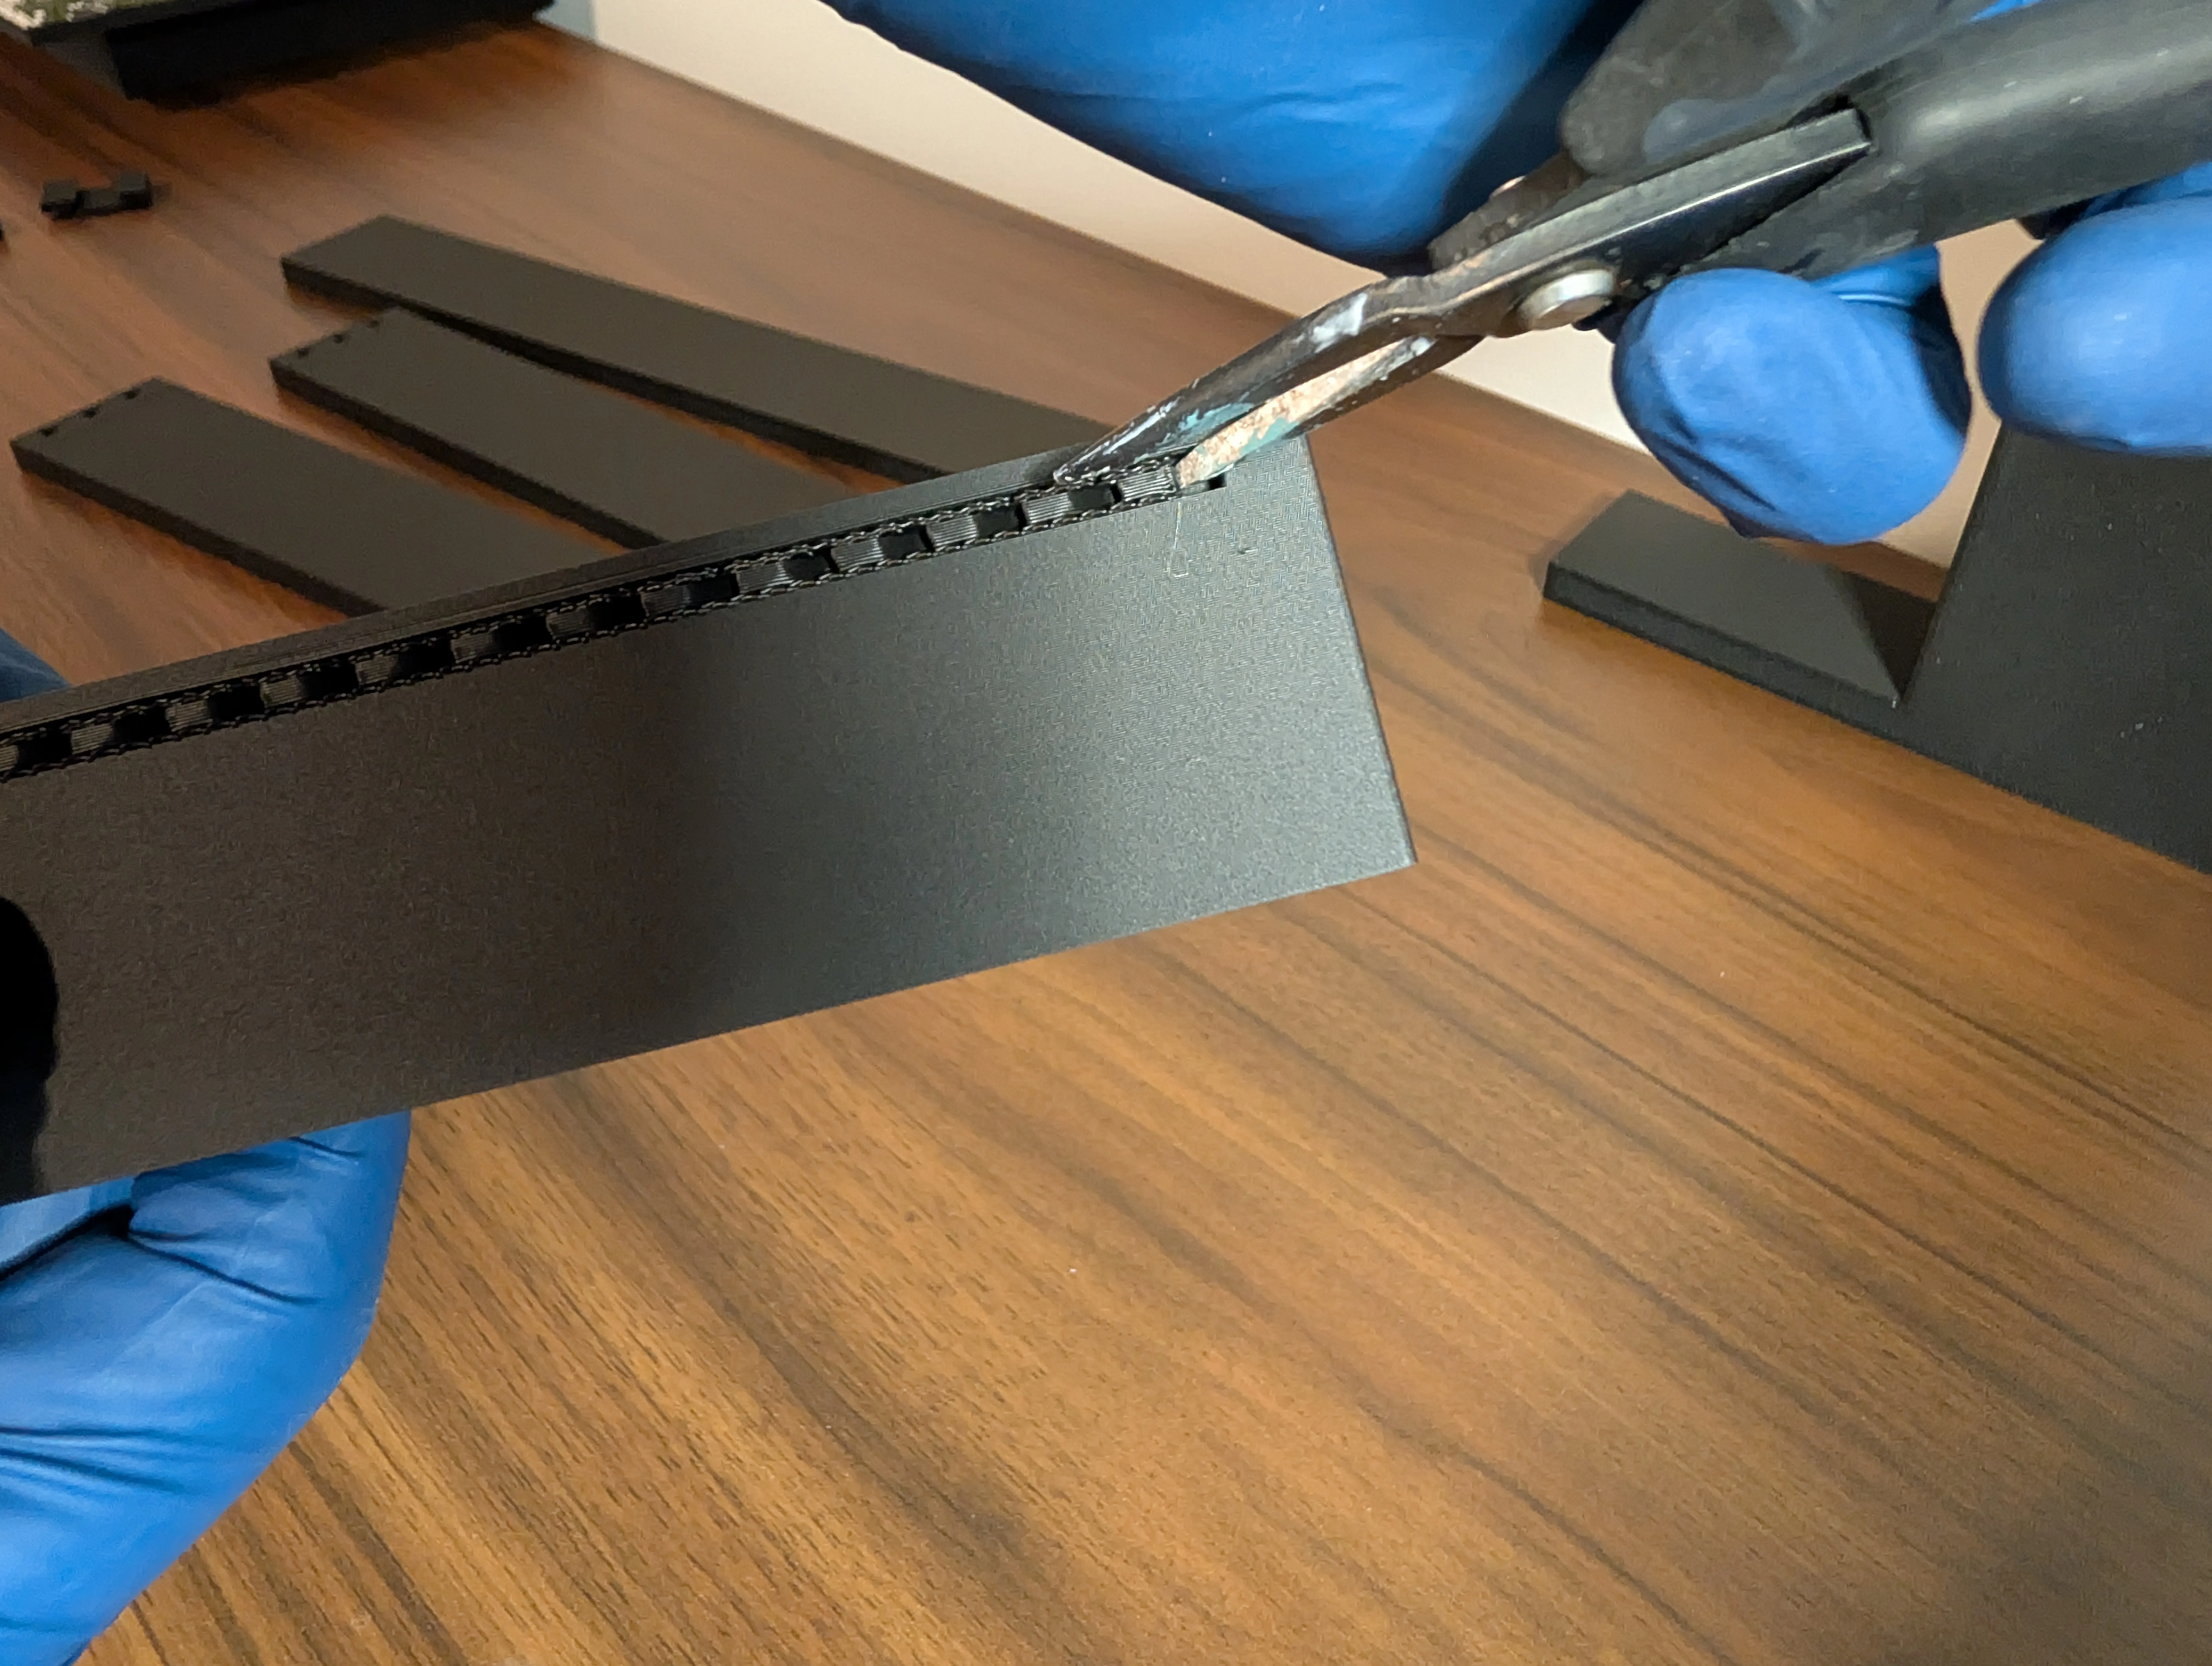
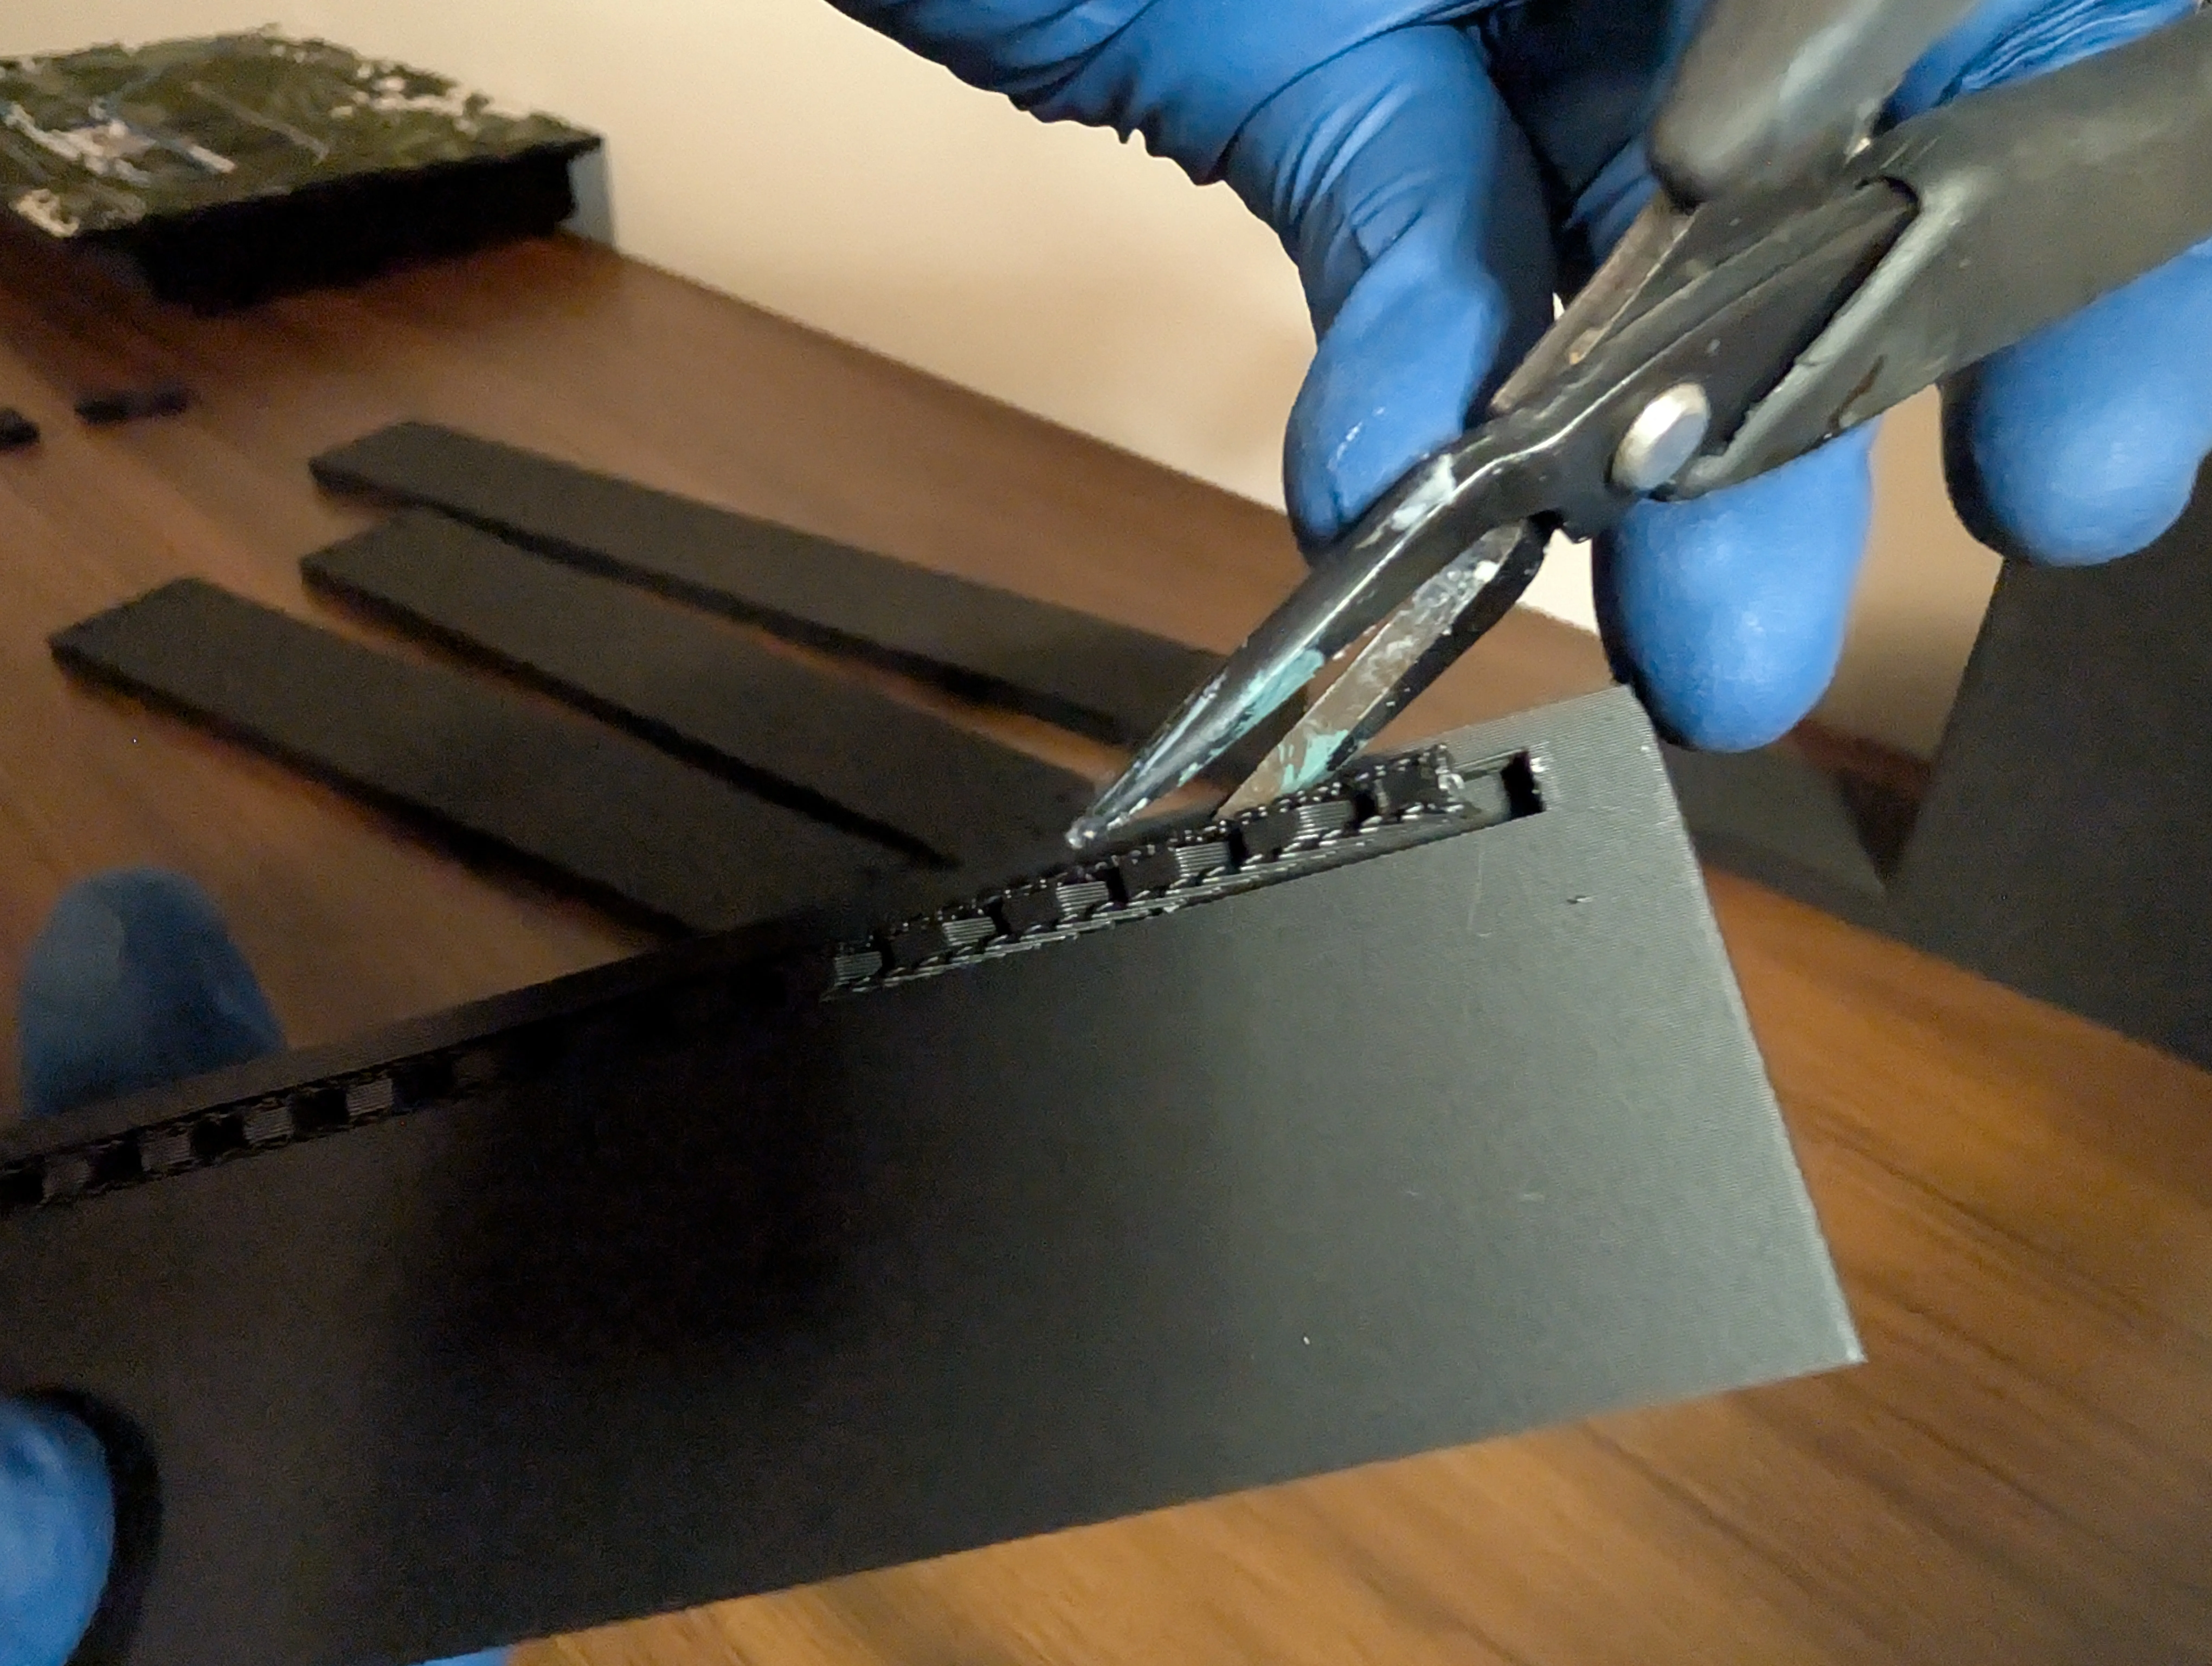
- Clean up each frame piece before assembly. Remove any strings or small imperfections and lightly file the seams if needed.
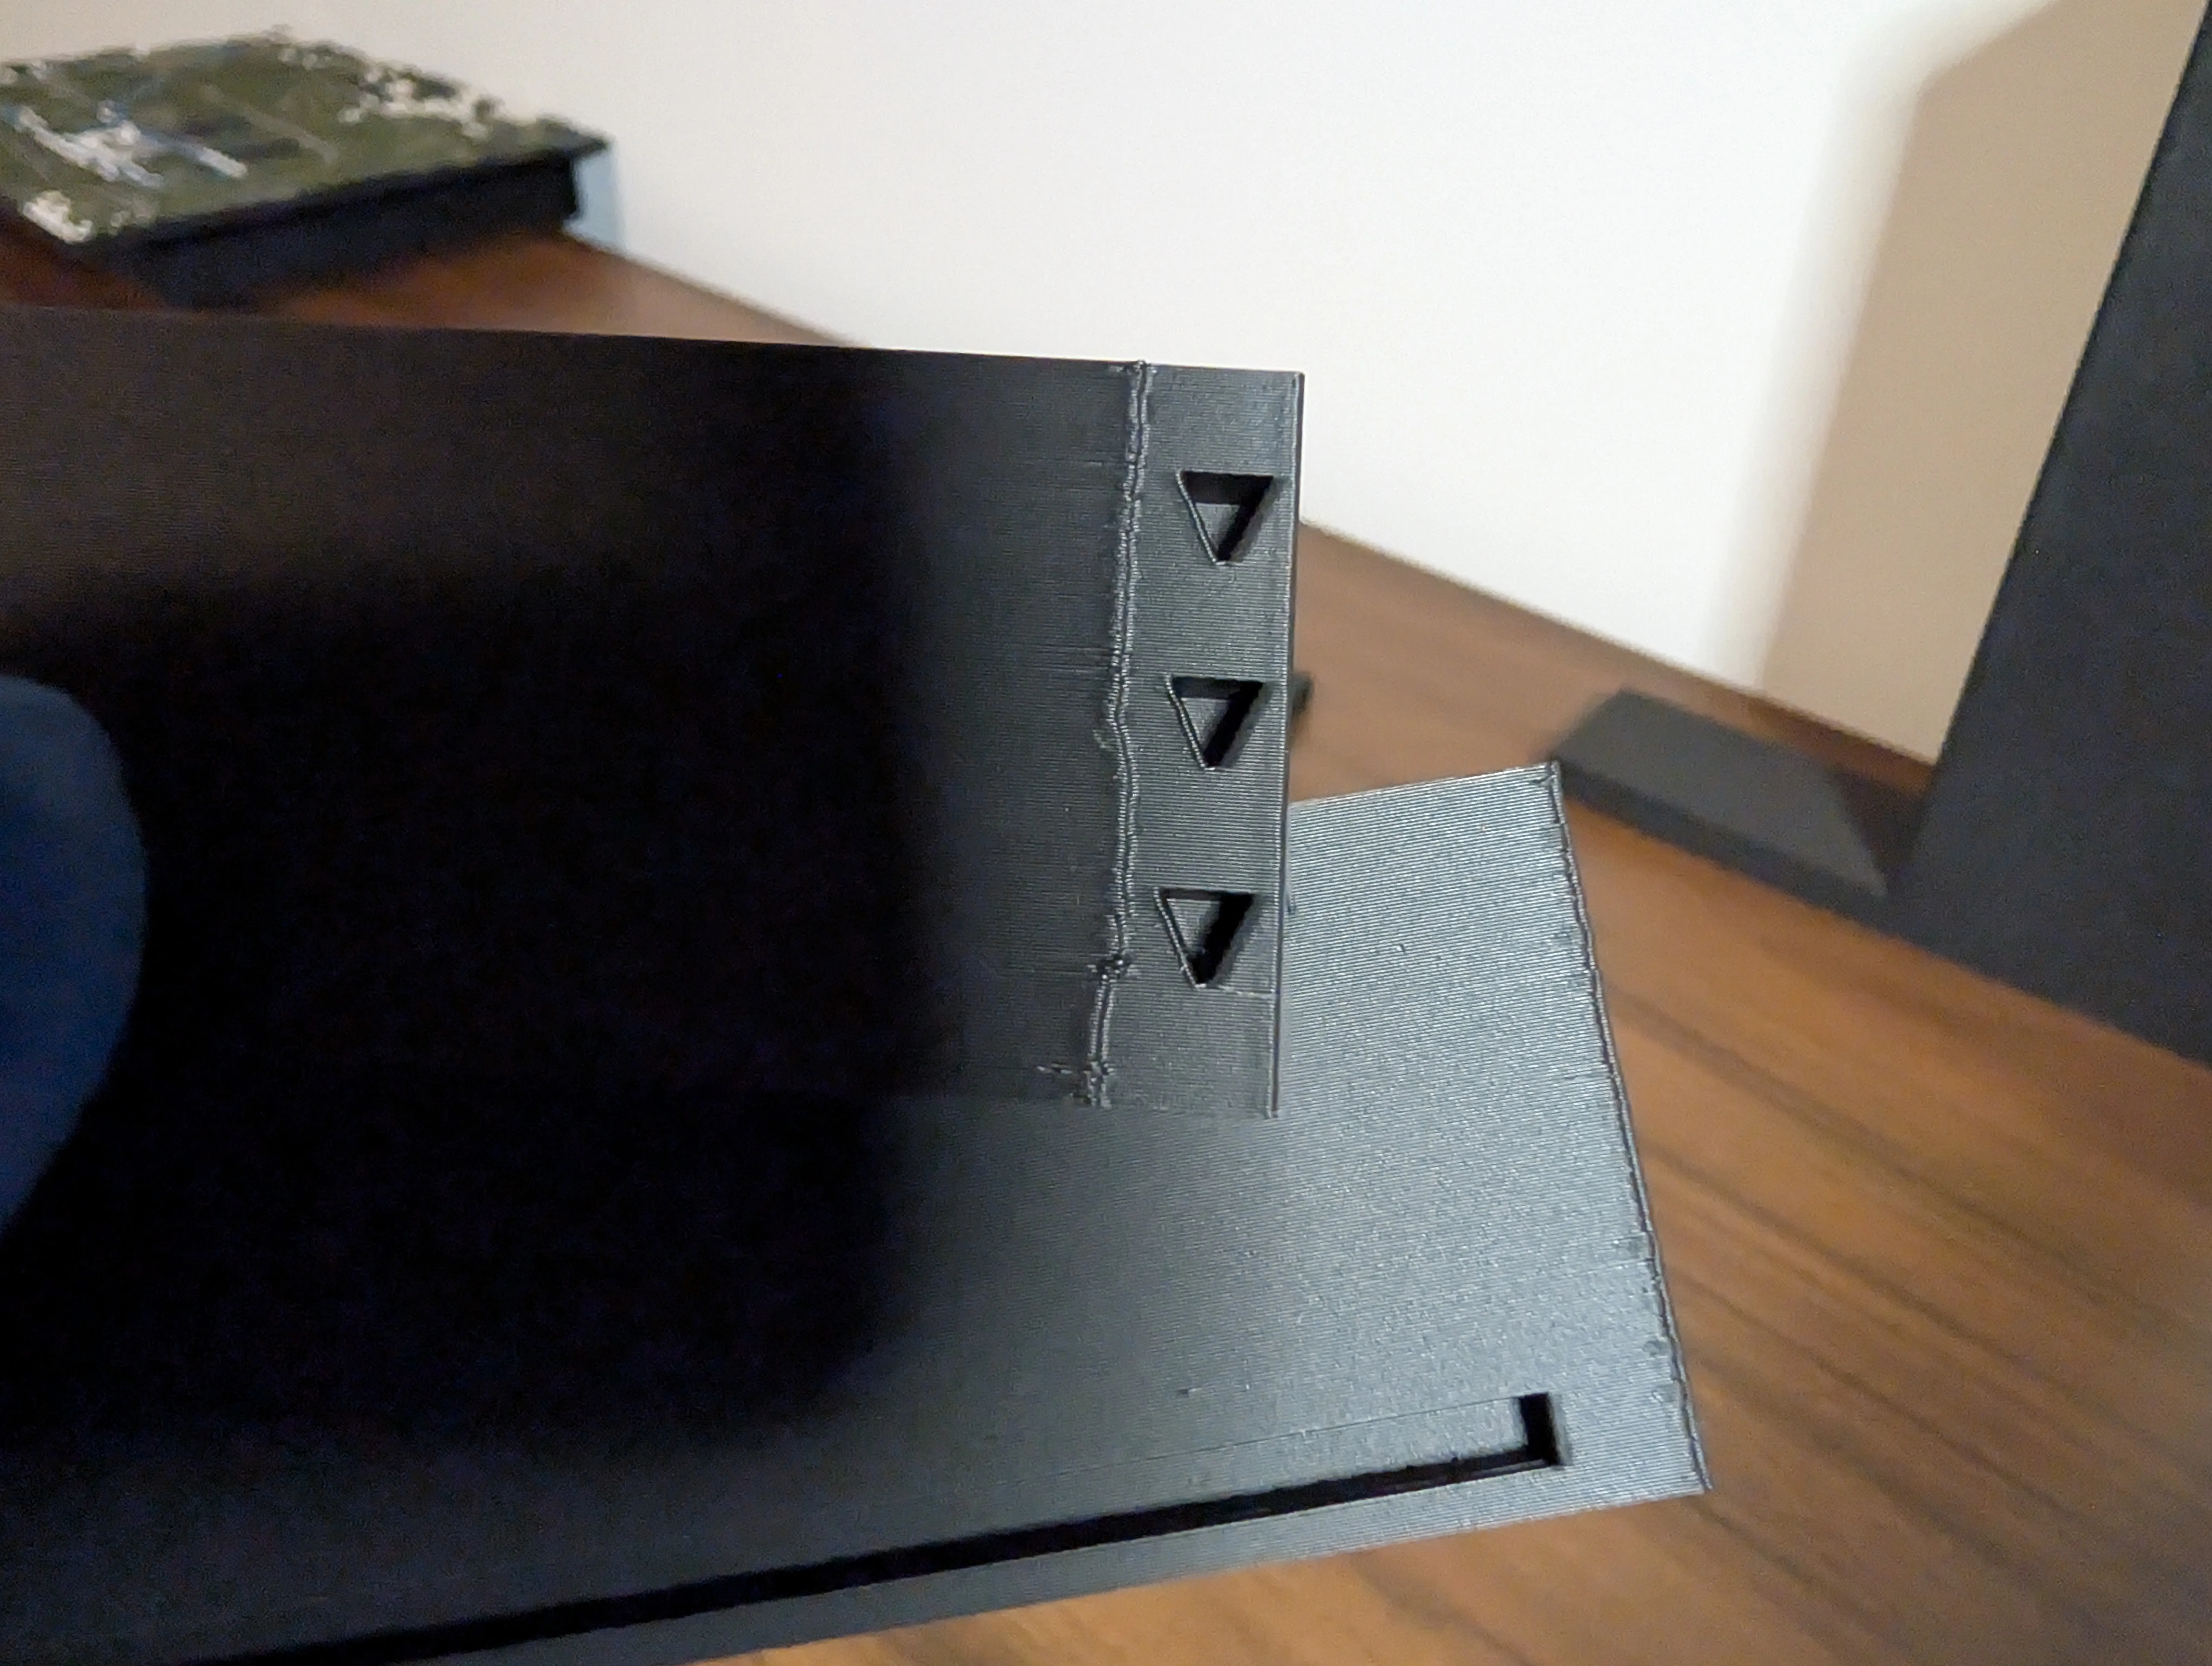
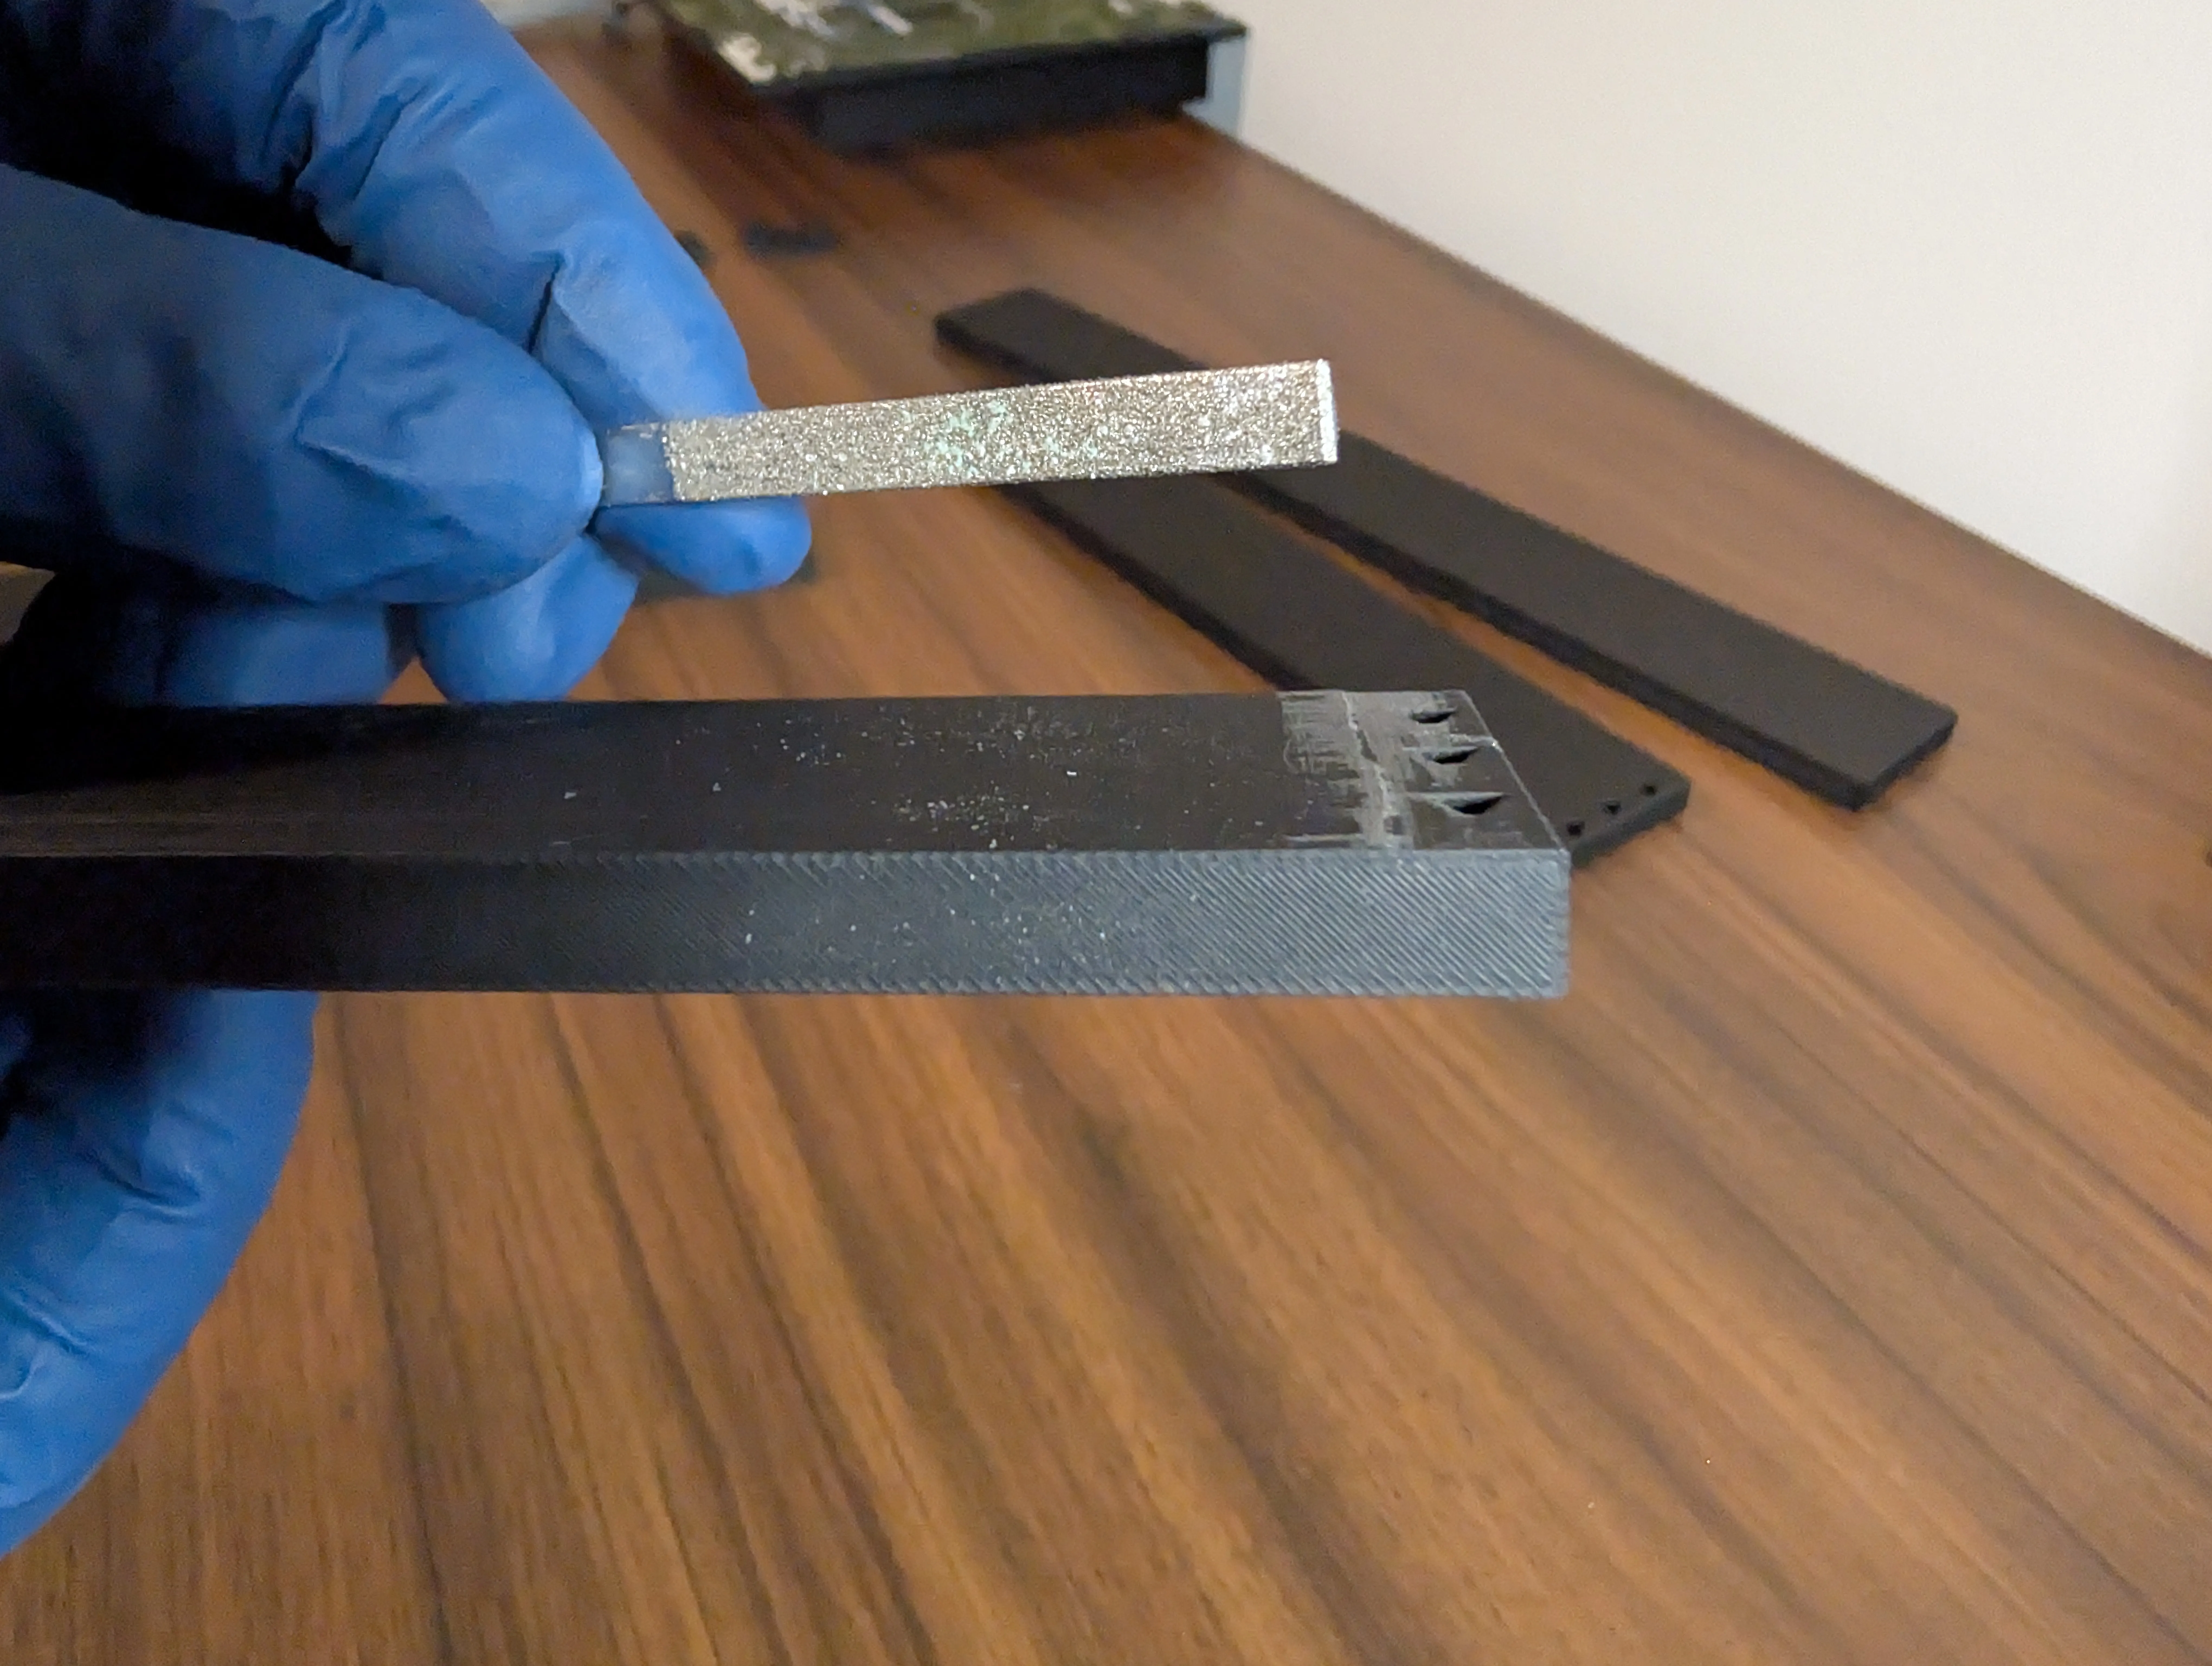
- A very quick pass with a torch can help clean up filed areas and remaining strings.
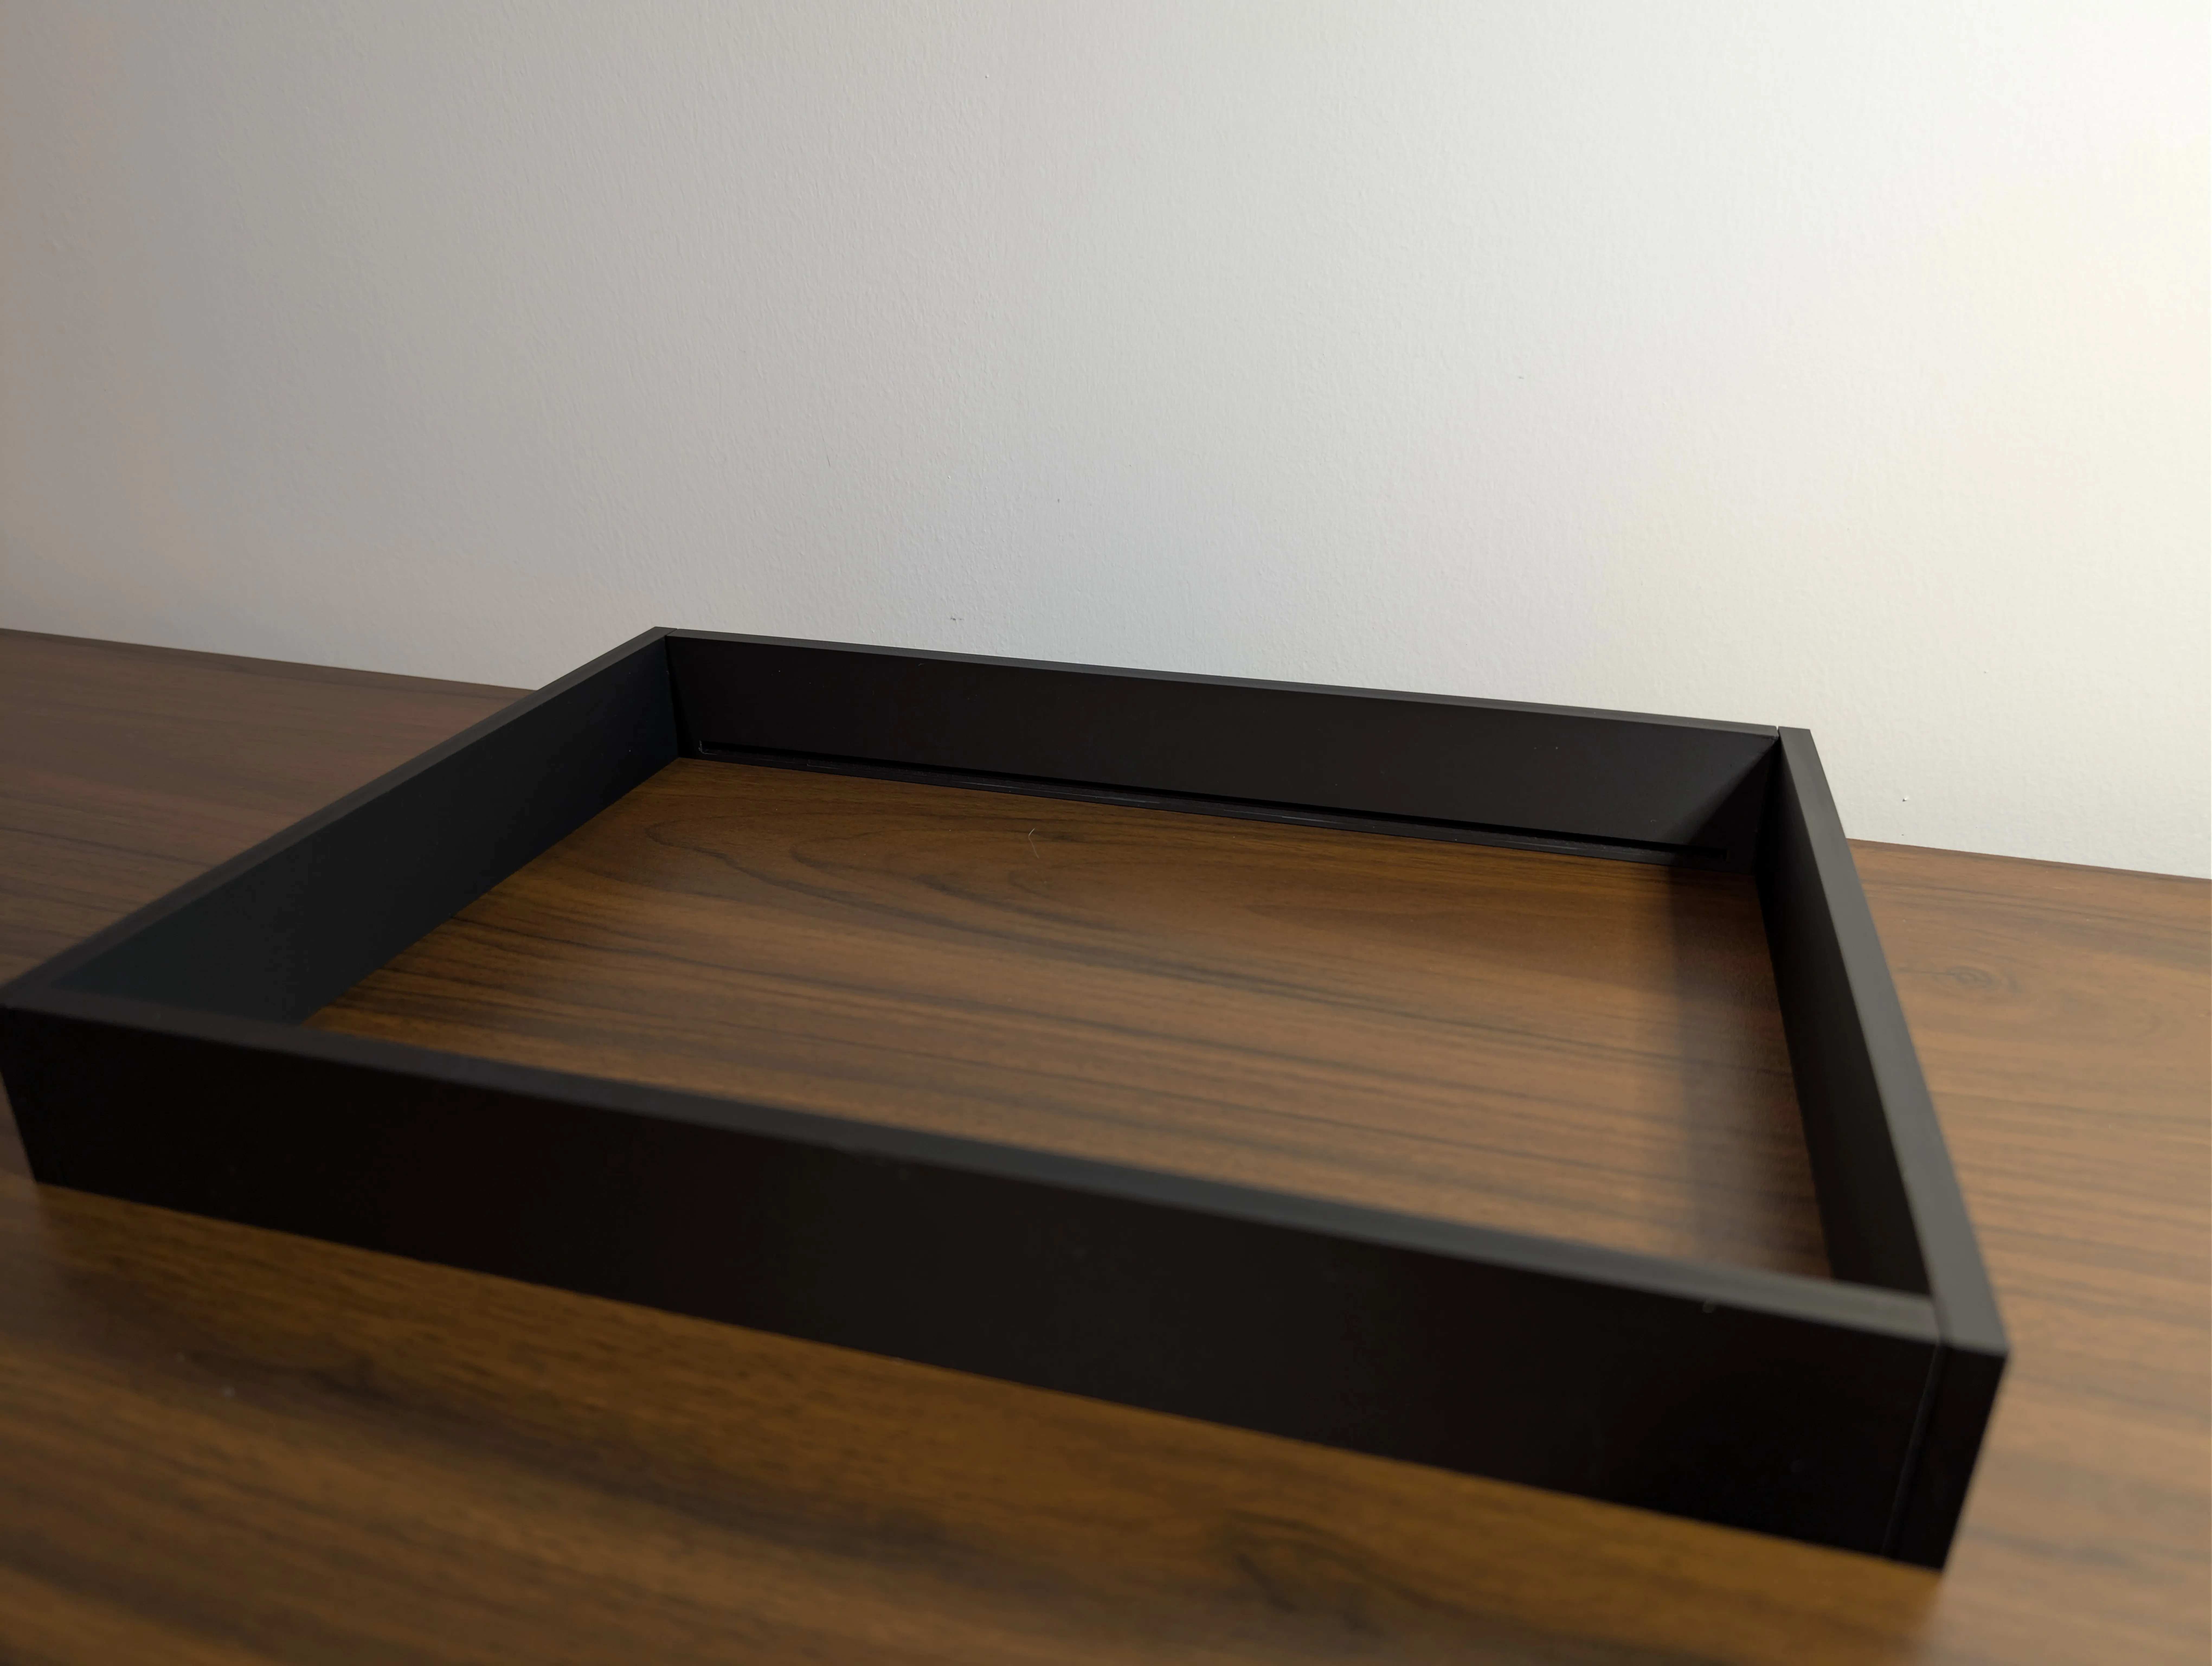
- Insert the triangular pins into the longer top and bottom frame pieces. The pins only fit correctly in one orientation, with the longest point toward the top.
- If a pin is too tight, lightly file it or use a very quick pass of heat of the frame piece before trying again.
- Mock up the complete frame before pressing everything together. Each frame seam should sit in its own inside corner, all matching faces should point the same direction, and the top-piece channel should face inward.
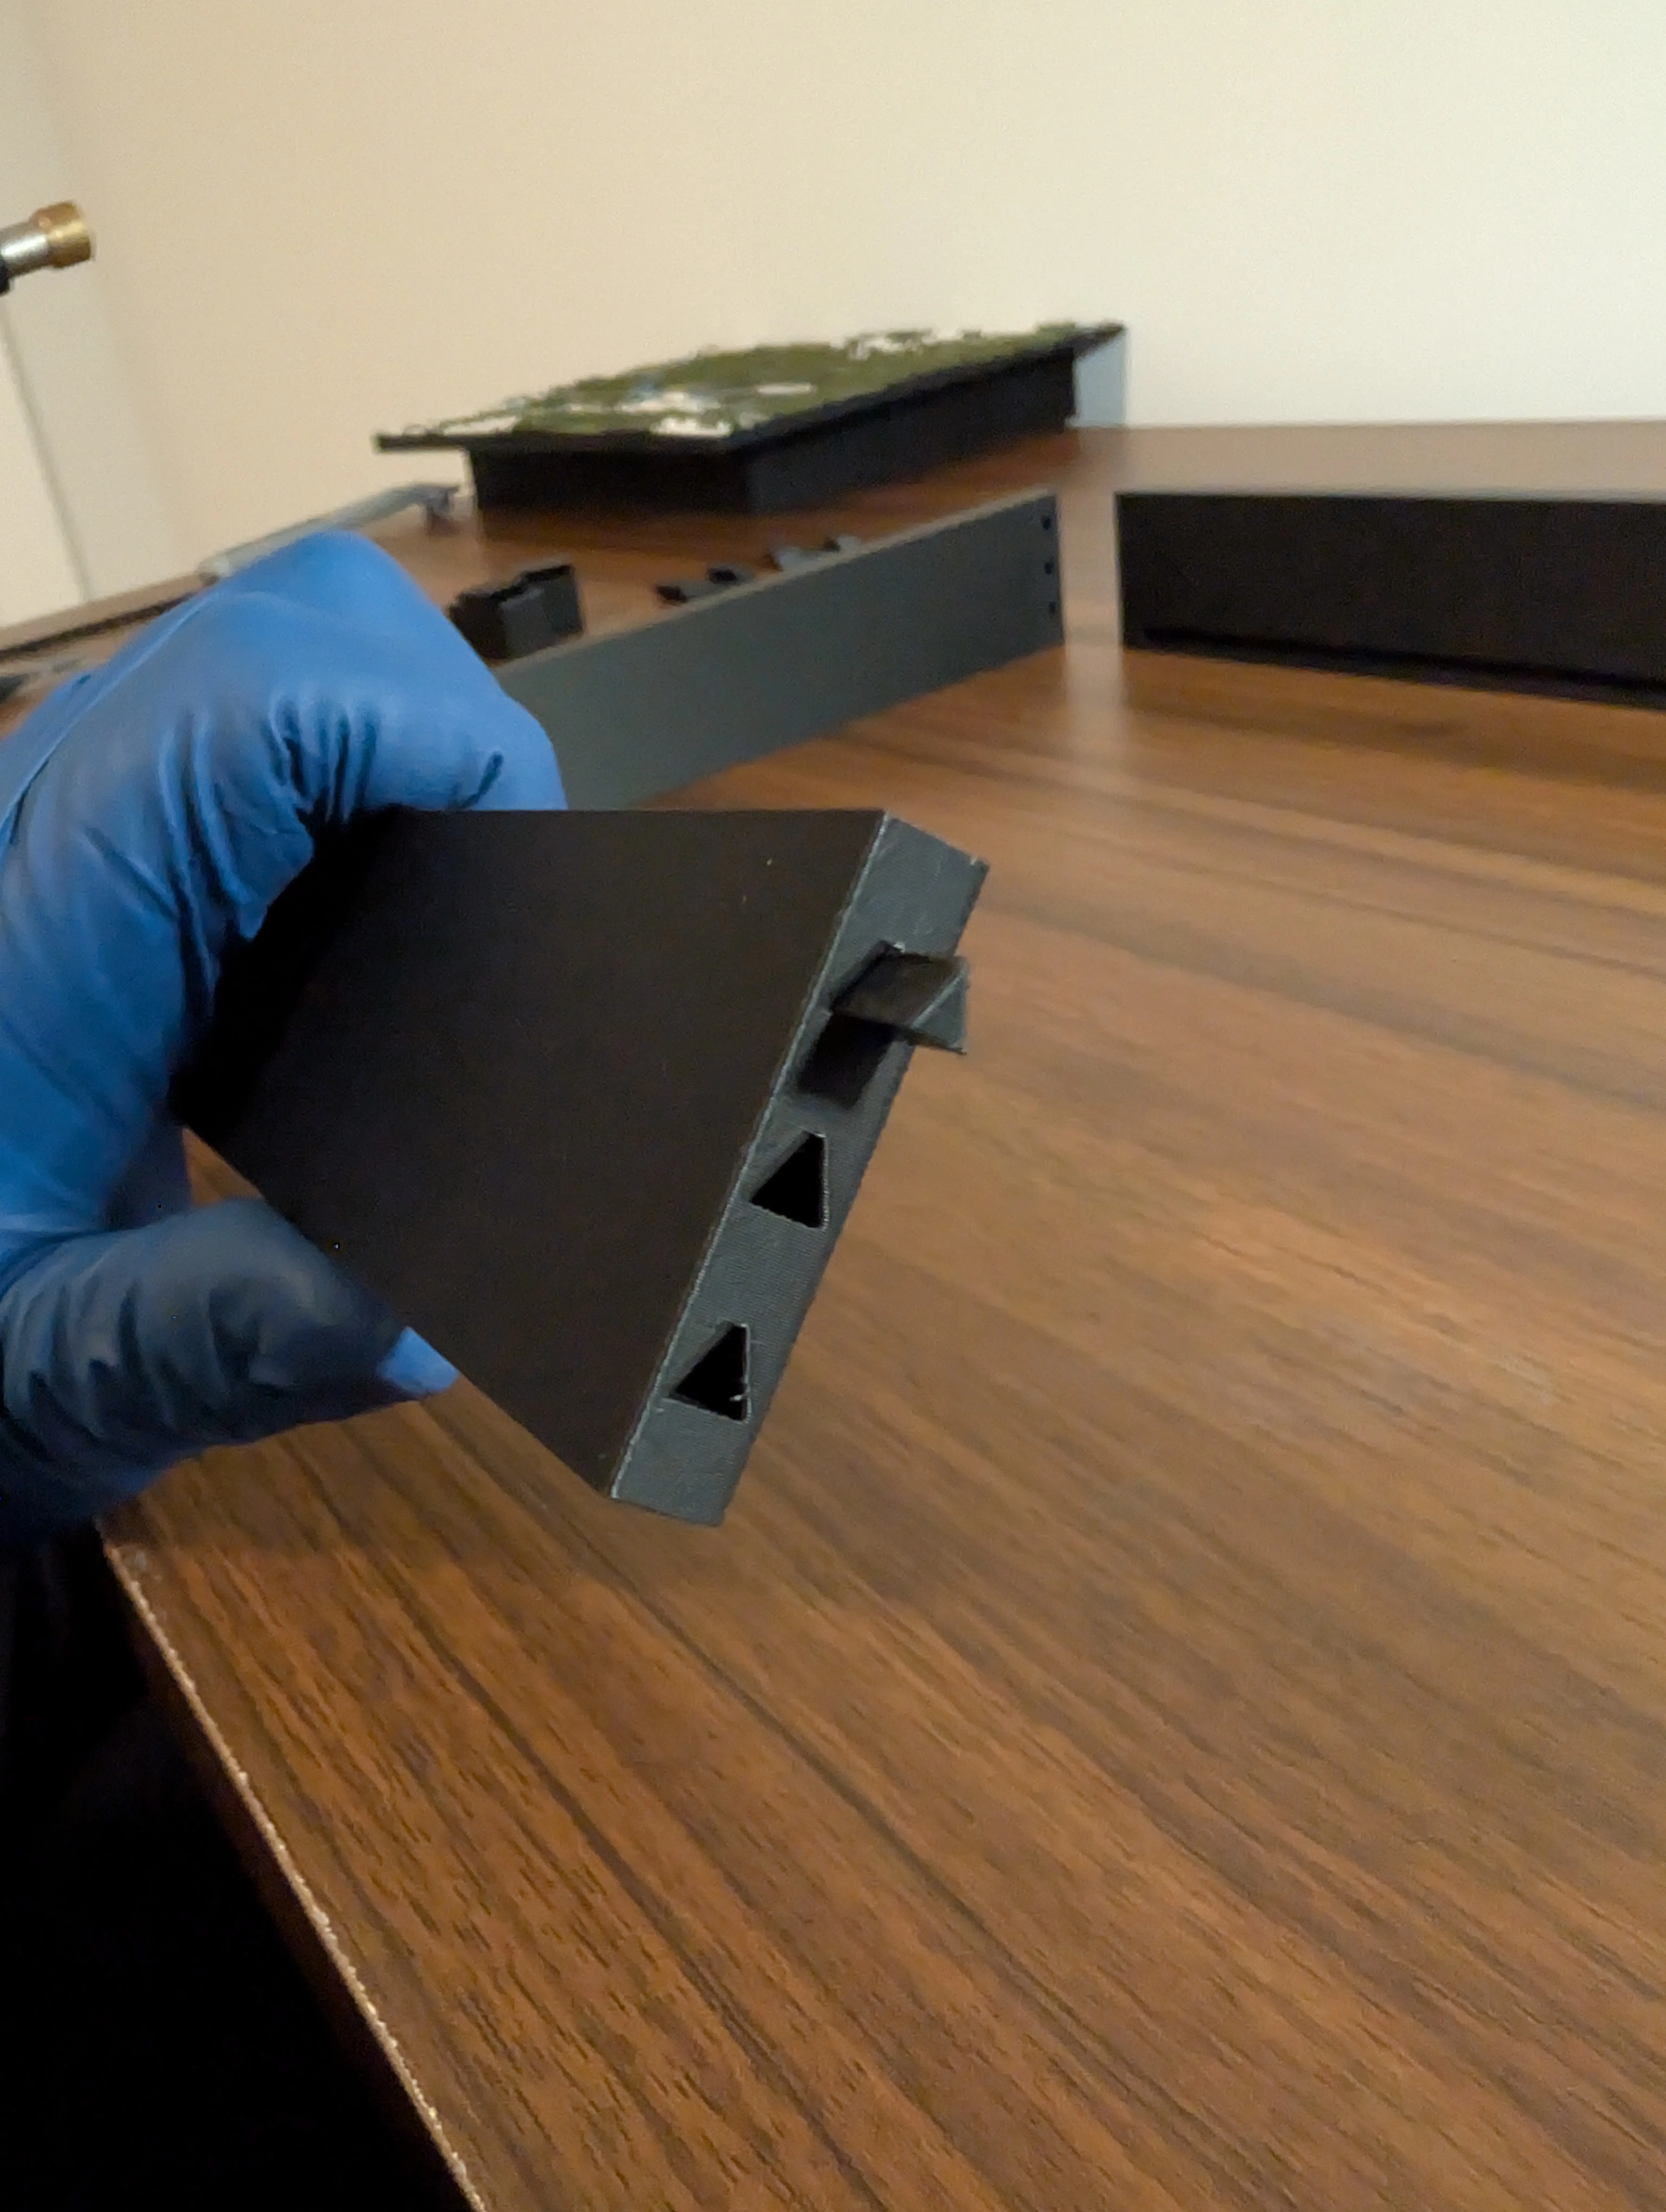
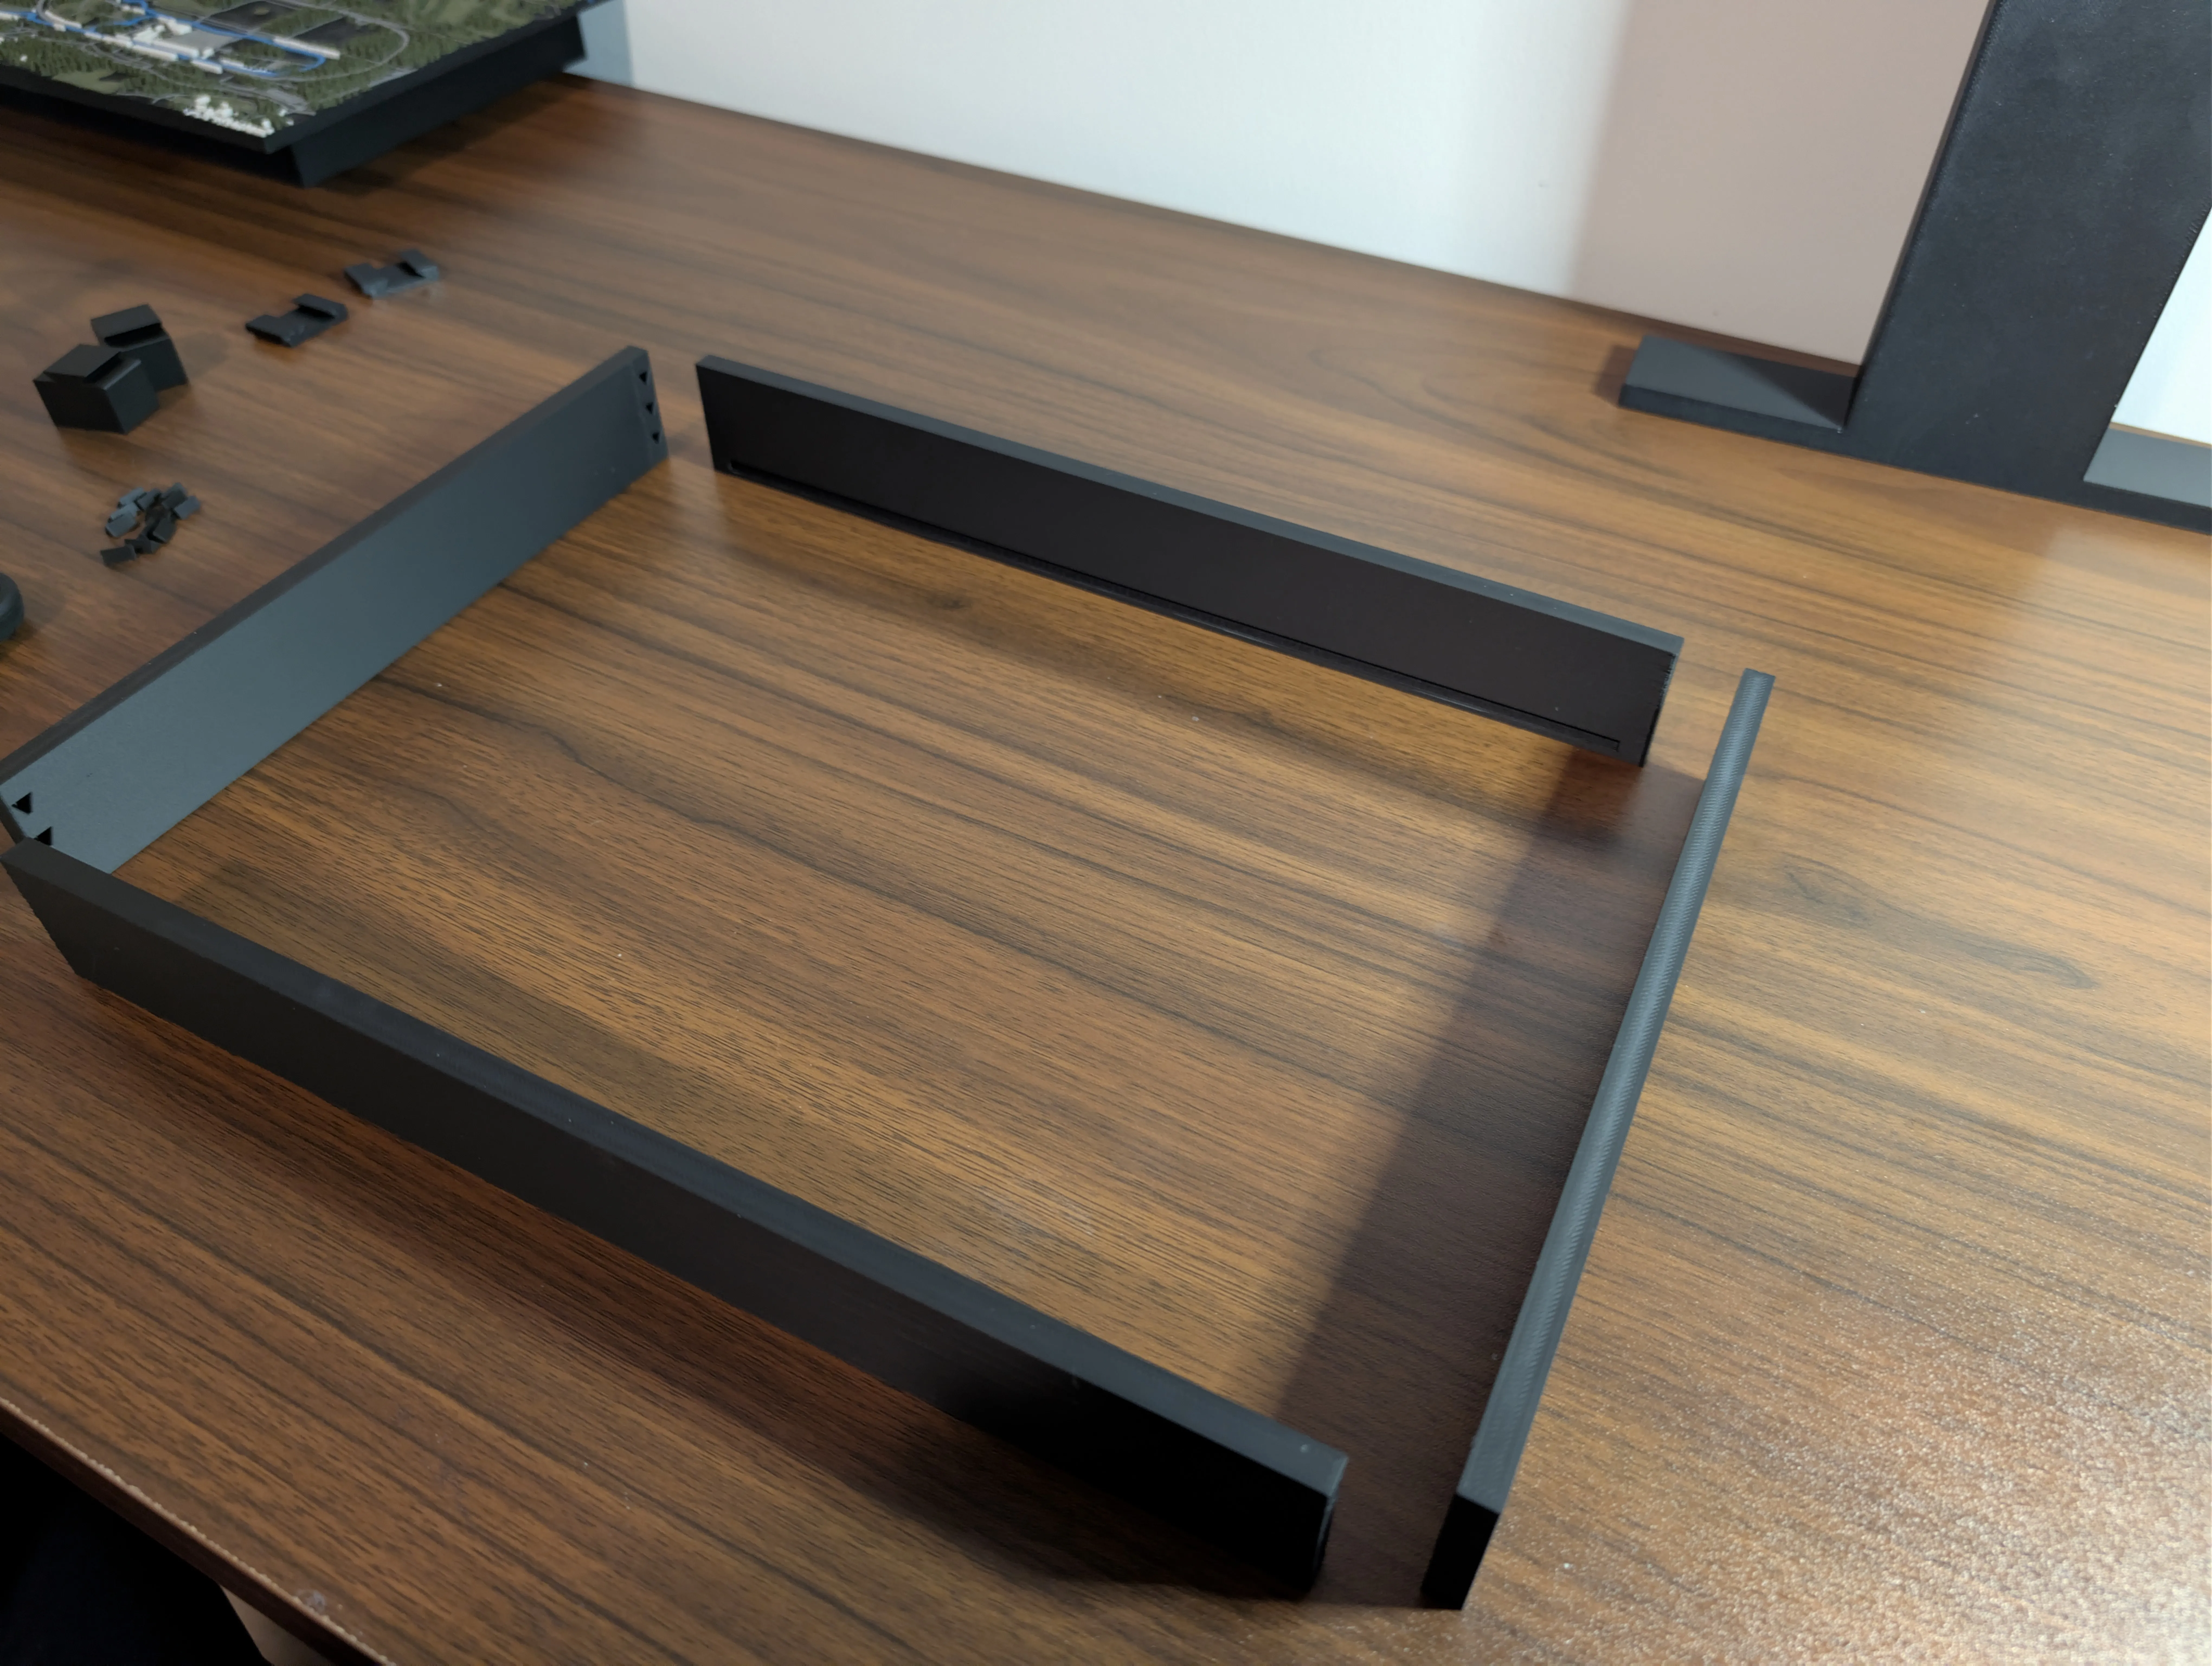
Press the frame pieces together. For tighter seams, confirm the fit first, then add a small amount of glue and clamp the frame until dry.
Wall Mounting
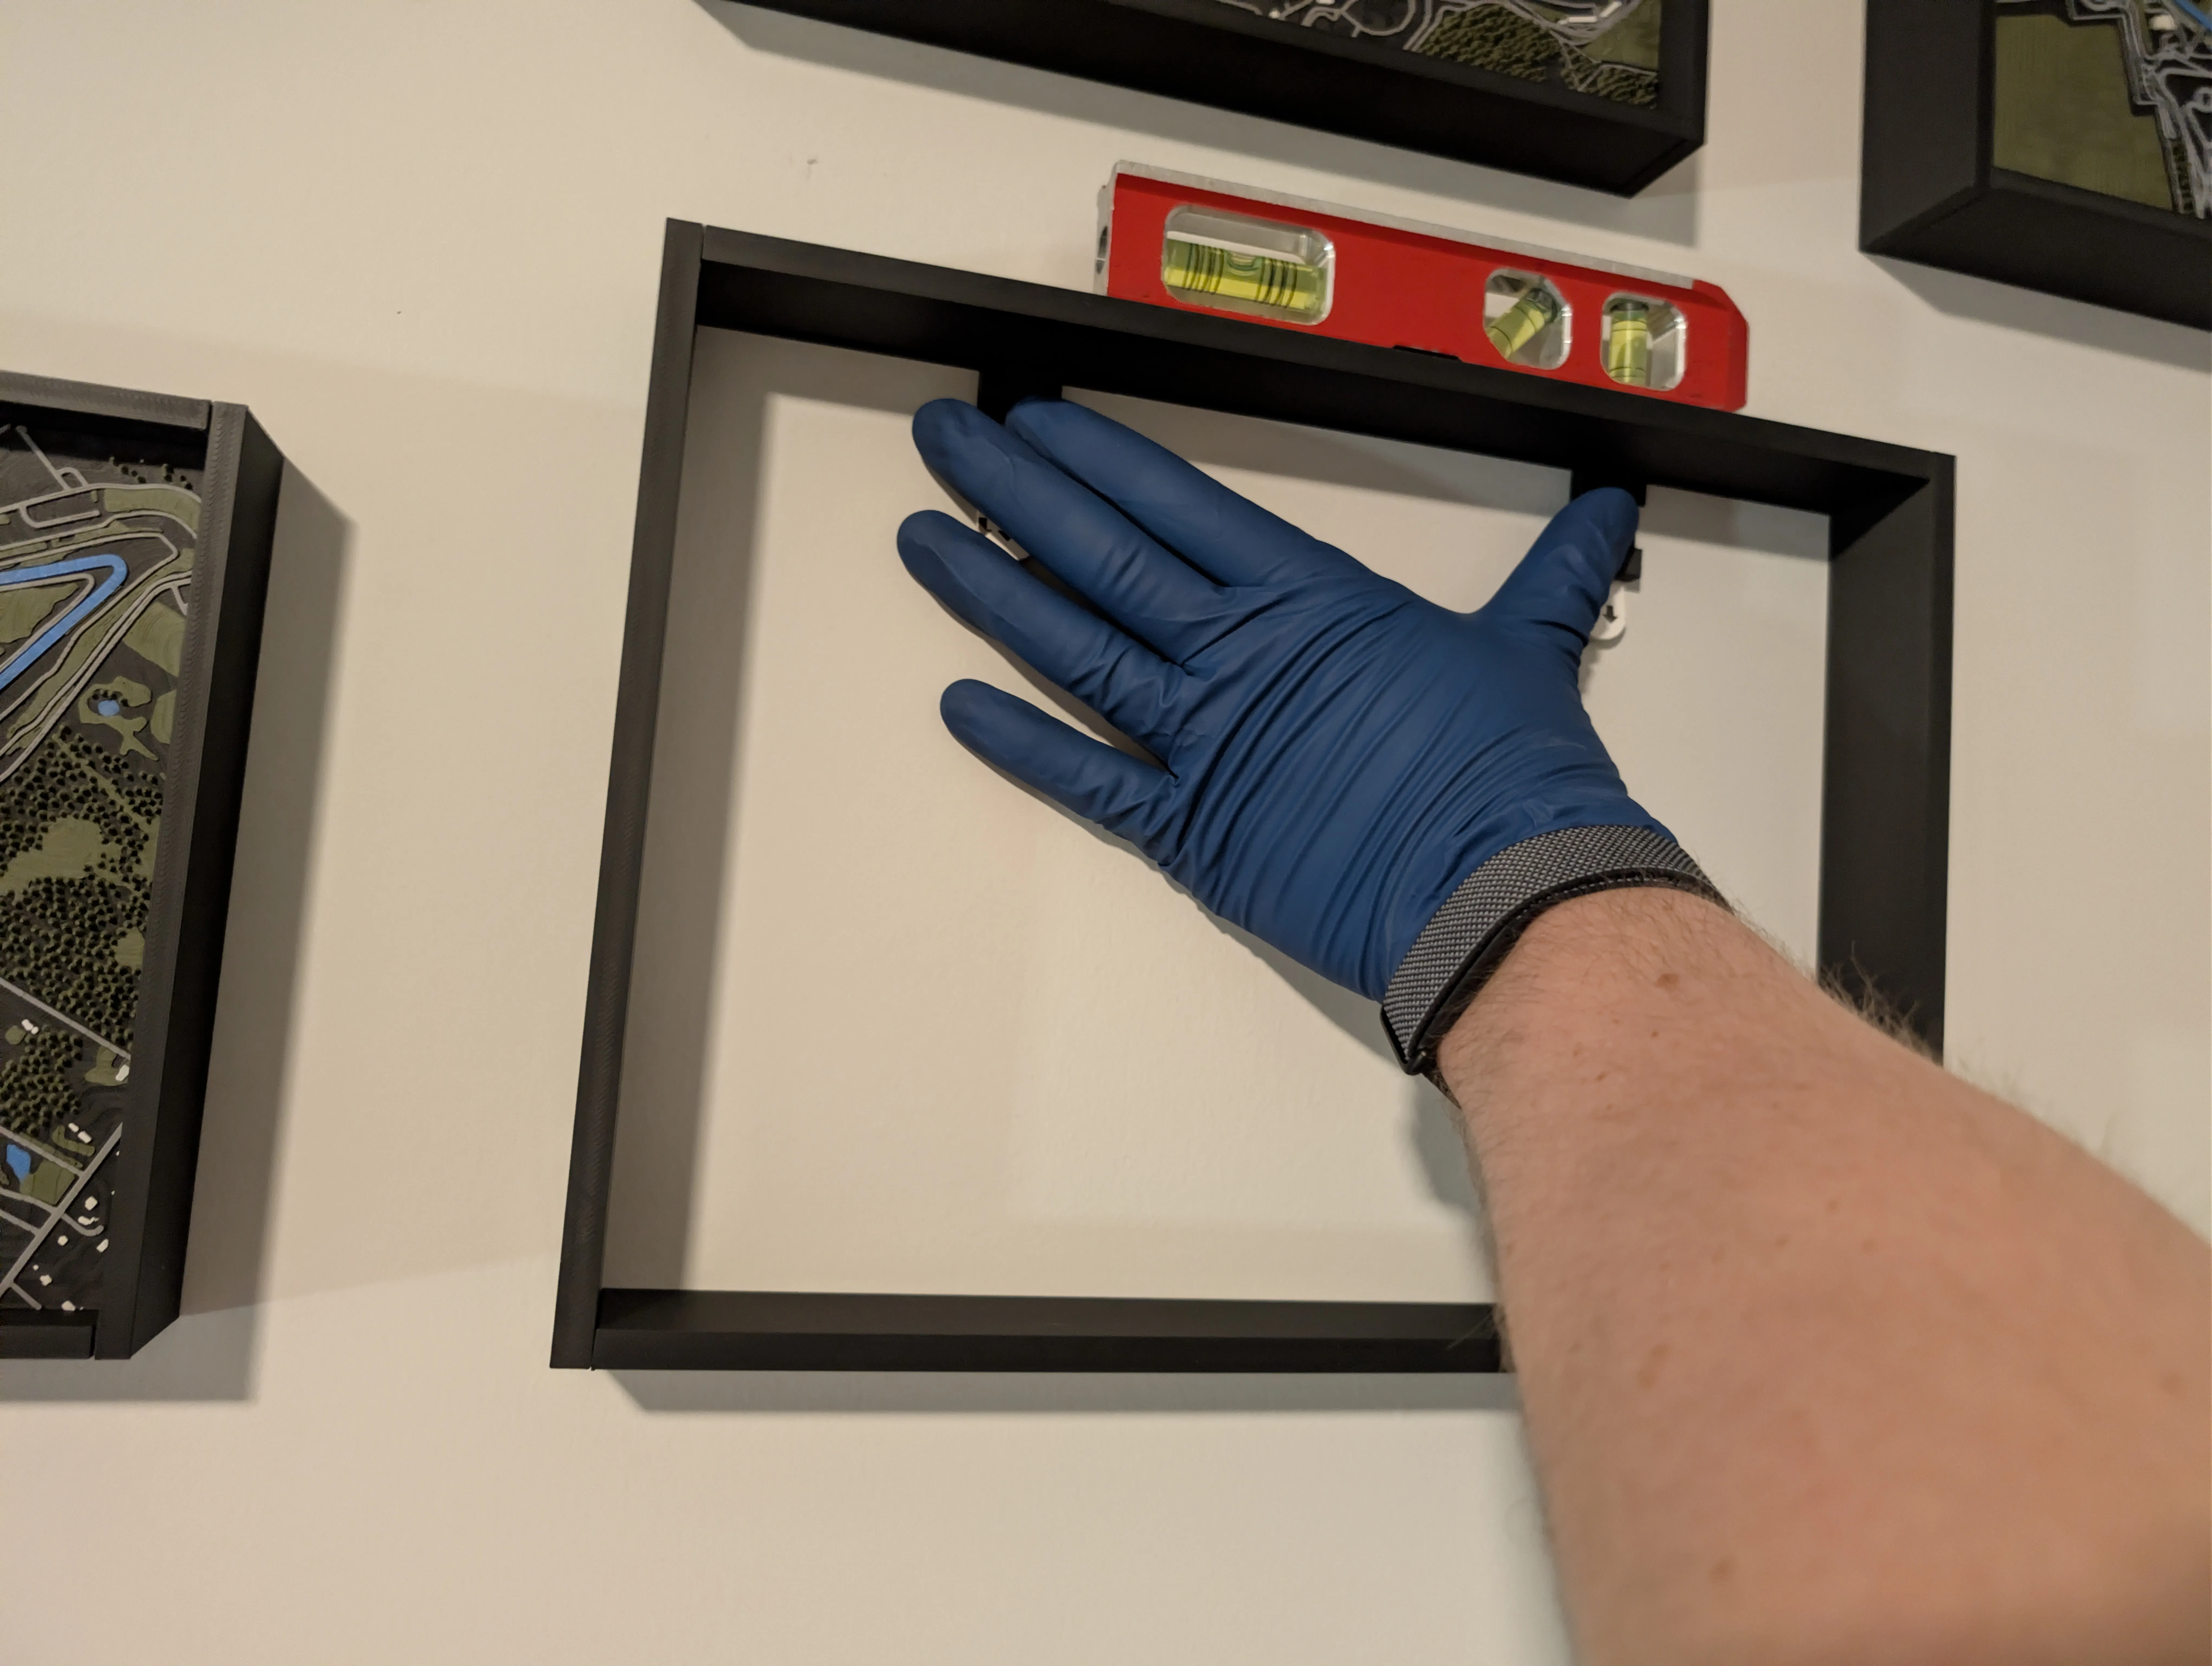
- Apply a Command strip to both mounting tabs.
- Insert both mounting tabs into the slots along the top of the frame.
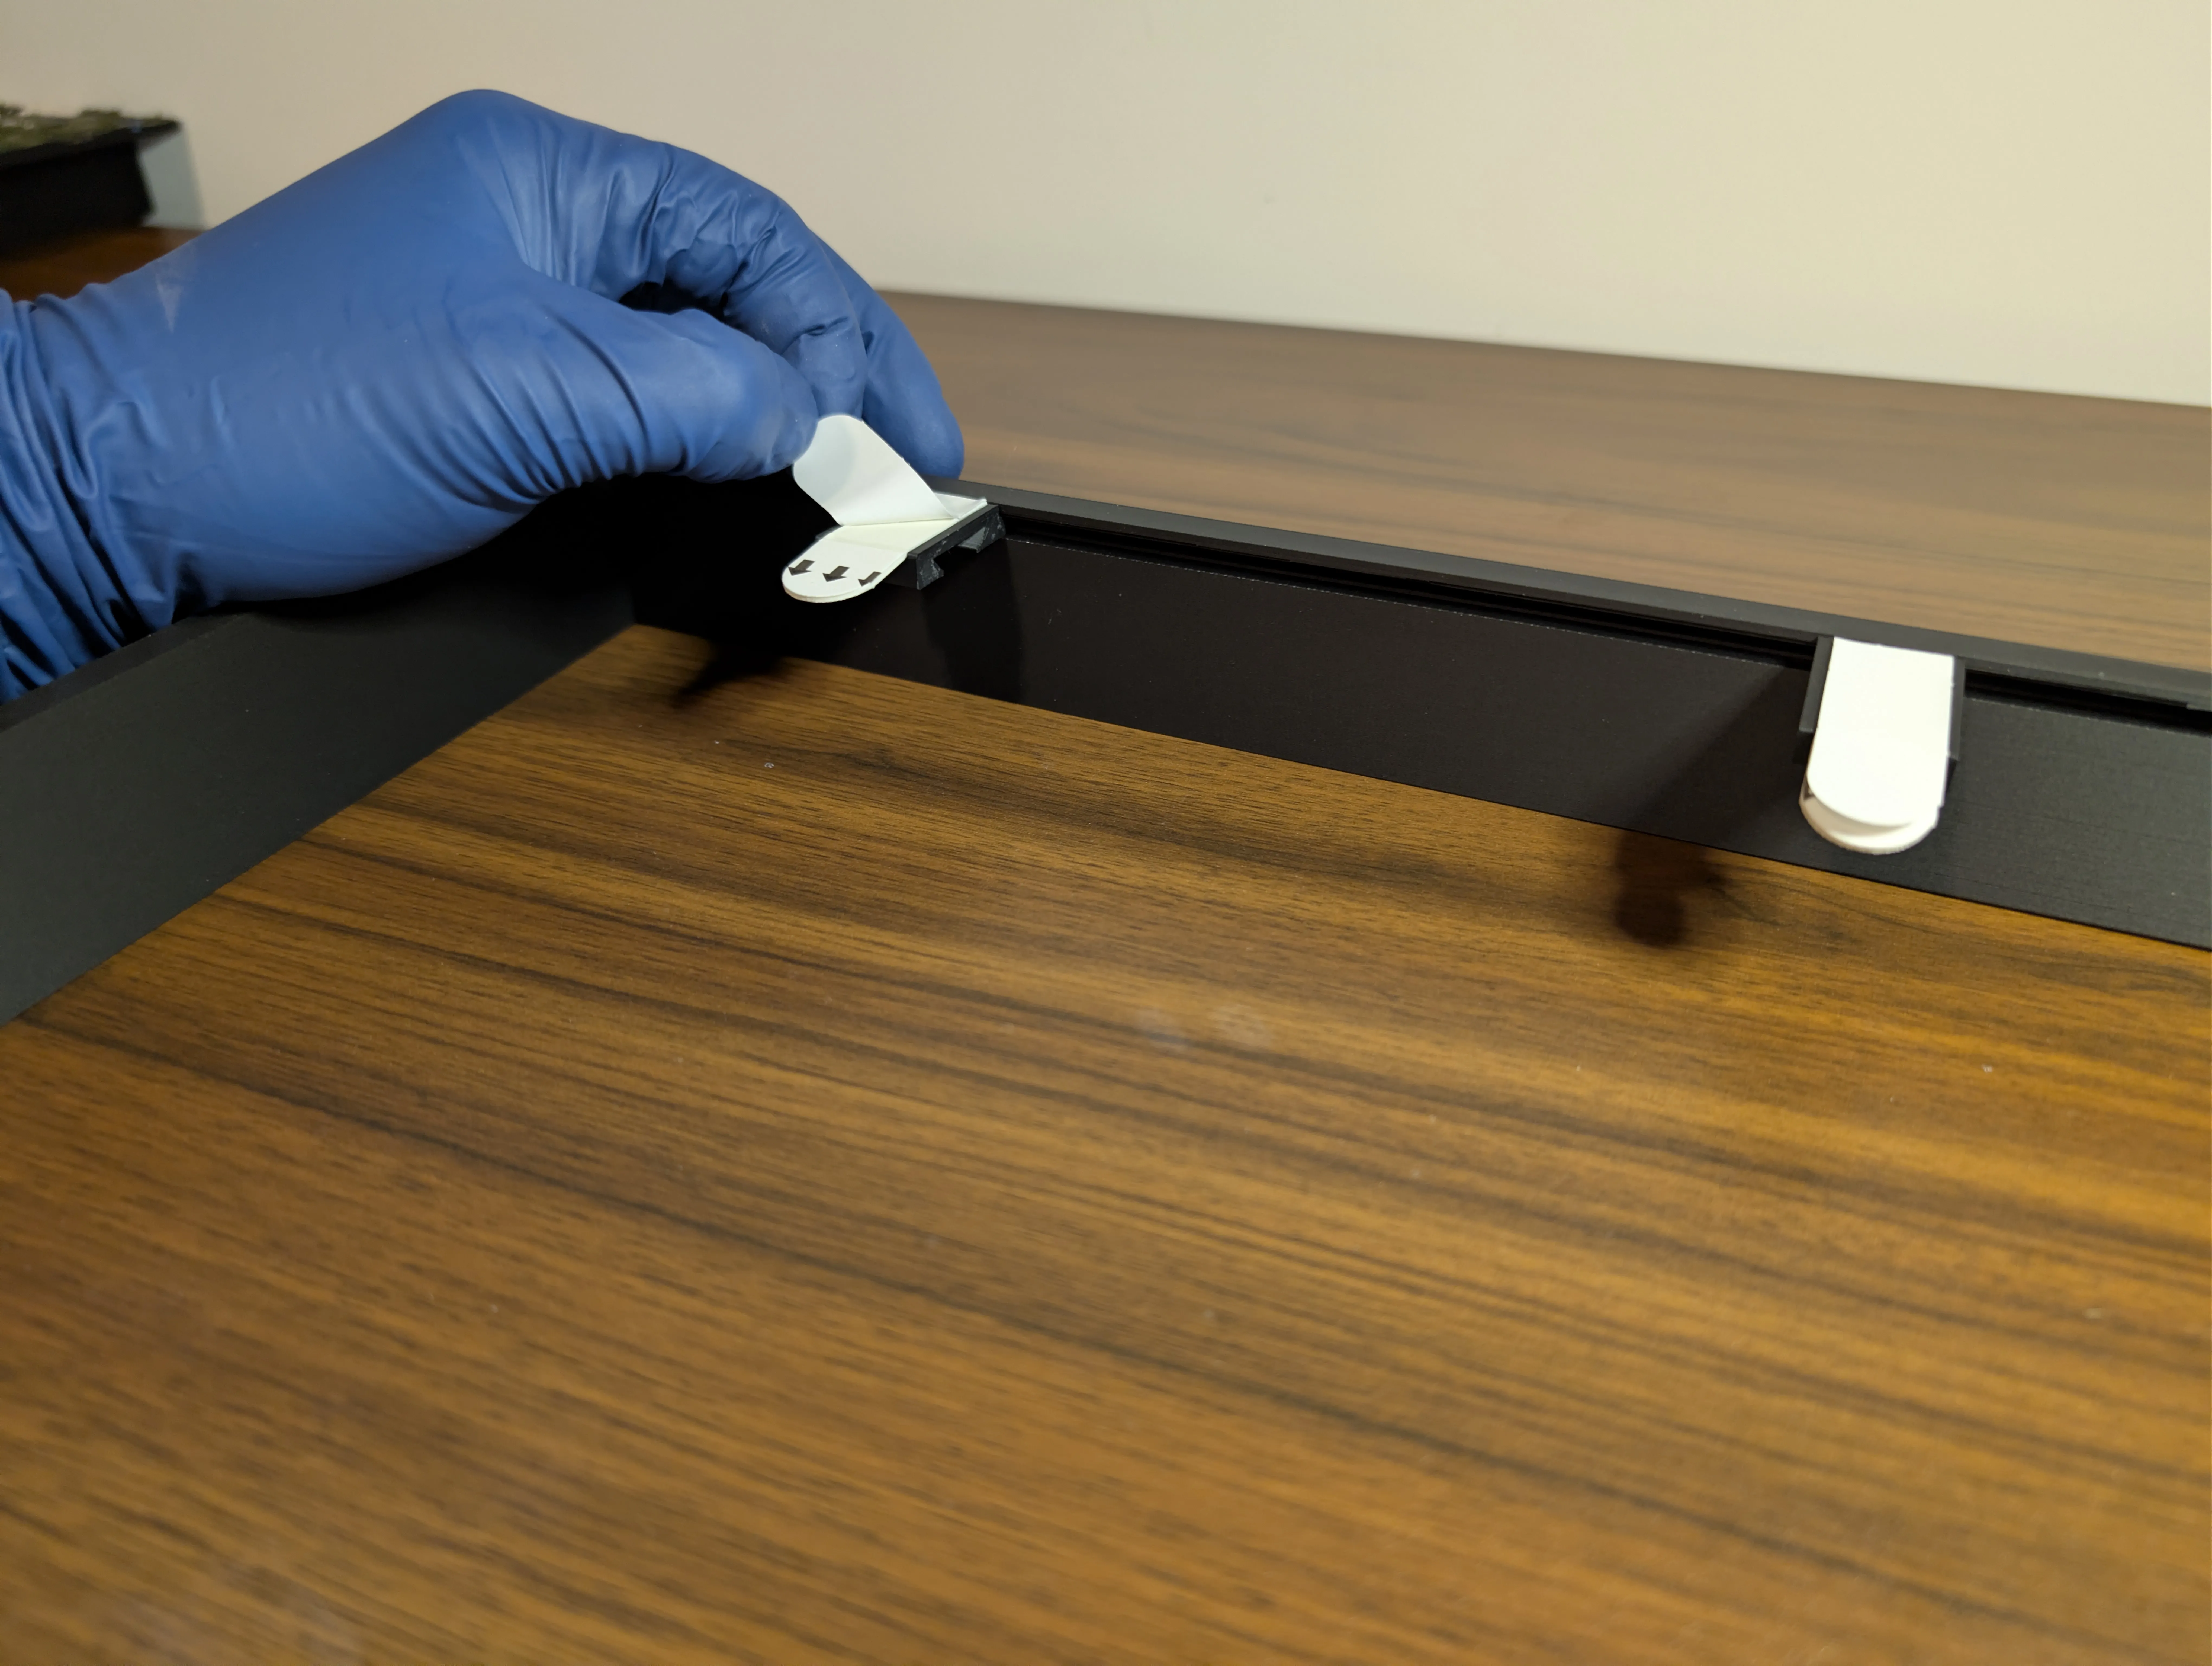
- Remove the wall-side backing from the Command strips.
- Carefully position the frame on the wall. A level and spacing stencil are helpful for keeping it aligned with nearby frames.
- Once positioned, firmly press and hold each mounting tab against the wall. Keep the adhesive away from the wall until the frame is exactly where you want it, as the strips grab quickly.
- Lift the frame up and away, leaving the mounting tabs attached to the wall
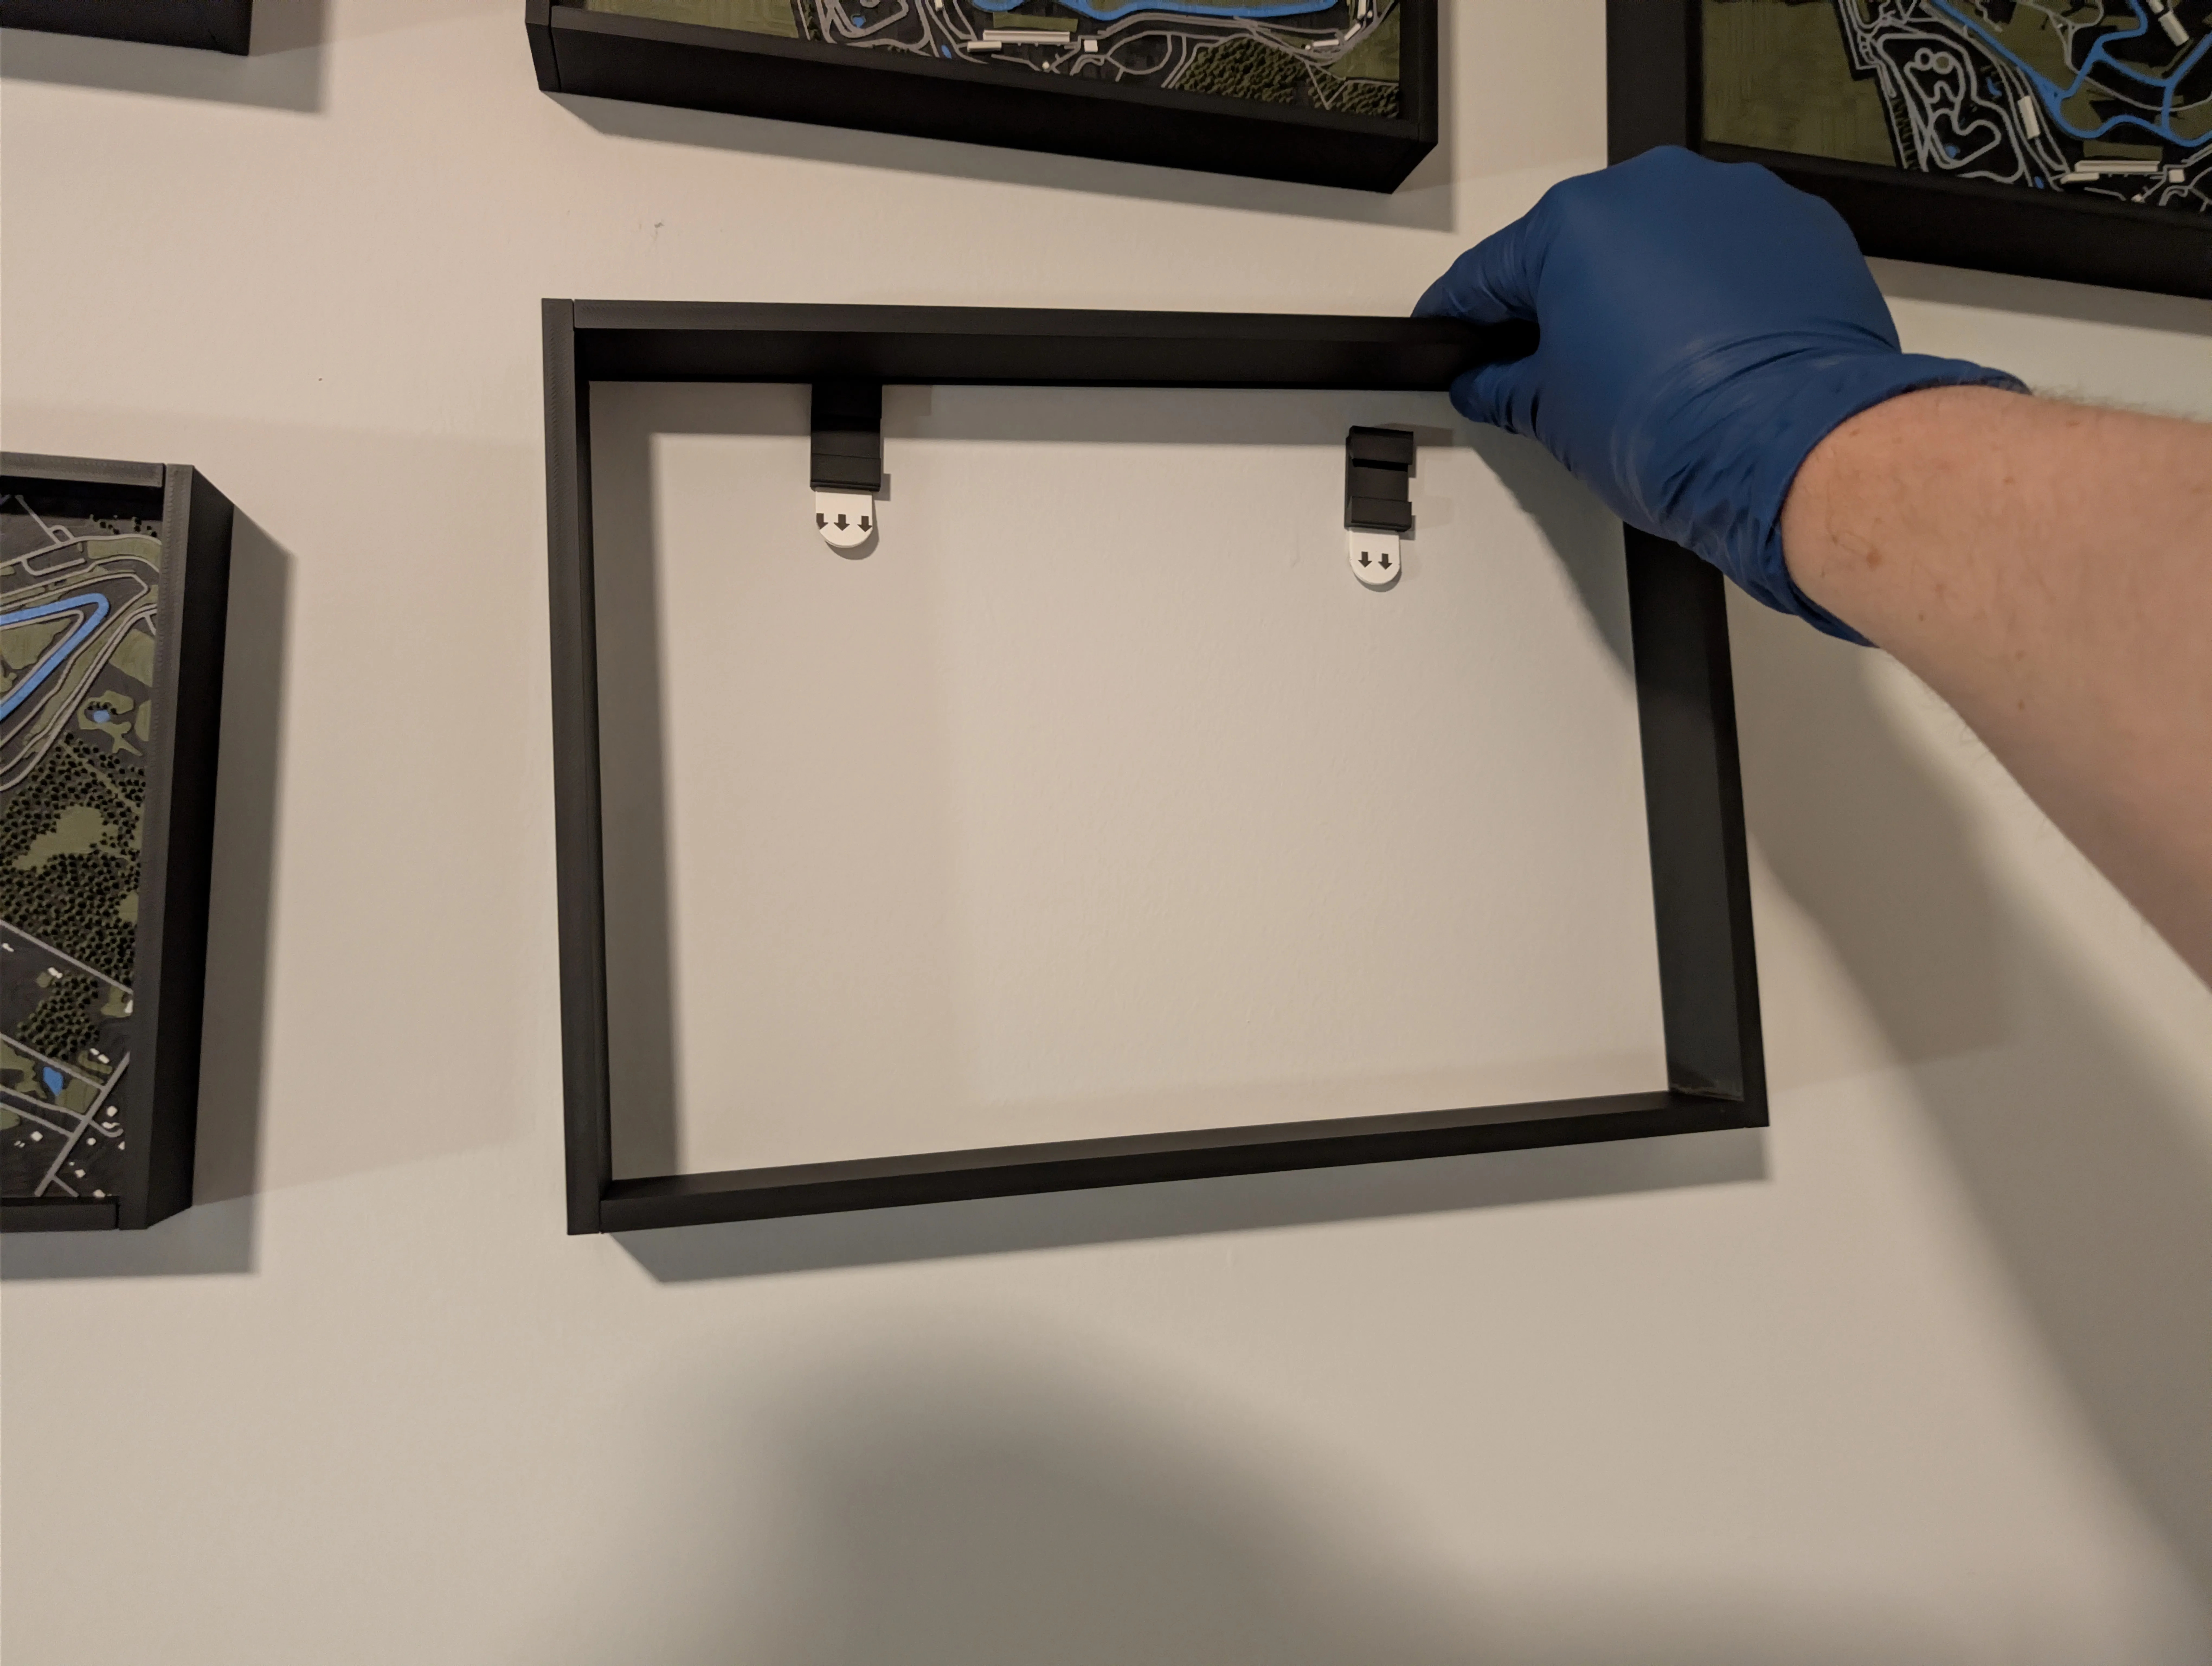
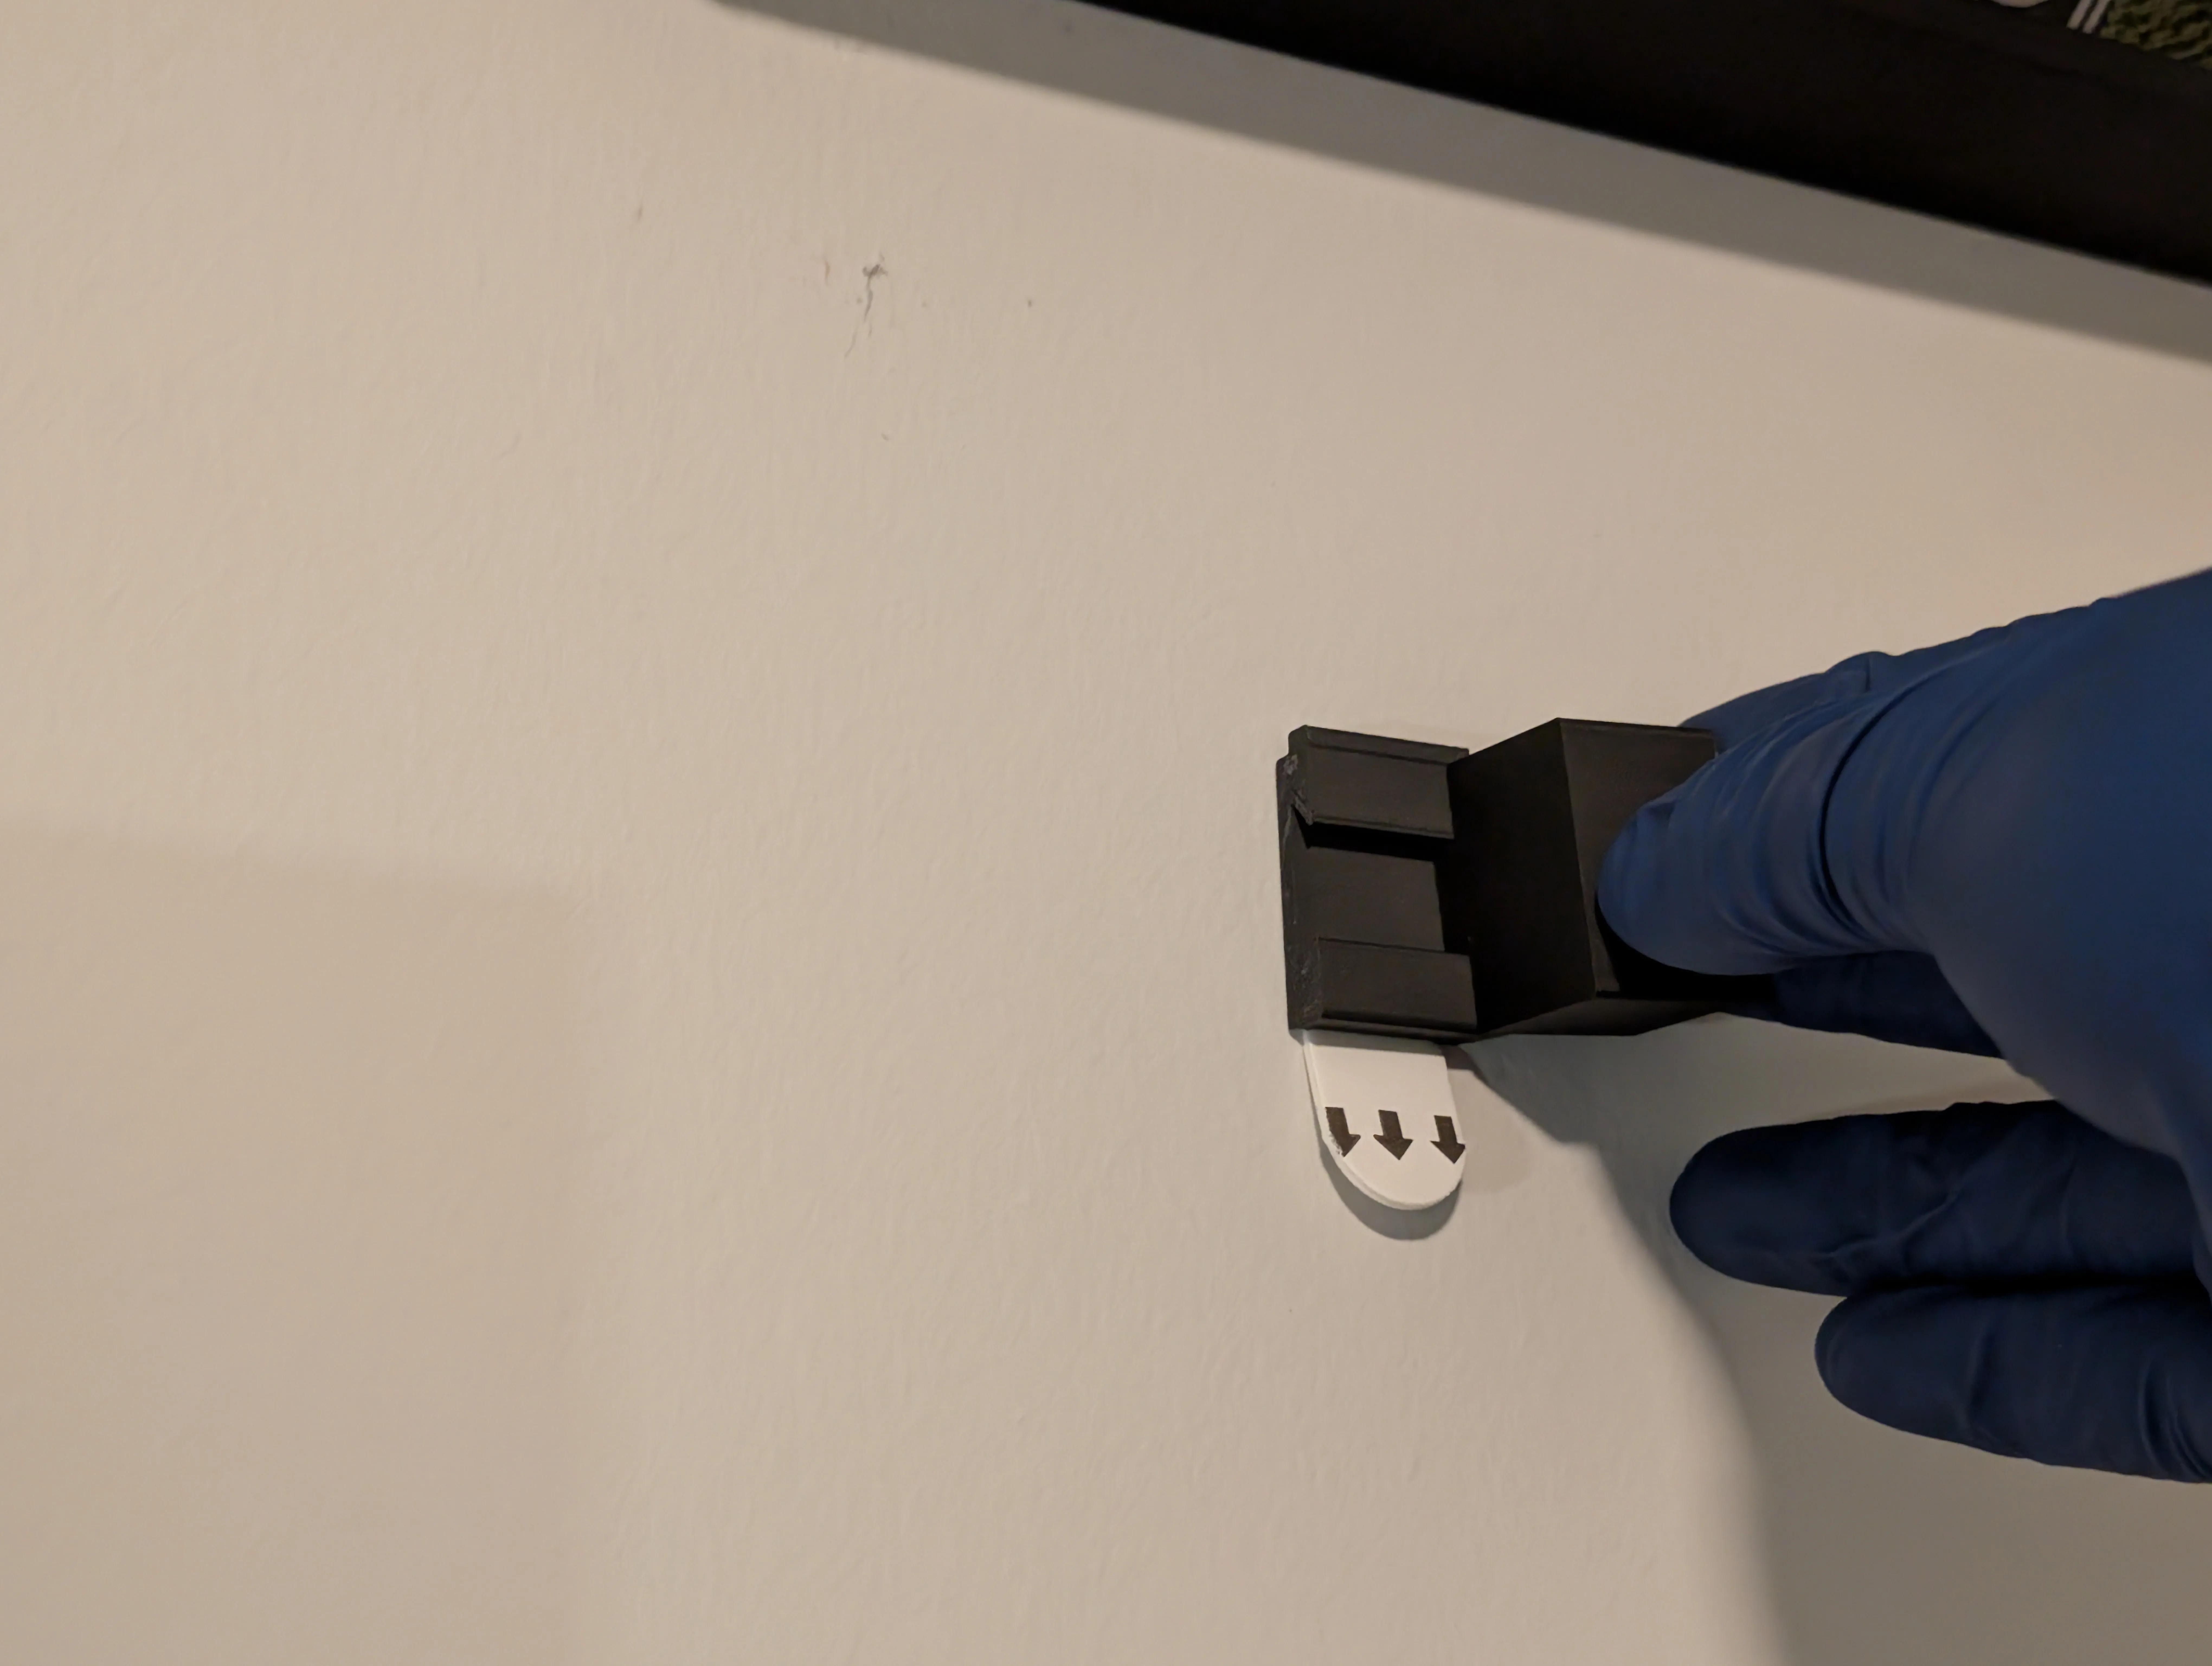
- Slide the correct track-specific dovetail inserts into the wall-mounted tabs, then reinstall the frame.
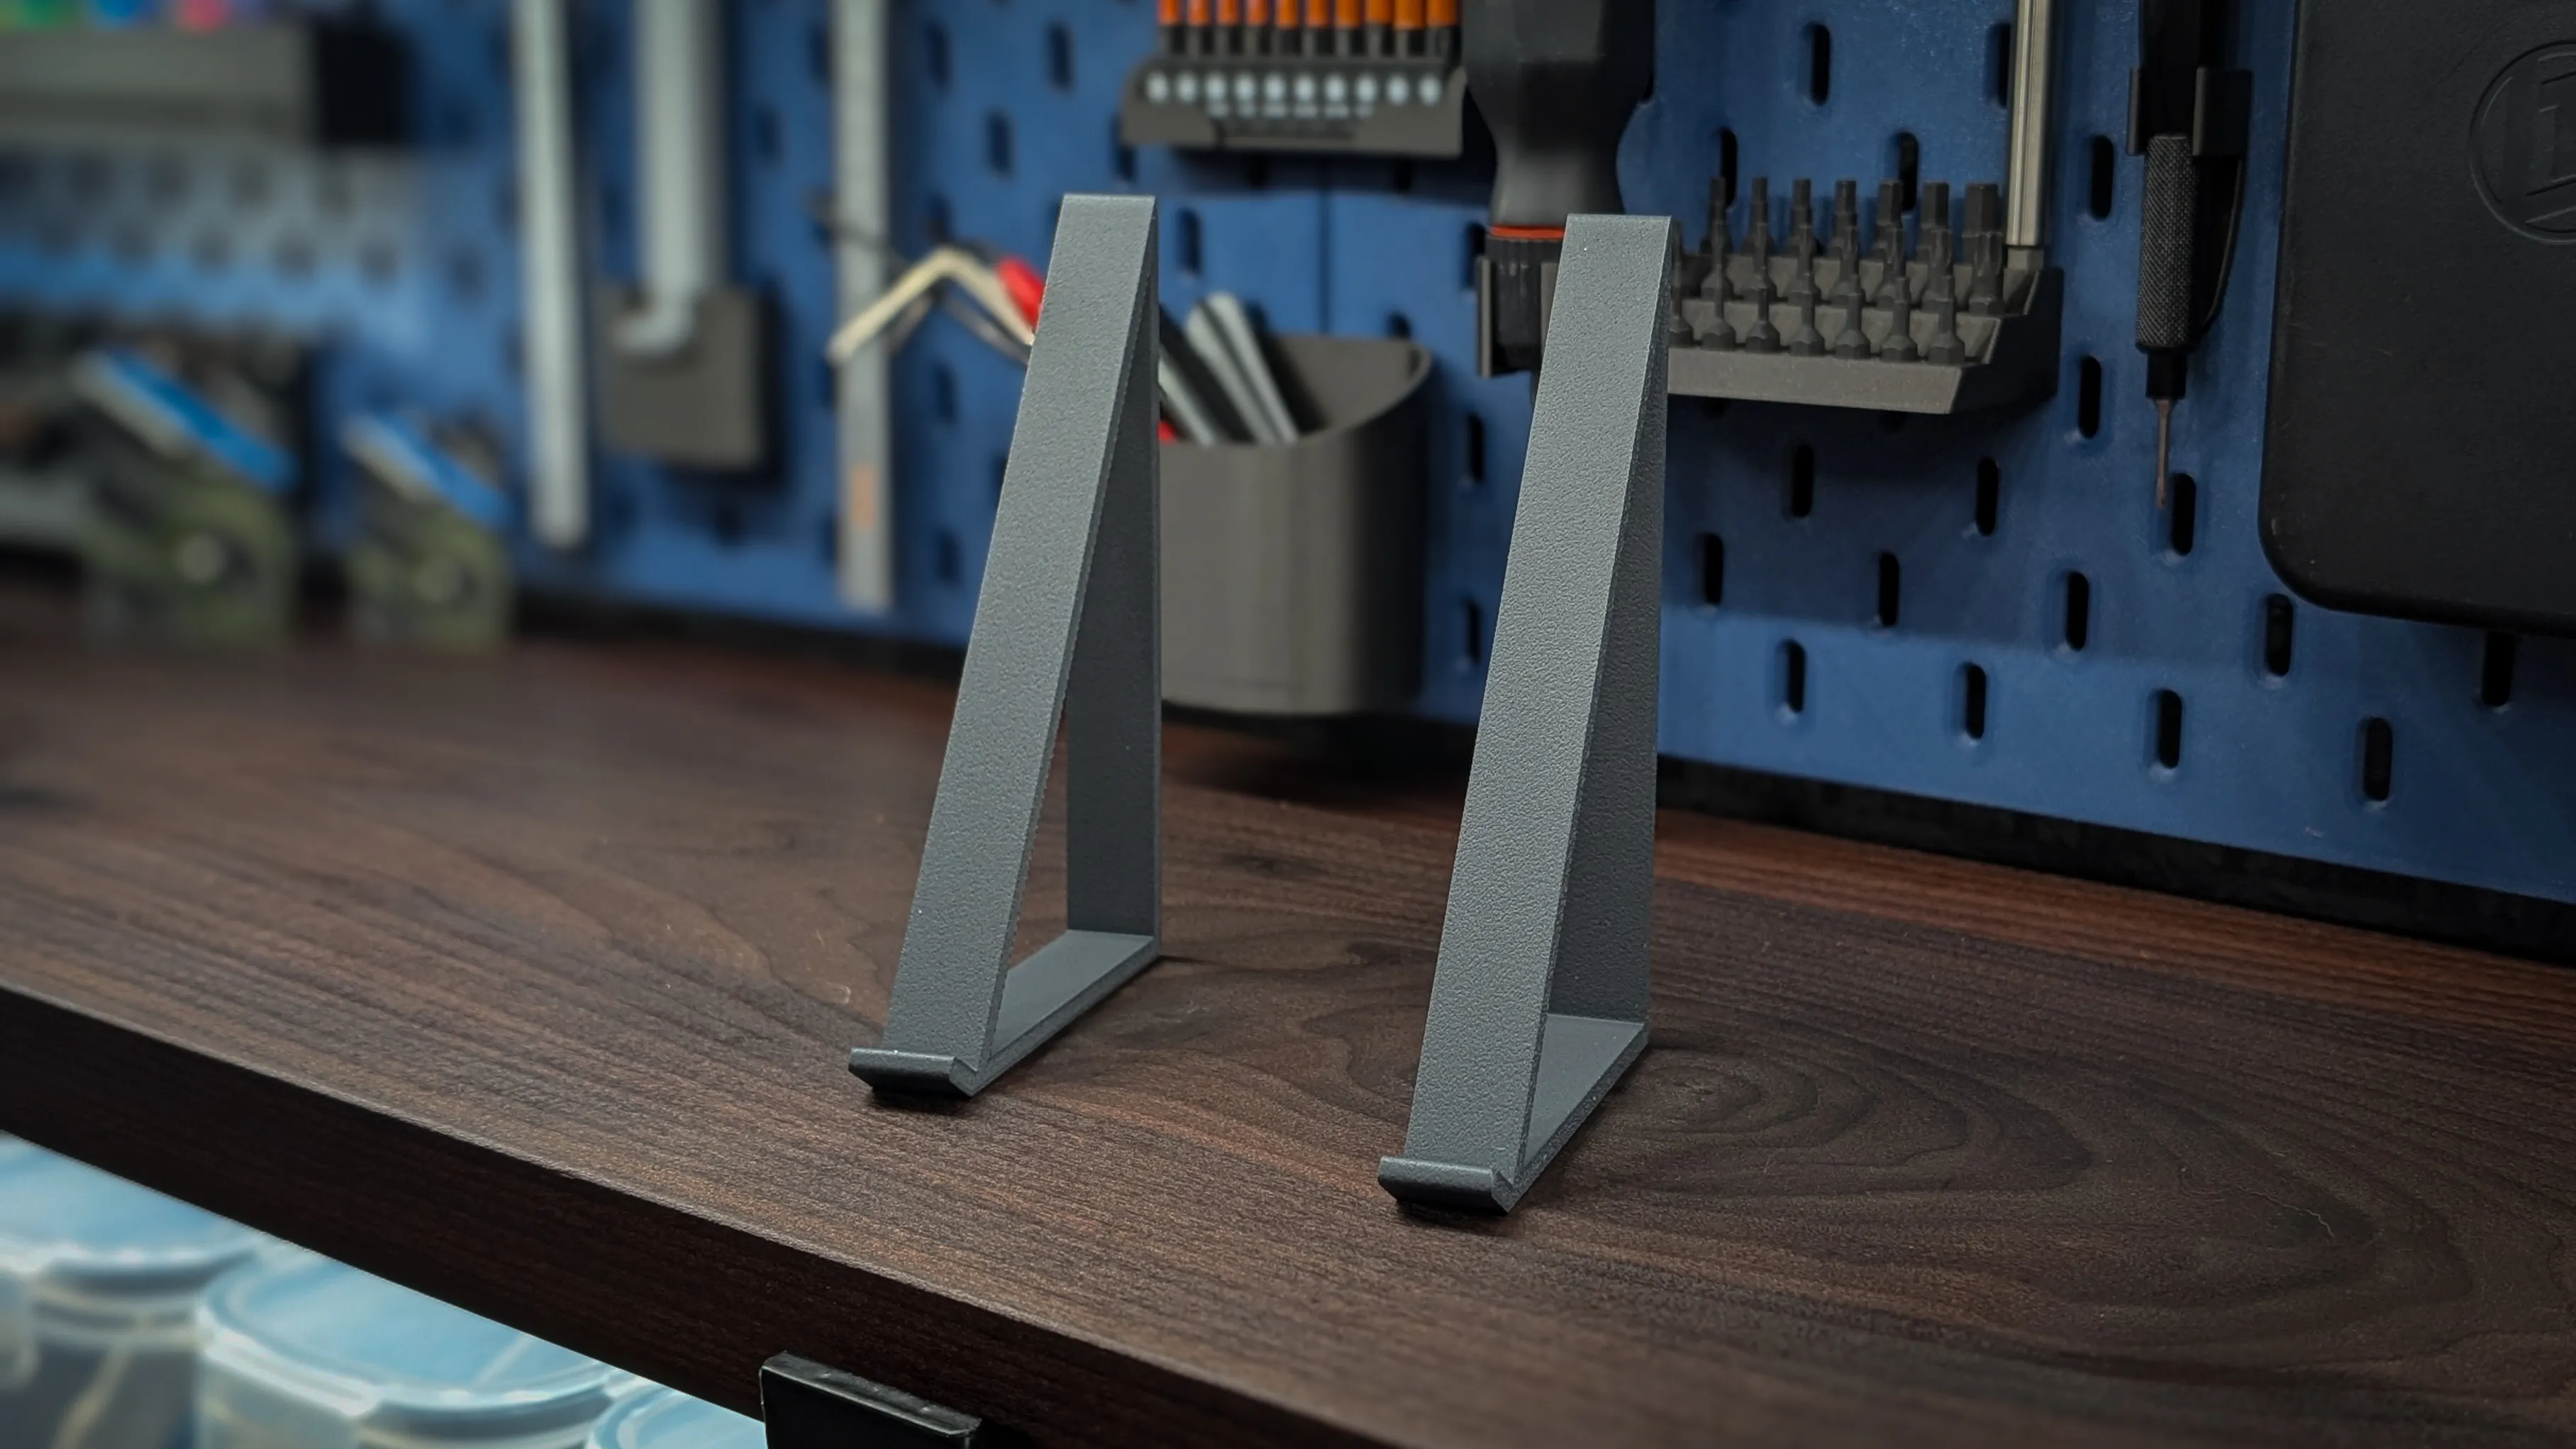
Place both track-specific spacers along the bottom of the frame with the bed-plate side facing toward the wall.
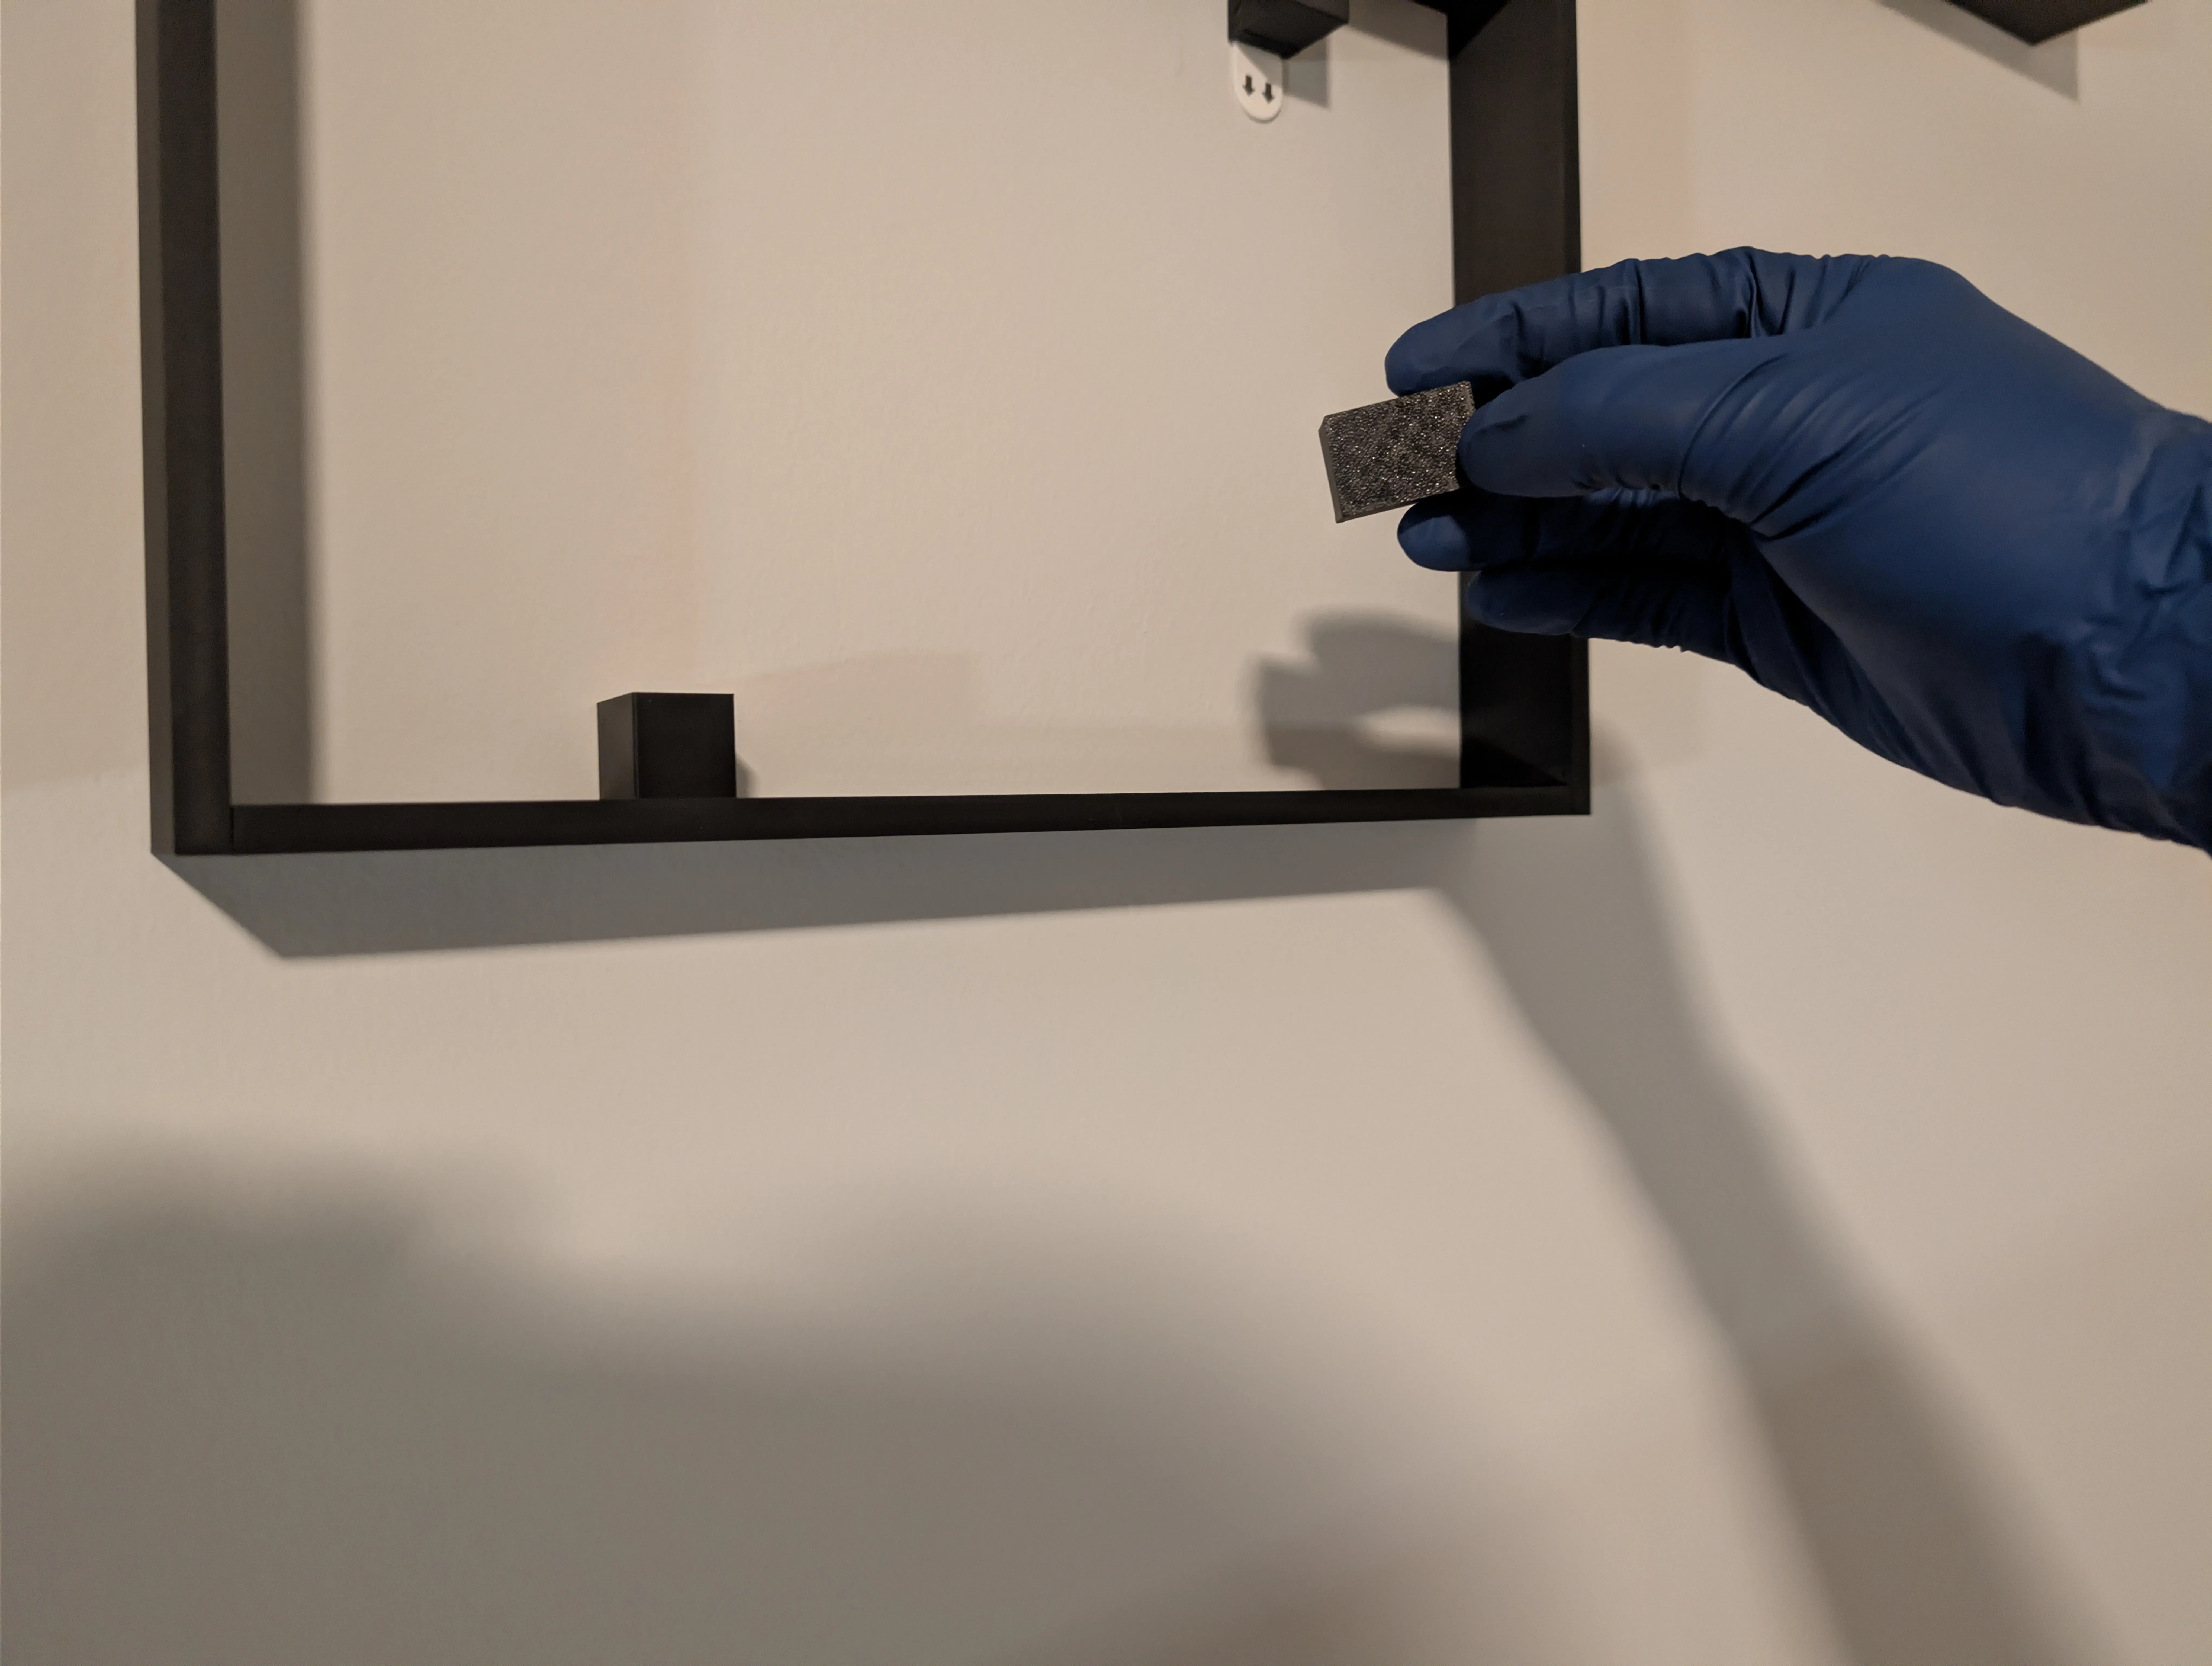
- Carefully insert the track into the frame and push it back until it rests fully against the mounting inserts and spacers.
Avoid pressing on trees or other small details, as they can be extremely fragile.
🔗 Related
💬 Final Thoughts
I’m still new to Blender and 3D modeling, so if you see ways to improve this or want to share your own tweaks, I’d love to hear them.
I have no plans as of now to make an XP sized LED Version. It would be a really odd size given the minimum thickness and depth required to store components. Having said that, if it's highly requested I'll try to re-work it.
📦 Coming Soon
- Nurburgring ?!?
Documentation (1)
License

You may create derivative works based on this object, provided that all such derivative works are published exclusively on the MakerWorld platform and include proper attribution to the original creator. You may not share, upload, host, distribute, or publish this object—or any derivative work of this object—on any other digital platform, marketplace, or distribution channel. Commercial use of this object and any derivative works is strictly prohibited. This includes, but is not limited to, selling, renting, sublicensing, or using the object in any context in which you receive monetary compensation or other financial benefits.


Comment & Rating (14)