
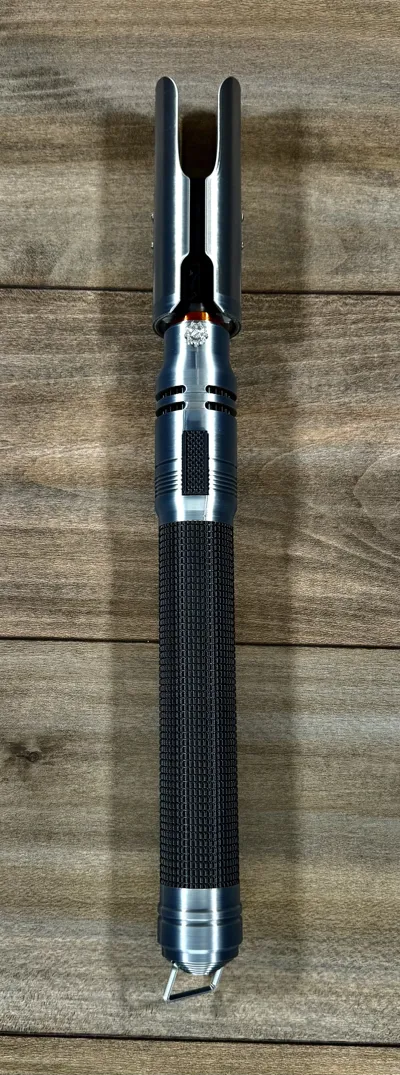
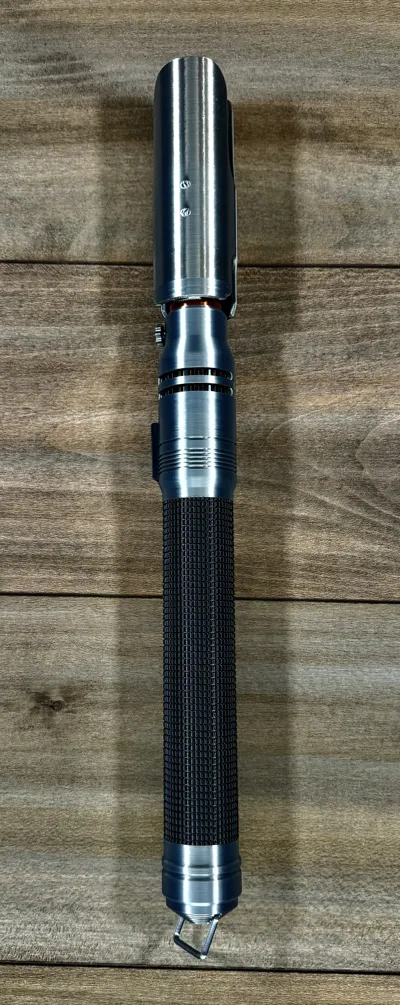
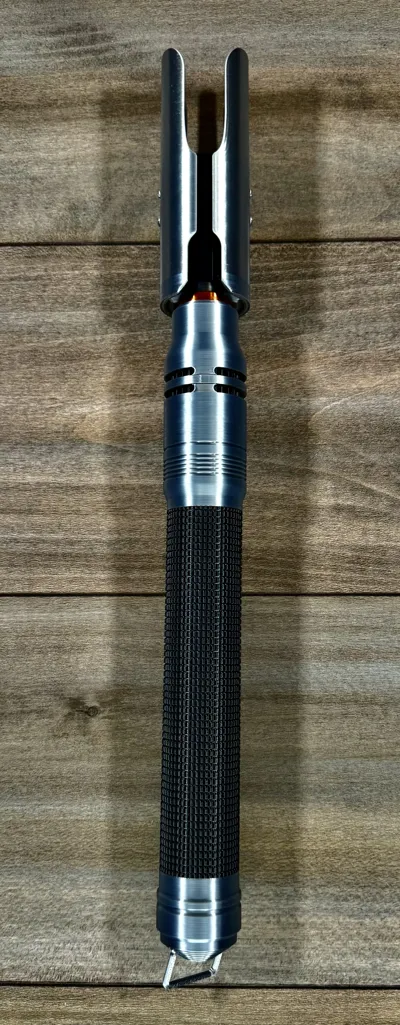
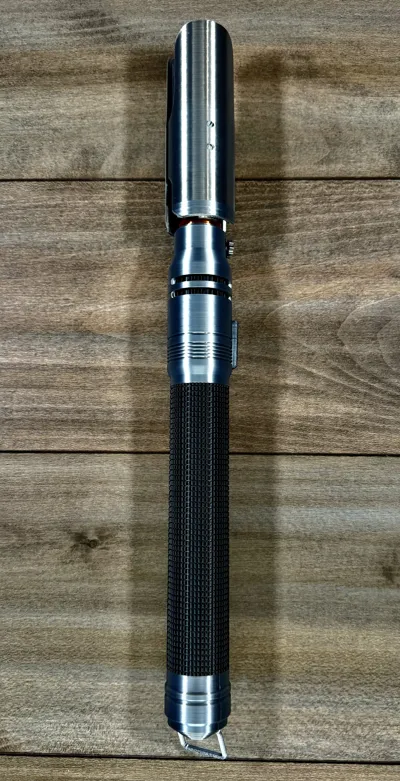
Cal Kestis' Lightsaber
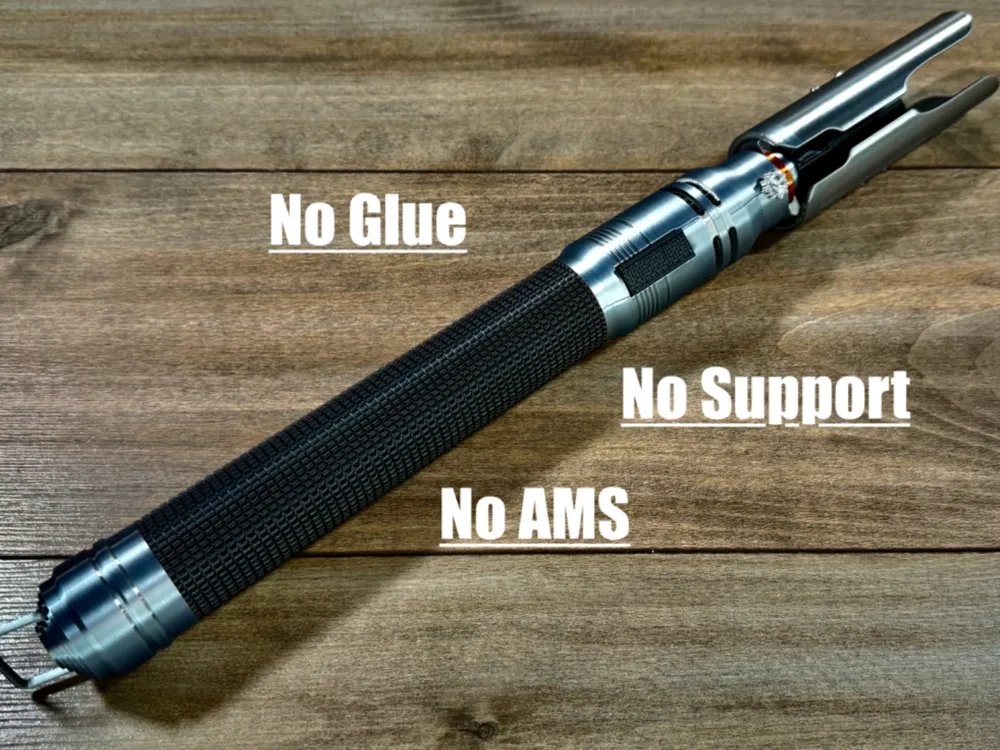
Print Profile(6)







Description
Boost Me (for free)
If you like my models, please consider dropping me a boost, comment and rate the profile! Any of these things keeps me motivated to Keep going! Thank you!
You survived the Jedi purge.
You carry your masters damaged lightsaber, you survived.
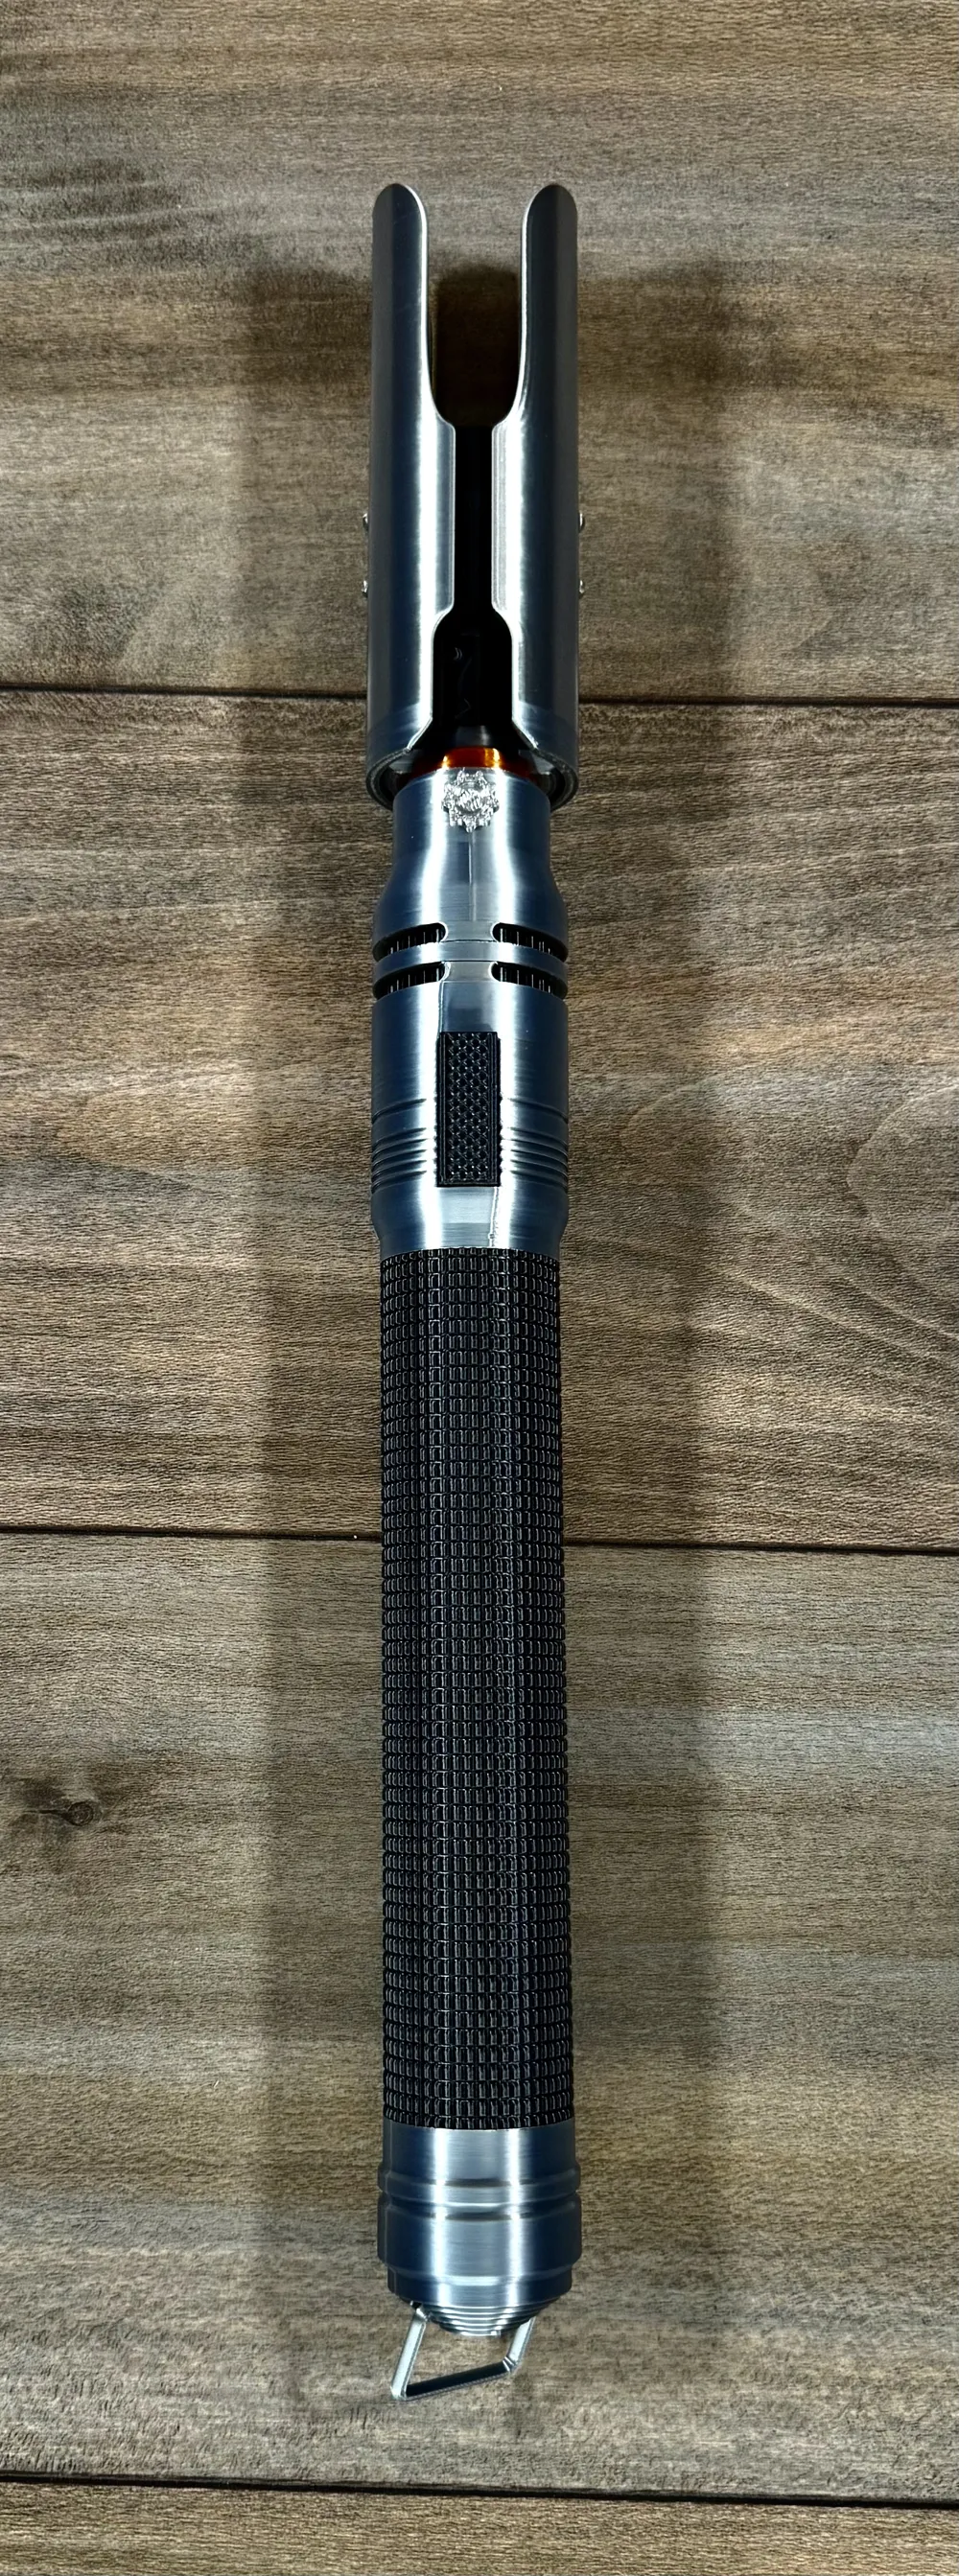
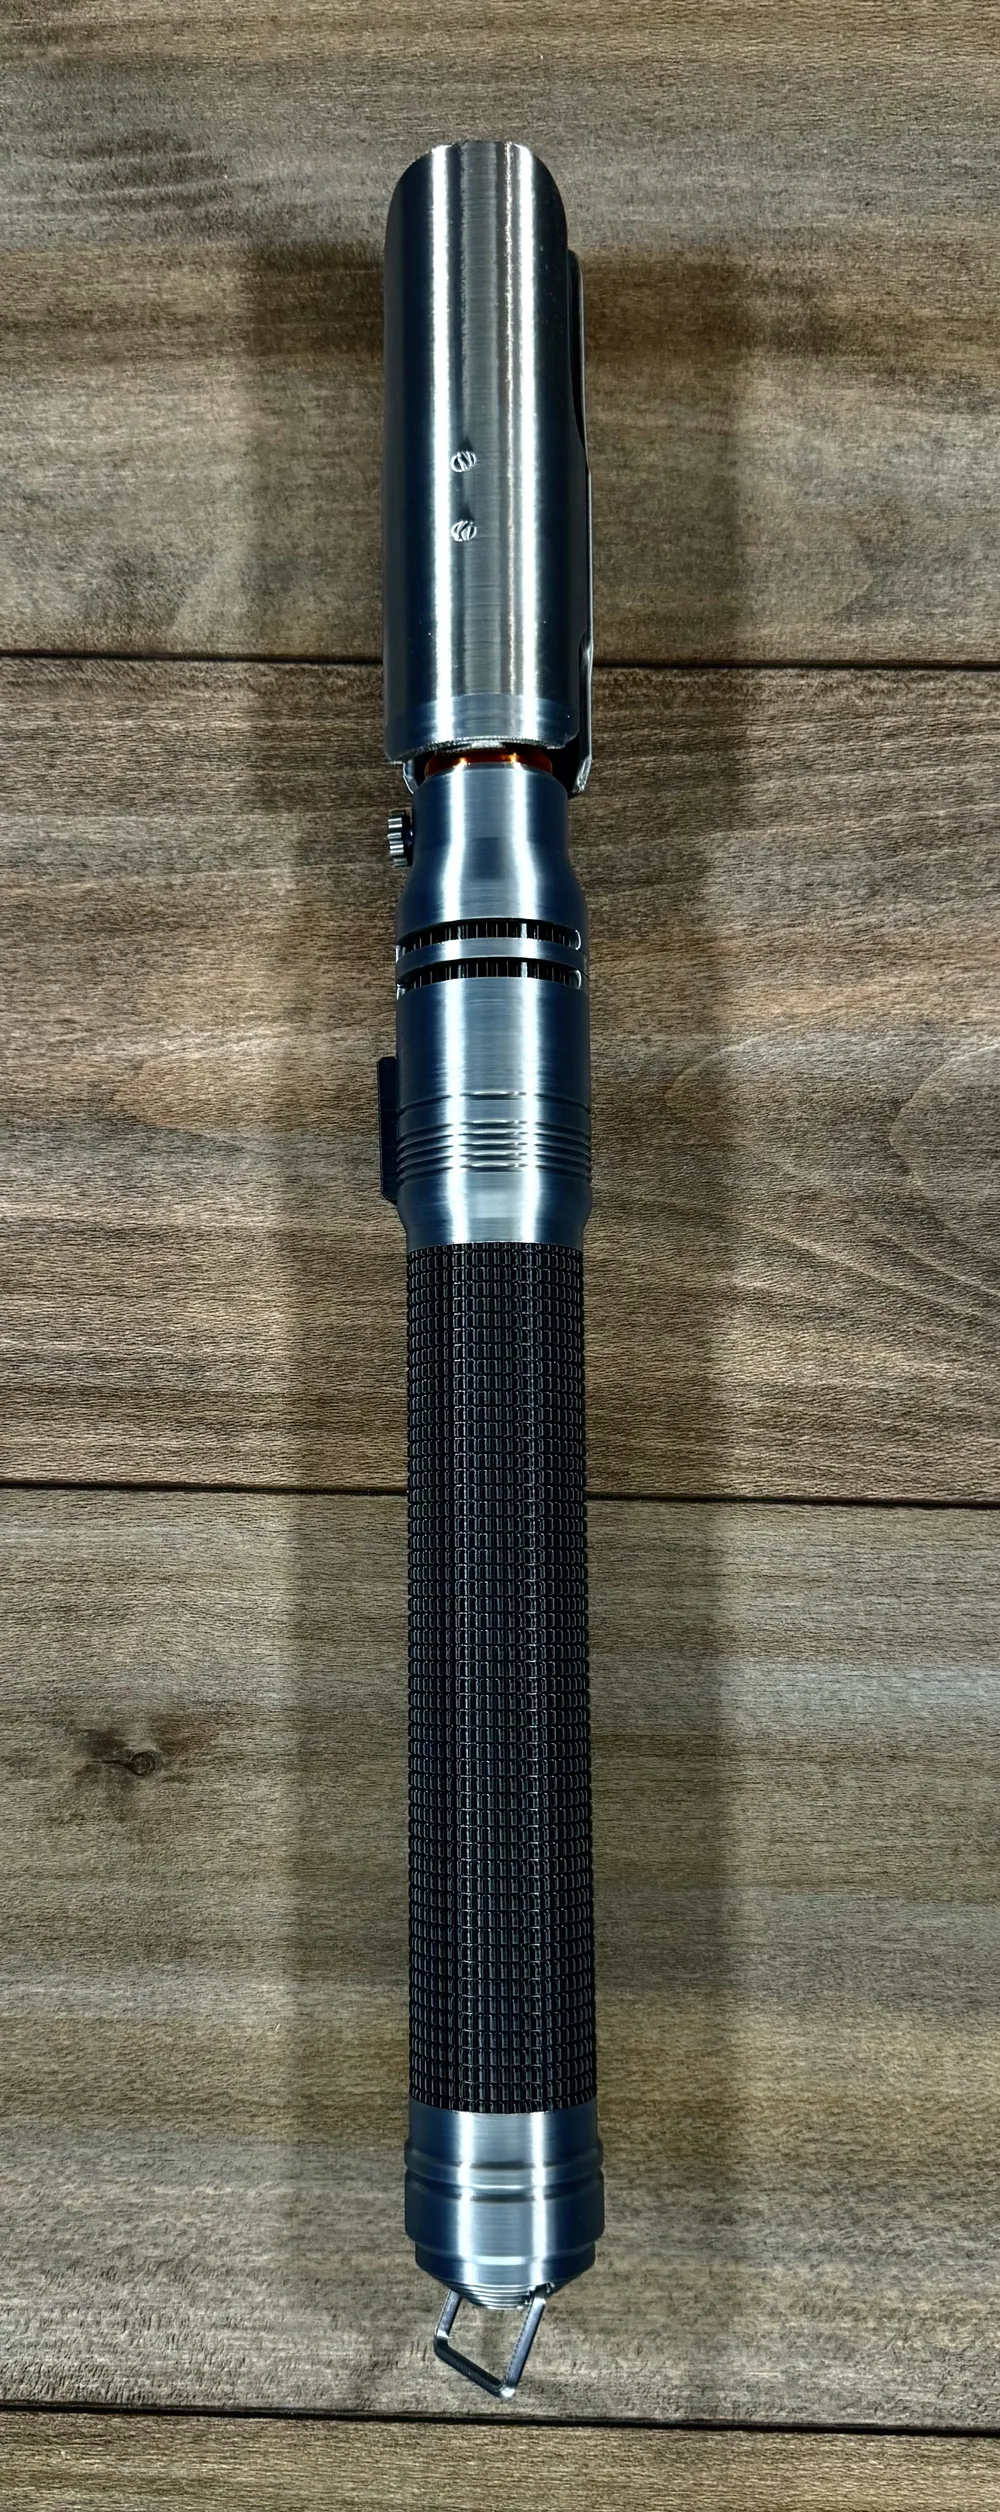
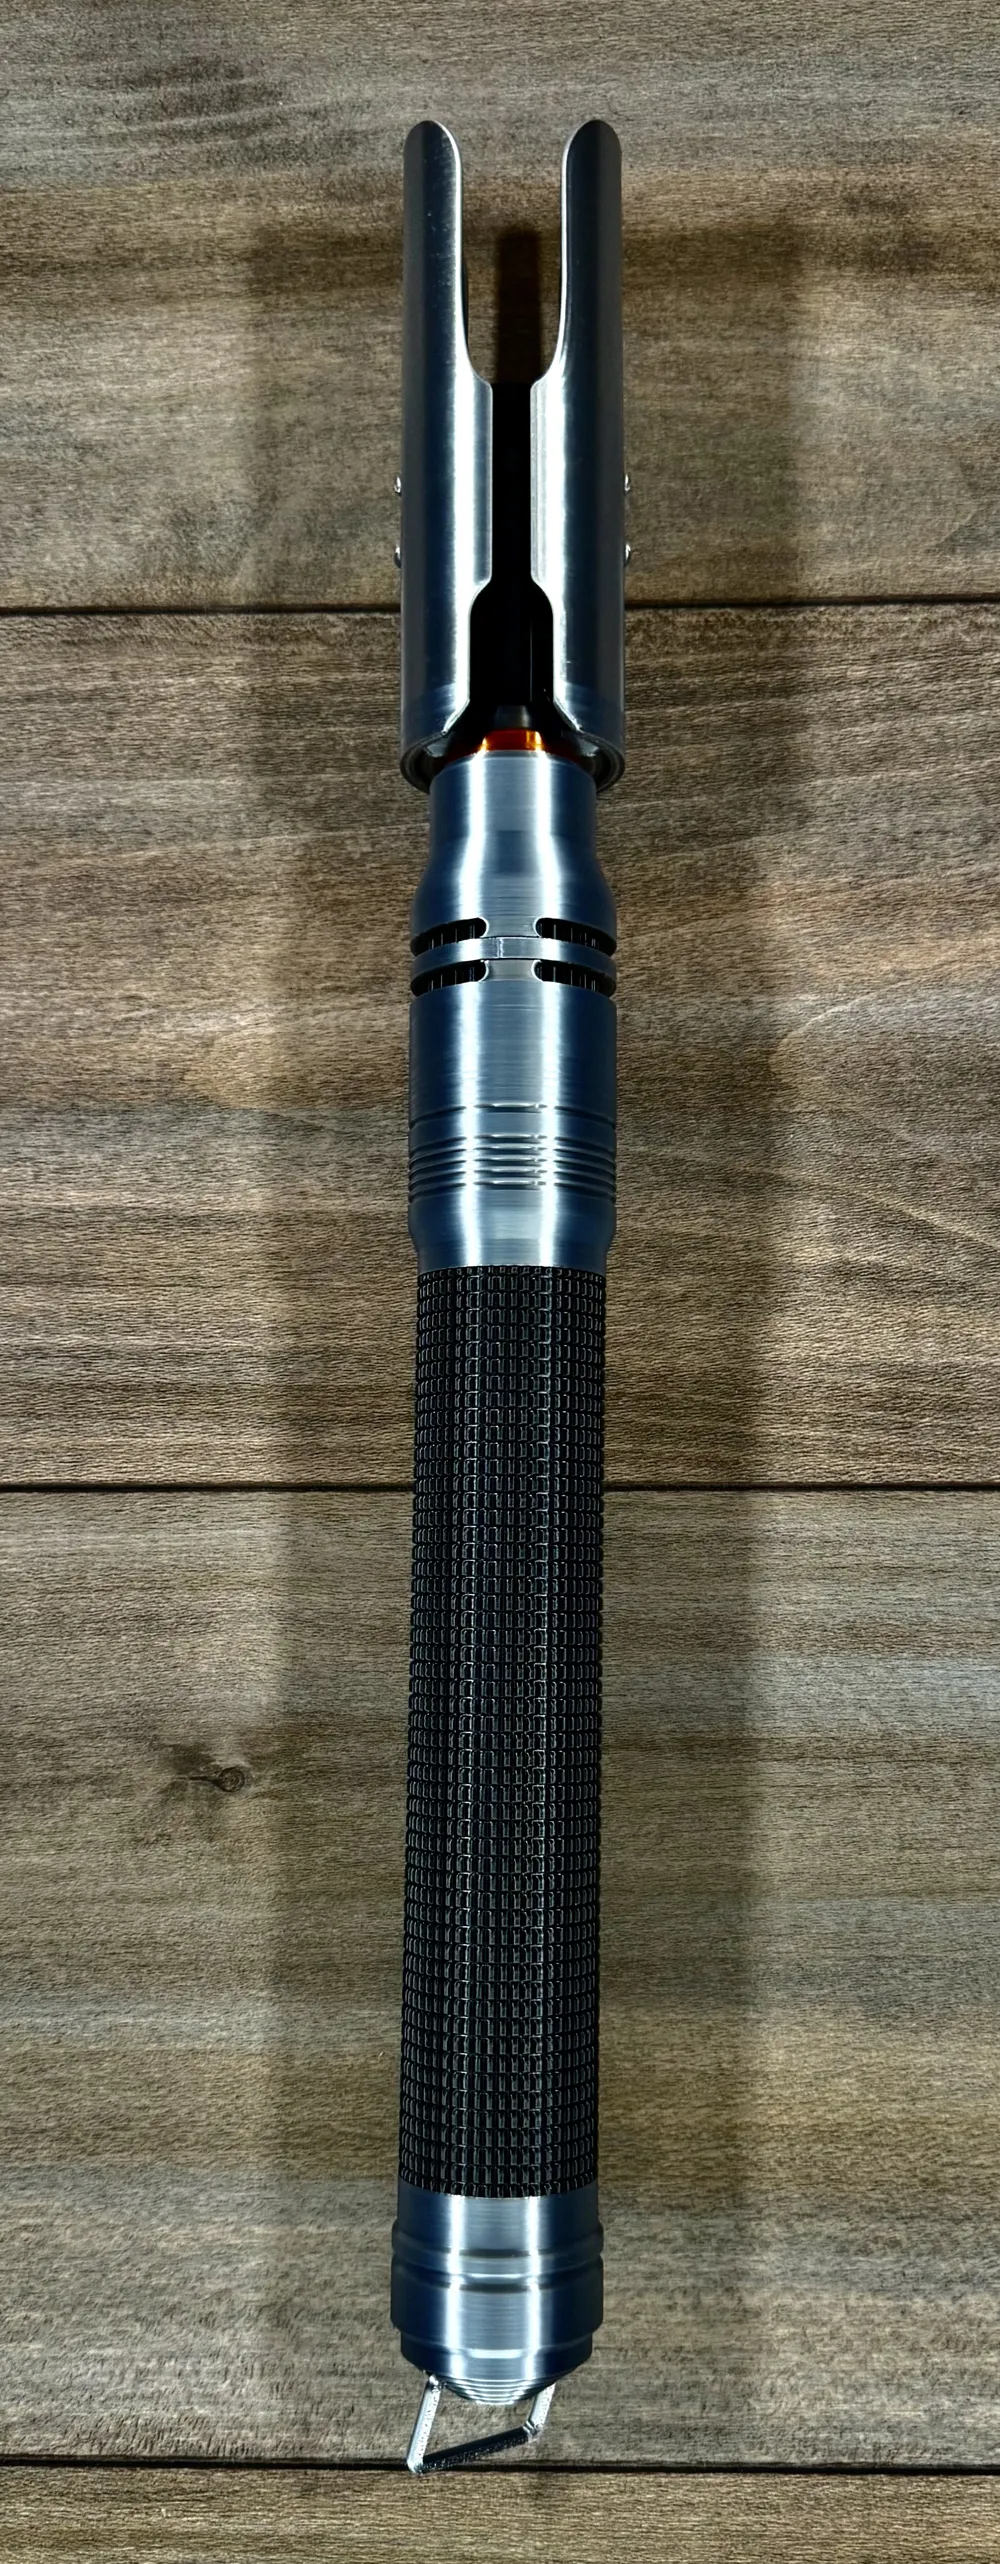
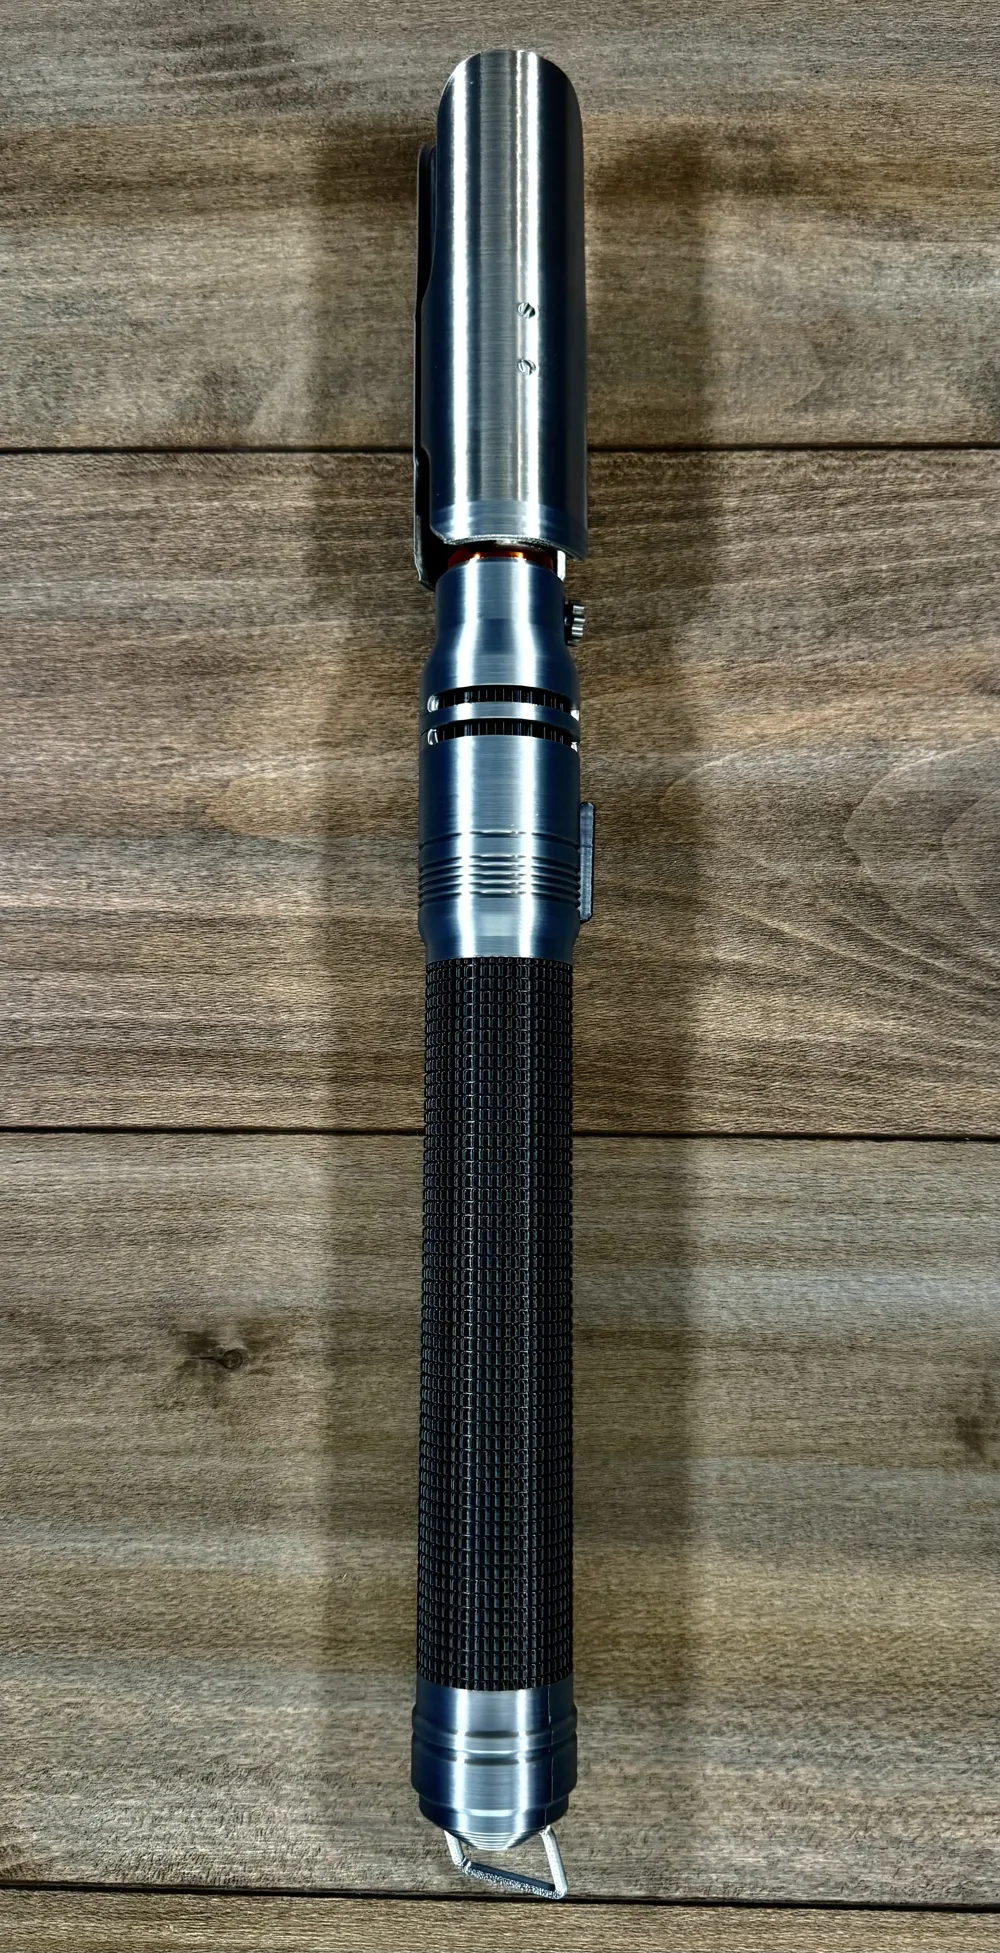
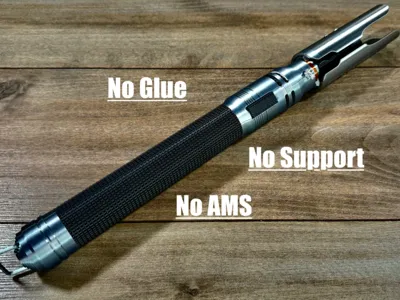
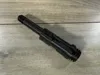
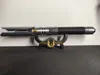
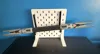
Print your very own Cal Kestis lightsaber. This thing is big coming in at 445mm (17.5 inches) long, it prints without the
need for supports or AMS and is fun to assemble without the need for glue with a well calibrated filament. Makes a great display!
For display blade
https://makerworld.com/en/models/2279067-lightsaber-blade-screw-on-sections#profileId-2485136
Be sure to check out my other models and sabers!
https://makerworld.com/en/collections/14478910-lightsabers
Filaments used:
Sunlu silk grey, Sunlu silk black, Sunlu silk copper
To assemble
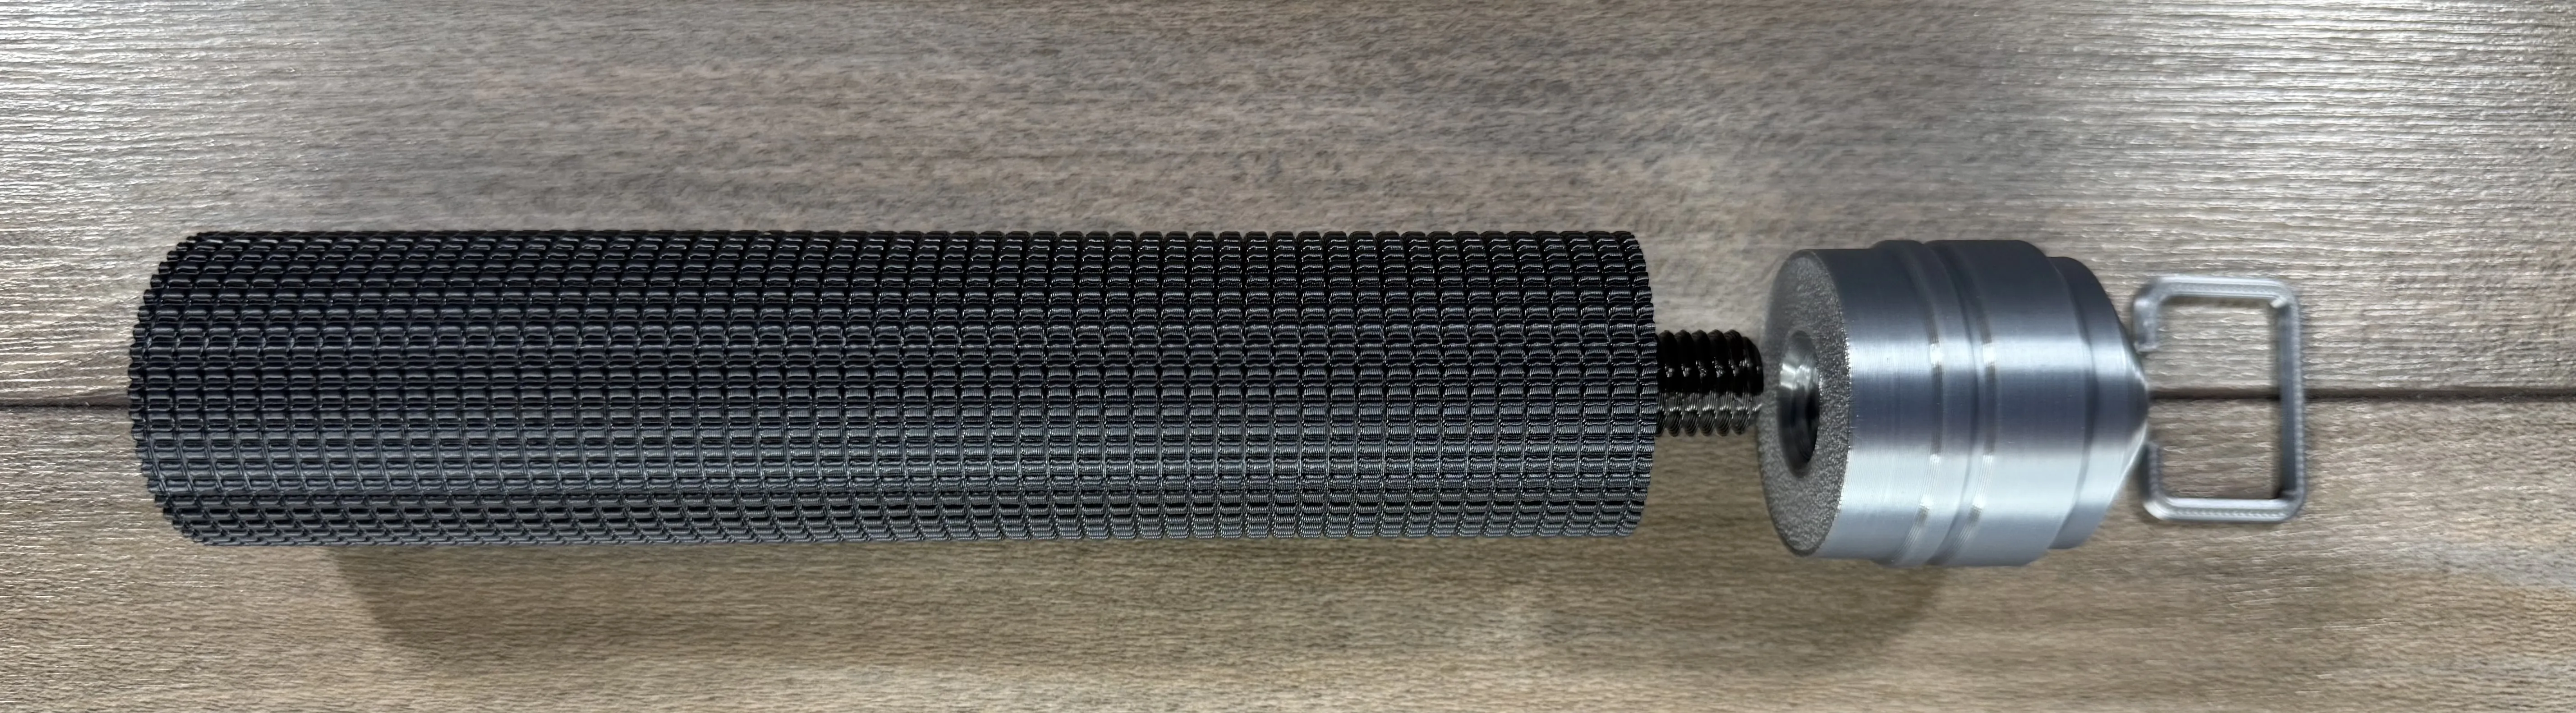
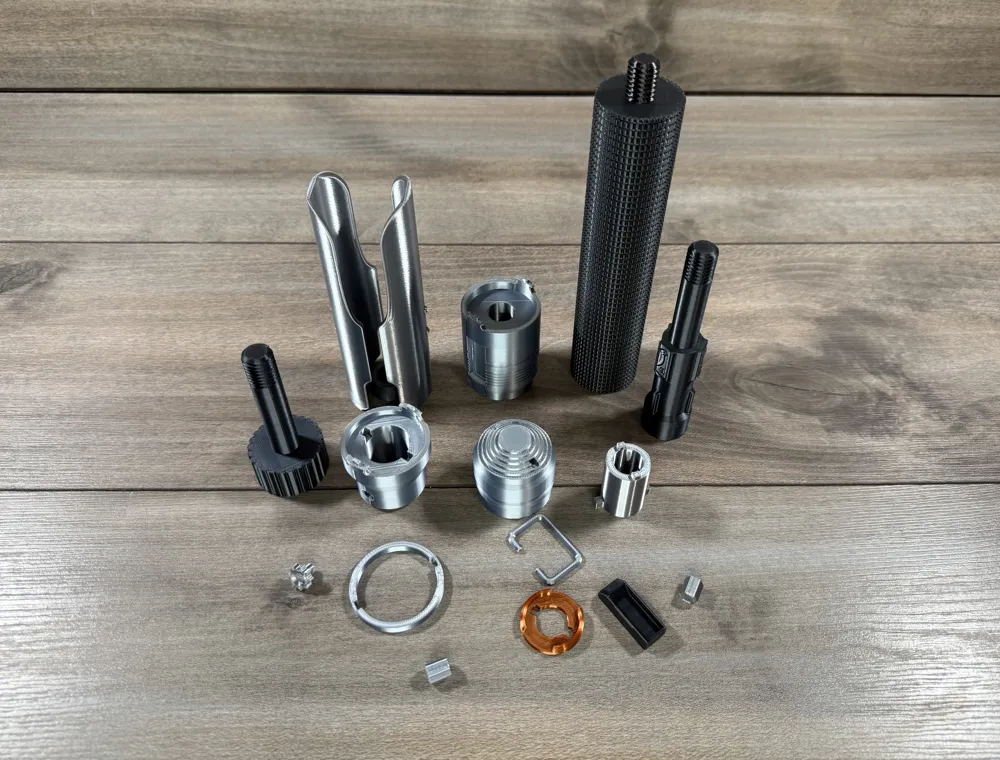
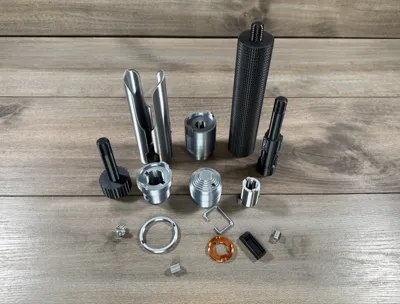
Screw the pommel onto the grip and clip in the belt ring.
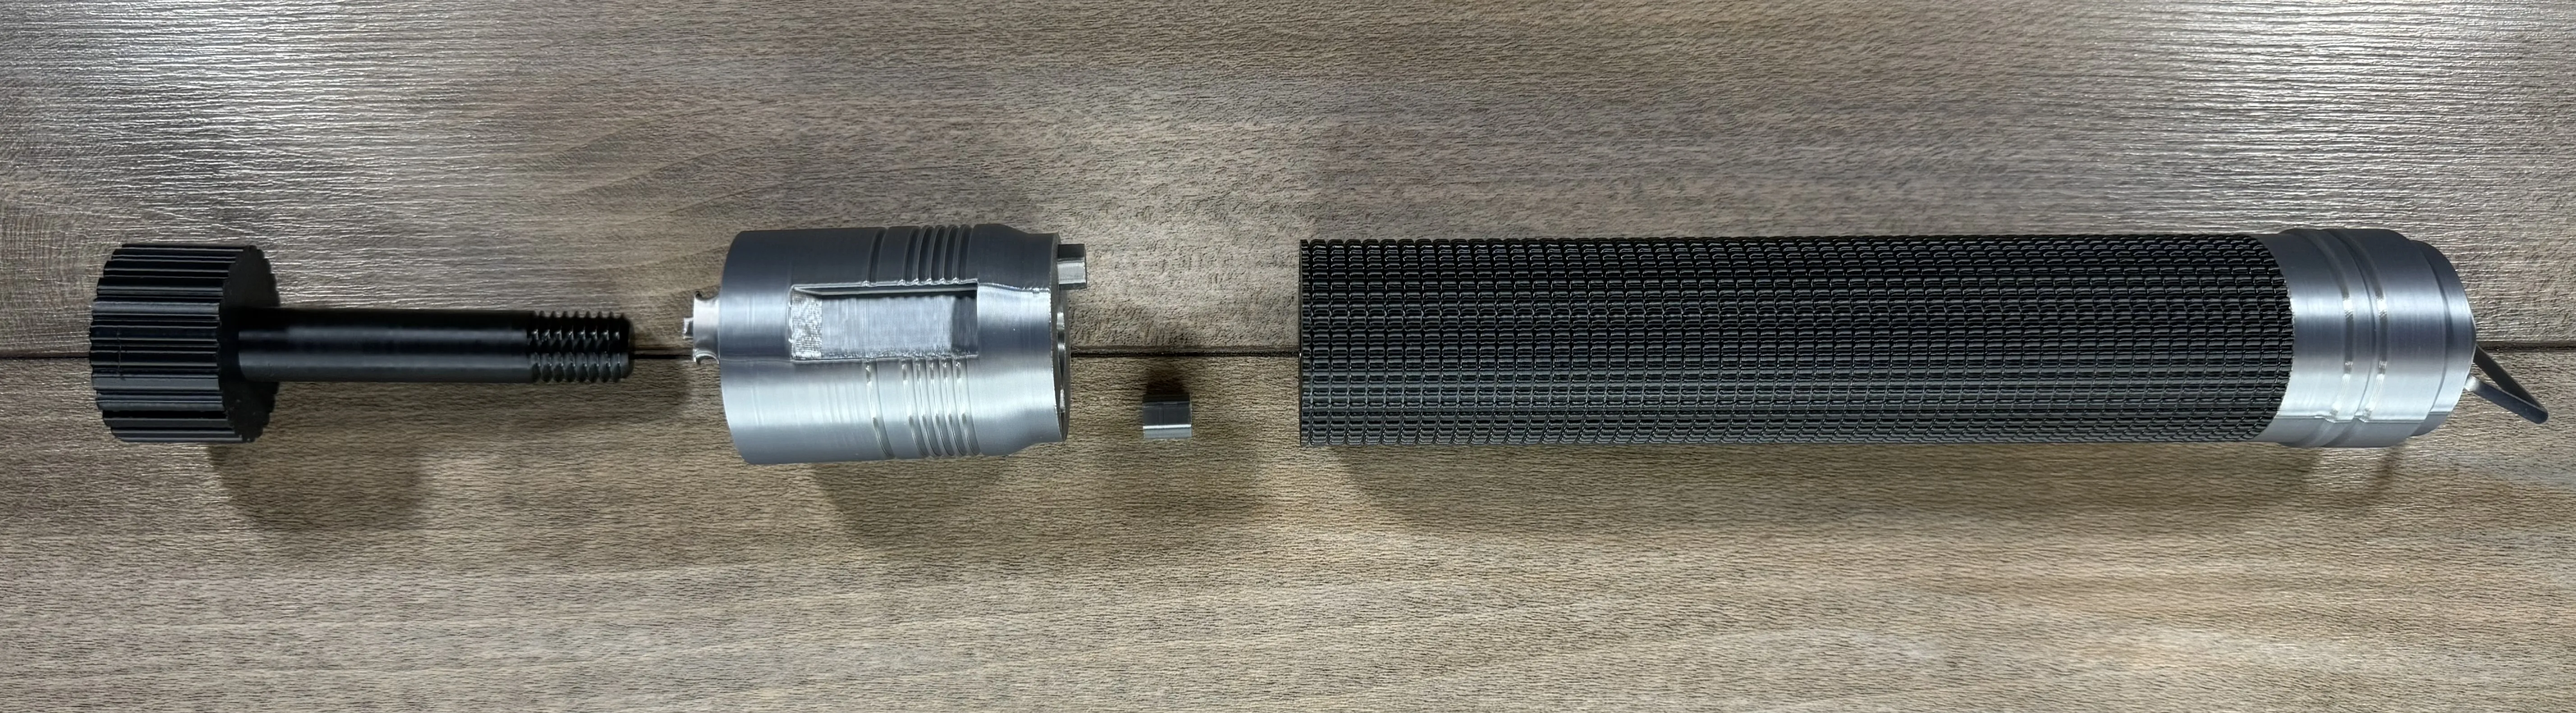
Next insert the hex pins into the grip and slide the silver parts shown onto the pins. Use the bolt
to hold it all together. A hex tool is included but a 3/8 hex wrench works great if you have one.
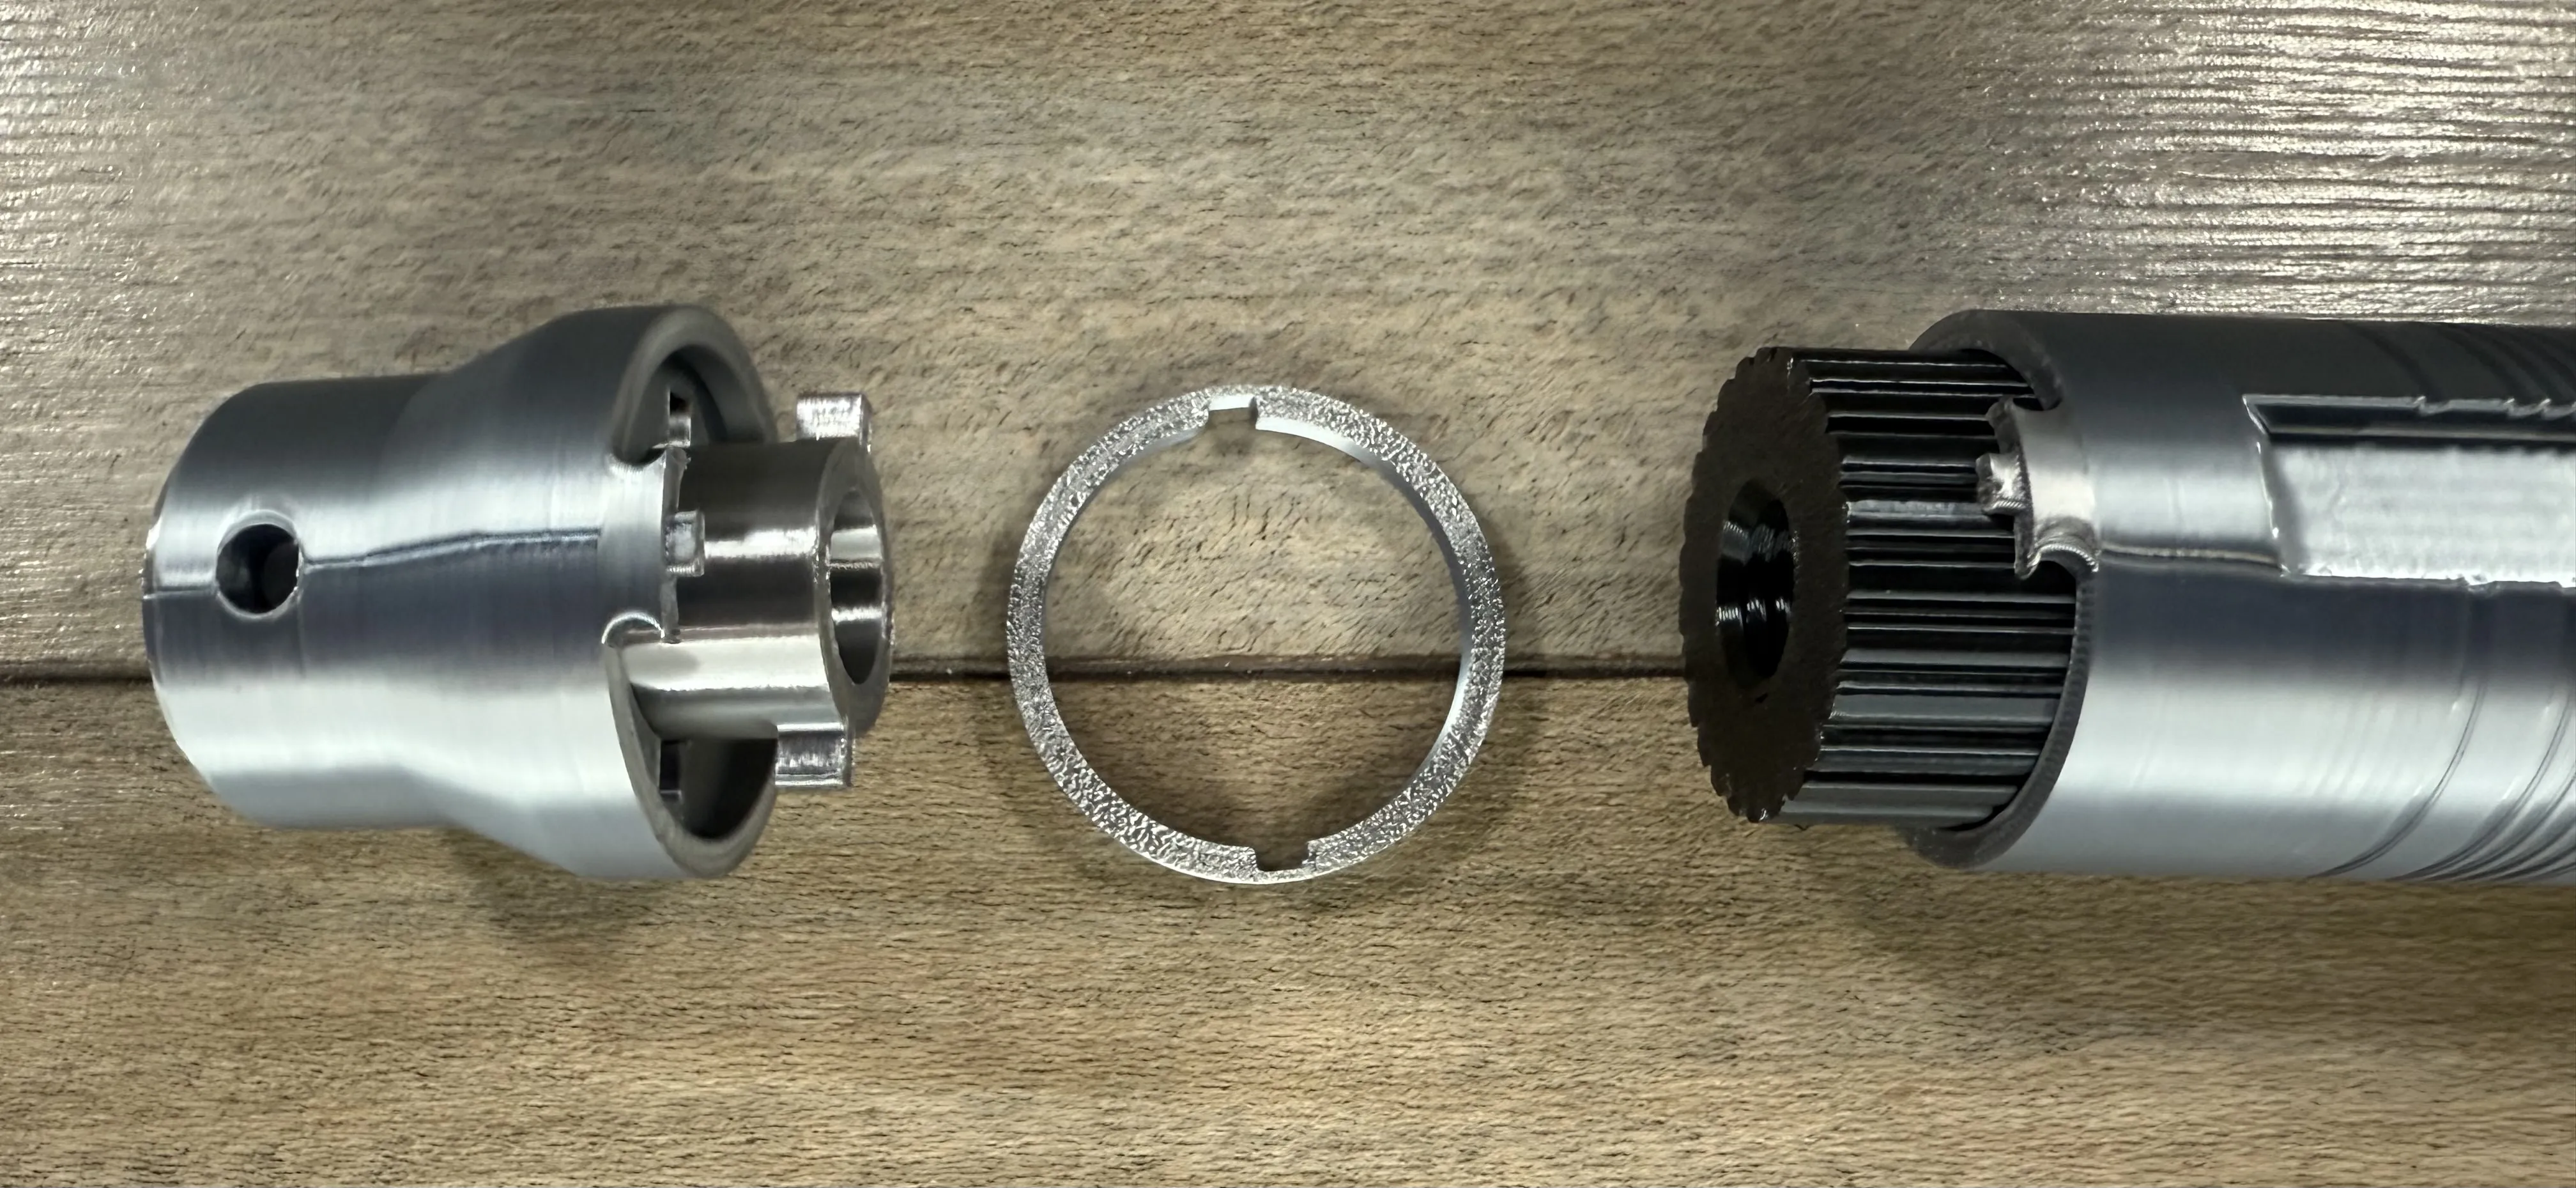
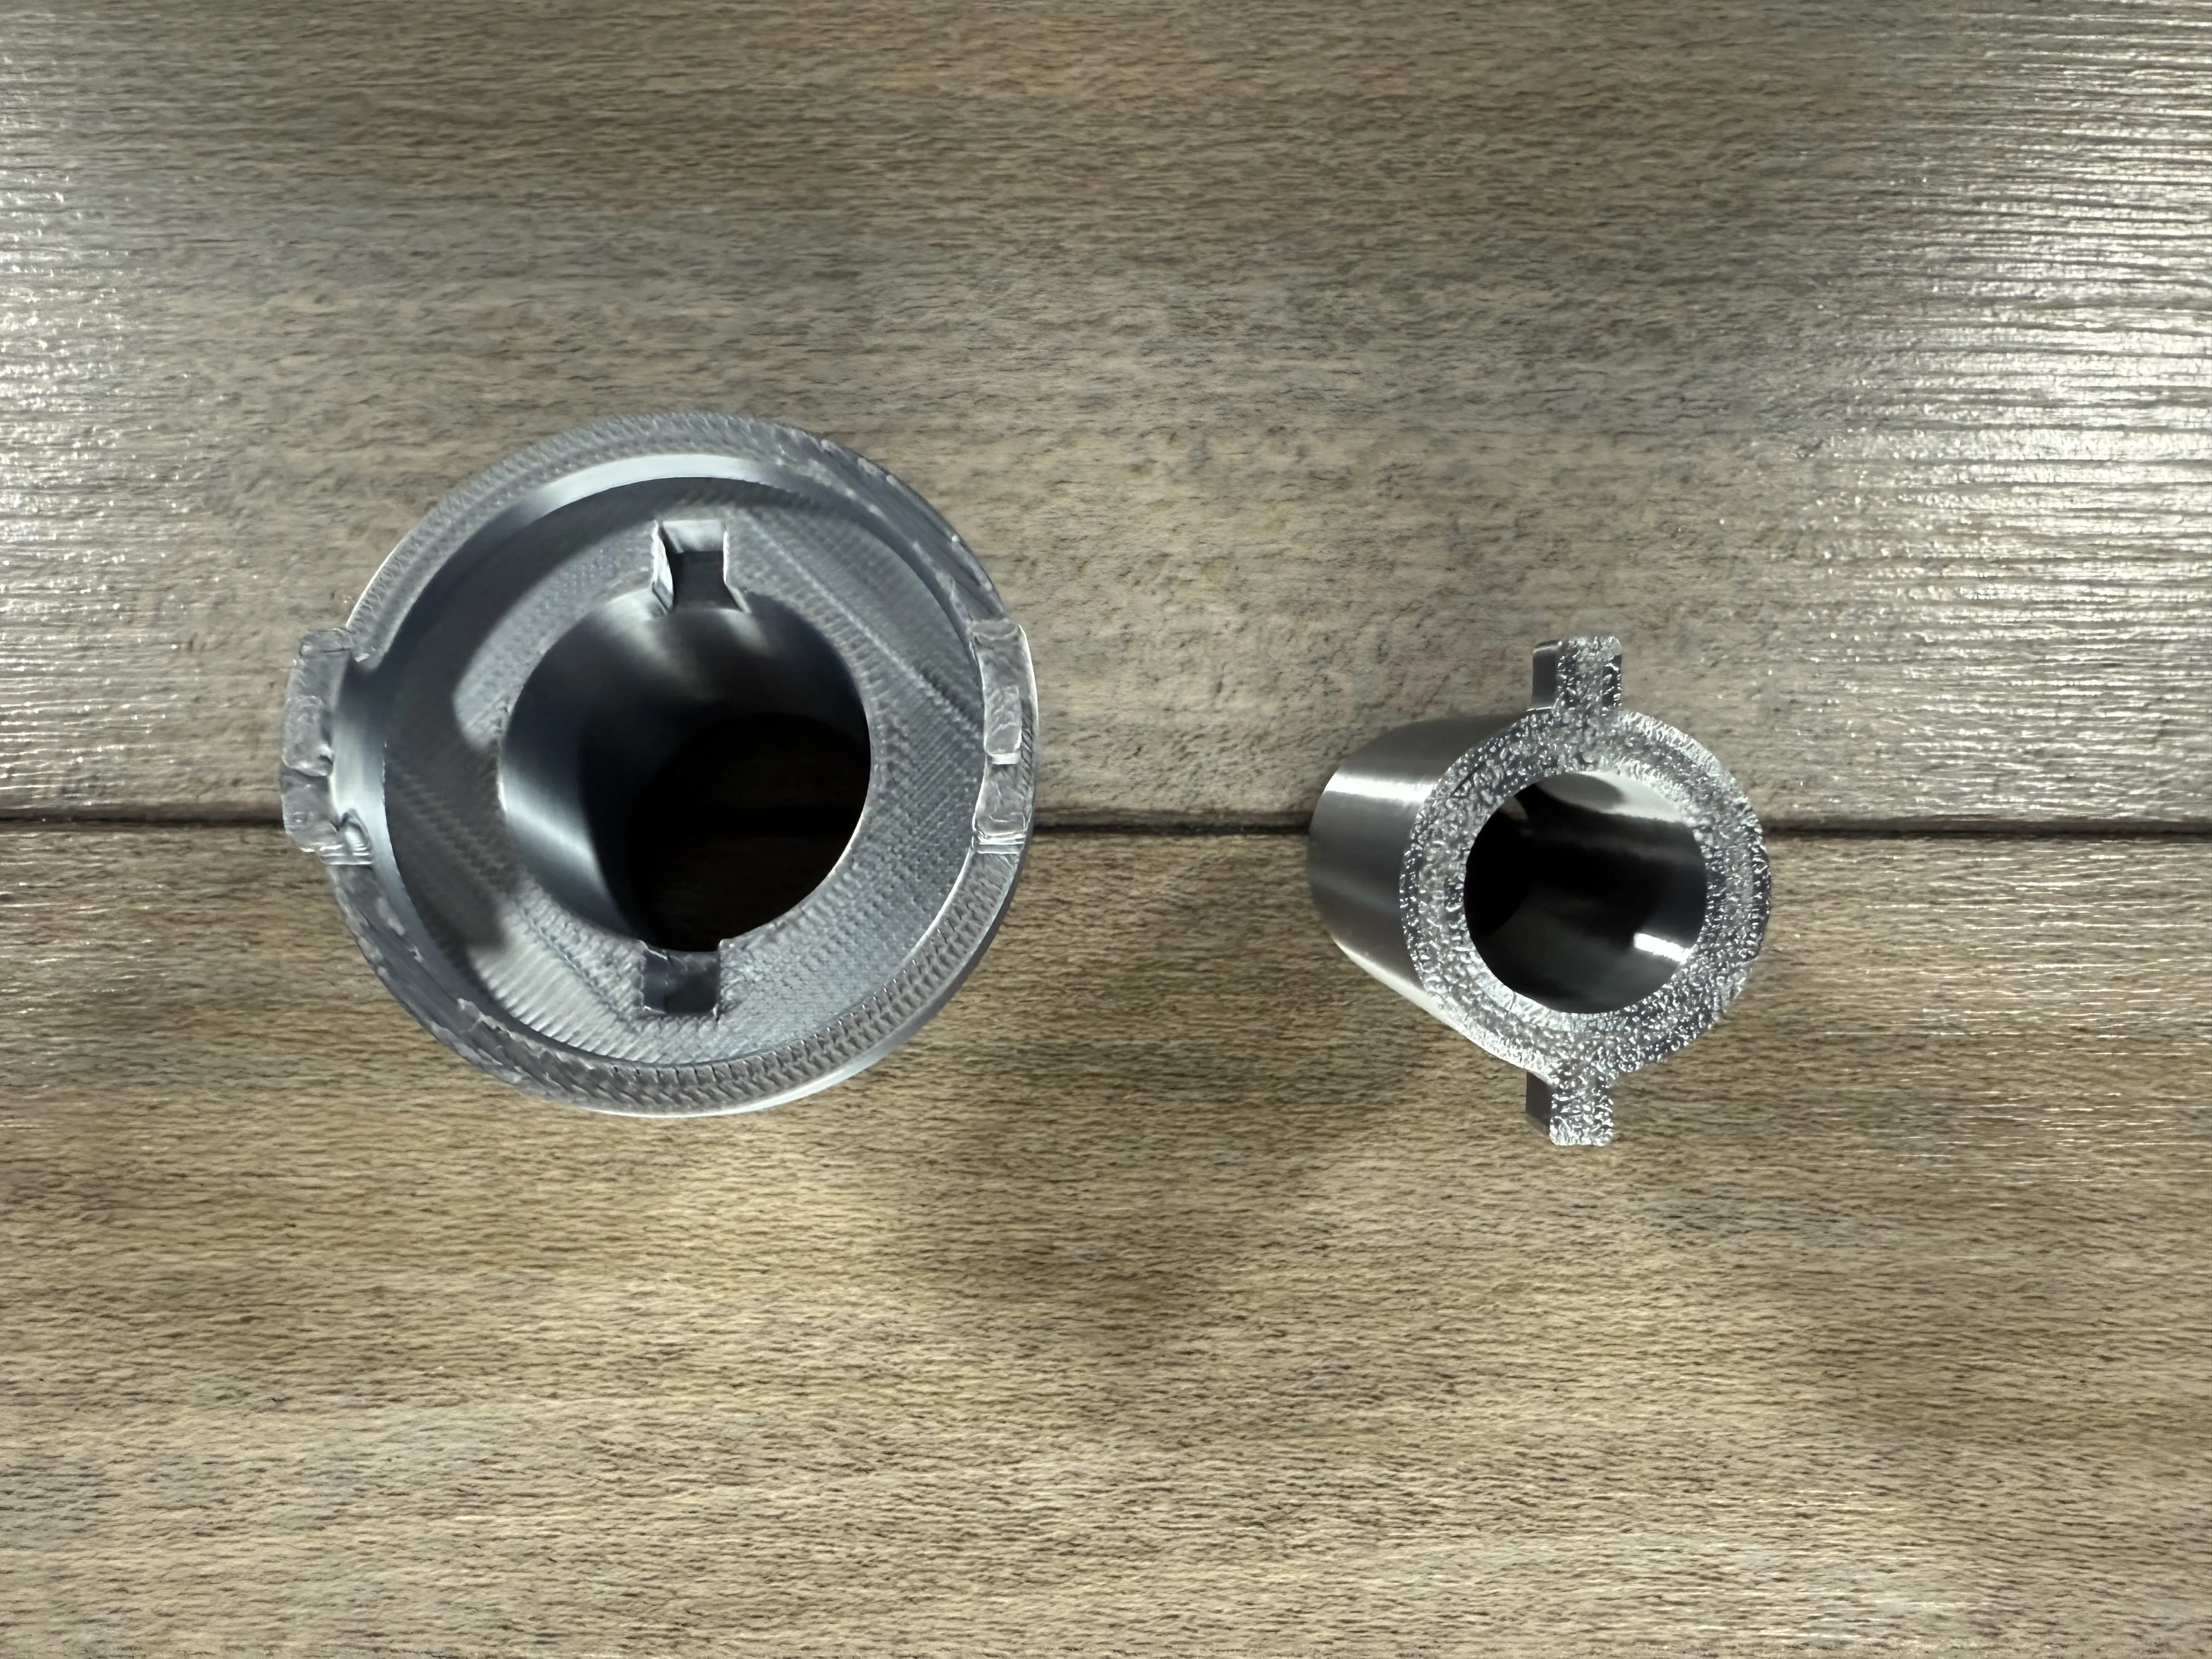
Place the ring over the locators on the assembly, then slide the tube into the center
of the upper silver chamber piece, finally sliding it onto the handle.
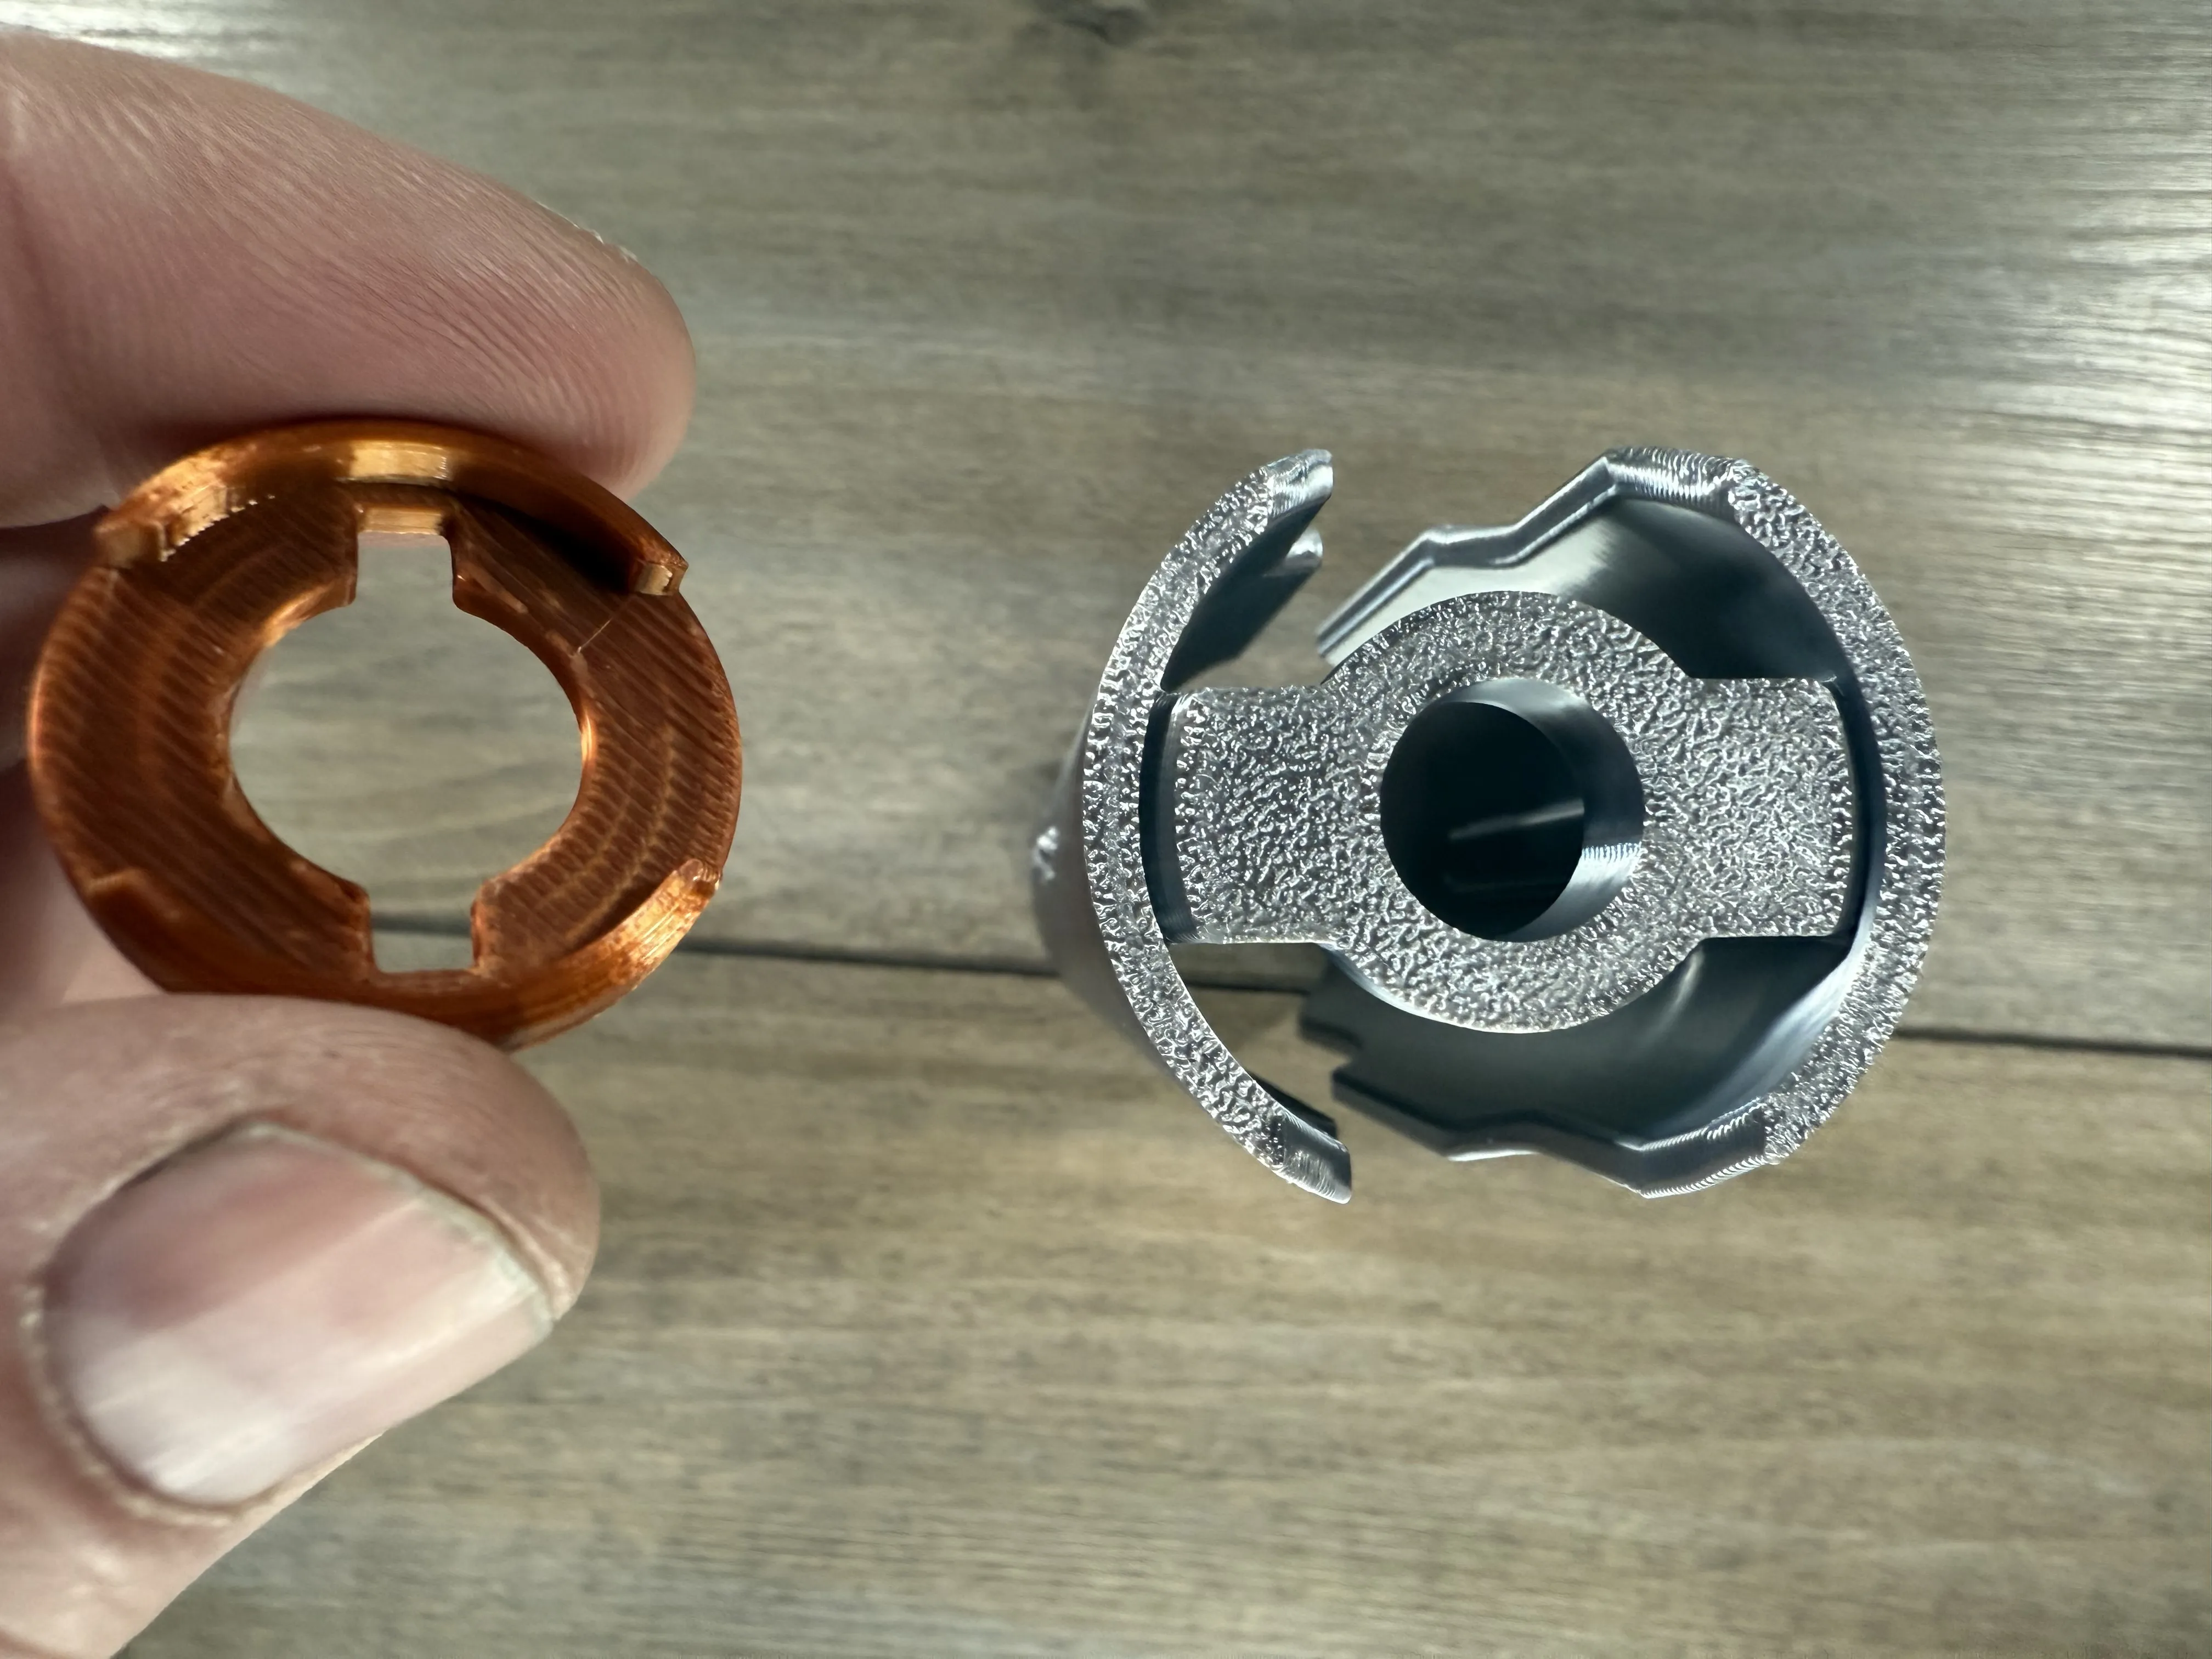
Place the trim piece onto the bottom of the emitter shroud.
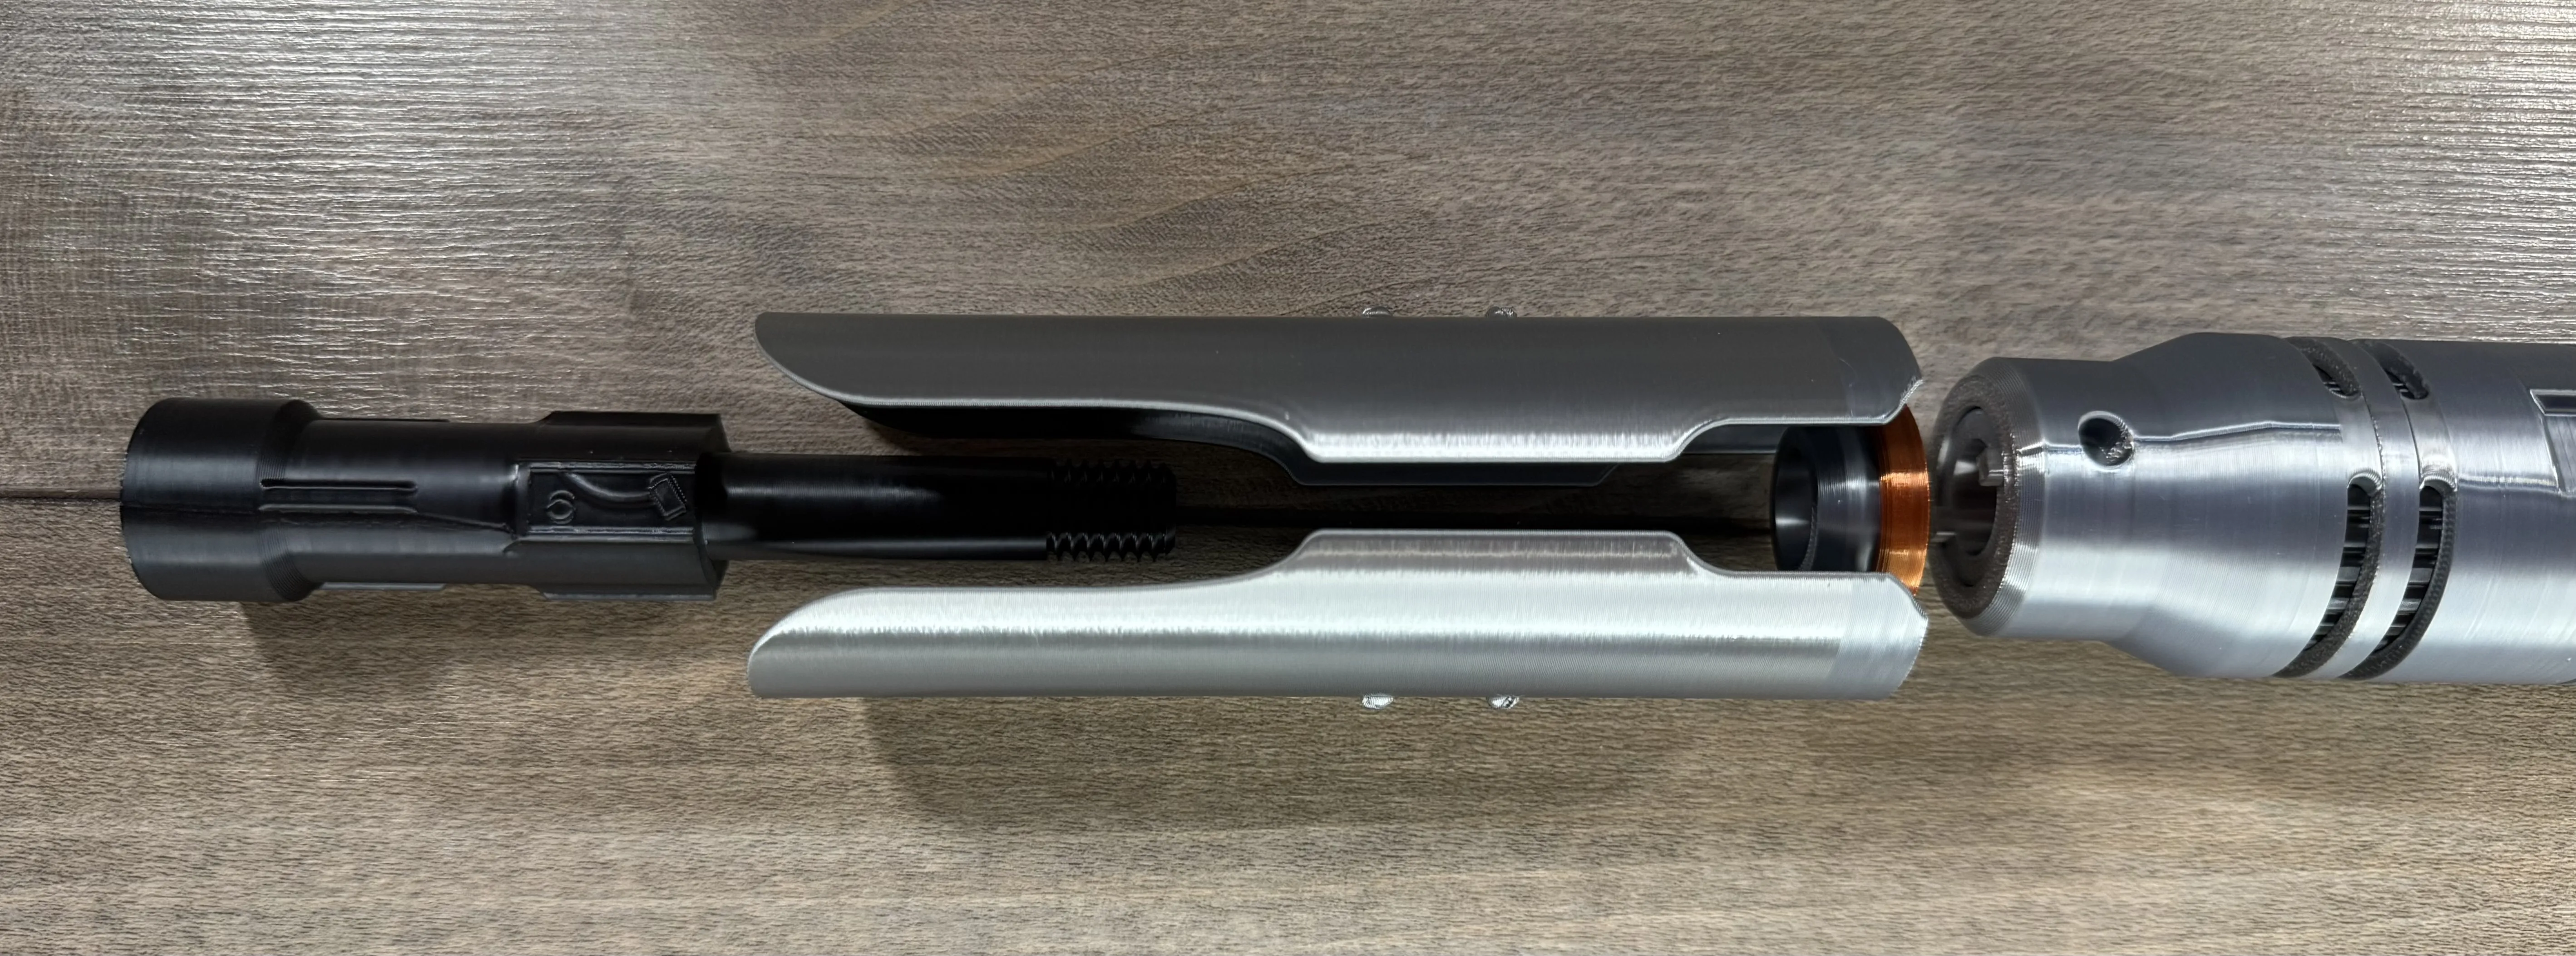
Then slide the shroud assembly on the saber and use the emitter bolt to hold it together.
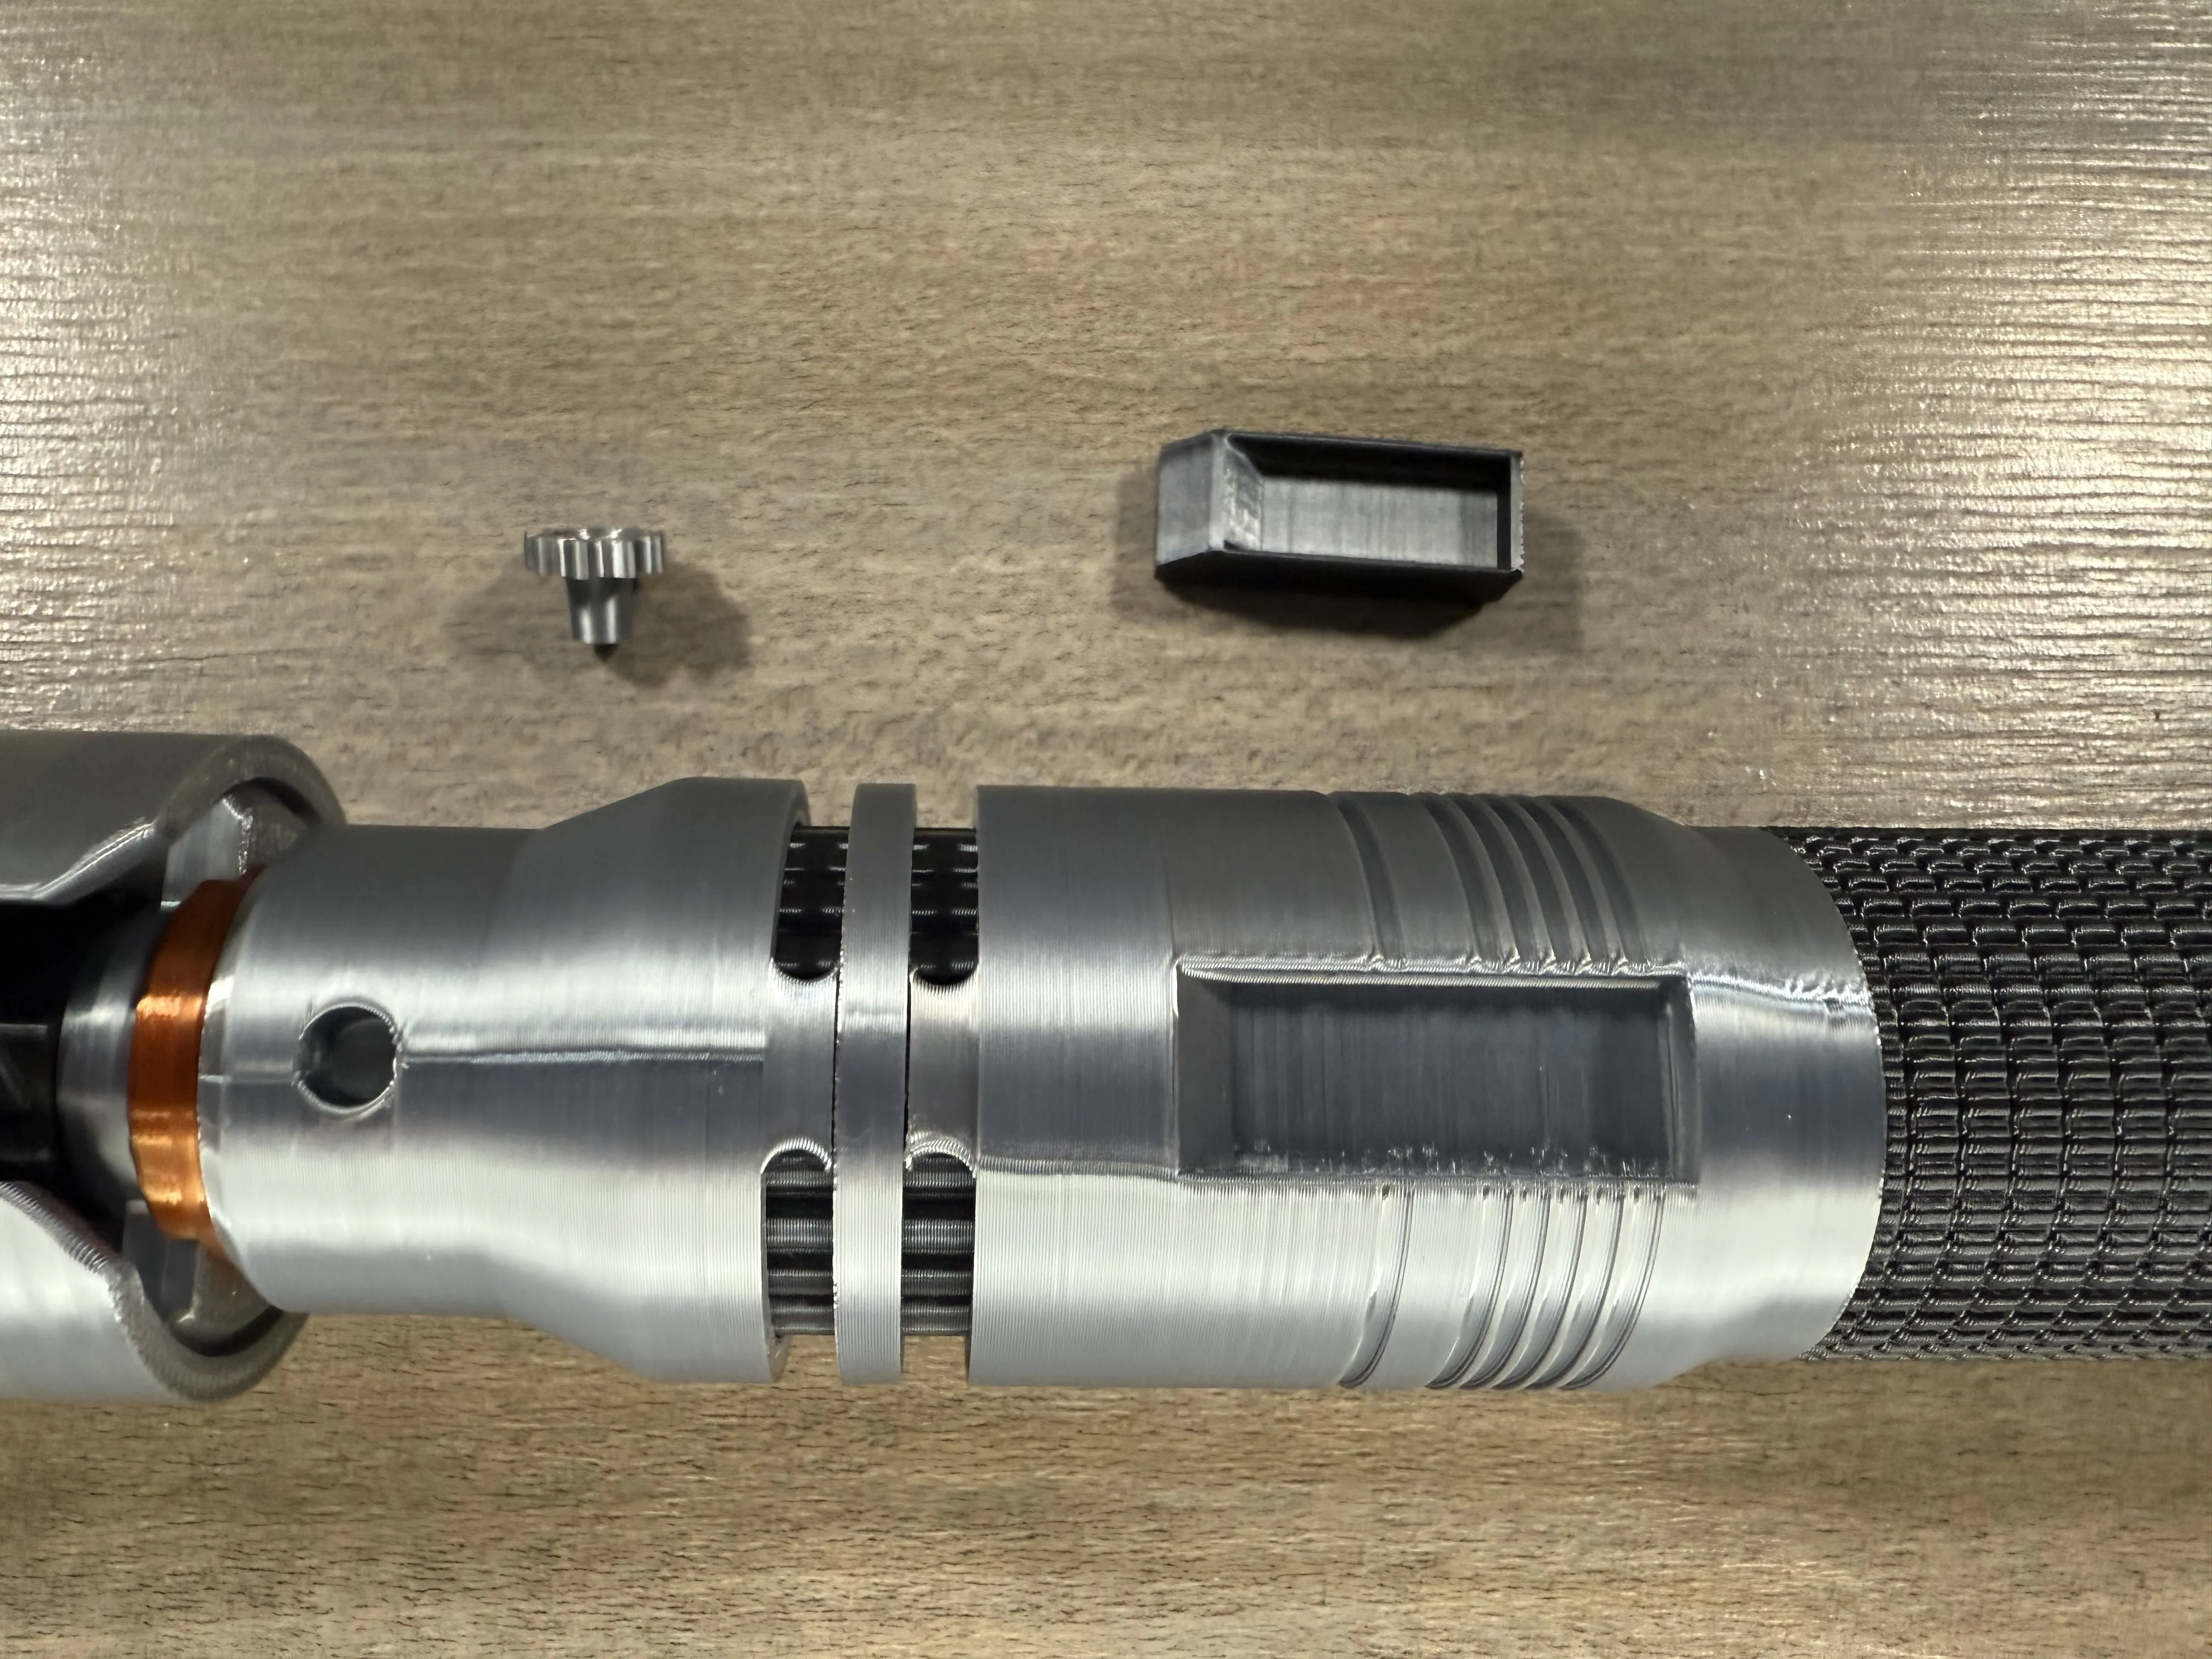
Insert the switch and knob into place and you're all set!
Membership
Thank you for checking out my models. If you enjoy them or want to sell prints, please consider joining. Everything helps to continue to create new models!
License

You shall not share, sub-license, sell, rent, host, transfer, or distribute in any way the digital or 3D printed versions of this object, nor any other derivative work of this object in its digital or physical format (including - but not limited to - remixes of this object, and hosting on other digital platforms). The objects may not be used without permission in any way whatsoever in which you charge money, or collect fees.


Comment & Rating (188)