Optimized structure less material high strength Toothbrush & Rinsing Cup Holder


Print Profile(1)

Description
This is a hanger for toothbrushes and mouthwash cups. As you can see, placing the toothbrush in this 'hanging' position prevents water from accumulating at the bottom of the toothbrush, thus preventing mold. Similarly, the inverted mouthwash cup can also drain water promptly, ensuring cleanliness and hygiene.
I’d like to highlight the advantages of my design:
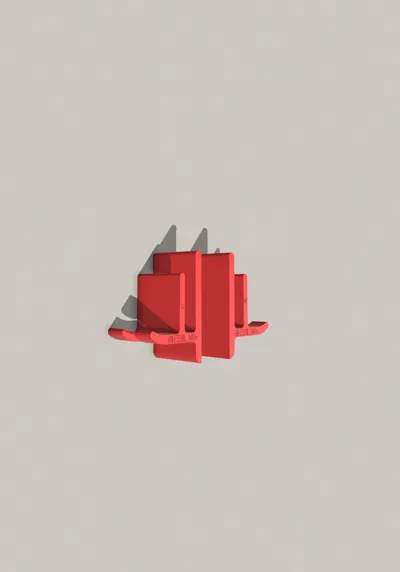
1. Compared to other similar models, my design is printed in a 'side-lying' orientation. When under force, the hanger does not rely on layer adhesion, resulting in higher structural strength and durability. Supports are unavoidable for the toothbrush hooks, but this is a necessary compromise to ensure the model’s strength.
2. You might notice that my hanger features an extra 'small tail'(this is the biggest optimization I made), which is absent in other models. When a toothbrush & cup are hung, the center of gravity shifts outward, creating a tendency for the hanger to tilt. The small tail effectively counteracts this tendency while also increasing the adhesive surface area—killing two birds with one stone.
3. The slot for the mouthwash cup is slightly inward-tapered to prevent the center of gravity from shifting too far outward.
4. The back of the hanger has an 'L'-shaped groove, which significantly reduces the visible gap between the hanger and the wall.
Words alone may not fully convey the cleverness of this hanger. Give it a try by printing it out!(It costs less than 10g of filament.)
Below are the installation instructions:
Use adhesive tape (preferably 0.7mm thick, 2cm wide) or nano tape, with a thickness of at least 0.5mm, and apply it along the 'L'-shaped groove on the back of the model.
Important Note
The model comes in two versions: one for mounting on the left-hand side of the wall (marked with 'L' on the model, i.e., the first plate) and another for the right-hand side (marked with 'R' on the model, i.e., the second plate). This installation method minimizes the apparent gap between the hanger and the wall while hiding my personal logo and the 'L'/'R' markings, ensuring the most aesthetically pleasing result for this model.
Boost Me (for free)
Thank you for your support. Your help enables me to develop more sizes and other models. I am truly grateful.
License
You shall not share, sub-license, sell, rent, host, transfer, or distribute in any way the digital or 3D printed versions of this object, nor any other derivative work of this object in its digital or physical format (including - but not limited to - remixes of this object, and hosting on other digital platforms). The objects may not be used without permission in any way whatsoever in which you charge money, or collect fees.
Comment & Rating (0)