
MaX Control - CyberBrick Remote
Print Profile(6)
![[Basic Files B&W] 0.2mm layer, 2 walls, 15% infill](https://makerworld.bblmw.com/makerworld/model/US723ee25a6581a/471245814/instance/2025-11-07_d83eb0db277908.jpg?x-oss-process=image%2Fresize%2Cw_100%2Fformat%2Cwebp)
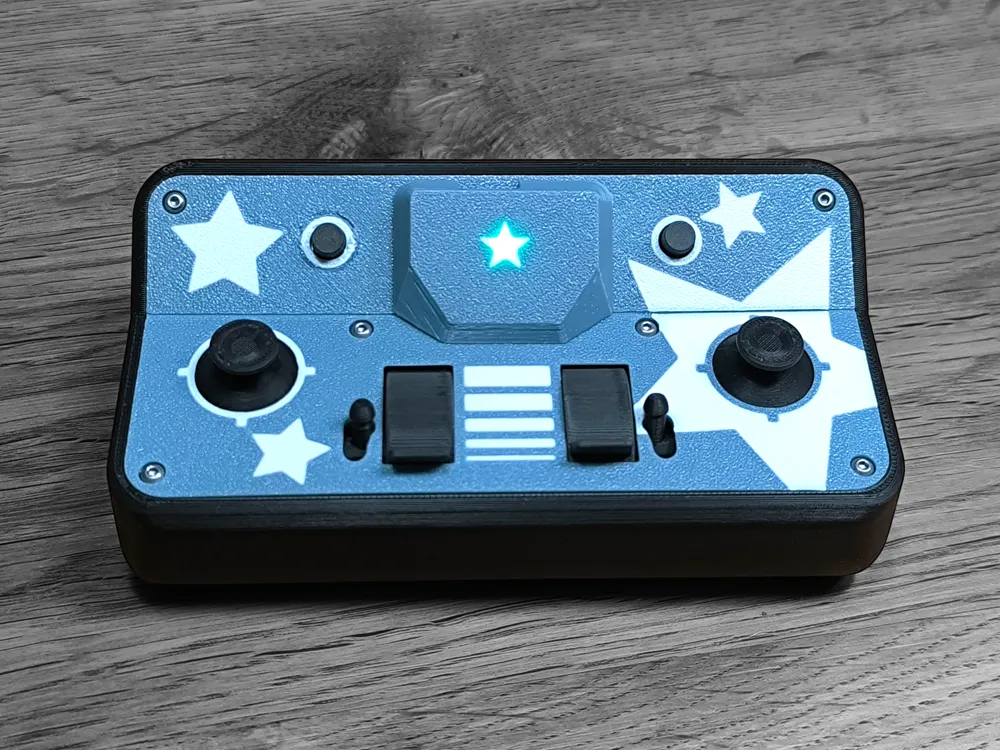
![[Only Alternative Cover - Stars]](https://makerworld.bblmw.com/makerworld/model/US723ee25a6581a/471443564/instance/2025-11-10_2bad5044bd6fc.jpg?x-oss-process=image%2Fresize%2Cw_100%2Fformat%2Cwebp)
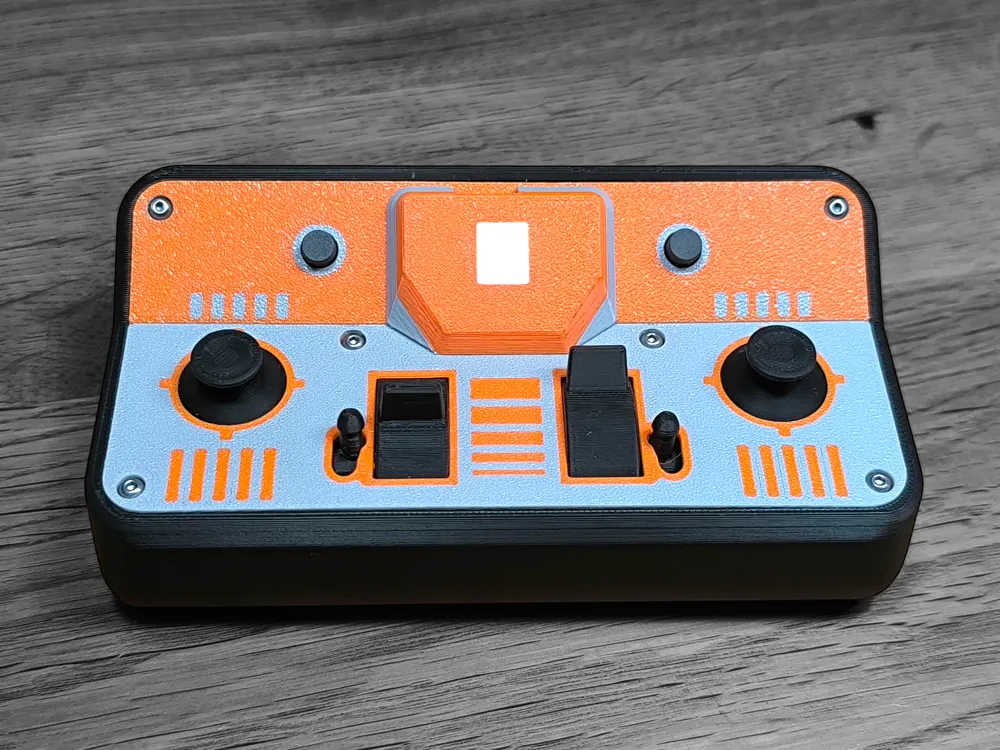
![[Only Alternative Cover - Bars]](https://makerworld.bblmw.com/makerworld/model/US723ee25a6581a/471444489/instance/2025-11-10_de44e08792c008.jpg?x-oss-process=image%2Fresize%2Cw_100%2Fformat%2Cwebp)
![[only Alternative Cover - Blue White]](https://makerworld.bblmw.com/makerworld/model/US723ee25a6581a/471247653/instance/2025-11-08_95033e344d3d88.jpg?x-oss-process=image%2Fresize%2Cw_100%2Fformat%2Cwebp)
Bill of Materials
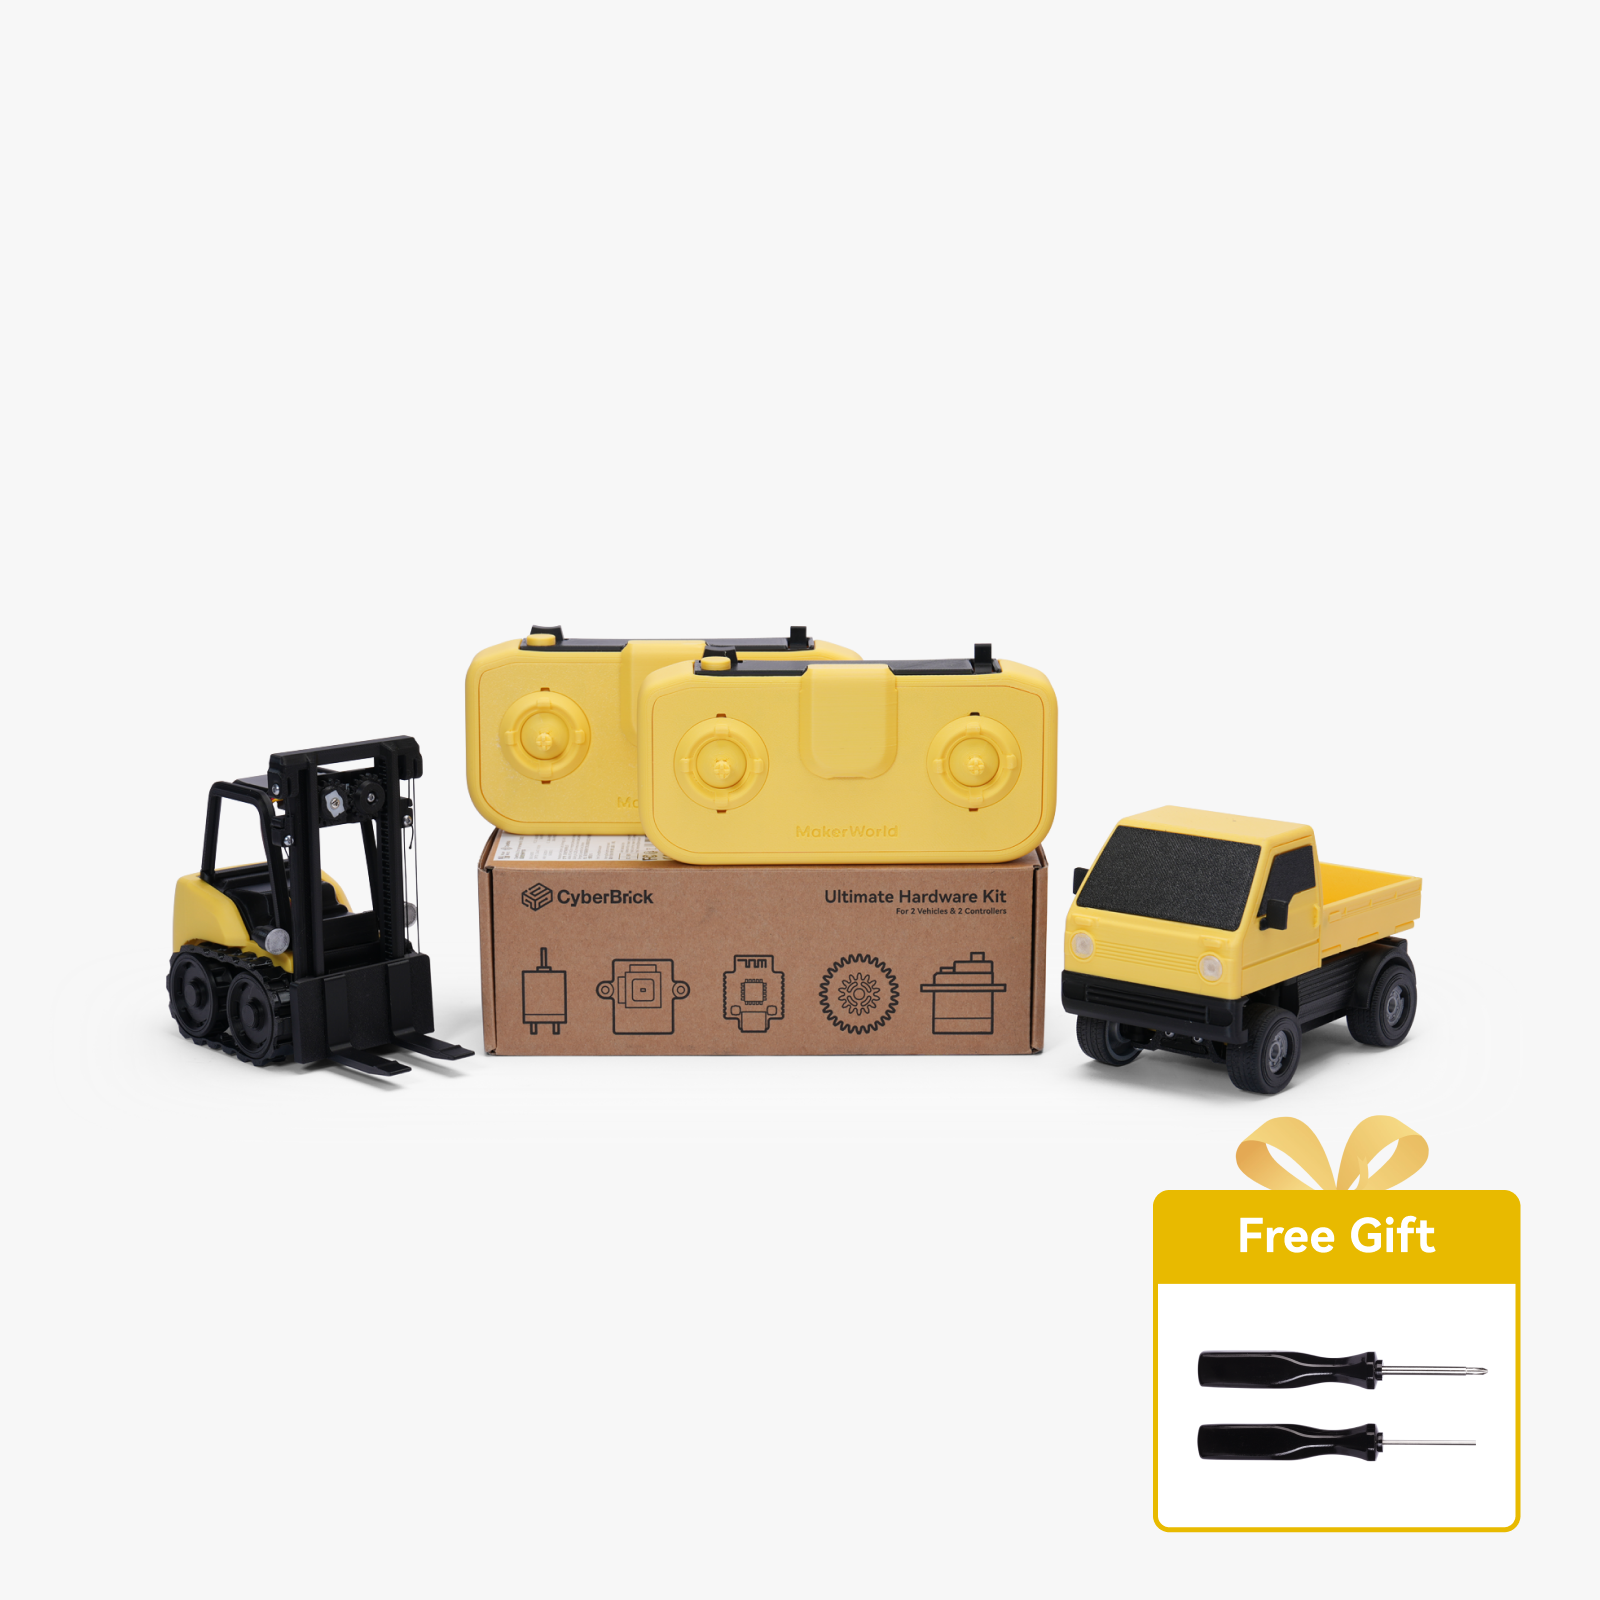
.png)




Description
MaX Control - CyberBrick Remote
Boost Me (for free)
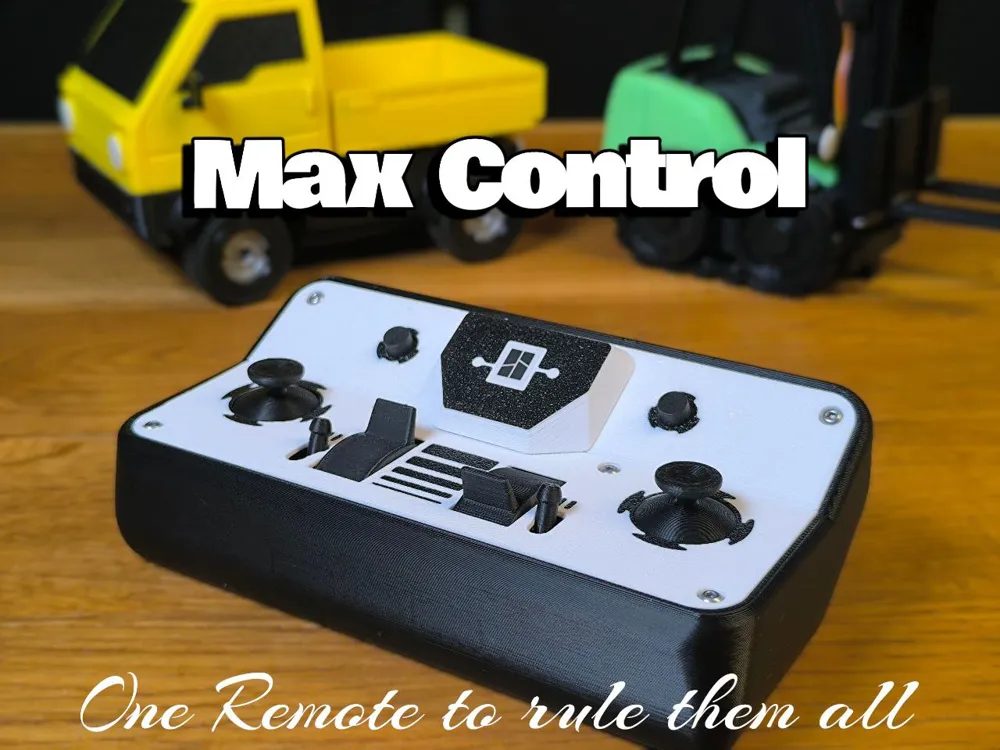

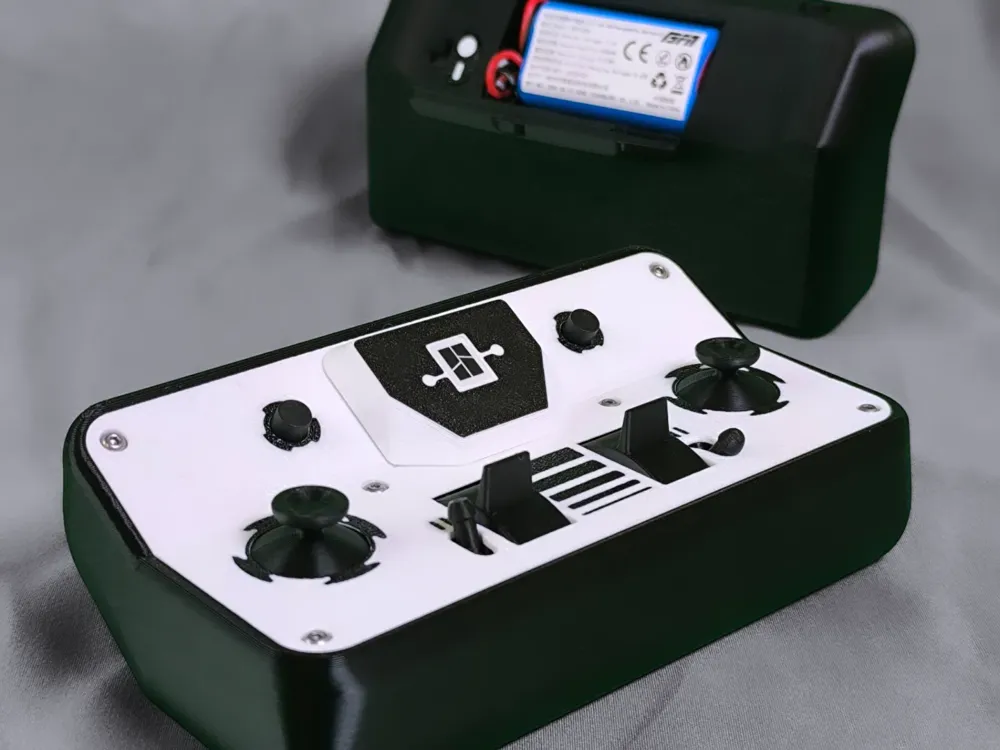
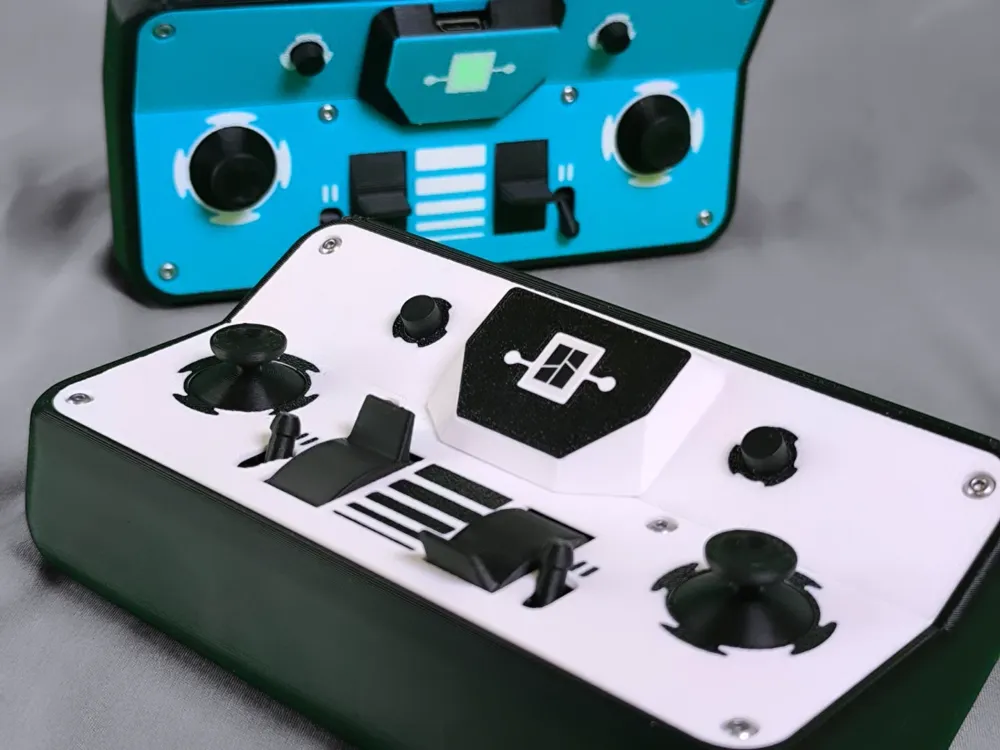
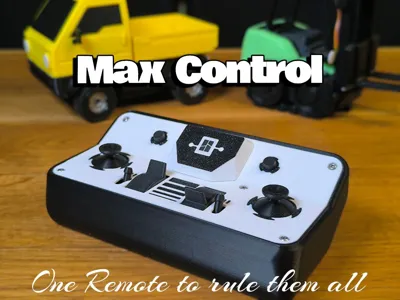
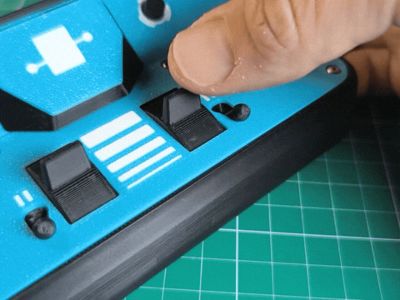
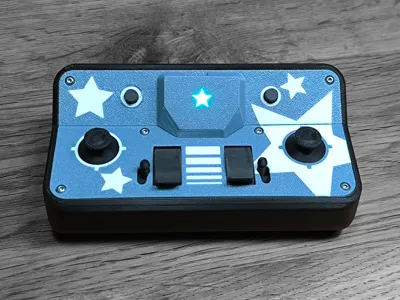
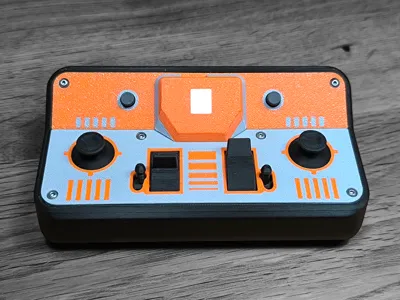




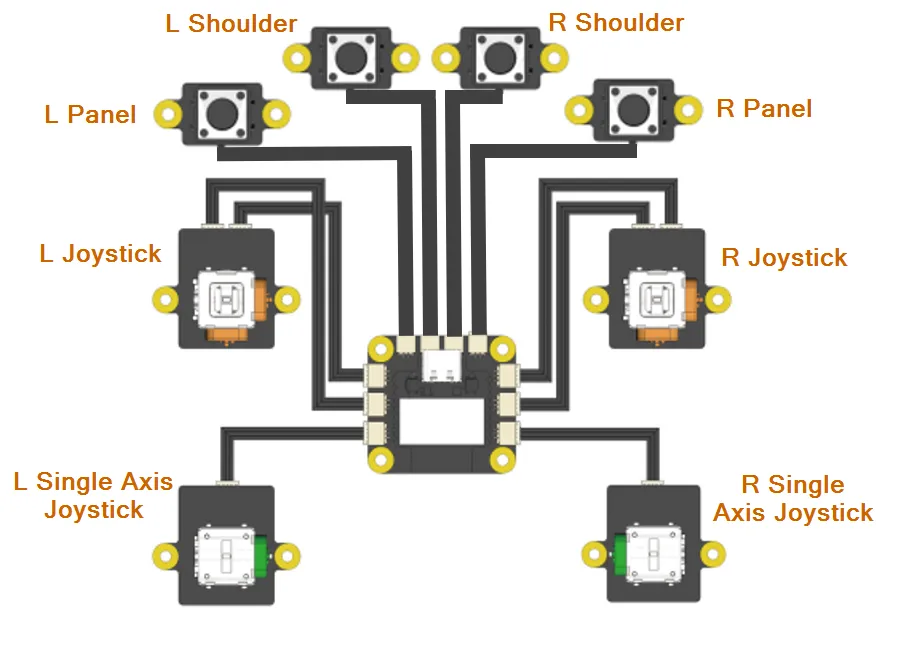
This is my fourth Cyber Brick Controller. The focus here was on achieving maximum control capability, meaning making full use of all the connection ports on the CyberBrick transmitter board. I decided to use the brilliant lockable knobs for the two single-axis joysticks. These allow, via a small toggle lever, either a lockable control mode or free movement. This should make it the perfect controller to handle all kinds of projects like Cars, Robotic Arms or even Mini Trains 😊.
- Easy print without support
- Simple assembly with only 10 parts
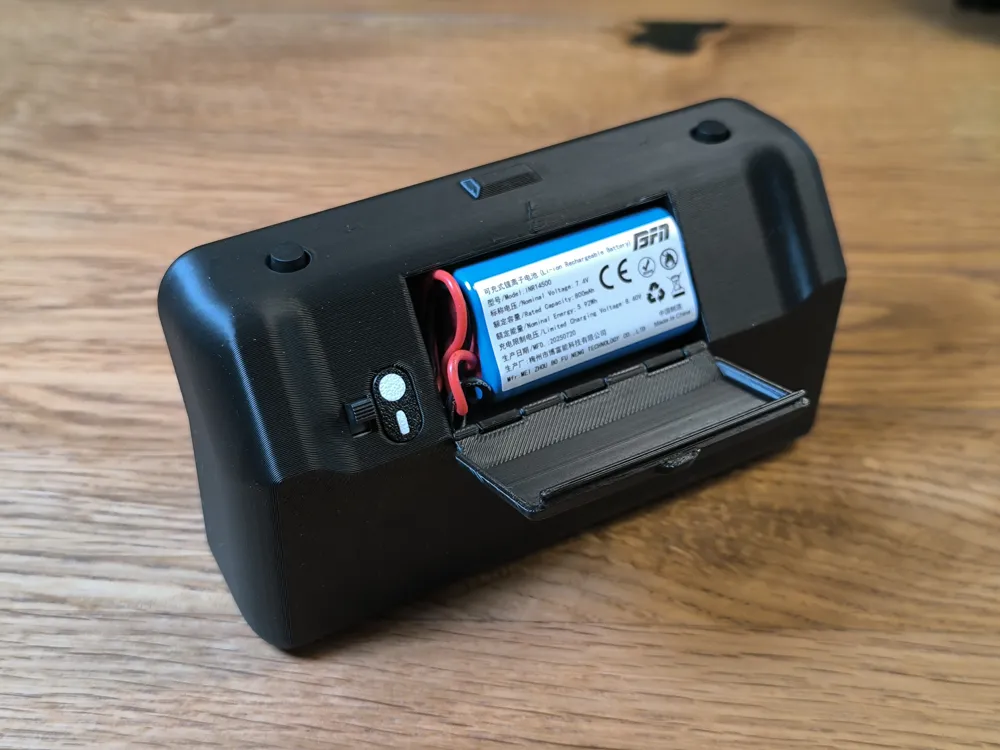
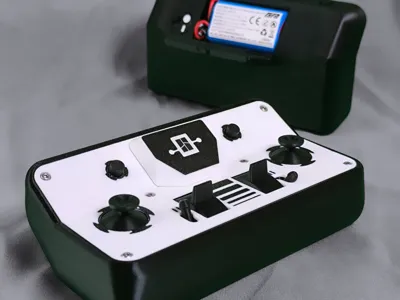
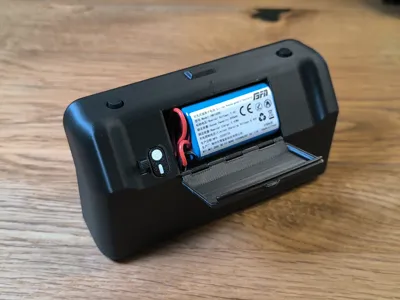
- Uses rechargeable battery pack

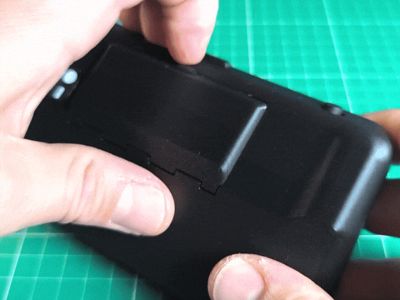


- Quick battery access through a print-in-place flap
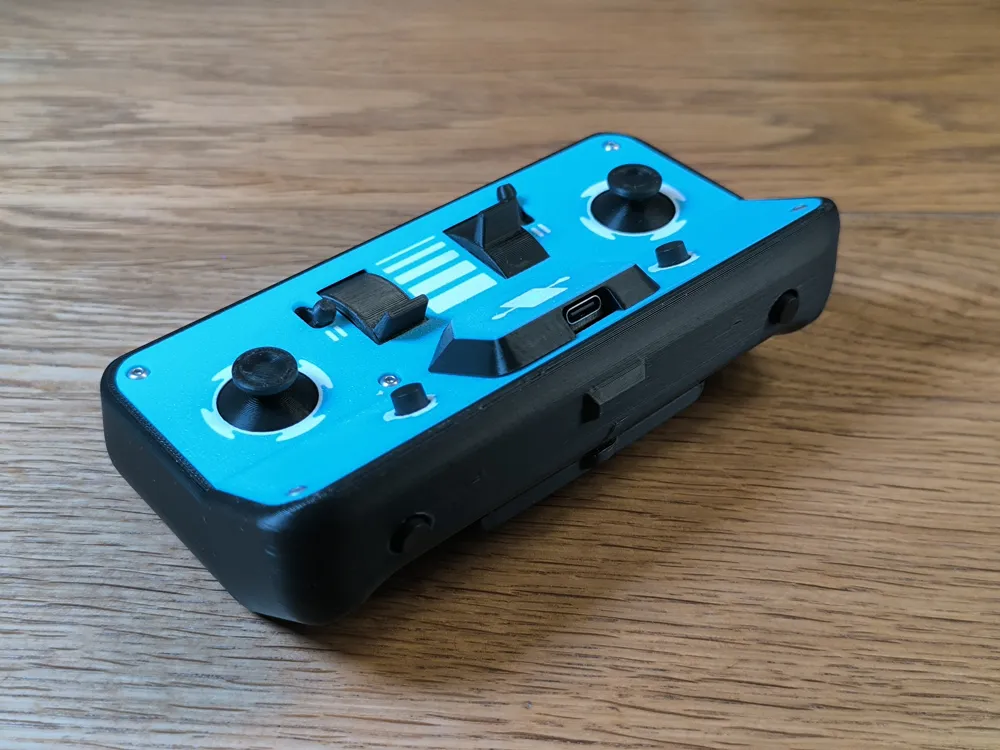
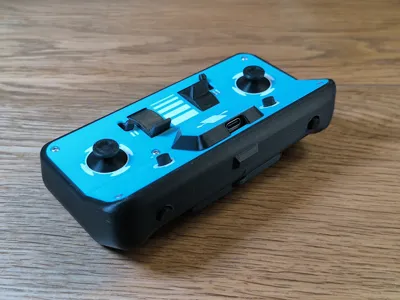
- Direct USB-C access allows alternative cable power supply.
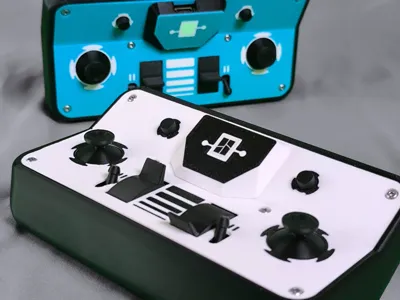
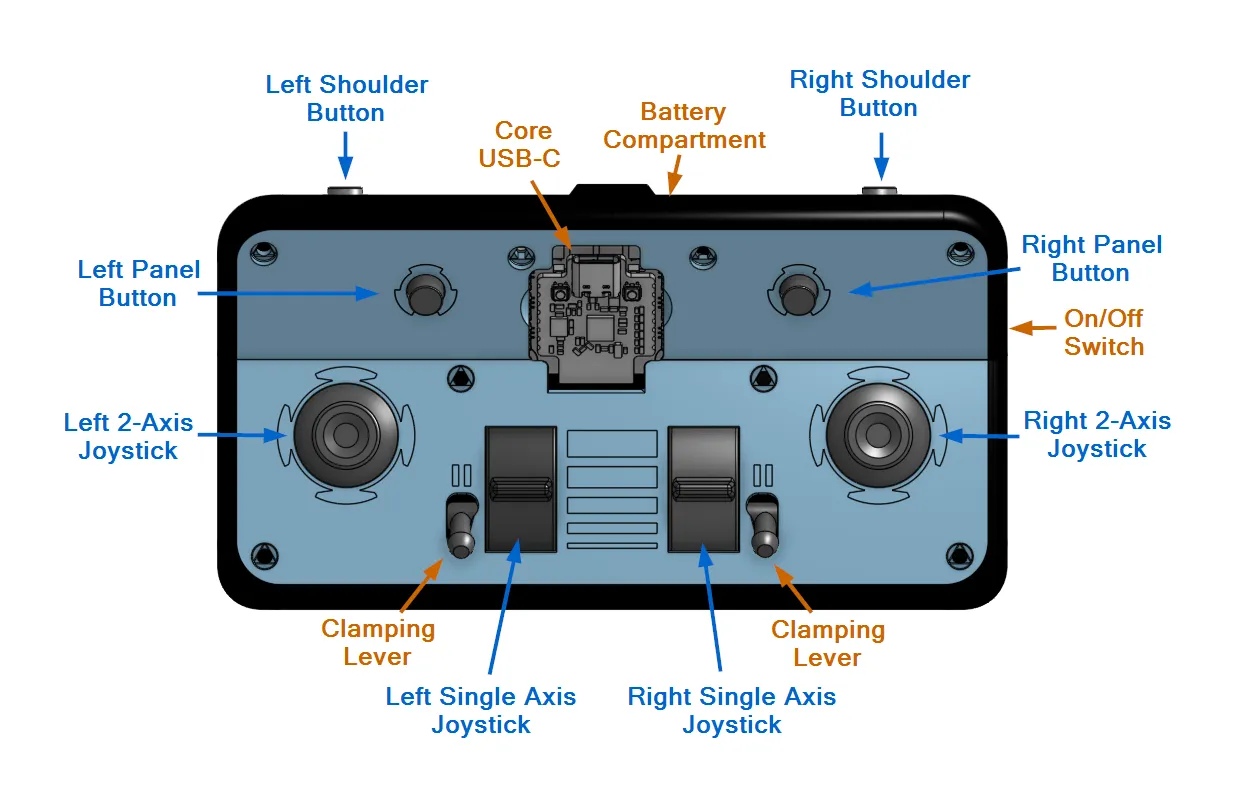
- Maximum number of buttons (2 shoulder buttons, 2 panel buttons, 2 dual-axis joysticks, and 2 single-axis joysticks)
- Lockable single-axis joysticks as slide knobs
- Stable and ergonomic — suitable even for children
- On/off switch accessible from the back
- Core is easy to reach and exchangeable
- Steer easy two vehicles with one remote
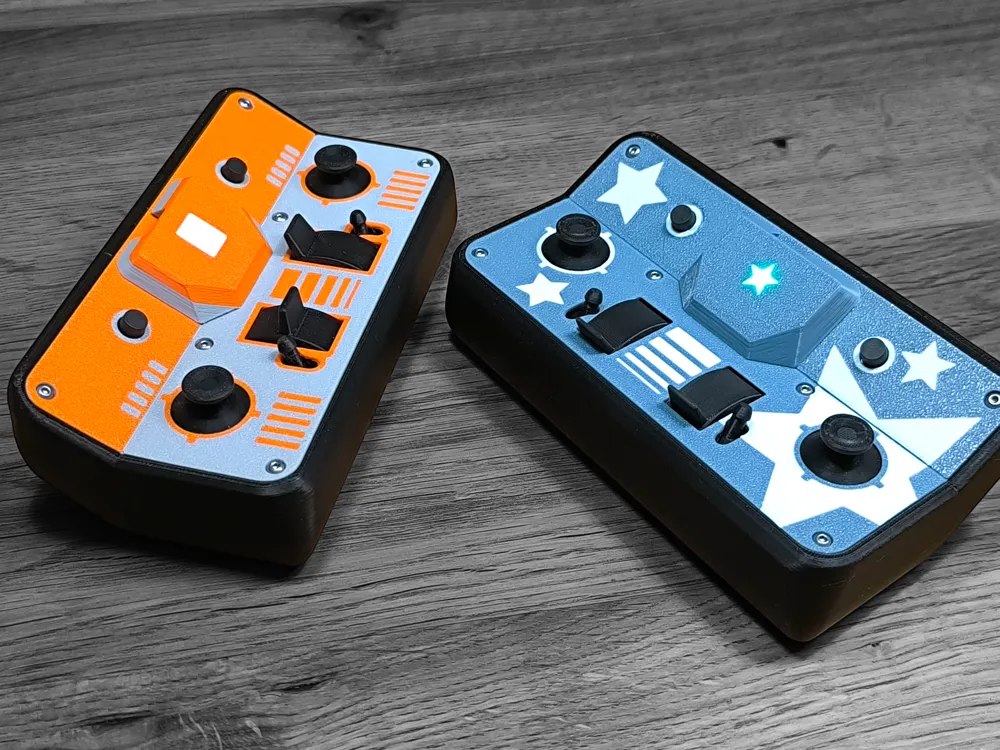
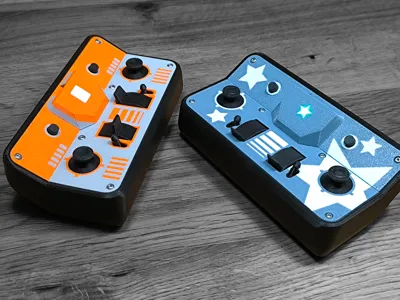

- Different Front and Core Cover Designs
- Customization possibility through flat printed parts → .step for Front & Core Cover uploaded

See in action on Instagram
Maker Supply Info
You will need an Ultimate Kit and 2 additional Momentary Button (XA008) . However you can assemble it without these additional 2 Buttons. I provide some printable cover caps. The detailed list of all used components is in the assembly guide.
Assembly:
Have a look at the Assembly.pdf attached in the documentation section.
If you have additional questions contact me.
Printing:
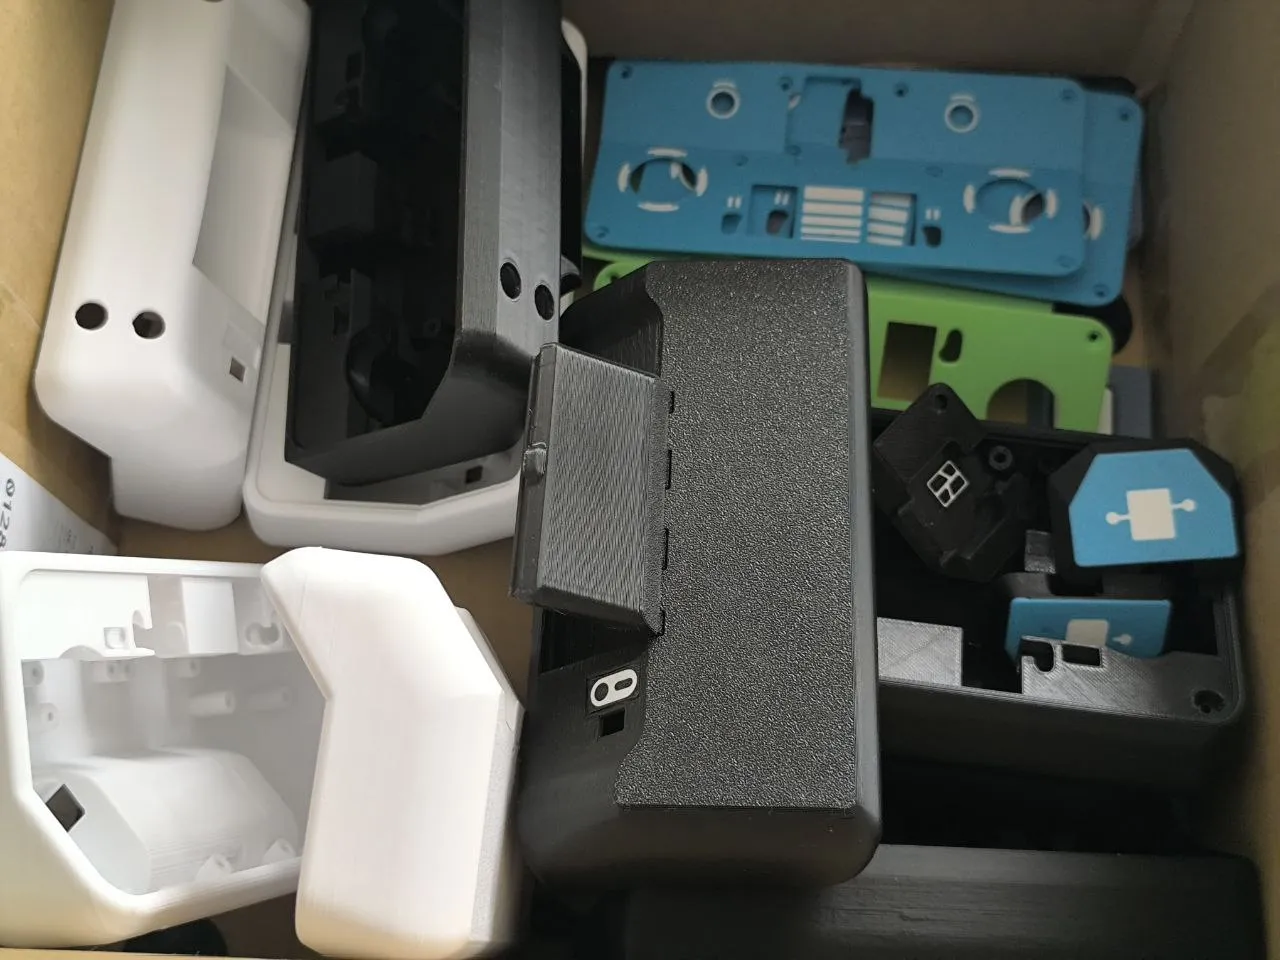
All Parts are easy to print without support. I used Bambulab PLA Basic. Other materials should work, as well.
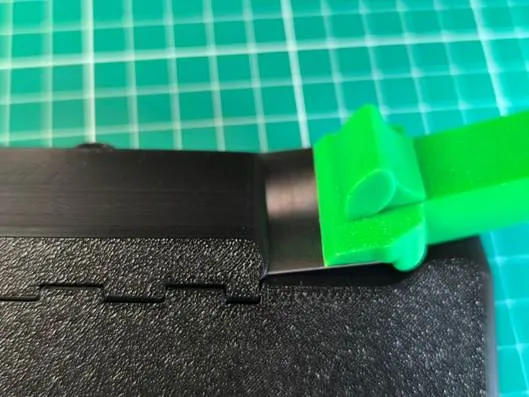
After print try to loosen the battery compartment by gently moving it back and forth. If it sticks to hard you can use a scraper at the two sides.
.
Happy Printing!
This project was very fun with a lot of tests and revisions. Hope you like the MaX Control at the end.
Thanks for any download, like, follow, comment and boost.
I am very happy about your support!
Boost Me (for free)
Membership
You want to sell printed objects from my designs or just support my work? Now you can subscribe on Makerworld! Thank you!
Documentation (1)

License

You shall not share, sub-license, sell, rent, host, transfer, or distribute in any way the digital or 3D printed versions of this object, nor any other derivative work of this object in its digital or physical format (including - but not limited to - remixes of this object, and hosting on other digital platforms). The objects may not be used without permission in any way whatsoever in which you charge money, or collect fees.


Comment & Rating (194)