
ESP32-C3 Door/Window Sensor with Battery
Print Profile(1)

Description
Boost Me (for free)
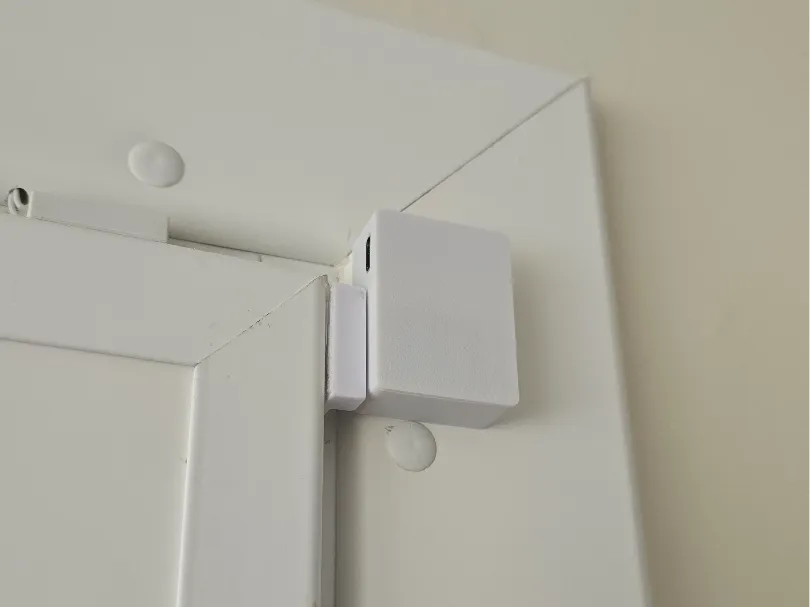
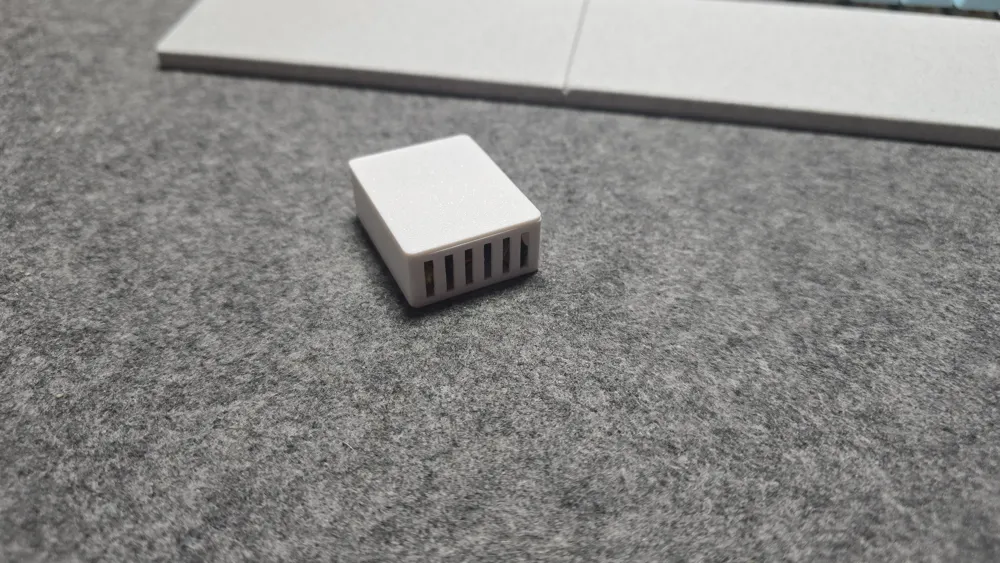
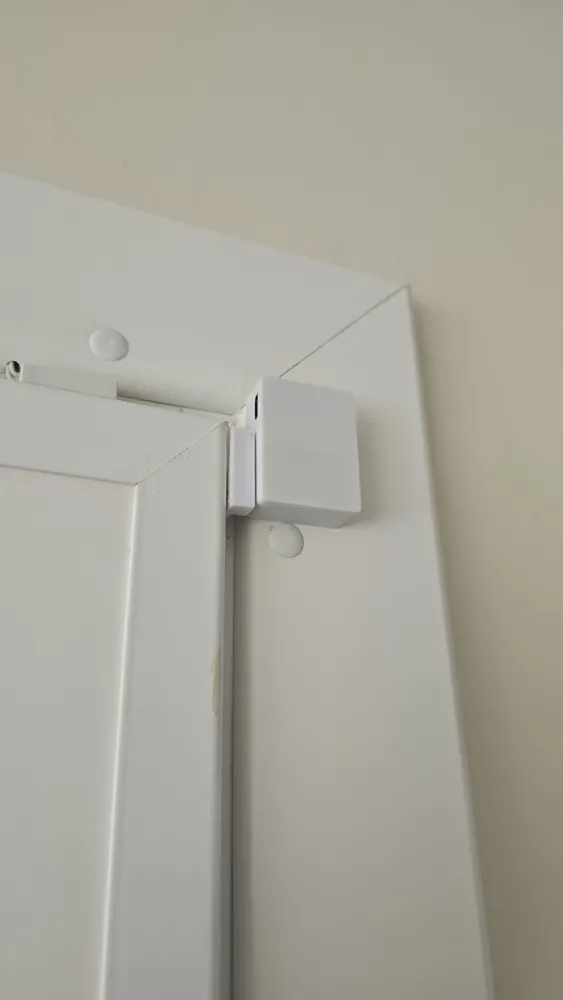
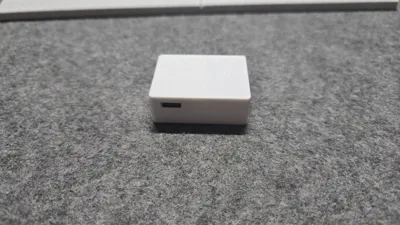
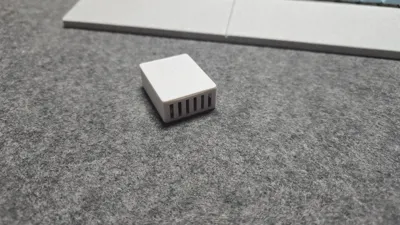
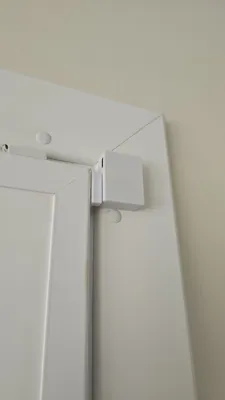
Behold, a battery-powered window/door sensor built with an ESP32-C3 SuperMini! Nothing revolutionary, but I couldn't find anything like this on MakerWorld, so here's my take for anyone looking to build their own low-power DIY sensor.
How It Works
This sensor runs ESPHome firmware on an ESP32-C3 SuperMini board using deep sleep mode to maximize battery life. It stays asleep almost all the time, sipping just a few microamps, and only wakes up when the door or window changes state.
When the door/window opens or closes (detected by a simple MC-38 reed switch on GPIO2), the ESP instantly wakes up, quickly connects to WiFi, reports the event to Home Assistant, and goes right back to sleep.
One small tradeoff: Due to deep sleep, the sensor takes about 1–3 seconds to report state changes to Home Assistant (time needed to wake, connect to WiFi, and transmit).
To squeeze every bit of battery life, I physically removed the red power LED from the board saving a couple more milliamps.
Parts You'll Need
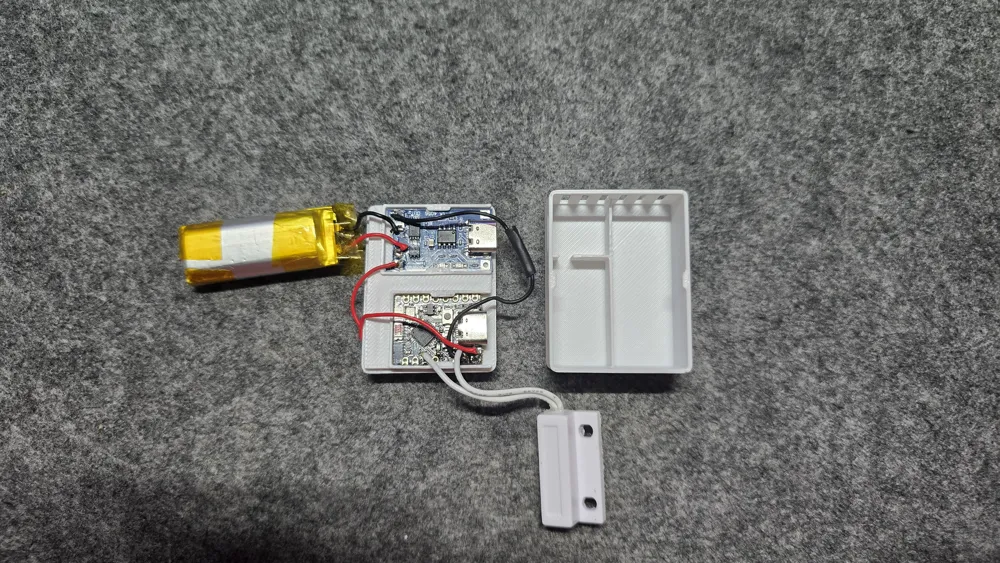
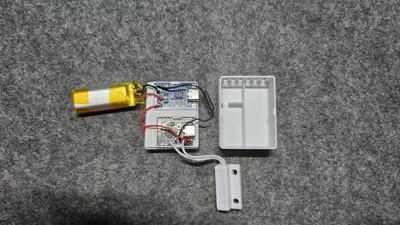
- ESP32-C3 SuperMini board
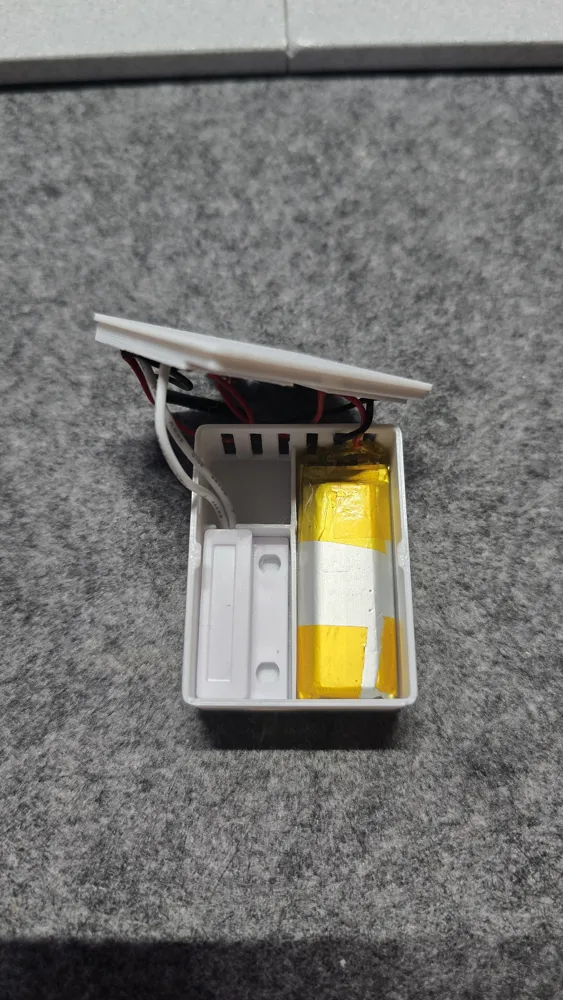
- MC-38 reed switch sensor for doors/windows (AliExpress Link)
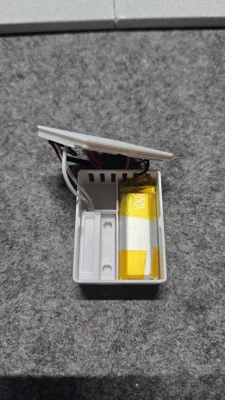
- Battery: I recycled a 500mAh LiPo from a disposable vape. Max dimensions: 43mm × 17mm × 8mm
- TP4056 charging module with protection (AliExpress Link)
- ESPHome environment installed for uploading and configuring firmware
Wiring Instructions
1. Battery to TP4056:
- Battery (+) → TP4056 B+
- Battery (−) → TP4056 B−
2. TP4056 to ESP32-C3 Board:
- TP4056 OUT+ → ESP32-C3 5V pin
- TP4056 OUT− → ESP32-C3 GND
3. Reed Switch Sensor:
- One lead → GPIO2
- Other lead → GND
4. ESPHome Config:
- Full config included in the documentation section.
Battery Life
With a 500mAh battery, this sensor runs for approximately 2–4 months depending on how often the door/window is opened.
No complicated battery monitors, no commercial lock-in hubs just a sleek, efficient DIY sensor that instantly reports to your Home Assistant server whenever your door or window moves.
TODO / Future Plans
- Add battery voltage monitoring for low-battery alerts ✅
- Design a profile for 18650 batteries for extended battery life (up to a year or more)
- Maybe build a V2 with ESP32-C6 using ZigBee for extreme battery life (years instead of months)
🚨UPDATE: Battery Monitoring
So I finally got around to adding battery voltage monitoring, and honestly, it's worth the extra 10 minutes of soldering. Now you can actually see when the battery's getting low instead of the sensor just dying on you randomly.
What You Need:
- 2 resistors with the same value (I used 100kΩ, but anything from 47kΩ to 220kΩ works fine)
- A multimeter to check voltages before you fry your ESP
Wiring It Up:
Take your two resistors and connect them in series (one end to the other). You'll have three connection points:
- Top of first resistor → TP4056 OUT+ (same spot going to ESP 5V)
- Middle junction (where the two resistors meet) → ESP32 GPIO0
- Bottom of second resistor → TP4056 OUT− or ESP32 GND
TP4056 OUT+ ── R1 (100kΩ)
├────────── to GPIO0
TP4056 OUT− ── R2 (100kΩ)
⚠️ Before connecting to GPIO0: Use your multimeter to check the voltage at that middle junction. Should be around 2V for a full battery. If it's over 3.3V, don't connect it or you'll kill the ESP.
Calibrating the Sensor:
- Measure your actual battery voltage with a multimeter (mine was 4.12V fully charged)
- Add the config below and flash it (start with multiply: 2.0)
- Trigger the sensor and check what voltage Home Assistant shows
- Calculate your calibration: (actual voltage ÷ reported voltage) × 2.0
- Update the multiply value in the config
Example: Battery is 4.12V, ESP reports 4.06V → (4.12 ÷ 4.06) × 2.0 = 2.03
I will update the esphome-config.txt with the extra sensor for the battery level and voltage
Documentation (1)
License



Comment & Rating (7)