Gundam Aerial V2 (NO AMS)


Print Profile(3)


Bill of Materials


Description
Foreword: Due to the lack of assembly diagrams and a more reasonable installation method in V1, this V2 version has been reconstructed

Boost Me (for free)
V2 Version
Updates
Dimensions: Changed from the previous 180MM to the current 220MM

More detailed watermarks and engraved lines (H2D printing is recommended for this part)

- Complete lighting adaptation (can be installed normally even if not used), complete circuit diagram introduction
The interior has been re-arranged and smoothed, with all M3 screws for more reasonable assembly (allowing for quick disassembly and replacement in case of damage), and ample internal space for inserts or protective sponges

- Multiple magnetic quick-release parts
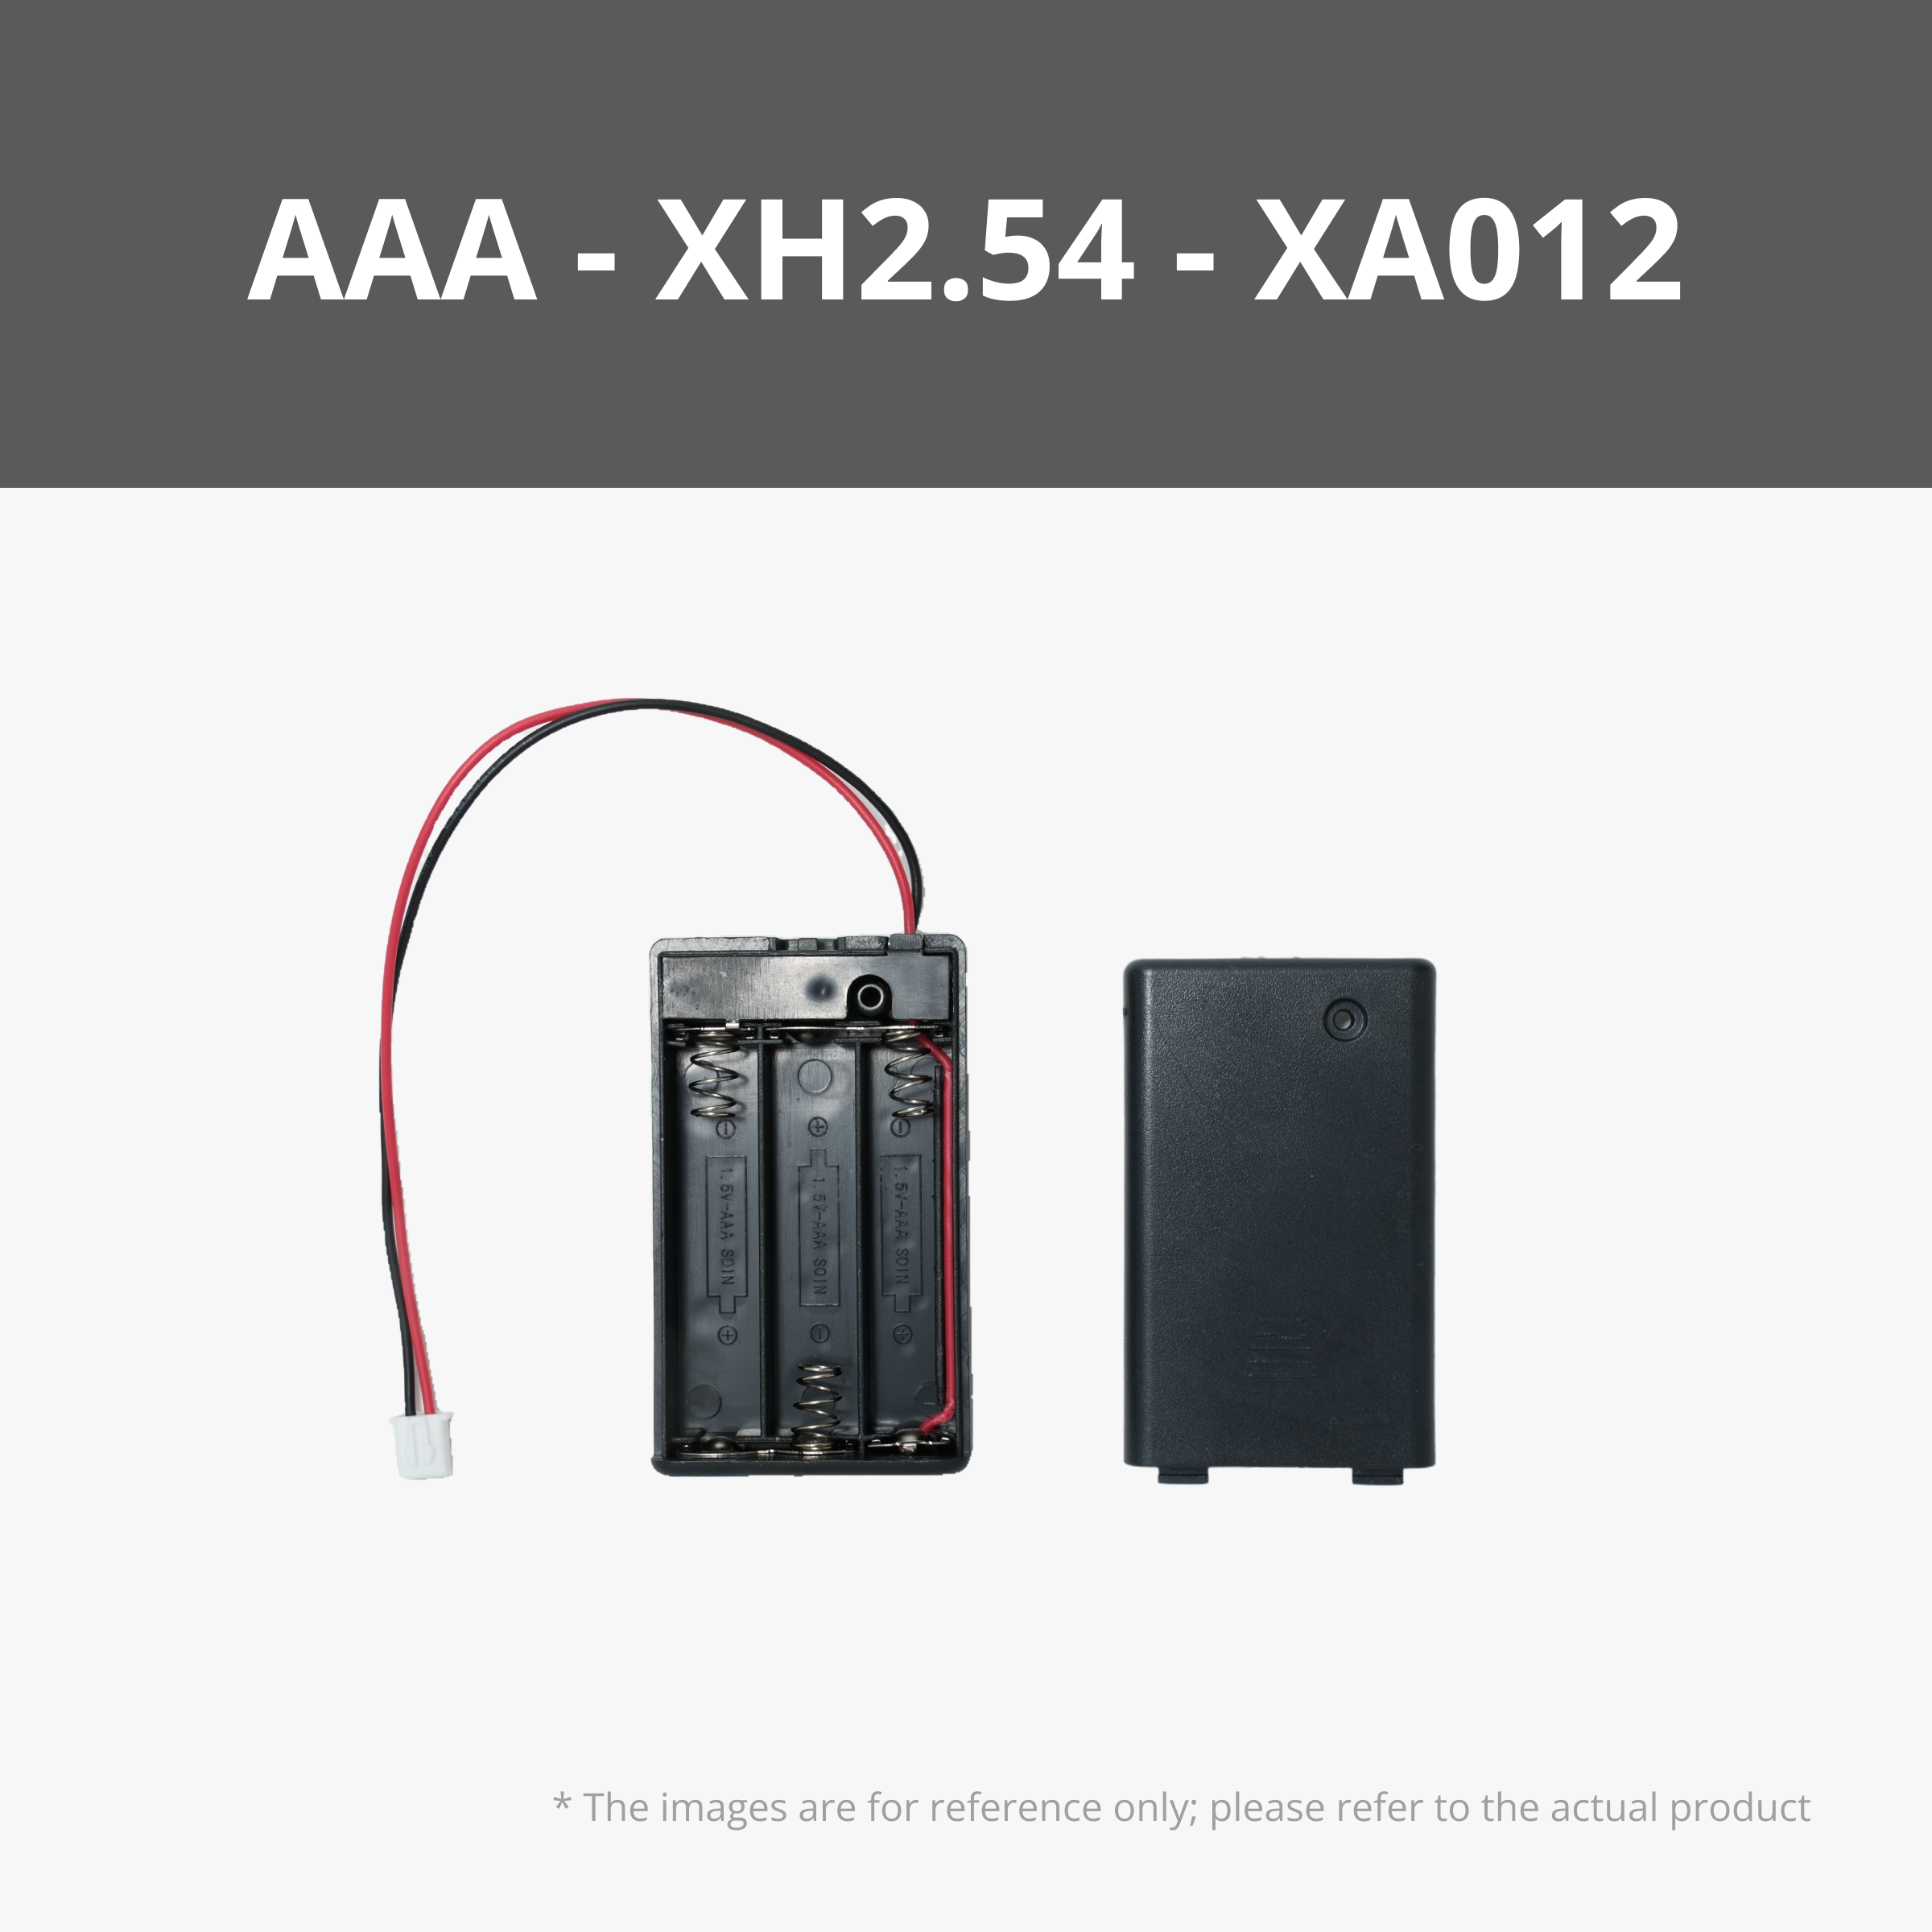
Circuitry
Note: The circuit part is not essential; not using it will not affect the normal installation process. The battery box is for convenient battery management and replacement
Maker's Supply Parts Preparation
M3X16-AA039 screws X54 (recommended to buy 60)
M3X8-AA037 screws X8 (recommended to buy 10)
10X3 magnets X16 (if magnetism is not needed, you can directly glue them)
6X3 magnets X42 (if magnetism is not needed, you can directly glue them)

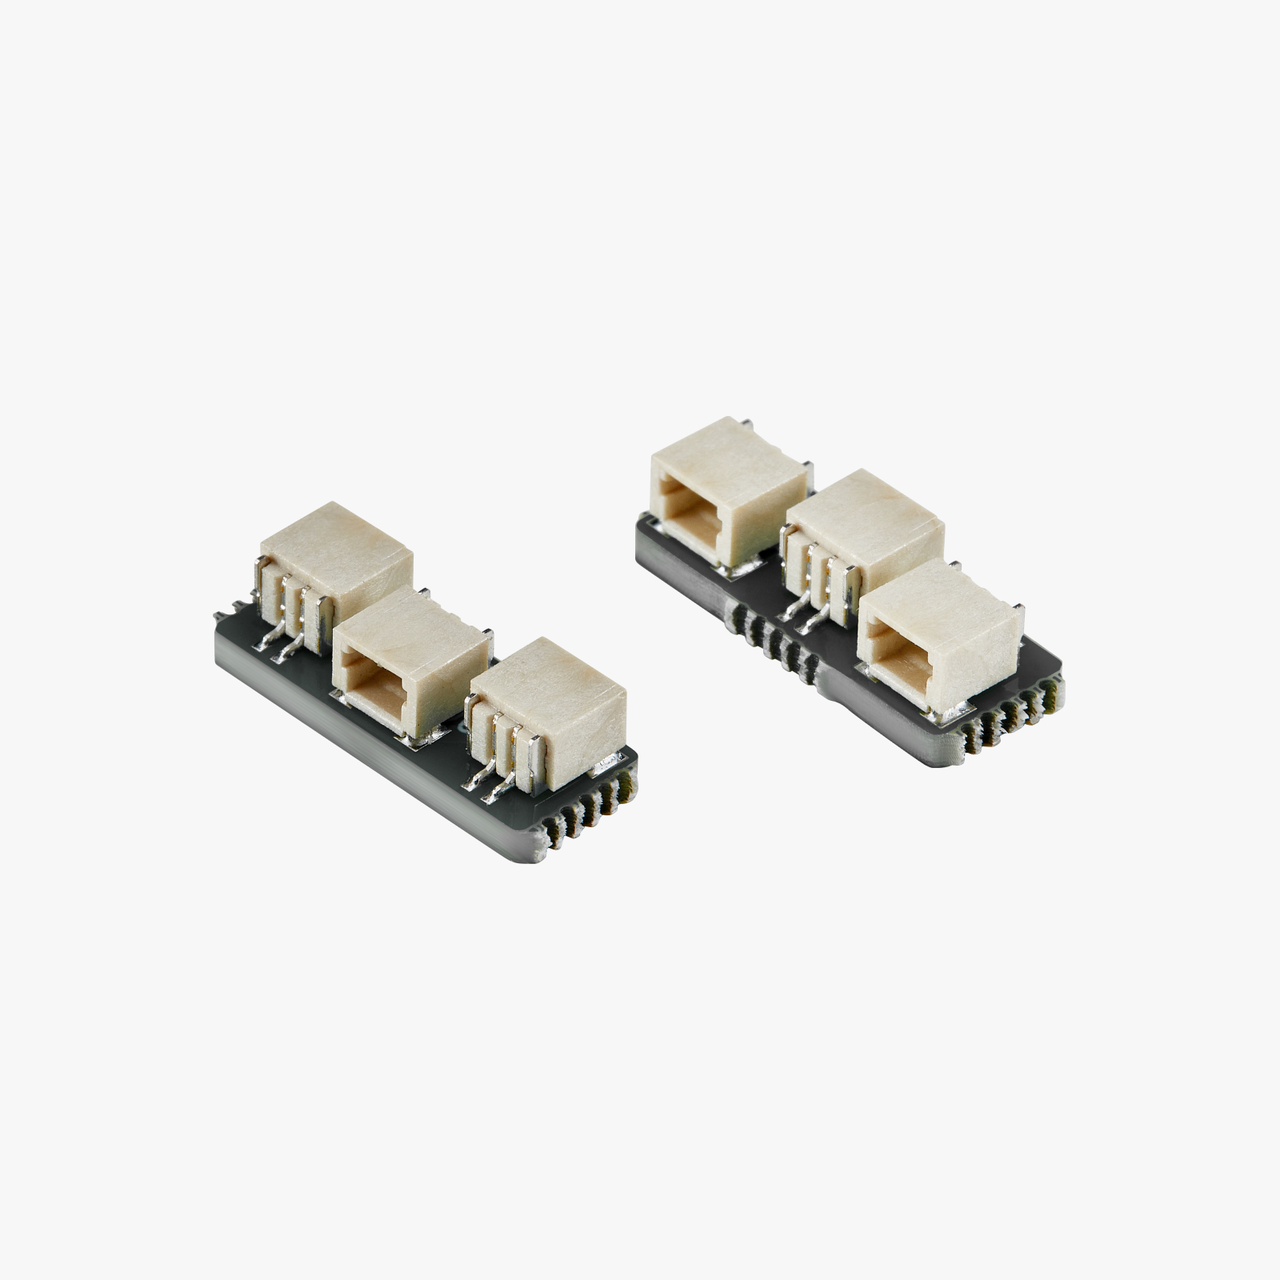
Circuit Splicing
Note: Here, 1.5MM heat shrink tubing is required for splicing. The splicing principle is to connect red to red and black to black (if you can directly purchase SH1.0 to XH2.54 and dual-head SH1.0 wires, you can skip this step)

Wire Length
Note: Reference for spliced dual-head SH1.0 wire length

Wire Splicing

Lens Production
Note: The 3D Printed lens thickness is 0.75mm, with general transparency performance
- You can purchase PVC sheets (0.5-1mm are fine), press the 3D Printed part onto them, and cut them out
- If you don't have PVC, you can also buy transparent green bottles like Sprite bottles, heat them with hot water, press them flat, then mark and cut them
If you have resin printing, you can use transparent resin to print (the top cover can also be printed this way)

Assembly Steps
Note: All unmentioned parts use M3X16 screws
Assembly video:


Conclusion
Finally, I wish you success in replicating this
License
You shall not share, sub-license, sell, rent, host, transfer, or distribute in any way the digital or 3D printed versions of this object, nor any other derivative work of this object in its digital or physical format (including - but not limited to - remixes of this object, and hosting on other digital platforms). The objects may not be used without permission in any way whatsoever in which you charge money, or collect fees.
Comment & Rating (106)