

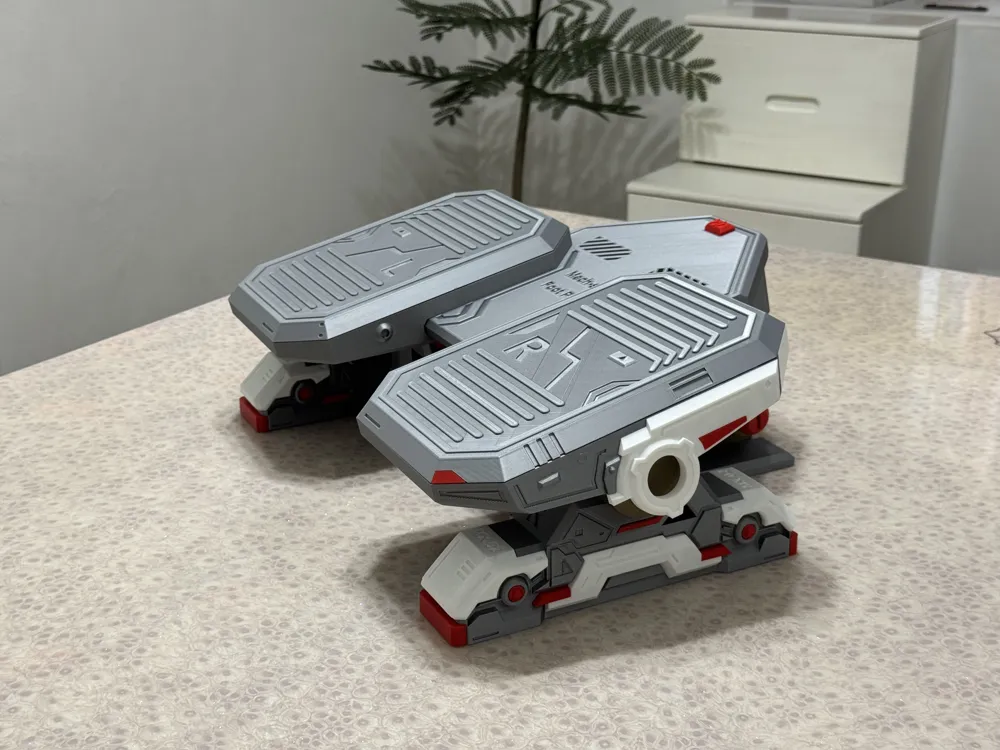
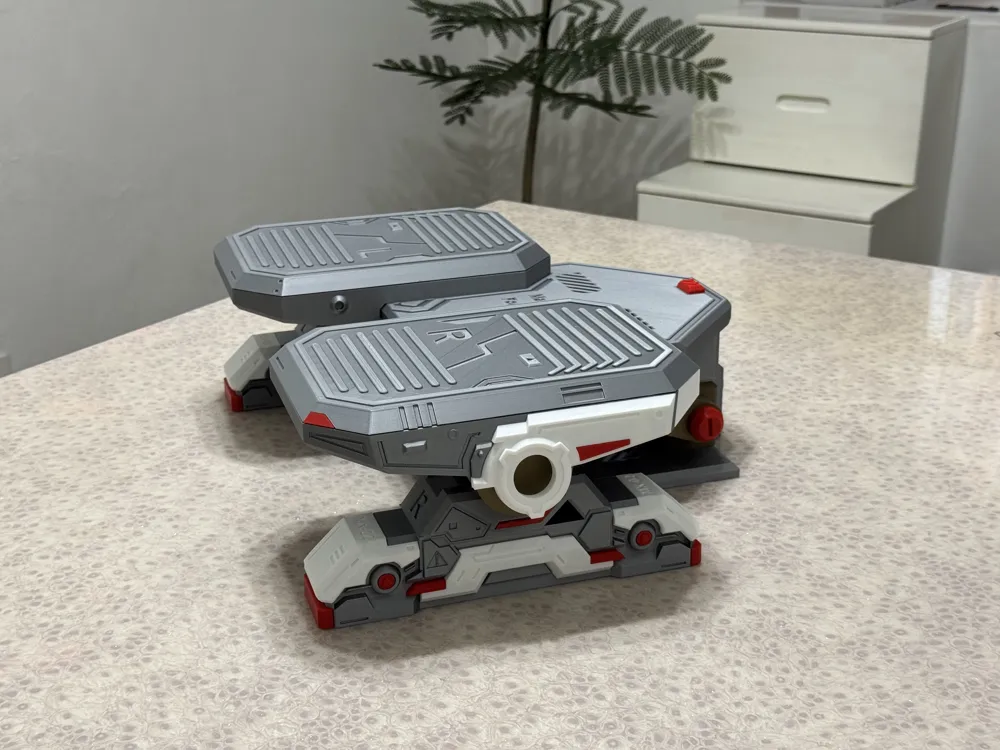
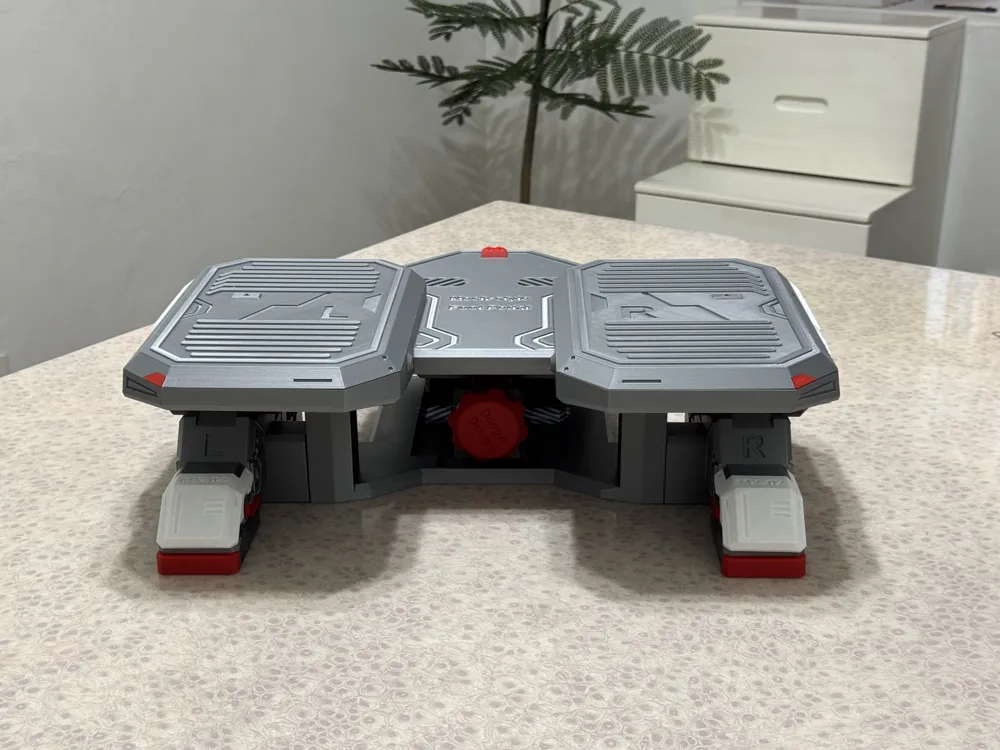
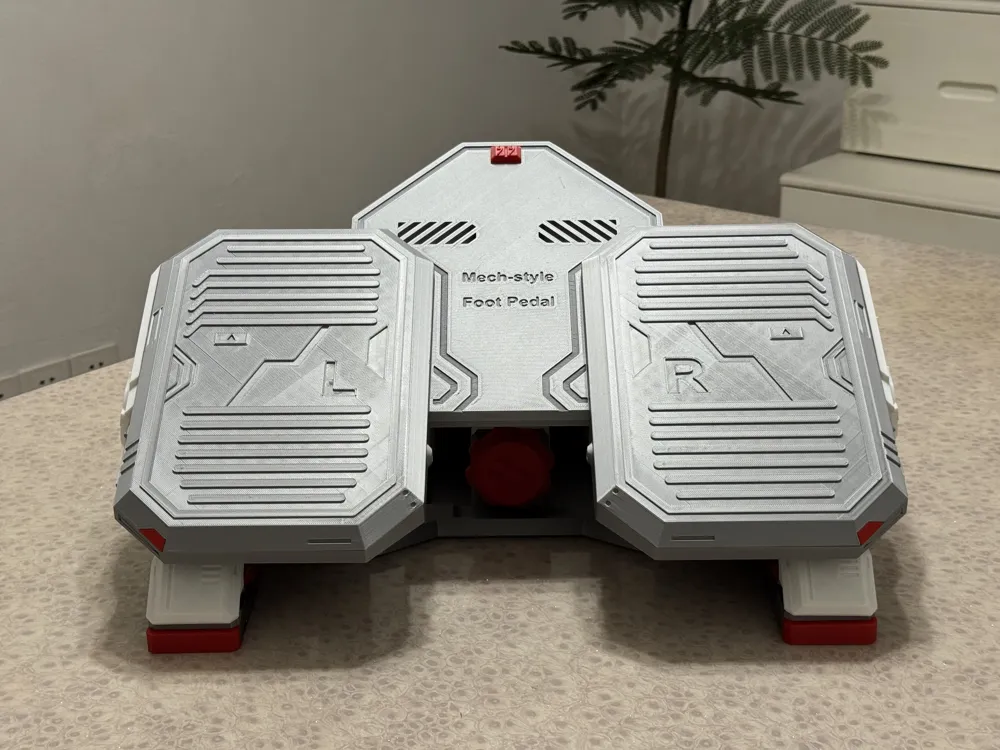
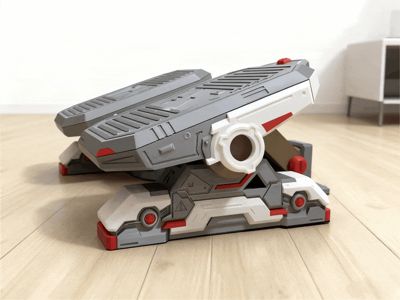
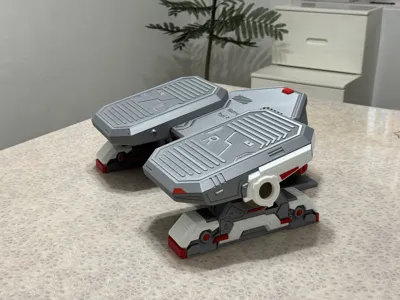
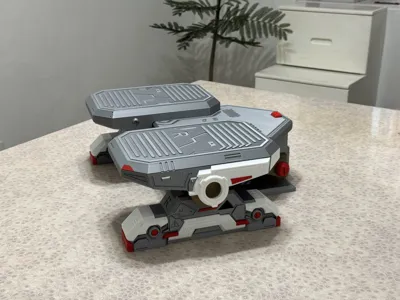
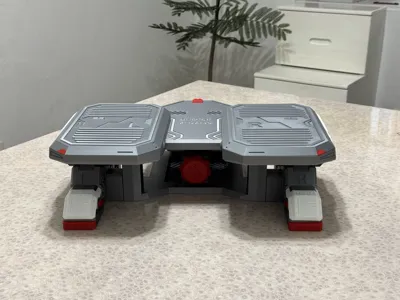
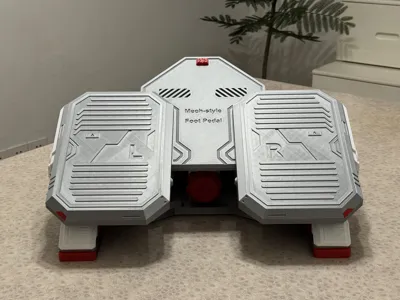
Mecha style office footrest with matching phone/tablet/iPad stand for desk setup - adjustable angle
Print Profile(4)


Description
Boost Me (for free)
Screw installation tip: Before screwing, heat the inside of the screw hole with a lighter for a few seconds, then while hot, you can easily screw it in, ignoring tolerances! If it's too loose, you can add super glue to the end of the thread to secure it. (You can use a one-dollar coin or pliers to screw in the screws; the author used his bare hands. To ensure strength, the bonding points between the two leg parts and the main body do not have positioning holes, so please apply more super glue to provide sufficient stability)
There's no way to guarantee everyone has the same tolerances; if you need to adjust bolt tolerances or encounter any issues during model printing, please send me a private message or leave a comment. I will reply and help you solve it within 24 hours, please don't leave negative reviews arbitrarily~ (heart emoji)~

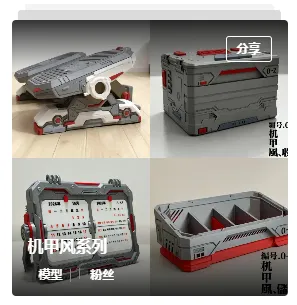
Welcome to download other models from the Mecha Style series (click the image to jump)
Model Introduction:
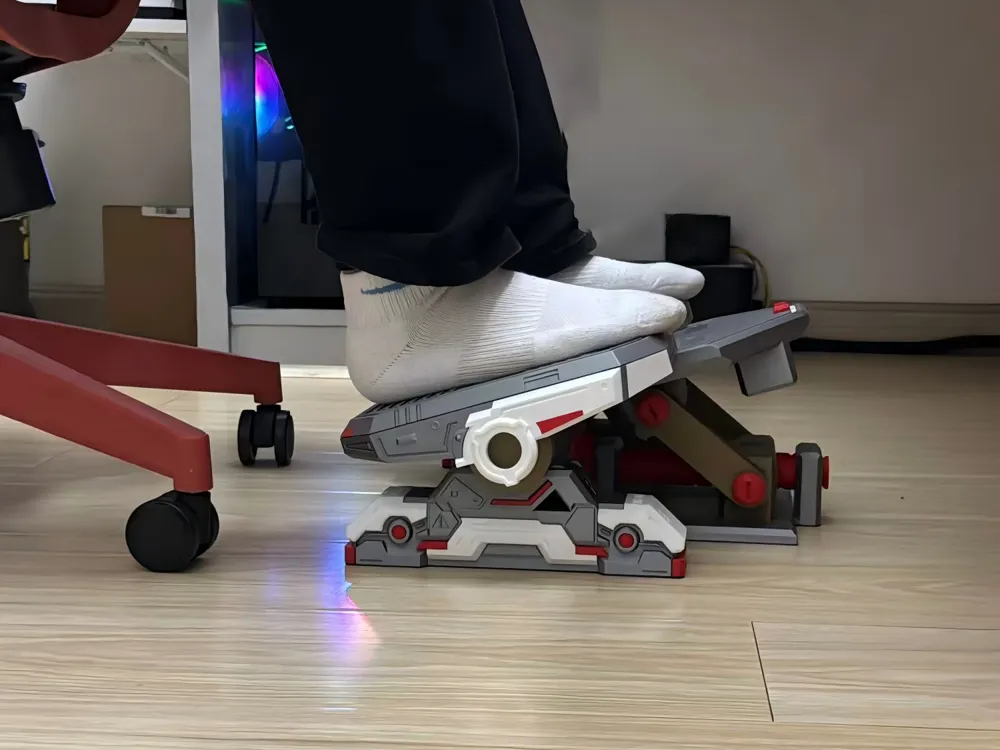
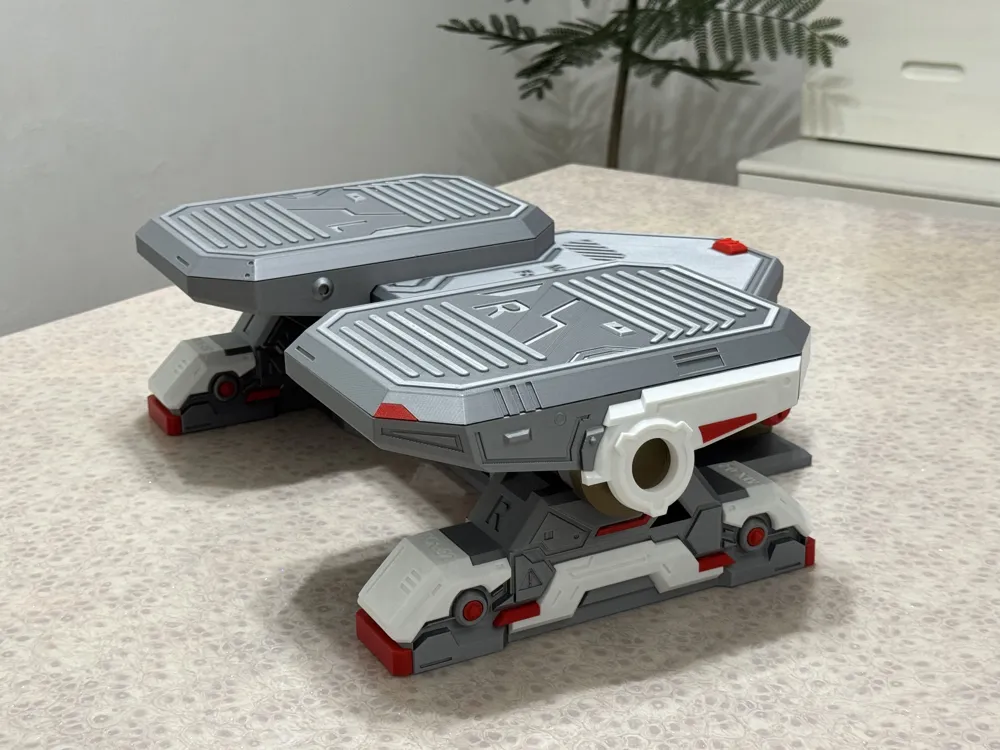
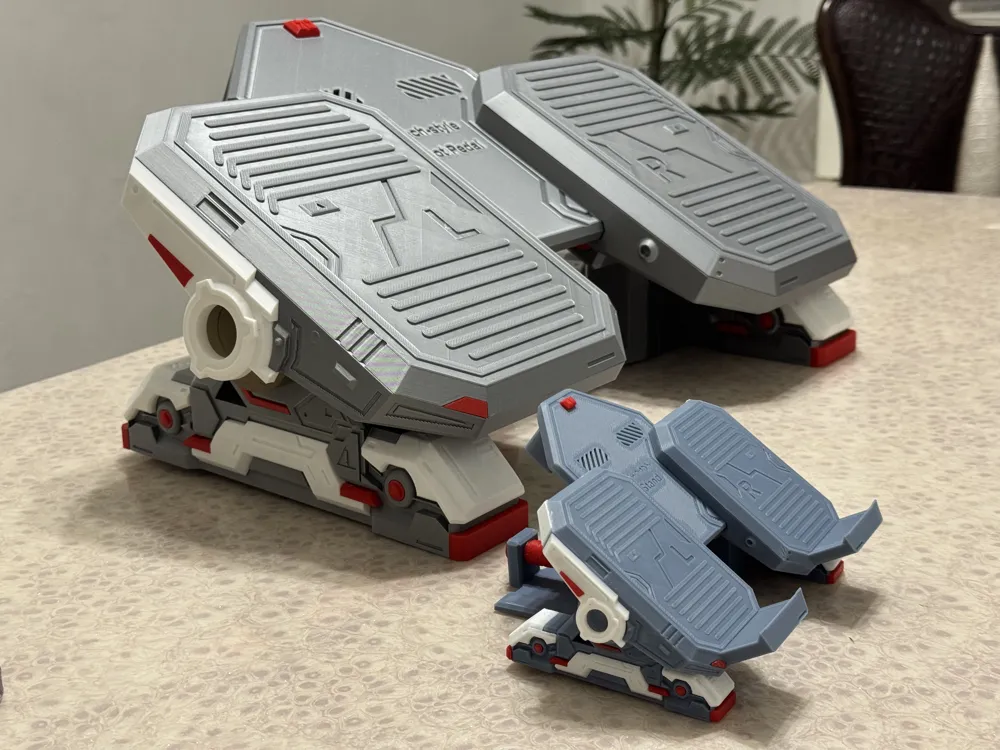
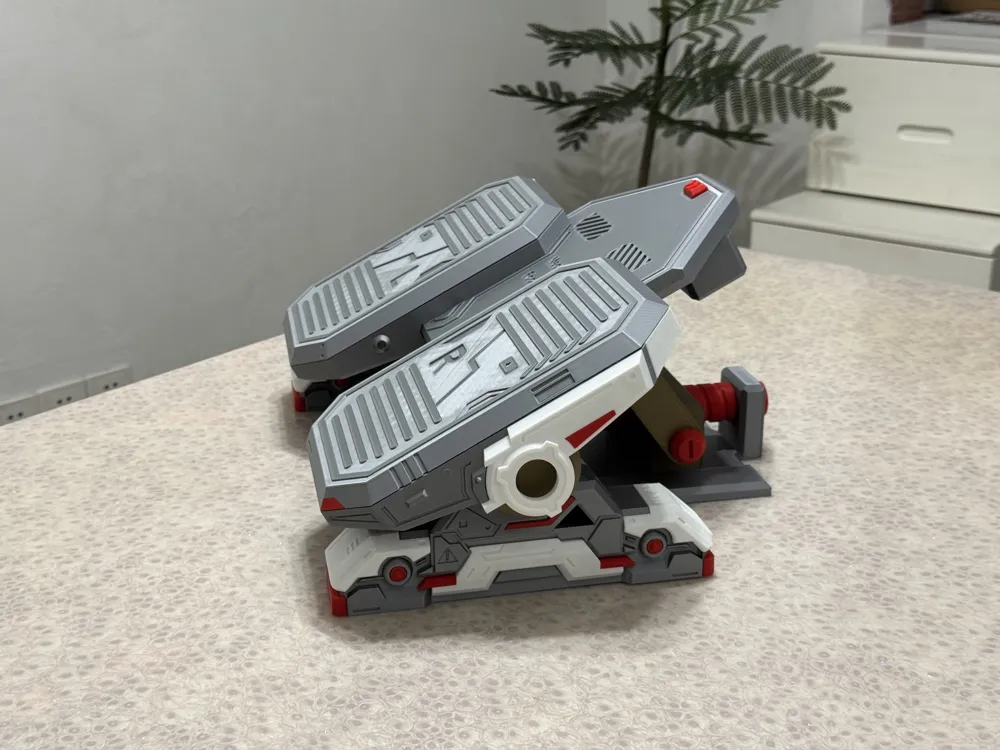
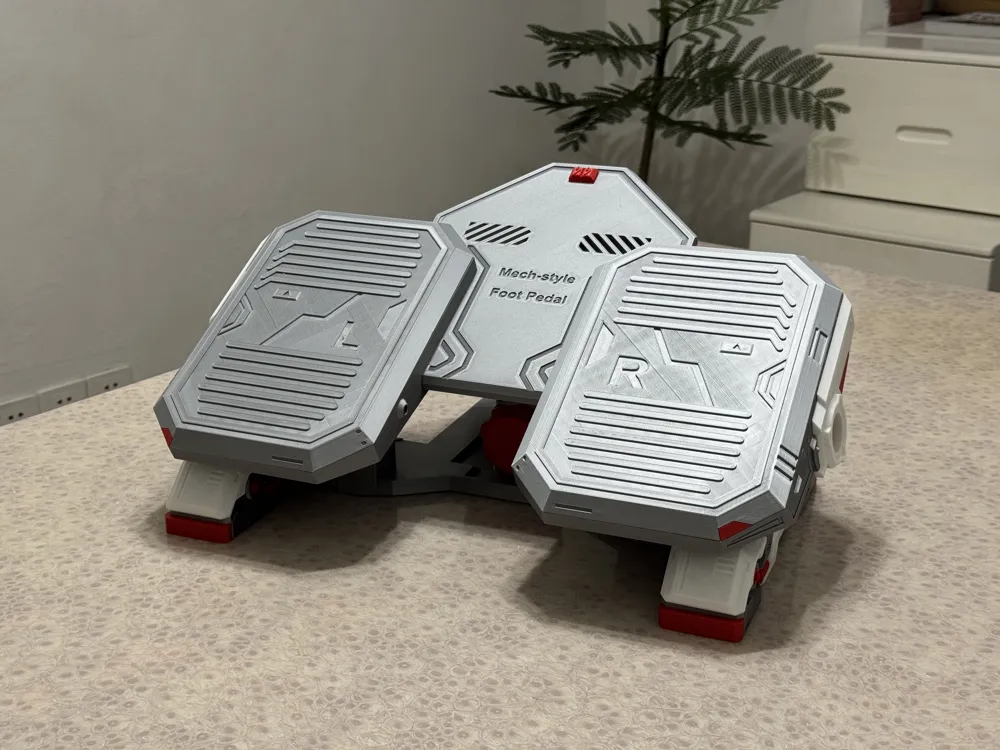
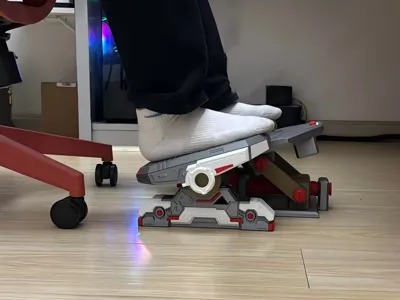
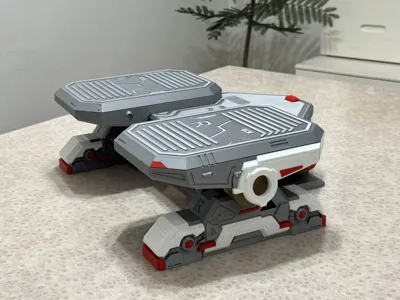
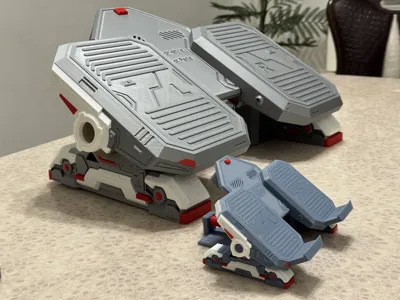
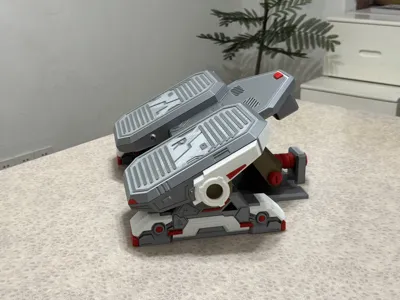
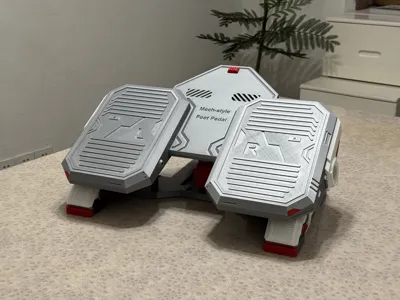
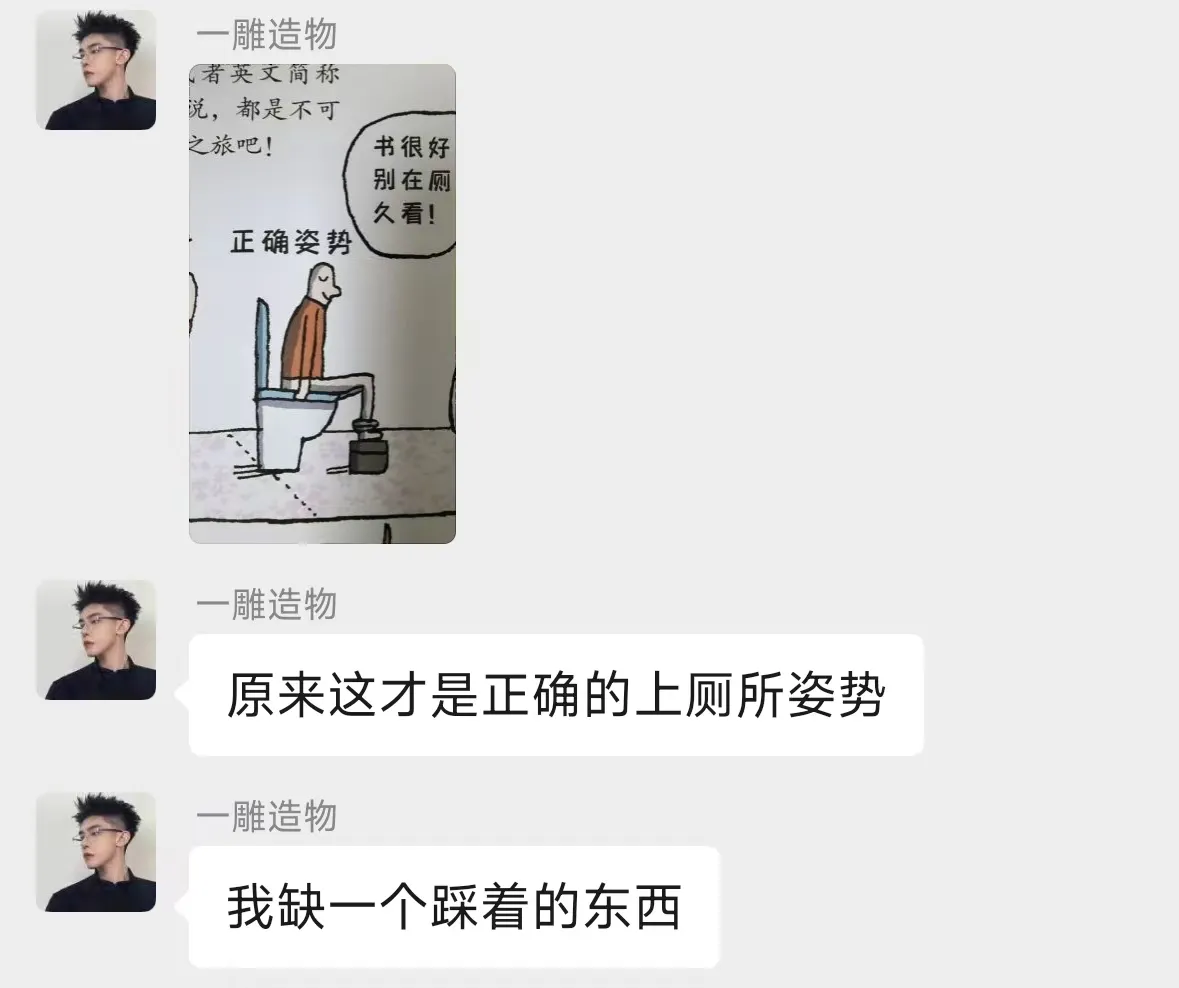
Everyone who sits in front of a computer for a long time needs a footrest! If you find online options too generic and lacking personality, or perhaps their incline isn't suitable for you, then check out this mecha-style foot pedal with infinitely adjustable angles—there's bound to be an angle that suits you! When laid flat (Please do not sit or stand on it when it's inclined!), it can also serve as a small stool! As the saying goes: A real man drives a mecha!!! (Designed with a load-bearing structure, using PLA Basic filament can achieve sufficient weight capacity. The author, weighing 145 jin, can stand or sit directly on it; please refer to the video)
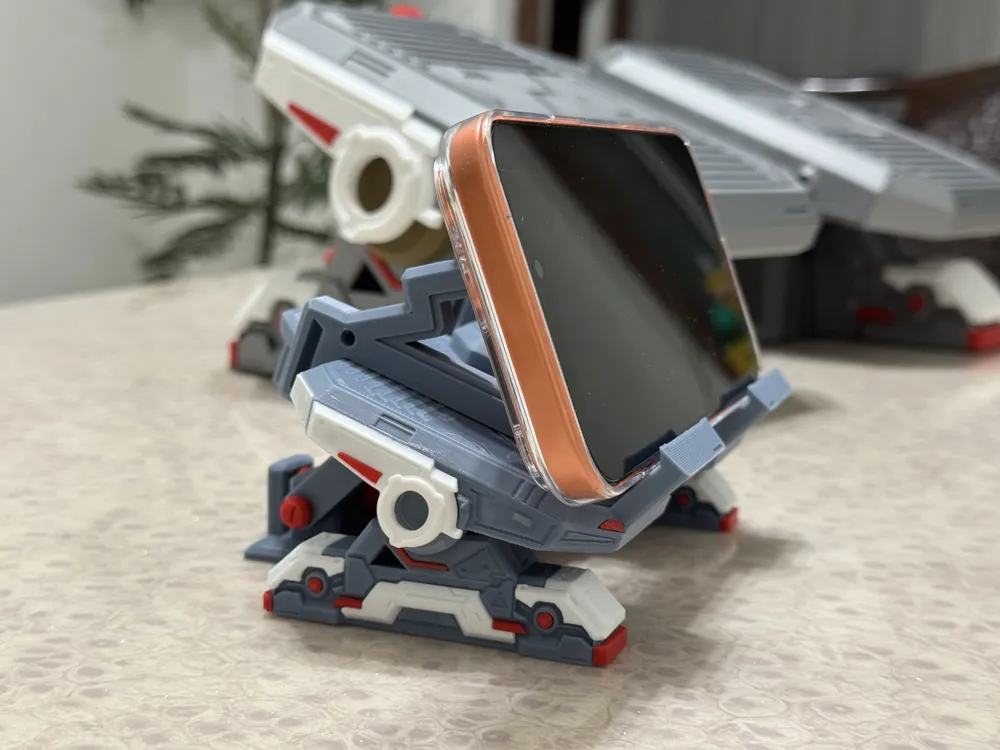
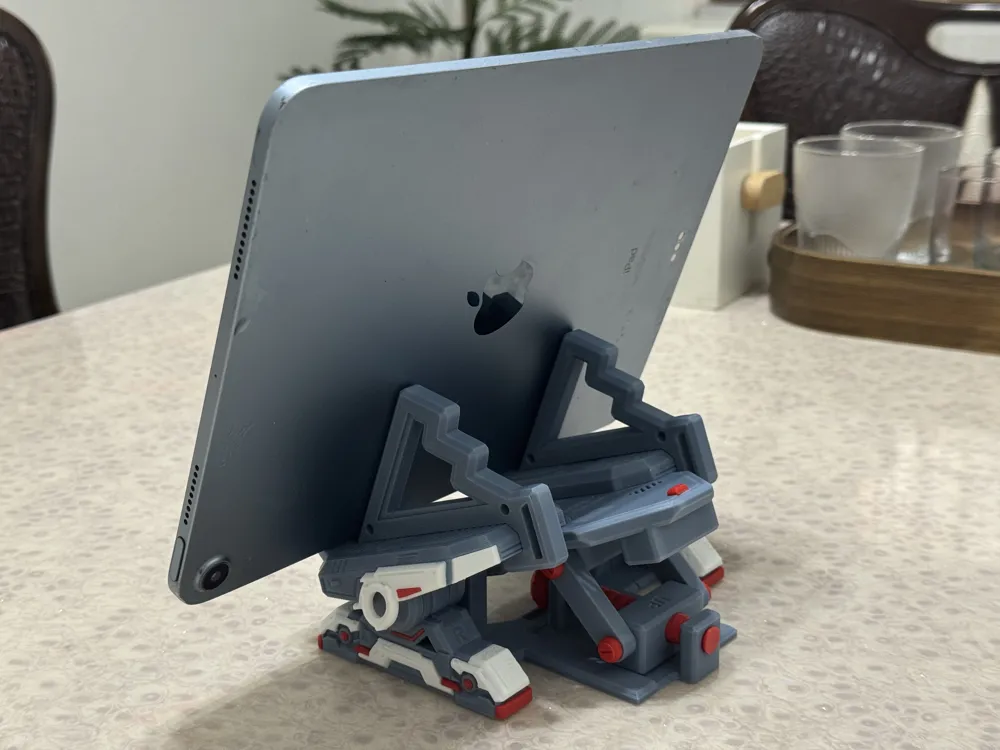
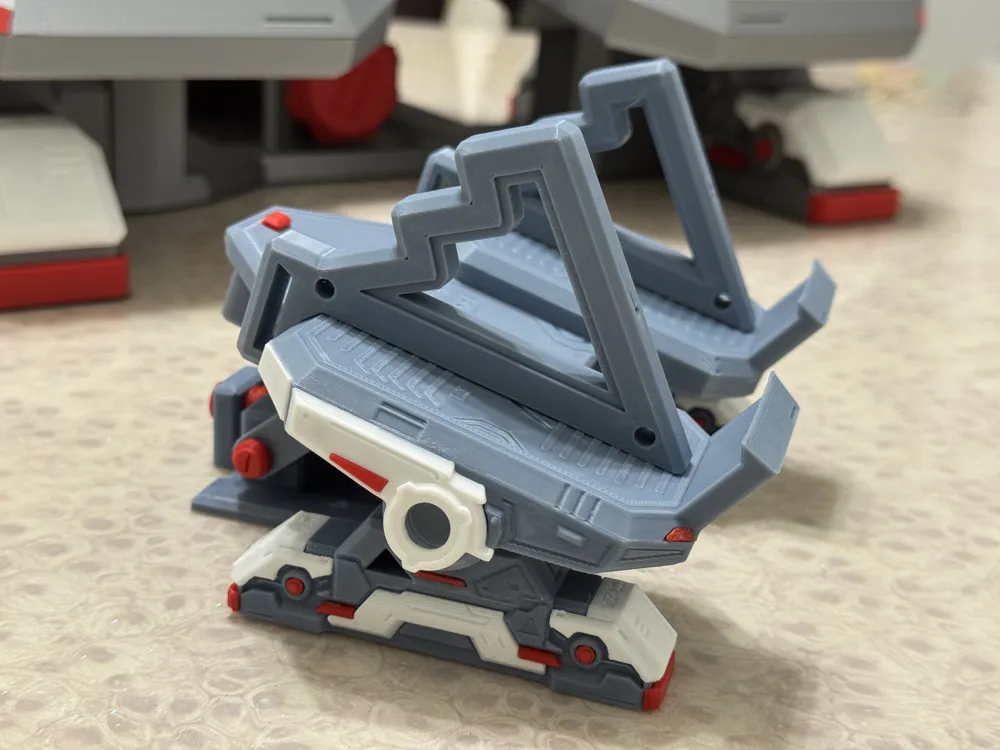
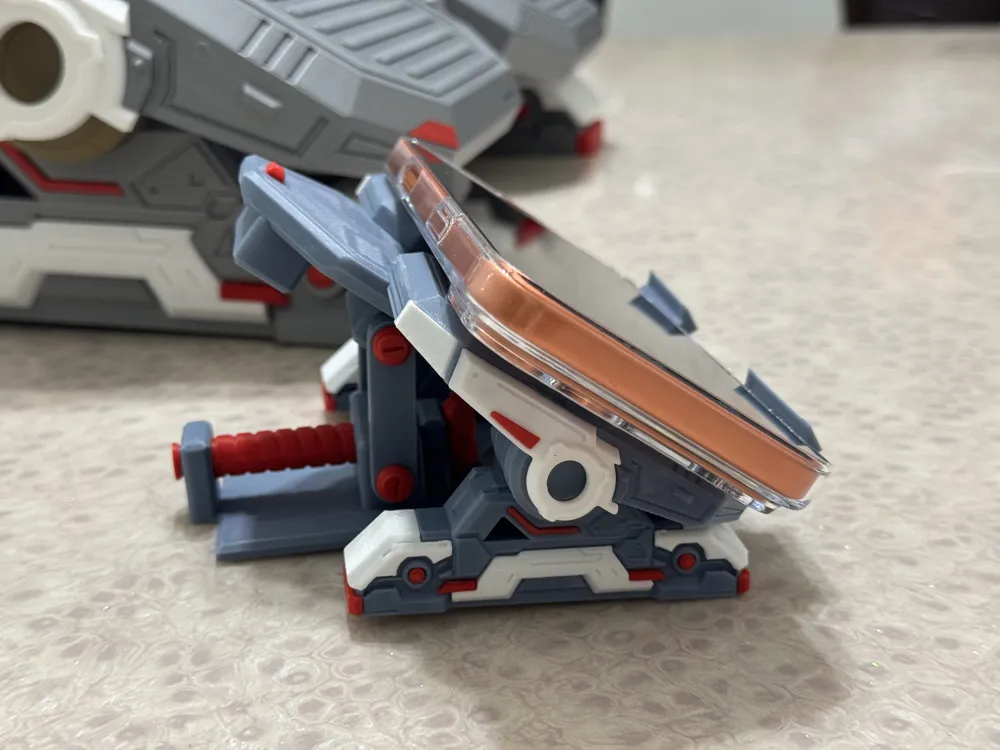
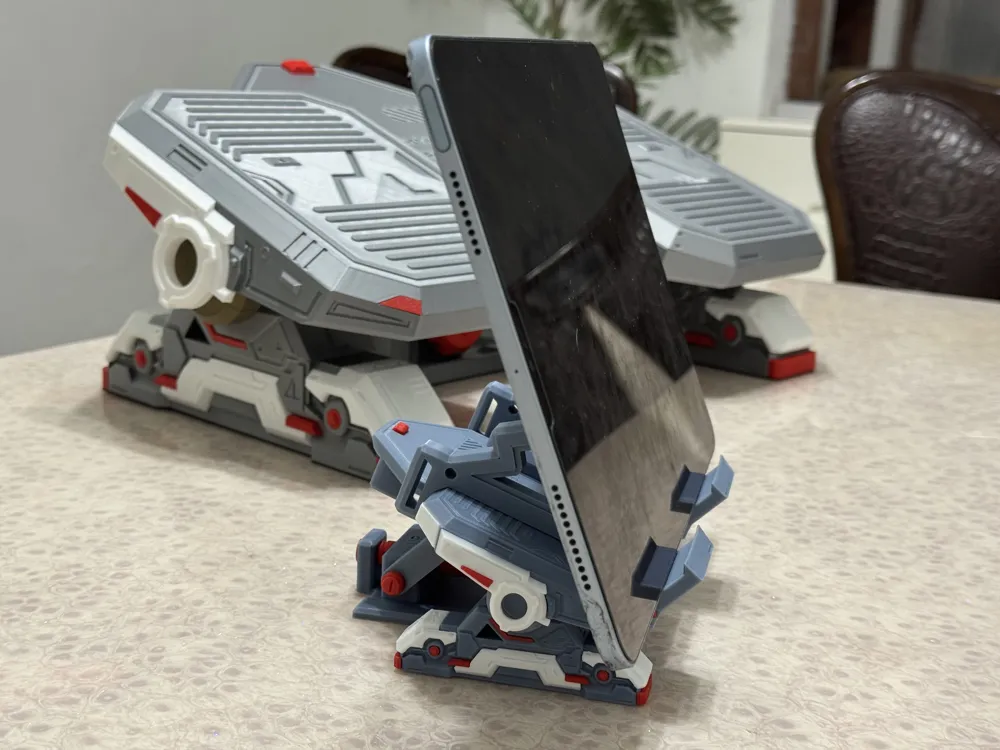
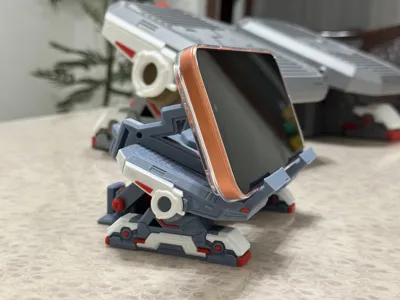
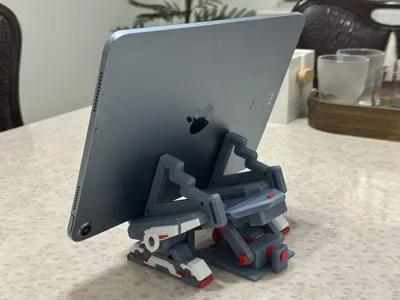
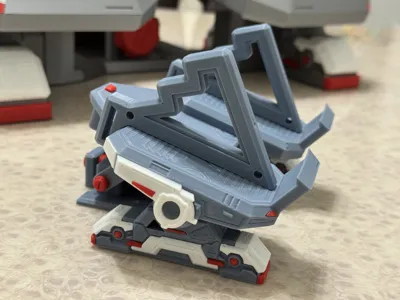
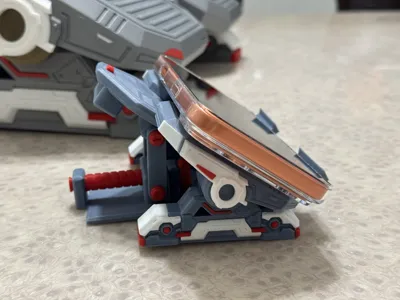
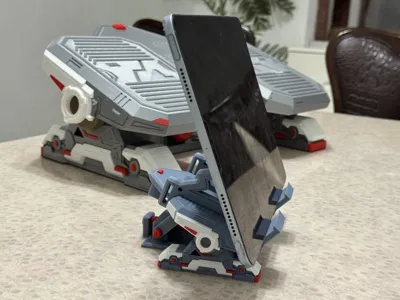
The same mecha-style phone, tablet, and iPad stand, also with adjustable angles, has been uploaded separately in the profile. When placed in the office with the footrest, it can look even cooler! (If you feel the angle is insufficient, the part in the last plate of the print profile is used to increase the tilt angle. Place it according to the position in the model photos, then adjust the left and right spacing to a position that feels most suitable for your phone or tablet, and fix it with super glue. Note: This part must be installed if you intend to use it as a tablet stand)
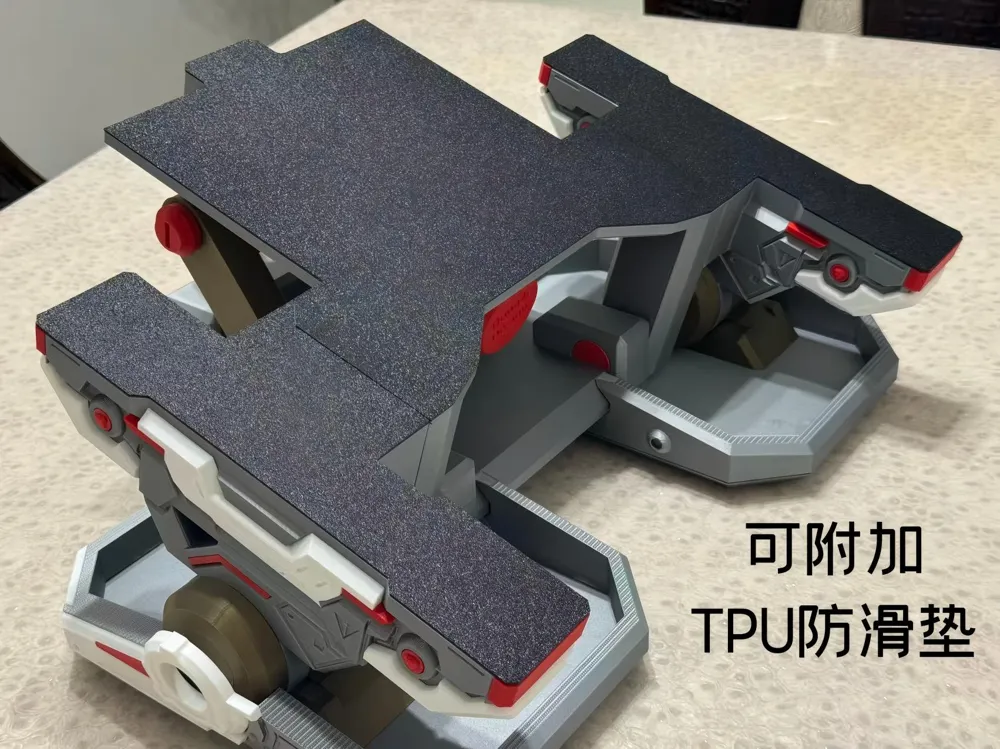
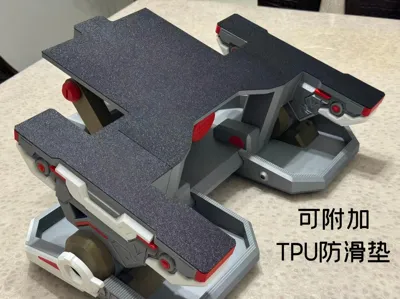
TPU anti-slip pads have been uploaded separately in the profile, for sticking to the bottom of the model, which can be used when your floor is too slippery.
Of course, you can also use it this way:
Installation Instructions: (Easy assembly, please refer to the manual)
Screw installation tip: Before screwing, heat the inside of the screw hole with a lighter for a few seconds, then while hot, you can easily screw it in, ignoring tolerances! If it's too loose, you can add super glue to the end of the thread to secure it. (You can use a one-dollar coin or pliers to screw in the screws; the author used his bare hands. To ensure strength, the bonding points between the two leg parts and the main body do not have positioning holes, so please apply more super glue to provide sufficient stability)
The author printed using official PLA Basic filament. This model requires a load capacity of over 100 jin; please do not use low-strength filaments such as Matte, Lite, or Silk.
The assembly process requires super glue; please see the attachments for detailed assembly instructions! The same desk stand uses the same assembly method, some parts are small, please use tweezers.
Before printing, please ensure you have enough filament remaining, and clean the build plate to ensure sufficient adhesion during printing to prevent spaghetti!
Documentation (1)
License

You shall not share, sub-license, sell, rent, host, transfer, or distribute in any way the digital or 3D printed versions of this object, nor any other derivative work of this object in its digital or physical format (including - but not limited to - remixes of this object, and hosting on other digital platforms). The objects may not be used without permission in any way whatsoever in which you charge money, or collect fees.


Comment & Rating (11)