
Print Profile(1)

Bill of Materials
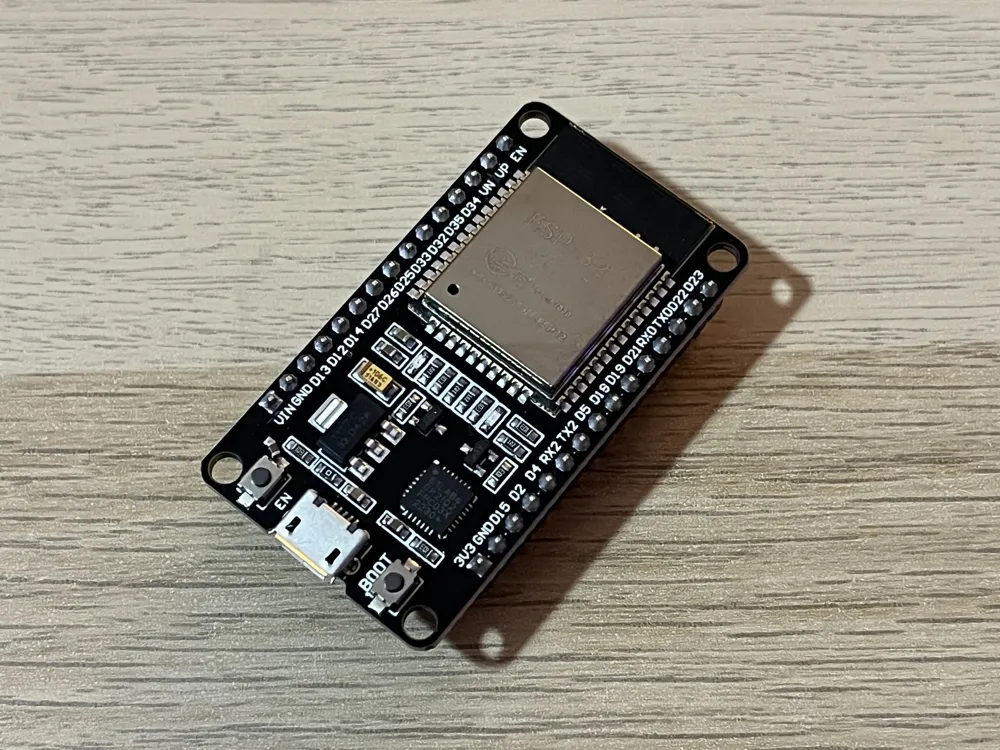
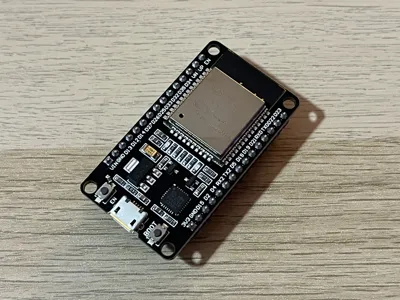
- Micro-USB ESP32 30pins DevKit x 1: https://www.amazon.fr/dp/B0D8T3N7HQ
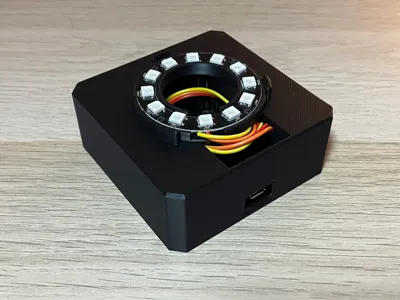
- 50mm WS2812B LED Ring x 1: https://www.az-delivery.de/fr/products/kopie-von-rgb-led-ring-ws2812-mit-12-rgb-leds-5v-fuer-arduino
Description
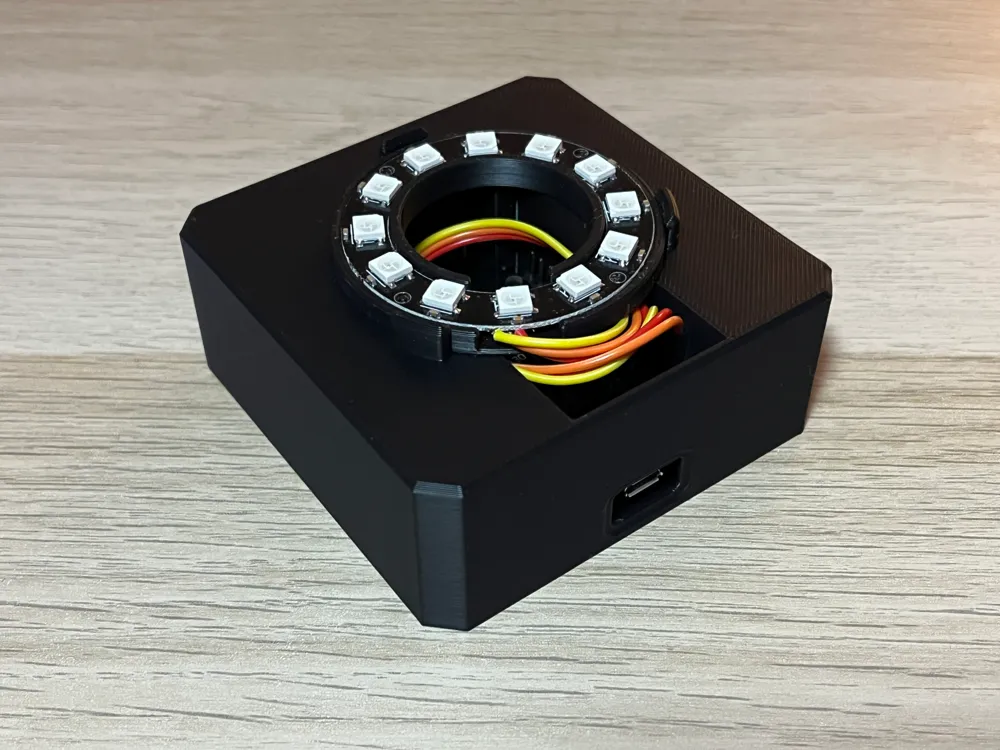
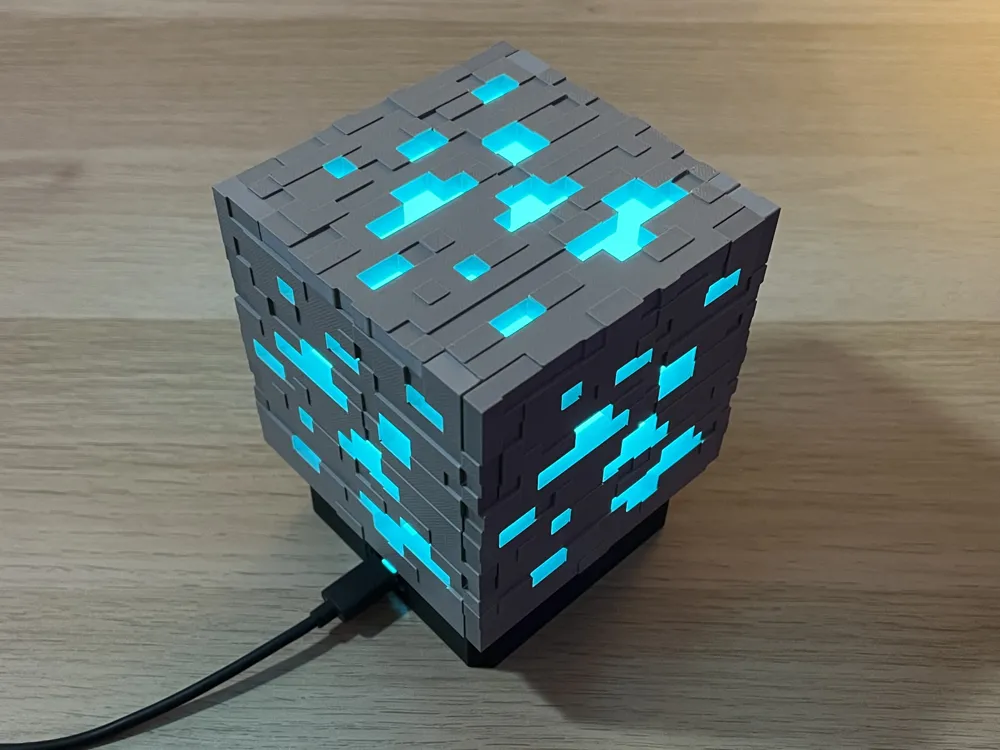
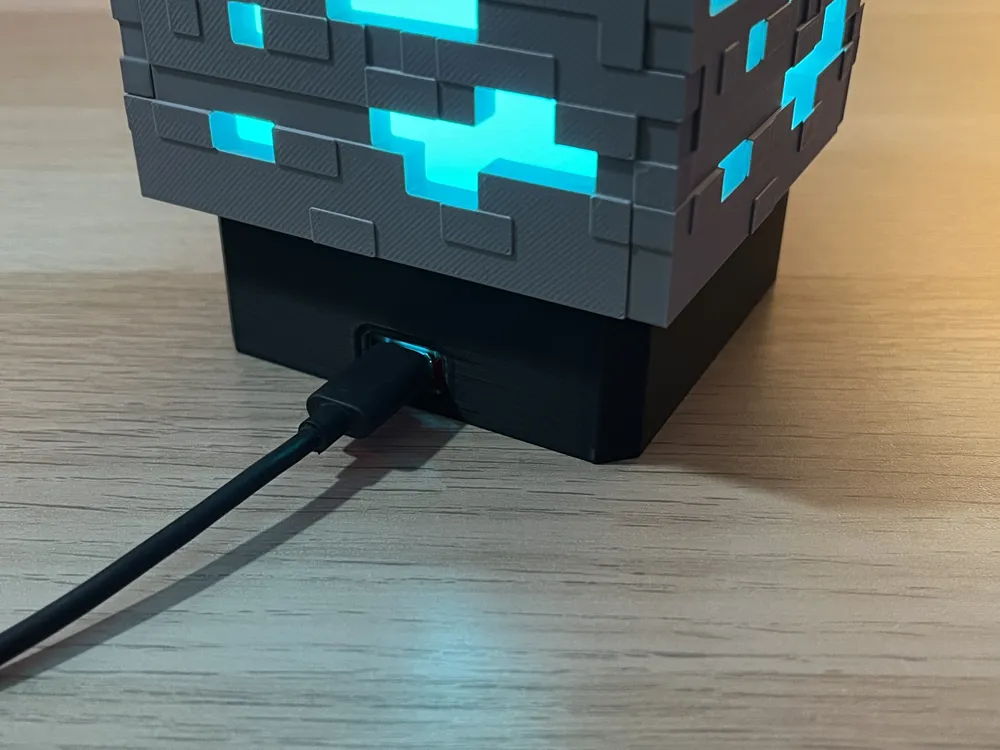
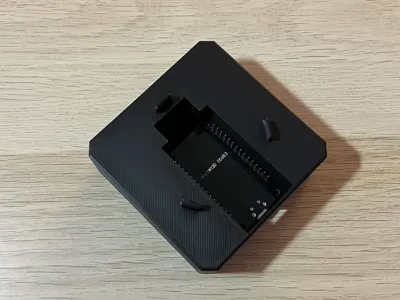
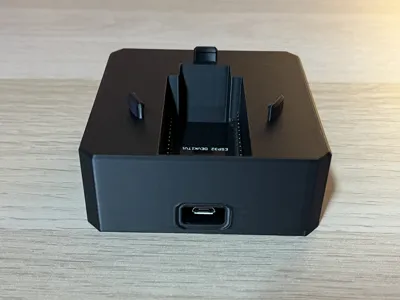
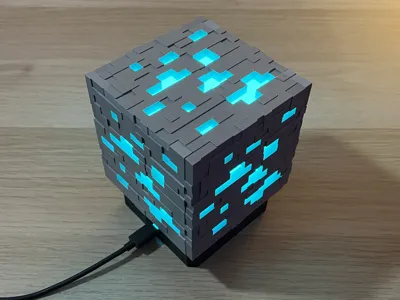
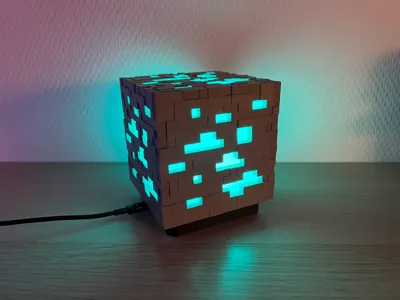
This is an alternative base for the Minecraft Ore Lamp, designed to fit a Micro-USB ESP32 30pins DevKit.
Because it uses an ESP32 devkit, this version of the base is thicker than the original one:
- It allows the use of pin headers and jumper wires.
- The Minecraft Ore Block sits slightly higher as a result.
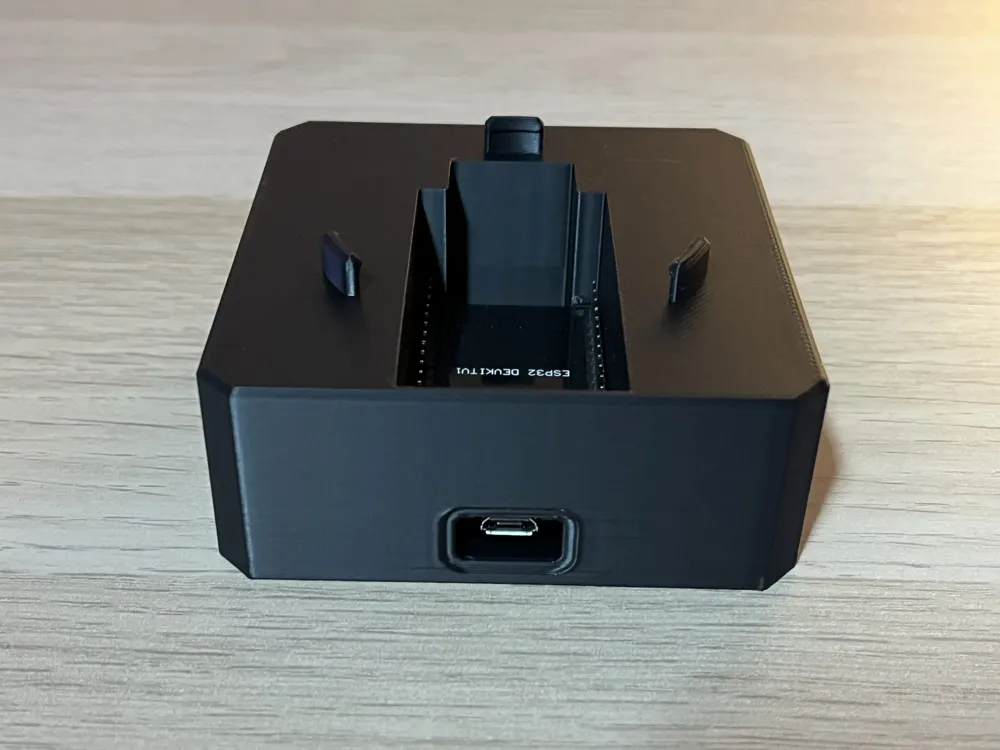
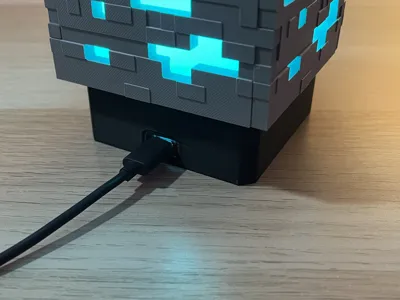
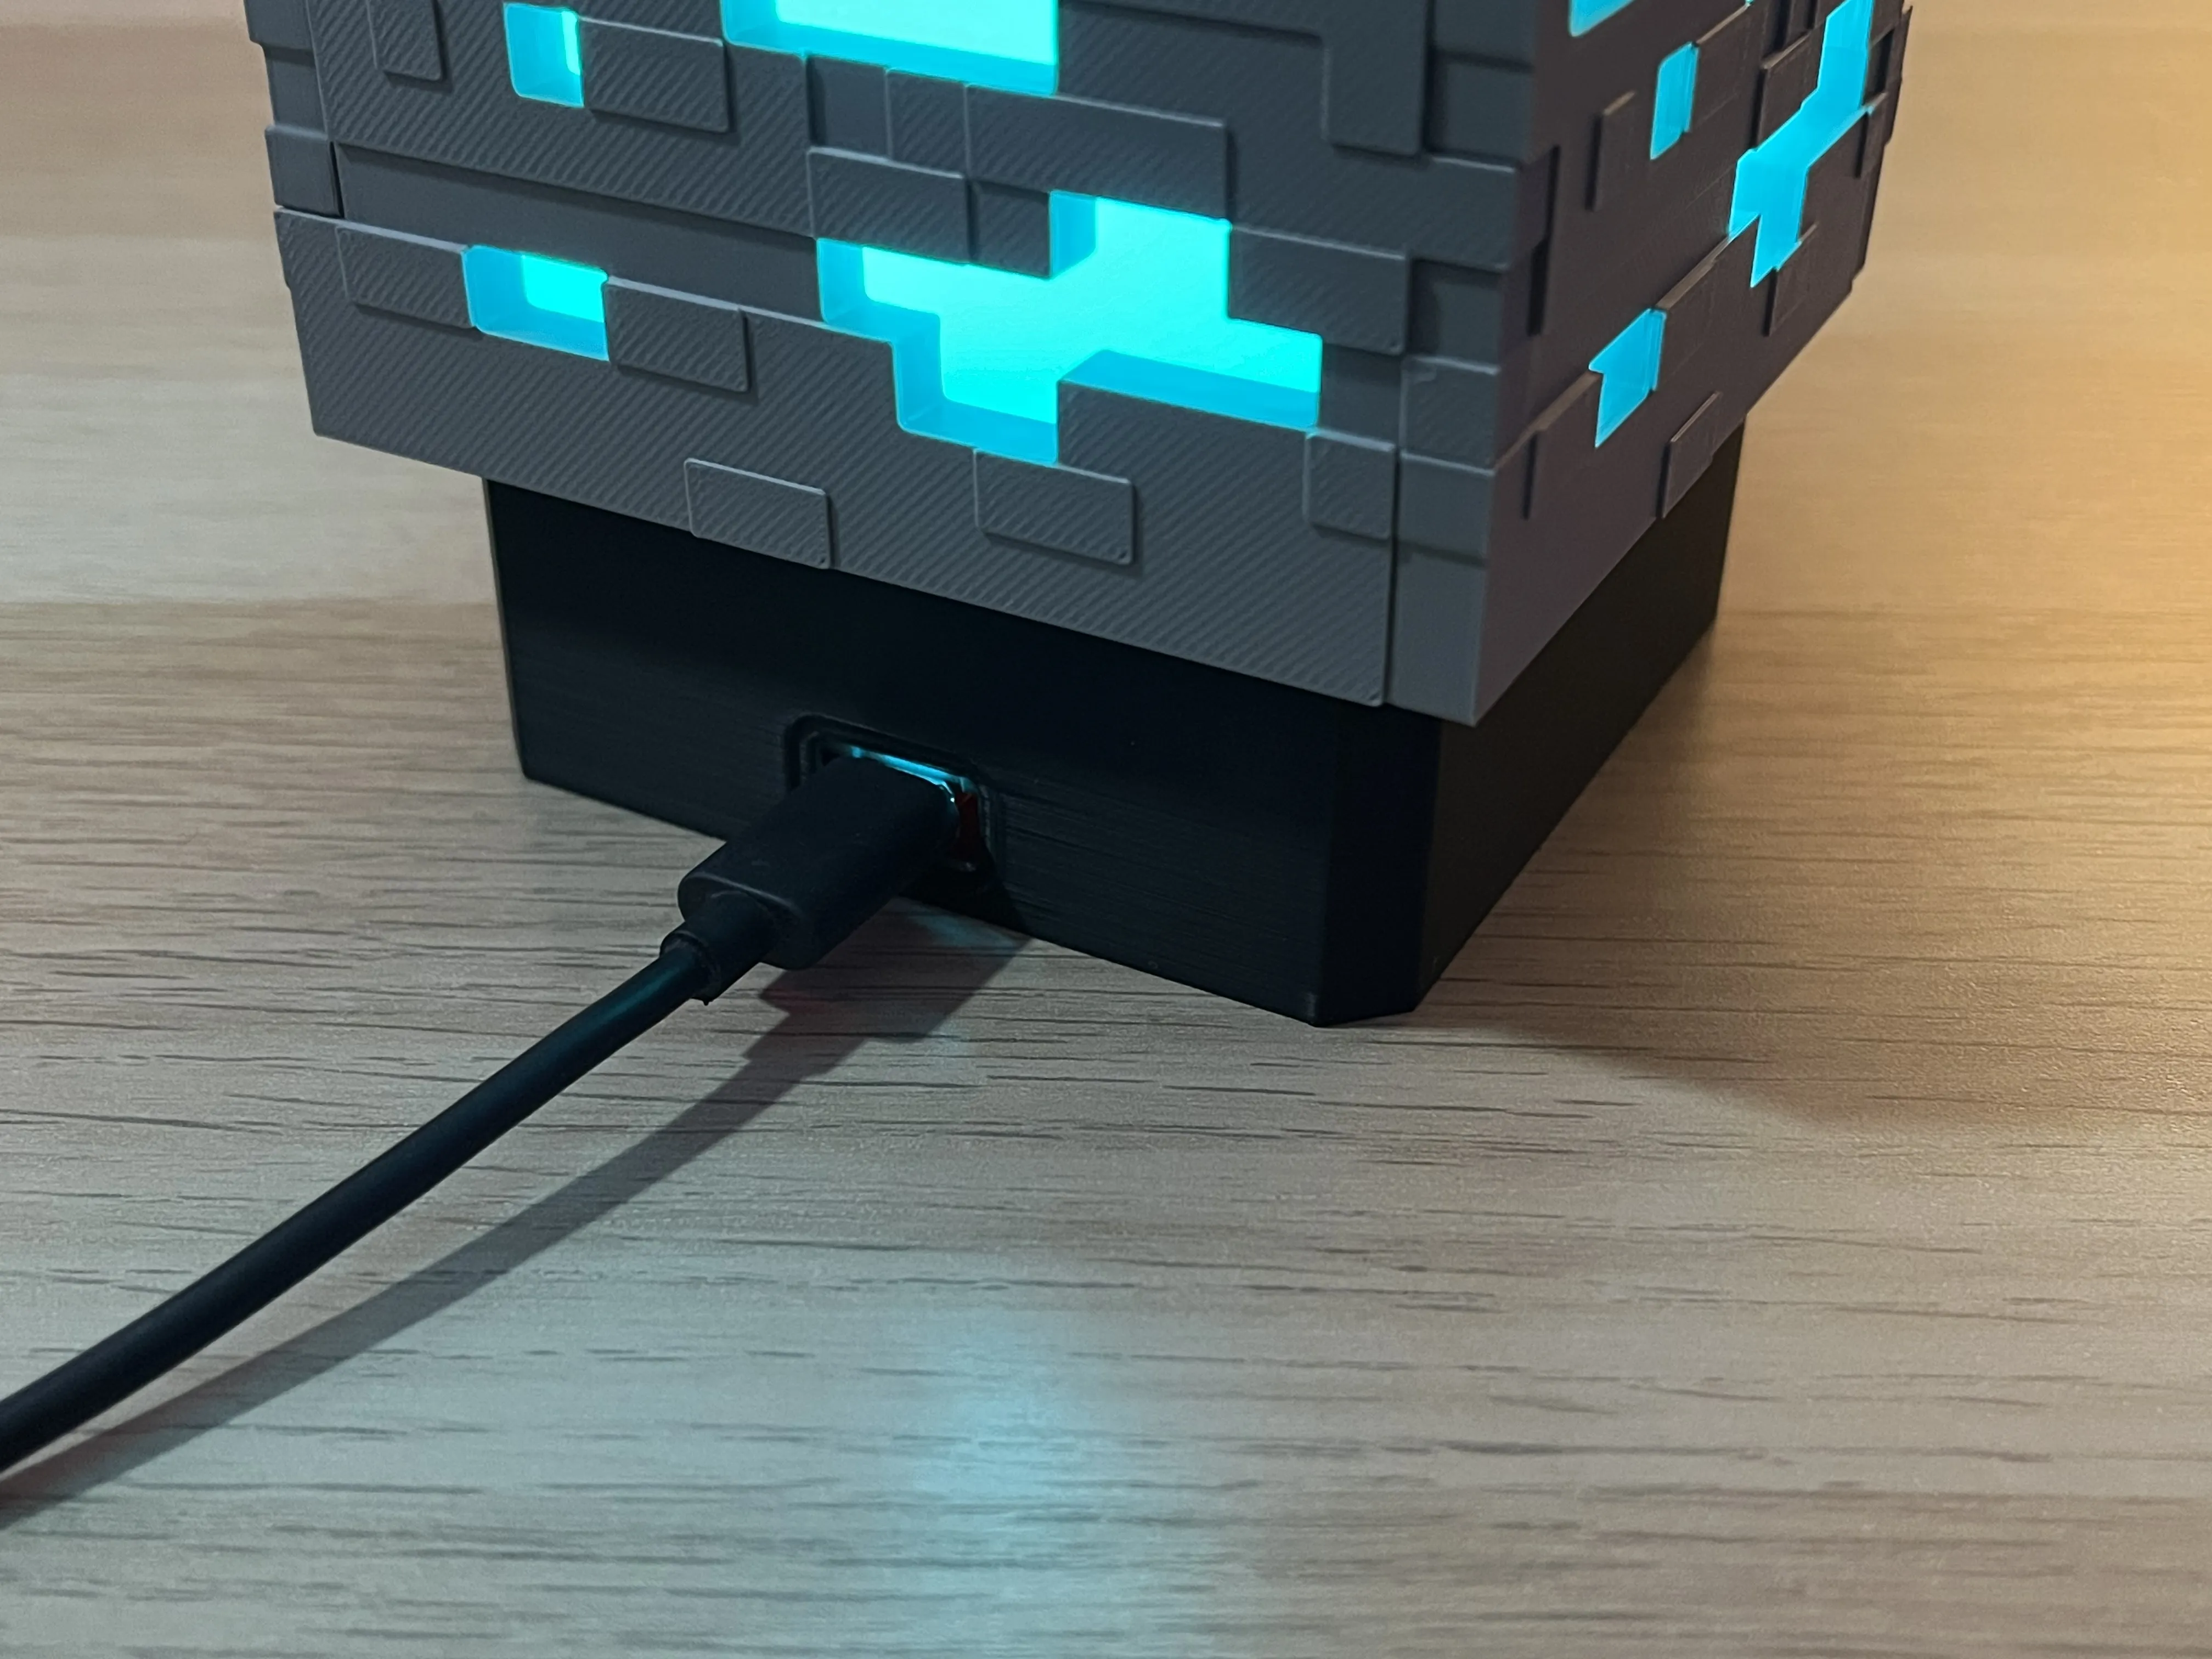
- The connector opening is wider to accommodate the micro-USB plug.
Bill of Materials
For this alternative base, you will need:
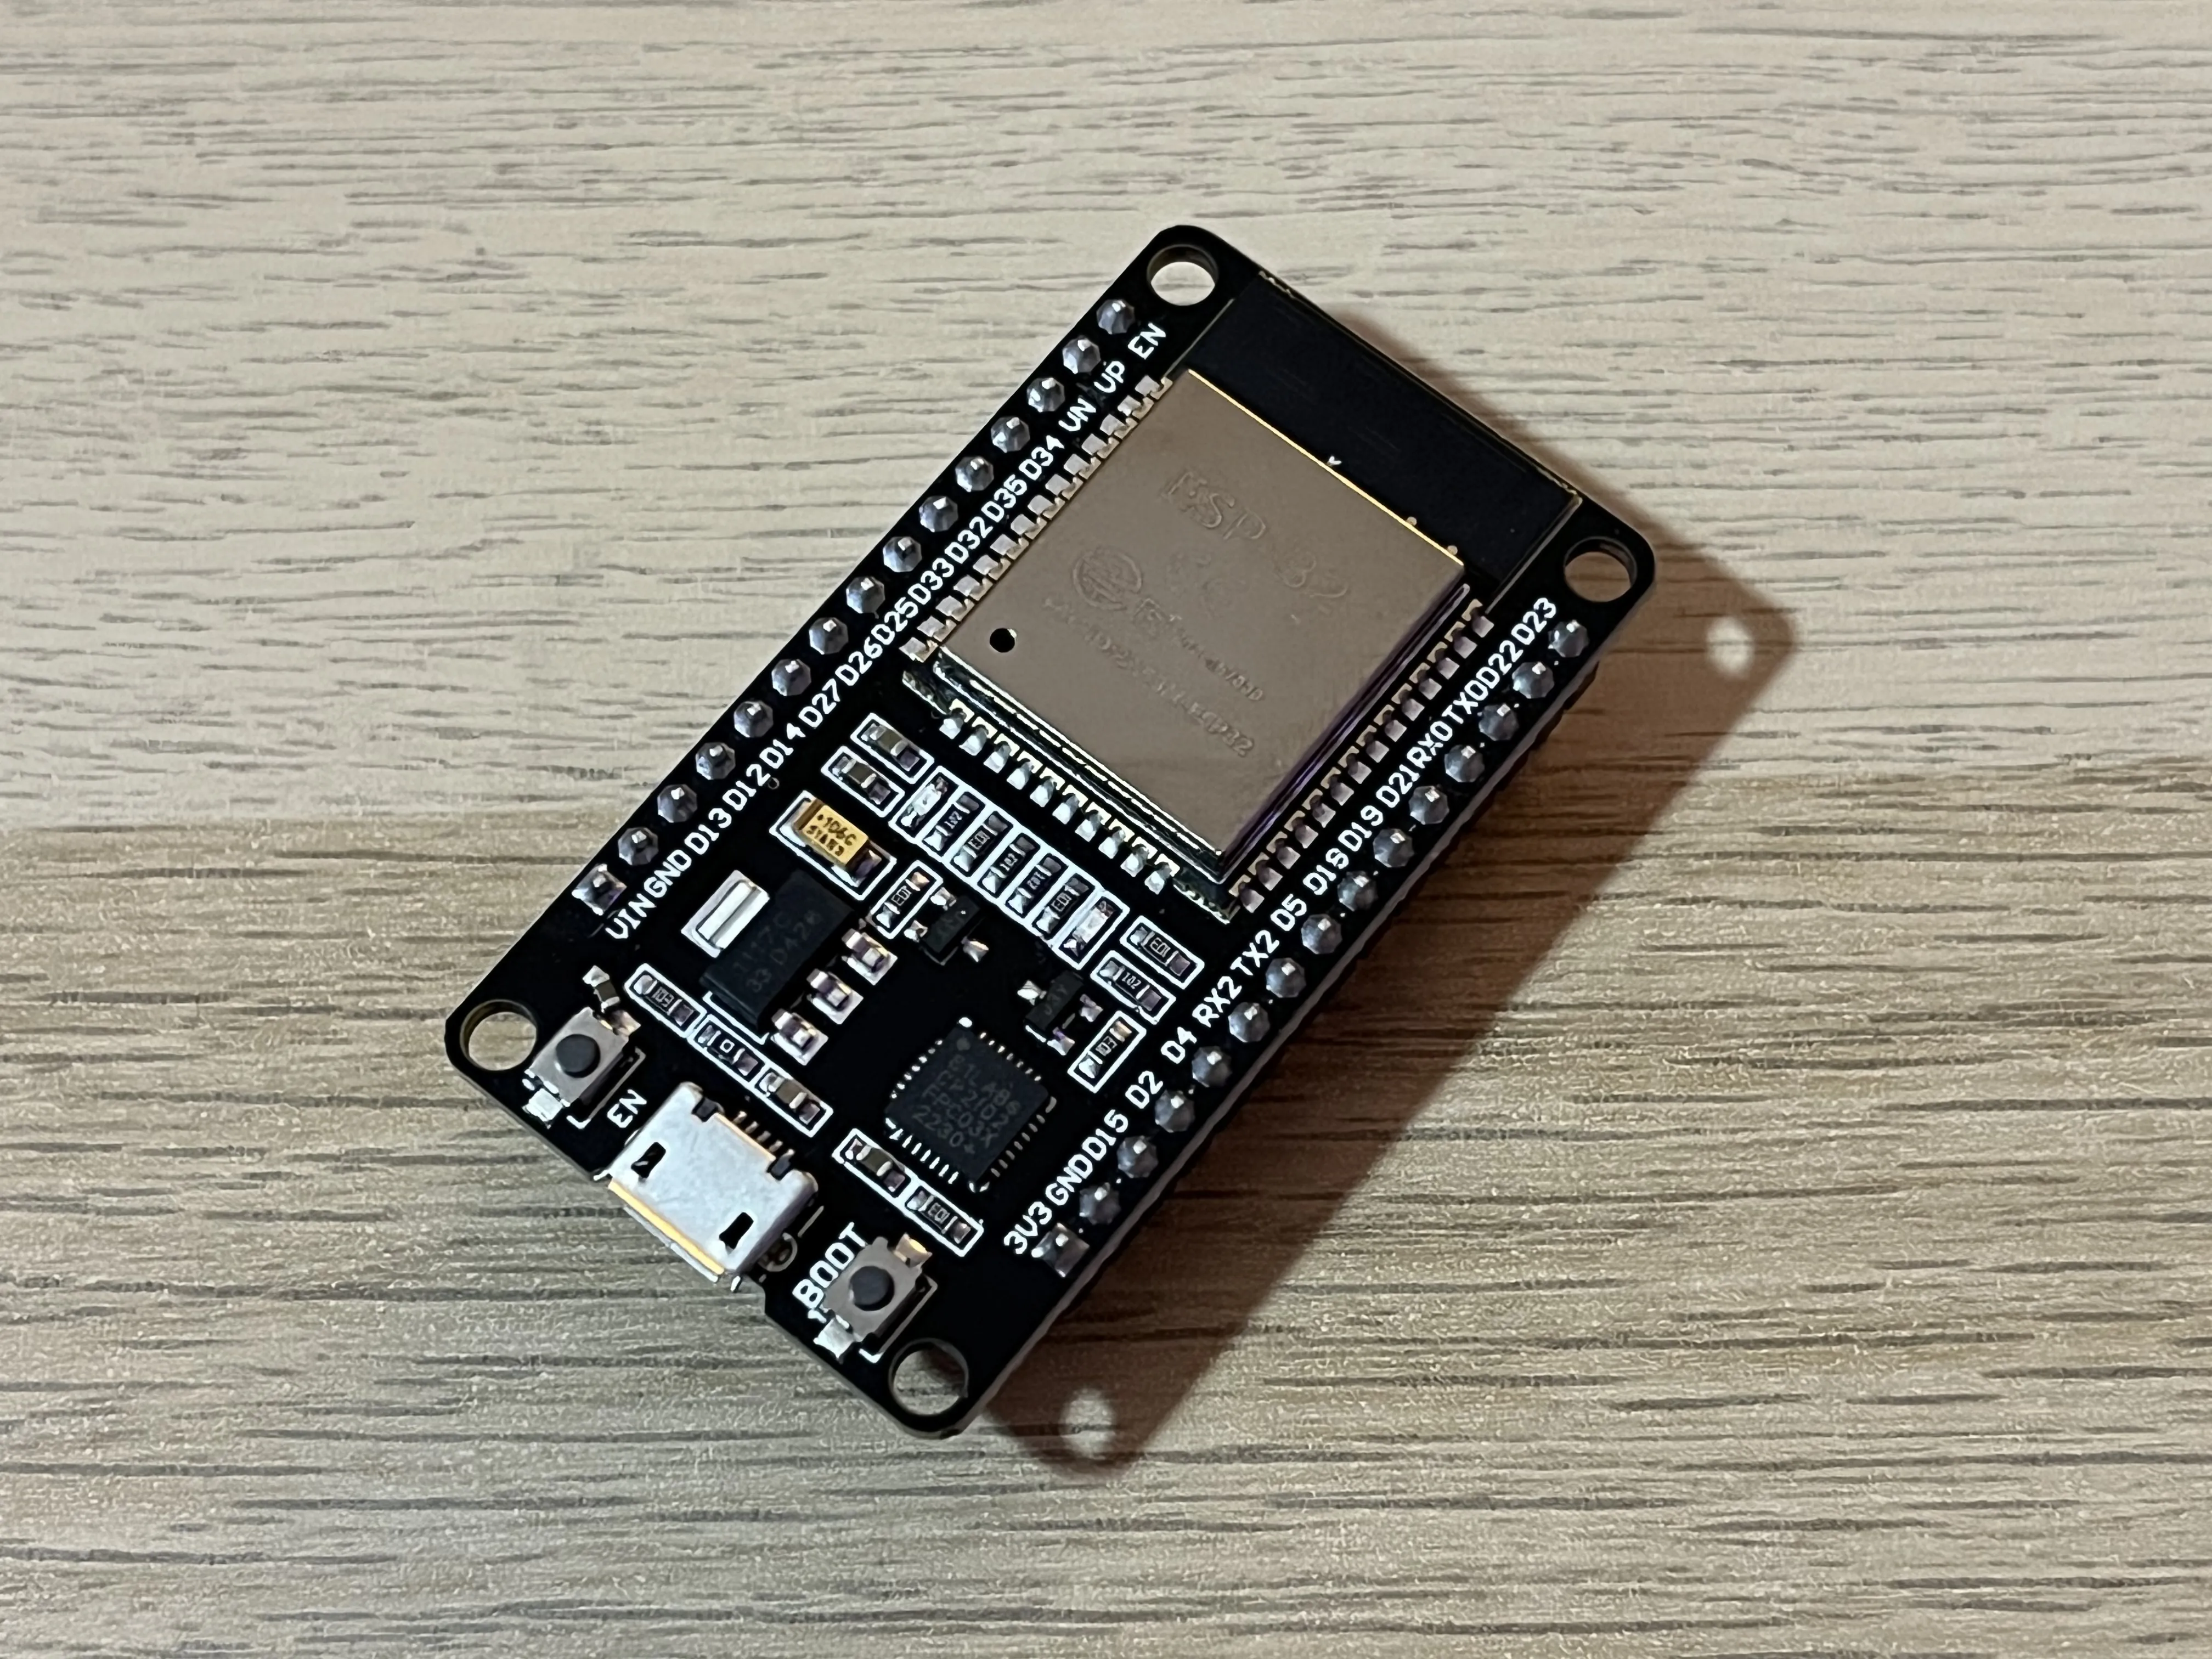
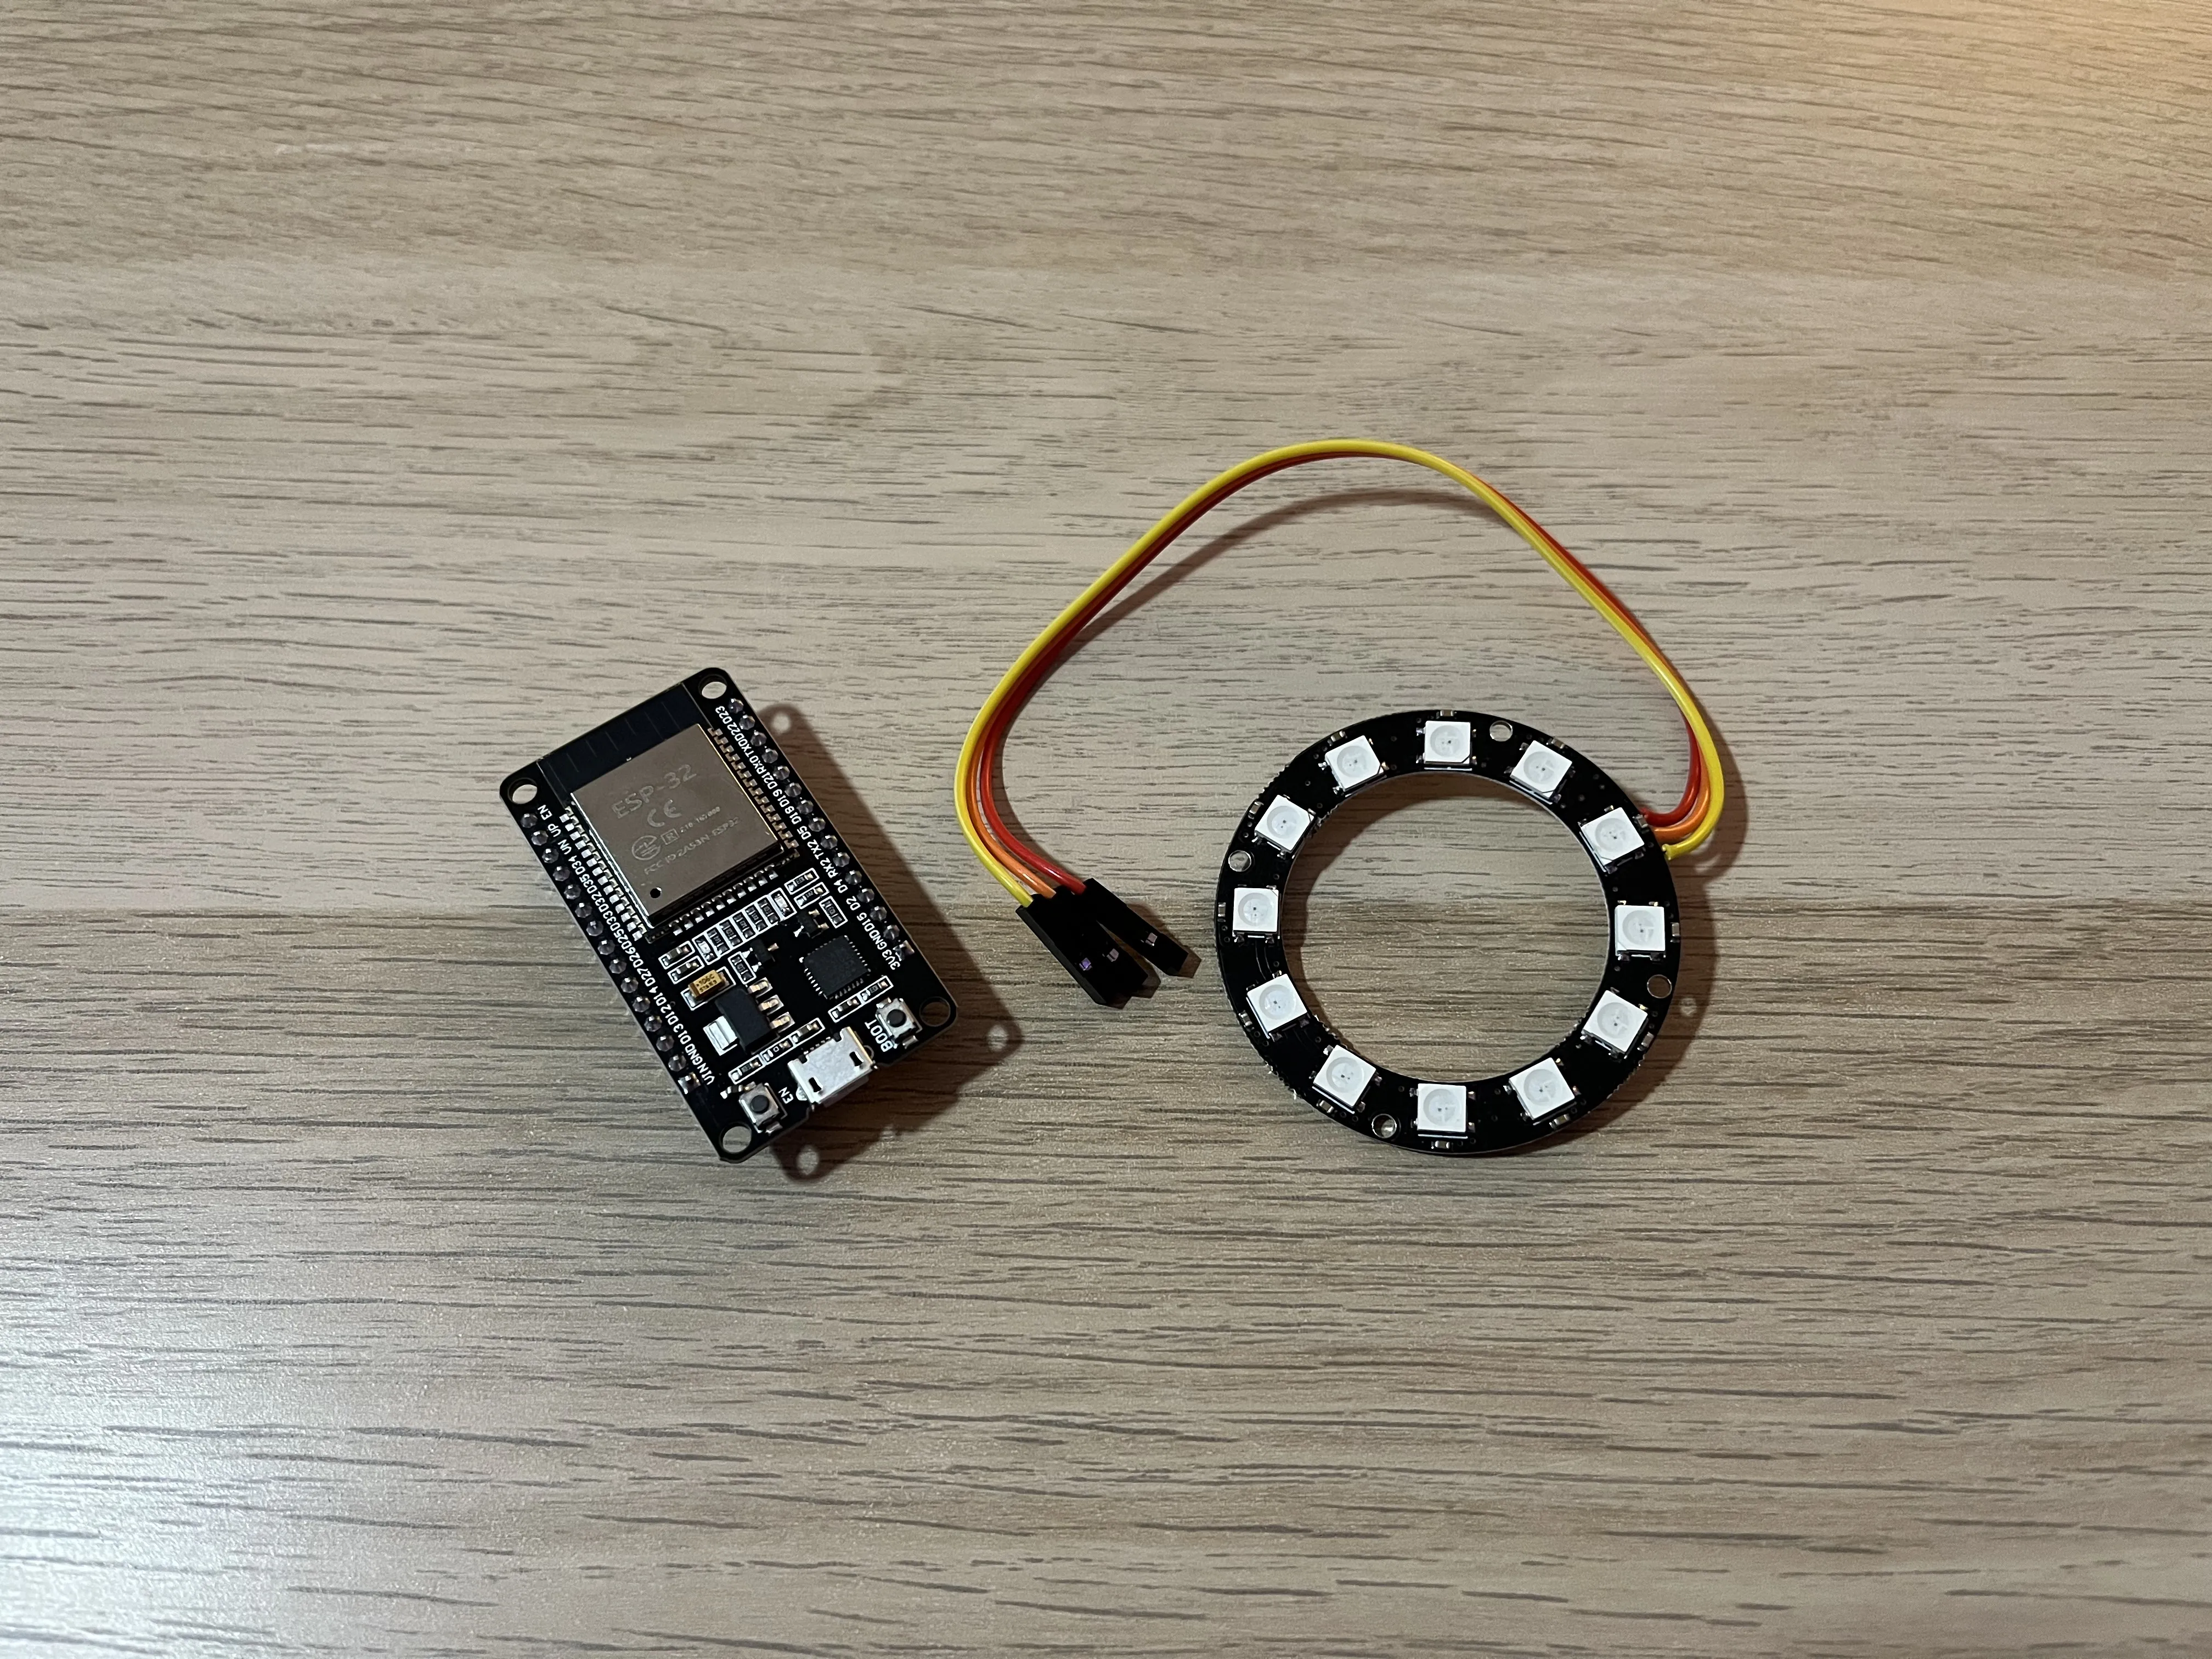
The case is compatible with pre-soldered pin headers on the devkits.
You can use female jumper wires to connect the LED ring to the ESP32.
Instructions
1. Electronics
Connect the LED Ring to the ESP32 as follows:
- LED Ring GND → ESP32 GND
- LED Ring 5V → ESP32 5V
- LED Ring DI → ESP32 IO16 or IO13 (as recommended by the WLED documentation).
Then follow the official WLED documentation to install WLED on your ESP32:
- WLED installer site (recommanded method)
- WLED documentation
If your ESP32 is not recognized (no COM port), you may need to install the CP210x USB to UART driver.
After installation, if you used a GPIO other than IO16, you will need to set the GPIO to the IO pin you used in the LED & Hardware settings of WLED.
2. Lamp Base
First, assemble the LED Ring holder:
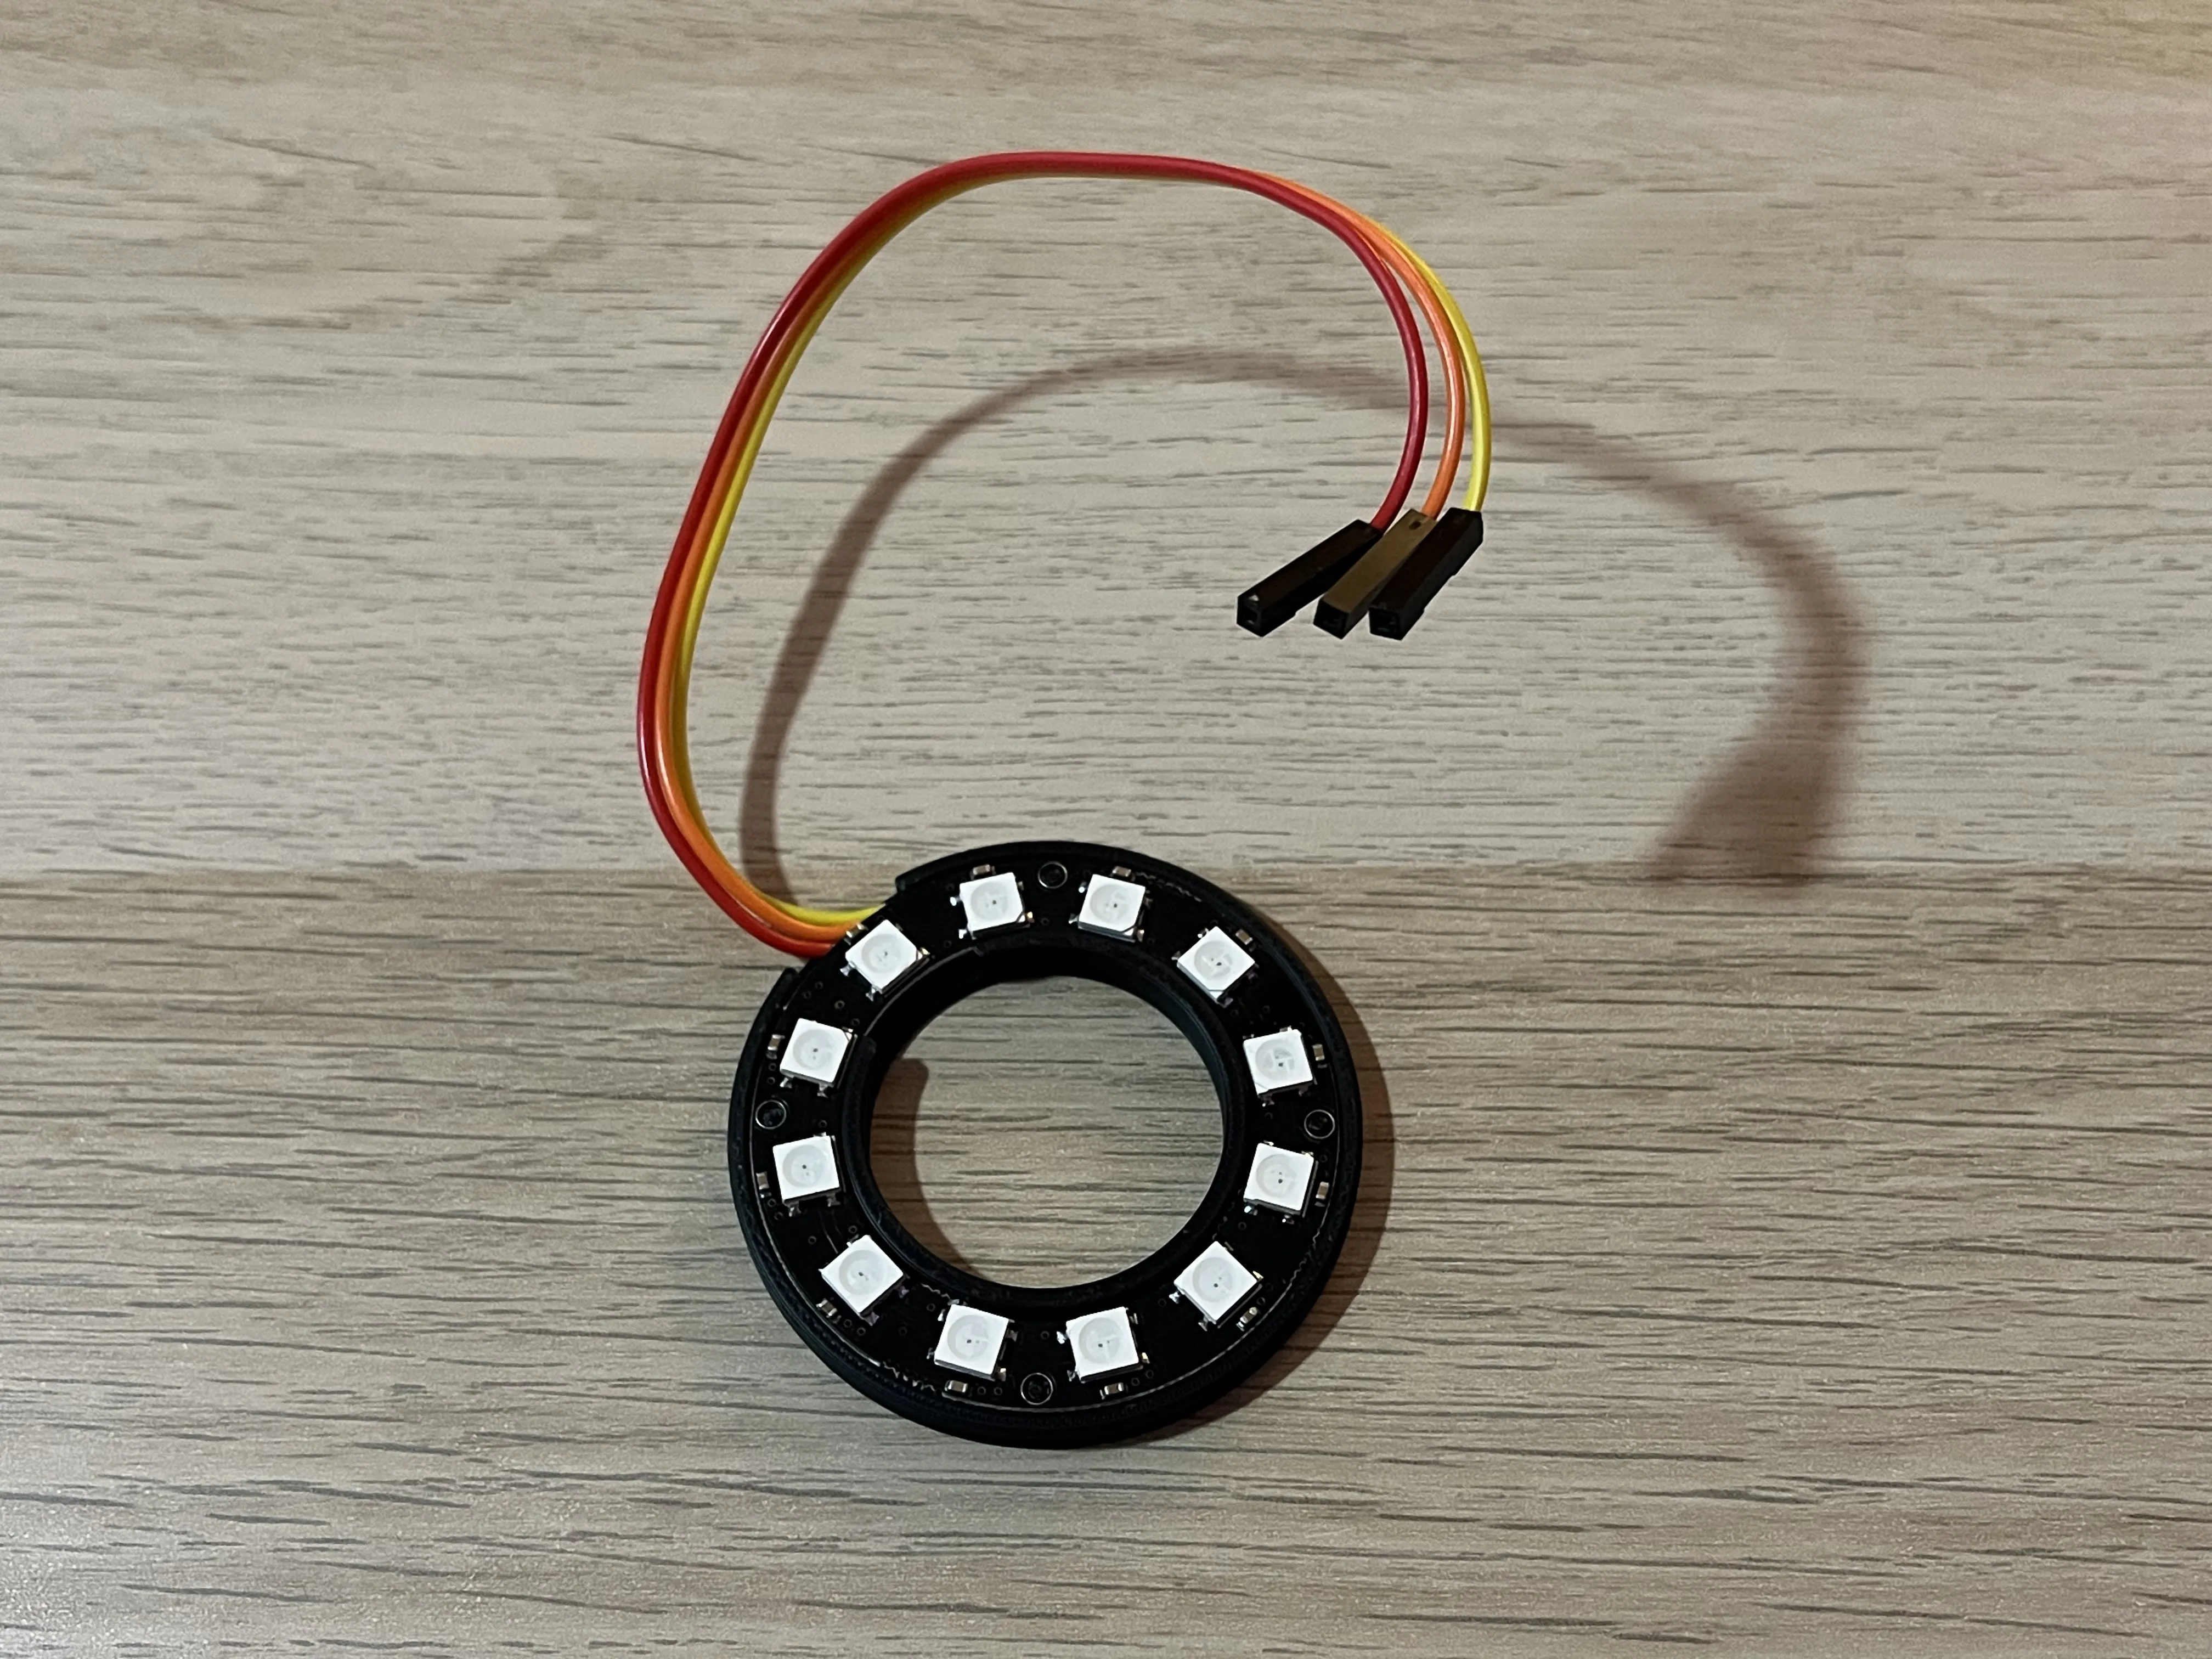
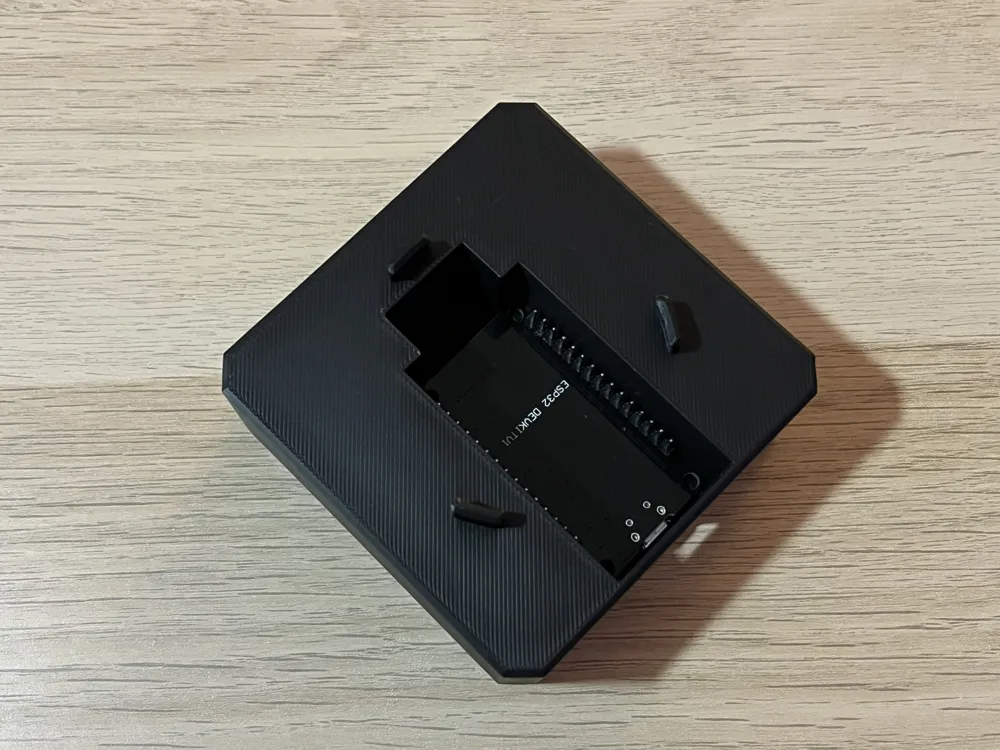
Then mount the ESP32 upside down into the base. Insert the Micro-USB connector first, then gently push the PCB past the retaining clips.
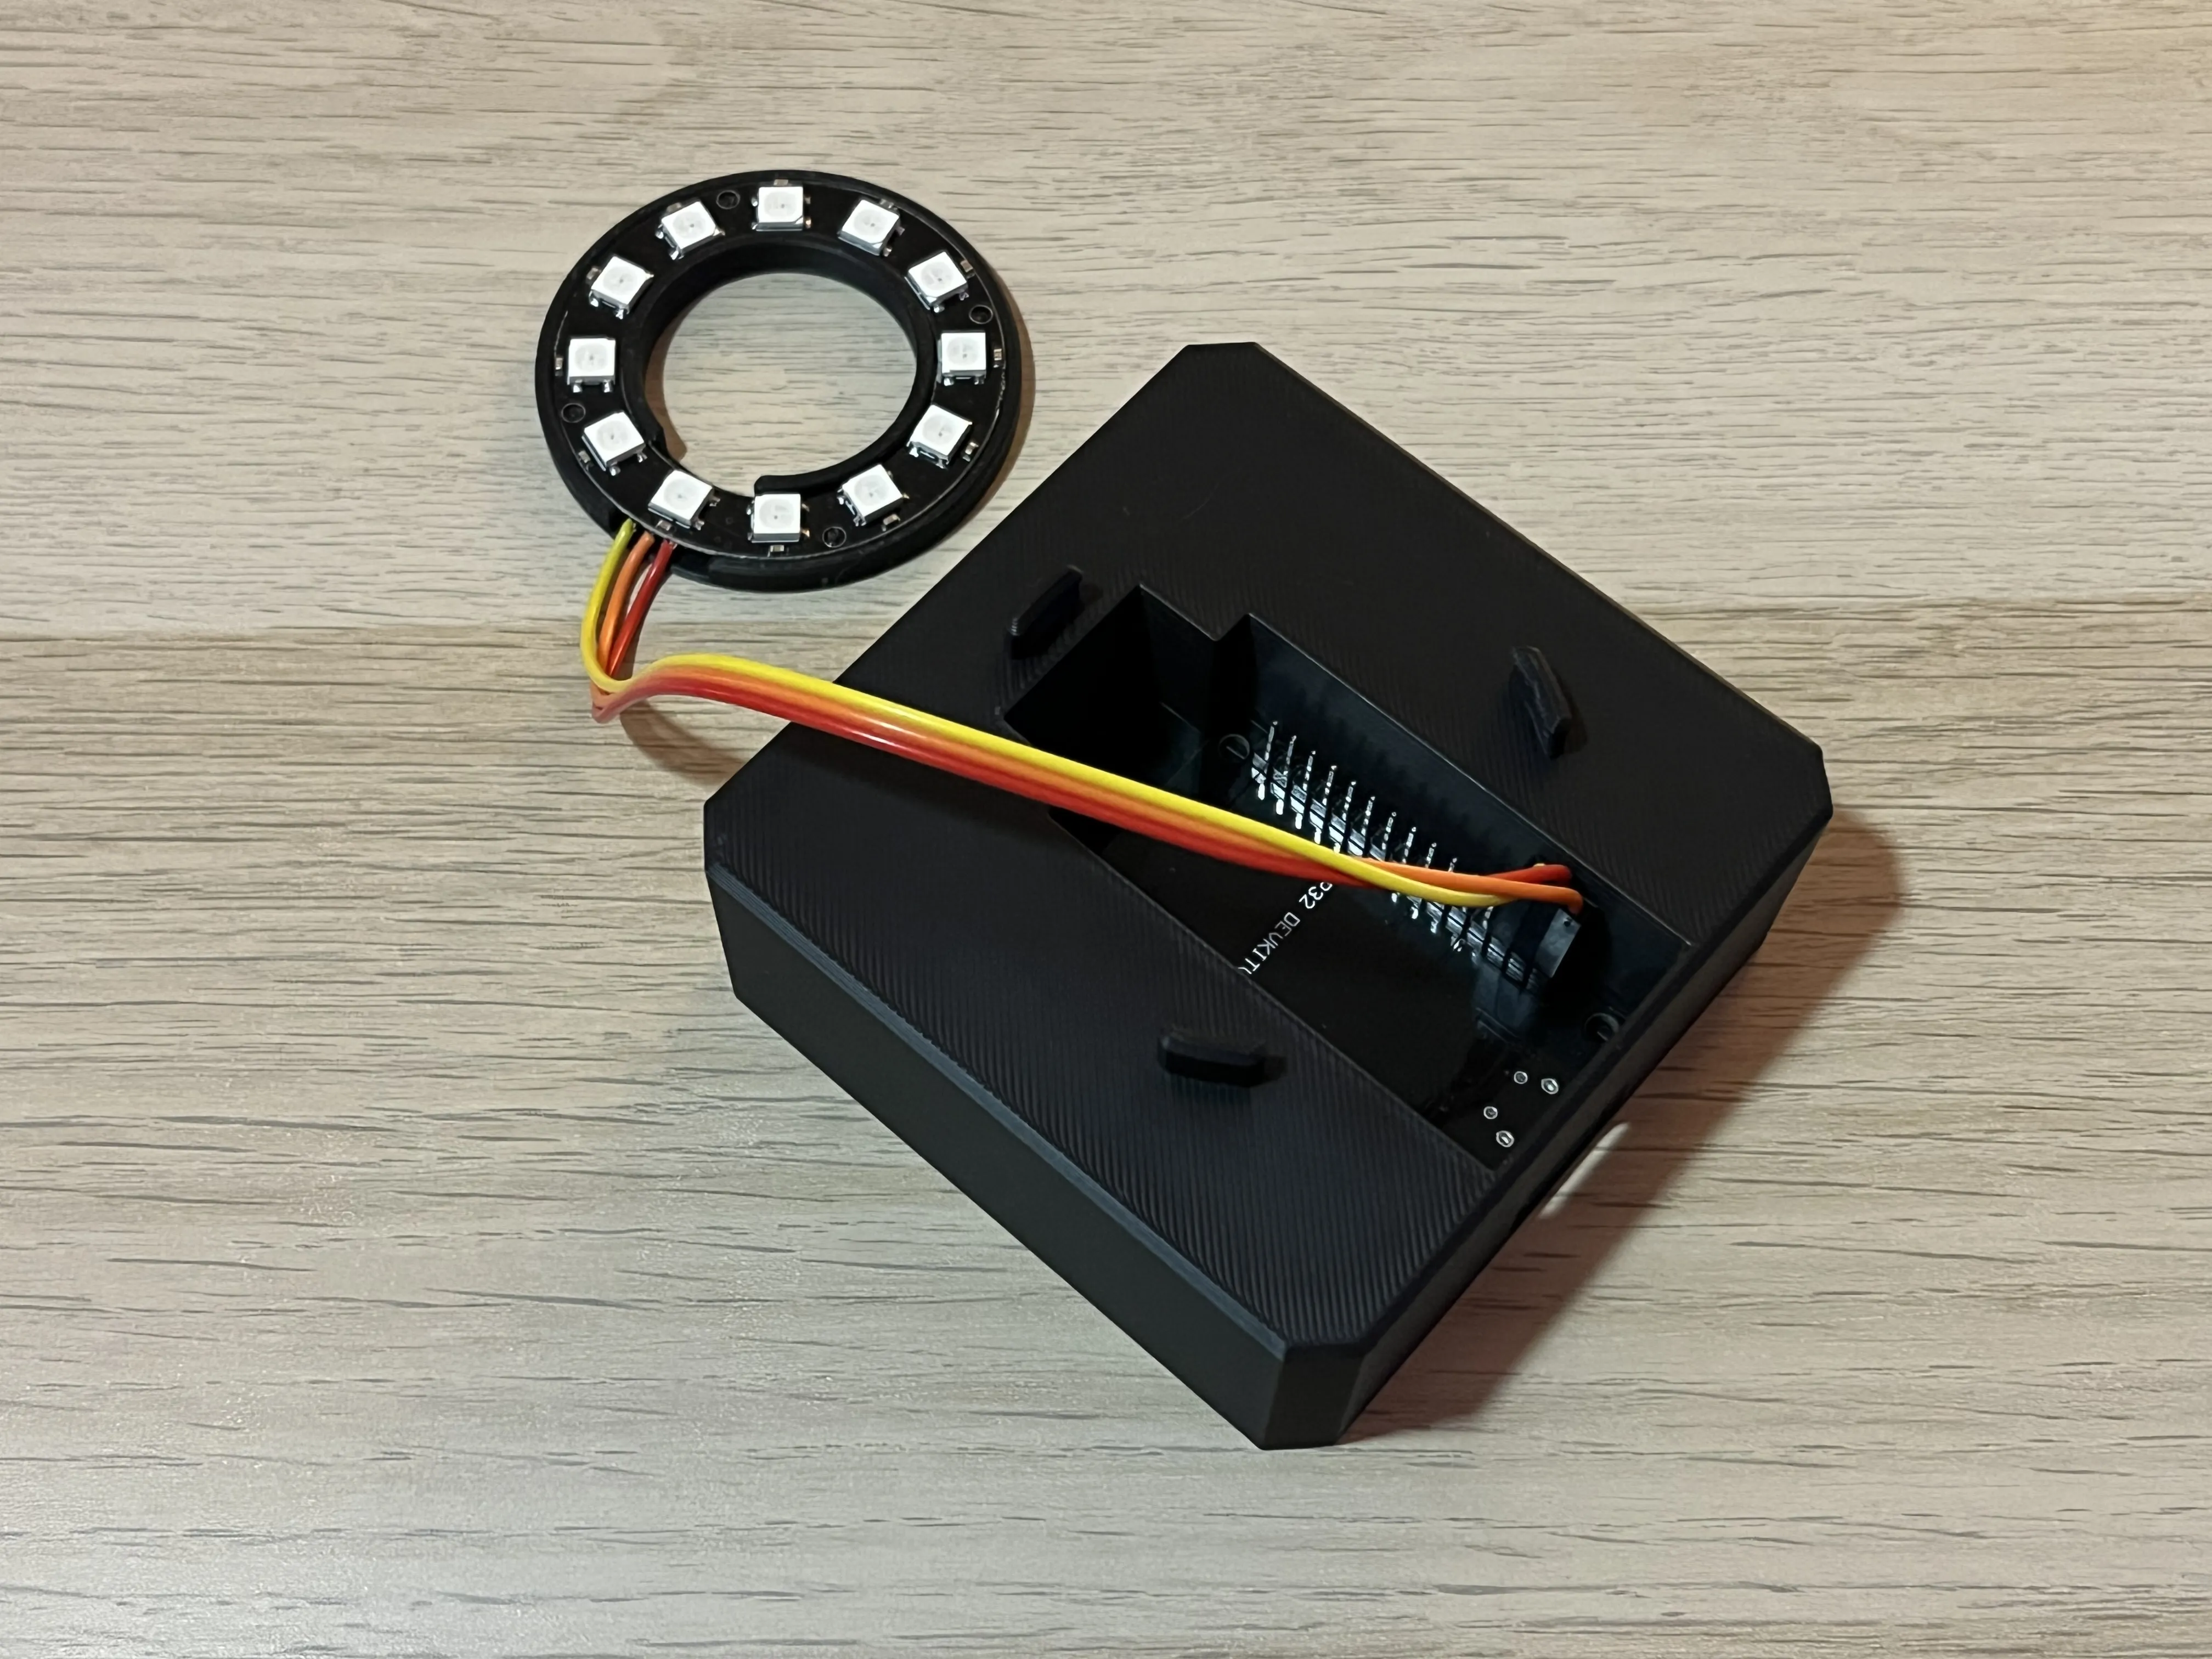
If you need to remove the ESP32, you can push it out through the bottom access hole (a pen works well).
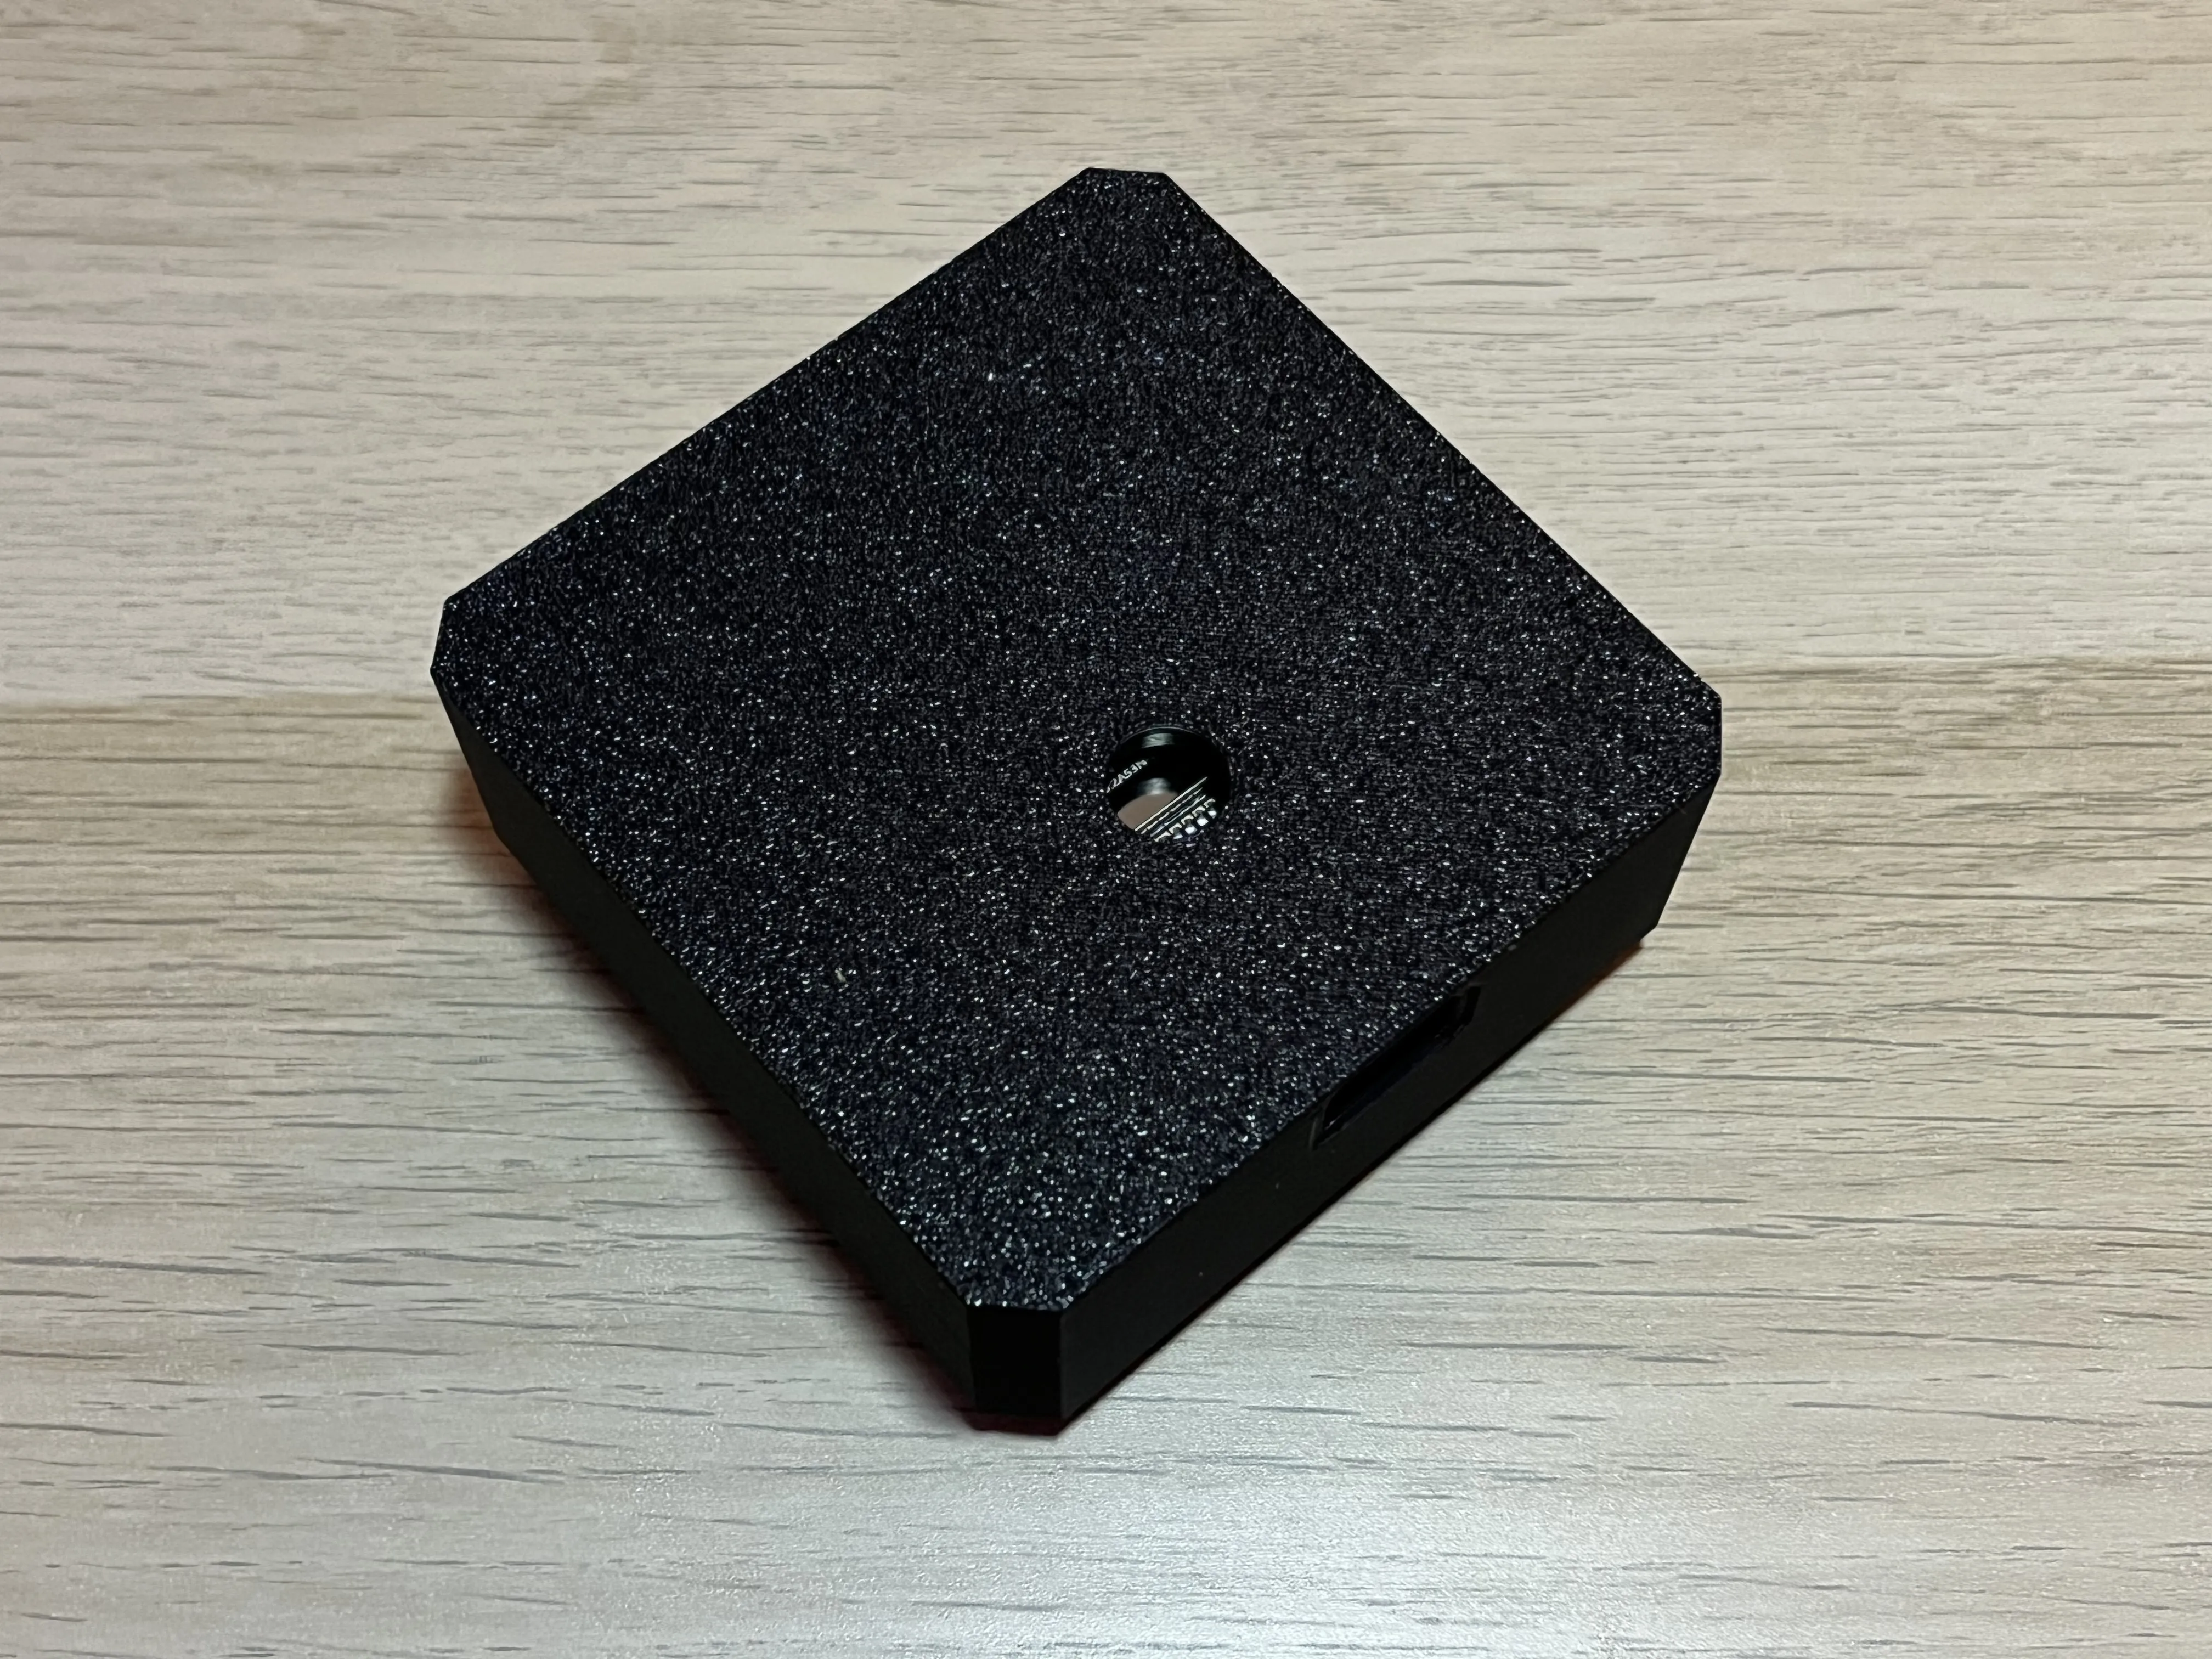
Finally, clip the LED Ring to the base.
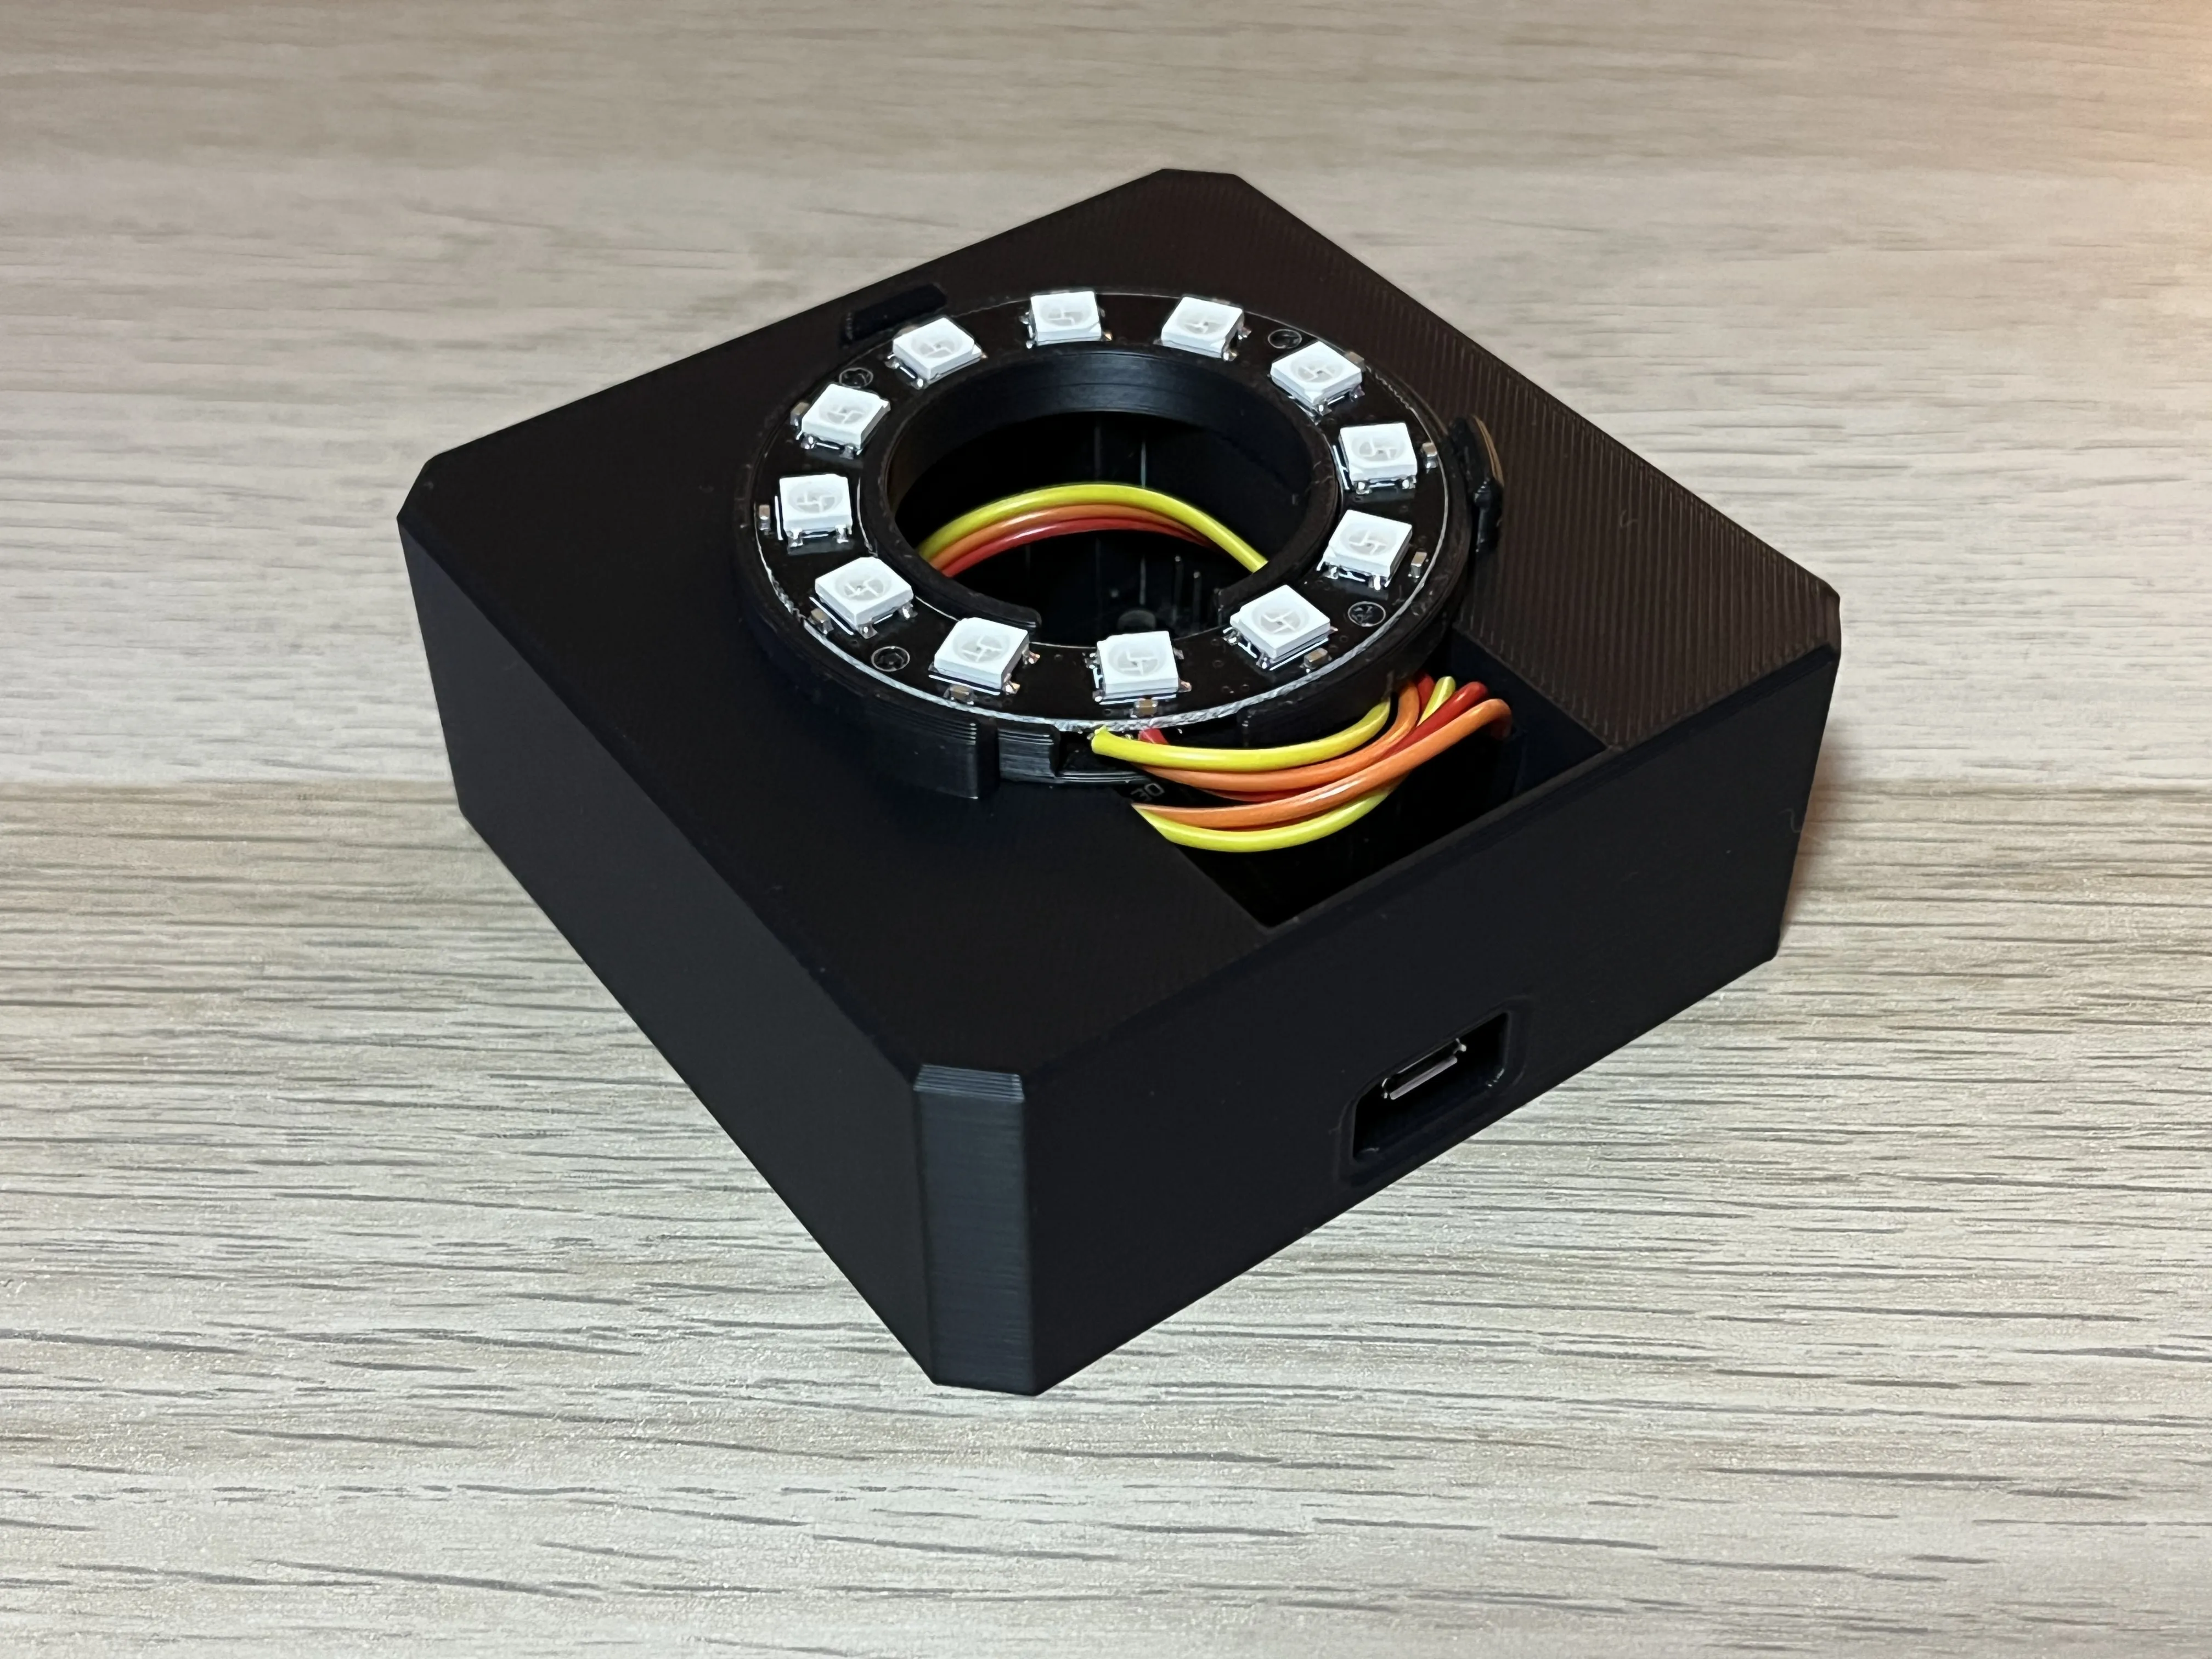
3. Other parts of the Lamp
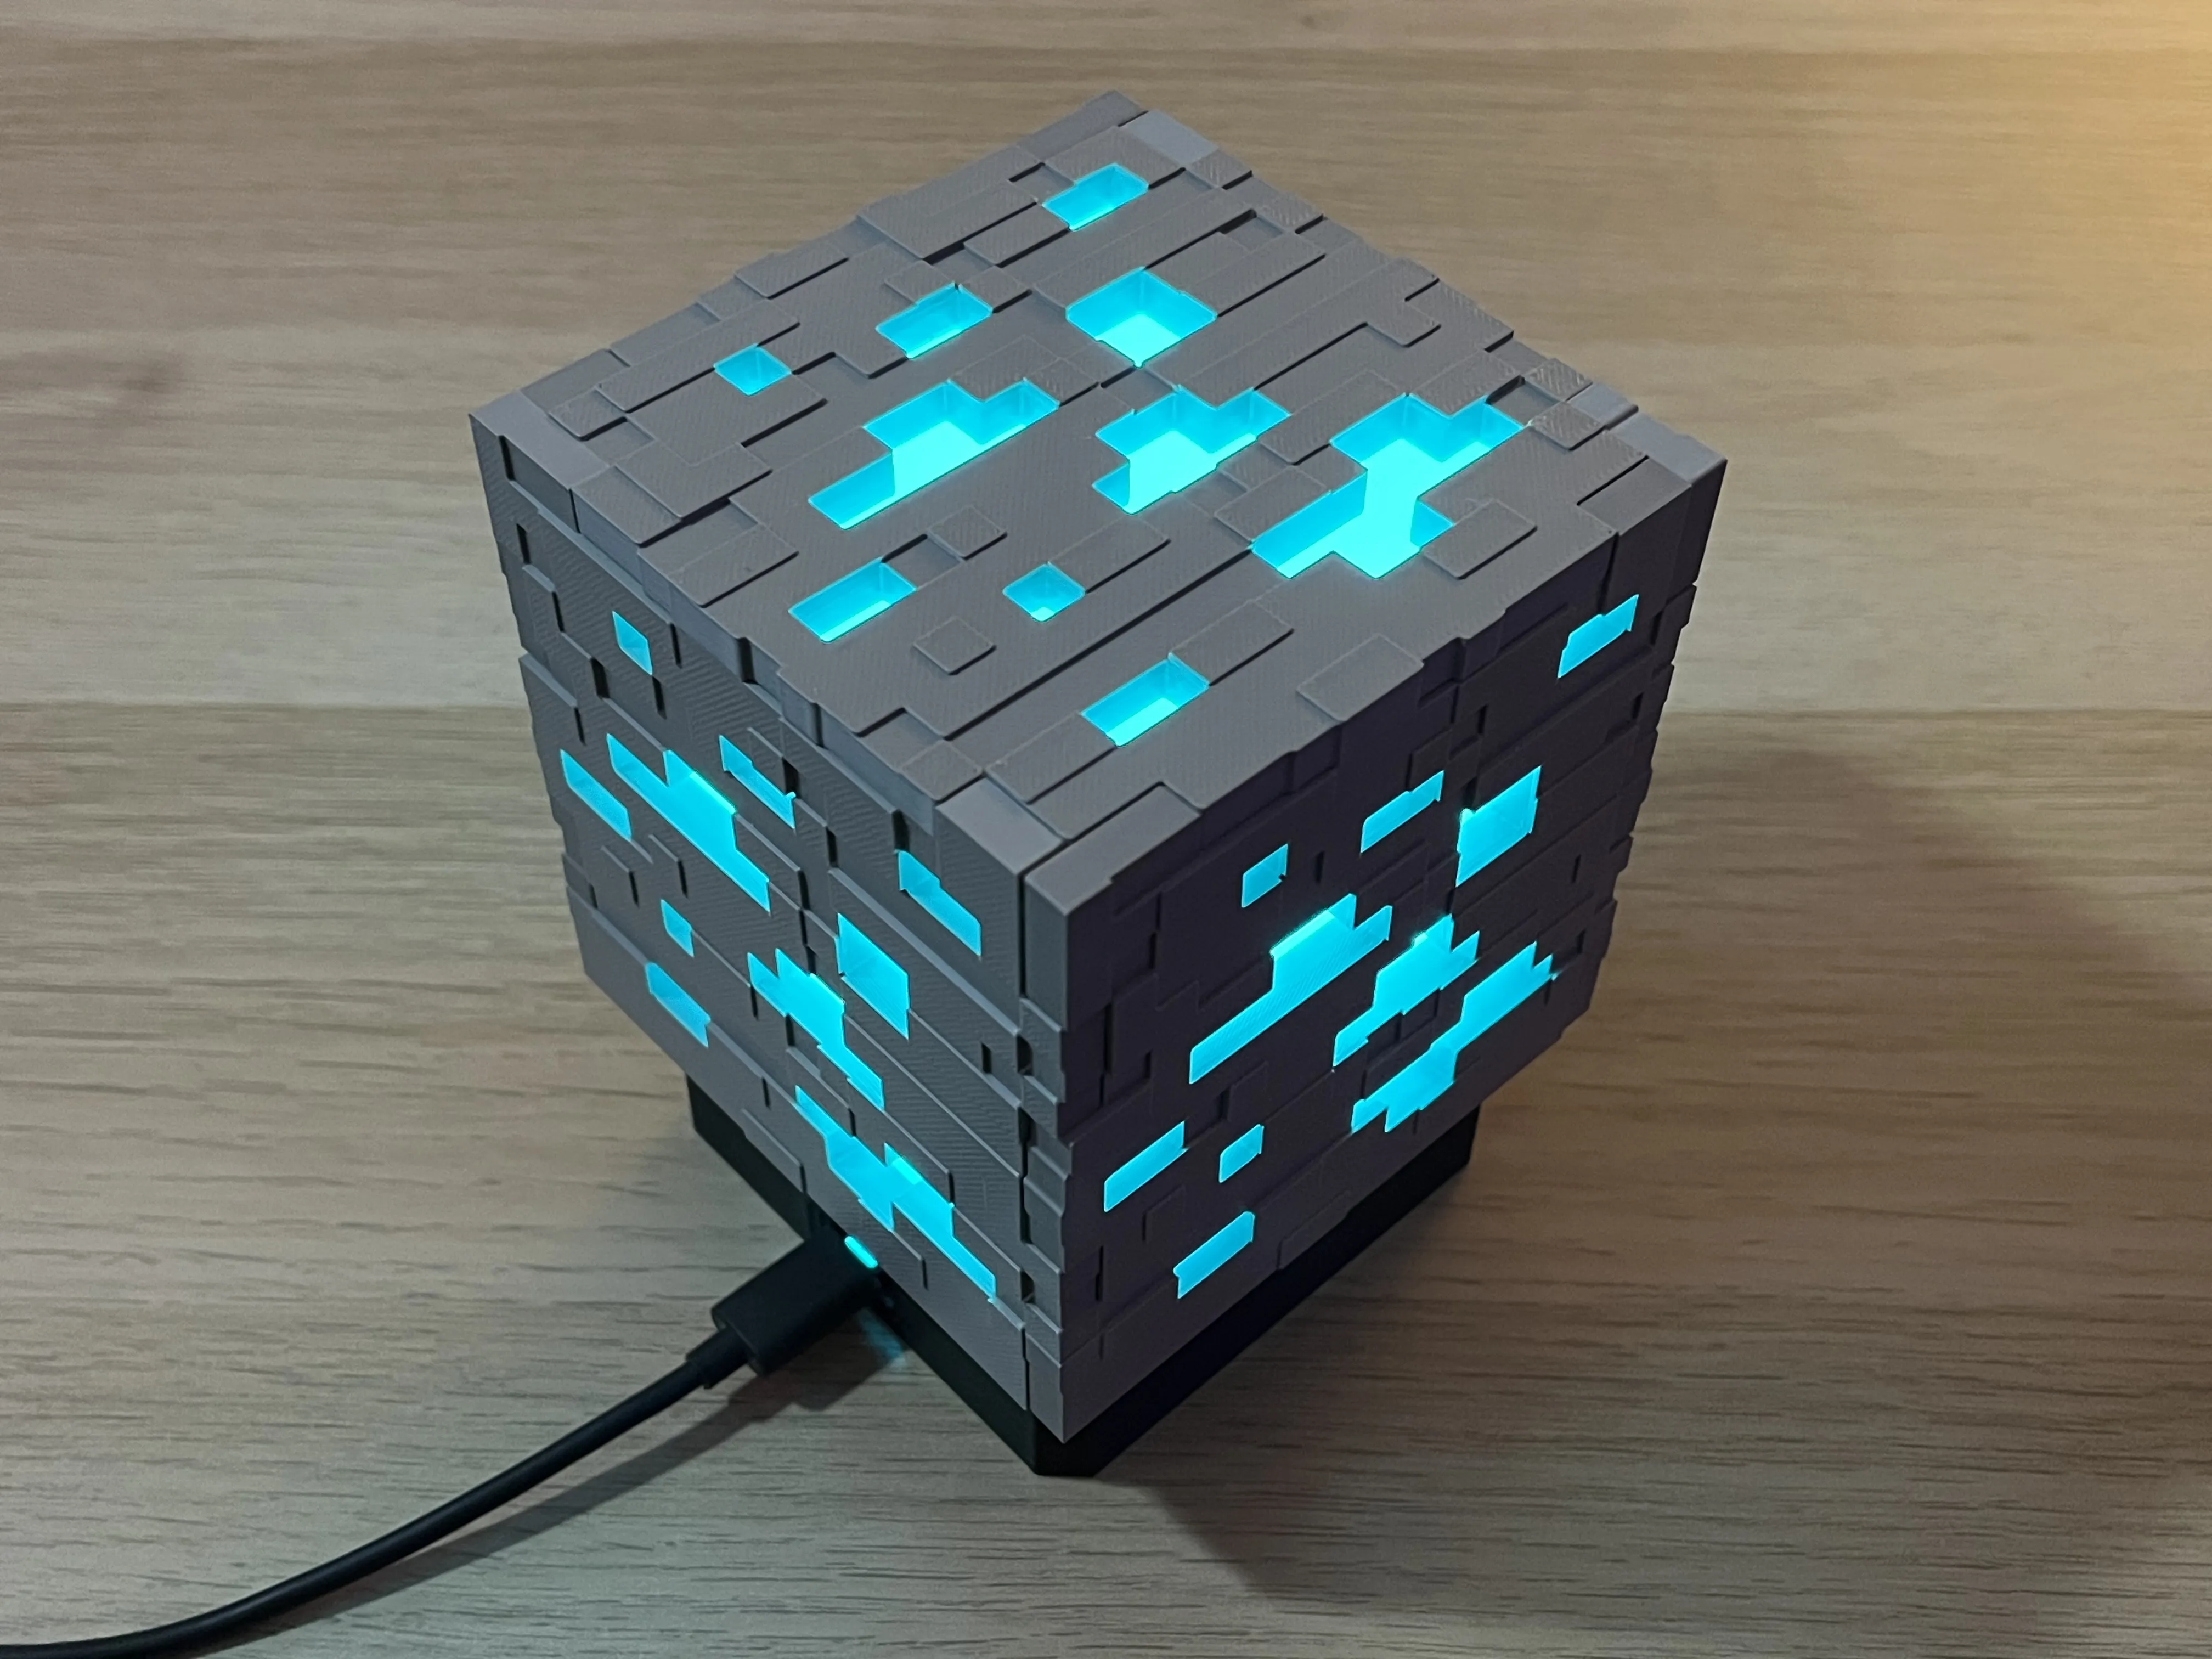
The next steps (Ore Block, Diffuser…) are the same than the original Minecraft Ore Lamp.



Comment & Rating (0)