


Print Profile(5)

![[Clamp] If desktop thickness is less than 2cm, please be sure to choose long screws. (Choose one of two clamp types)](https://makerworld.bblmw.com/makerworld/model/USe9ac87b1e21533/466086648/instance/2025-11-06_7a44f50098f8e.jpg?x-oss-process=image%2Fresize%2Cw_100%2Fformat%2Cwebp)

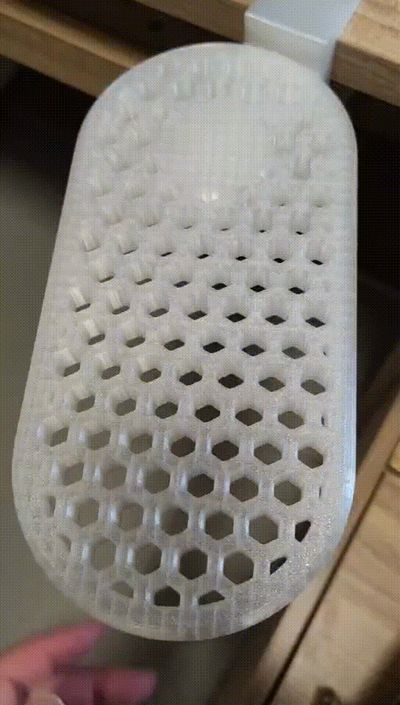
![[Horizontal Plate] Grid Style (Choose one of two horizontal plates)](https://makerworld.bblmw.com/makerworld/model/USe9ac87b1e21533/521336288/instance/2025-11-06_311d63868dd58.jpg?x-oss-process=image%2Fresize%2Cw_100%2Fformat%2Cwebp)
Description
Boost Me (for free)
Please read the instructions before printing:
2026.05.26 New A1 mini compatible version added. https://makerworld.com/en/models/2850863-no-hardware-needed-fits-a1-mini-multi-color-rotata#profileId-3179707
I. Model Description:
1. The tray is flush with the desktop, making it comfortable to use.
2. The tray features a stop mechanism to prevent accidental rotation during use.
3. It can be rotated by lifting gently, and pressing above the pivot locks it in place.
II. Printing Parameters:
1. To ensure strength, please use PETG.
2. The printing parameters for each part are already set. If modifications are needed, please ensure the main clamp body uses Strength mode (6 walls).
III. Model Selection:
1. Tray Selection:
a. Flat tray — shorter printing time, slightly less material.
b. Grid tray — longer printing time, slightly more material, but breathable and more aesthetic.
2. Screw Length Selection:
a. If your desktop thickness is greater than 2cm, choose the short screw.
b. If your desktop thickness is less than 2cm, be sure to choose the long screw.
IV. Installation Instructions:
1. Tray Pivot Reinforcement:
a. Since the pivot is printed vertically, a reinforcement design was made due to concerns about insufficient strength. (This concern might be a bit excessive)
b. Drip a small amount of glue into the pivot slot, then insert the cuboid with the chamfer facing down. (A hole is left in the middle of the cuboid for air escape during insertion, making it smoother)

2. Clamp Stop Ring Installation:
a. To prevent accidental rotation of the tray during use, a geared stop design was made.
b. Place the clamp facing upward. The upper end of the hole has a stop ring installation position. After dripping glue, press the stop ring all the way down.

3. Screw Installation:
a. The threaded part of the clamp is designed for printing without supports by default. However, different filaments and printer conditions vary. If you used supports, please remove them as cleanly as possible.
b. The screw threads have been adjusted to be smaller. If it still cannot be screwed in smoothly, do not use excessive force. After printing, let it rest for a while until the part has completely cooled. Alternatively, apply lubricant such as soap shavings or WD-40, which will make screwing in the screw much easier.

4. Anti-slip Pad Usage:
a. If the desktop is slippery, it is recommended to place an anti-slip pad of any material for better clamping effect.

License
You shall not share, sub-license, sell, rent, host, transfer, or distribute in any way the digital or 3D printed versions of this object, nor any other derivative work of this object in its digital or physical format (including - but not limited to - remixes of this object, and hosting on other digital platforms). The objects may not be used without permission in any way whatsoever in which you charge money, or collect fees.
Comment & Rating (12)