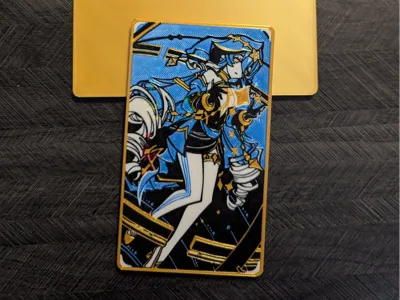
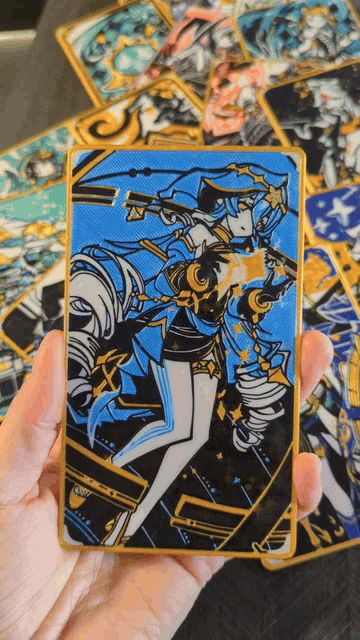
Layla Card


Print Profile(1)

Description
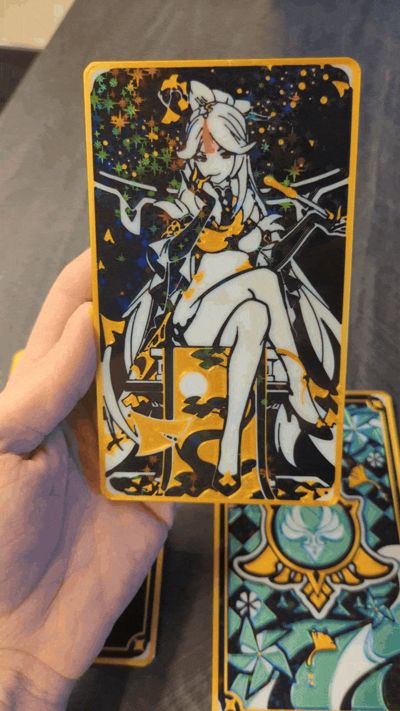
“Stars! shine for me!”
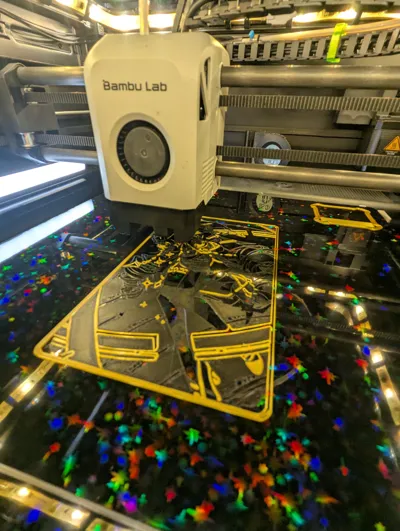
I made this art print to be optimized for the standard .4mm nozzle. You could also print this with a .2mm nozzle But I have only tested this with the standard .4mm nozzle. It did take quite a few test prints and edits to get the result I wanted, but I want to make these printable with the standard nozzle that comes with the bambu printers. All of the cards I am making are only 4 colors so you only need 1 AMS to print them. The colors are also used for multiple prints, the black, white, and gold I use in all the cards so I bought 1 kg spools of those. The Mika 3D dual color filament I used in this is from a multipack, I used the other colors from that multipack on other cards I have made. you can also switch it up and use whatever color/ brand of filament you prefer.
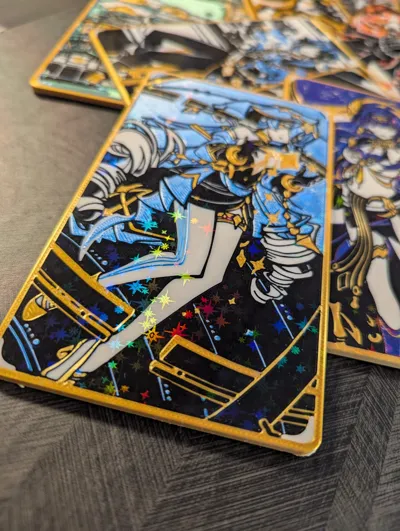
This print profile is for my Layla card only. I have added a photo of some of the other cards I have made so far, you can get the print files for my other cards here
The artwork used to make these is the card art from the game not original artwork by me.
I added magnet holes to the back so that you can switch out the card backs if desired.
Please note:
when printing on a smooth plate, the plate being clean of any finger oils is very important. If the plate is not absolutely clean (I clean mine with liquid dish soap and warm water) it can cause adhesion issues as seen in the circled parts in the picture below. These two test prints were printed from the same file, the one on the left after using the plate for multiple prints, and the one on the right after cleaning the plate with soap and hot water.

Please be aware that the print settings and first layer color order are not the standard bambu settings and are crucial for these prints. They should all be pre-loaded with this print profile.
If you want to check these settings they are:
*supports turned off, ironing top surfaces (40mm/s, 30% ironing flow rate), 100% infill, purge into infill tuned off, slower first layer speeds for smooth plate (see image below).

*Adjusted layer settings as follows


For the first layer on this card the color order is set to:Black,Gold,Blue then White. you can check the first layer color order by clicking on the settings next to the plate as seen below.

I have included 2 print profiles, one for exposed 6x2mm magnets, and one for embedded 2x6mm magnets. The profile for the embedded magnets is set to pause at layer 15 so you can add the magnets and then resume printing.

I have printed both embedded and exposed magnet versions many times in the process of test printing these TCG art card prints, while I much prefer the look and smooth back of the embedded magnets, the exposed version has a degree more strength in the magnetic connection. Just be aware of this when choosing which version to print.
The holographic smooth plate I used for printing
The gold PLA I used is Giantarm
The black and white I used is Sunlu PLA Plus
Happy Printing!
License
You shall not share, sub-license, sell, rent, host, transfer, or distribute in any way the digital or 3D printed versions of this object, nor any other derivative work of this object in its digital or physical format (including - but not limited to - remixes of this object, and hosting on other digital platforms). The objects may not be used without permission in any way whatsoever in which you charge money, or collect fees.
Comment & Rating (0)