
Darth Vaders Lightsaber
Print Profile(3)






Description
Boost Me (for free)
If you like my models, please consider dropping me a boost, comment and rate the profile! Any of these things keeps me motivated to Keep going! Thank you!
“You don't know the power of the dark side”
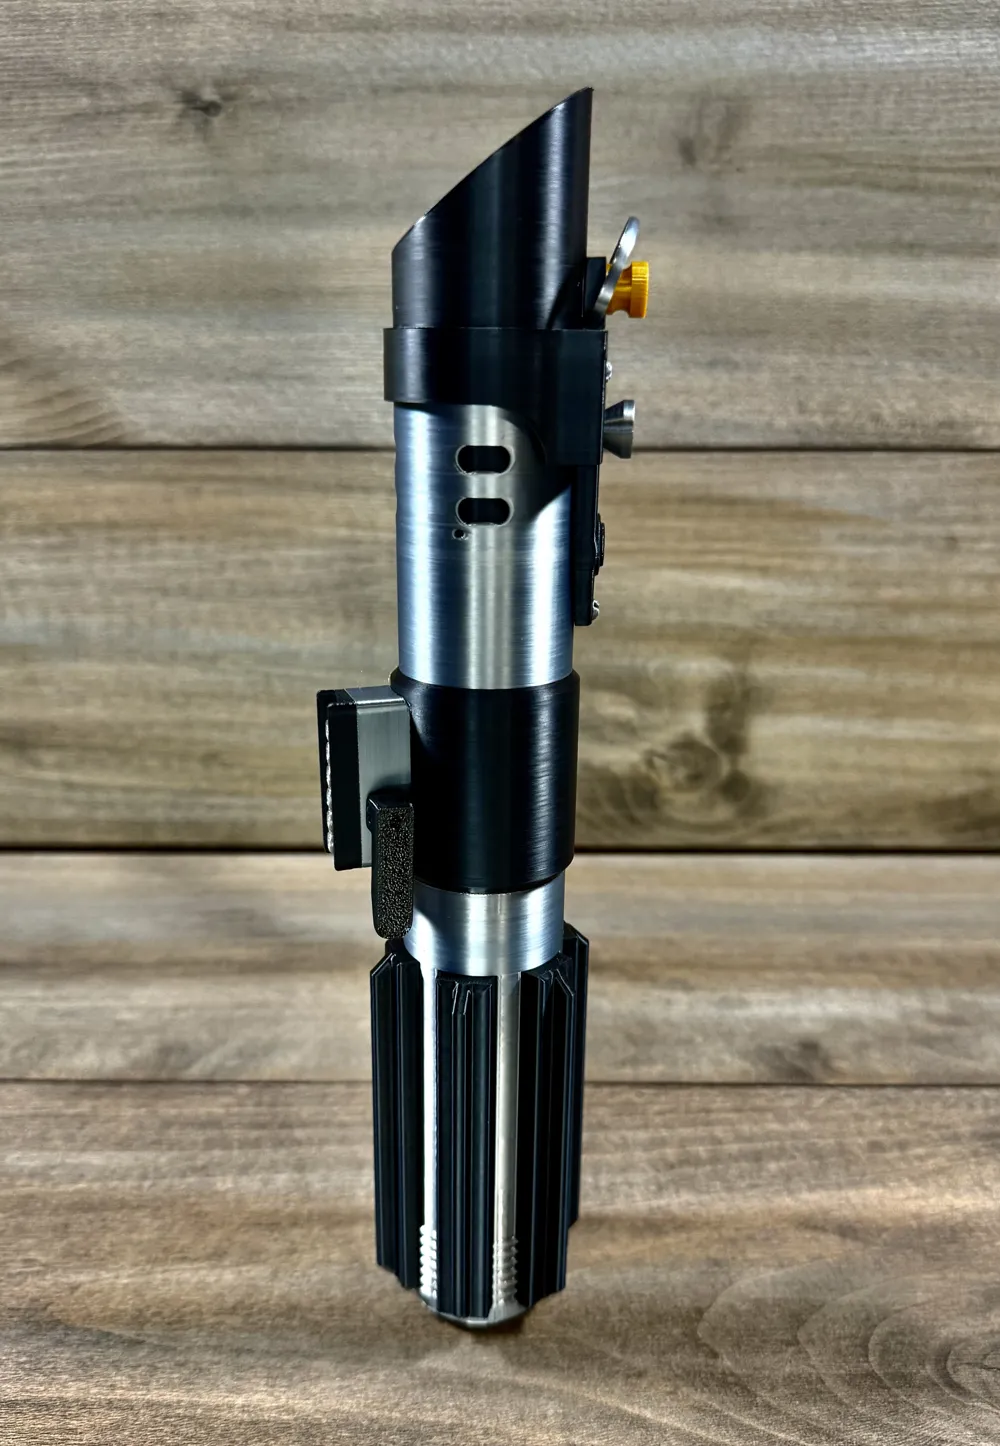
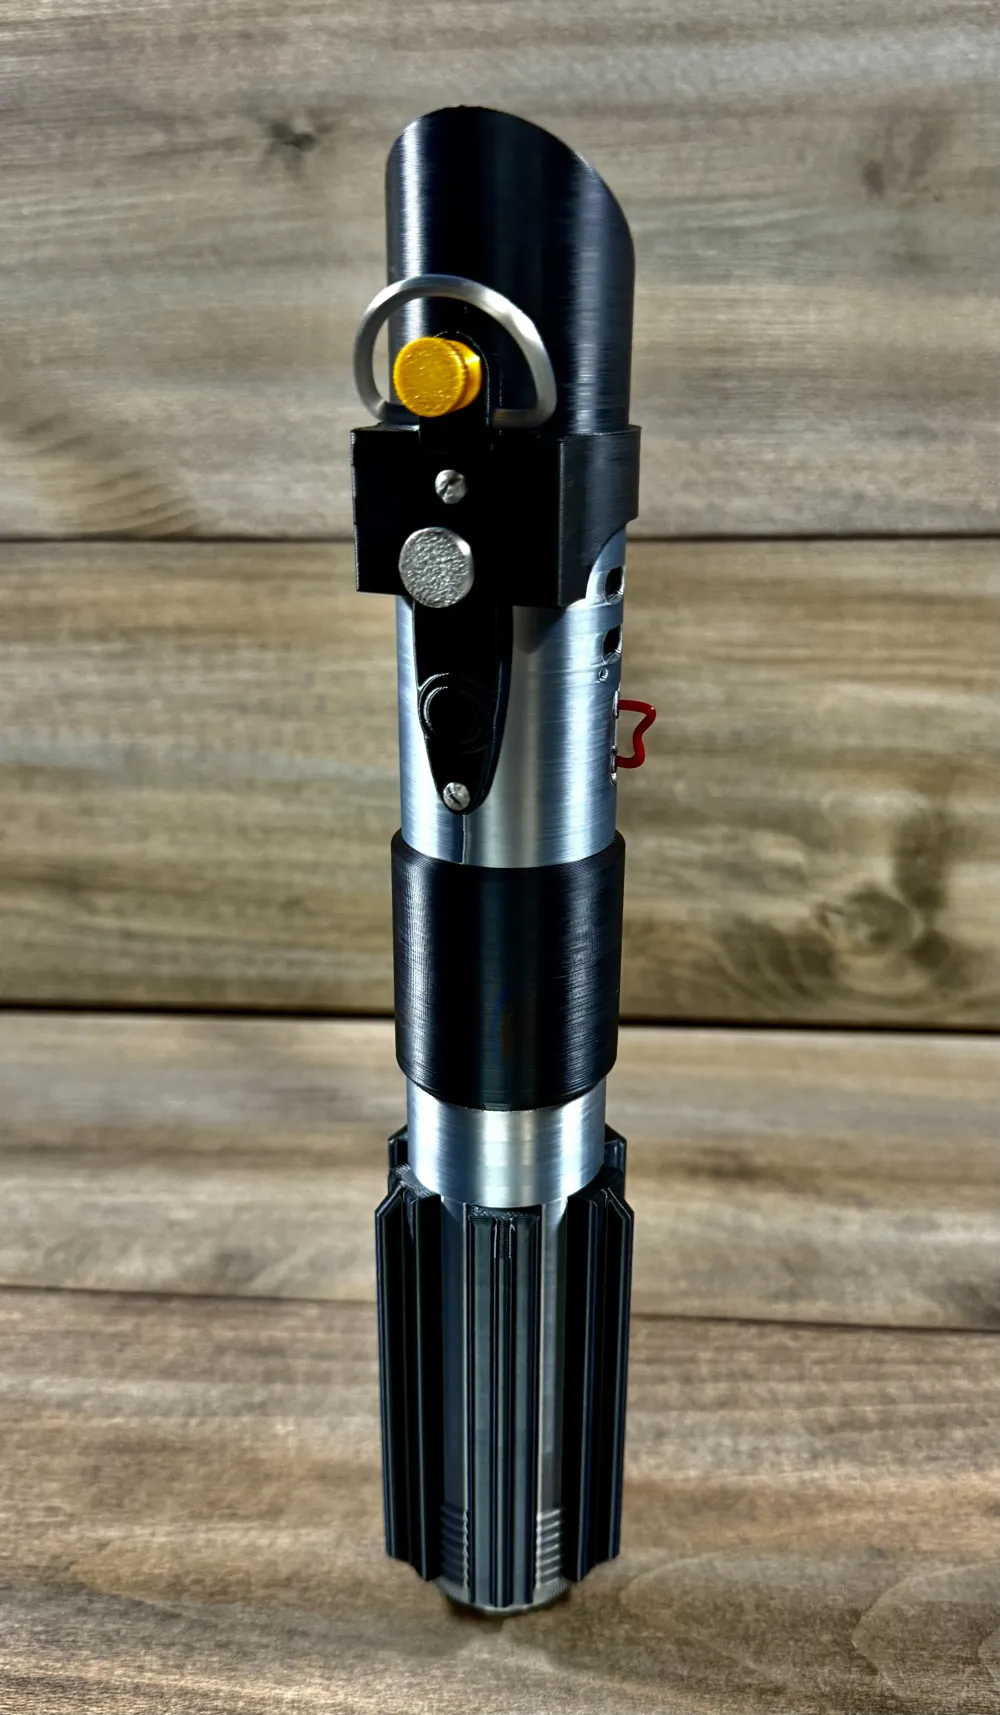
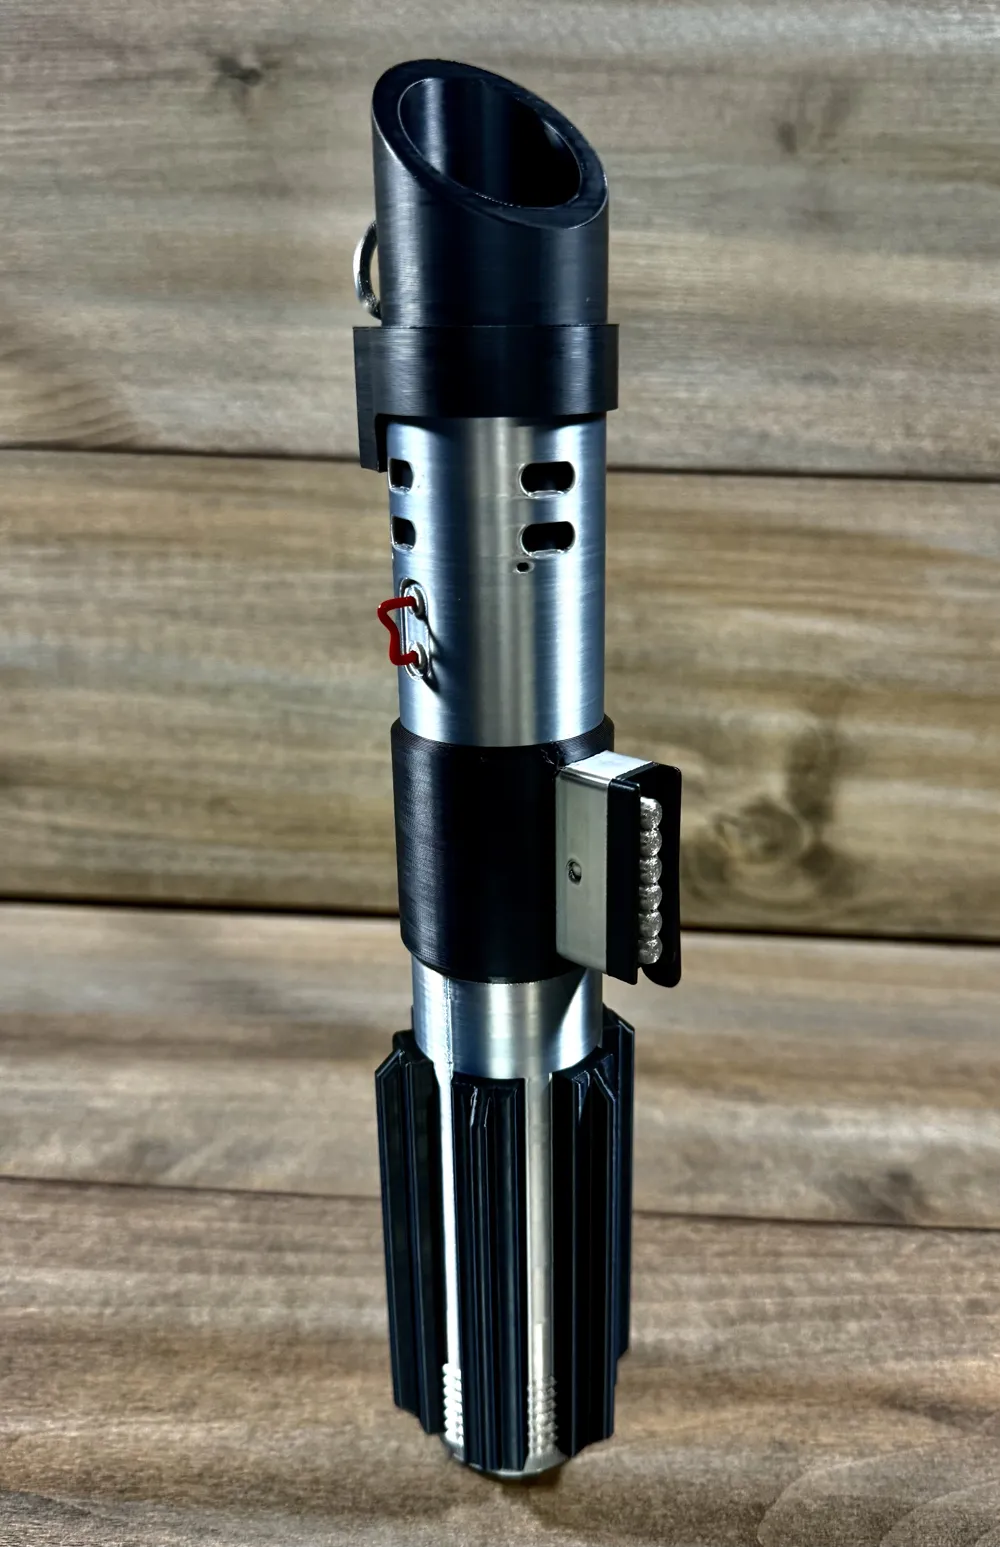
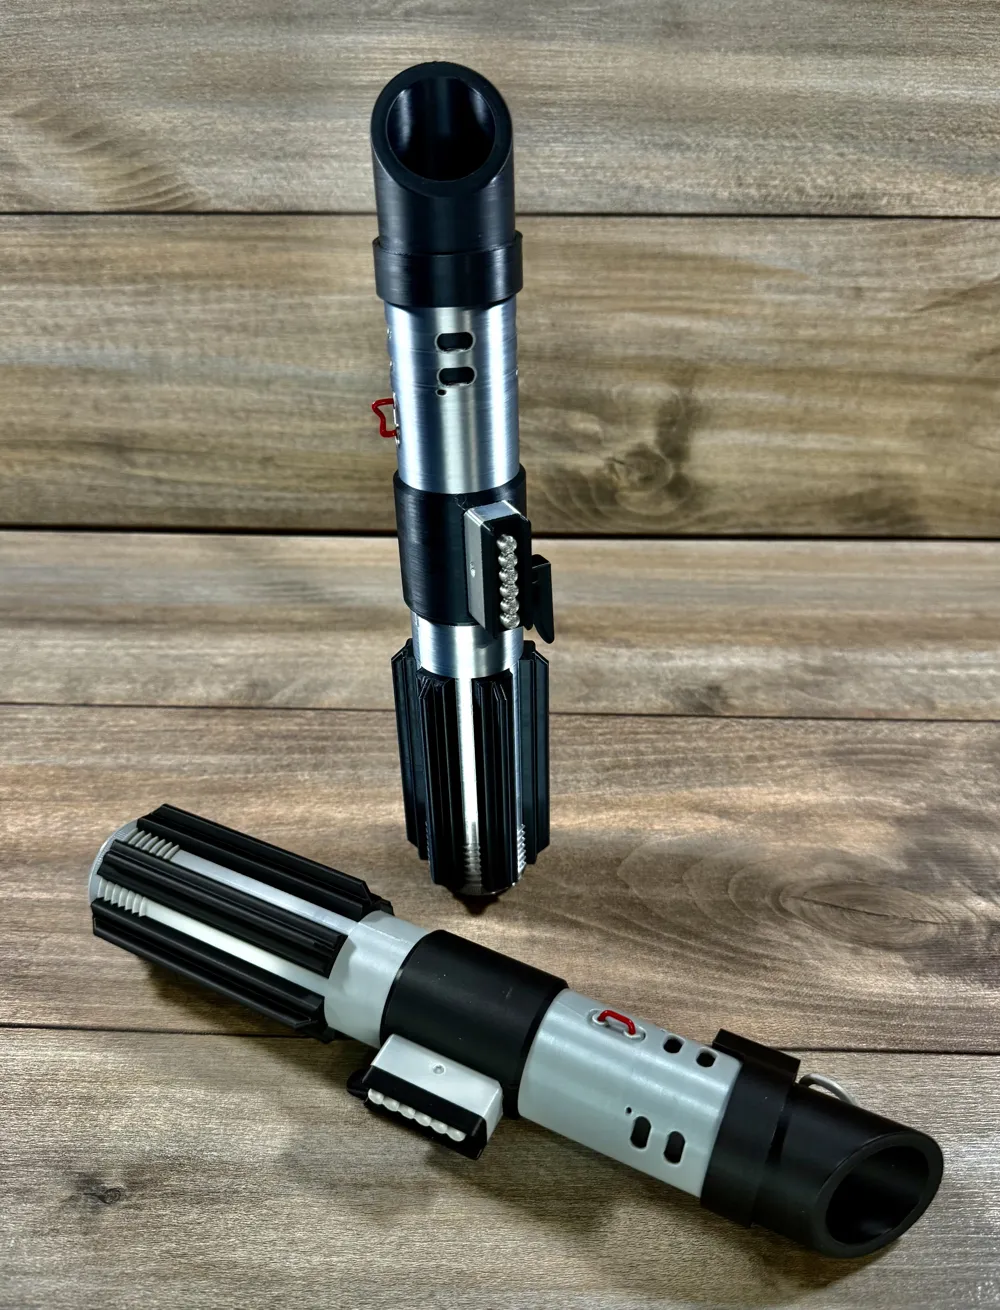
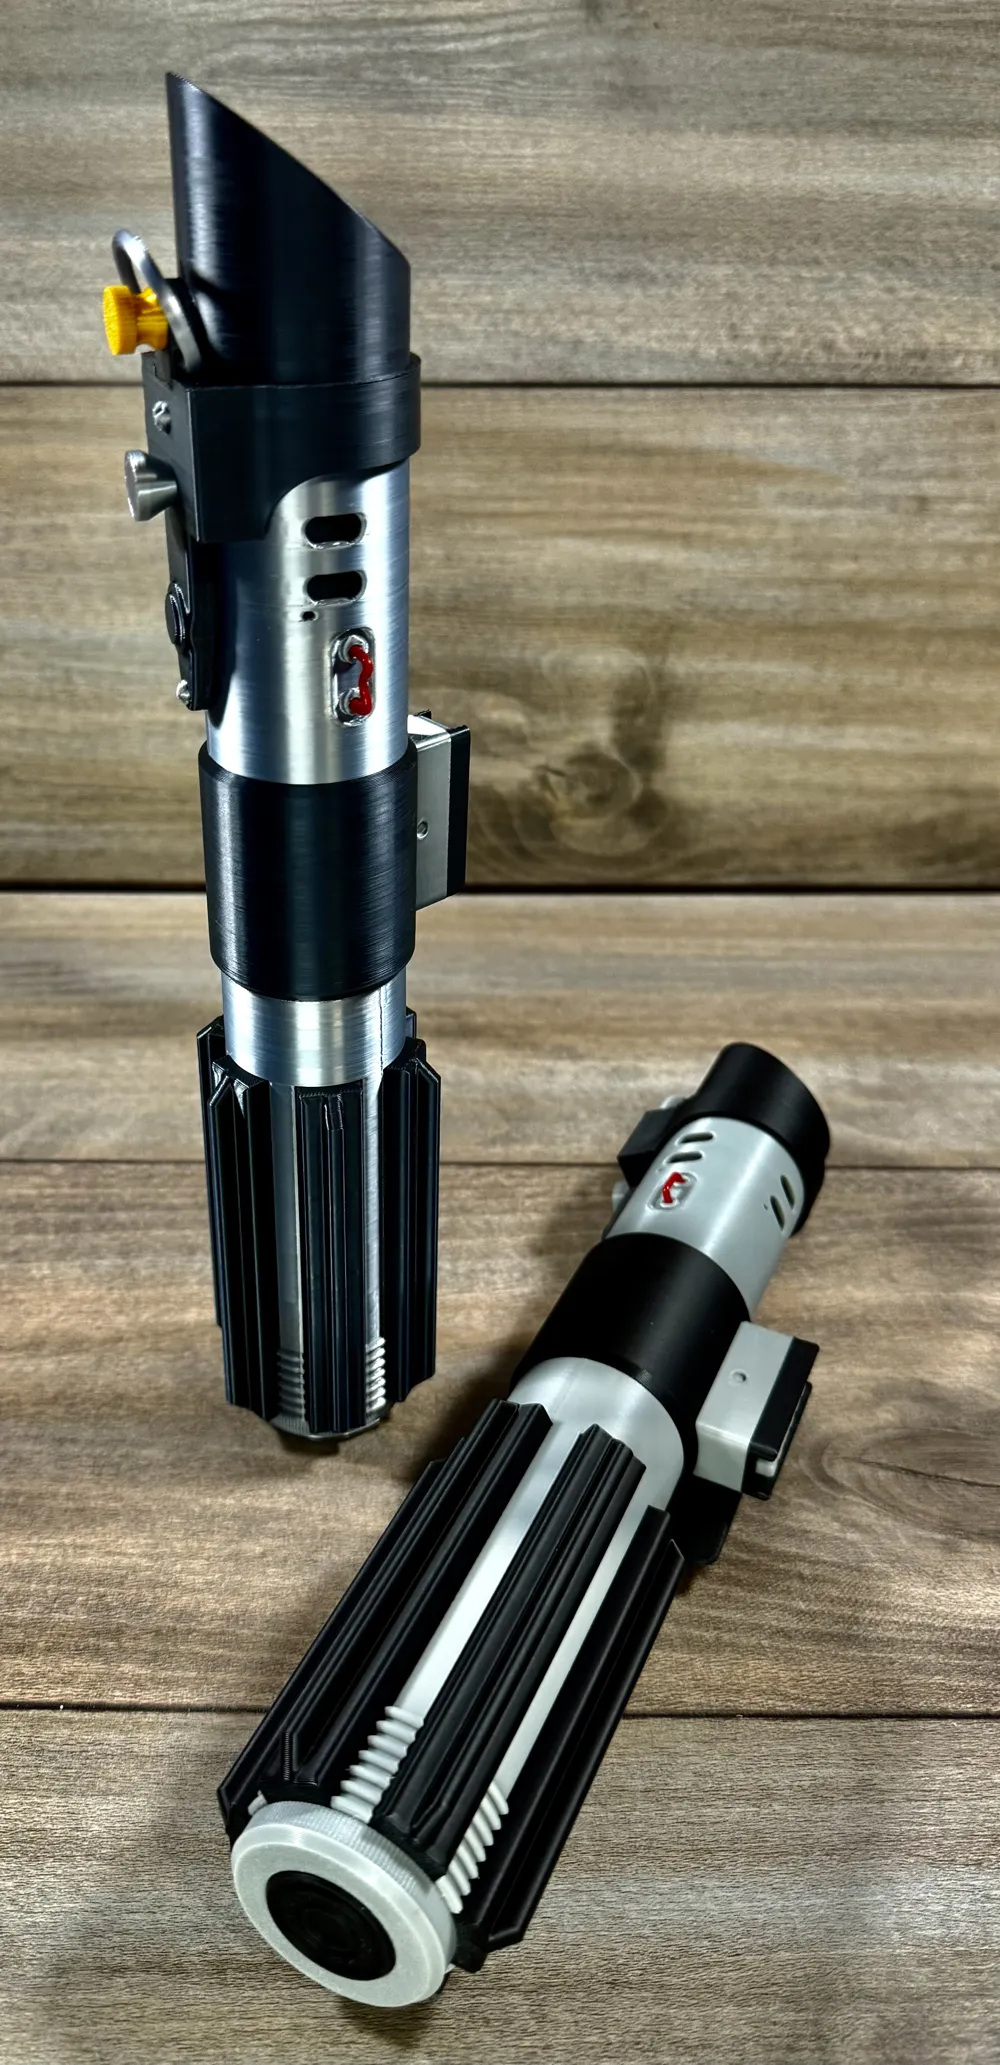
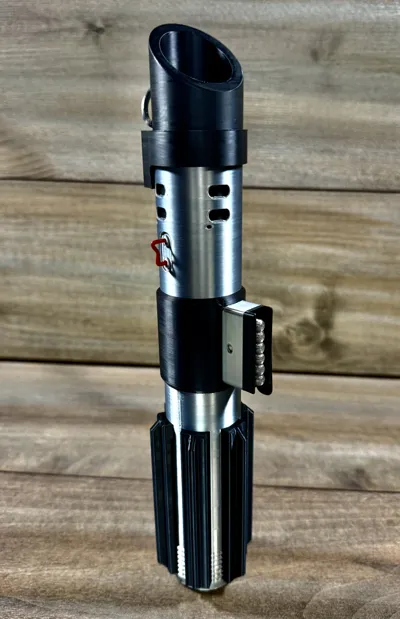
Vader's lightsaber
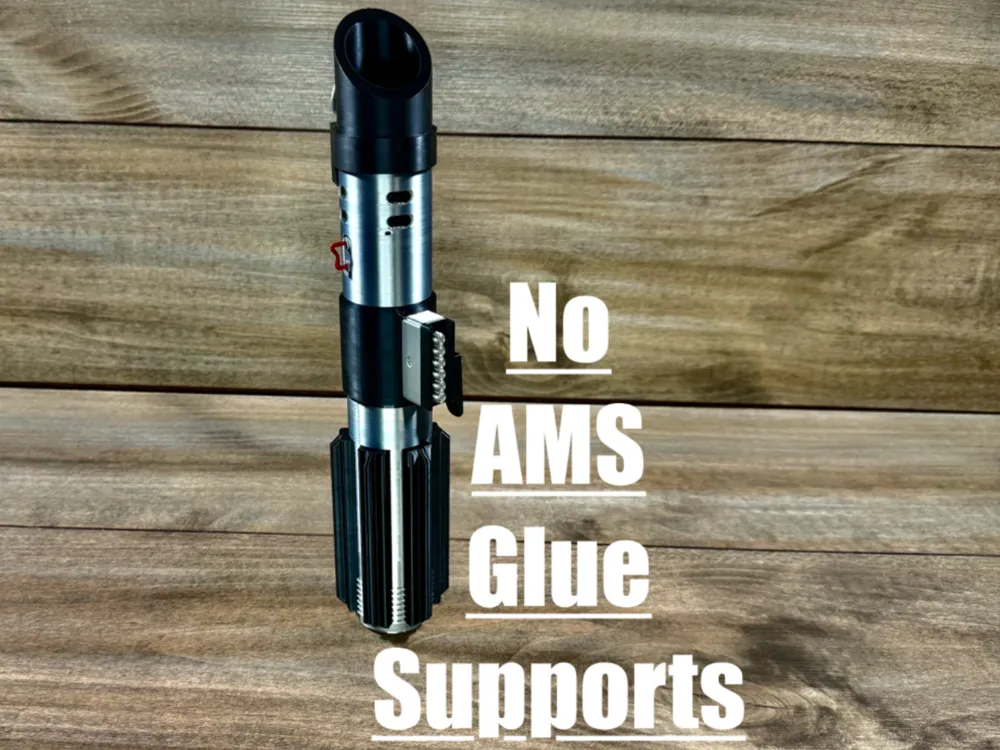
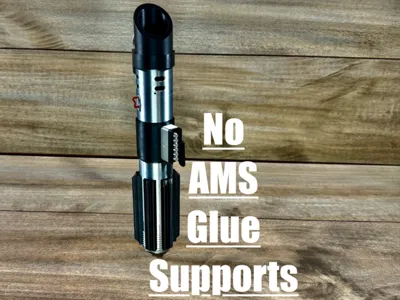
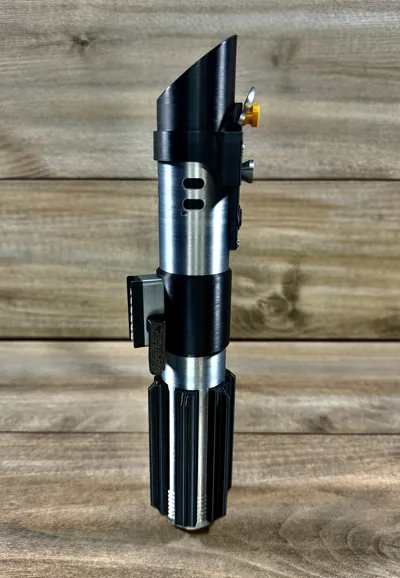
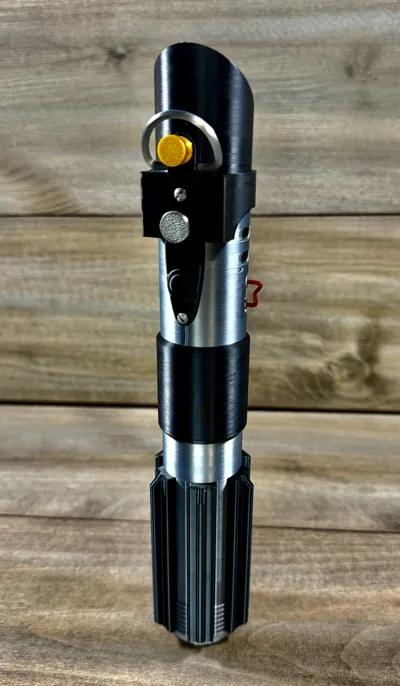
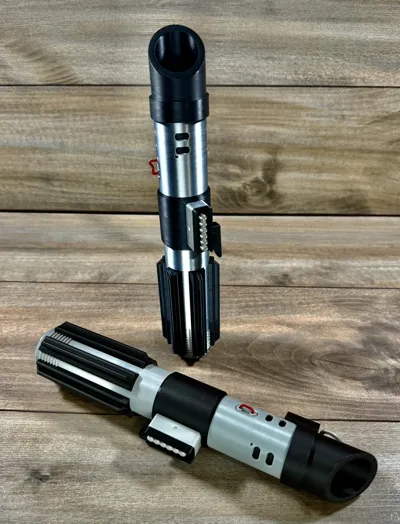
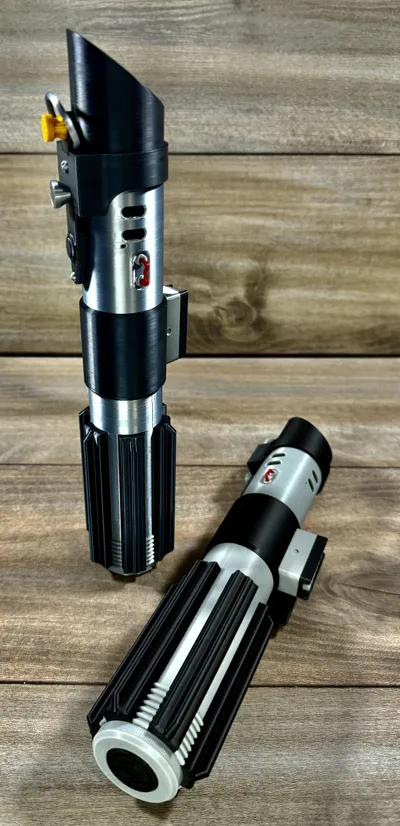
This no support, no ams, no glue model is my take on Darth Vader's iconic lightsaber.
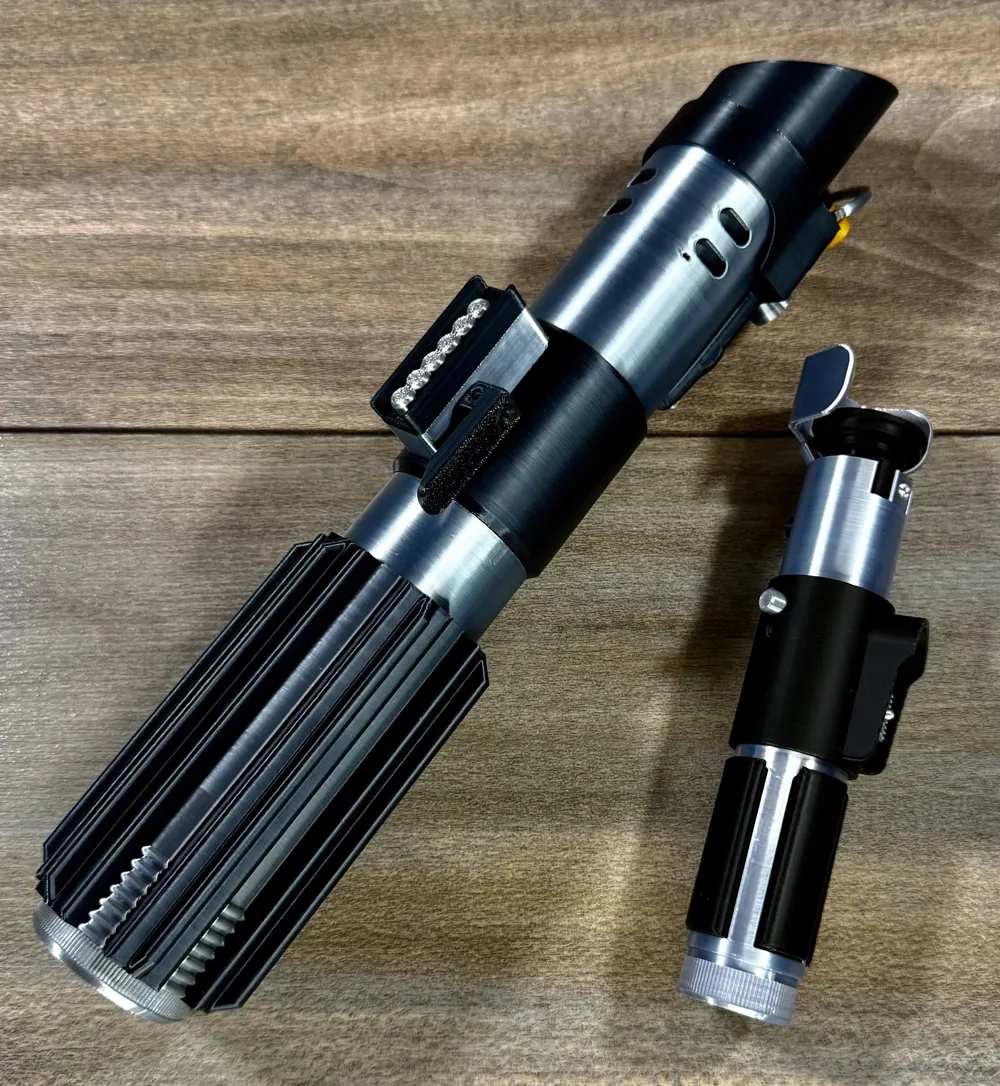
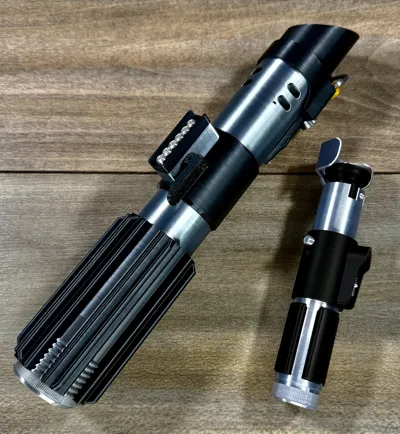
The saber is 290mm (11.5 inches) long and is fun to assemble.
Get the display blade here
https://makerworld.com/en/models/2279067-lightsaber-blade-screw-on-sections#profileId-2485136
Be sure to check out my other models and sabers!
https://makerworld.com/en/collections/14478910-lightsabers
UPDATE 1-17-26: updated threaed components for better strength.
Filaments used:
Sunlu silk grey, Sunlu silk black, Optional Sunlu silk gold
To assemble
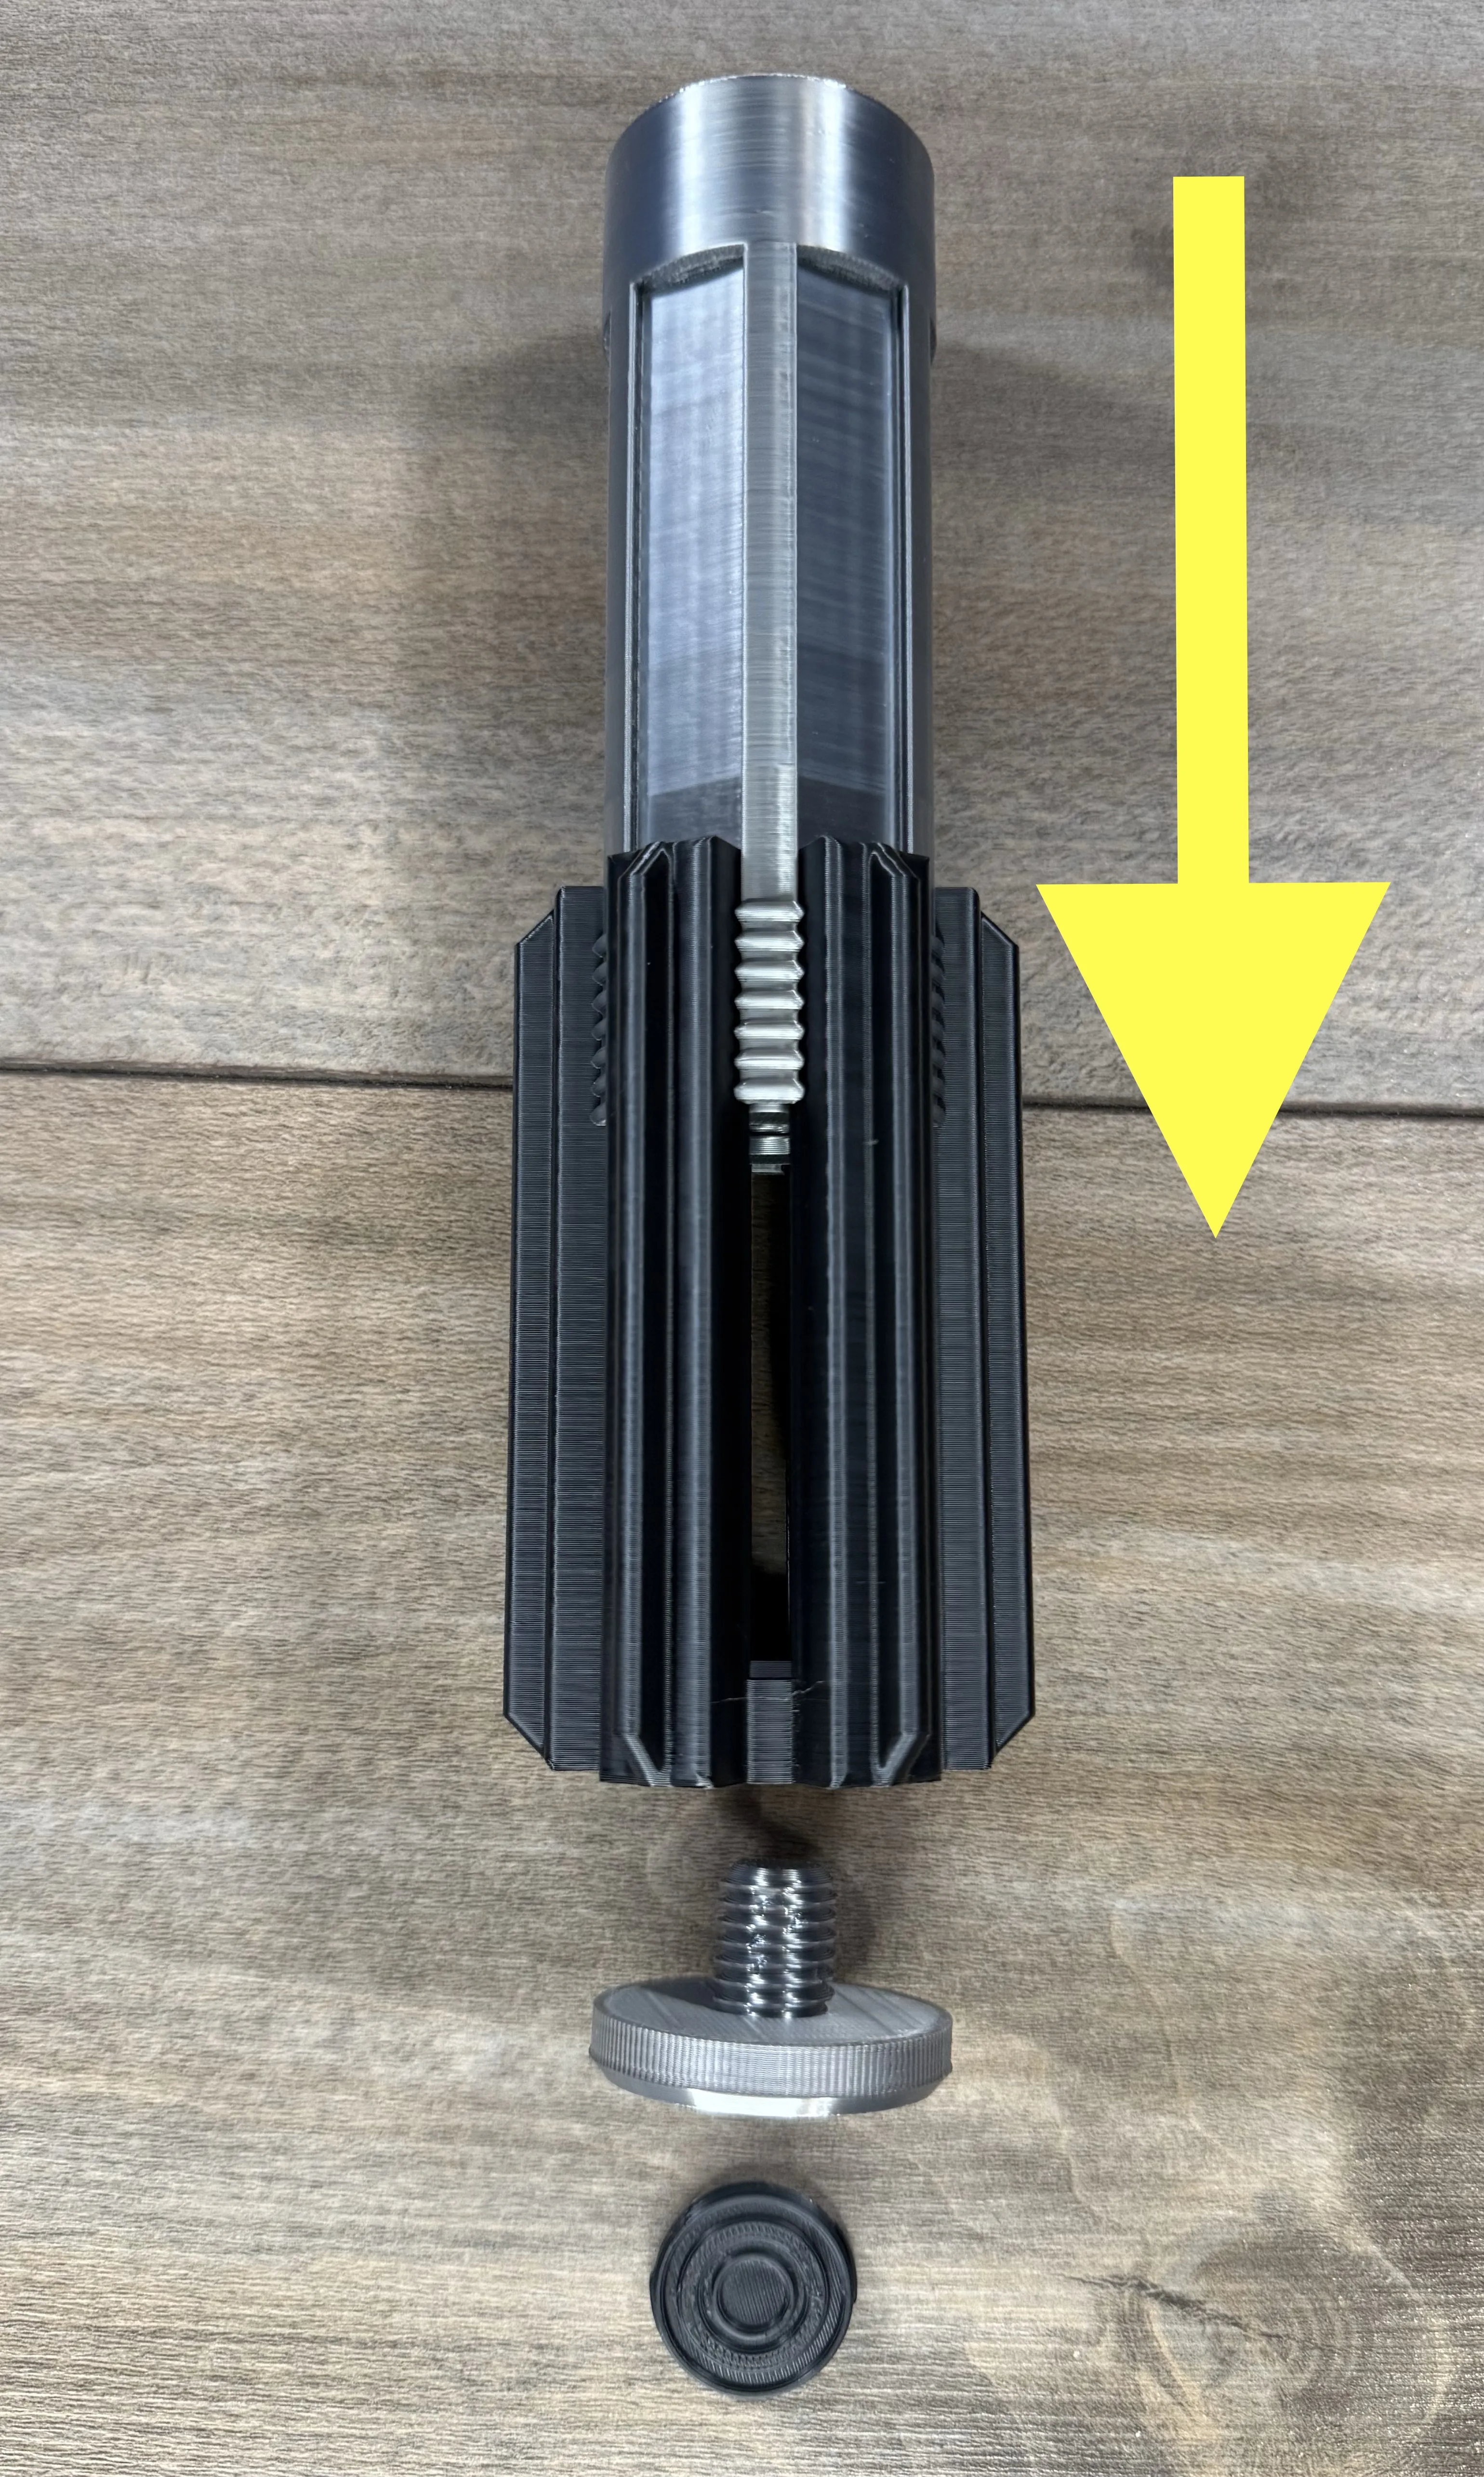
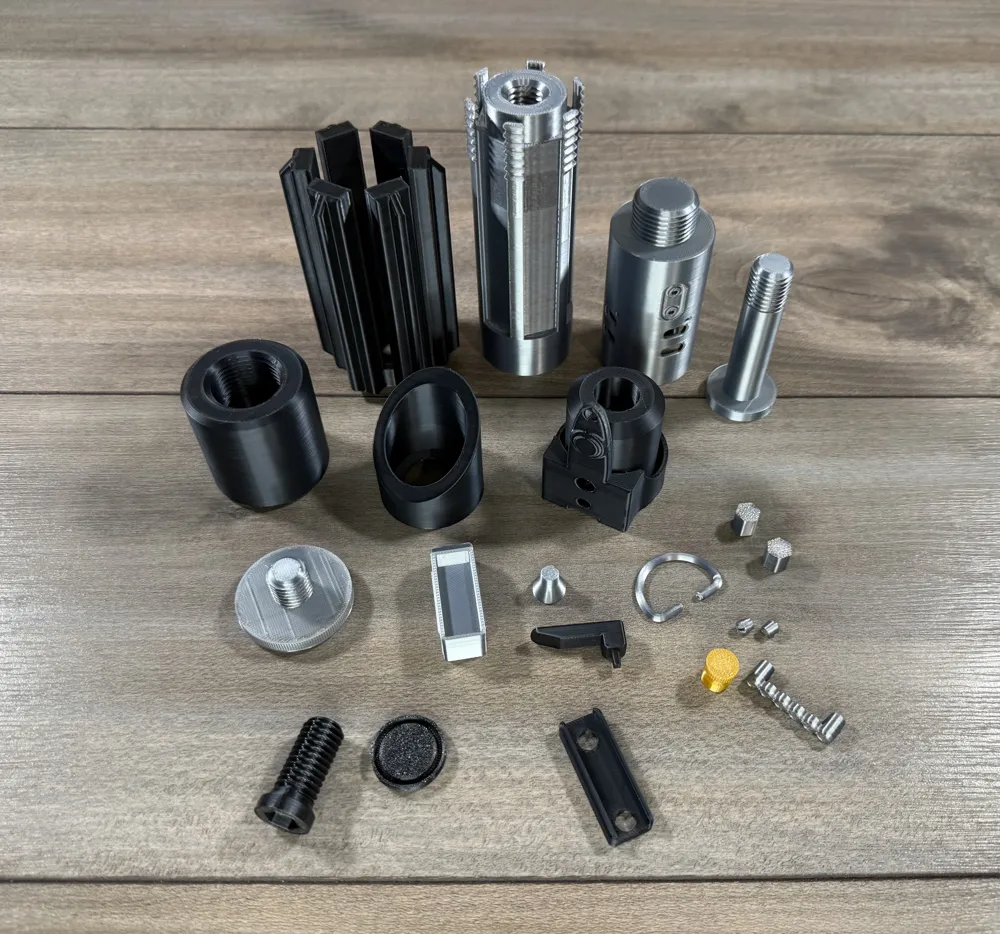
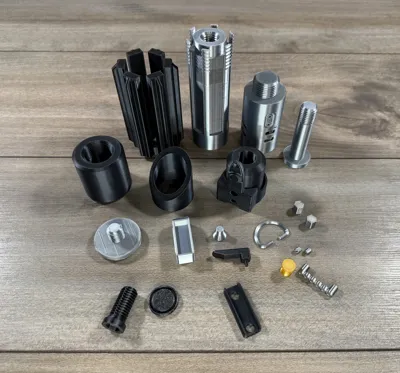
Starting with the grip, slide the black grips into the silver lower handle and use the cap screw to hold in place,
then snap the vent detail into the end of the screw.
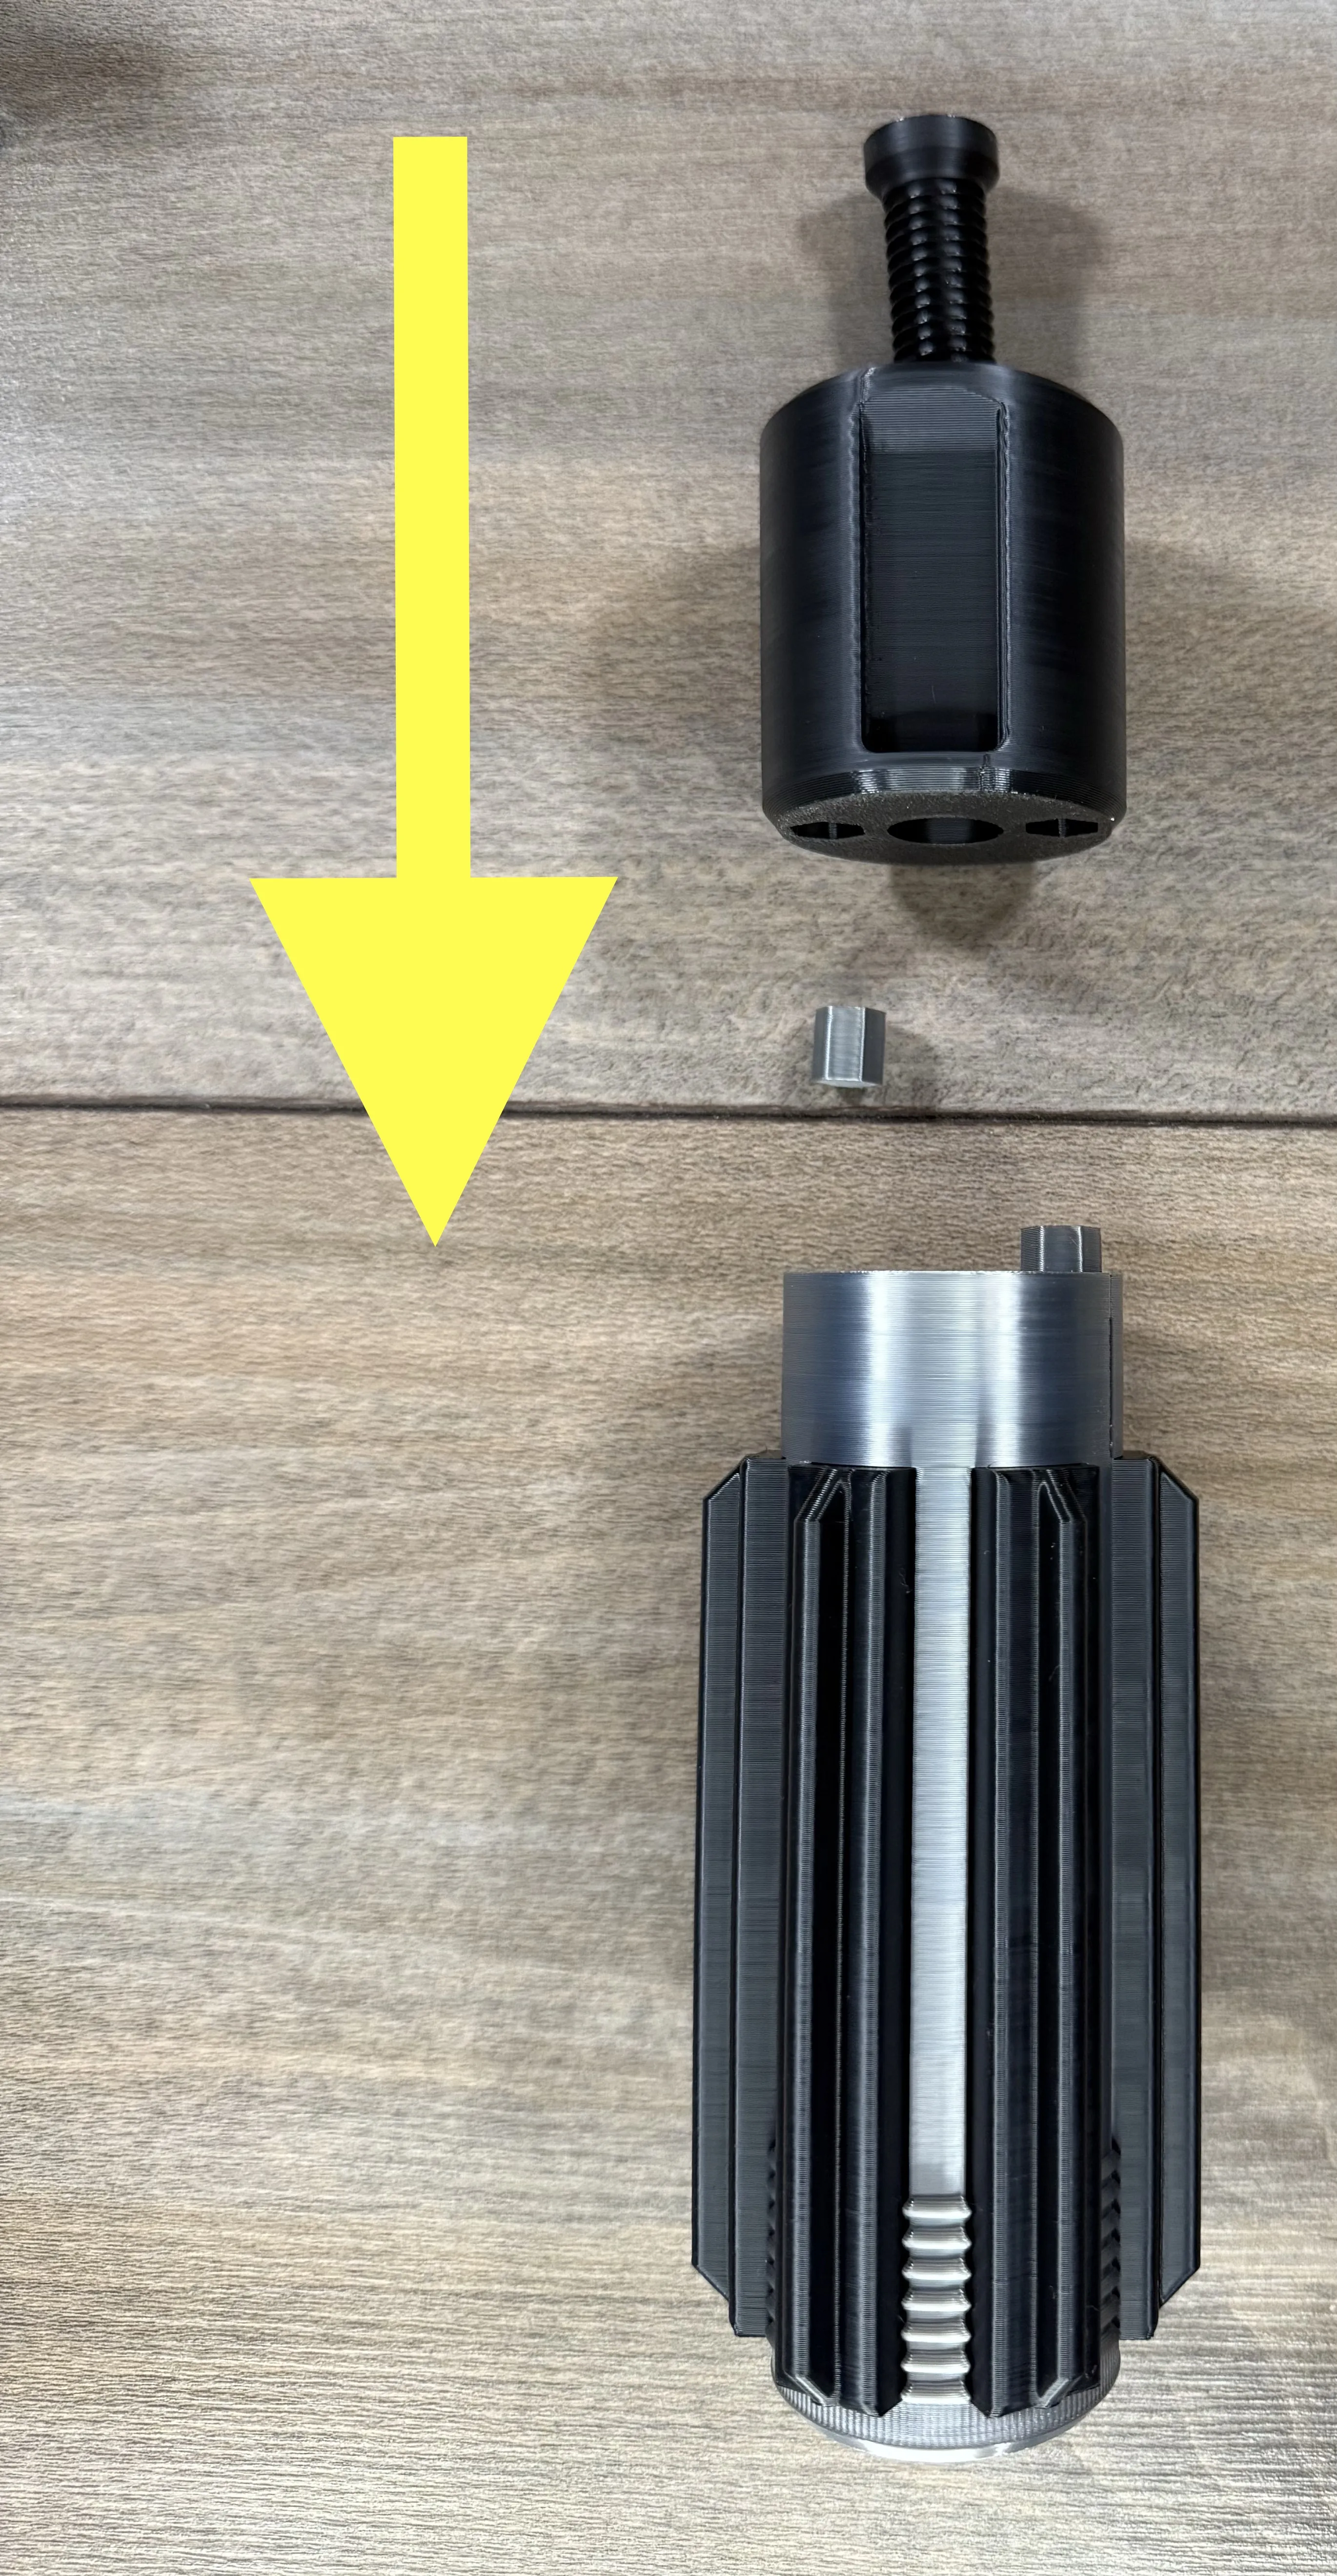
Insert te two hex pins into the handle then into the middle hilt and use the bolt to lock it together. Included is a hex tool but a 3/8 hex wrench will work great if you have one.
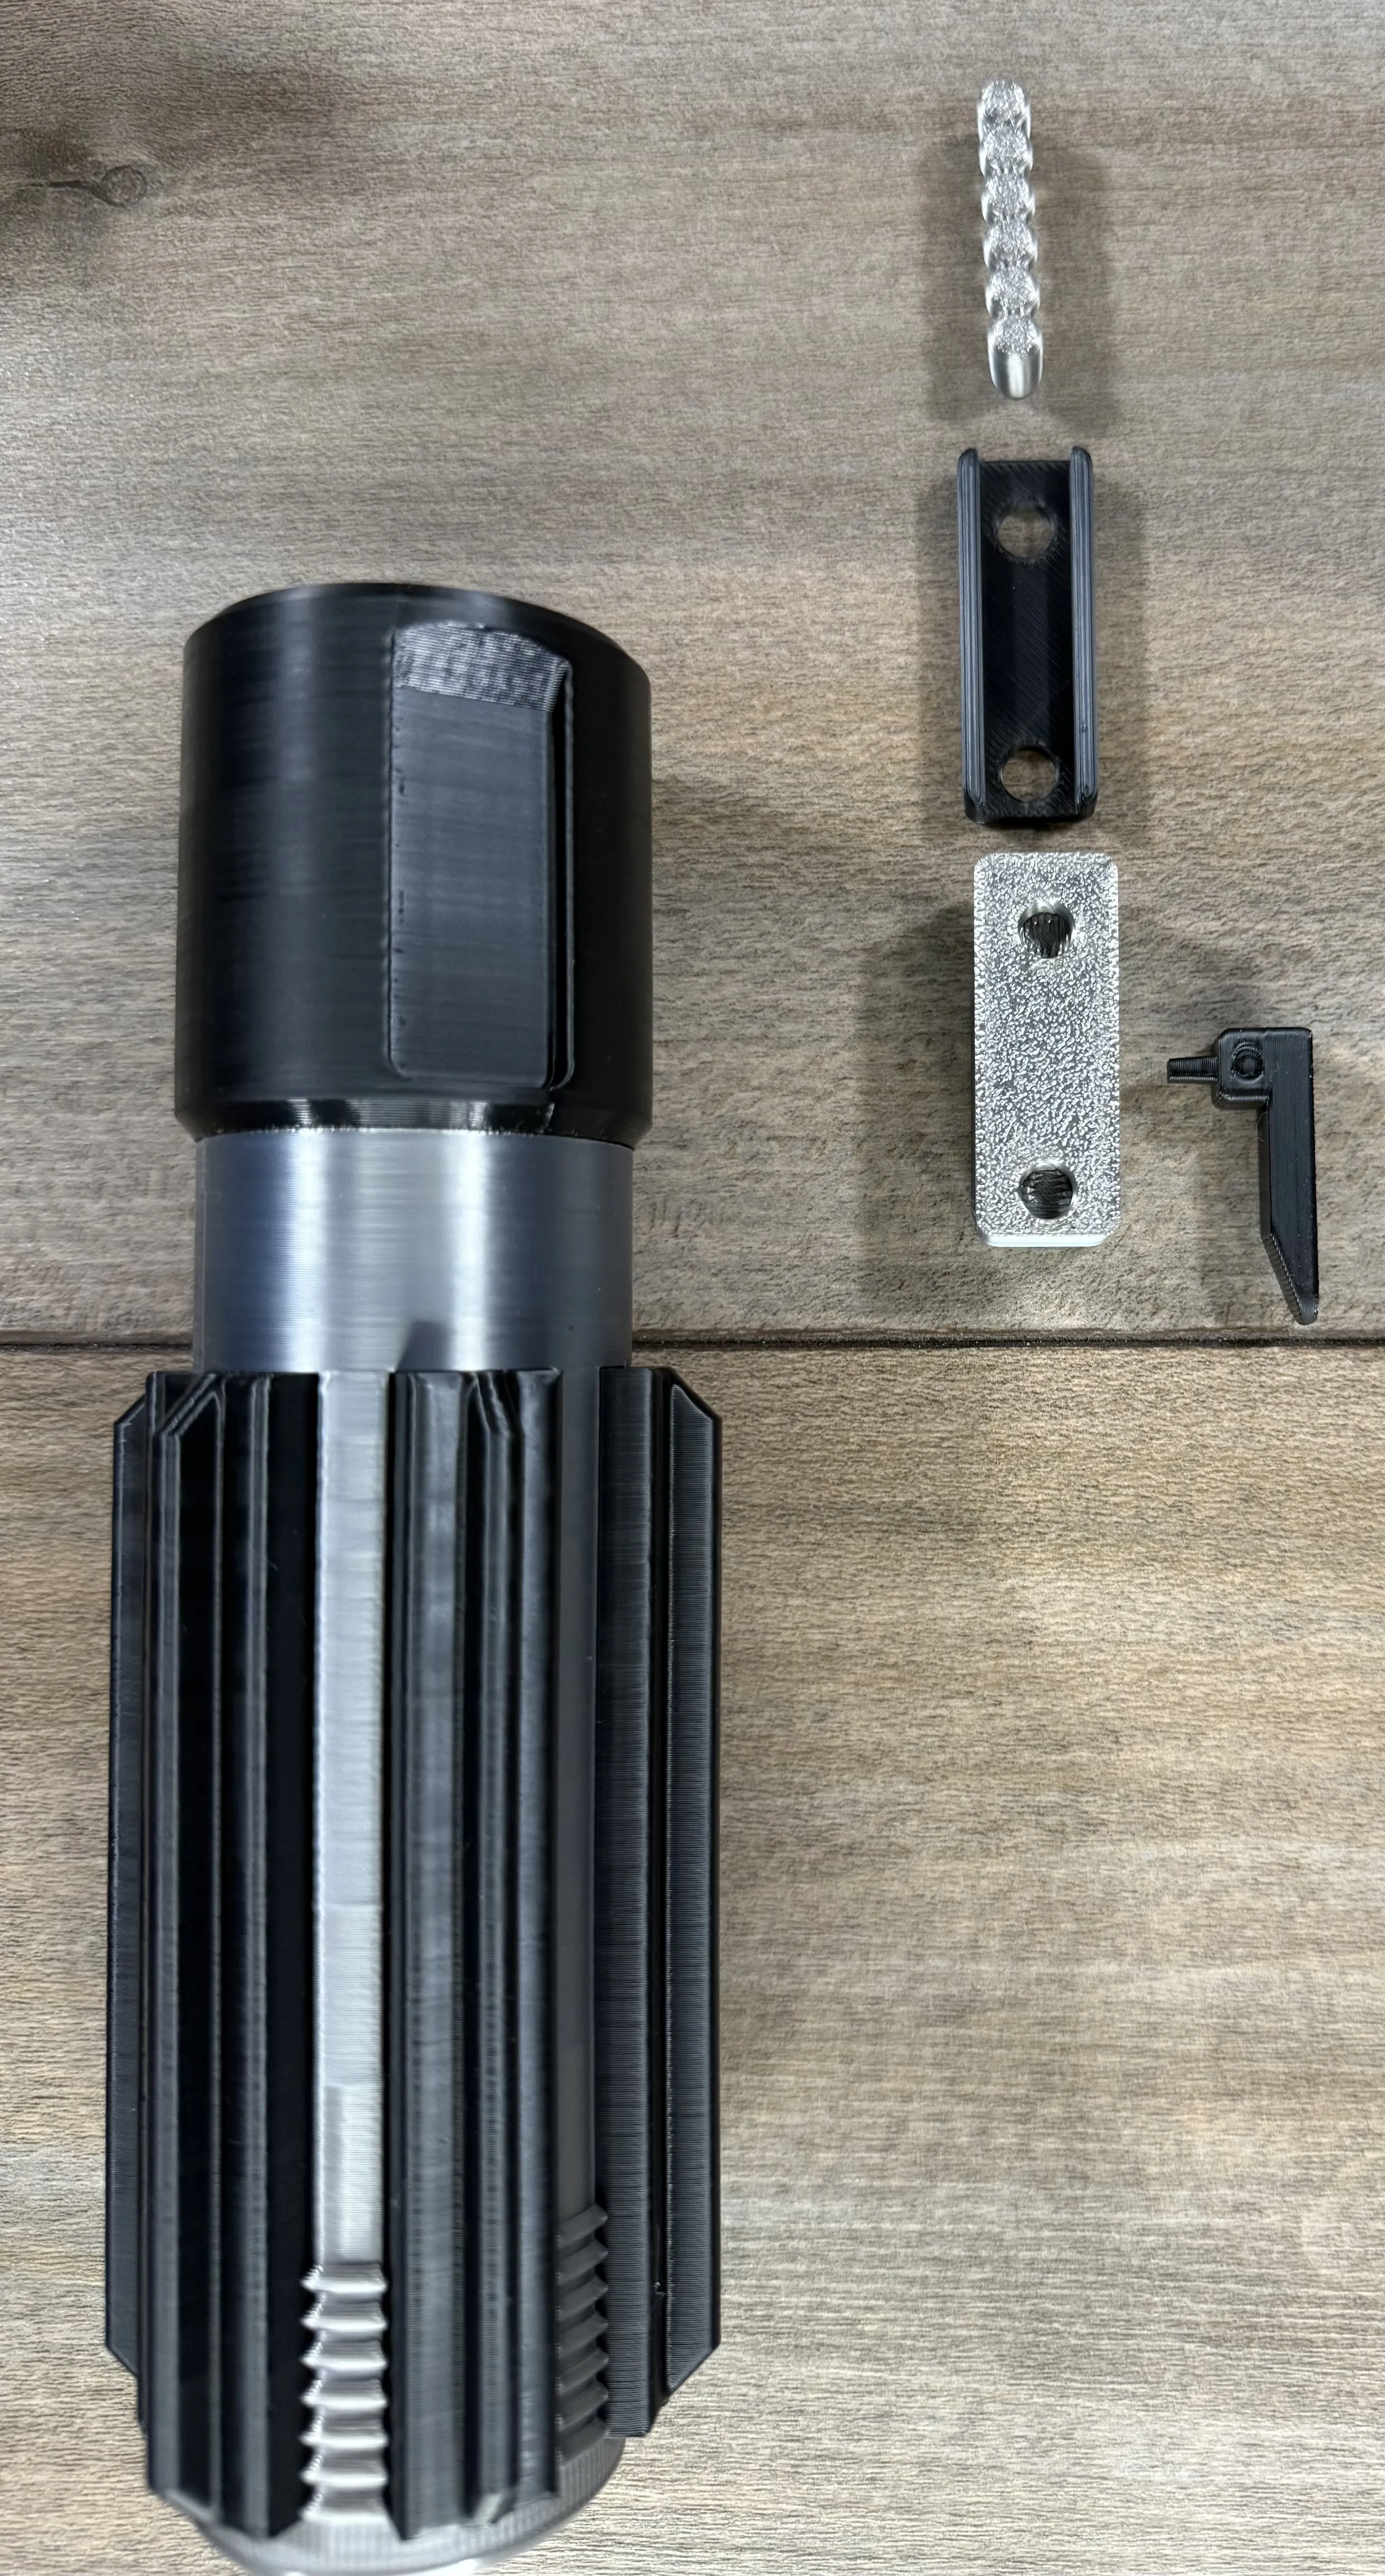
Push the rounded switch through the switch plate and into the control box, then press it into the recess in the main assembly.
Then press the lever into the side of the control box.
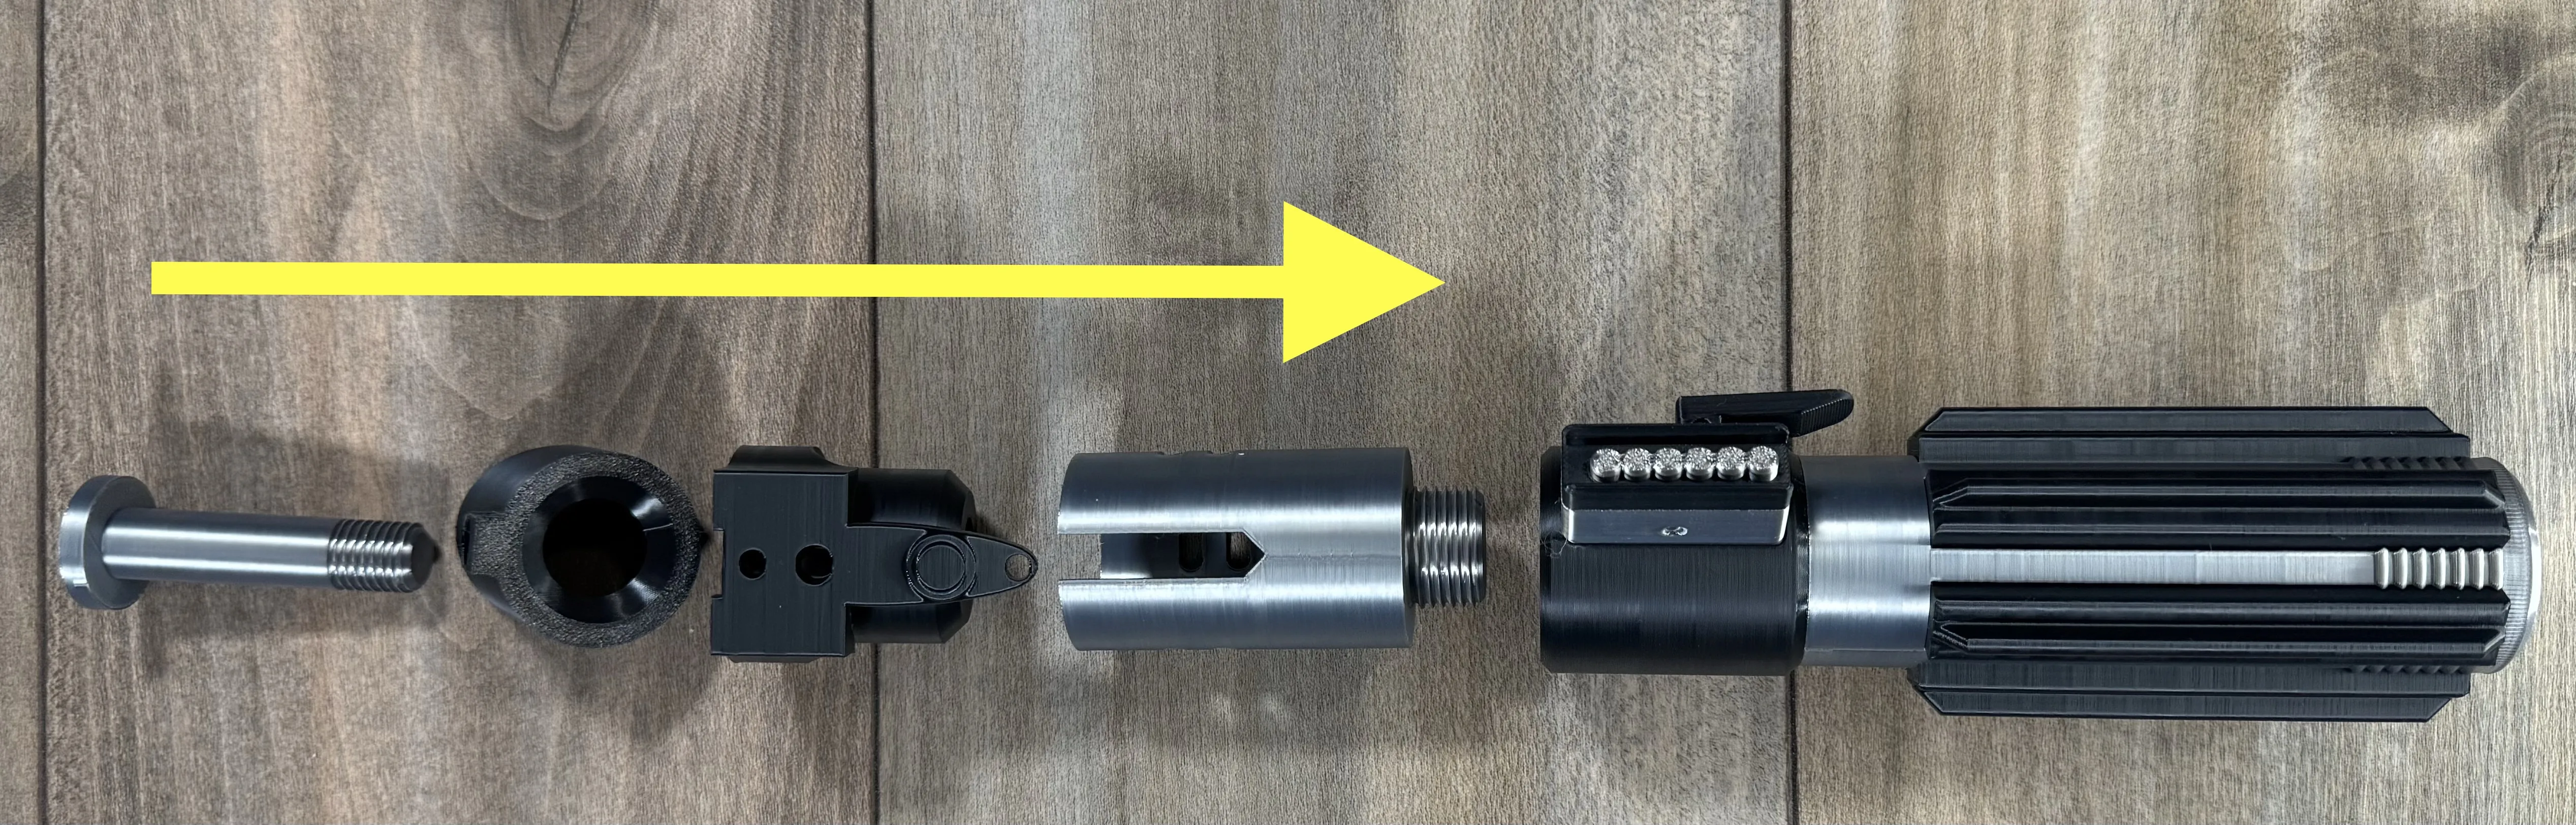
Screw in the upper part of the hilt into the lower assembly, then slide the upper and lower emitter shroud into the slots.
use the emitter to bolt it all together using the same 3/8 hex key as before.
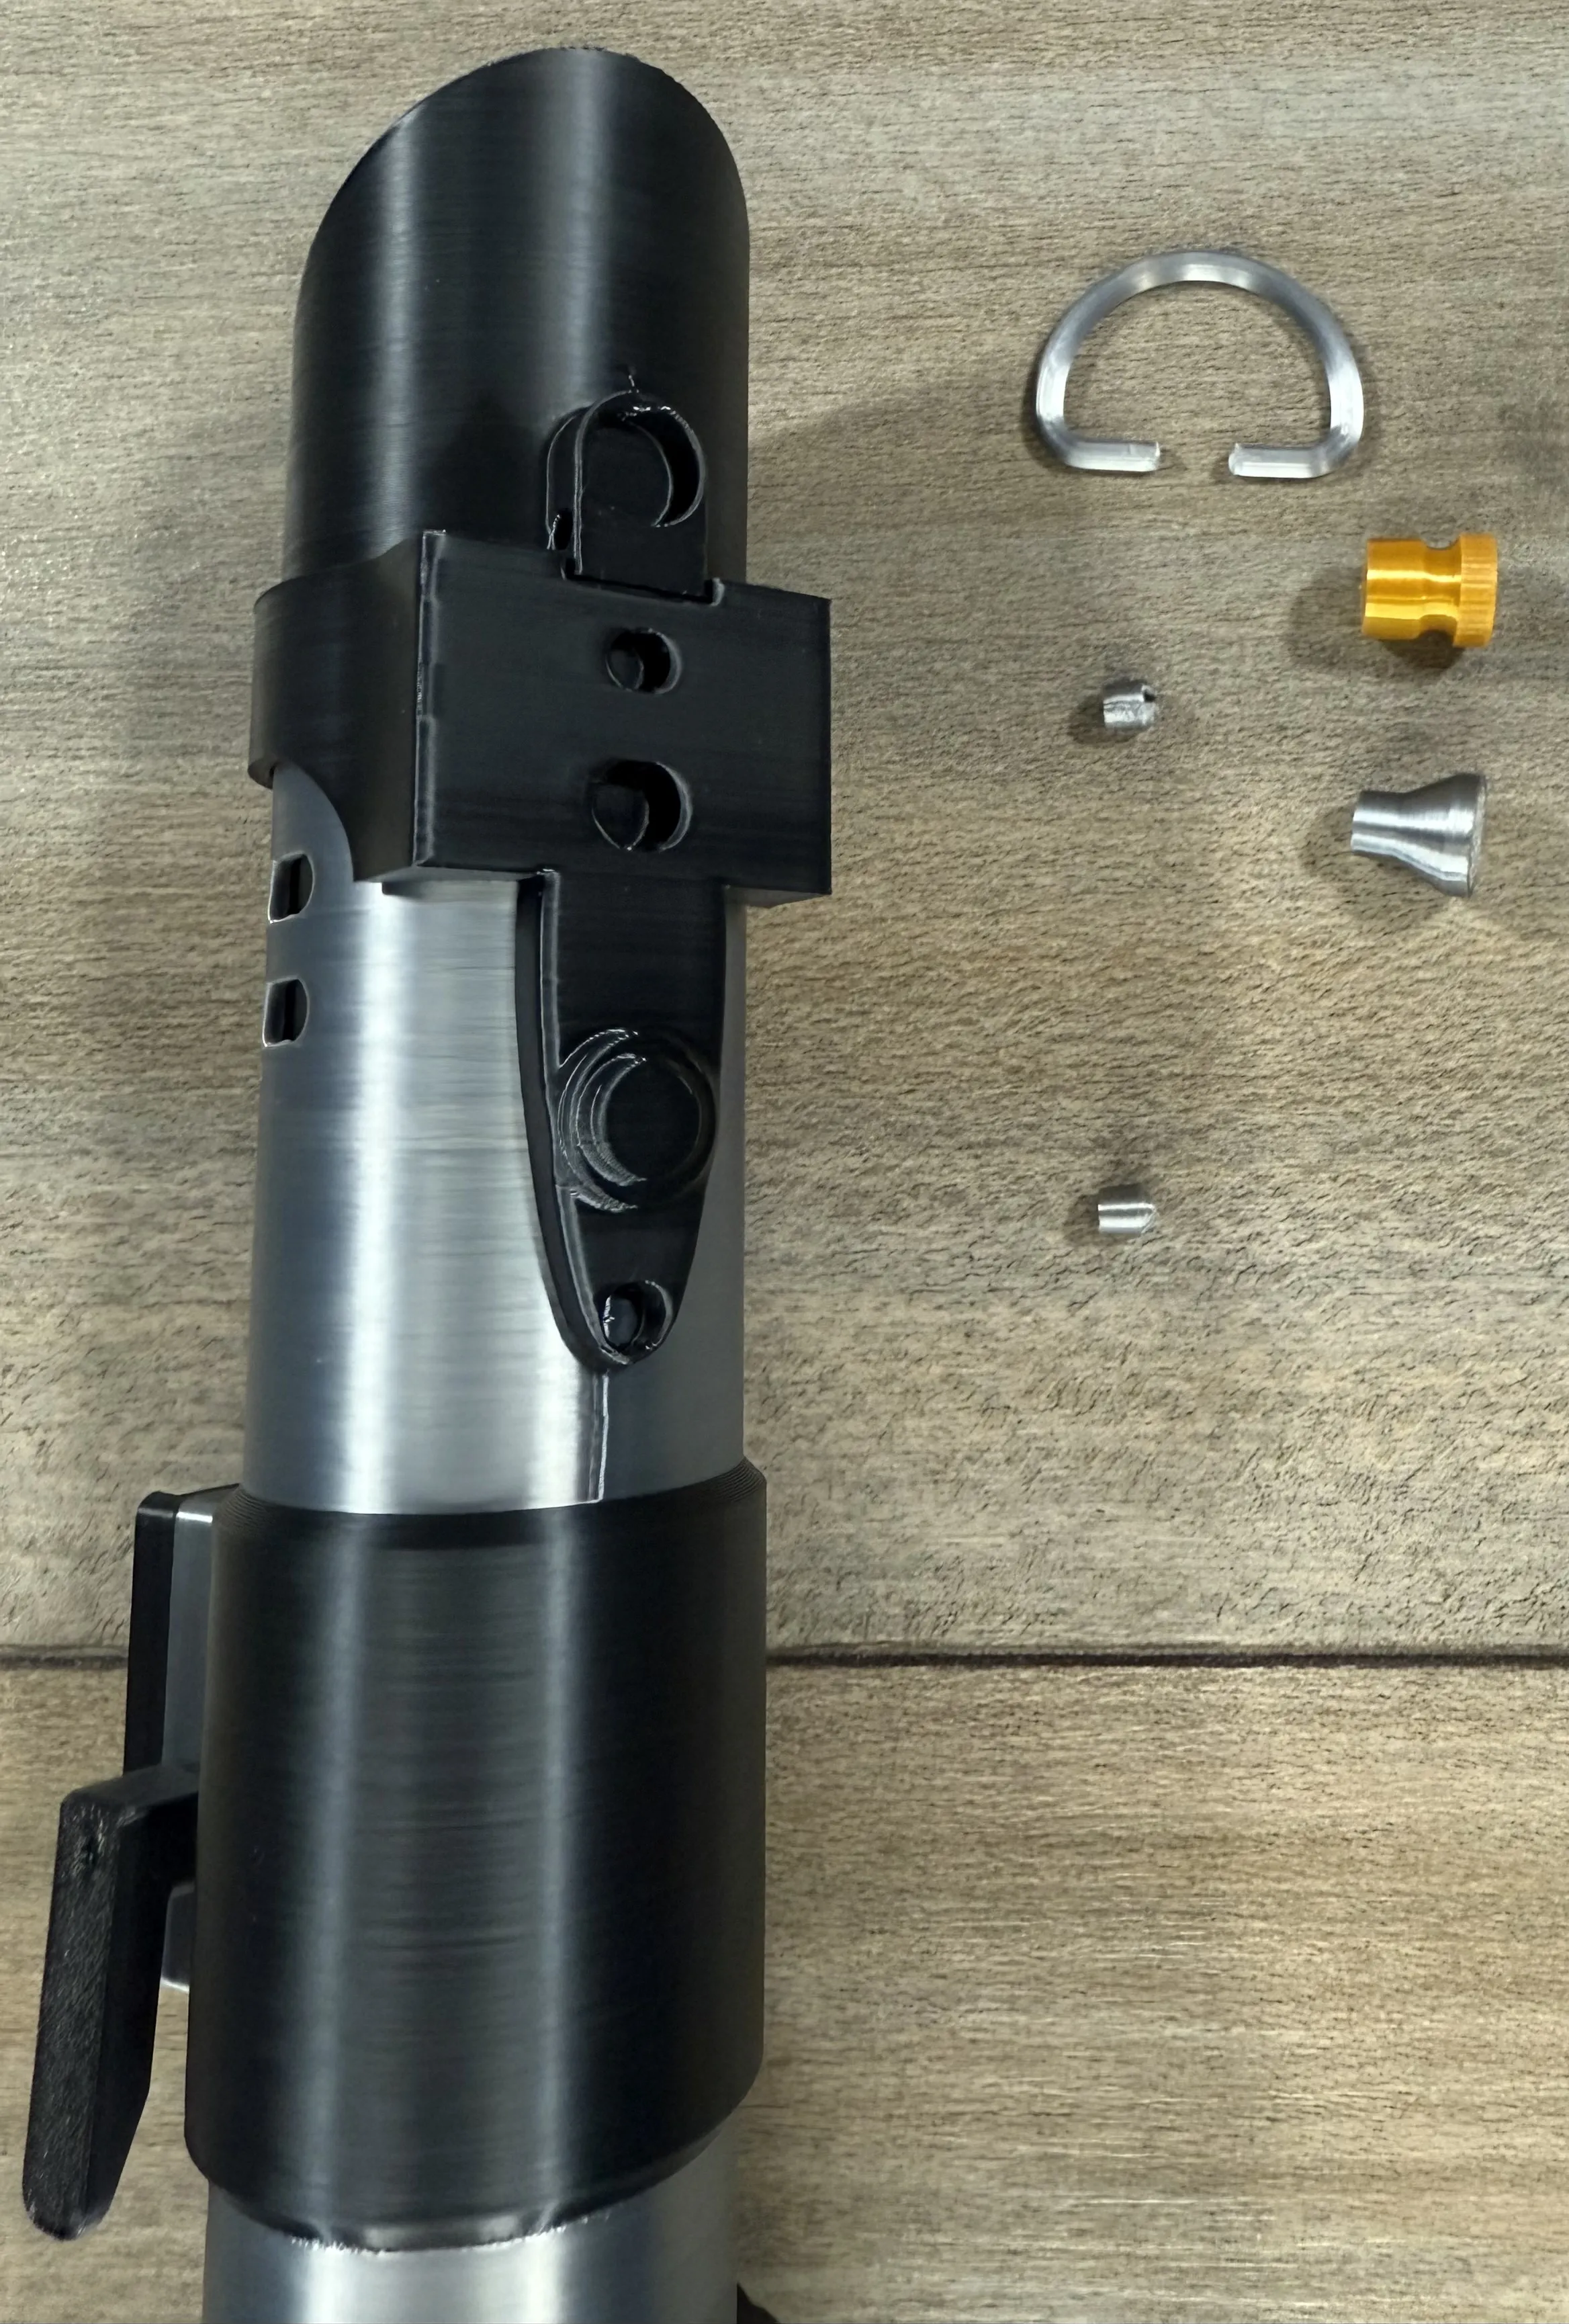
Open the d-ring slightly and inset it into the back of the emitter shroud. Then press the detail parts into the holes in the back of the shroud.
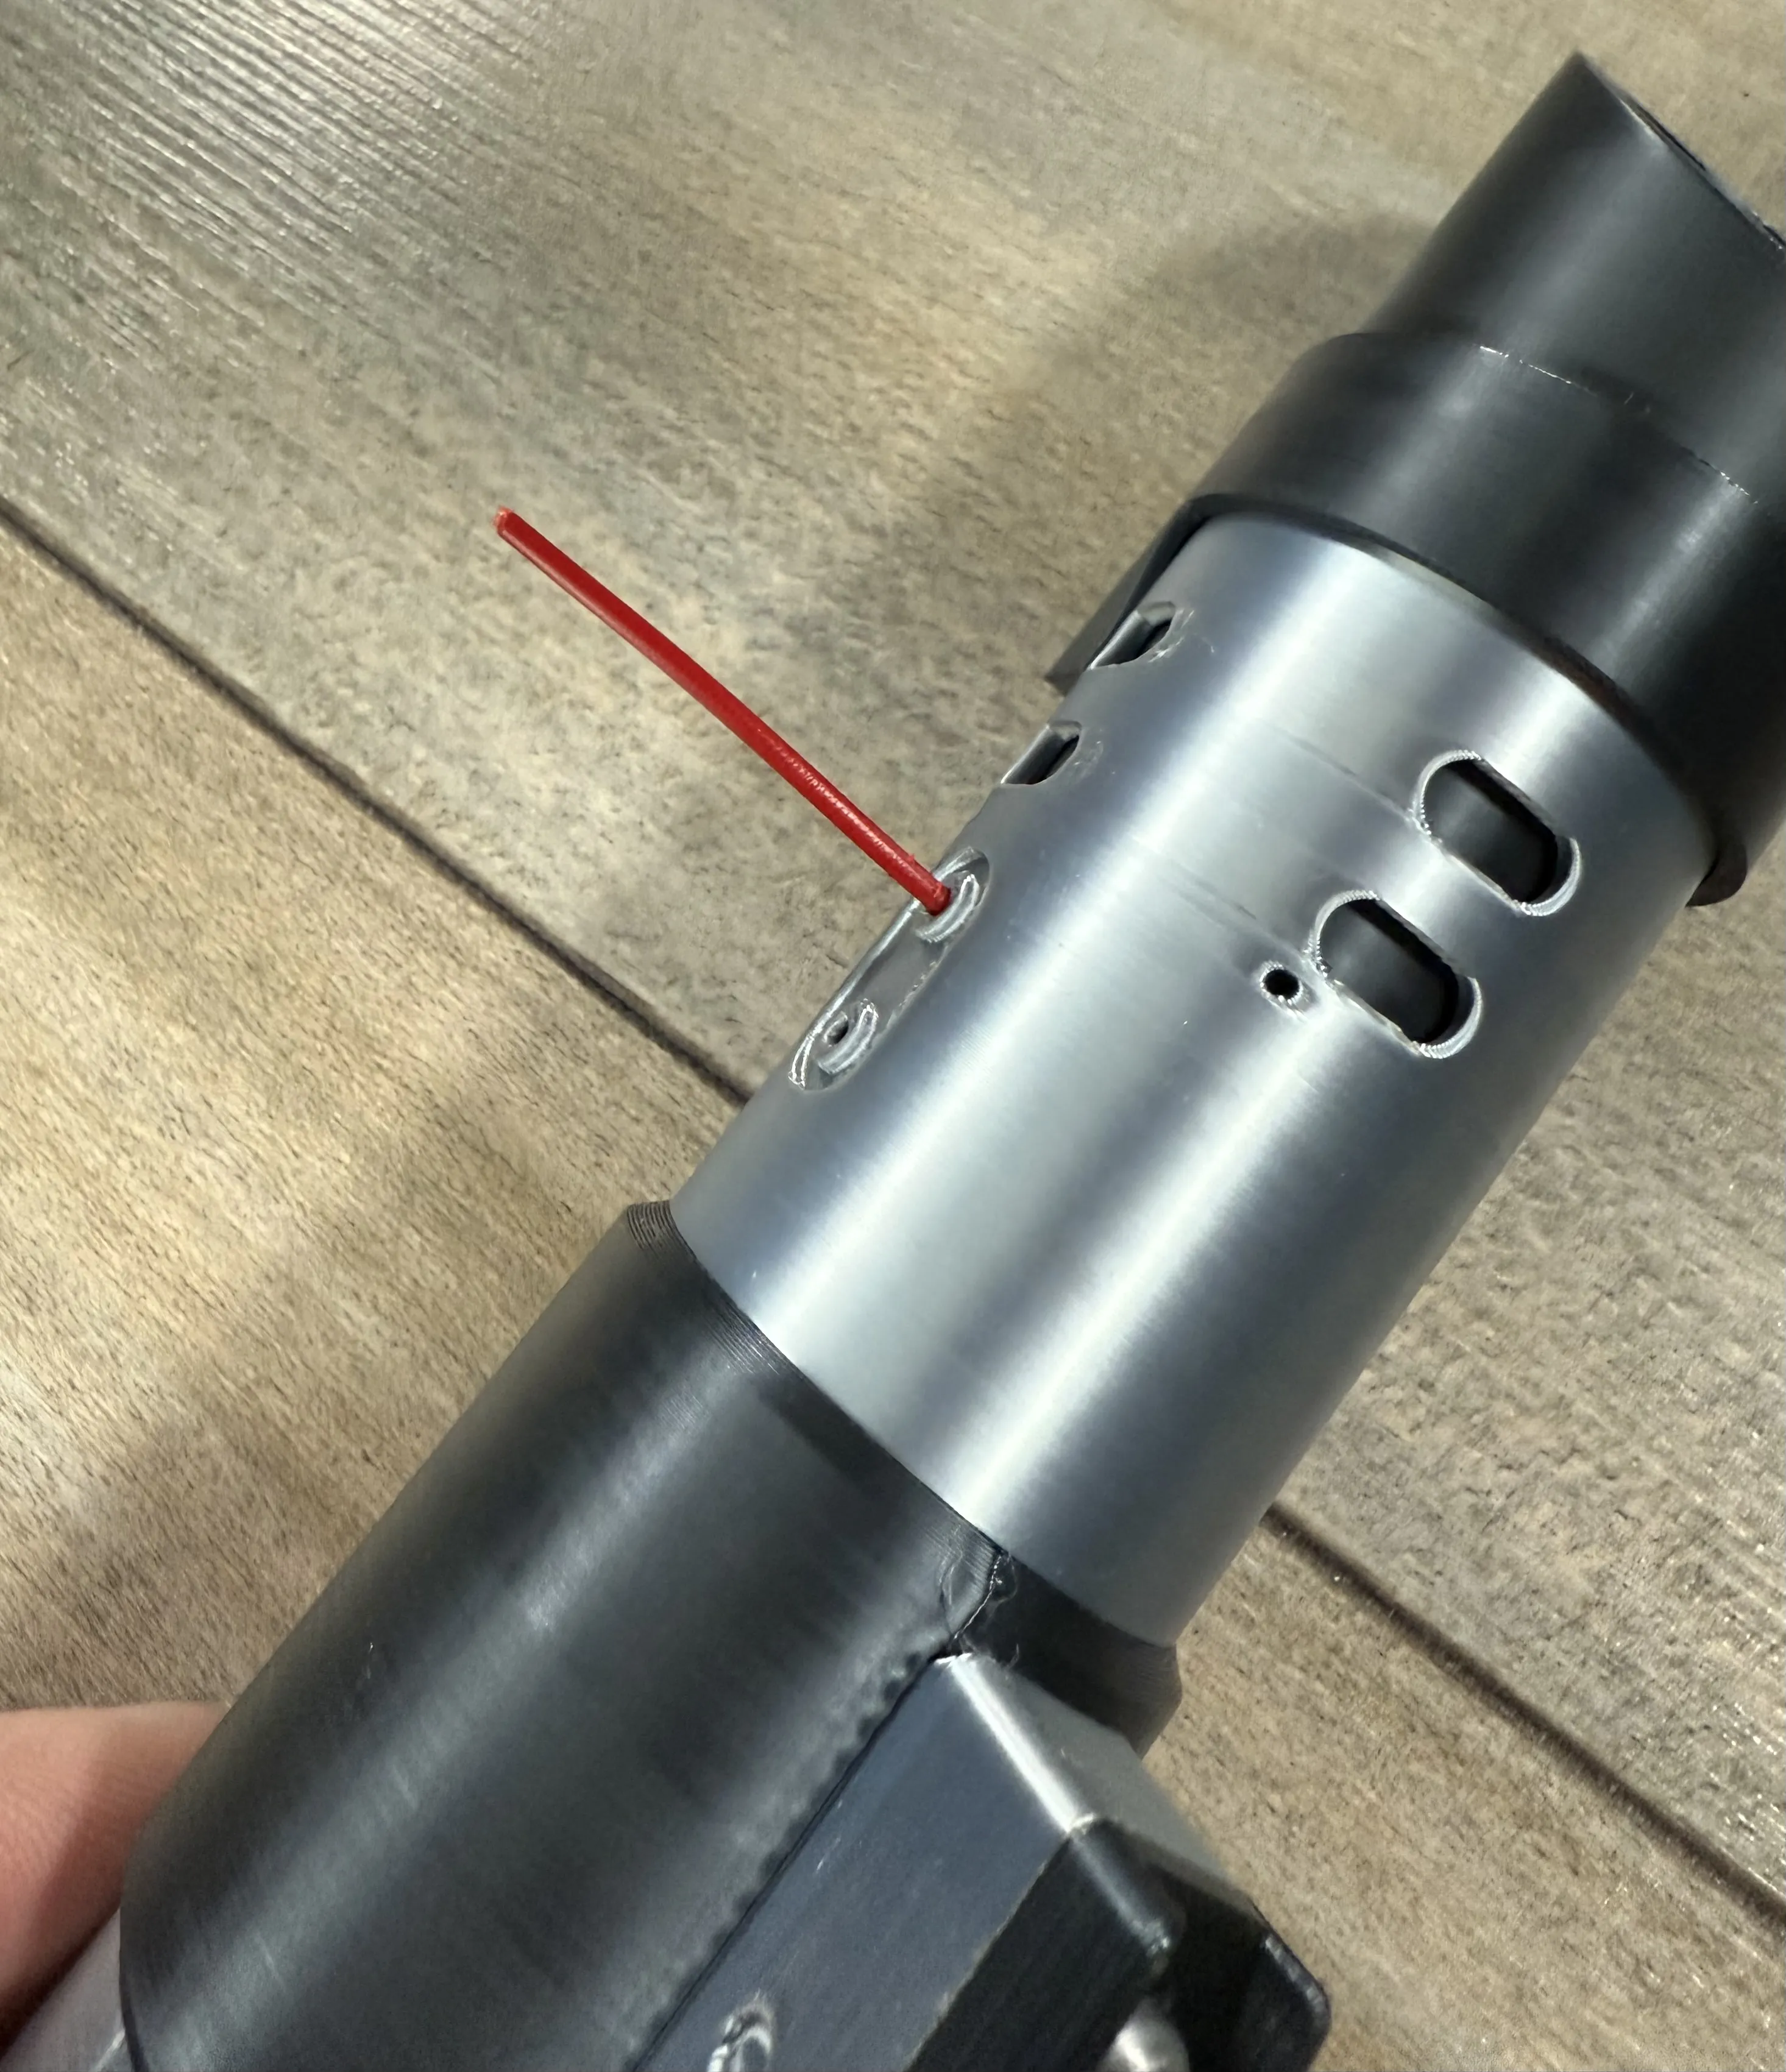
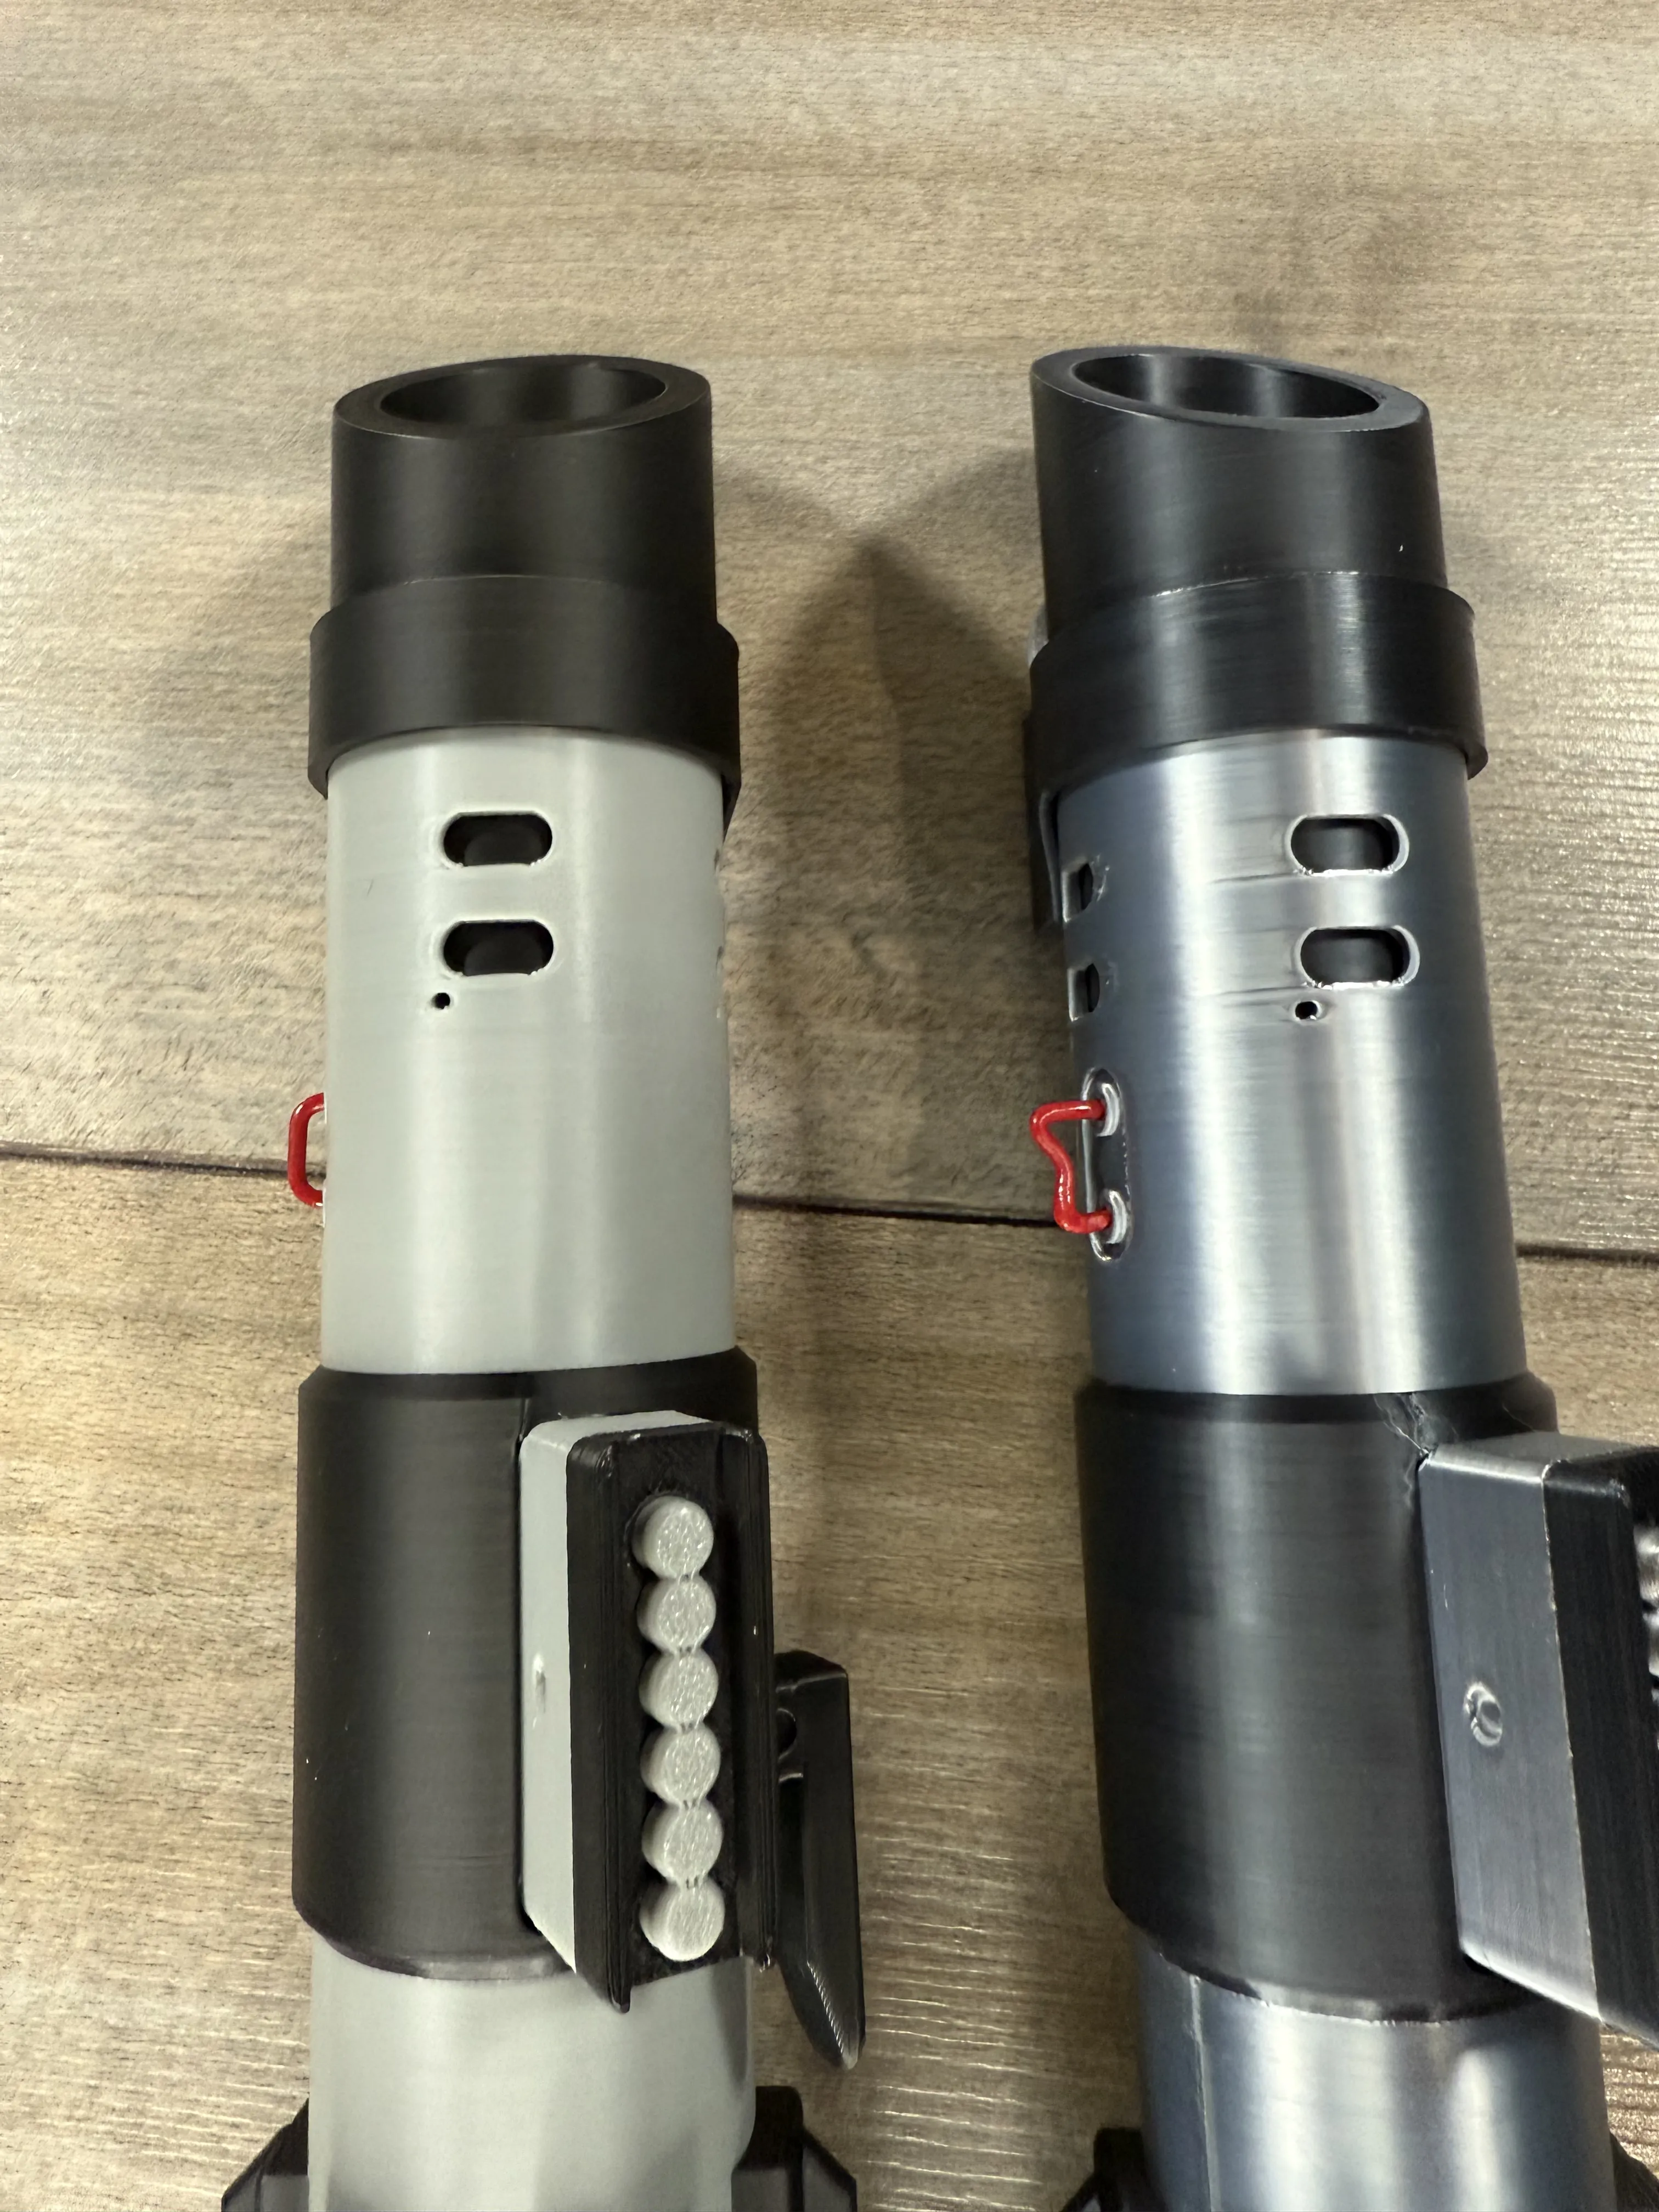
This last part is OPTIONAL and not required to have a good looking saber.
Insert a small piece of filament into one of the holes as shown, it will be snug.
Cut to a short length and heat with a torch or other heat source and shape as desired to simulate an exposed wire
and press the other side into the hilt.
Membership
Thank you for checking out my models. If you enjoy them or want to sell prints, please consider joining. Everything helps to continue to create new models!
License

You shall not share, sub-license, sell, rent, host, transfer, or distribute in any way the digital or 3D printed versions of this object, nor any other derivative work of this object in its digital or physical format (including - but not limited to - remixes of this object, and hosting on other digital platforms). The objects may not be used without permission in any way whatsoever in which you charge money, or collect fees.


Comment & Rating (413)