Framework Desktop - HueForge - Tiles


Print Profile(2)
Description
Overall
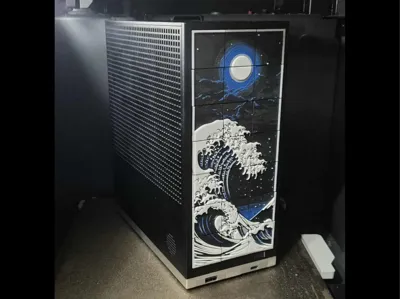
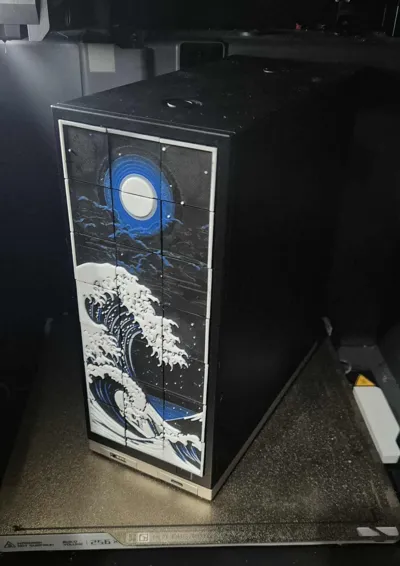
Hello! Some time ago my Framework Desktop arrived… and finally i could personalize it!
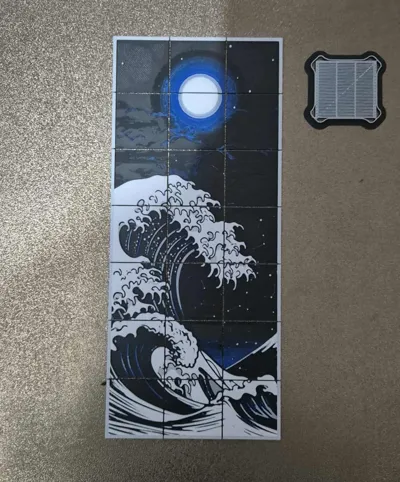
I wanted to make possible to put any image on front tiles of Framework. I find out method to create tiles from hue forge image
Parts Descriptions
Currently project contain two sets of tiles (will add some other angles for cooling in near future):
- Plain - Plain tile without any ventilation holes
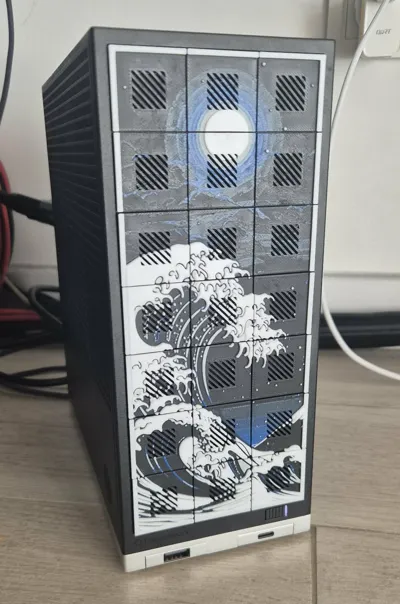
- Cooling 45 deg - Contains some ventilation holes under 45 deg angle
Base Tiles and Assembly
Each tile consists of two parts:
- Base tile with dedicated mounting tabs for installation in the frame and for attaching the HueForge tile.
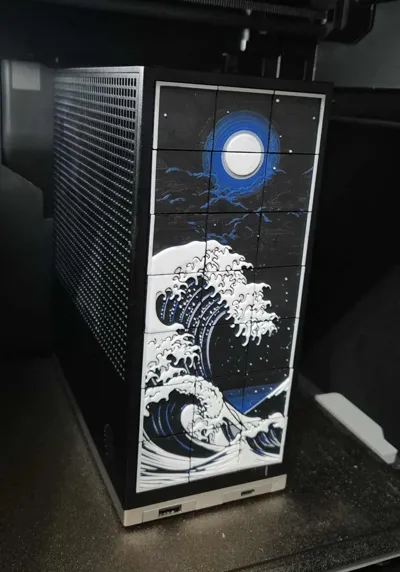
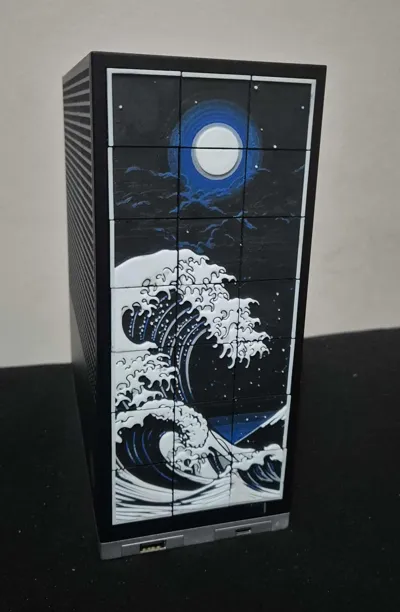
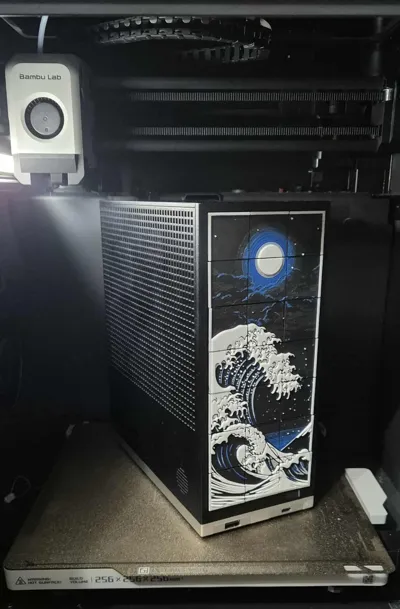
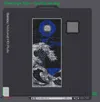
- HueForge tile, which contains part of the image (the Great Wave in this case) and includes special grooves created using a negative file.
It is recommended to use some superglue to combine those to parts

Base Plate Tiles are printed with integrated supports, so you don’t need to add any supports yourself. Just use some sharp tool to remove supports, please be carefull :)


Hue Forge - Create your own tiles
If you want to create your own HueForge Tiles here are some tips how to do so
You have to add on plate your stl from HueForge and Add Negative Template Negative Template will split your HueForge stl into 21 tiles for your framework Tiles will contain special grooves for assembly (or ventilation holes)

- Add your stl on plate and scale it to required dimmension (Do it before adding negative part)

- Add Negative Part (you may use context menu shown below)

- Align HueForge stl with negative template using bambo tools

Final Result:

Comment & Rating (3)