Cal Kestis Neopixel


Print Profile(1)

Description
This 3D-printed Cal Kestis lightsaber replica is designed for seamless integration with standard LGT-style chassis systems. Compatible with 165mm x 25mm or 190mm x 25mm chassis sizes, this build offers a straightforward plug-and-play experience once all components are printed and prepared.
📦 Required Parts
• Blade: 7/8" Neopixel blade
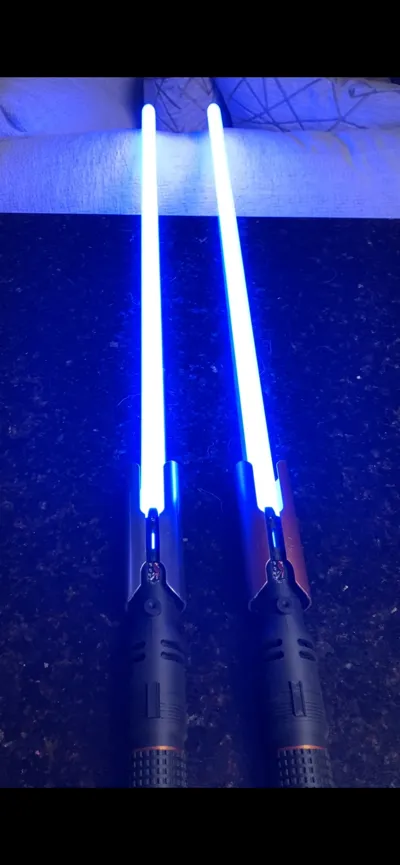
• Chassis: LGT-style chassis (see reference images). Available from AliExpress or various saber vendors. Must be either 165mm x 25mm or 190mm x 25mm. NOTE: you can get two of these to make a double-sided saber just like in the game.
• Screws:
• 1 × M4 x 10mm headless machine screw (for button retention)
• 2 × M4 x 5mm headless machine screw (for emitter retention)
(Note: Screws may be included with your chassis depending on the supplier.)
🧩 Assembly Instructions
1. Emitter & Mid-Hilt Connection
• Begin by attaching the mid-hilt section to the emitter. Squeeze and push in the emitter to the mid-section. This will be a snug fit.
2. Detail Installation
• Glue the mid-hilt detail pieces and the emitter wire-exposure detail into place.
• These are cosmetic elements and should be added after the top section is assembled.
3. Grip Threading Prep
• Before installing the chassis, thread the mid-hilt and grip sections together a few times to smooth the fit.
• Tolerances may vary depending on your printer’s precision, so this step helps ensure proper alignment.
4. Pommel Assembly
• Snap the pommel components together, then screw them into the grip section.
5. Button Mechanism Setup
• The button uses a twist-lock system:
• To install: Push and twist right
• To remove: Push and twist left
• Work this mechanism several times before final installation—it may be stiff initially but loosens with use.
• After a day of handling, the button typically becomes smooth and responsive.
6. Chassis Installation
• Carefully insert the chassis into the mid-hilt/emitter section.
• Align the chassis button with the button hole on the printed hilt.
• Insert the 3D-printed button piece into the hilt (push and twist right to lock).
• Use the M4 x 10mm screw to secure the chassis. Tighten until nearly flush with the hilt exterior.
⚠️ Do not overtighten—headless screws strip easily.
• Test the button: it should feel clicky and responsive, without catching.
7. Optional Detail Ring
• For added flair, install the decorative ring between the mid-hilt and grip before final assembly.
Features:
-DUAL CONNECTION (double sided staff compatible)
-Easy Assembly
-Tool holder/Allen Key holder for hilt
-Easy replace D-ring, multiple versions of Emitter Shield
-Realistic button.
Comment & Rating (18)