
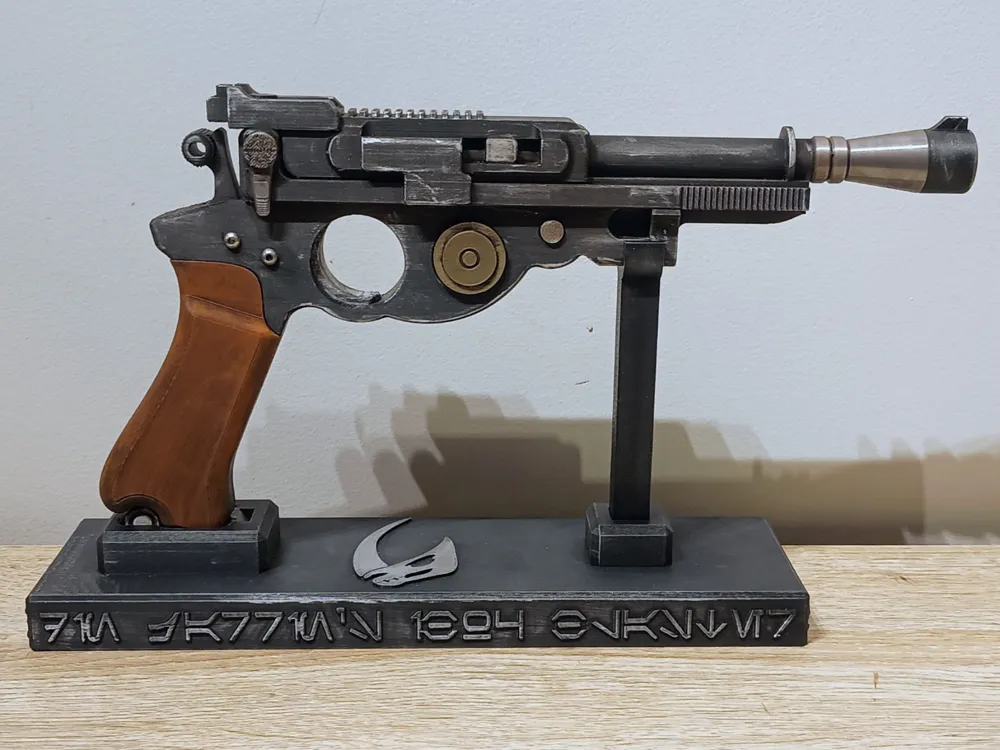
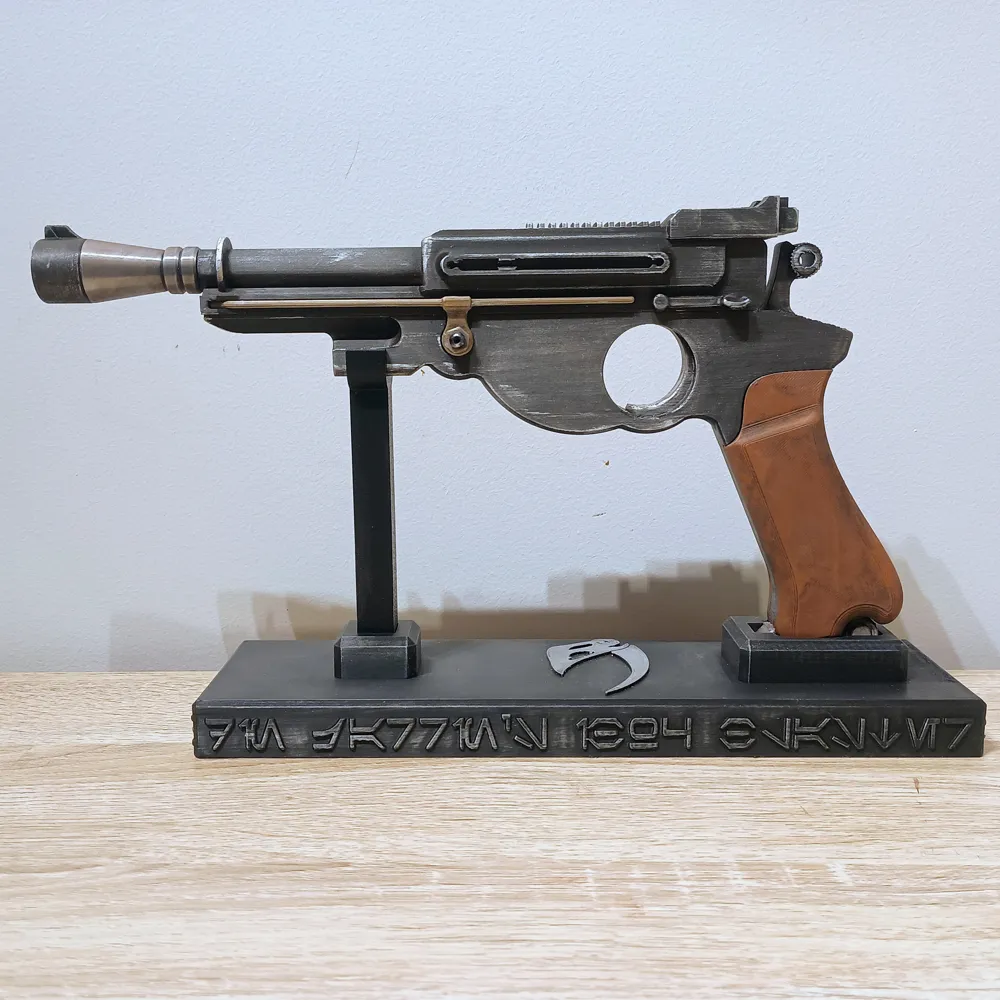
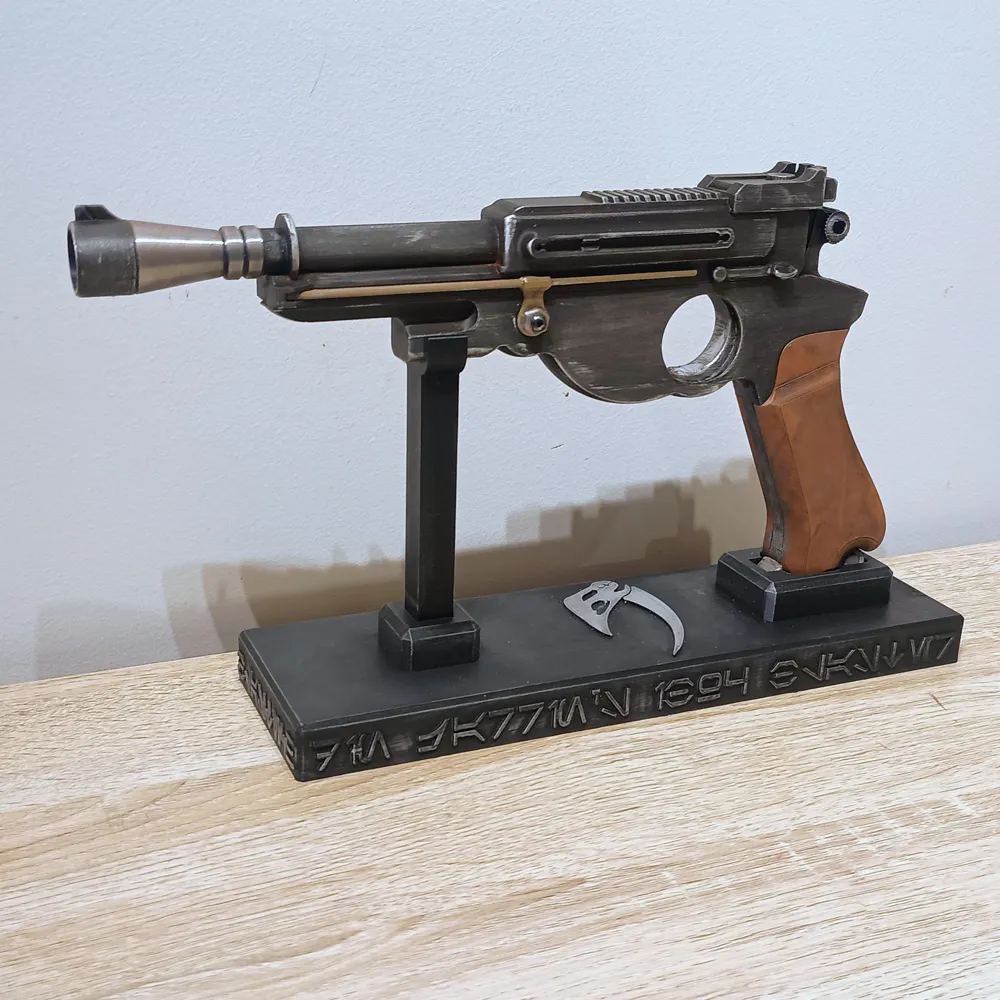
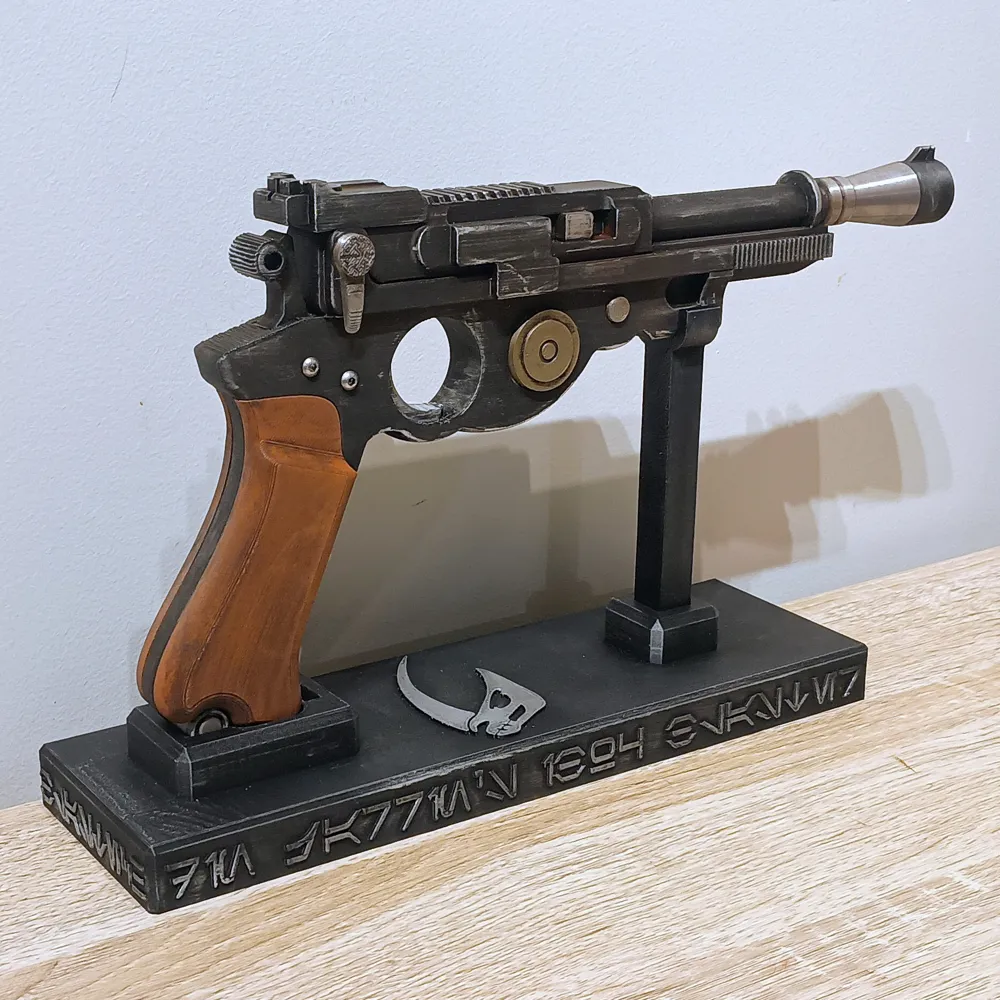
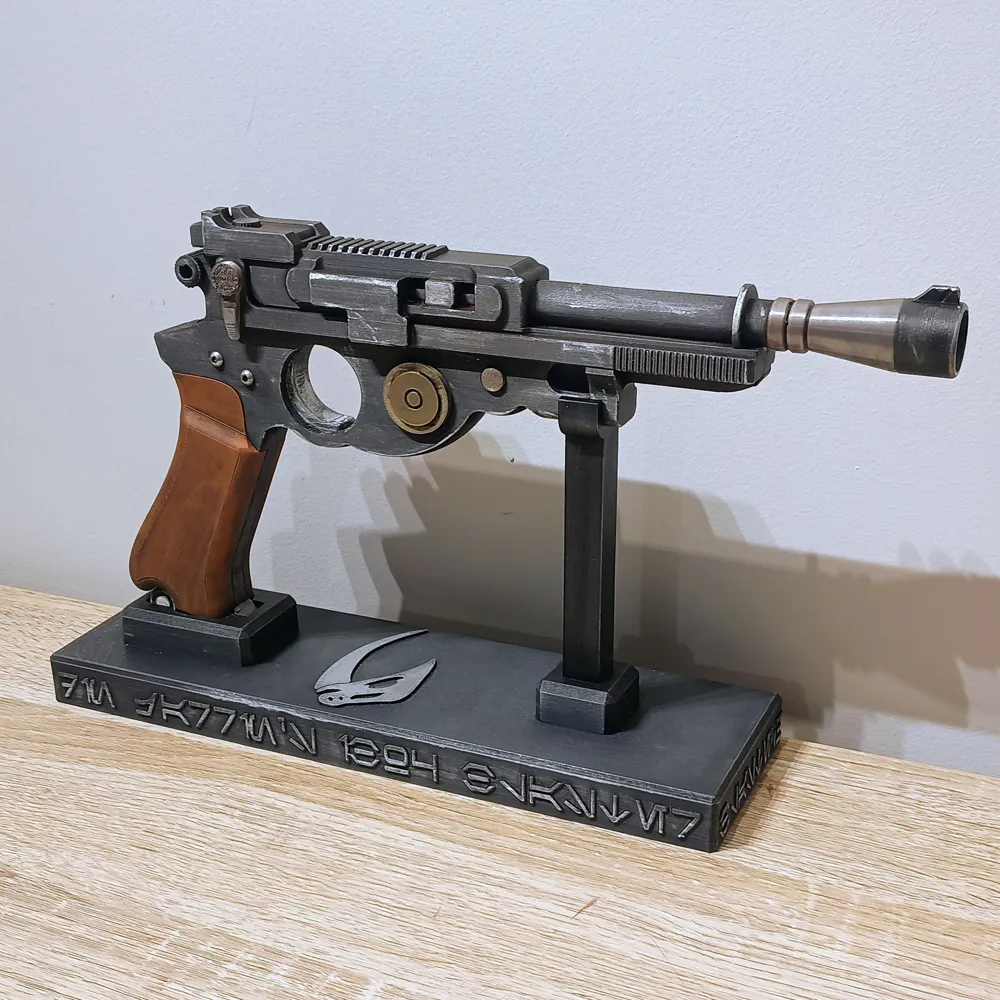
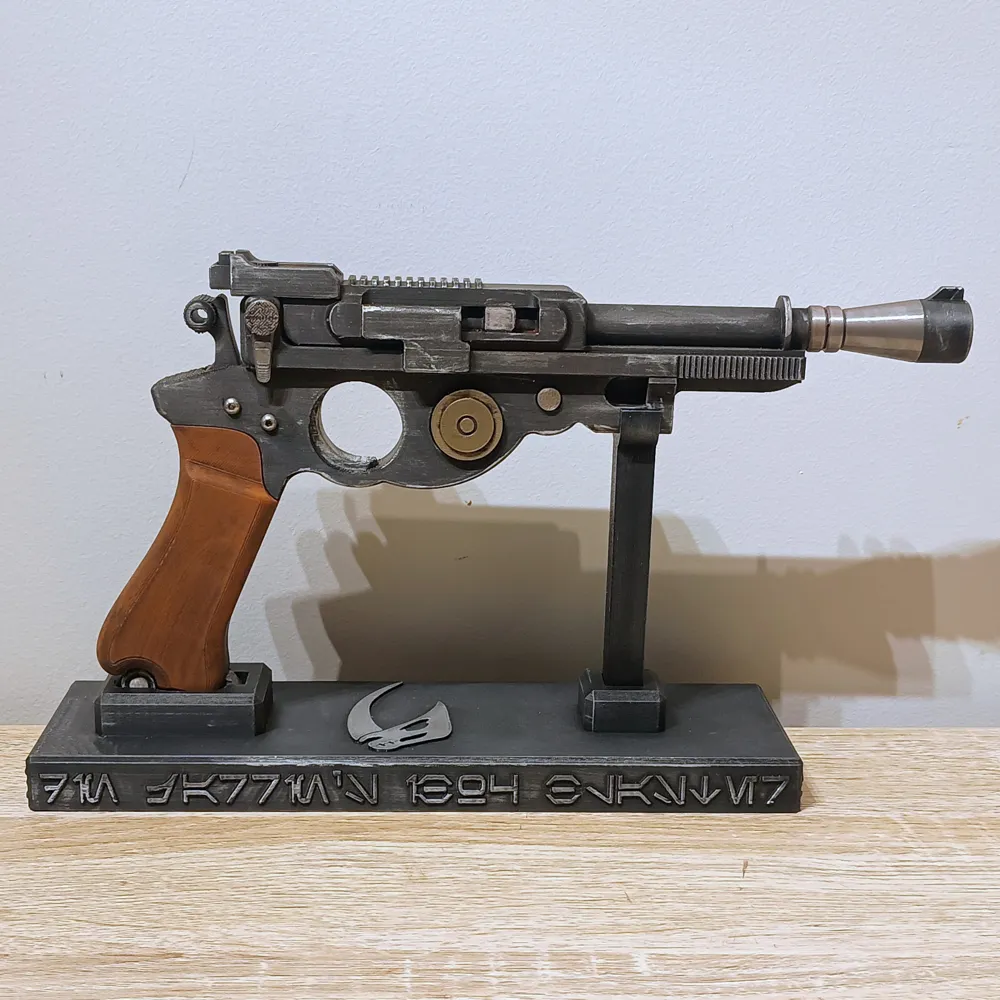
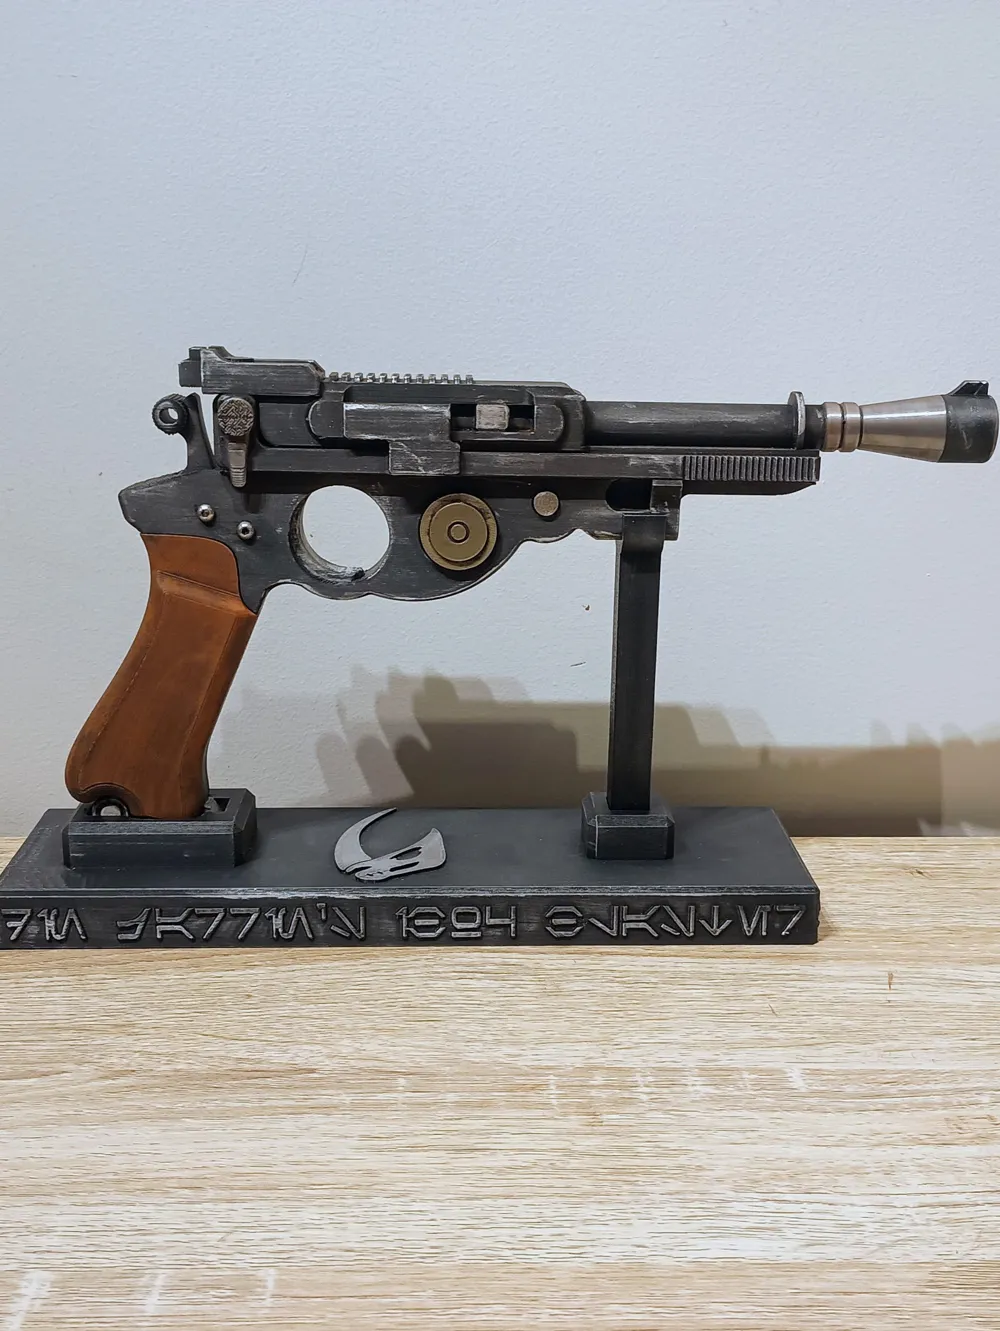
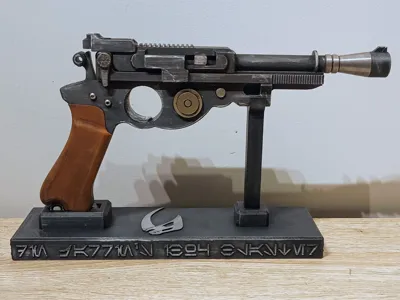
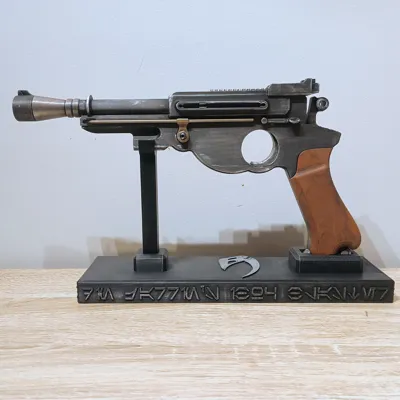
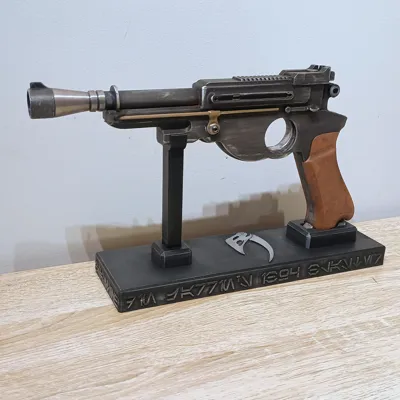
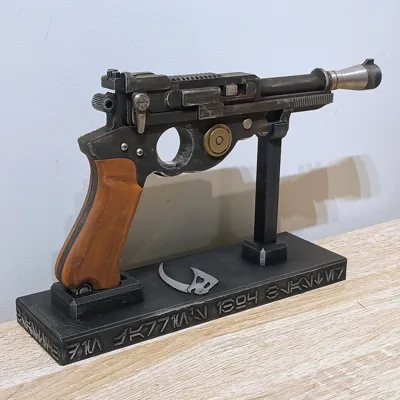
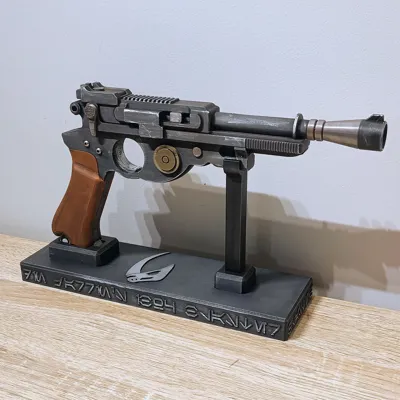
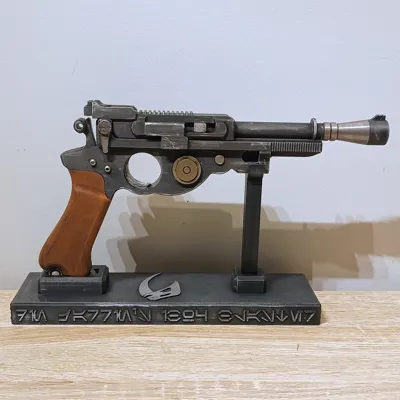
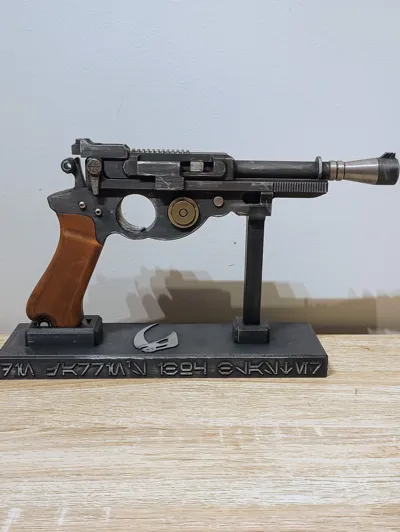
Din Djarin’s IB-94 Blaster from The Mandalorian
Print Profile(1)

Bill of Materials




Description
Thanks for checking out my model! Interested in supporting my work or selling prints?
Support Crew – Show some love and help keep the projects flowing
Galactic Maker Foundry – Sell physical prints of my original designs
Foundry License+ – Sell prints and use my photos for listings
🎉 Supporter-only Discord coming soon – get early access, tips, and sneak peeks!
Membership
Join here to support or get a license
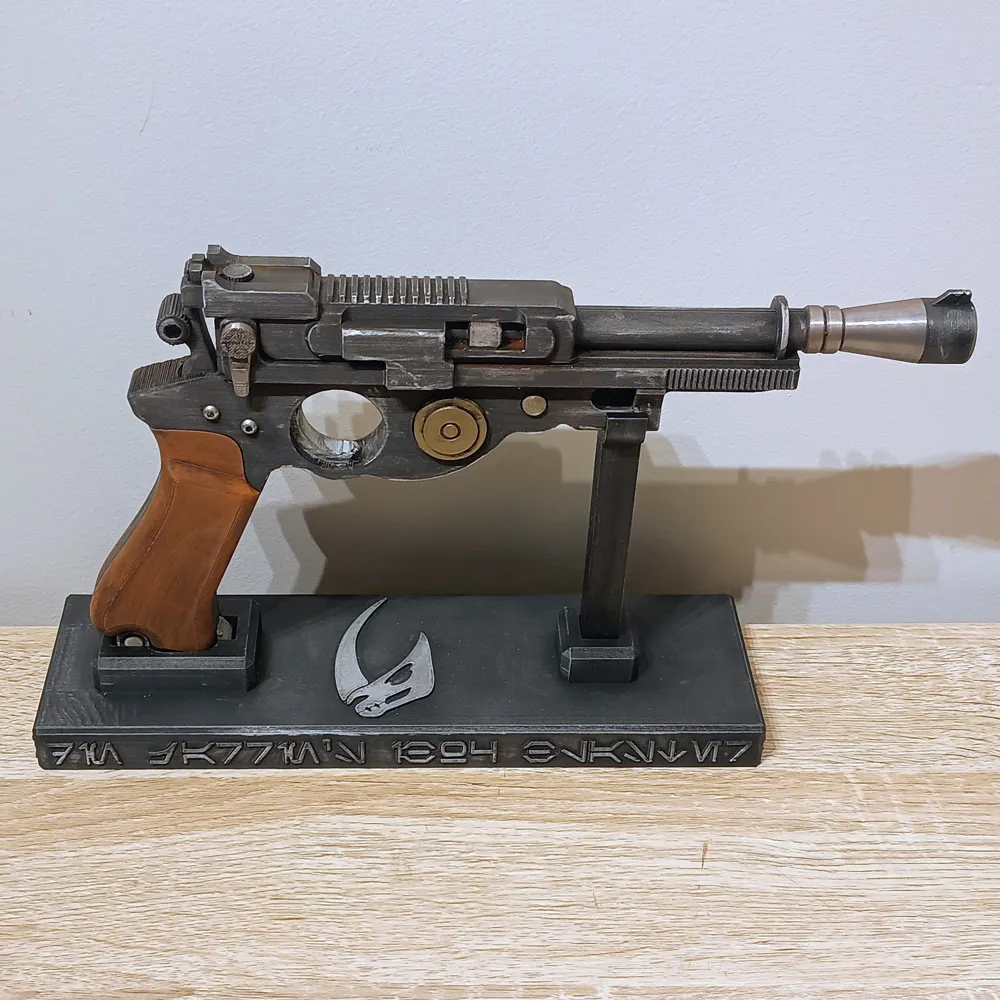
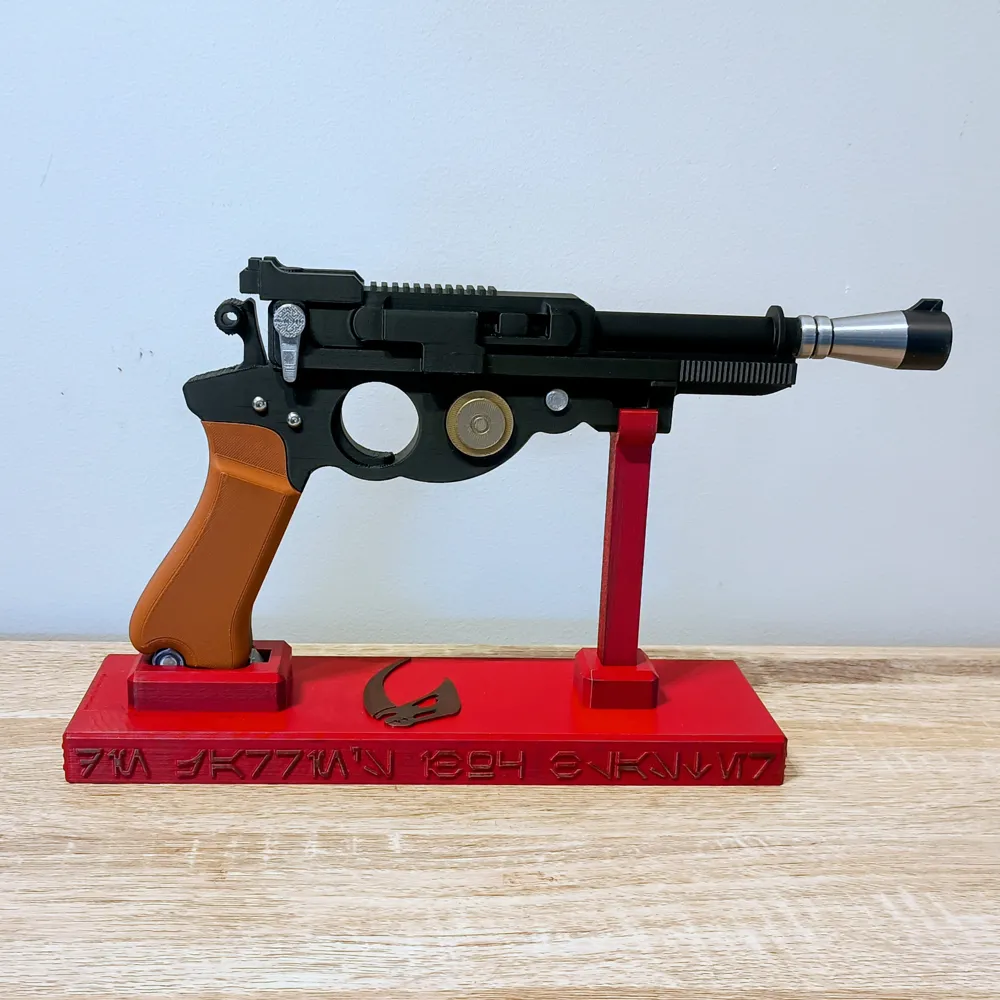
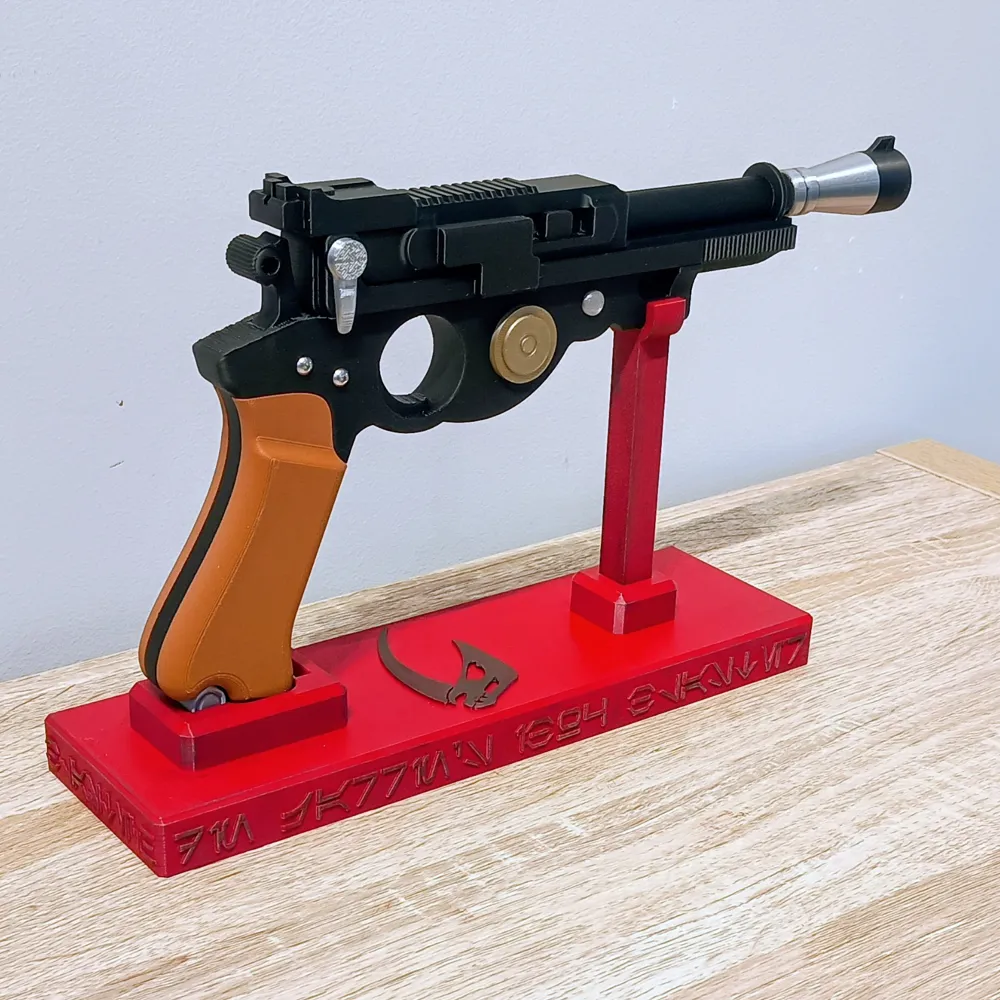
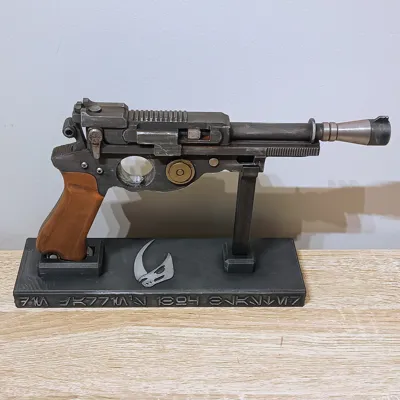
After rewatching Season 1 of The Mandalorian, I wanted to make something that looked great but was simpler to print and assemble than some of my other blasters. Din Djarin’s IB-94 seemed perfect!
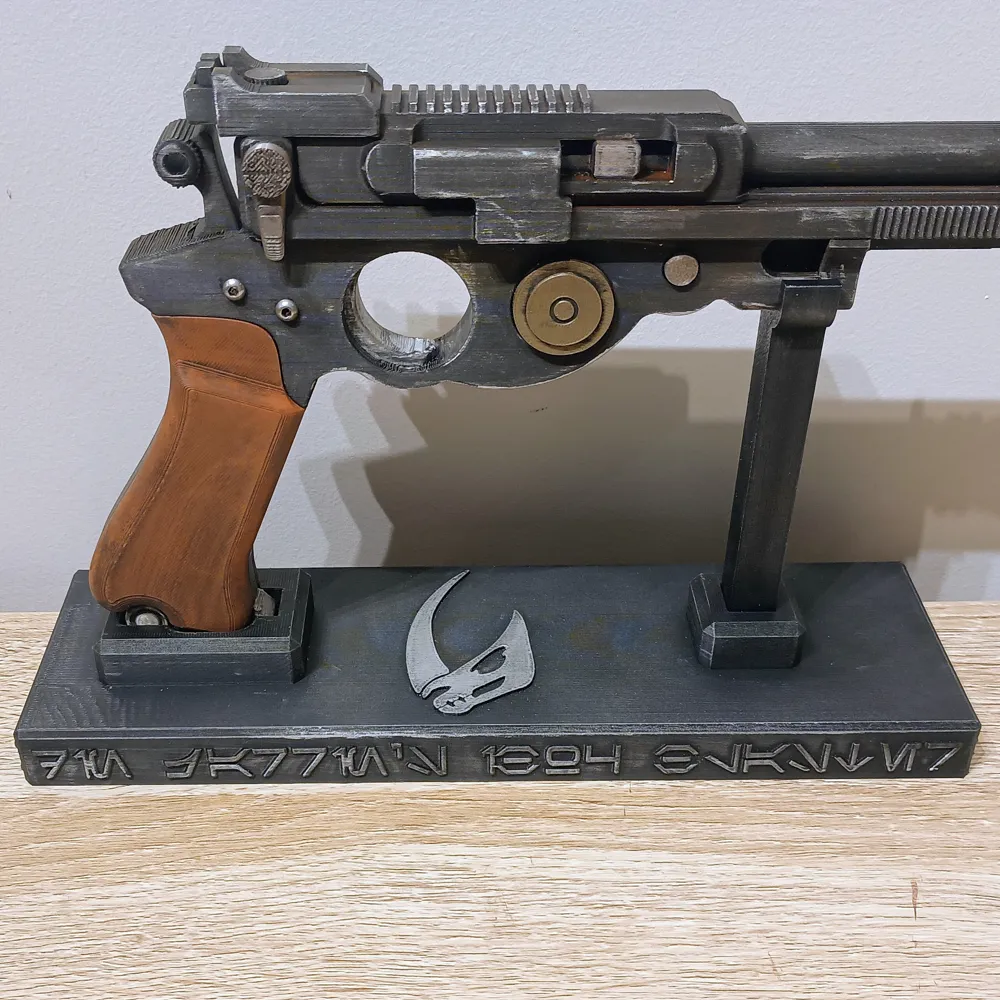
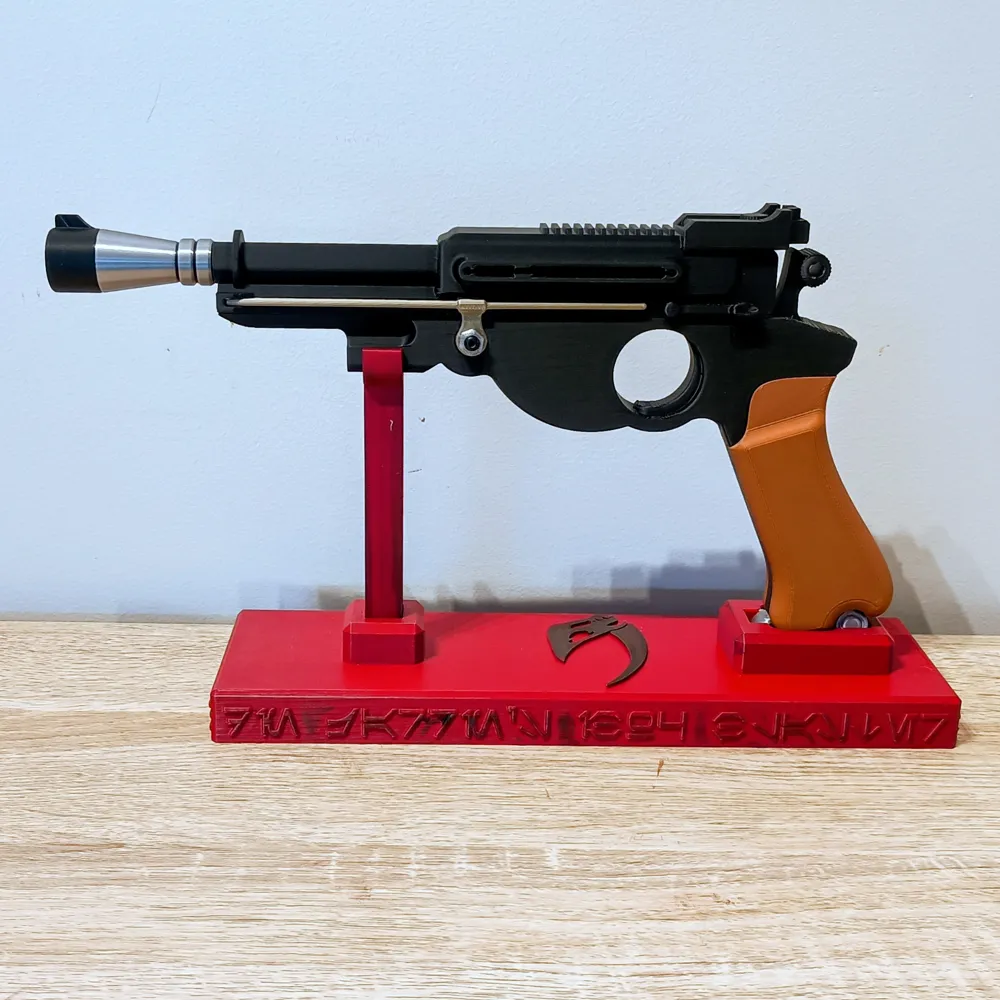
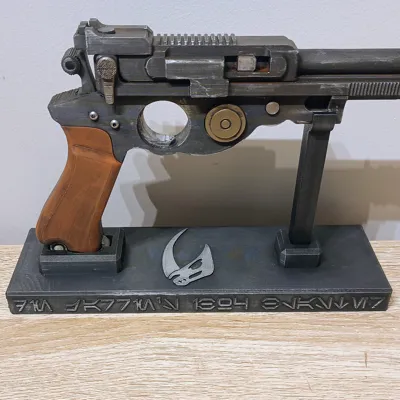
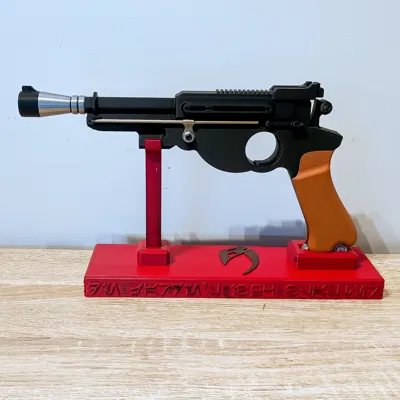
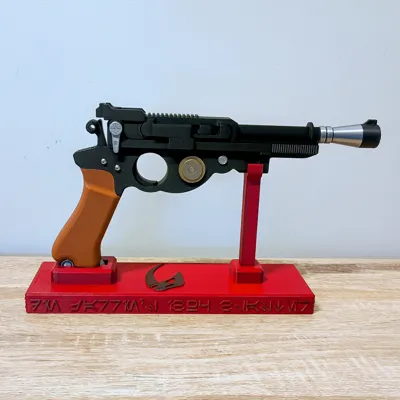
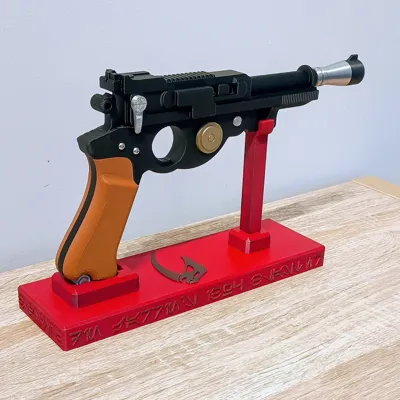
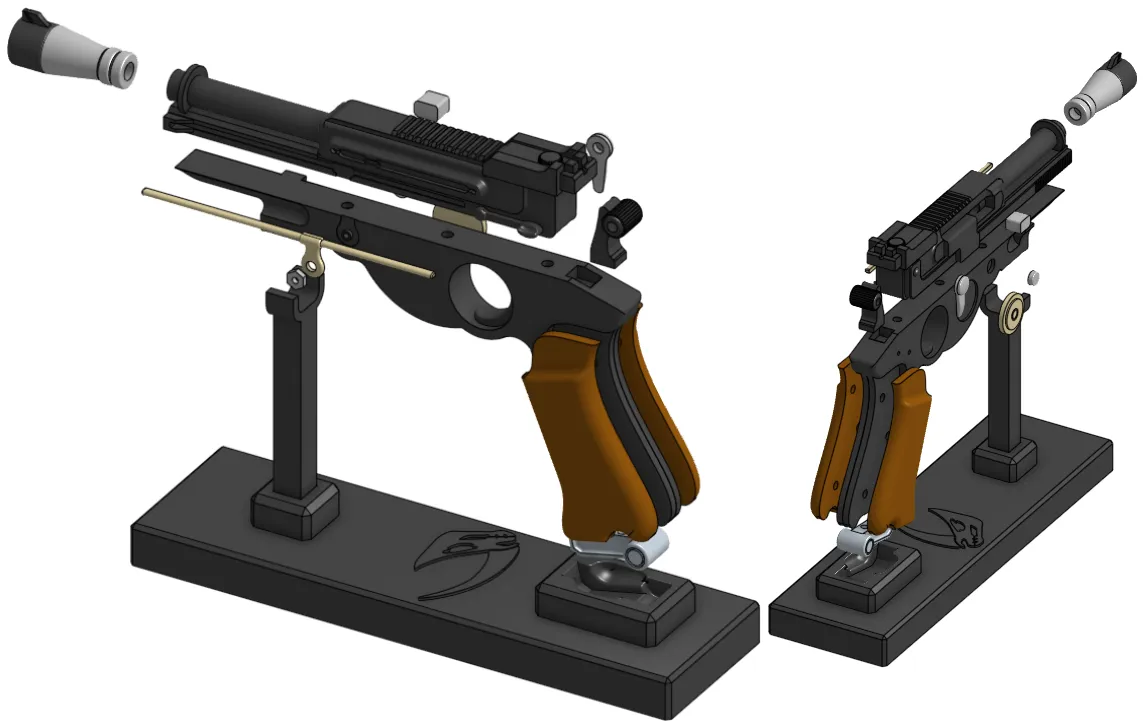
This version of the blaster is easy to build but still detailed enough to look great on display. I’ve also included a simple stand—nothing fancy, just a Mudhorn signet and some Aurebesh text, but it really brings the piece together. I originally printed the stand in maroon red thinking I’d rust it up with paint effects, but it was way too much red—back to matte black charcoal with silver Rub ’n Buff to make the text and signet pop.
🛠️ Assembly Notes
Assembly is quick and straightforward:
- Join the top barrel and main body using the included 5x5 mm alignment pins and CA glue.
- Glue the grips in place (alignment pins help with placement), then attach the grip end cap with 2 more pins.
- Glue the 8×12 mm barrel pin into the top barrel, then attach the barrel front. Because it’s cylindrical: for printing I set the seam to the back and rotate so the bottom faces the rear of the buildplate this helps hides the Z-seam (I already use this in my slicer profile)
- Fit all the greeblies into the slots on the main body. For the rod:
- Glue the rod in first.
- Screw an M3x10 mm Bolt (See below about screws) into the left nut section.
- Screw into the hole above the rod.
- On the right side, add two M3 Bolts just above the grip. You can use anything from M3x3 mm to M3x10 mm for the screws on this blaster—just use whatever you have.
- I print the Rod and Right Big Disc in Gold Iridium Metal PLA but you can print in Silver Silk is you wish.
🎨 Finishing & Weathering
The grip feels a bit odd to hold (as it does in the show), but visually it looks great! And because of the size and not wanting anything complex, there no moving trigger for this one.
Weathering tips:
- Use raw umber, burnt sienna, and black washes to add grime and depth.
- Dry-brush or wax the edges with silver paint, Silver Leaf Rub ’n Buff, or AK Interactive Metallic Silver Wax for wear highlights.
Want a fancier stand (logos, plates, LEDs)? Tell me what you’d like and I can add a variant.
License

You shall not share, sub-license, sell, rent, host, transfer, or distribute in any way the digital or 3D printed versions of this object, nor any other derivative work of this object in its digital or physical format (including - but not limited to - remixes of this object, and hosting on other digital platforms). The objects may not be used without permission in any way whatsoever in which you charge money, or collect fees.


Comment & Rating (104)