
Panasonic Q All-In-One Fan Bracket
Print Profile(1)

Description
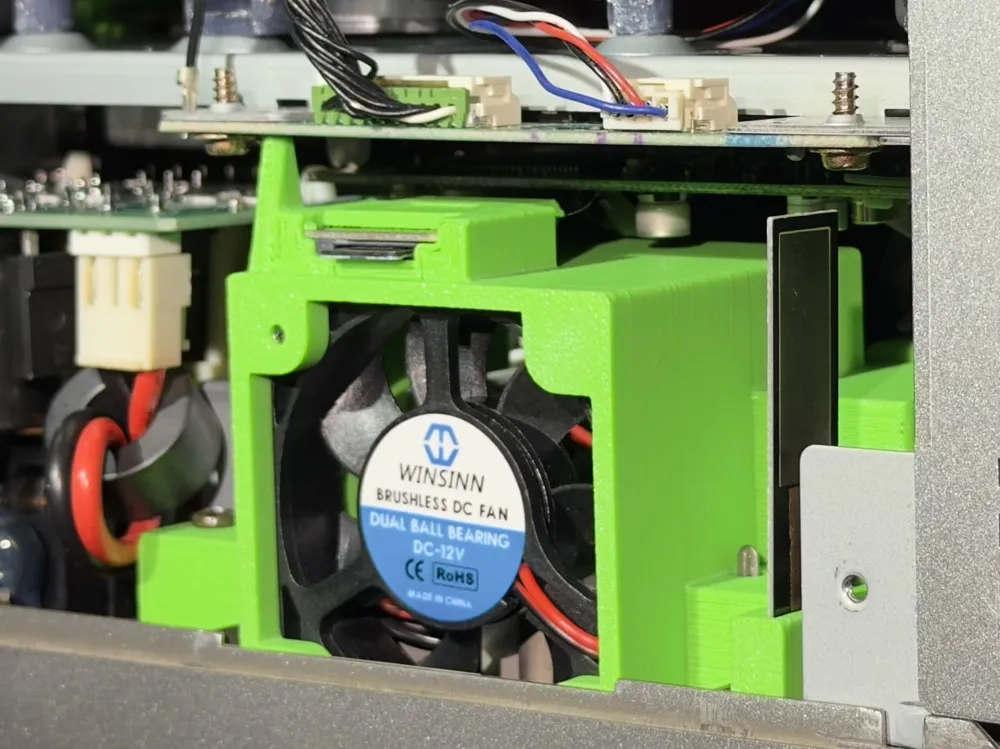
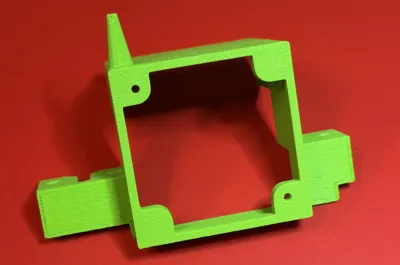
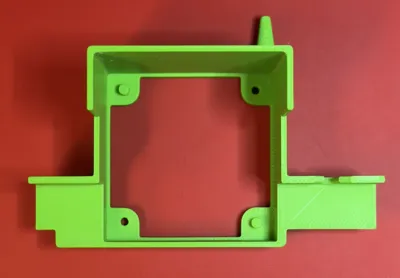
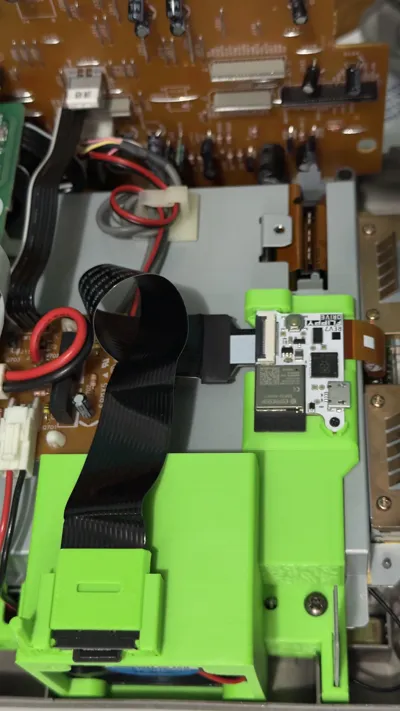
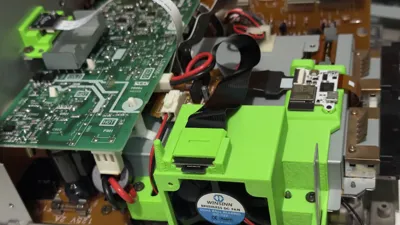
The Panasonic Q is packed to the brim with components, making it quite a challenge to utilize what little space it offers. Installing a GC Retro GEM inside of a Panasonic Q is one thing. Then you add a FlippyDrive install on top of it and suddenly realize it's difficult to reach FlippyDrive's microSD reader. With these devices in mind, I came up with a model to keep it all together.
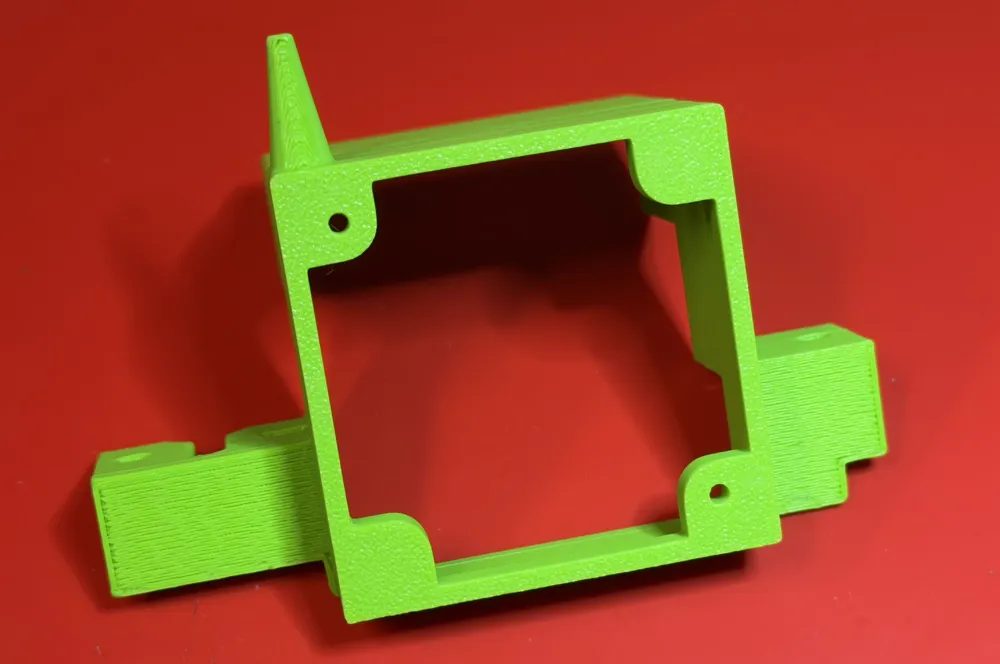
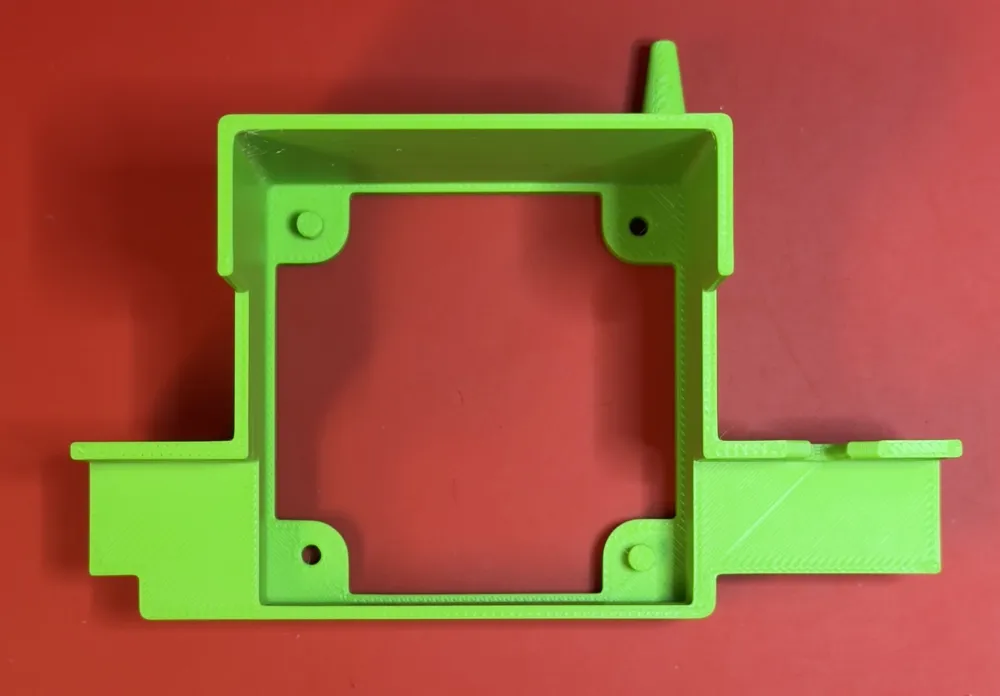
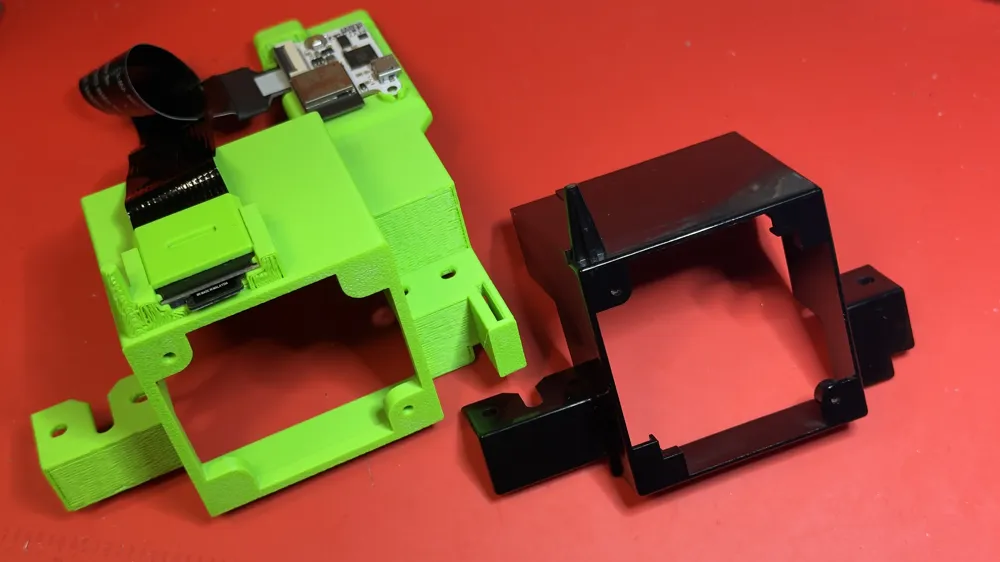
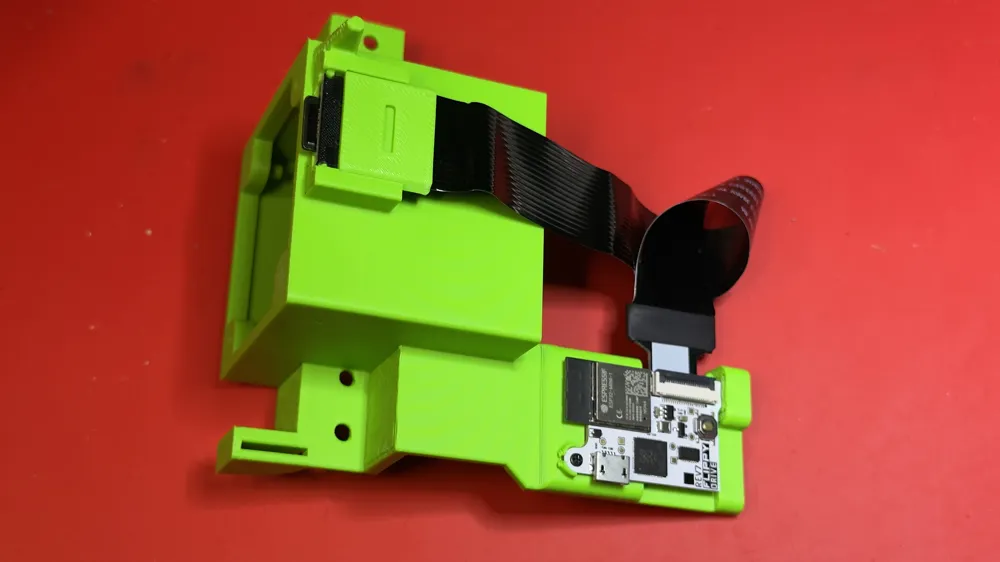
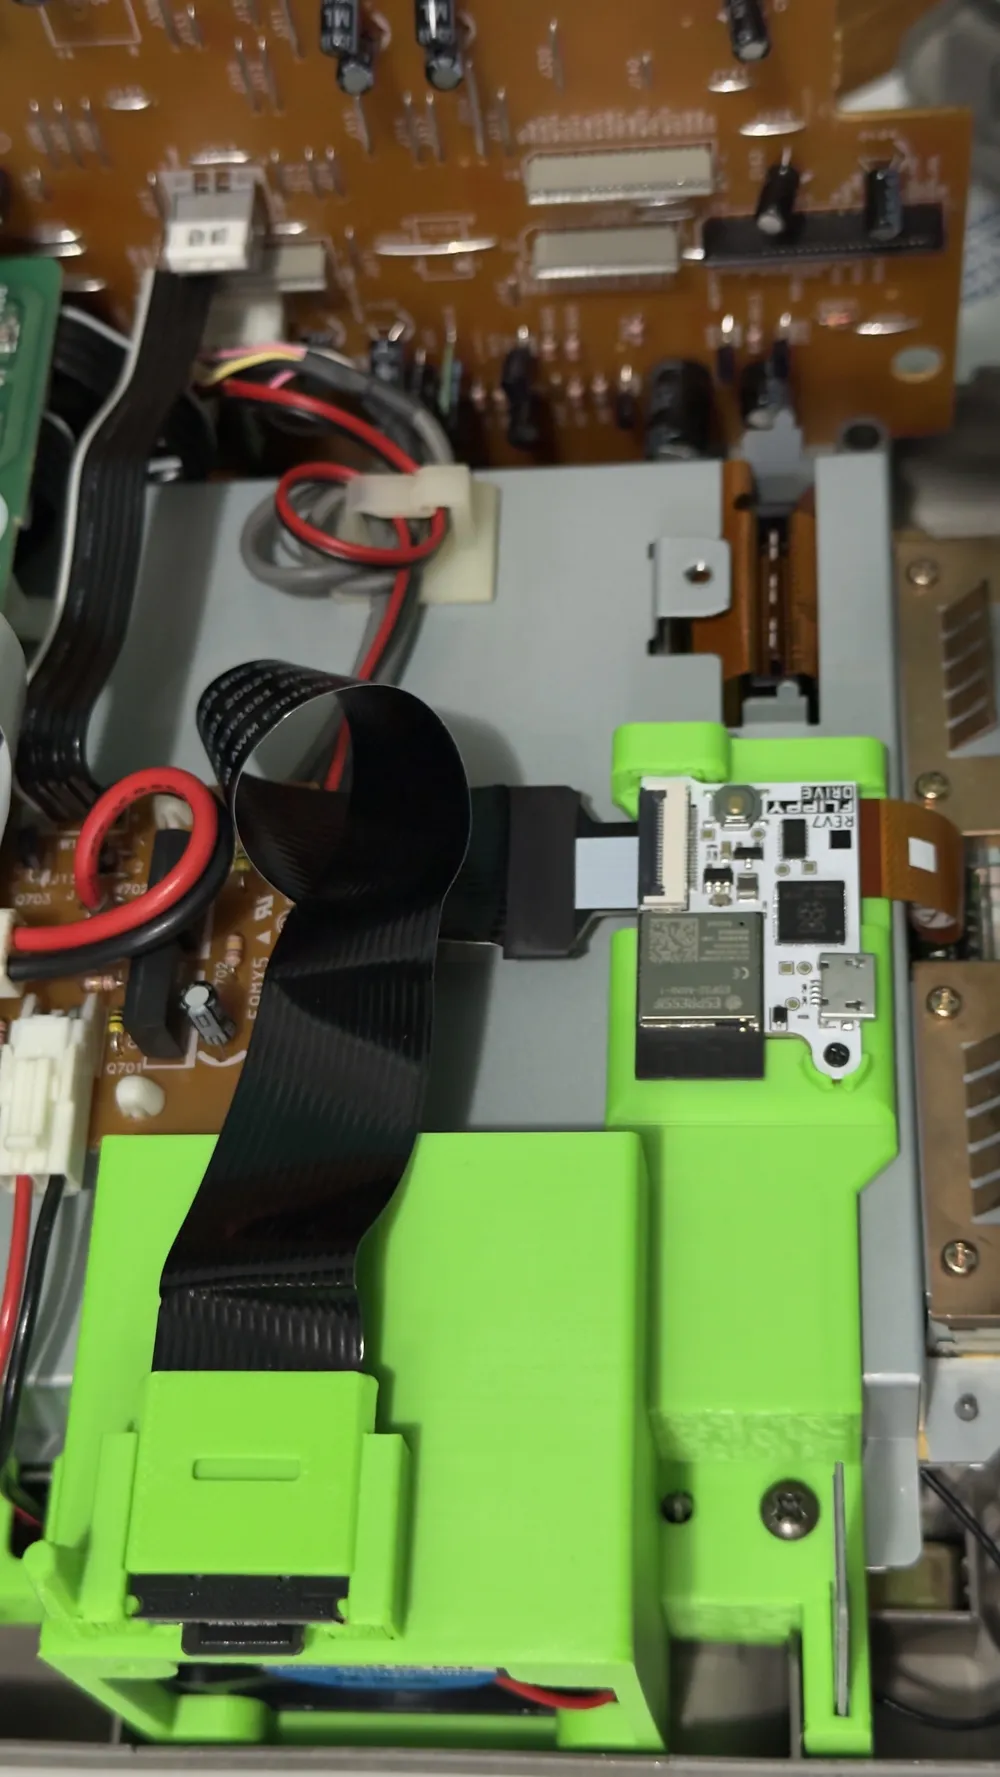
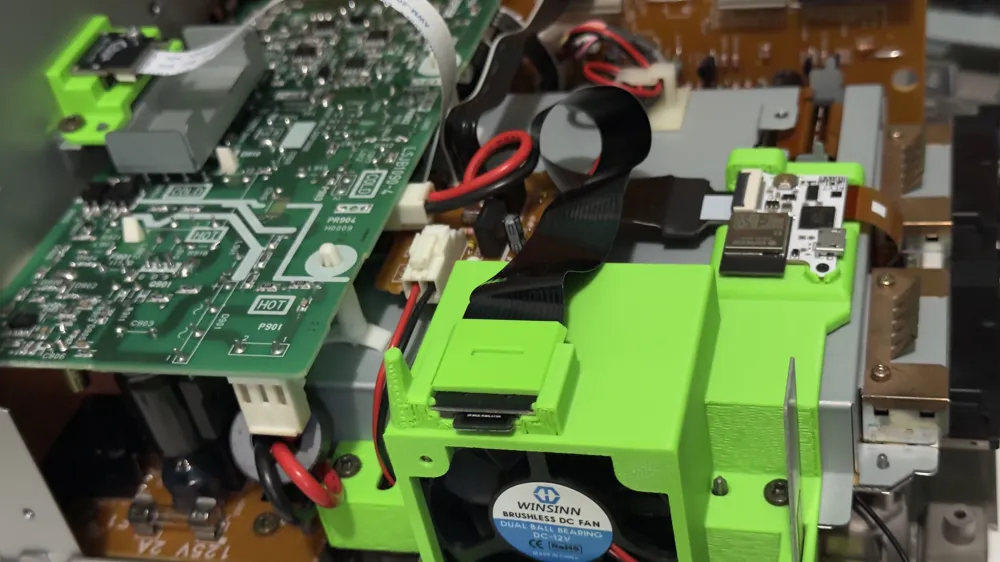
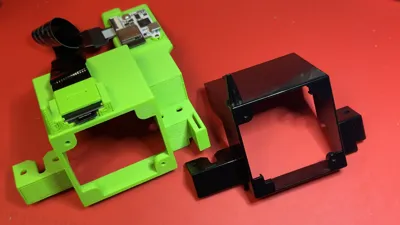
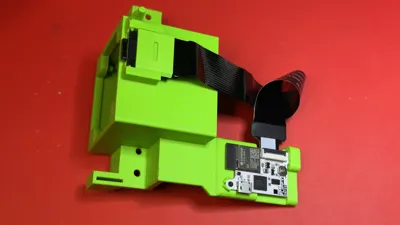
Introducing the Panasonic Q All-In-One Fan Bracket - A heavy remix of LaserBear/Collingall's GameCube Fan Mod for the Panasonic Q that is a close replication of the original fan bracket. The Panasonic Q AIO Fan Bracket has been modeled to adapt options that combine:
- A remix mount for microSD reader (via Humble Bazooka)
- A remix mount for FlippyDrive Q Kit (via Team OffBroadway)
- A sliding mount for GC Retro GEM's WiFi antenna (standalone)
Tested with combinations of PLA, PETG, ASA, and HIPS filaments on a Bambu Lab X1C. You must have supports enabled. The 3mf and stl files are oriented face down to provide a quick, quality print given the supports. I recommend to keep the Support/Raft Base the same filament chosen for the final print, select a different filament type for the Support/Raft Interface, check to Remove Small Overhangs, and set Top Z Distance to 0.2 so the supports break away easily. The combination of ASA + HIPS yielded the cleanest print for me, yet PLA + PETG was also good.
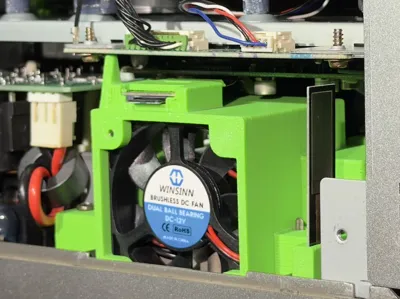
Make sure to use the screws from the original fan bracket. If you want to exchange the original fan for a third-party 12V fan, verify its dimensions are 50mm x 50mm x 10mm. There are a couple options (like this one for example) that come with the same JST XH 2.54mm pitch connector, yet the red and black wires may need to be swapped on the connector to match the wire route of the original fan (or you can desolder and flip the original header pins in the opposite order).
Before attaching microSD reader, first disassemble the cover surrounding the reader itself. You can insert a flat, narrow spudger to one side of the opening that shows the reader's pcb and use a small bit of pressure at an angle (pushing toward one side of the cover) to crack it open. Then dispose of the cover and you can now insert the microSD reader to the mount with the pcb facing up/metal cover facing down. Each AIO Fan Bracket with the microSD mount includes a locking door. Slide the locking door just above the microSD reader so it stays in position. Then take the connector end of the microSD reader and insert it into the curved side of the FlippyDrive mount until you hear a click one time. Even though the connector may seem loose, it will stay in place in the FlippyDrive socket. Avoid wiggling it, otherwise you will need to reinsert the connector and make sure it is seated again (click 1-2 times to eject/insert again).
Before attaching FlippyDrive, first insert the flex and close the locking tab. Then angle the bottom corner of FlippyDrive and slide it into the corner opening on the mount. Then gently align the top corner of FlippyDrive into the cutout on the mount and use the 5mm M1.6 screw included in the kit to tack it in place.
Before inserting the GC Retro GEM antenna into the slot, first ensure the GEM antenna is routed to the front corner of the bottom heat shield between memory card slot 1 and the fan bracket. Then take the end of the GEM antenna (opposite the soldered cable) and insert it starting from the bottom of the sliding mount until it stops in place. Once you screw down the AIO Fan Bracket, then use a gentle push with your finger at the top of the pointed GEM antenna so it moves the opposite end of the antenna flush against the Panasonic Q's bottom shell.
When utilizing all three options, start the assembly by installing the microSD reader to mount. It's easier to get this out of the way and leave the microSD connector free for a bit. Then in order: insert the GEM Antenna into the AIO Fan Bracket's sliding mount, screw down the AIO Fan Bracket, install the FlippyDrive flex and screw to mount, and insert the microSD connector to FlippyDrive. Done! If for any reason you need remove the AIO Fan Bracket with these devices attached, then go in reverse order. Start with the FlippyDrive by ejecting the microSD connector, unscrewing FlippyDrive, lifting it away carefully from the mount at an angle, open the locking tab to remove the flex, and then set the FlippyDrive aside. It's okay to leave the microSD reader installed on the AIO Fan Bracket. Otherwise, you will need to apply a bit of pressure to slide out the mount's locking clip so the microSD reader can be removed. Lastly, it's very important that as soon as you're about to remove the AIO Fan Bracket, you first slide out the GEM antenna before setting the AIO Fan Bracket aside.
Note: I will include additional options for PicoBoot and PicoLoader in the near future.
This remix is based on

License



Comment & Rating (0)