

Print Profile(2)


Description
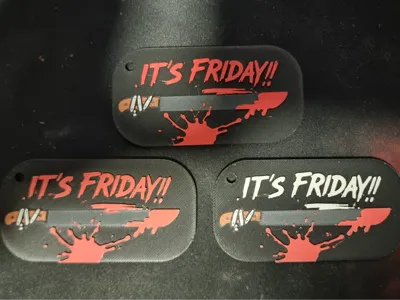
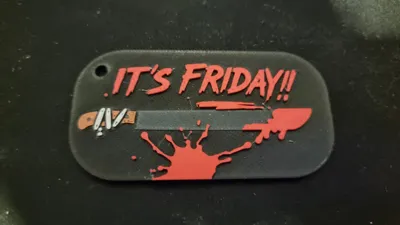
Keychain prop inspired by slasher film classics.
Model originally designed in 5 colors, intended for AMS, with the last color (blood red) printed using the "ghost color" method
If you don't want to complicate things, you can print up to the white color and paint the red at the end with a POSCA marker or acrylic paint: it looks practically the same and integrates perfectly on PLA Matte
How to print with 5 colors (AMS "ghost color" method)
- Load 4 colors into the AMS (black / gray / white / bridge)
- Assign the last color (red) to the bridge slot (for example, Terracotta)
- Just before that part of the model starts, remove the bridge color filament and put the red in its place, leaving it ready in the AMS gears but without pushing
- When the printer "asks" for that color, it will feed the red believing it is the bridge
- Finish the print normally
Tip: both must be of the same type for the trick to work without visible differences
Basic parameters
- Layer height: 0.08 mm
- First layer 0.16mm
- 100% infill
- Nozzle: 0.4 mm
- Material: PLA Matte
- Suggested colors: black, gray, white, red, and terracotta
The layer heights are already defined in the .3mf file
For this method, choose the second print profile, it is already prepared for the bridge color to be terracotta in this color palette
Alternative method (easier)
Print the first four colors and paint the blood at the end with a red POSCA marker or acrylic.
If you apply a thin layer of matte varnish on top, the finish is perfect. In the slicer, assign a 5th color and put red there. In the slicer you will see the result, but the printer will not manage a 5th filament and will simply use the last one in use to finish the piece, if the correct order has been followed, it will be white and will facilitate the application of color with a red marker or acrylic paint
For this method, choose the first print profile, just let it finish and it will end up with what should be red, in white, ready to be painted
Any questions or problems, leave a comment.
I would love to see your versions of the machete 🔪
#StabYourKeys #DarkoLab #Halloween2025
License
You shall not share, sub-license, sell, rent, host, transfer, or distribute in any way the digital or 3D printed versions of this object, nor any other derivative work of this object in its digital or physical format (including - but not limited to - remixes of this object, and hosting on other digital platforms). The objects may not be used without permission in any way whatsoever in which you charge money, or collect fees.
Comment & Rating (0)