H2S magnetic faceplace / extruder cover interface


Print Profile(1)

Description
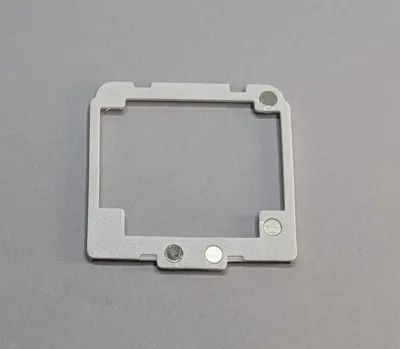
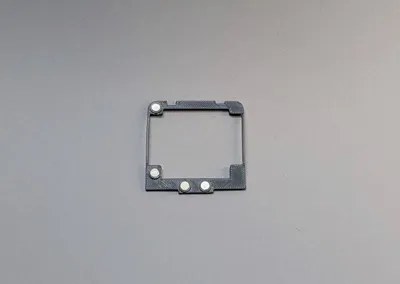
This is an interface piece that attaches to the toolhead / extruder cover allowing it to be attached magnetically, making for quick and easy removal and replacement.
I wanted to add the magnetic functionality and be mindful of the weight being added to the toolhead. There are two versions: The minimal version aligns to the edges of the cover, and is held in place by the clips on the cover. The extra grip version extends beyond the edges of the cover. I recommend the extra grip version as it is more secure and gives you something to hold when removing and replacing the cover and is more secure overall with the added friction at the sides of the cover.
There are two versions of each, one in which the top of the interface hold with friction pressing against the top clips of the faceplate and another with “snaps” for the top faceplate clips. Using a similar part on my A1mini years ago I broke a faceplate arm trying to remove the interface piece and so the friction fit ensures that can not happen. The version with the top snaps are minimal, but use caution if you need to remove the part.
Rather than an interface piece, if you are looking for a basic magnetic cover replacement I made one of those here.
If you intend to use the H2S heated chamber you will want to print this in ABS or higher temperature resistant filament. The chamber can heat to 65C and while PETG HF has a Heat Deflection Temperature rating of 69c, this is a thin part and those tests are performed on thicker bars, so I wouldn't chance it.
As the model has small features that need to be properly sized and placed in relation to the hotend, if printing with a material with shrinkage such as ABS or ASA I recommend performing a shrinkage test print so you can properly set the shrink value for your filament. This is the one I use.
When you print the part, make sure it is completely cool before removing it from the build plate as the part is thin and you want to avoid bending it.
Assembly: The interface uses four 5mm x 3mm magnets. Place the part in the same orientation that it printed (flat side down) on a solid surface and press fit the magnets into the holes until it hits your work surface. When turned over the magnets should be flush with the part. Alternatively you may find it easier to use a pair of pliers to gently squeeze the magnet into place, just be cautious since this is a thin part. For whatever reason all the 5x3 magnets I have encountered are close on the diameter measurement but less than 3mm thick, so to allow pressing on the full surface of the magnet the ring they press into is only 2.5mm deep so you may have magnet "sticking out" of the holes. Once the magnets are in place slide the top of the interface part under the top clips on the cover and press the bottom of the interface part into the bottom clips. If using the extra grip version press around the sides as well to ensure it is pressed onto the edges.
License
You shall not share, sub-license, sell, rent, host, transfer, or distribute in any way the digital or 3D printed versions of this object, nor any other derivative work of this object in its digital or physical format (including - but not limited to - remixes of this object, and hosting on other digital platforms). The objects may not be used without permission in any way whatsoever in which you charge money, or collect fees.
Comment & Rating (5)