
H2 MC Chiller 5000 – Cooling Upgrade for H2D & H2S
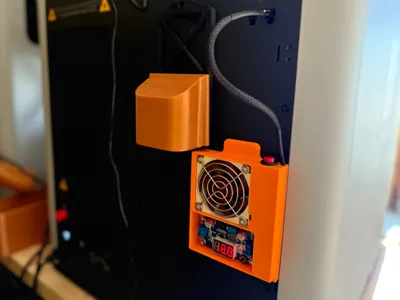
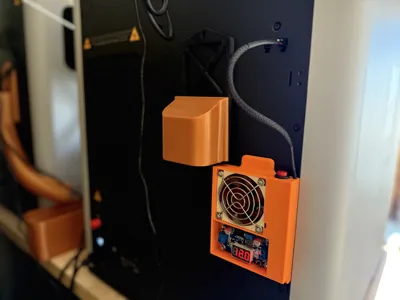
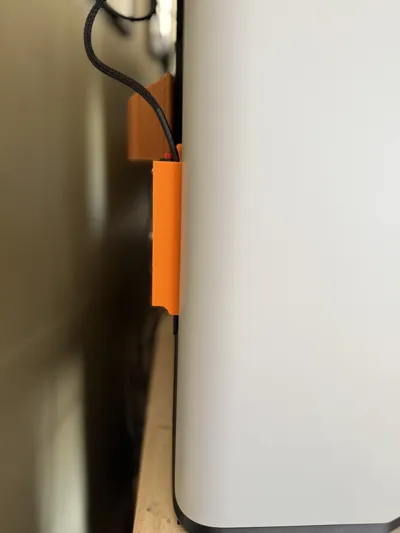
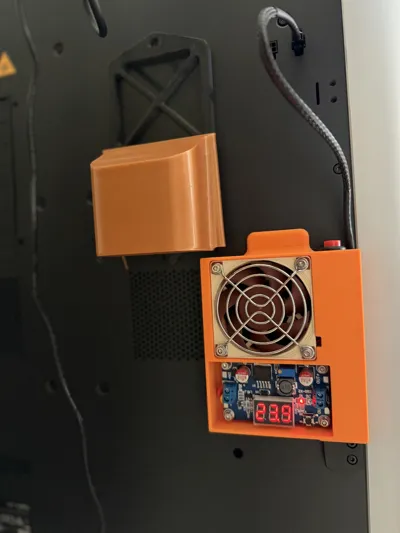
Print Profile(1)

Bill of Materials


Description
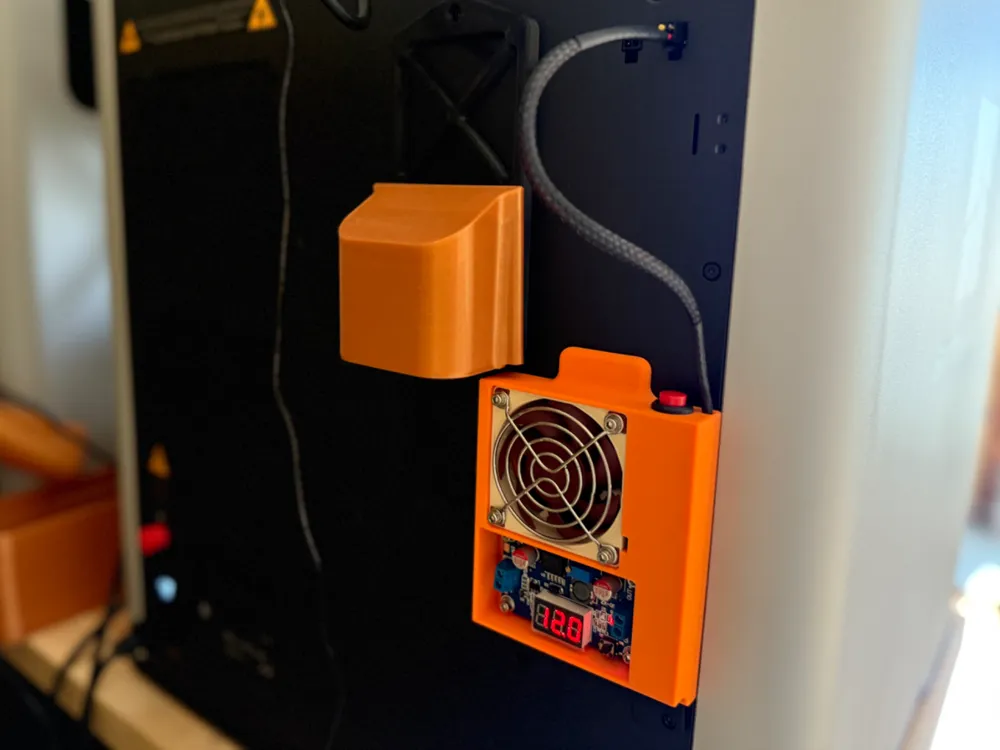
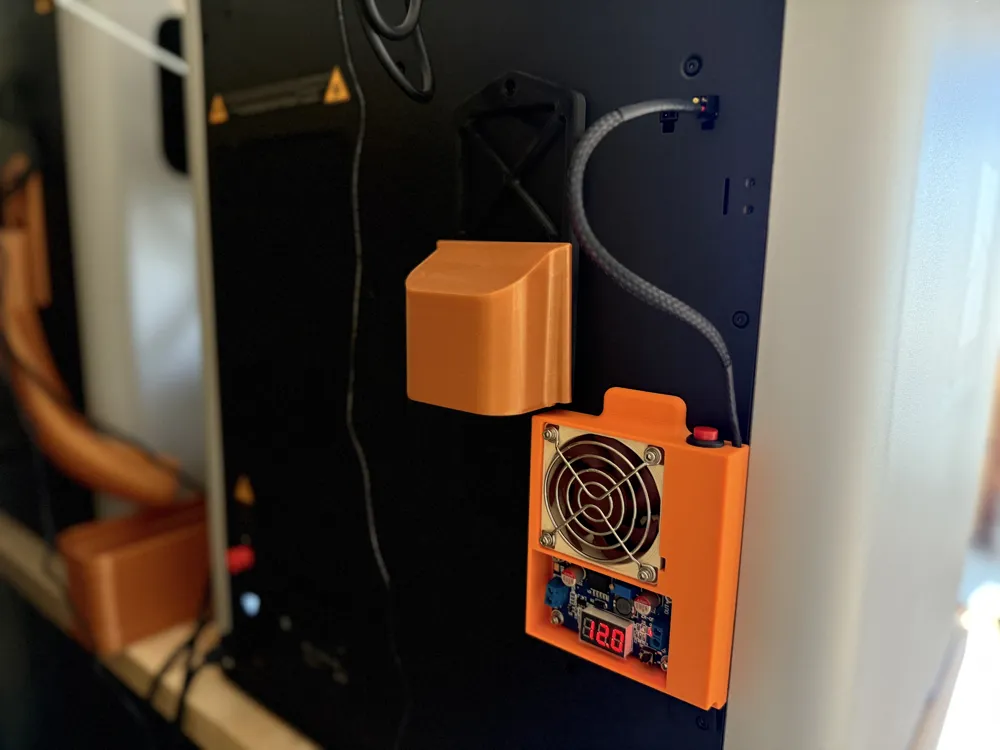
🧊 H2 MC Chiller 5000
🔥 Keep your prints hot — and your electronics cool.
💡 Overview
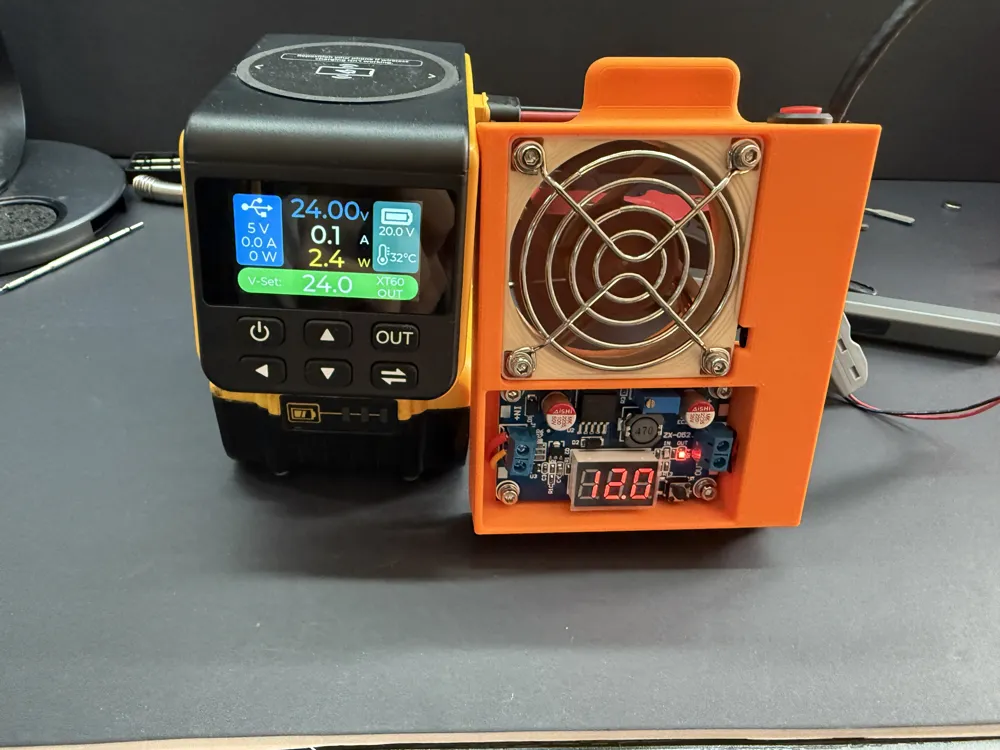
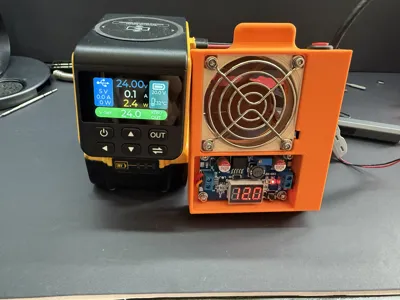
The H2 MC Chiller 5000 is a plug-and-play cooling upgrade for the Bambu Lab H2D and H2S printers.
It eliminates the dreaded “MC Module Temperature Too High” error during long, high-temp prints by cooling only the electronics compartment — without affecting chamber temperature or heater performance.
If you print with ABS, ASA, PC, or other high-temp materials, this is the reliability boost your machine needs.
⚙️ Key Features
- ⚡ Direct 24 V Power – Connects easily to the printer’s rear 4-pin port (2 pins used).
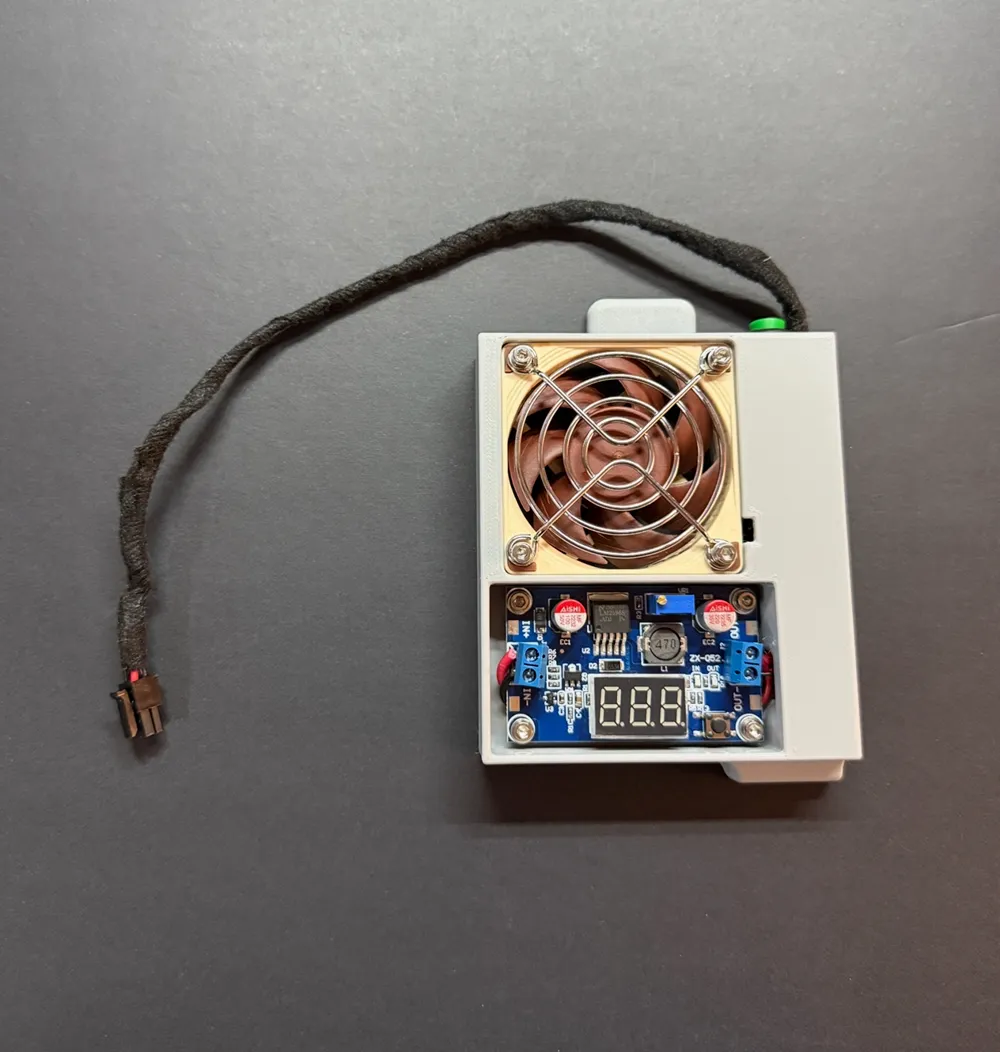
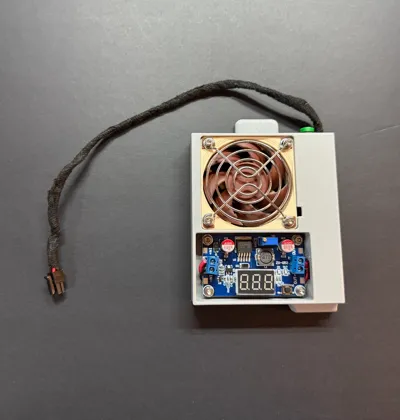
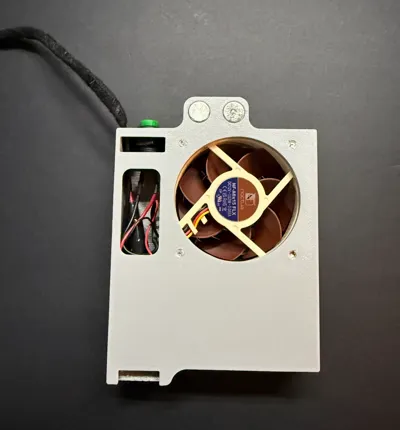
- 🔇 Whisper-Quiet Cooling – Equipped with a premium Noctua NF-A6×15 FLX 60 × 15 mm fan.
- 🧠 Smart Thermal Design – Keeps electronics cool without disrupting the chamber environment.
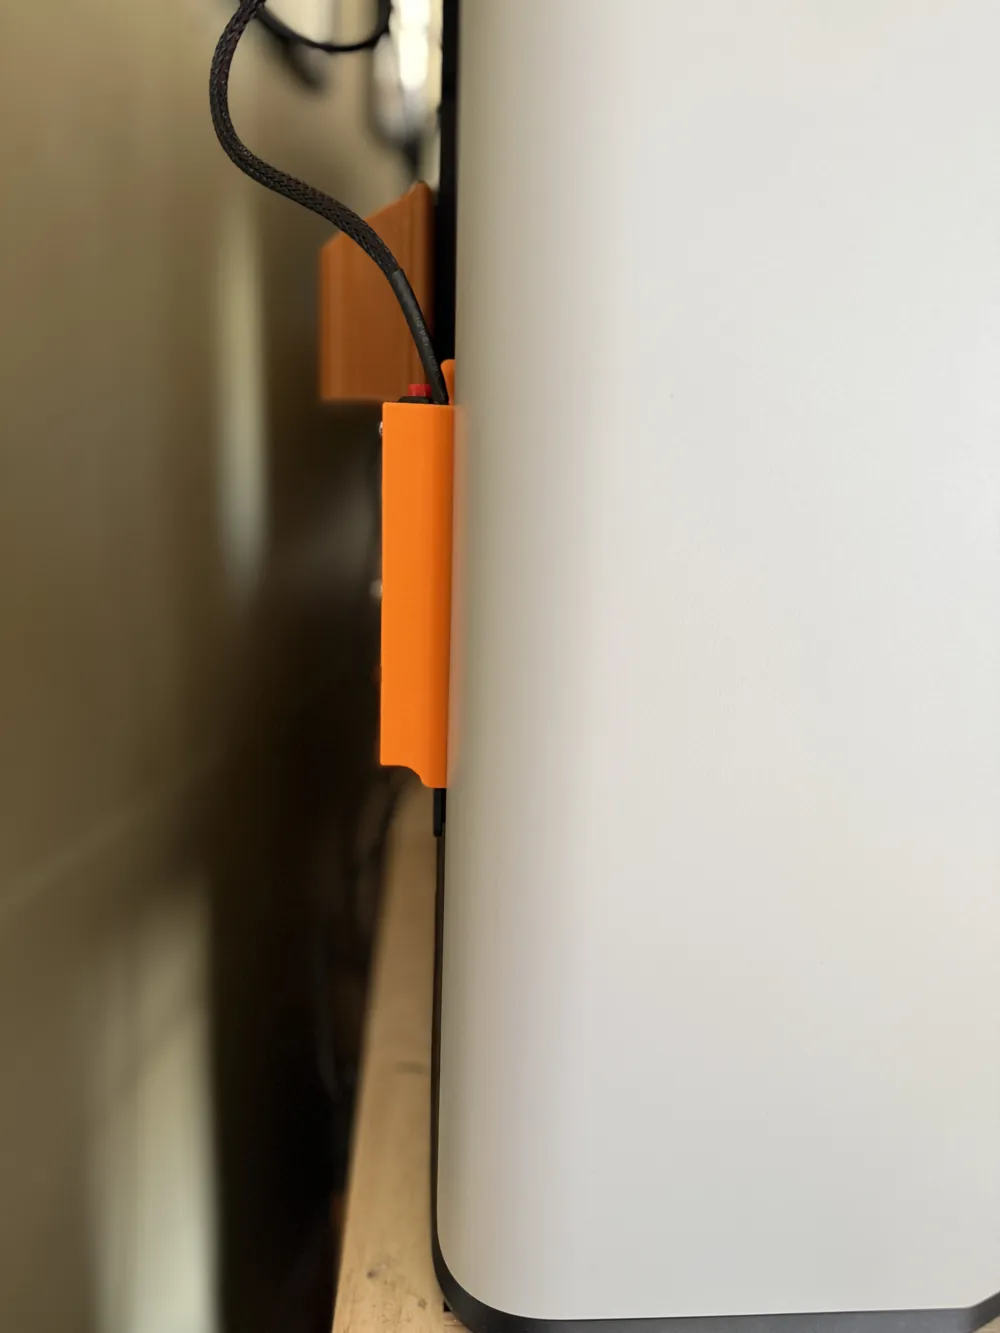
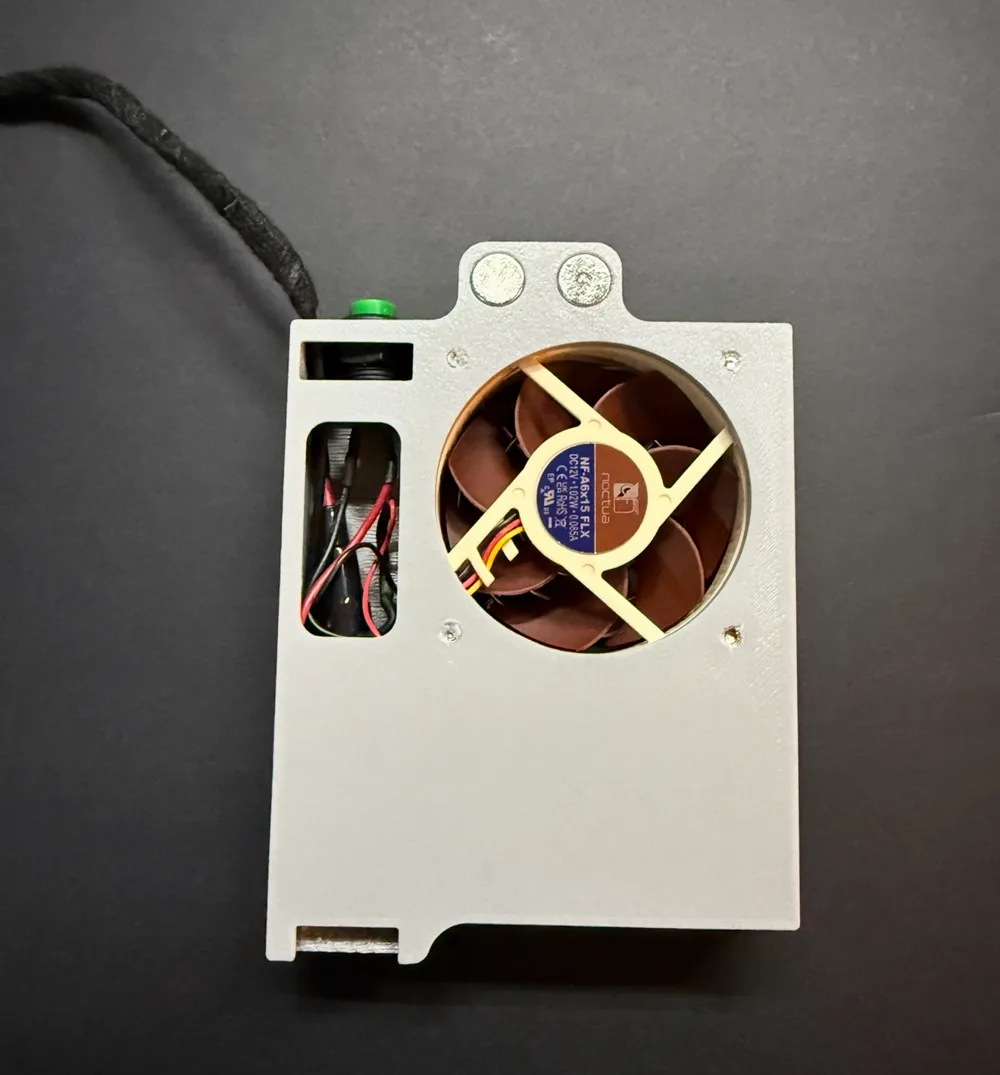
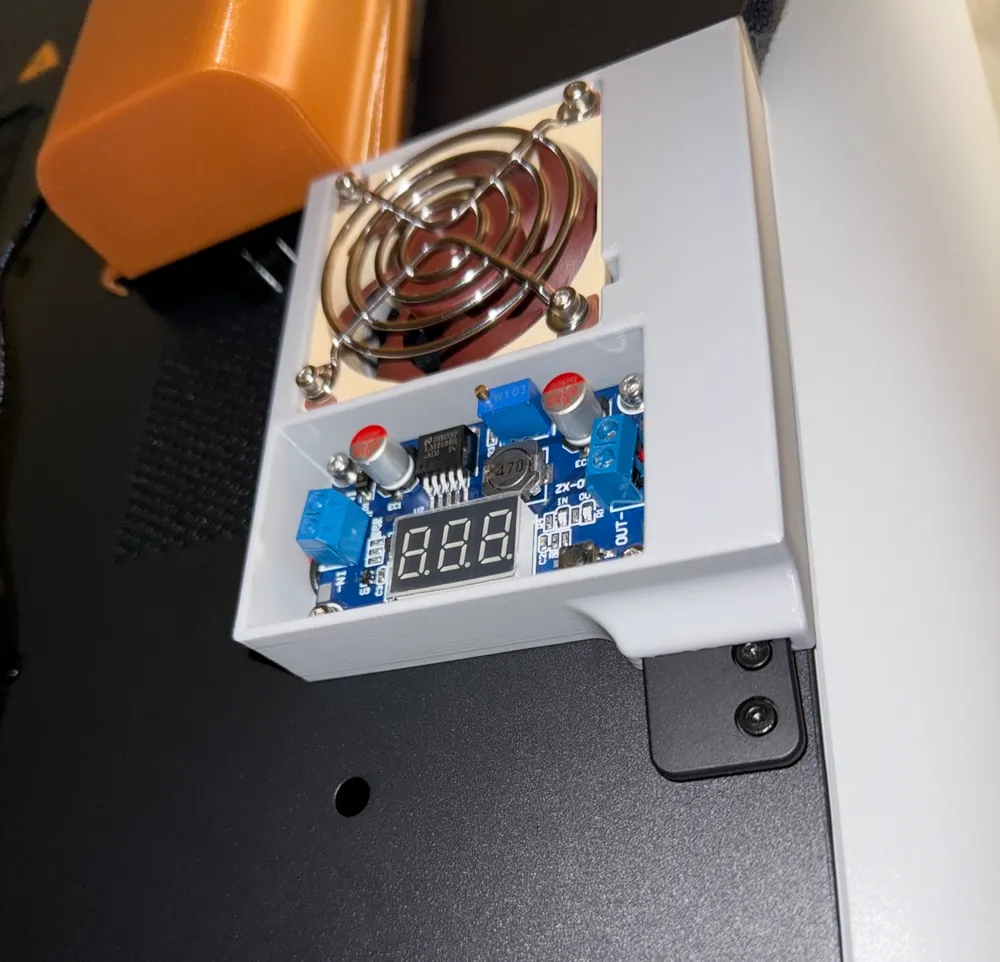
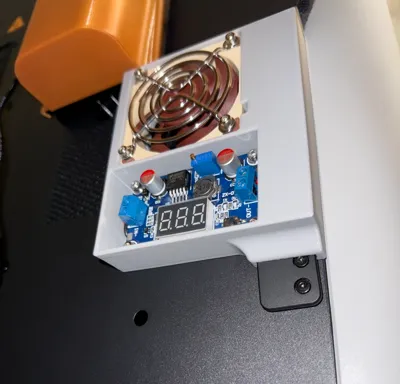
- 🧲 Simple, Non-Invasive Mounting – Attaches to the rear panel via the OEM spool holder mount and two 10x3mm magnets for a solid hold and easy removal if needed. Tested on & Compatible with all H2 Printers (H2S, H2D, & H2C).
- 🔒 Built-In Safety – Includes a 0.25 A inline fuse to protect your printer.
- 🕹️ Easy Operation – 12 mm latching push-button switch for quick on/off control.
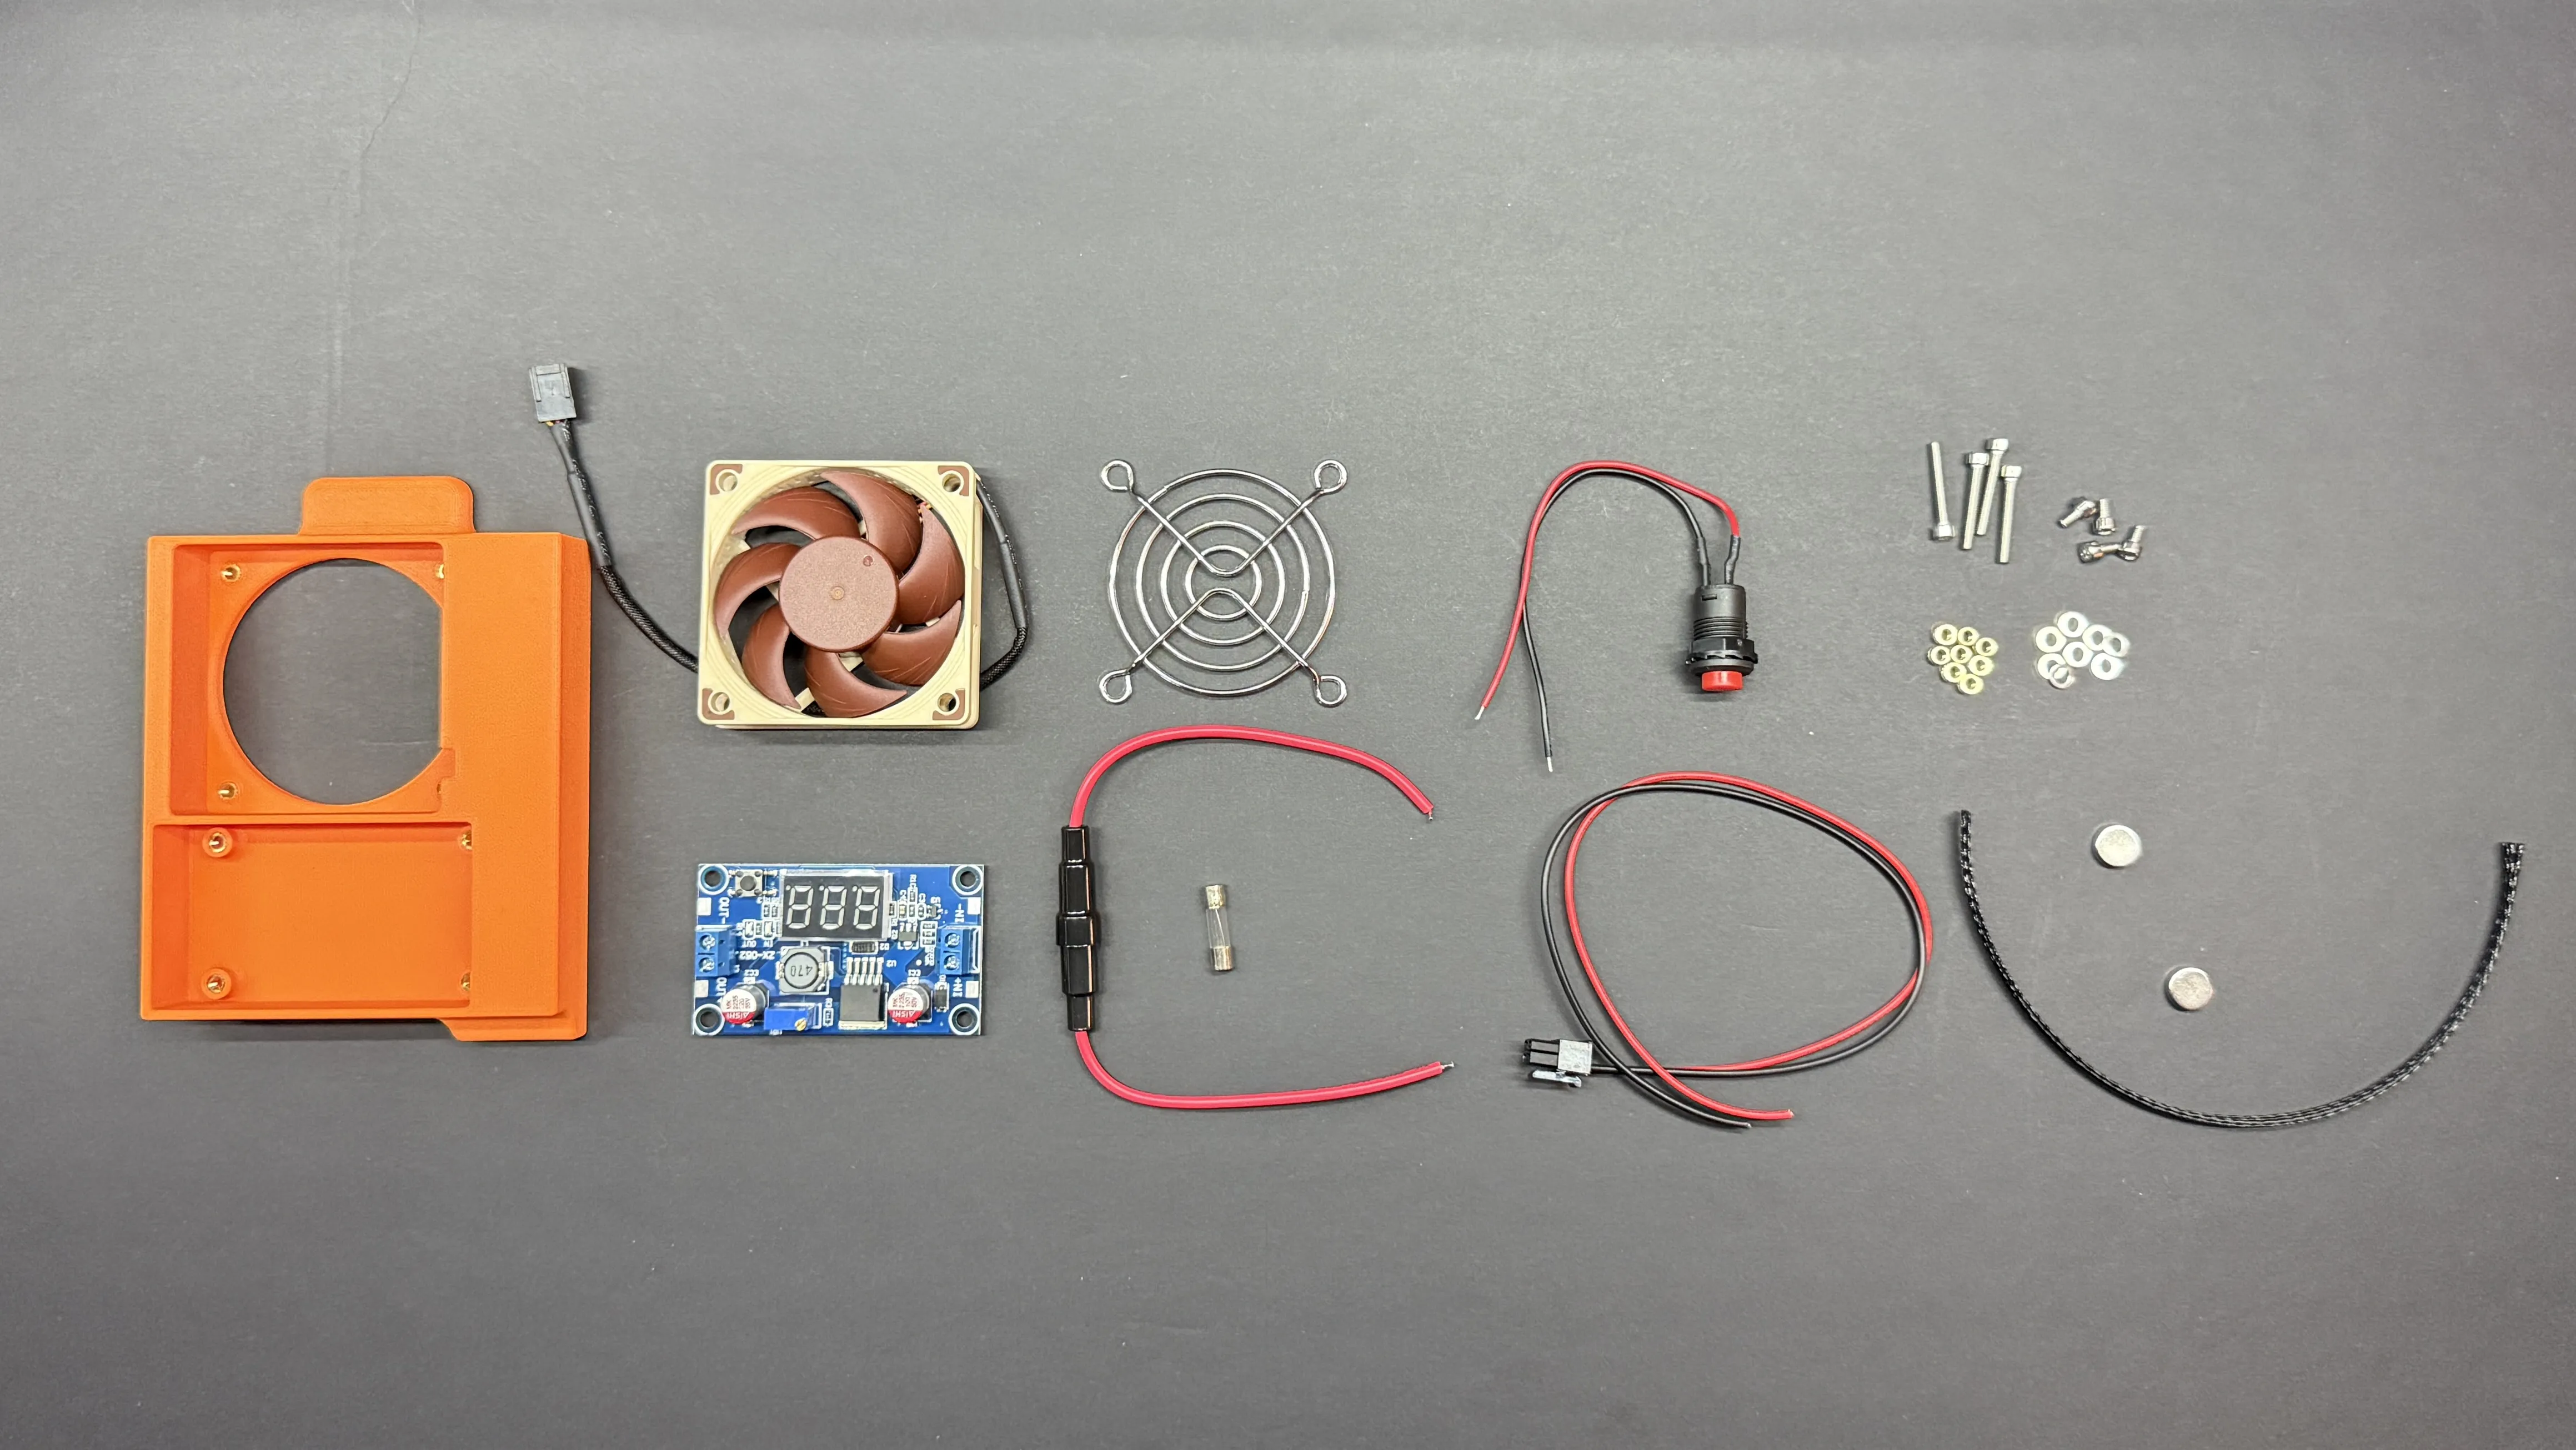
🧩 Parts List
- 🖨️ 3D-printed housing
- 🌬️ Noctua NF-A6×15 FLX 60×15 mm 12 V fan https://a.co/d/e4vXvV9
- 🔋 Seloky LM2596 DC-DC buck converter module https://a.co/d/jfadCeO
- 🔌 Inline 0.25 A fuse https://a.co/d/cY6HpY8
- 🛡️ 60 mm fan grill https://a.co/d/eabfLMz
- 🔘 12 mm mini latching push-button switch https://a.co/d/5c8WdZM
- 🔗 ATX power cable (Micro Fit 4-pin, pitch 3.0 mm) https://a.co/d/hKBQaym
- 🔩 4 × M3×20 machine screws (use shorter screws if not using fan grille)
- 🔩 4 × M3×6 machine screws
- ⚙️ 8 × M3 washers
- 🧱 8 × M3×3 heat-set inserts https://a.co/d/6bM2BXs
- 🧲 2 × 10×3 mm magnets
🐍 Optional 1/8" wire loom https://a.co/d/6Qqmsyr
🚀 Why You’ll Love It
✅ Eliminates MC temperature errors
✅ Keeps electronics cool during long prints
✅ Works even in warm ambient environments
✅ Silent and efficient operation
✅ Non-invasive, tool-free installation
⚙️ H2 MC Chiller 5000 — engineered stability for every high-temperature print.
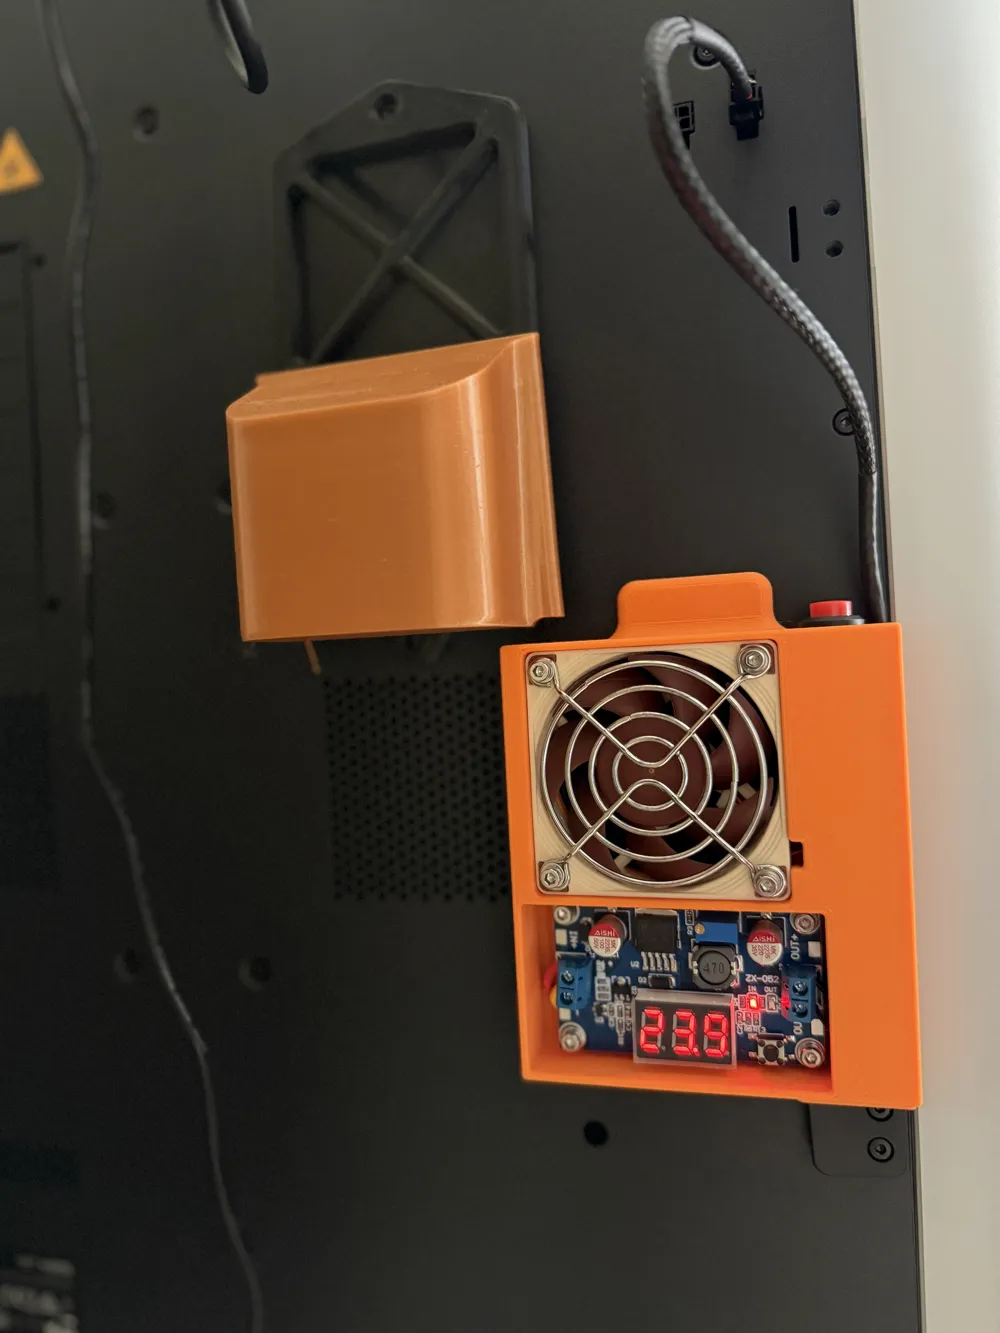
IMPORTANT NOTE: Some users are receiving different buck converters. So far there are 2 versions that i know of. The one with the red capacitors like my photos that has a 58mm center to center mounting hold distance. Then there is another version with black capacitors in a slightly different location and the mounting points are 61mm center to center. The print profile that is uploaded is for the buck converter with the red capacitors like my photos. I have included a model for the 61mm black capacitor buck converter in the “download STL/CAD files” section. I do not have the converter with the black capacitors, so if any further adjustments are needed please let me know and i will adjust it ASAP. For those with cad experience I have included the step files if you want to make your own adjustments.
A few photos that may help with your build. If you have any questions at all, feel free to DM me and I can help walk you through the build process. Plug in the device while the printer is powered off. After it is plugged in and the printer is powered on, press the small black button to the right of the number screen on the buck converter to see what the output voltage is set to. Use a small screw driver to adjust it to 12V by turning the small brass dial at the top of the buck converter counter clockwise until the screen reads 12.0.
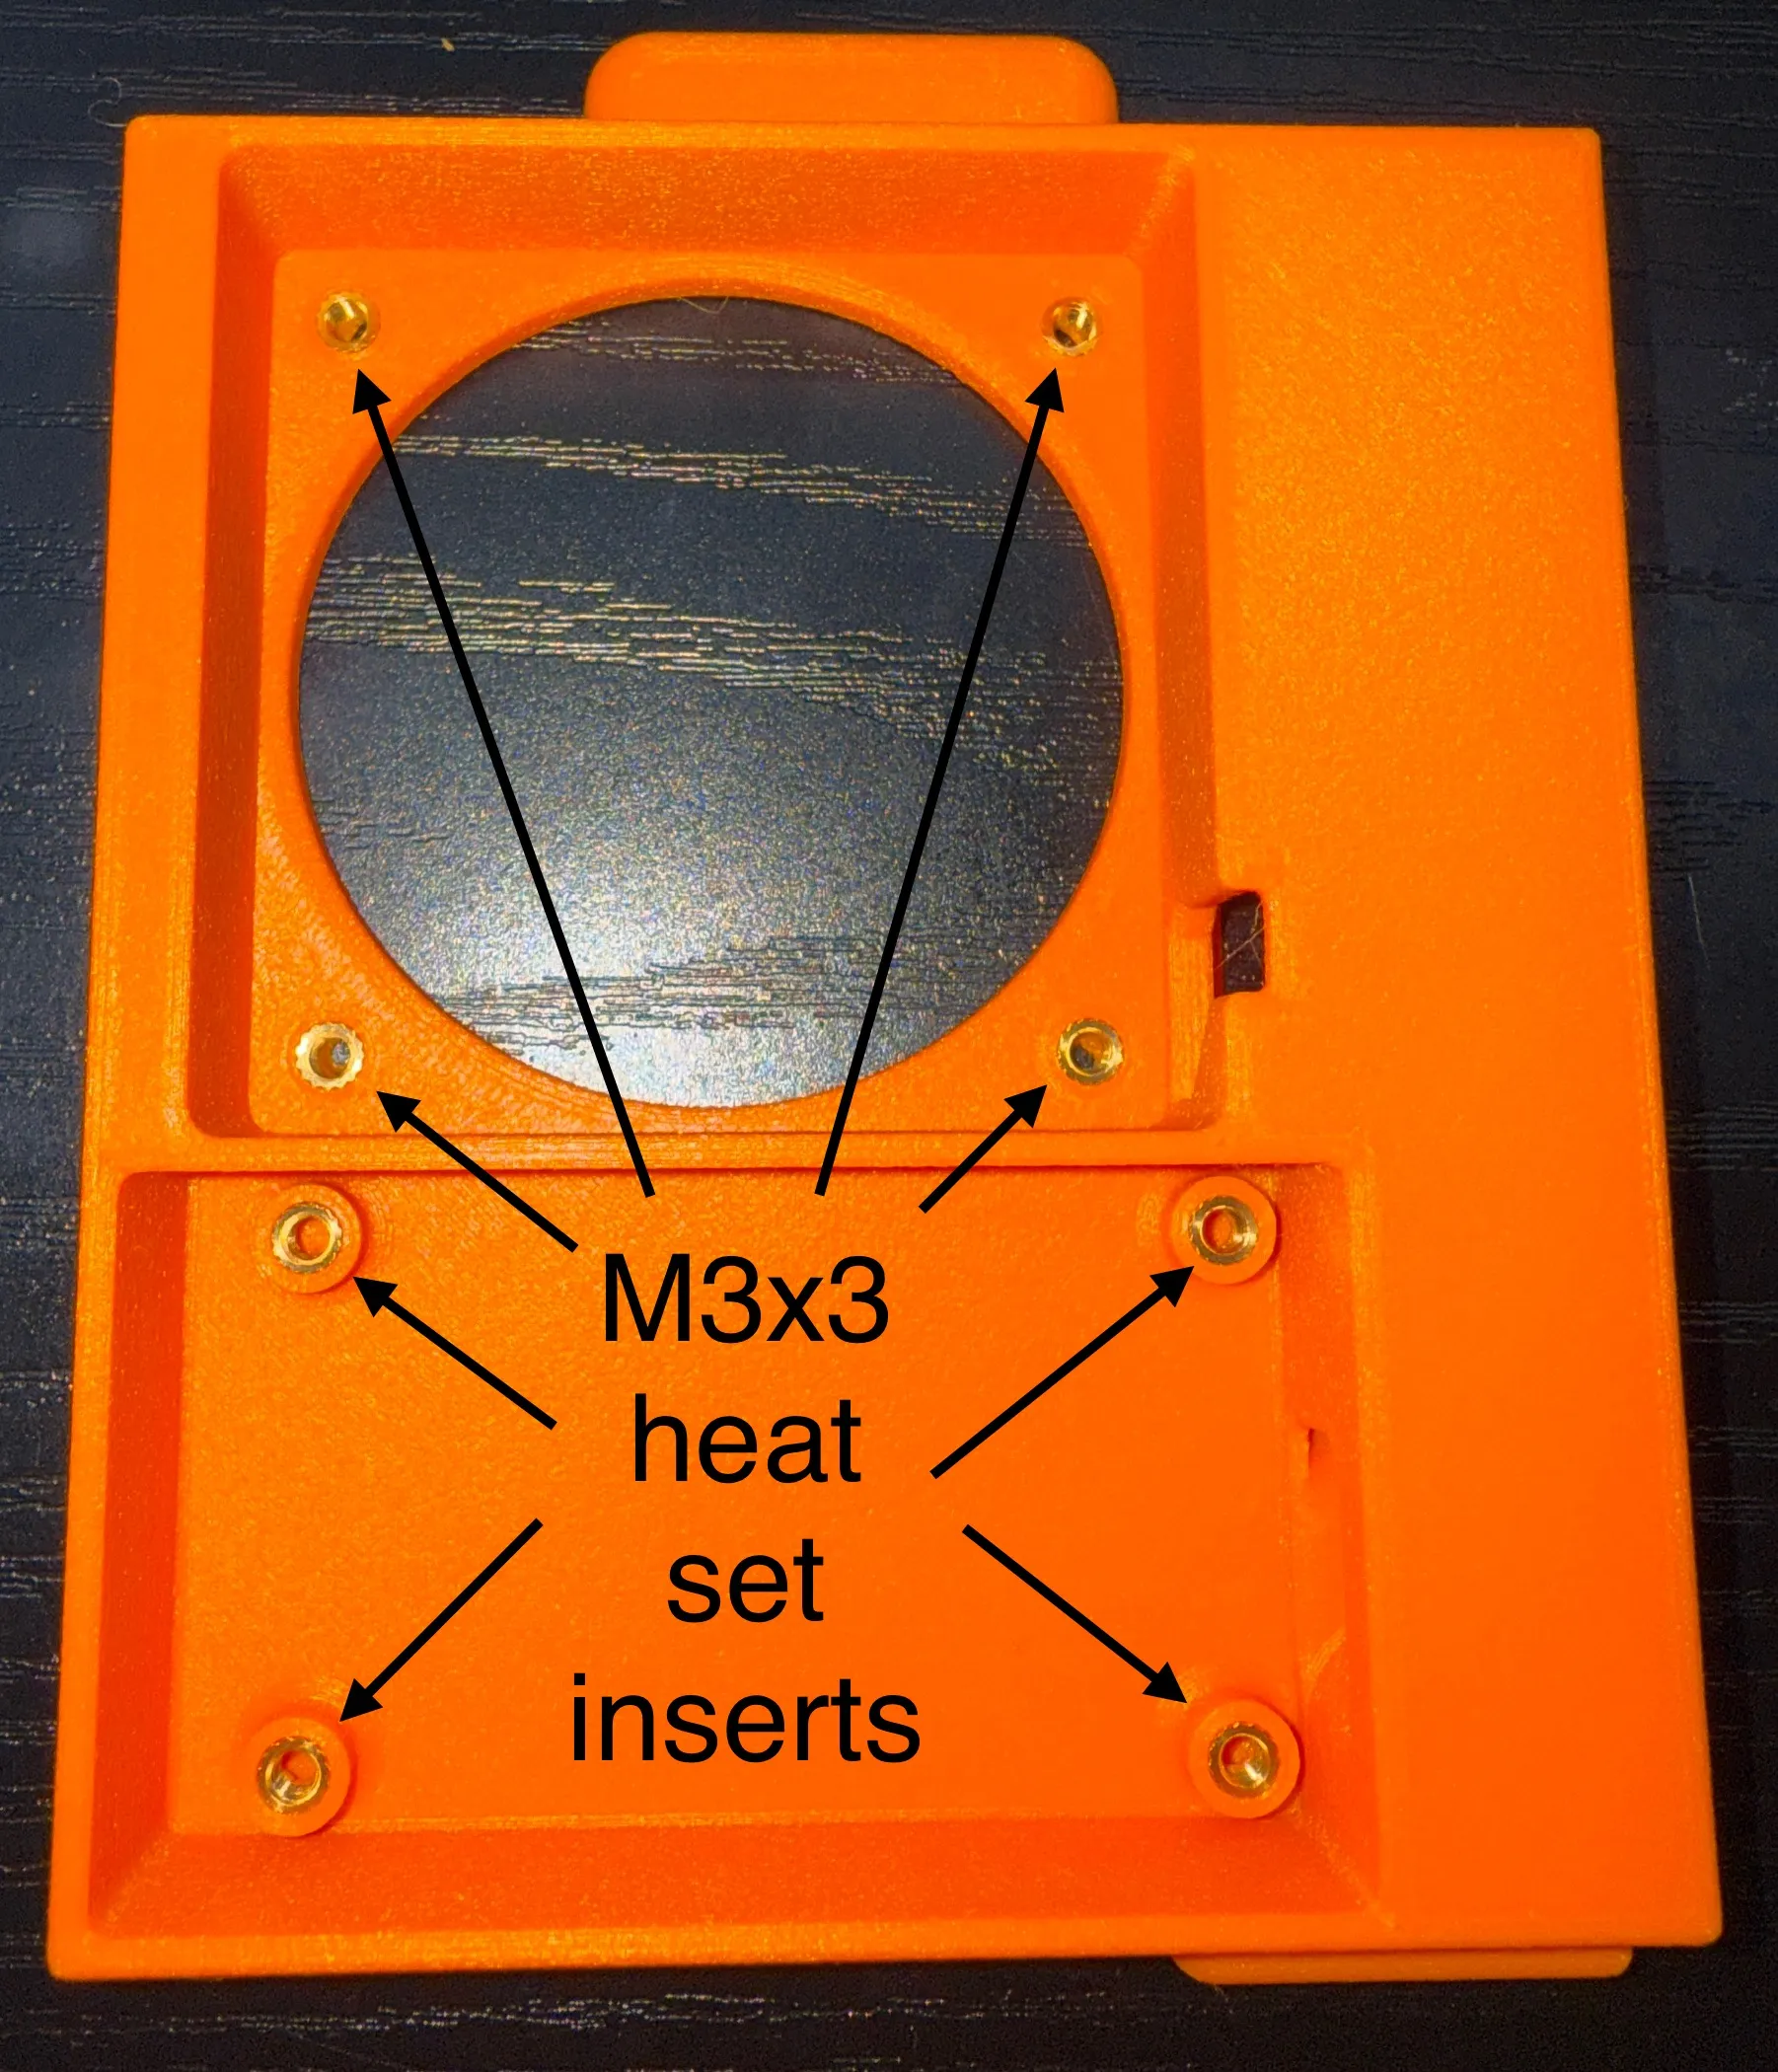
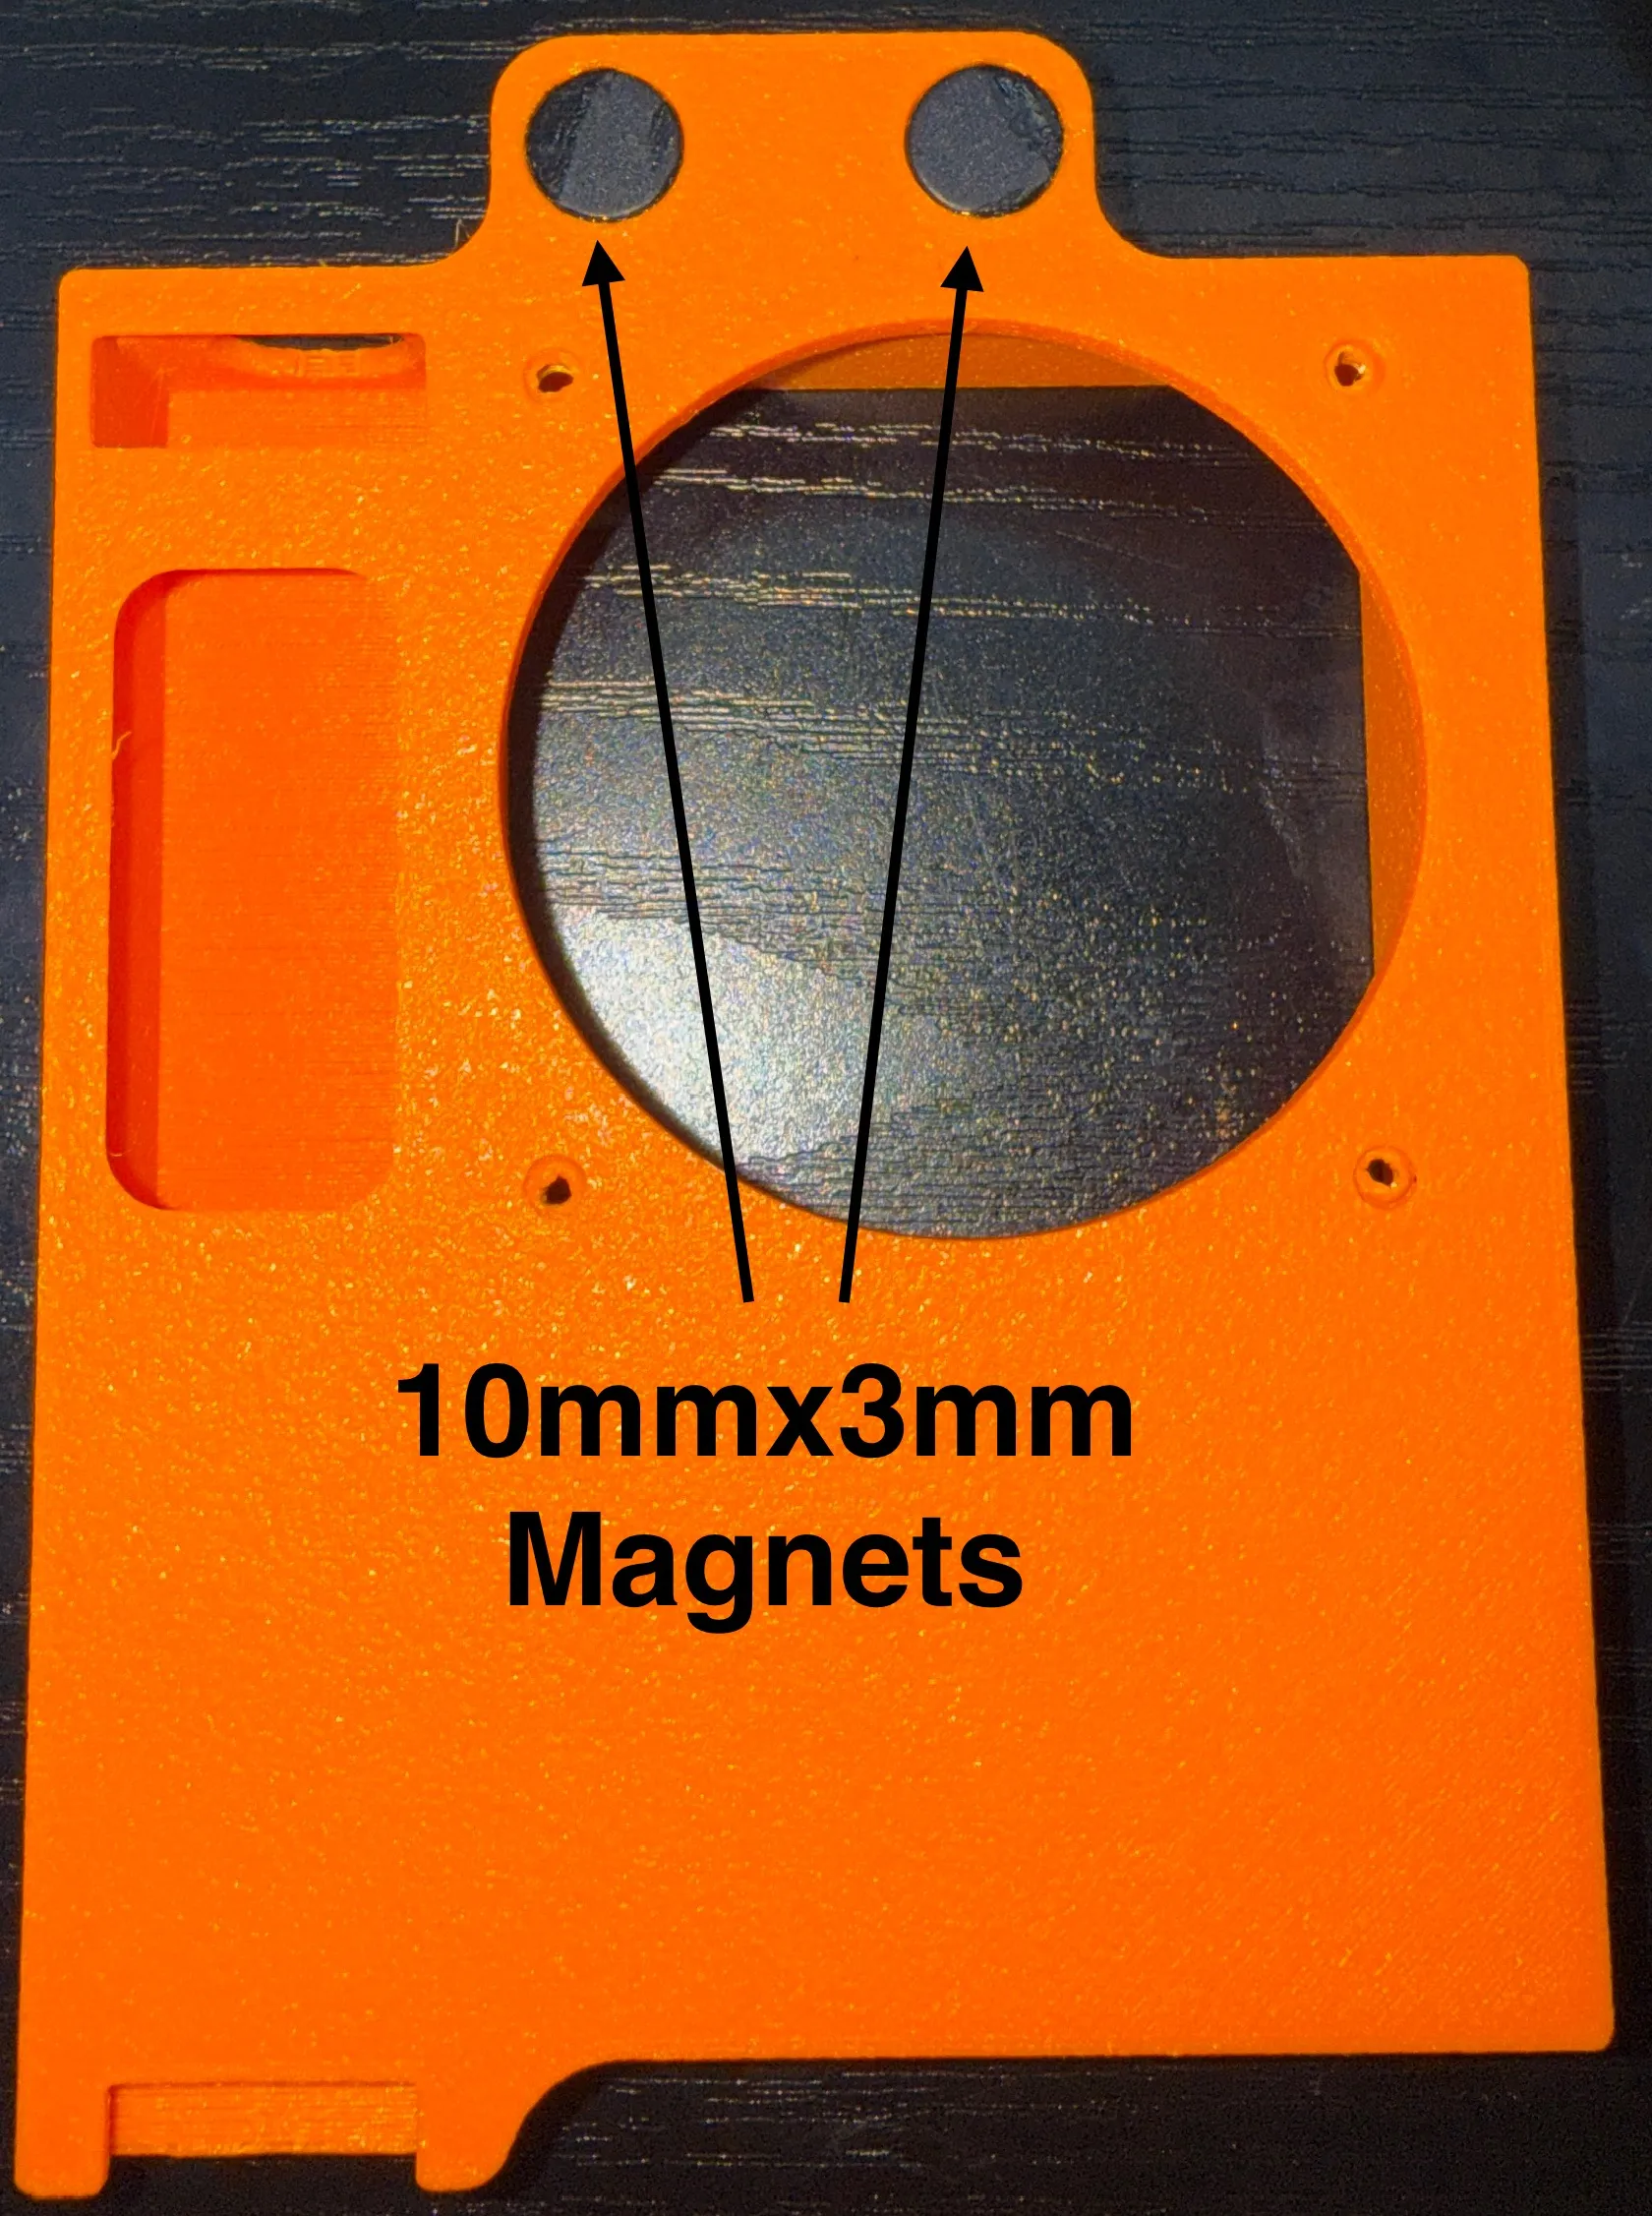
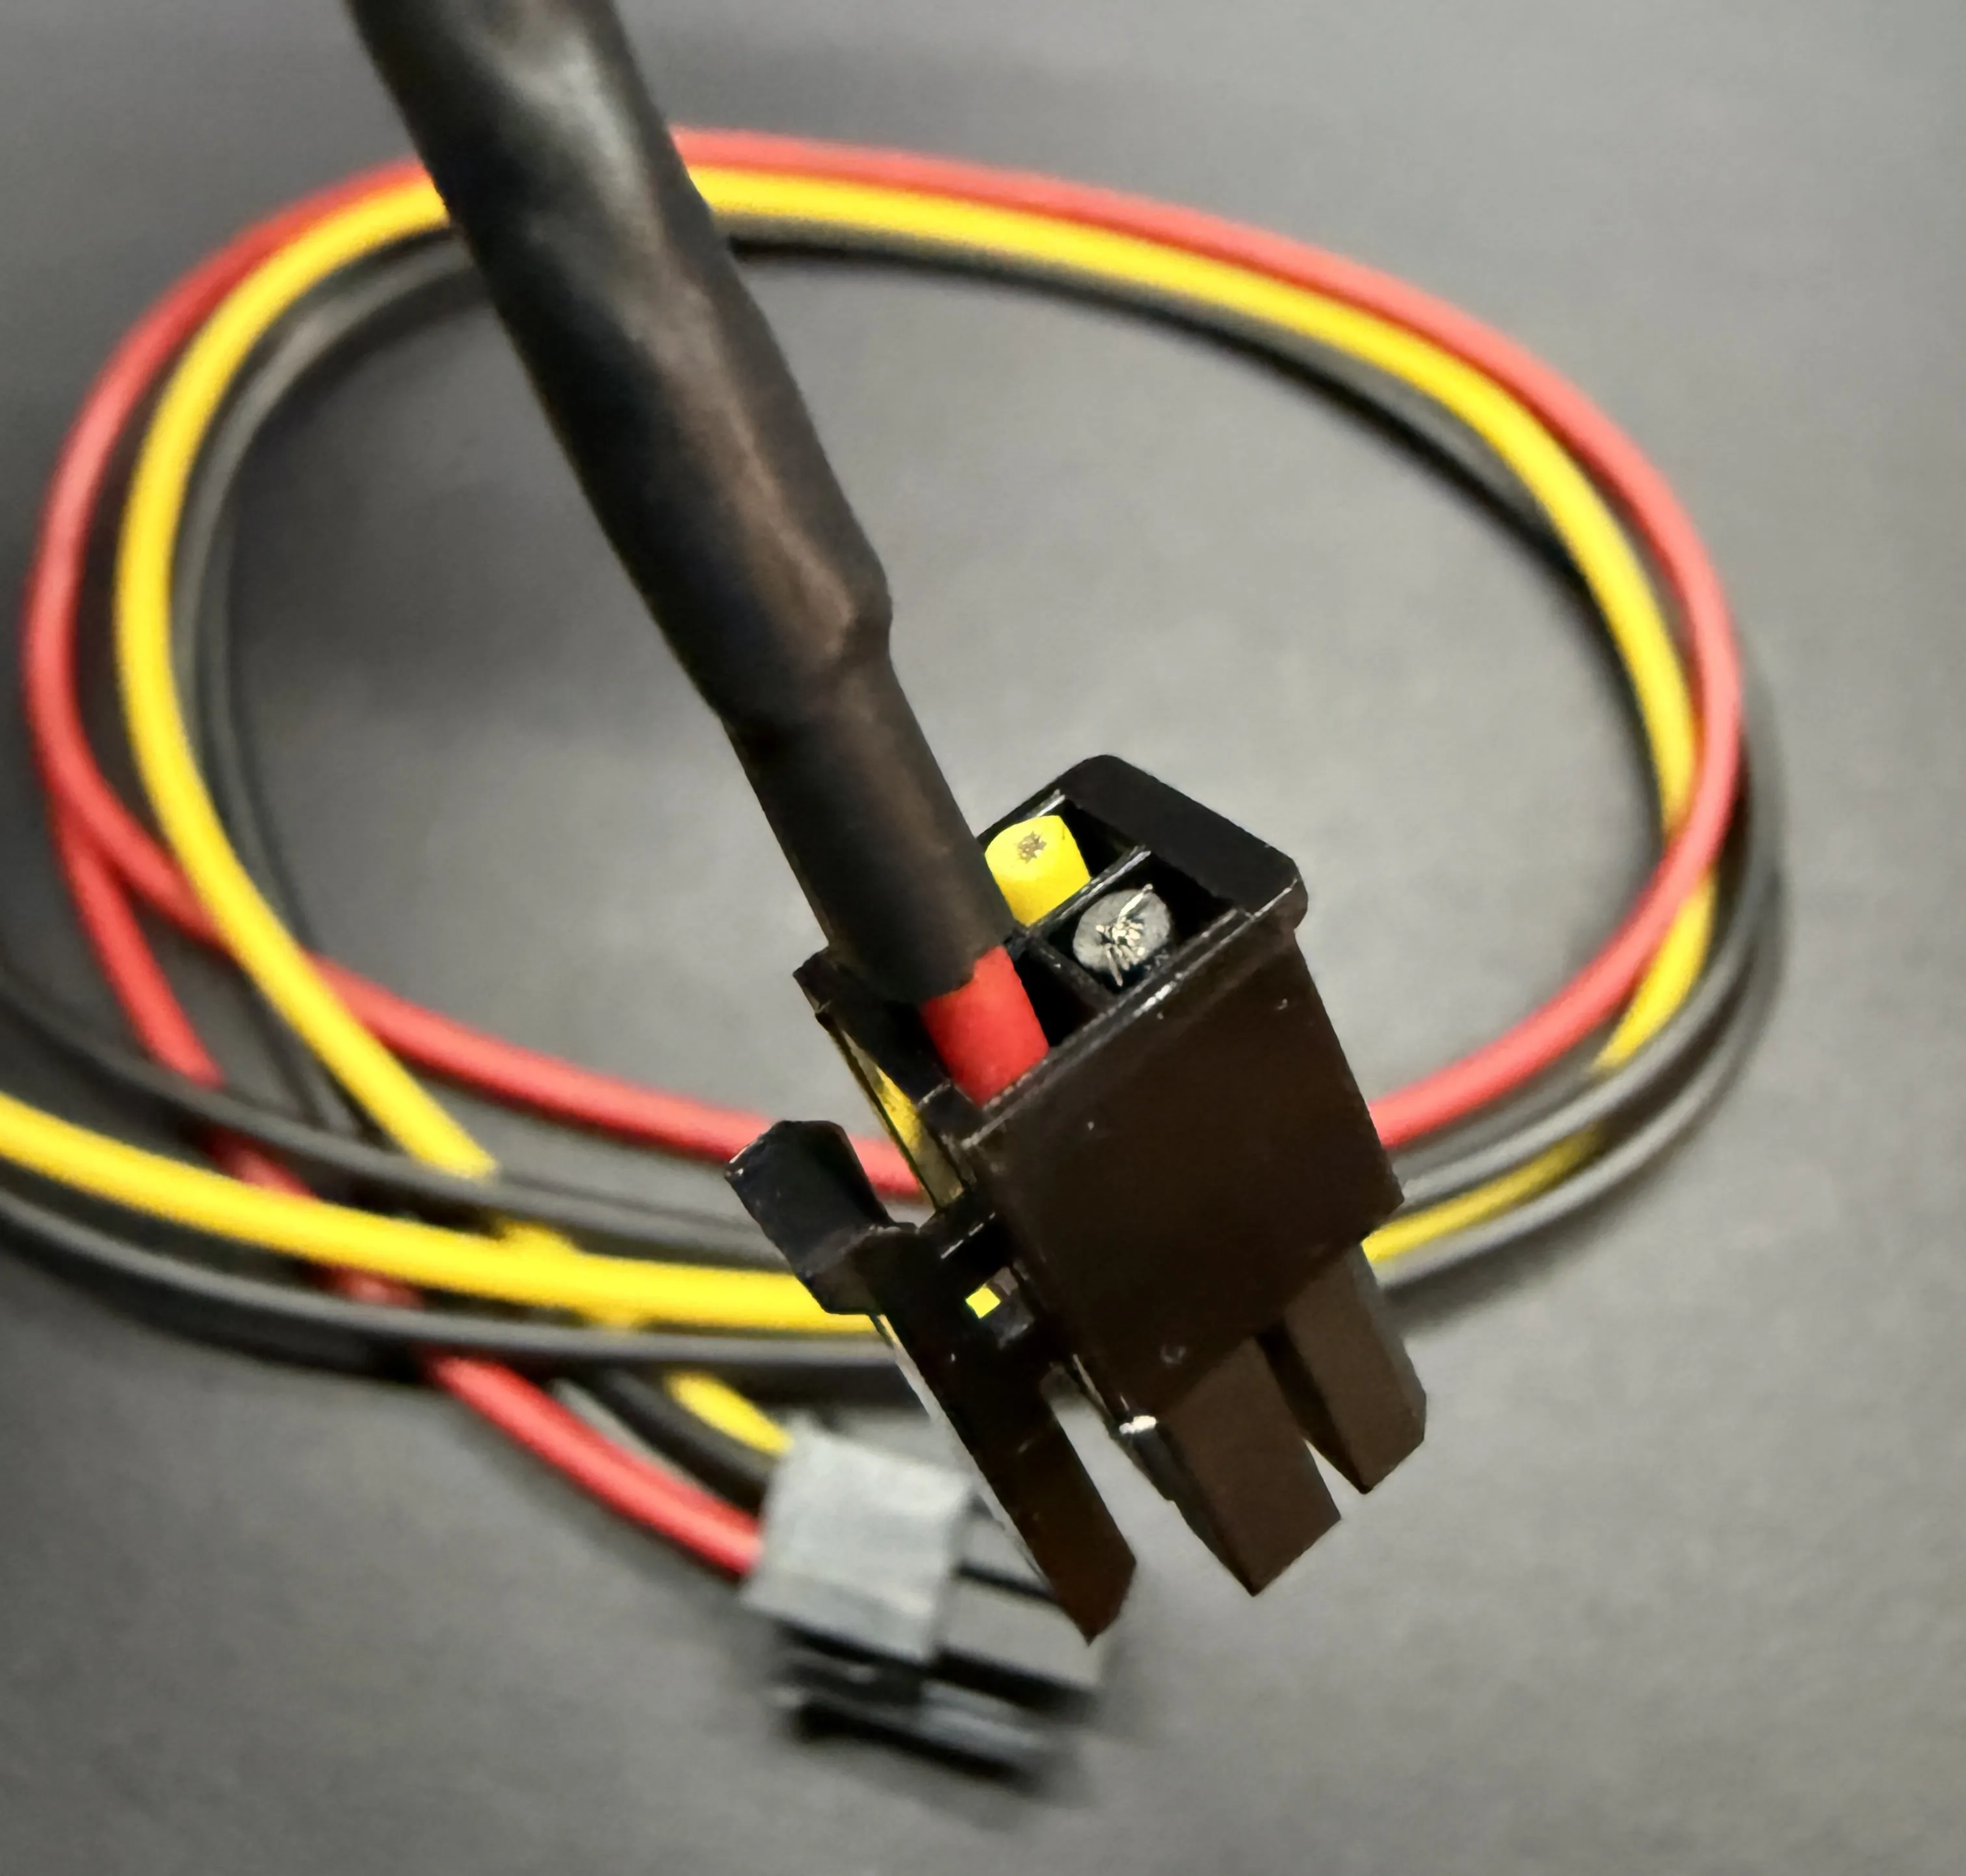
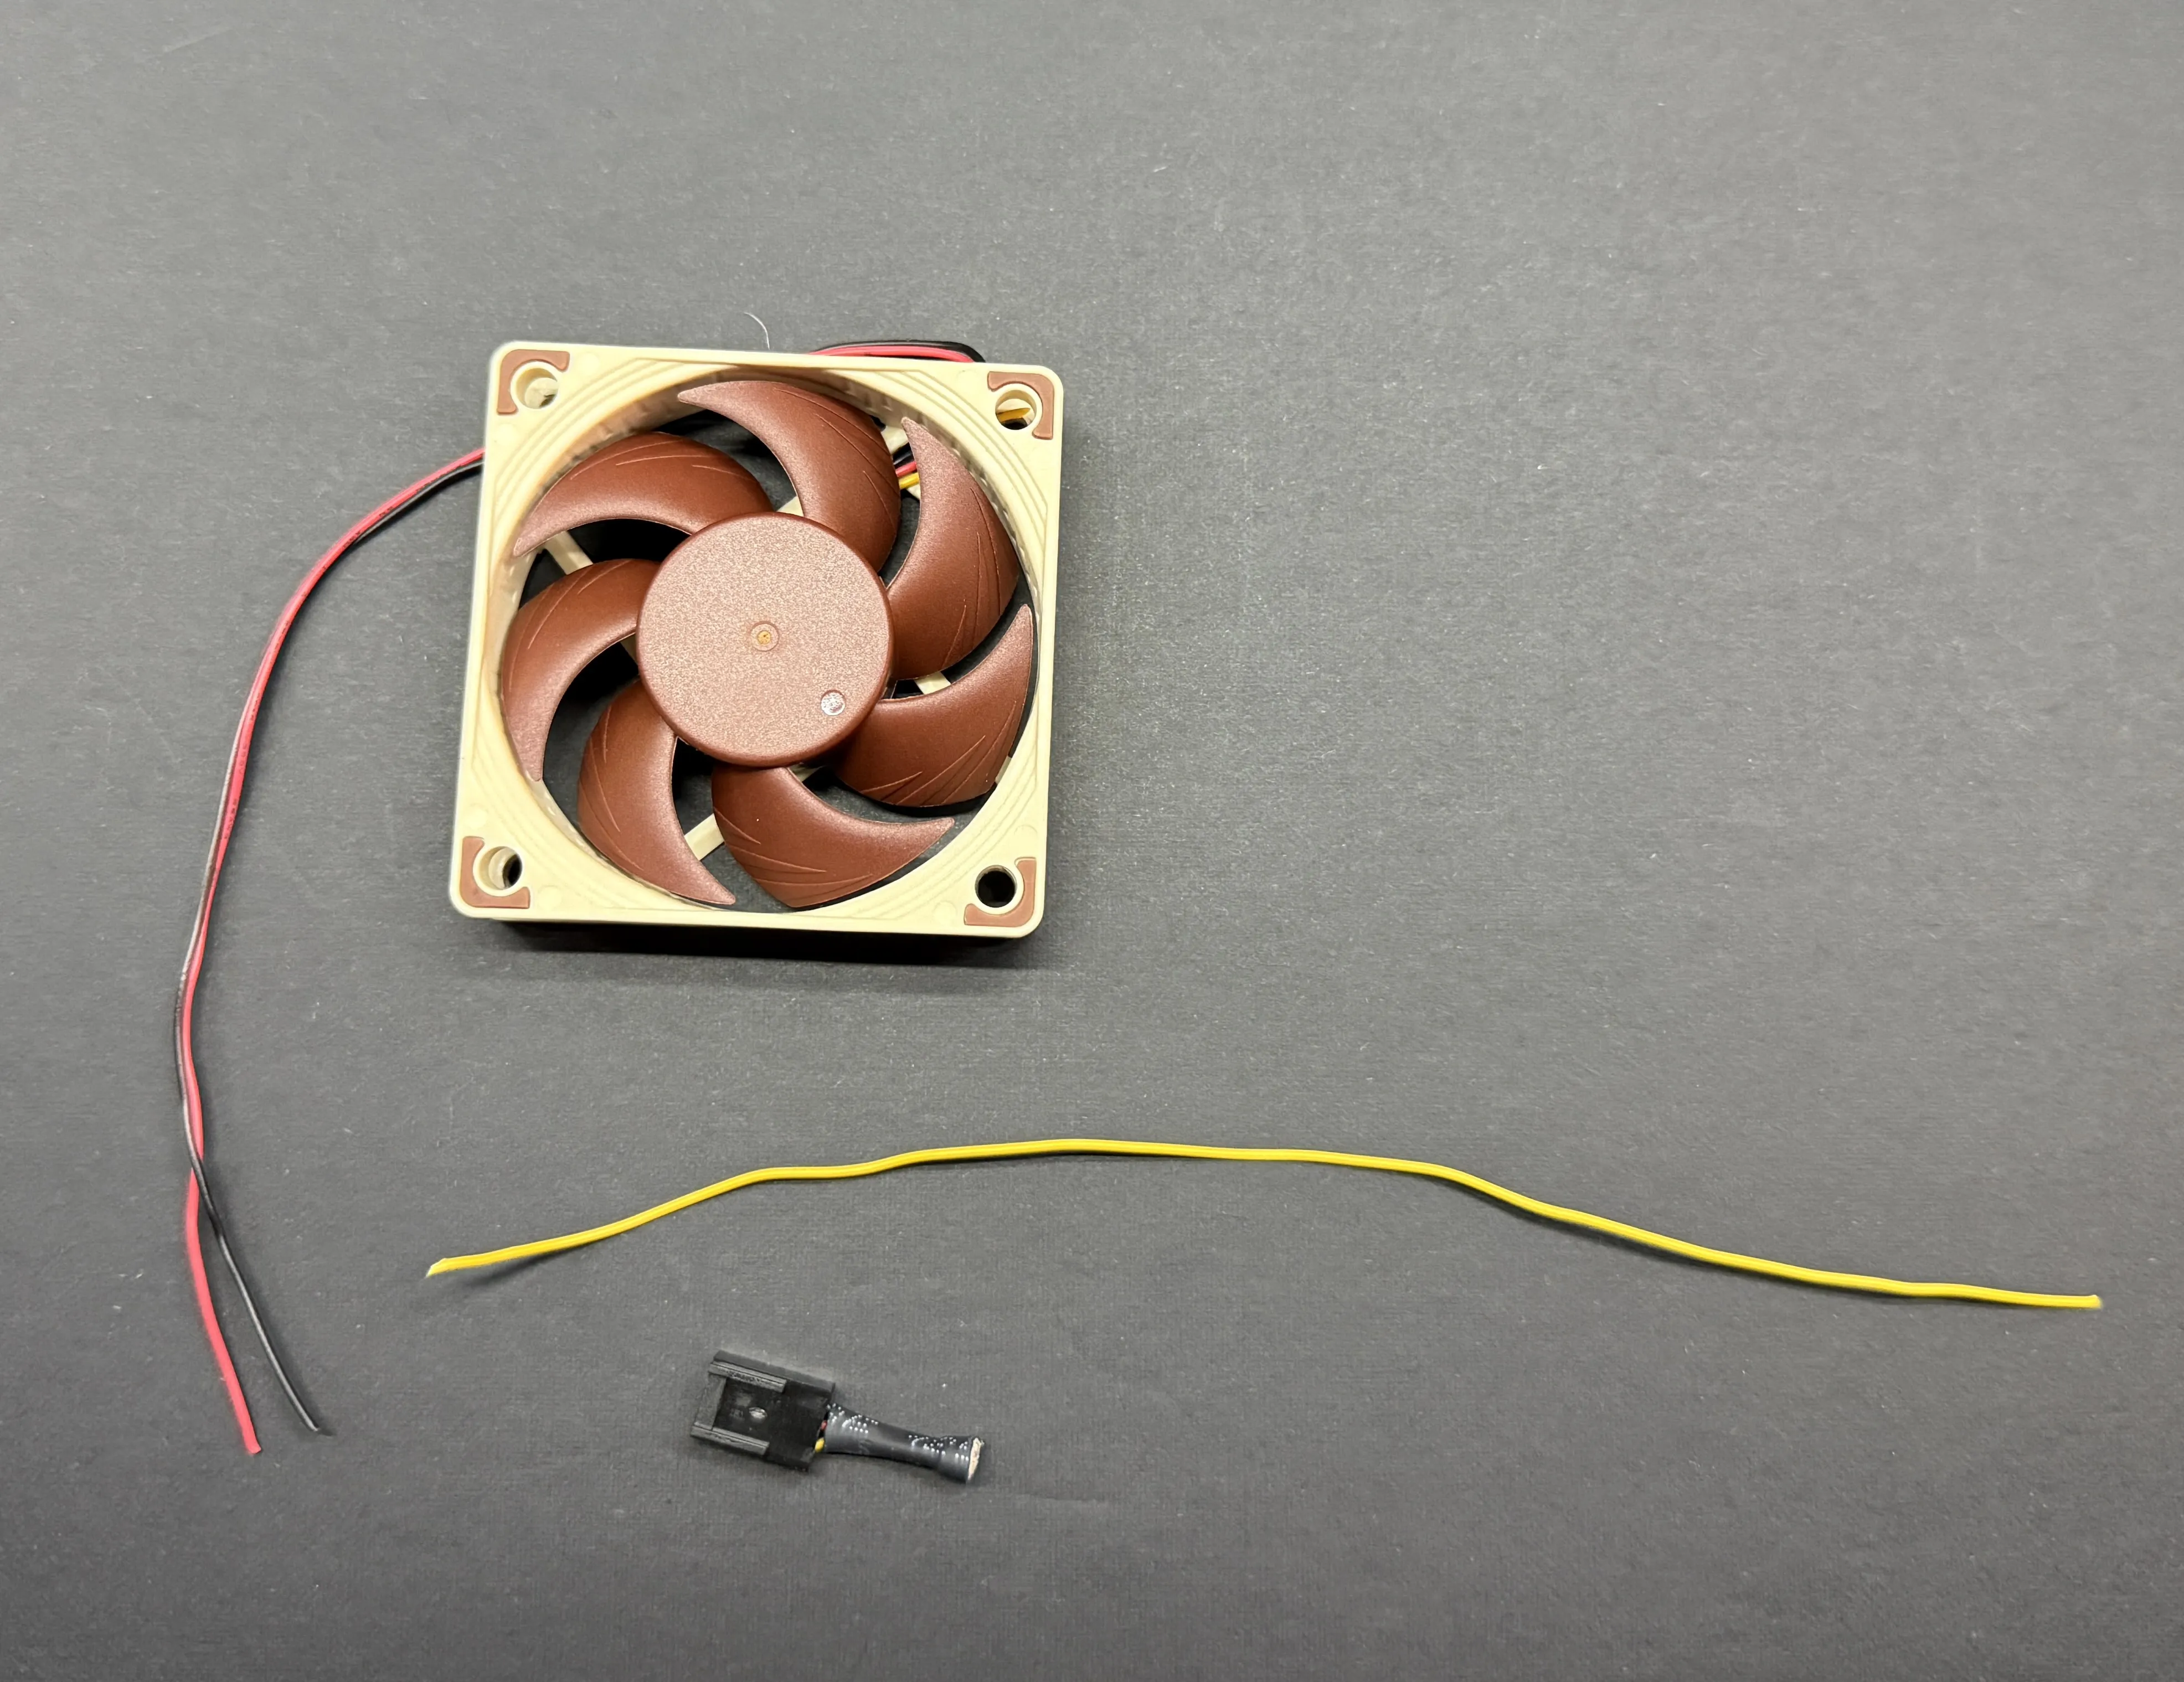
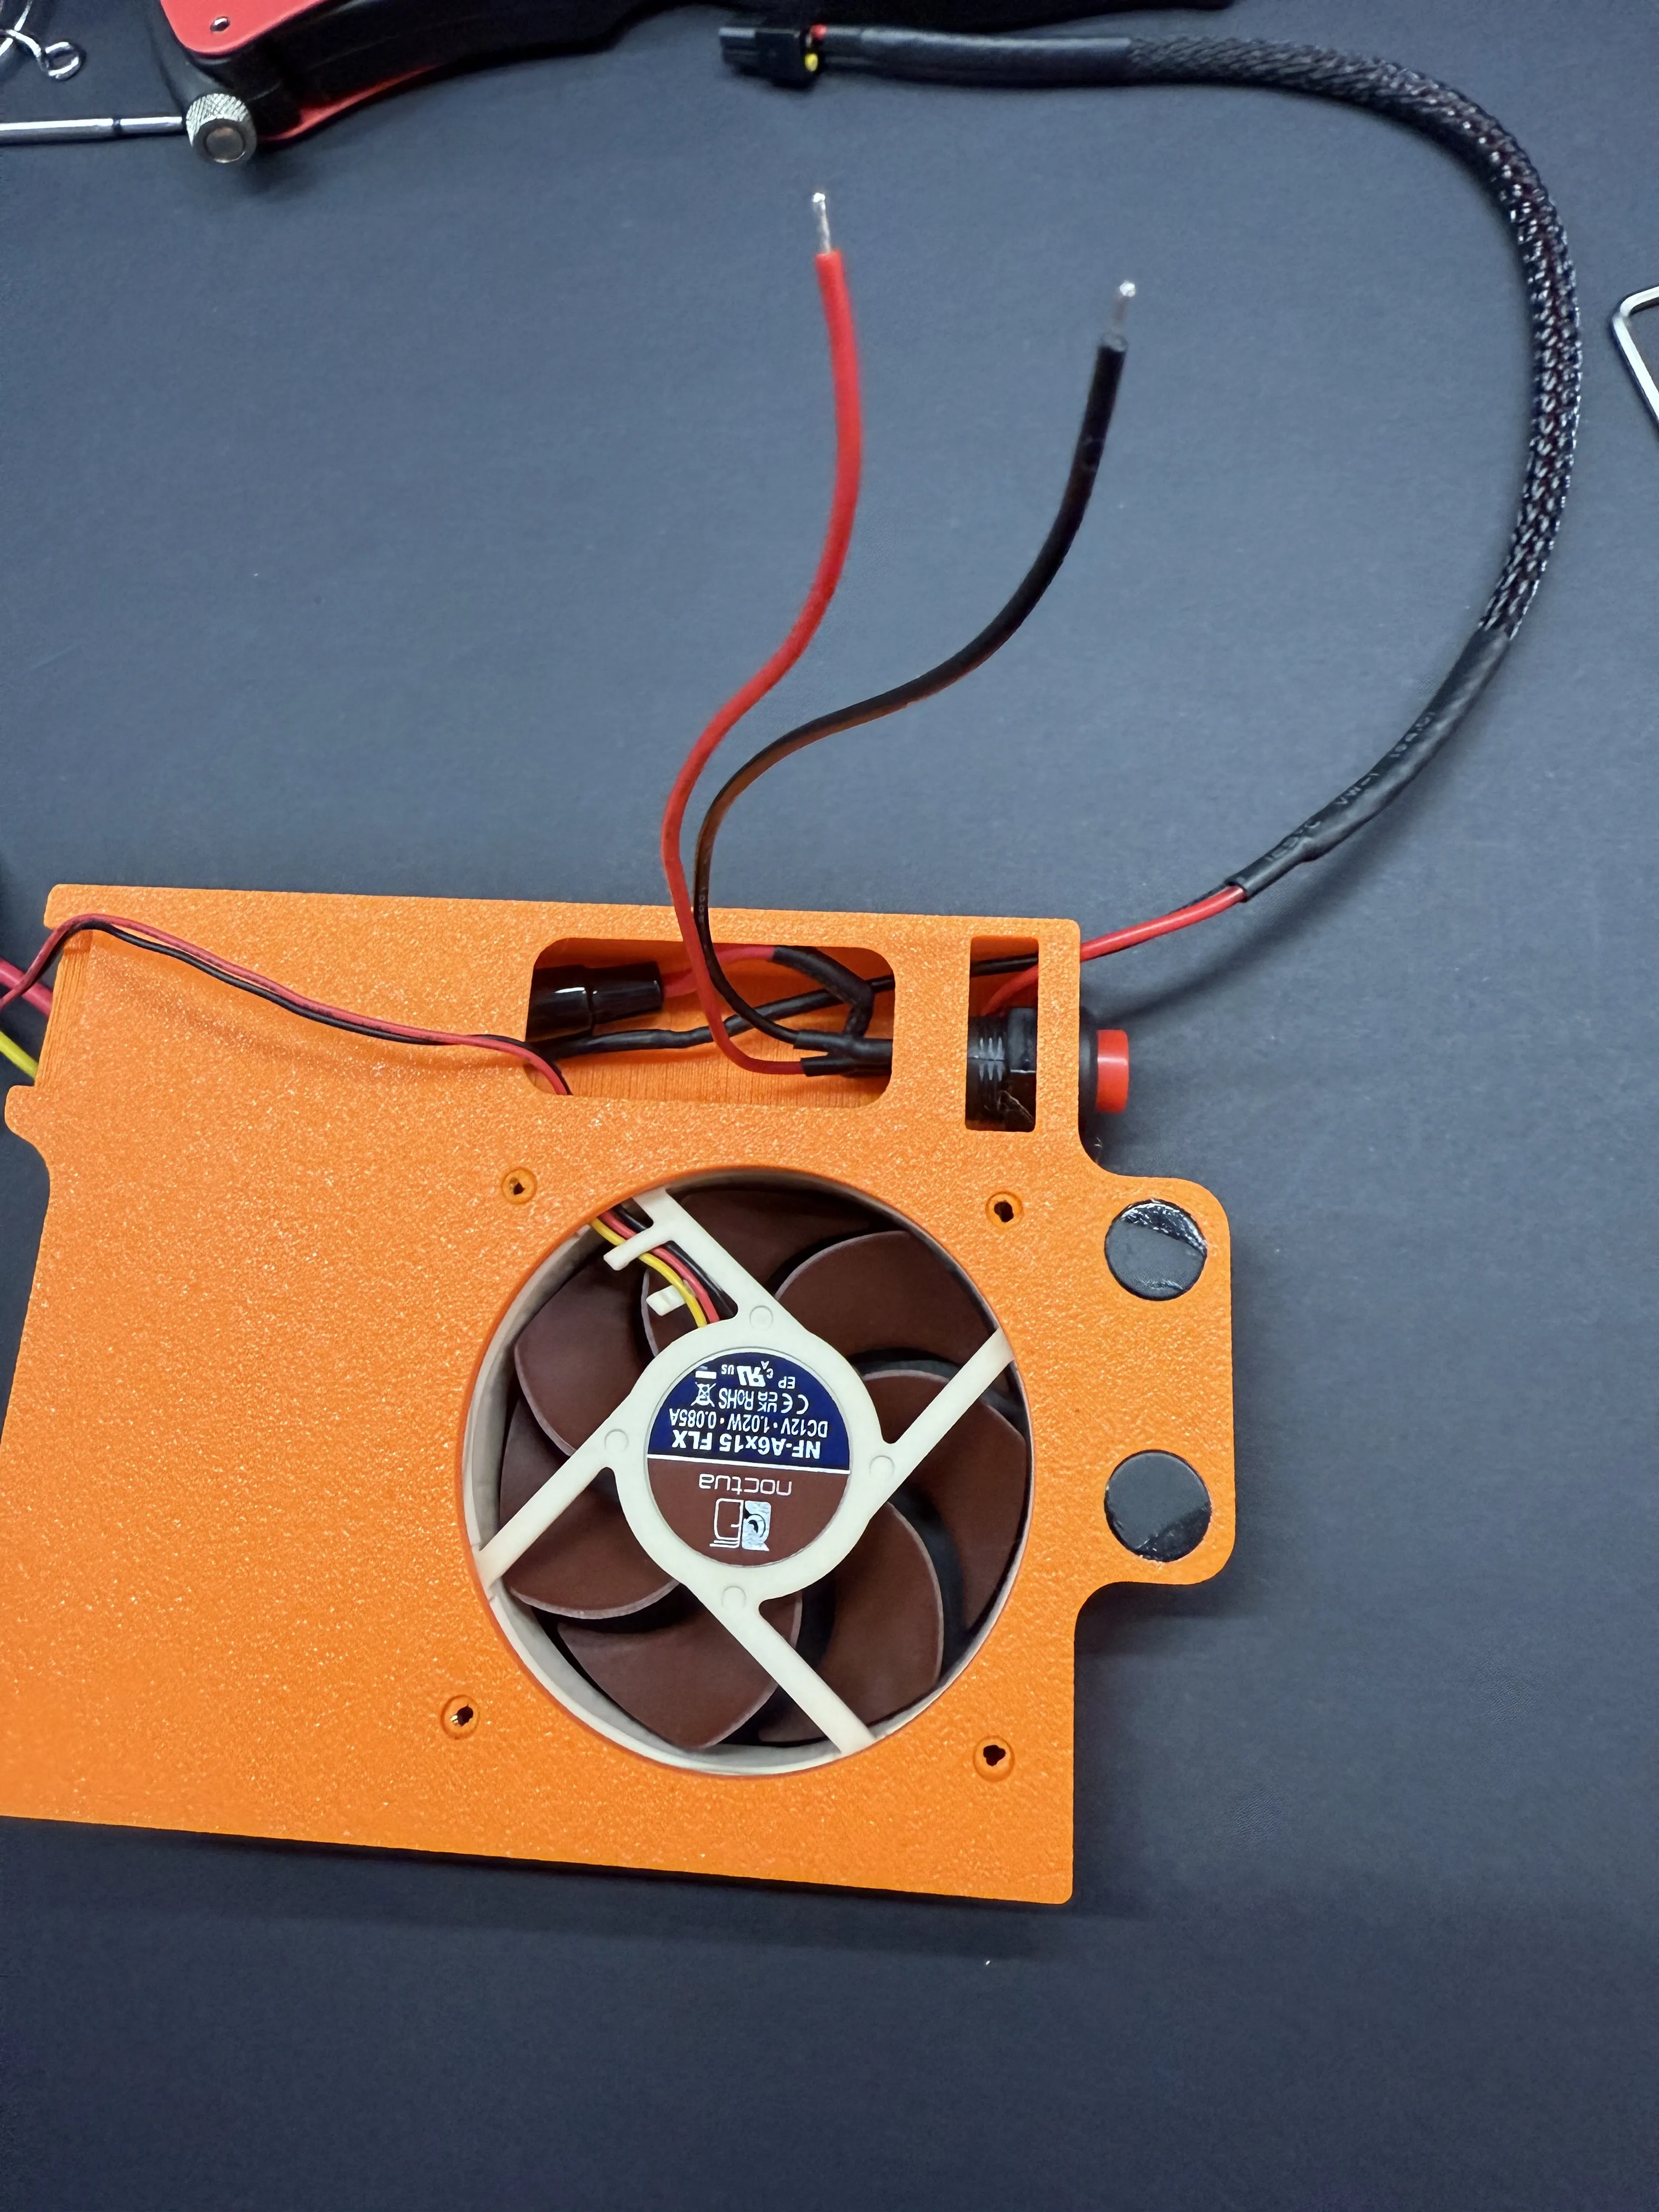
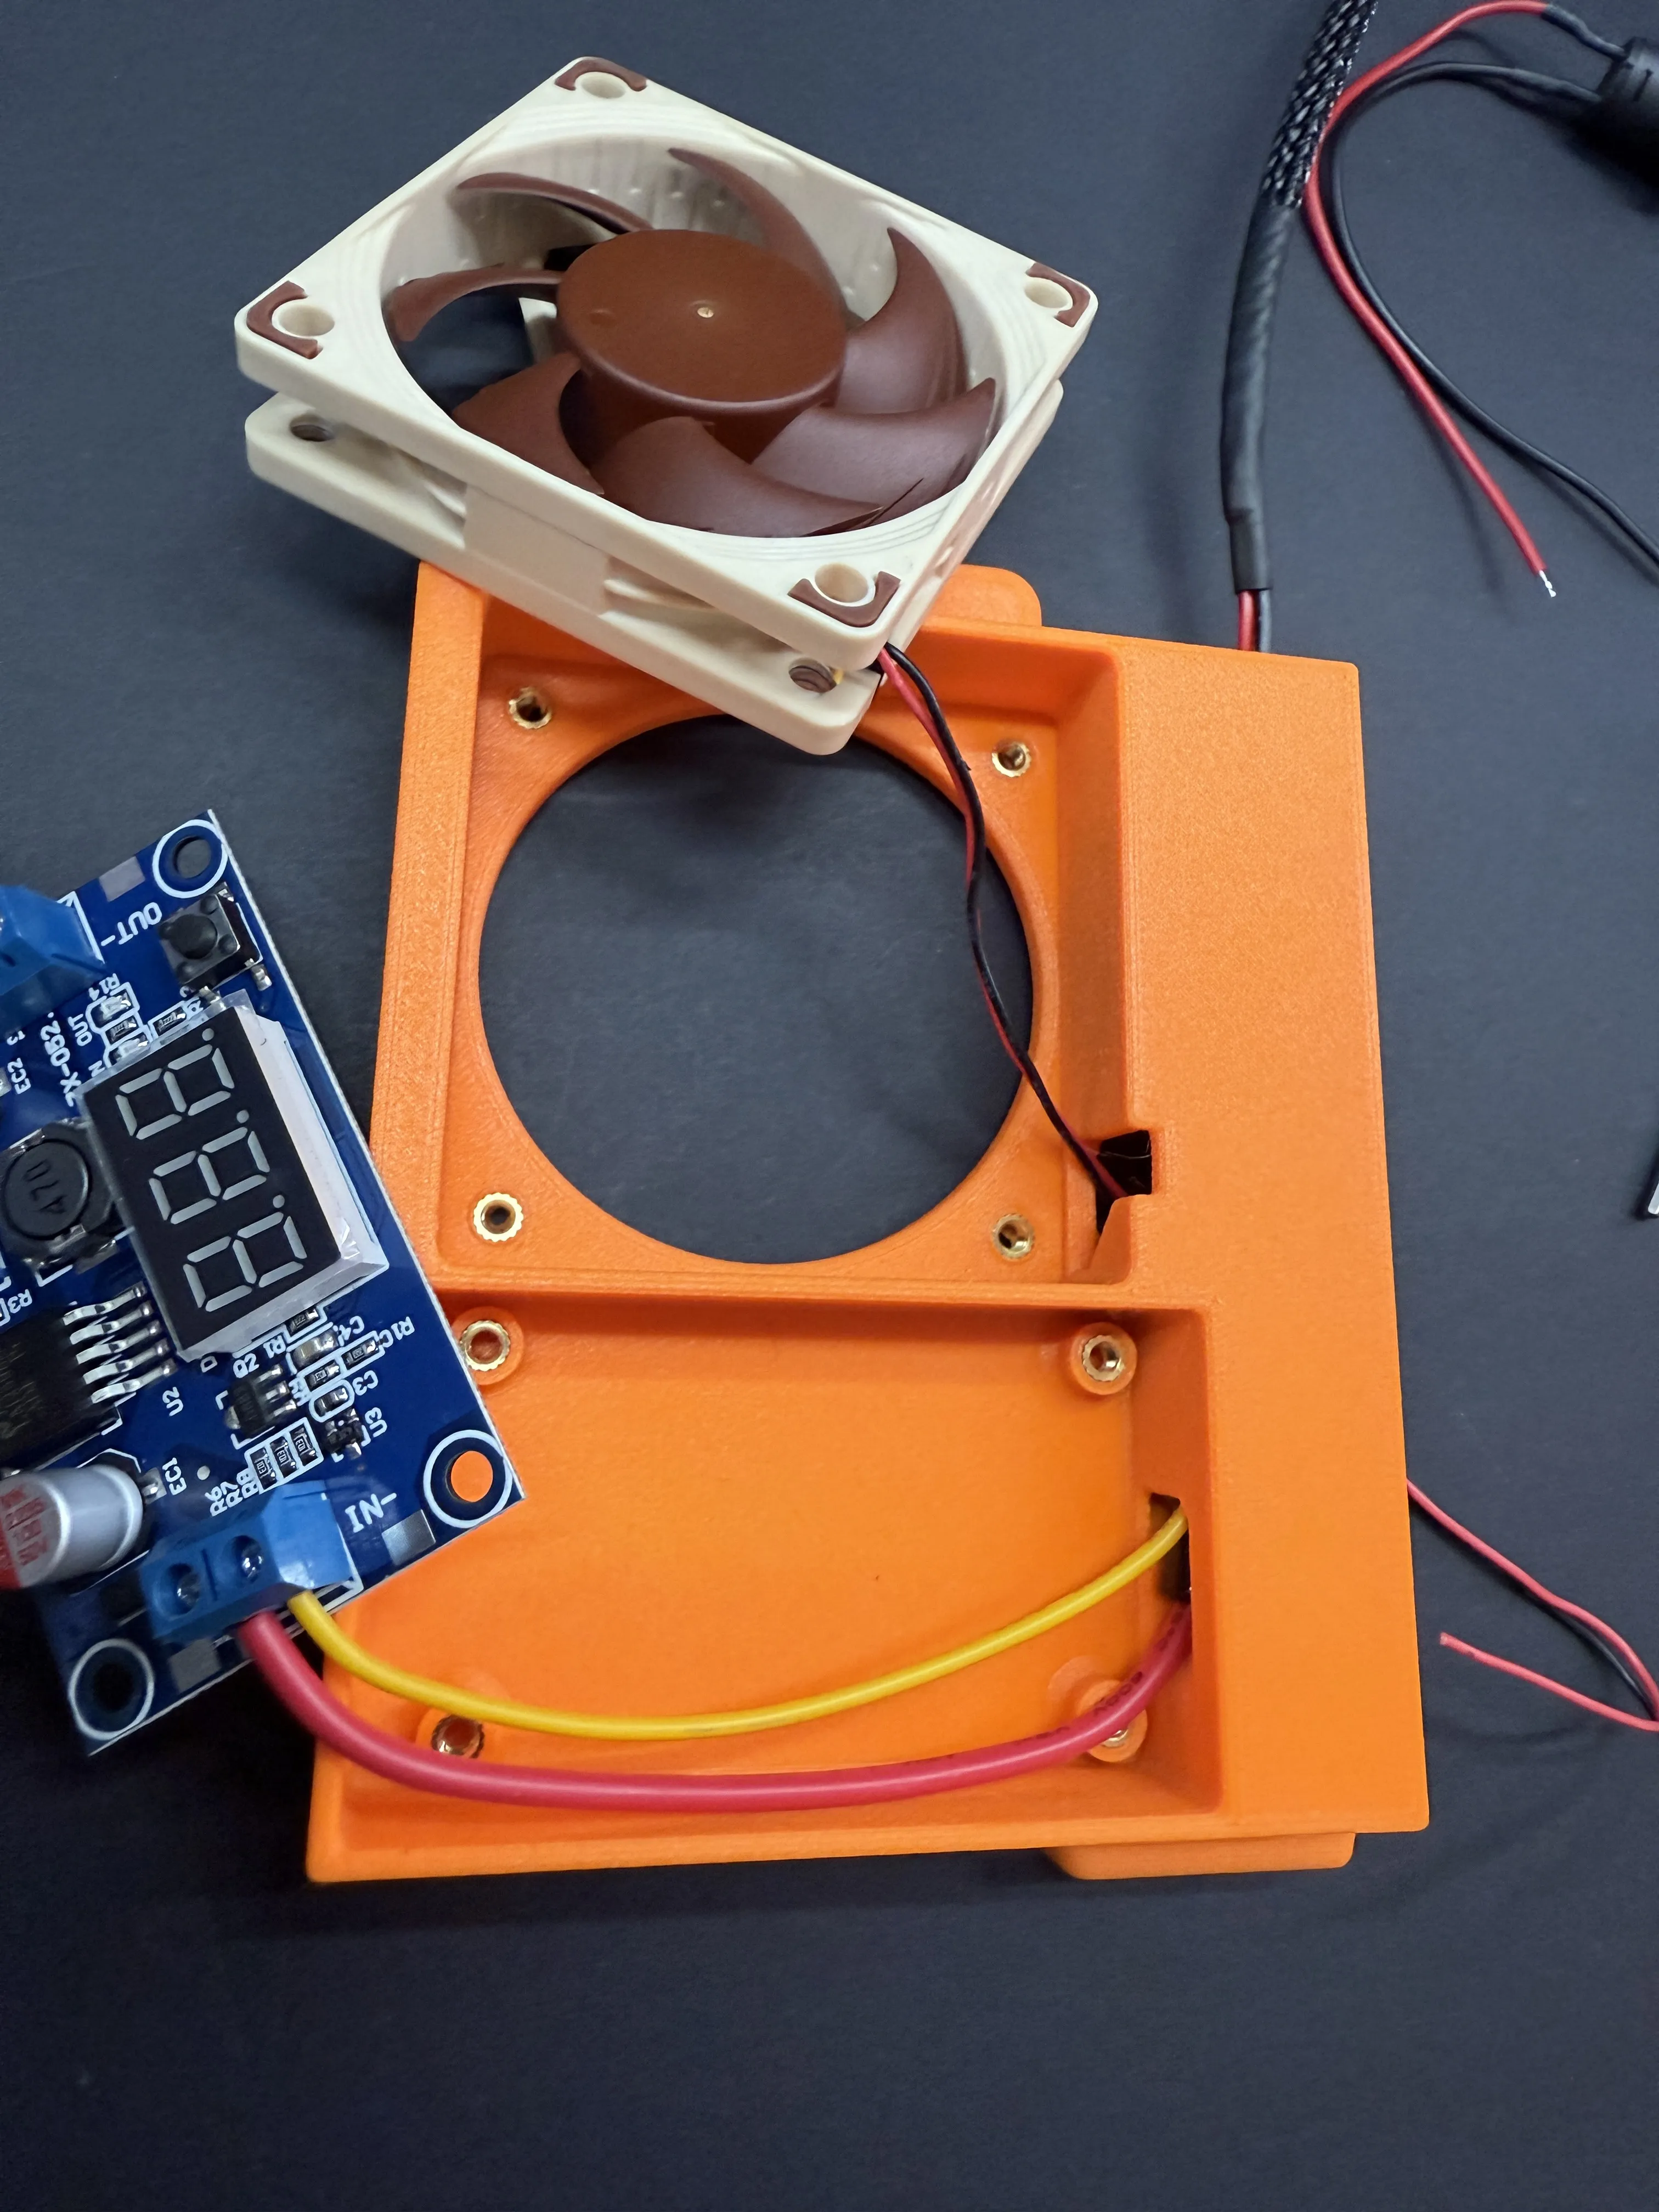
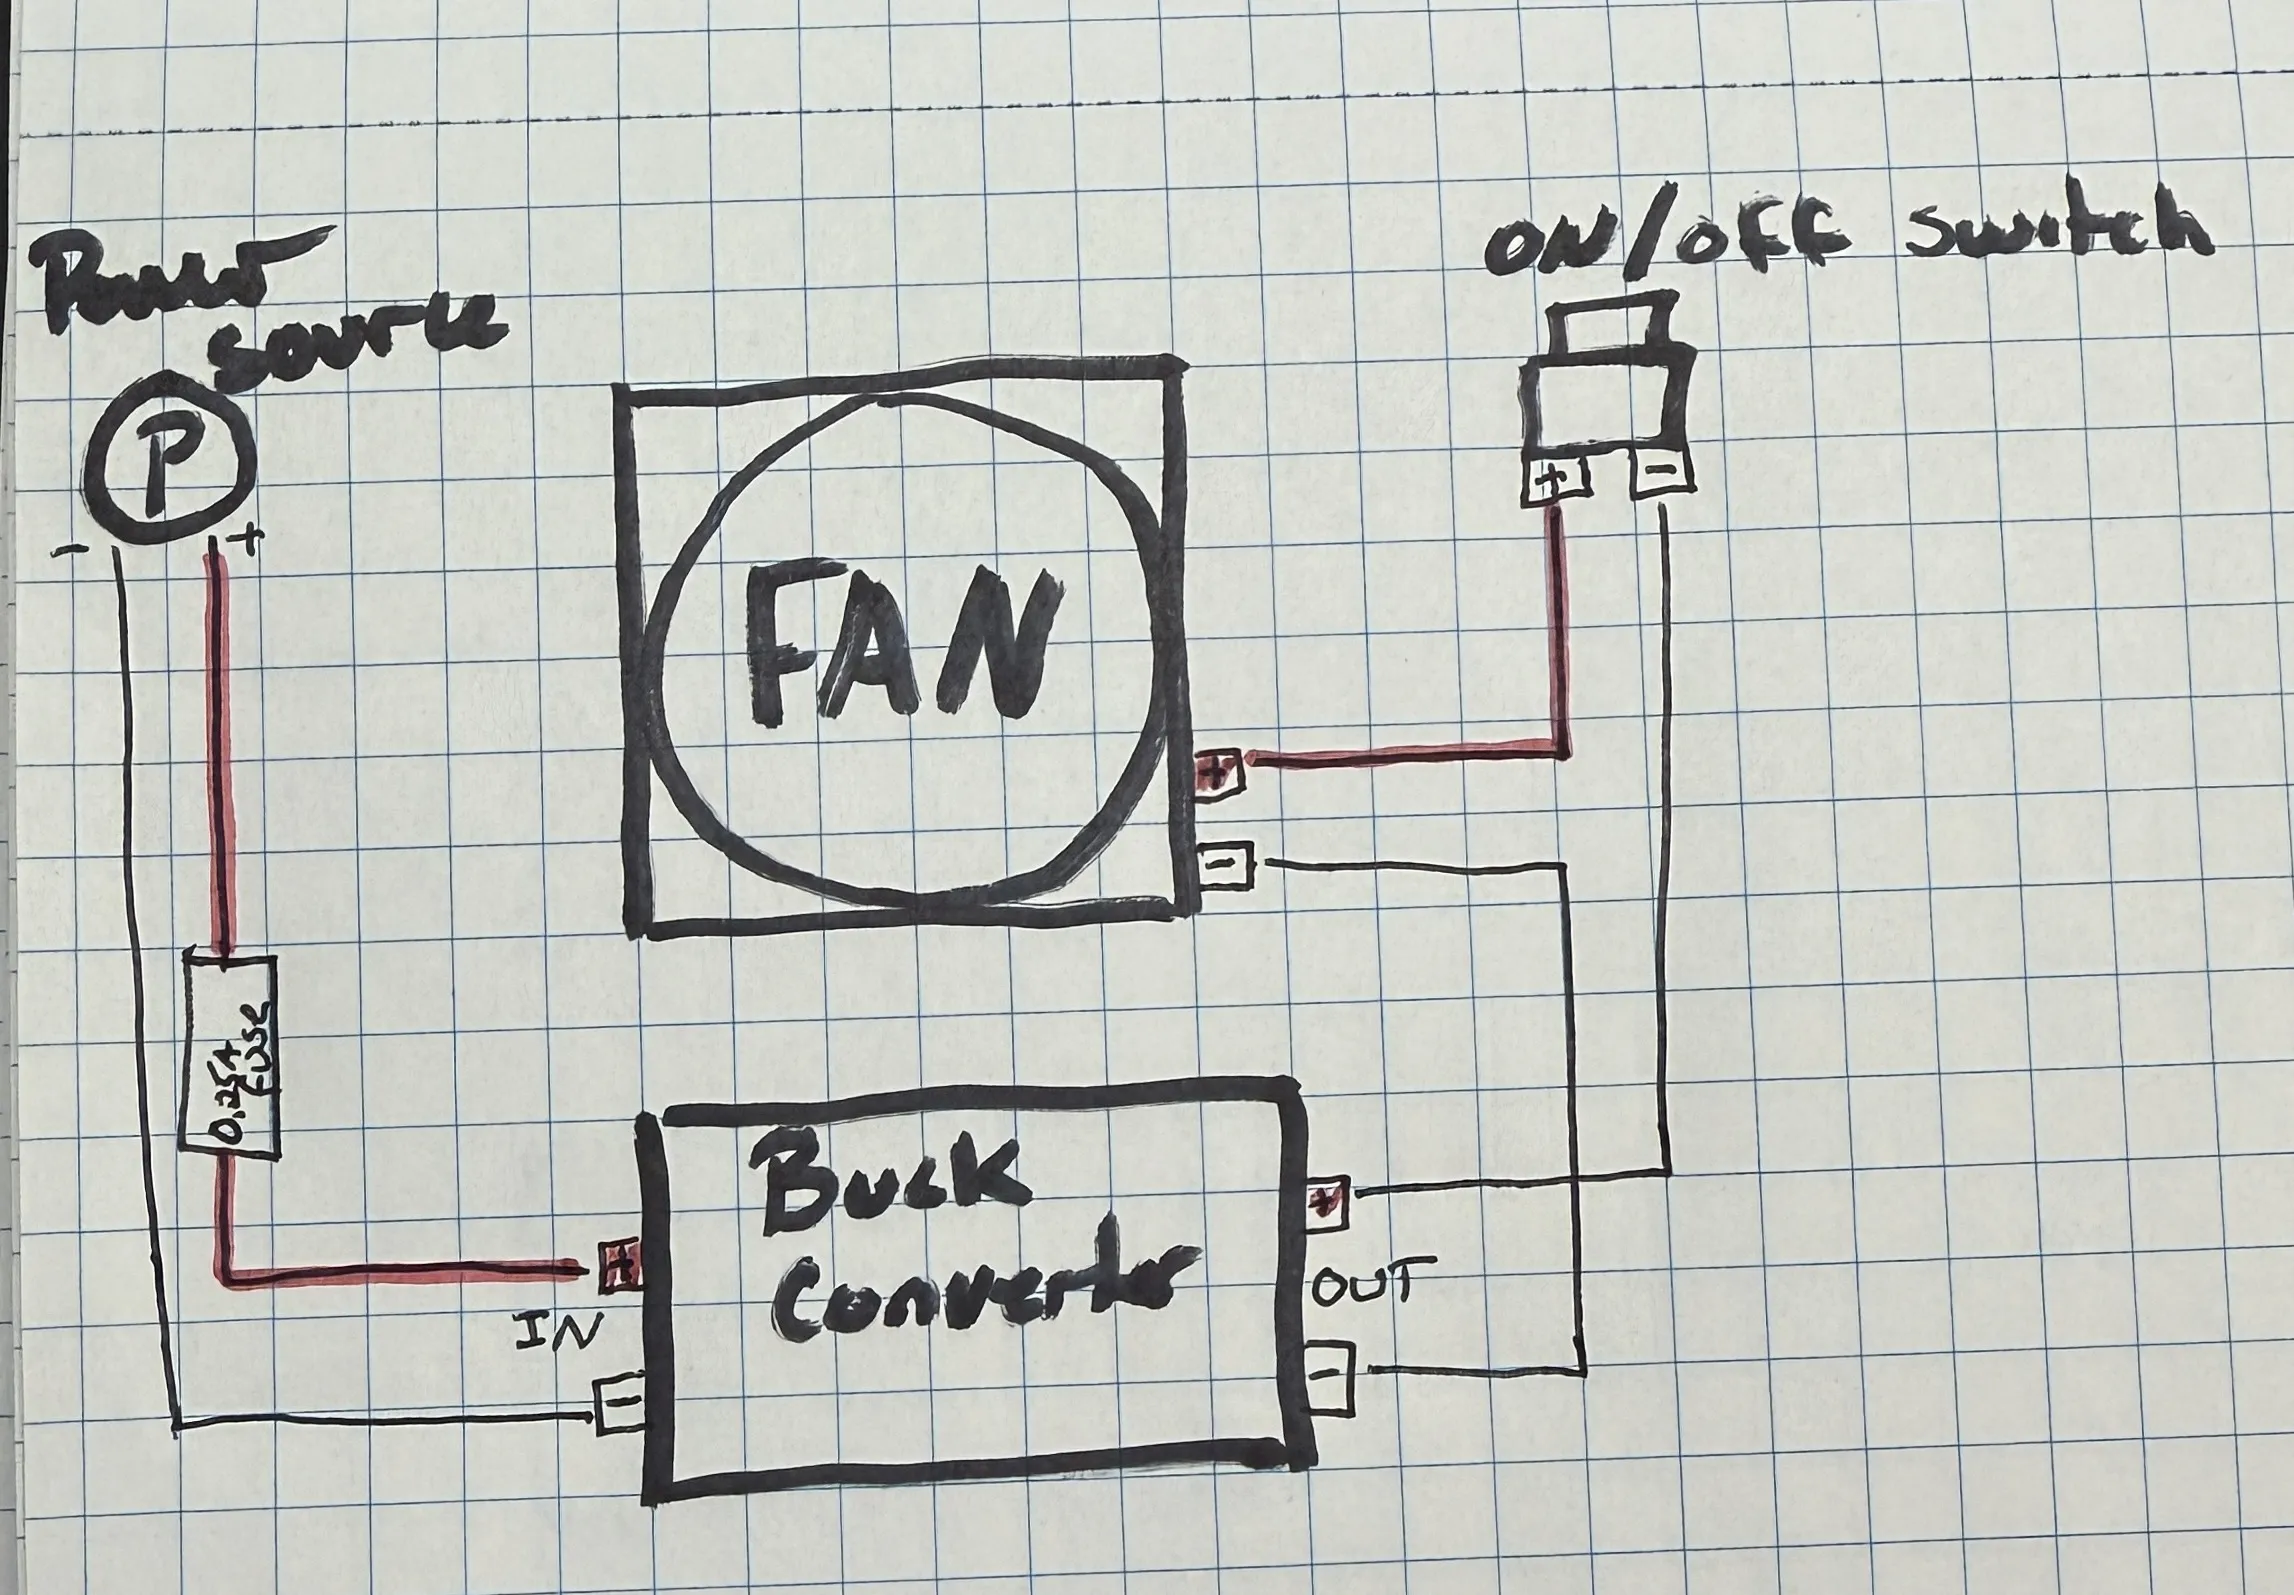
Here is a simple wiring diagram drawn by yours truly. Cut the wires on the components to your desired length that aids in successful installation while remaining within the wiring compartment.
Boost Me (for free)
Membership
License

You shall not share, sub-license, sell, rent, host, transfer, or distribute in any way the digital or 3D printed versions of this object, nor any other derivative work of this object in its digital or physical format (including - but not limited to - remixes of this object, and hosting on other digital platforms). The objects may not be used without permission in any way whatsoever in which you charge money, or collect fees.


Comment & Rating (44)