
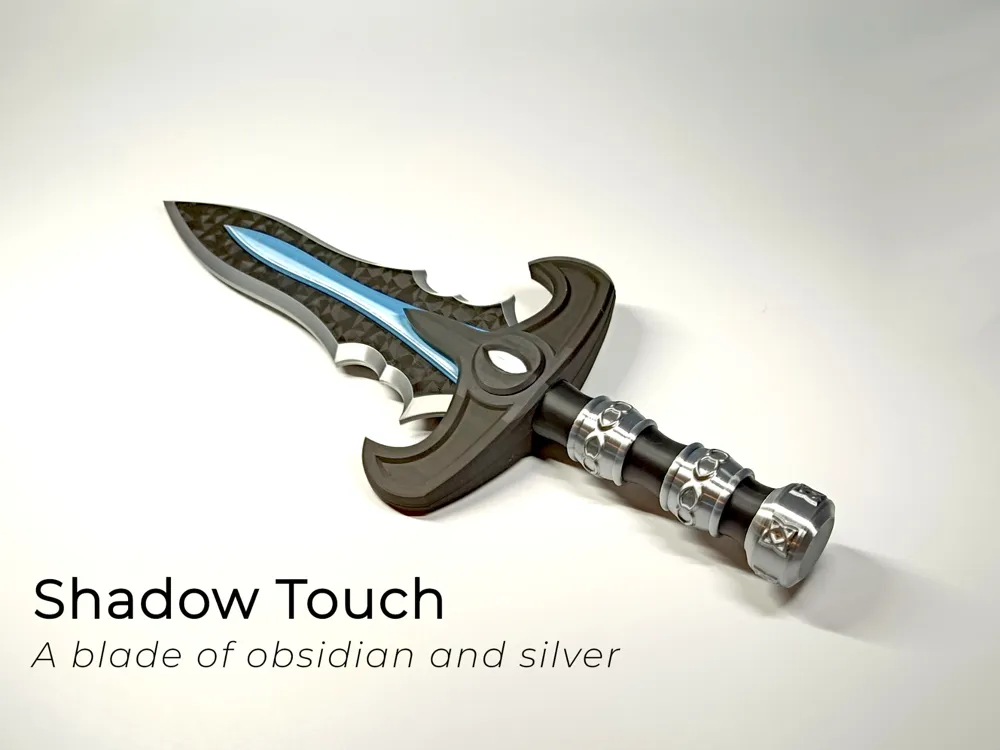
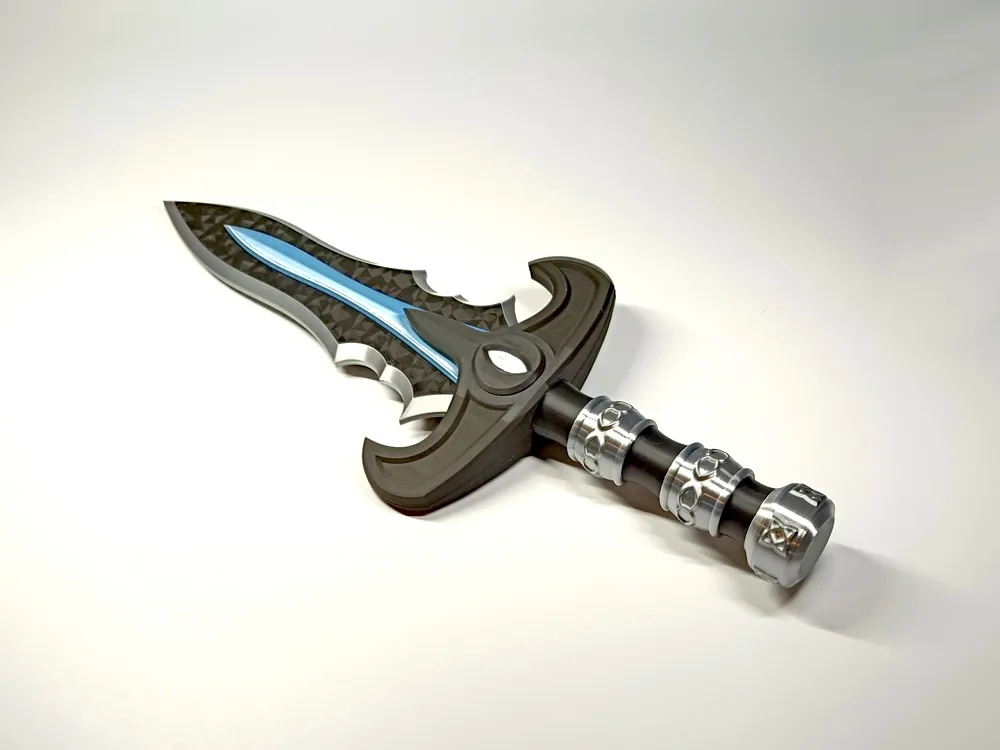
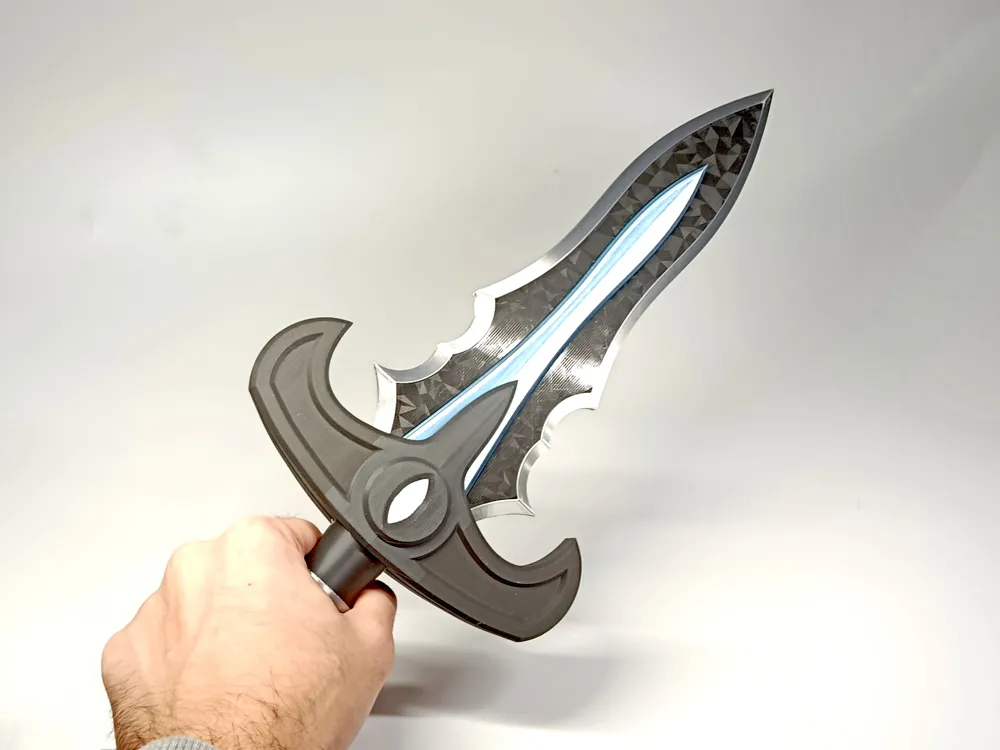
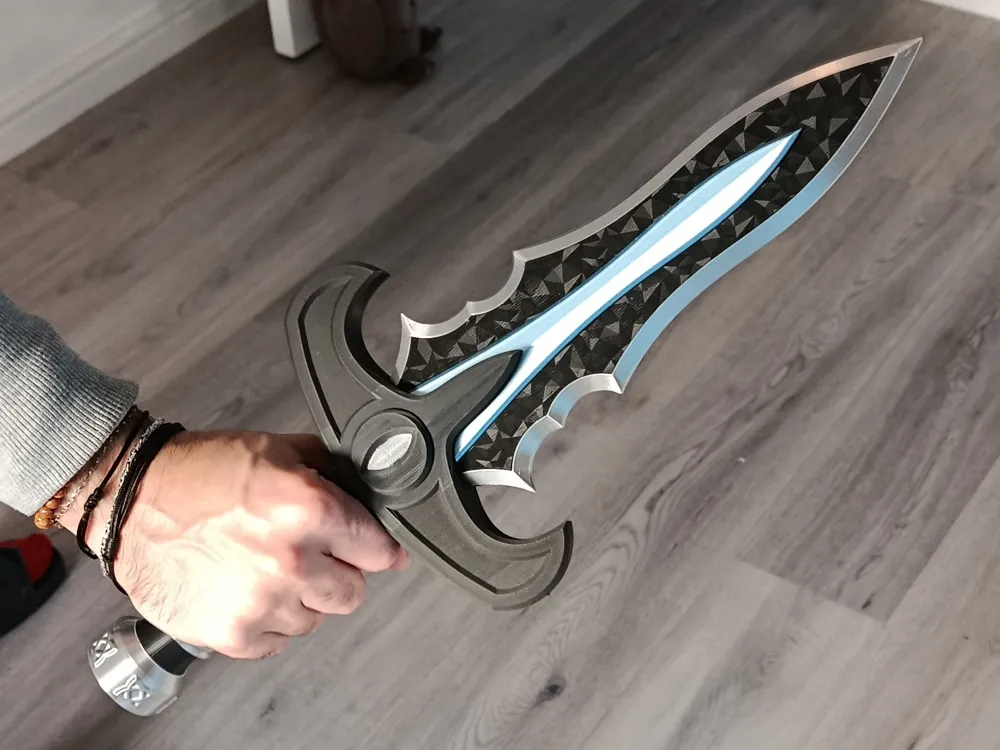
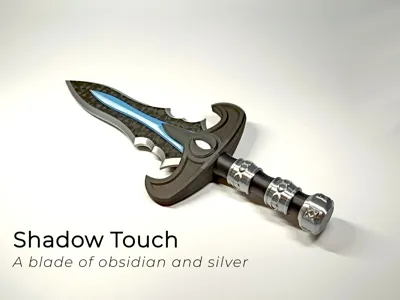
Shadow Touch | Life-sized dagger for cosplay
Print Profile(1)





Description
Remember to read the model's license! The Standard Digital File file forbids SELLING, REMIXING and REDISTRIBUTING models!

Want to sell this model? The only legal and safe waya to obtain a commercial license are through my Patreon or via Makerworld Commercial License. Please join to know more. You can also support me, join our Patreon chat and learn more about what I am doing. With a Patreon membership, you'll also be able to participate in giveaways and send me private customisation requests!
🔍 Please read the model description fully before printing!
Membership
If you don't want to join Patreon, a commercial license with similar benefits is available here on makerworld!

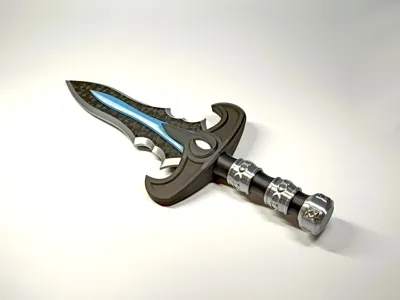
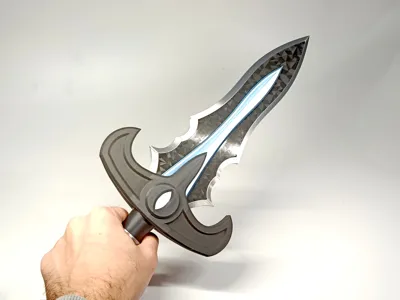
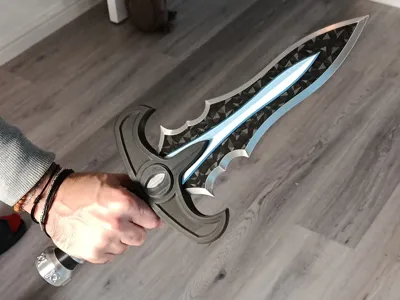
This is a bit different than my usual models. I wanted to try and have a go at making cosplay weapons and I am pleased with the result! I named this dagger “Shadow Touch” because of its aestethics, which is inspired by world of warcraft and dungeons and dragons, and their “ornate” but somewhat cartoony weapons.
Printing instructions
This weapon needs to be printed in many separate parts and then assembled. There are six plates. Some of them are configured for multi-colour printing. If you lack an AMS, you can still print this model, but you will need to insert manual filament change pauses when slicing. Here are my suggestions:
- Blade, black → prints in a single colour
- Blade, edge → two halves in silver
- Blade, inset accent → prints in a single colour
- Guard → the eye detail can either be omitted (i.e. print the whole guard in single colour), or you can manually change filament. There are fewer than 10 filament changes here so it's doable.
- Hilt → as above, there are only 7 filament changes, so also doable by hand if you don't have an AMS
- Pommel and pegs → each component can be printed in a single colour
I highly suggest to use a Smooth PEI plate for optimal assembly, and I do advise you to use a 3D effect plate for the black part of the blade (as shown in pictures). Different parts of the blade have different layer height and I tried to optimise supports as best as I could.
Assembly instructions
You will need super-glue for the assembly. I used KRAFTPROTZ clear gel 3D printing glue for this project. Pegs are optional but they do help aligning each part.
- Lay some glue on the inside of the black blade and slide the inset accent blue part inside it. The part will bend slightly to accommodate the inset. It's fine.
- Now grab the two halves of the silver blade edge. Use the provided pegs and slot them in. Lay few drops of glue along all the flat side of one half, then combine the two halves together, taking care in alinging all parts, especially the tip.
- Apply some glue to the outside of the black blade and slide the silver blade edge in until it clicks into place. Press and hold for one minute to allow the glue to set.
- Insert pegs into the guard slots. Try and combine the two guard halves to check they align seamlessly, but don't glue them just yet.
- Now apply glue to the flat parts of one of the guard halves, as well as the blade bed.
- Slot in the previously assembled blade, sandwhiching it between the two halves of the guard. Then press the two halves of the guard together for at least one minute.
- Apply glue to the hexagon on the hilt and combine the hilt with the pommel.
- Finally, apply glue to the other end of the hilt, especially the edge, and slide it into the circular hole of the guard. Hold steady until the glue sets.
Boost Me (for free)
A boost is free to you and helps me a lot! Hit the happy blue button :p

Tolerances and clearances
- It is impossible to design for all filament types
- My models are designed and printed using Bambu Lab printers and Bambu Lab filaments
- If you use other filament types (different materials) or vendors (different brand), the result may differ. Before posting issues about tolerances / model tightness / loseness, please consider the filament you used for the print.
- Even with the same filament, results may vary (different settings, humidity, ventilation, etc…)
Common print troubleshooting
- Adhesion. Ensure you clean your print bed regularly with quality dish soap and water. Use of a releasing agent like Magigoo is advised. This advice is only applicable to PEI plates. Please consult your build plate manufacturer for detailed cleaning instructions! If you still have adhesion issues, try using a Super Tack or a BIQU cool plate; or add an extra brim to the model.
- Material. My prints are all PLA. Use other materials at your own risk. You will likely need to tune the printing profile.
- Temperature. Cold air and drafts can lower the quality of the print. Ensure your printer is located in an environment with stable temperature.
- Drying. Drying PLA is not a requirement, but be aware that over-drying can cause layer detachment.
License

You shall not share, sub-license, sell, rent, host, transfer, or distribute in any way the digital or 3D printed versions of this object, nor any other derivative work of this object in its digital or physical format (including - but not limited to - remixes of this object, and hosting on other digital platforms). The objects may not be used without permission in any way whatsoever in which you charge money, or collect fees.


Comment & Rating (2)