
SSD Cage for HP EliteDesk 800 G3 2.5" Drive Bay
Print Profile(1)

Description
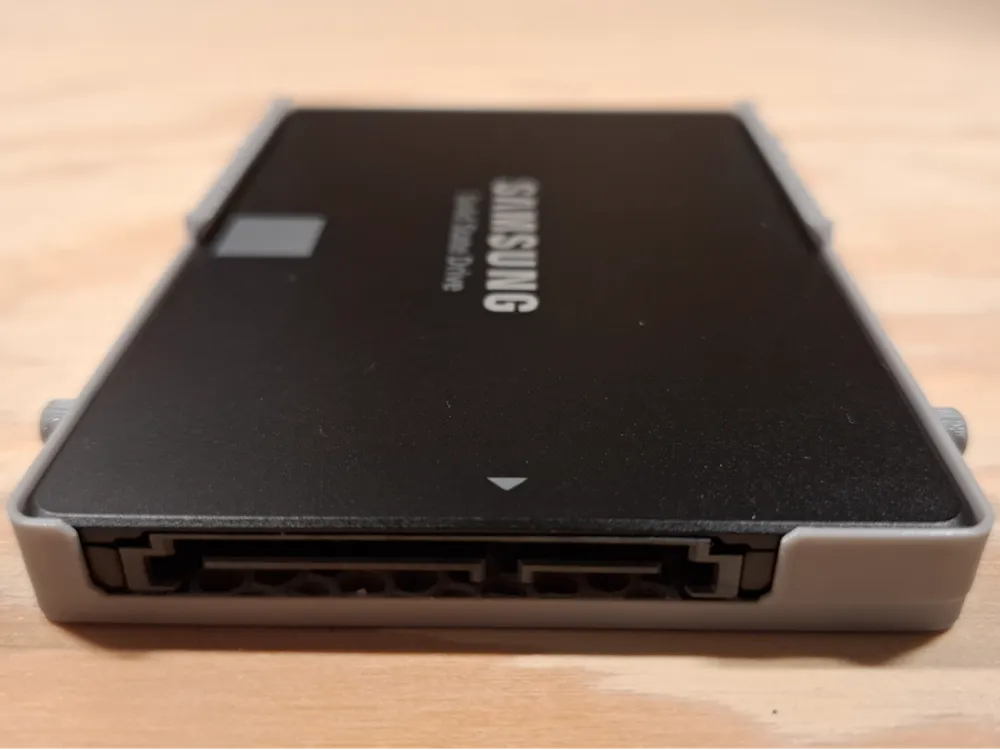
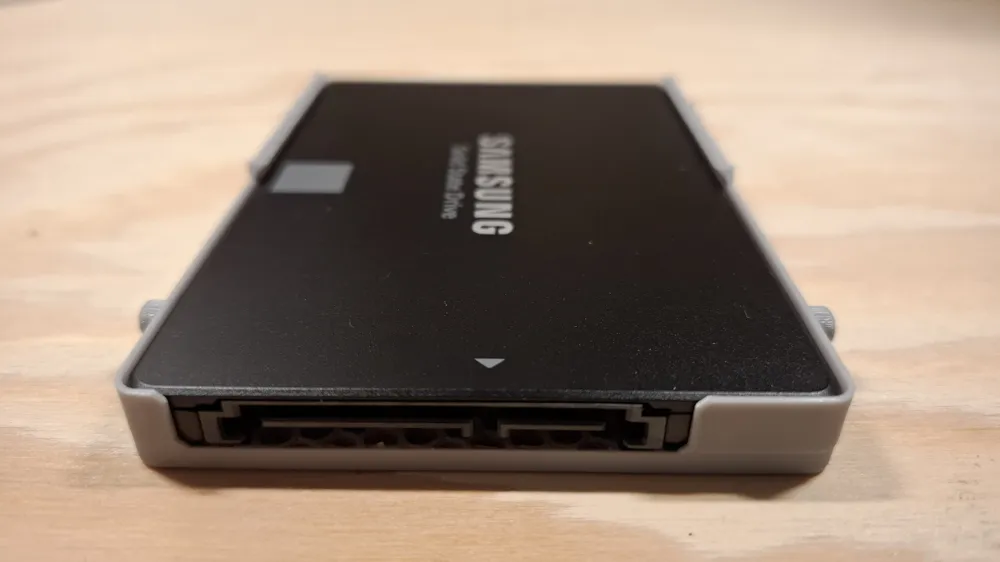
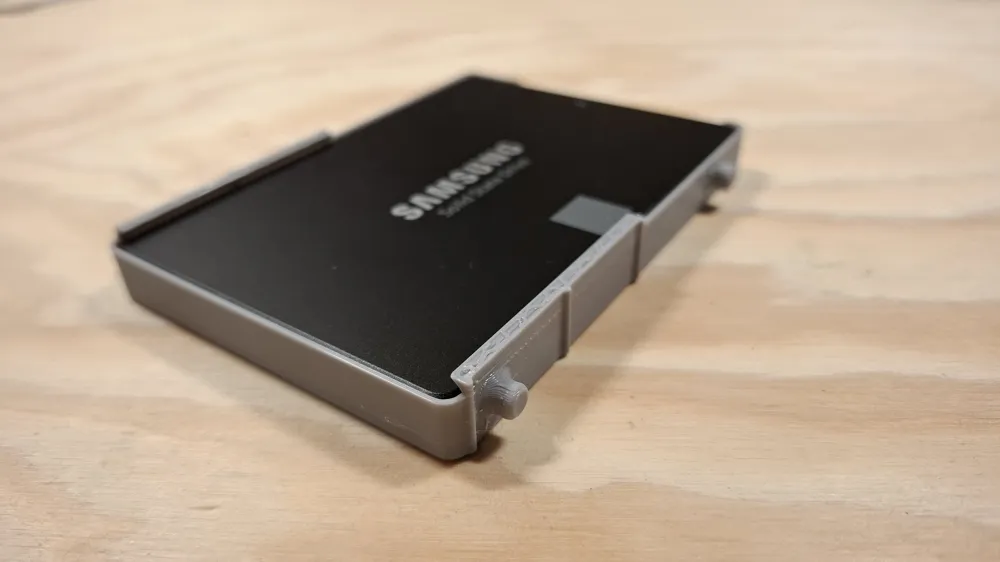
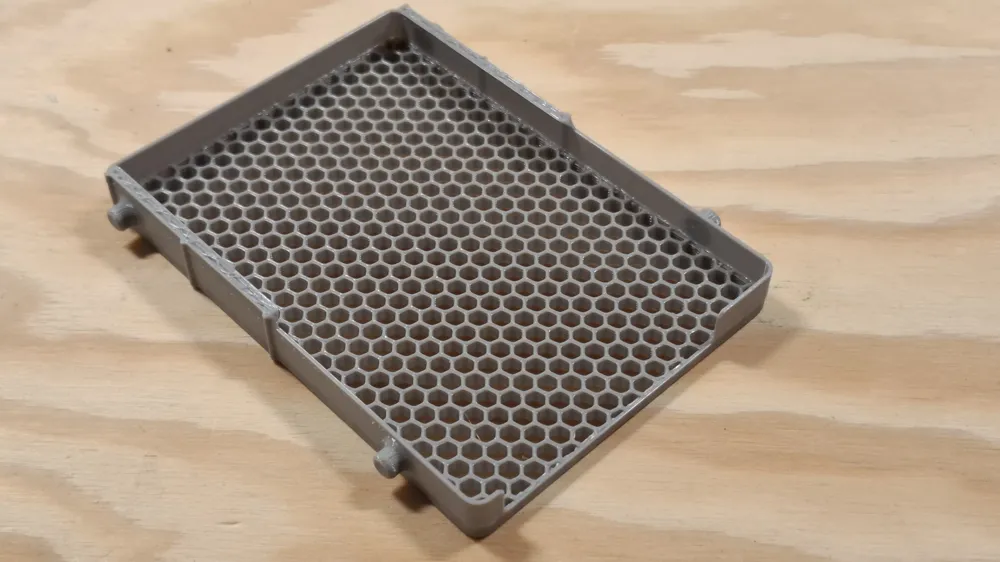
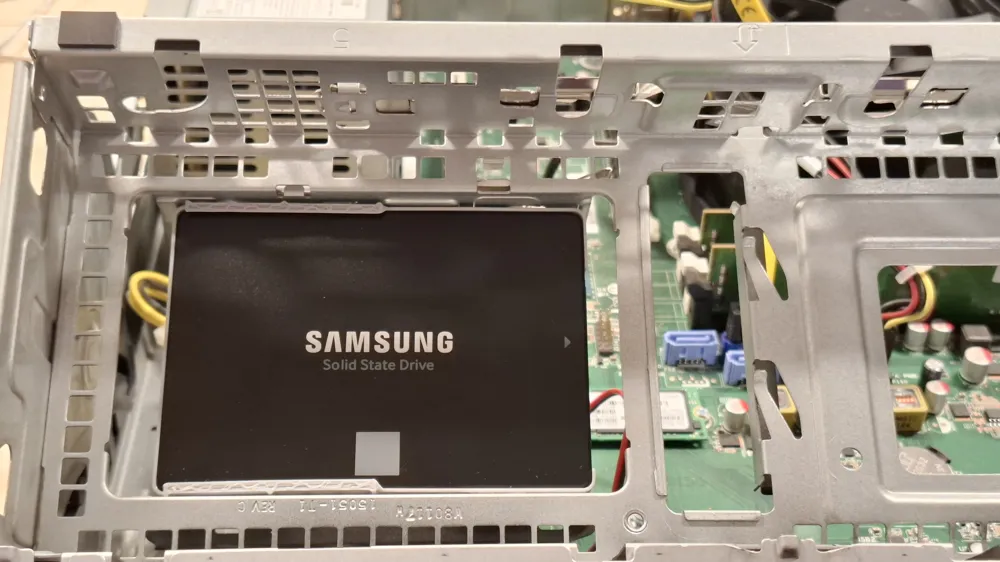
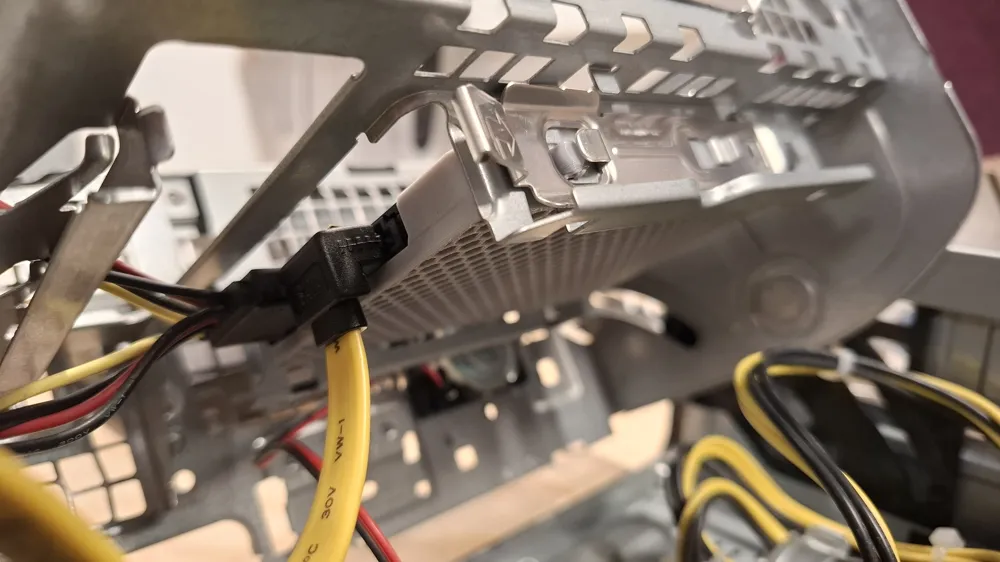
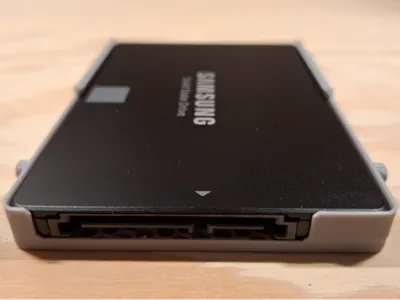
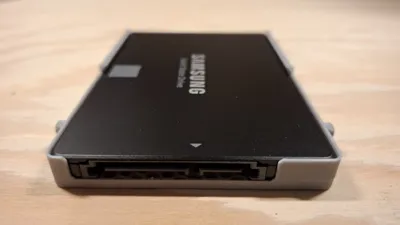
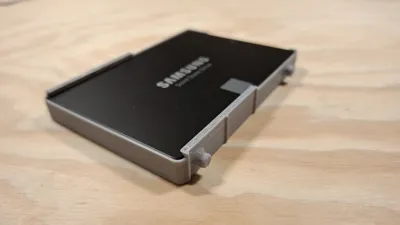
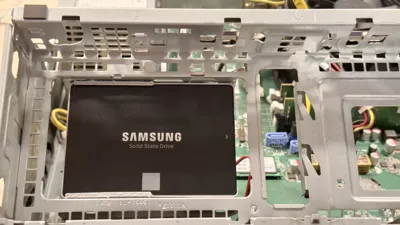
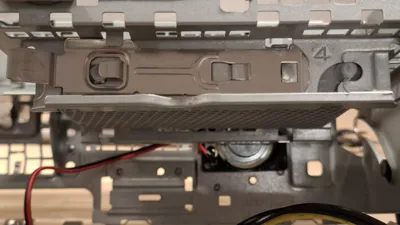
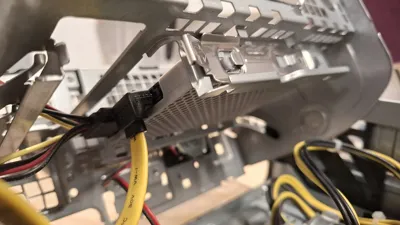
I purchased a refurbished HP EliteDesk 800 G3 for a home server project and realized that the mounting screws for the 2.5" drive bay were not included. The official screws from HP are quite expensive where I live and can only be bought in bulk. This case can house a 2.5" SATA SSD (in my case a Samsung 870 EVO, but it would probably work for other SATA SSDs in this form factor) and has protrusions where the mounting screws would normally sit.
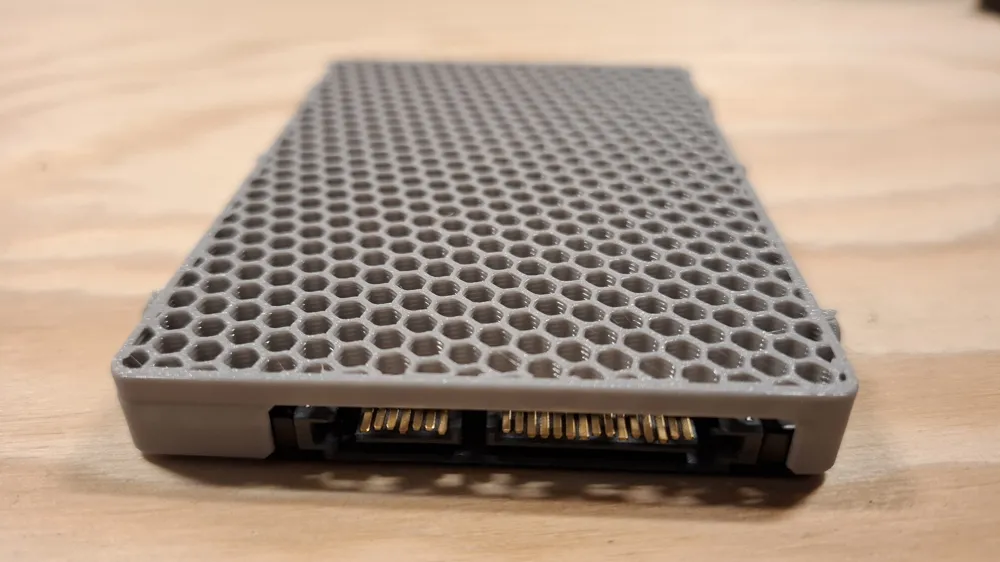
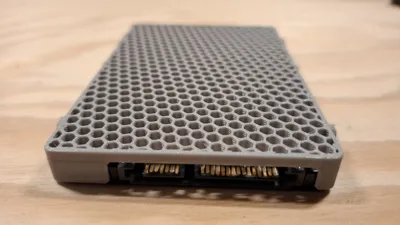
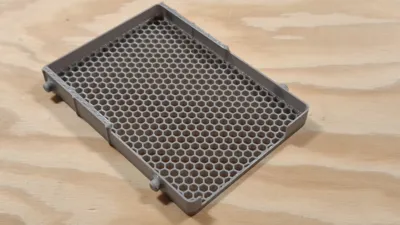
I strongly recommend to slice the part without top and bottom layers to enclose the hard drive as little as possible, even if SATA SSDs do not tend to get warm during operation (see recommended slicer settings below).
Recommended insallation procedure
- Follow the instructions to get acces to the 2.5" drive bay in your HP EliteDesk 800 G3 in the corresponding hardware reference guide.
- Slide the 2.5" SATA SSD into the printed mounting case. Once inside, the drive should not be able to fall out when tilting or flipping the case upside down.
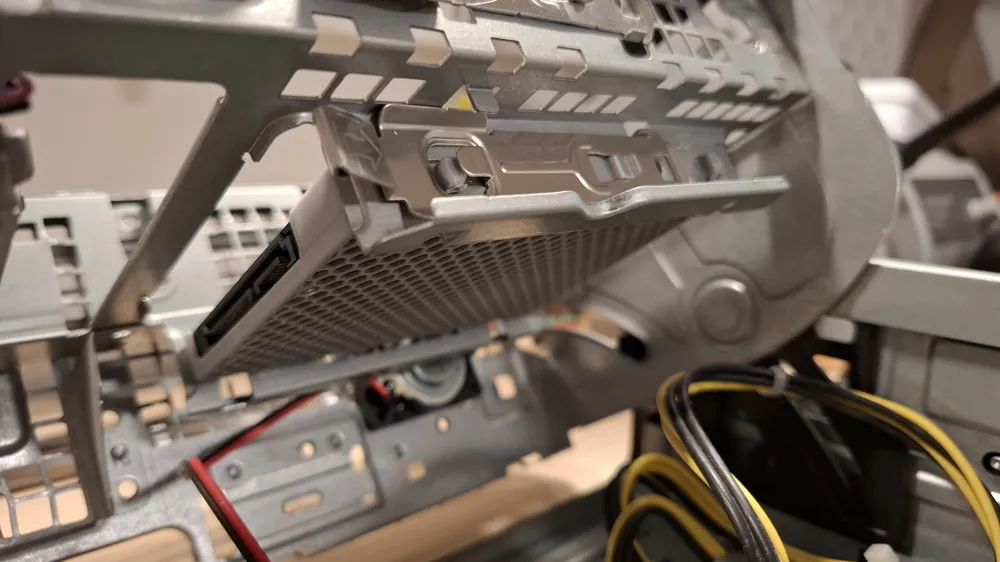
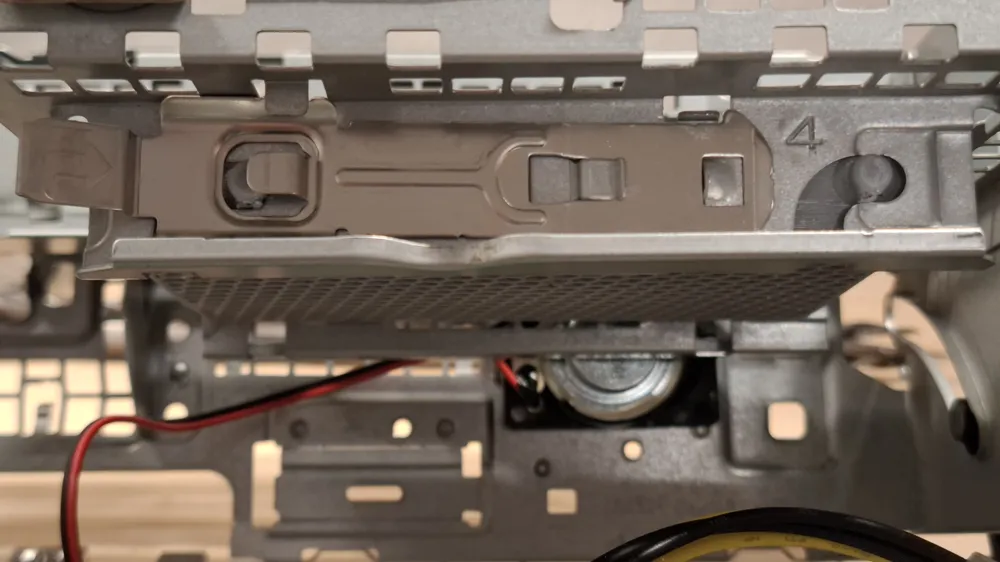
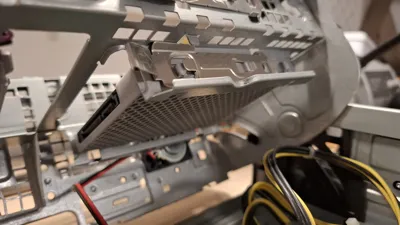
- Align the cylindrical protrusions on the case with the J-slots on the sides of the drive bay. Press the case into the drive bay, and then slide the drive forward until it locks in place.
- Connect the power cable and data cable to your SSD.
Slicer settings (recommendation based on what worked for me)
- Material: 2.5" SATA SSDs generally don't dissipate much heat, but I would strongly recommend not using standard PLA and instead opting for a filament with higher heat resistance. In my case I used Polylite PETG.
- Layer height: 0.2mm
- Top and bottom layers: disabled/none to enclose the hard drive as little as possible
- Infill: 20% honeycomb
- Supports: yes (only required for the cylindrical protrusions)
- (Nozzle: 0.4 mm)
Compatibility
- 2.5" SATA SSD
- Samsung 870 EVO
- It is very likely this design fits any standard SSD hard drive in this form factor.
- Computer:
- HP EliteDesk 800 G3
- It might work for other HP desktop machines with 2.5" drive bays, please refer to the attached pictures to see if the interface looks familiar to your hardware.
License



Comment & Rating (0)