
VersaRoll Tape Dispenser - Any Size + Wall Mount
Print Profile(17)


Description
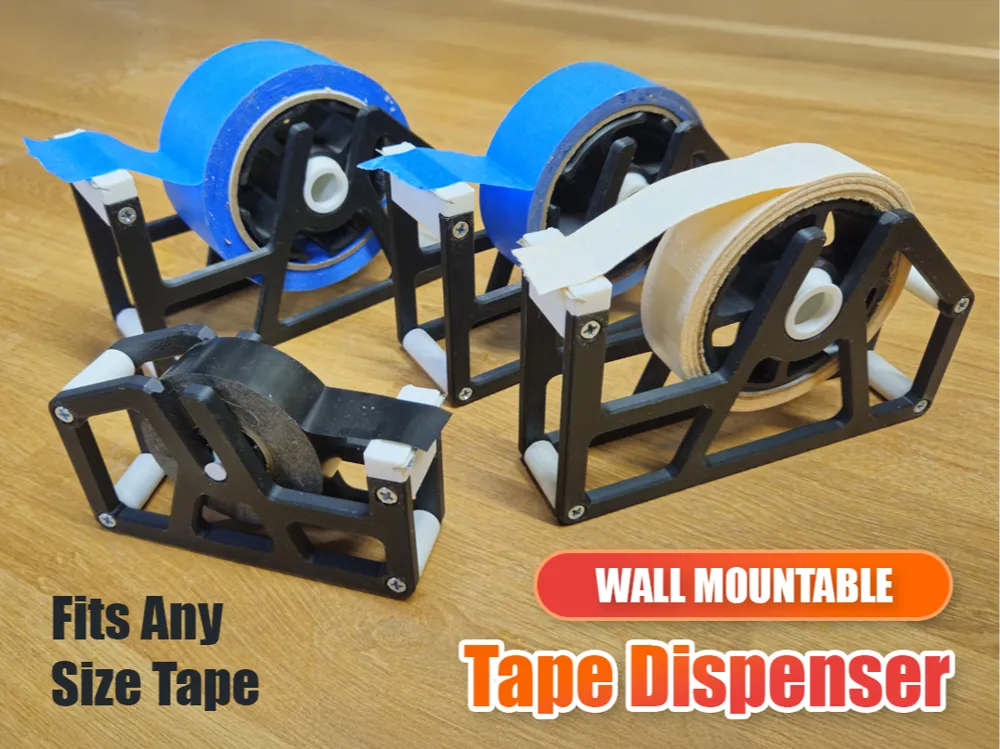
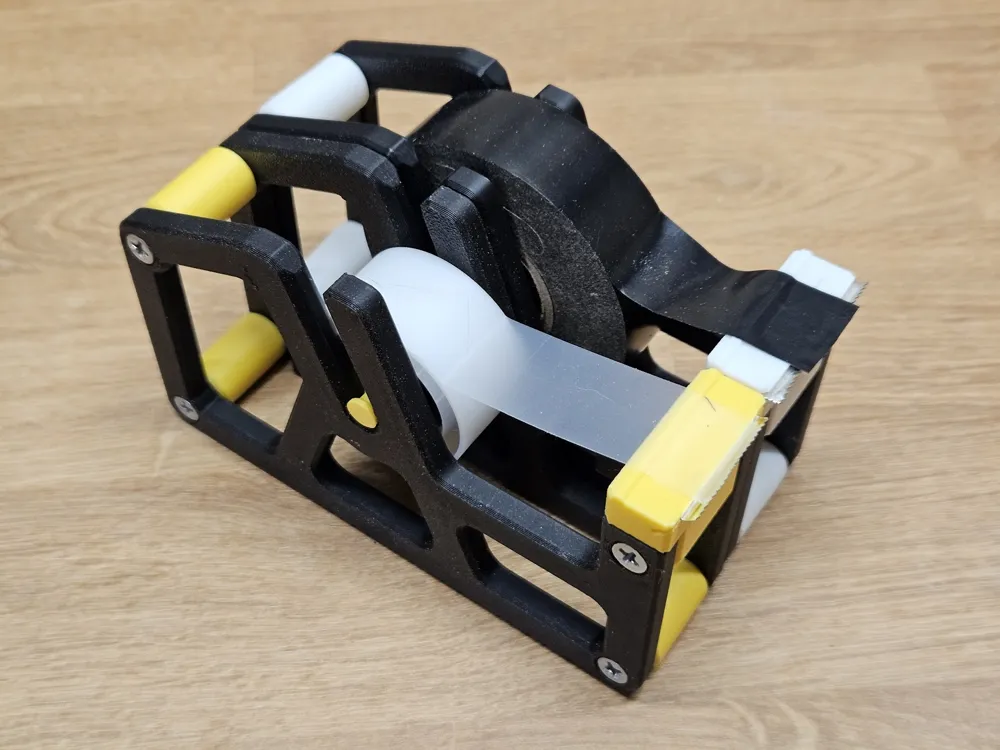
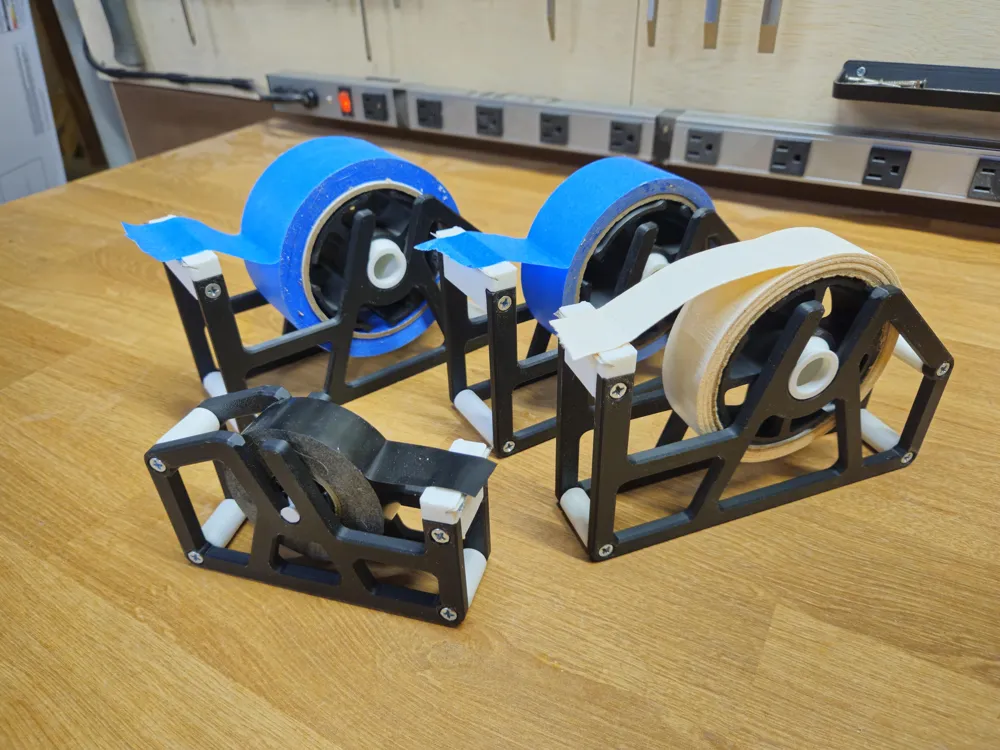
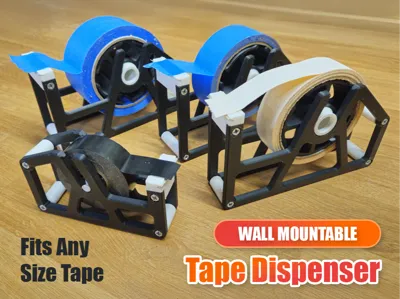
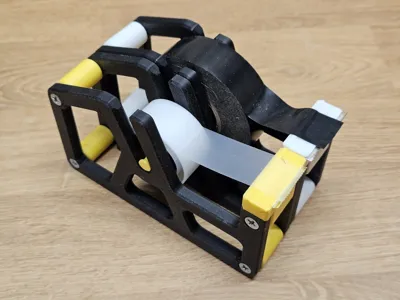
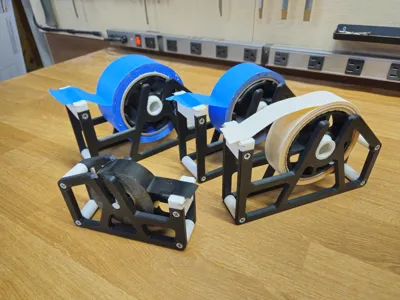
This is a highly configurable tape dispenser. Its main features are:
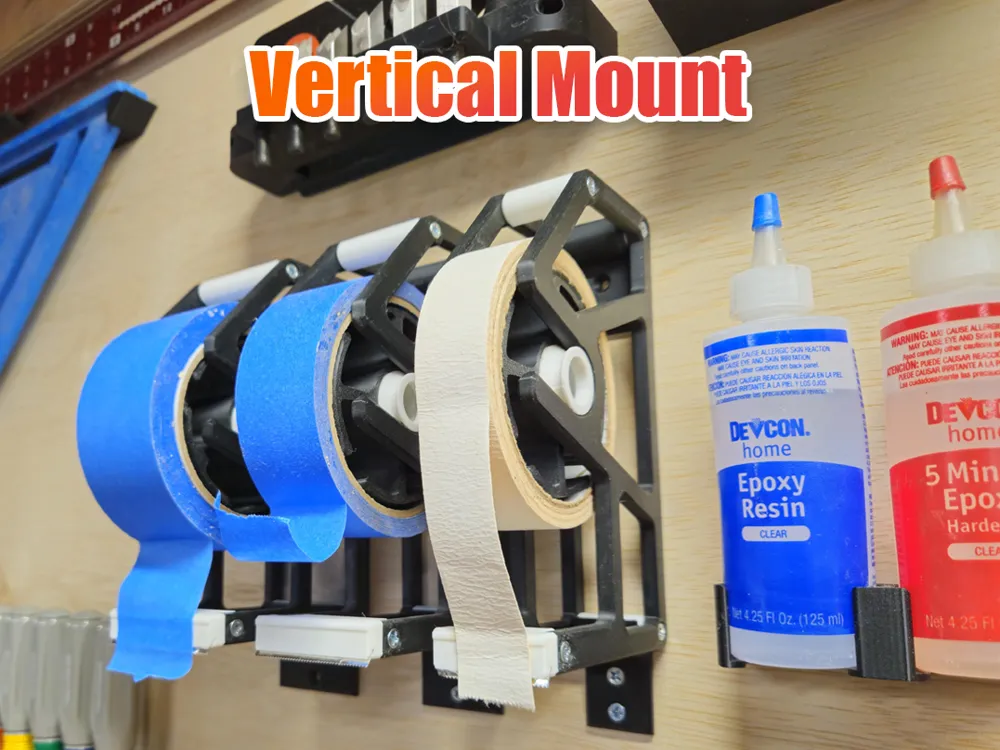
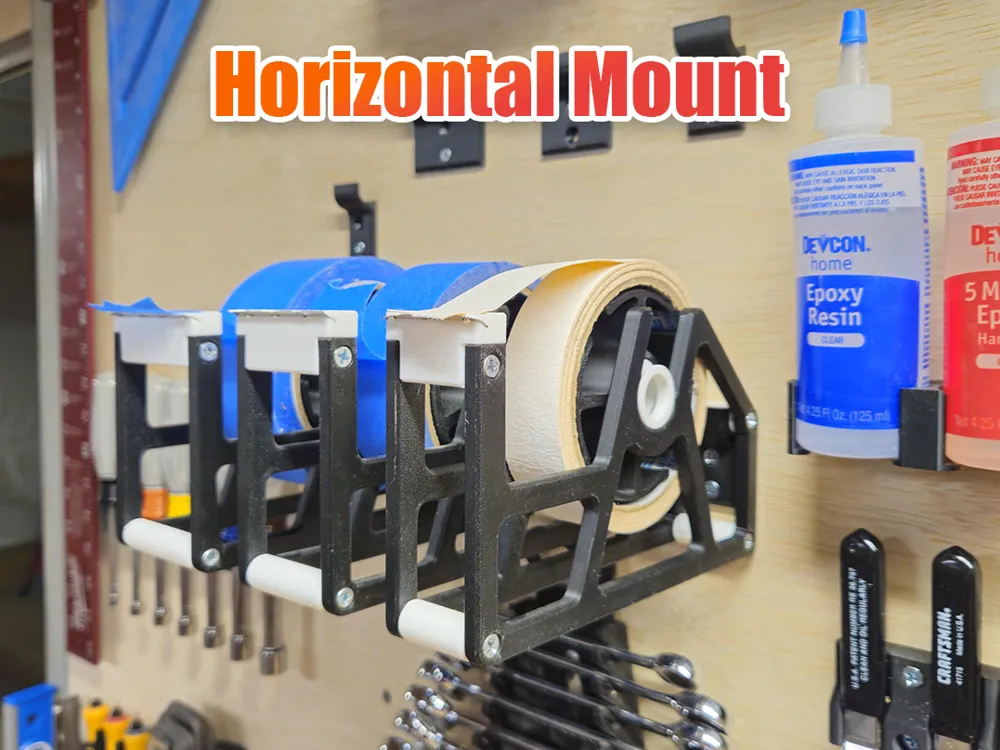
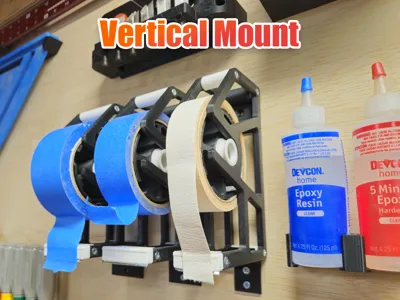
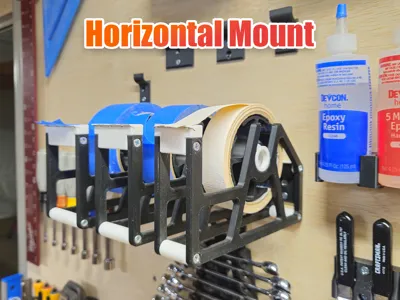
- Quick wall mounts - work either vertically or horizontally. Holder removes easily to take on the go.
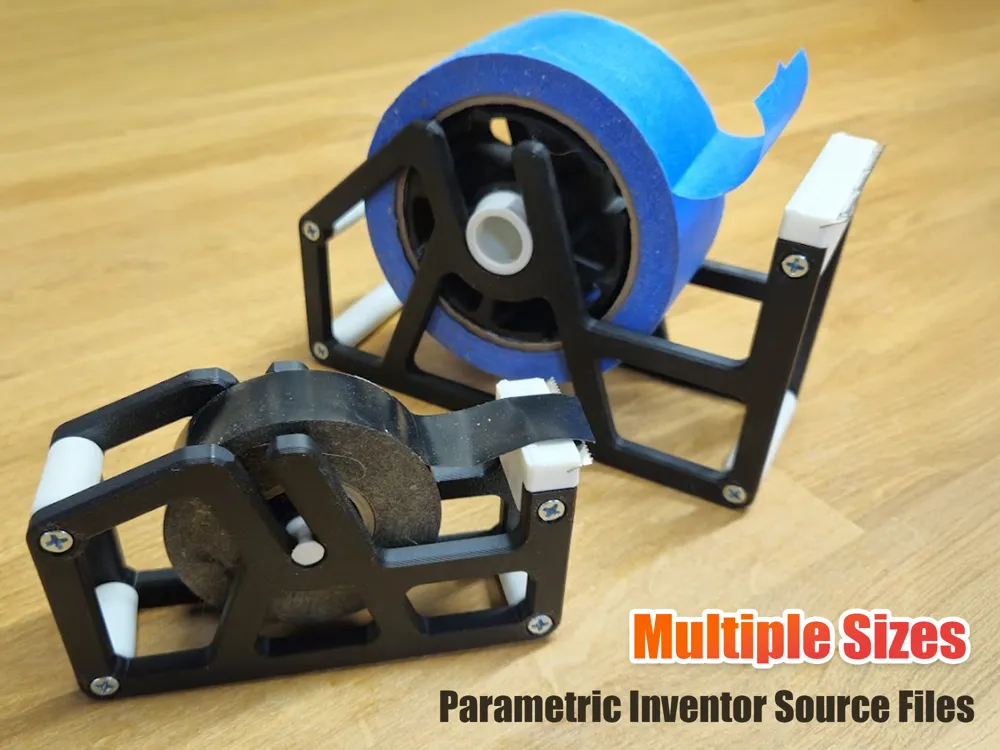
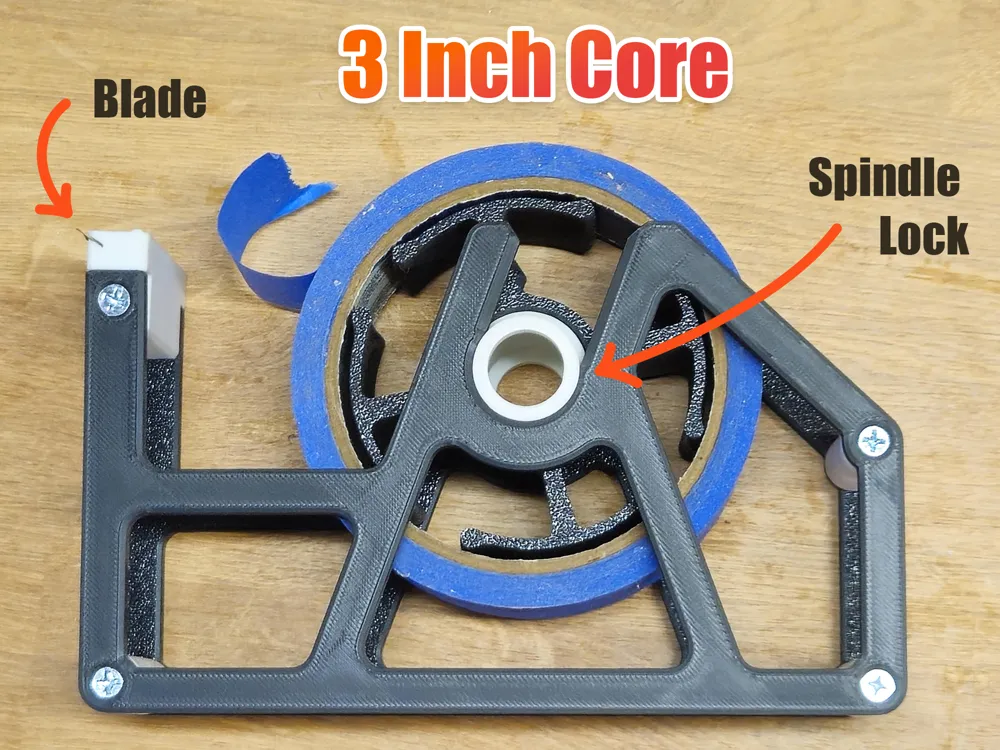
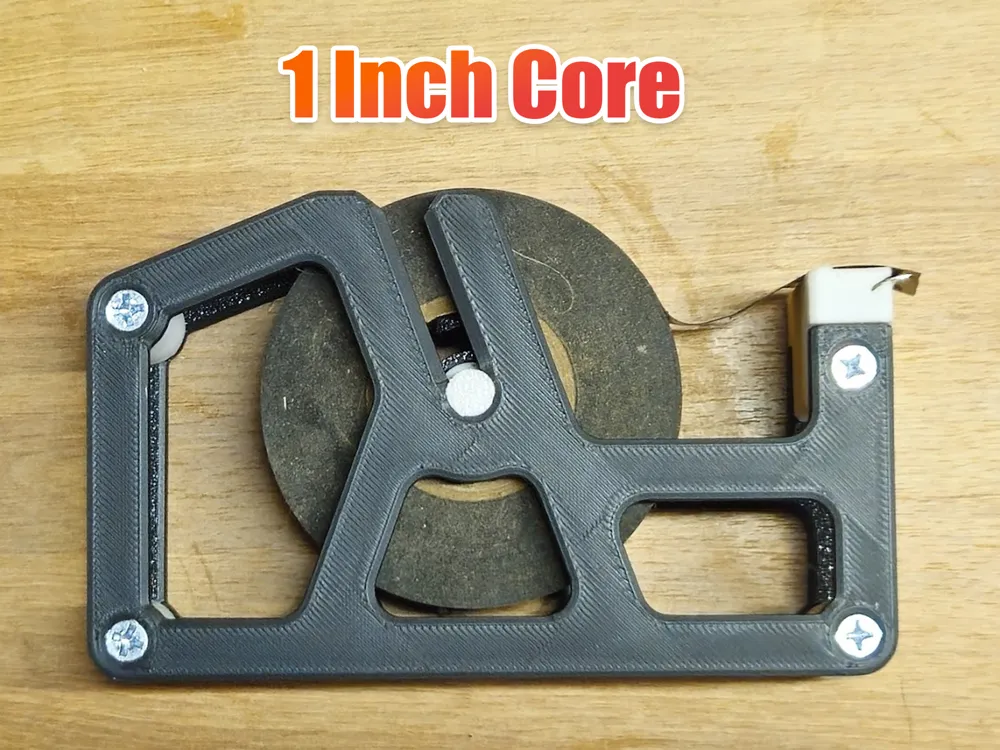
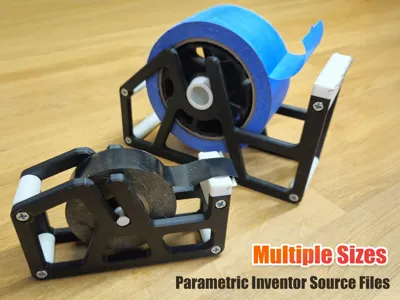
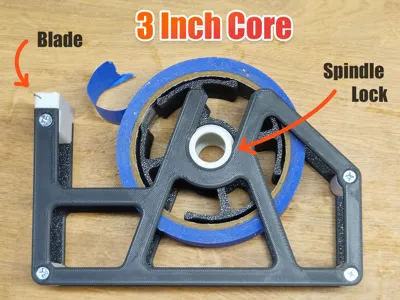
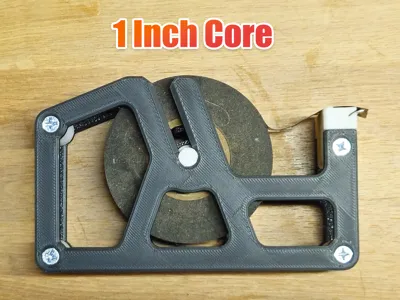
- Multiple sizes - pre-exported 1" and 3" core versions at many widths.
- Infinitely configurable with Autodesk Inventor with multiple parameters.
- Metal blade - from your standard saran/aluminum foil boxes.
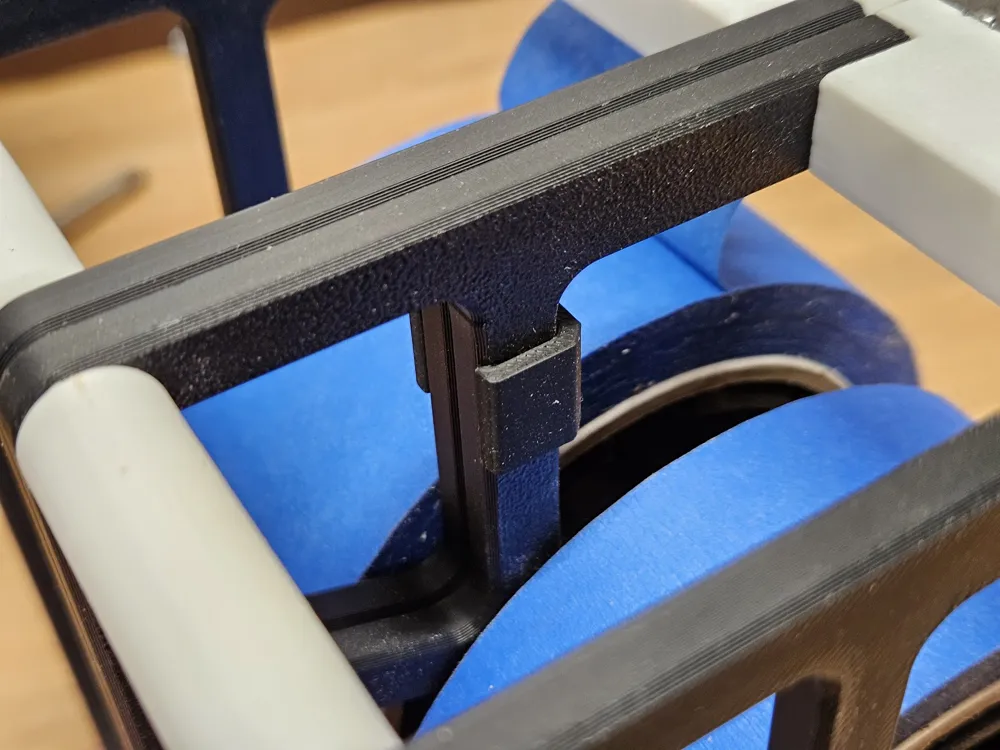
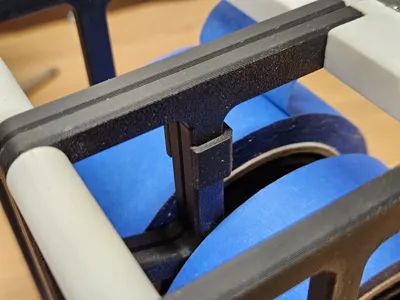
- Spindle lock - stops the tape roll from sliding out of the groove.
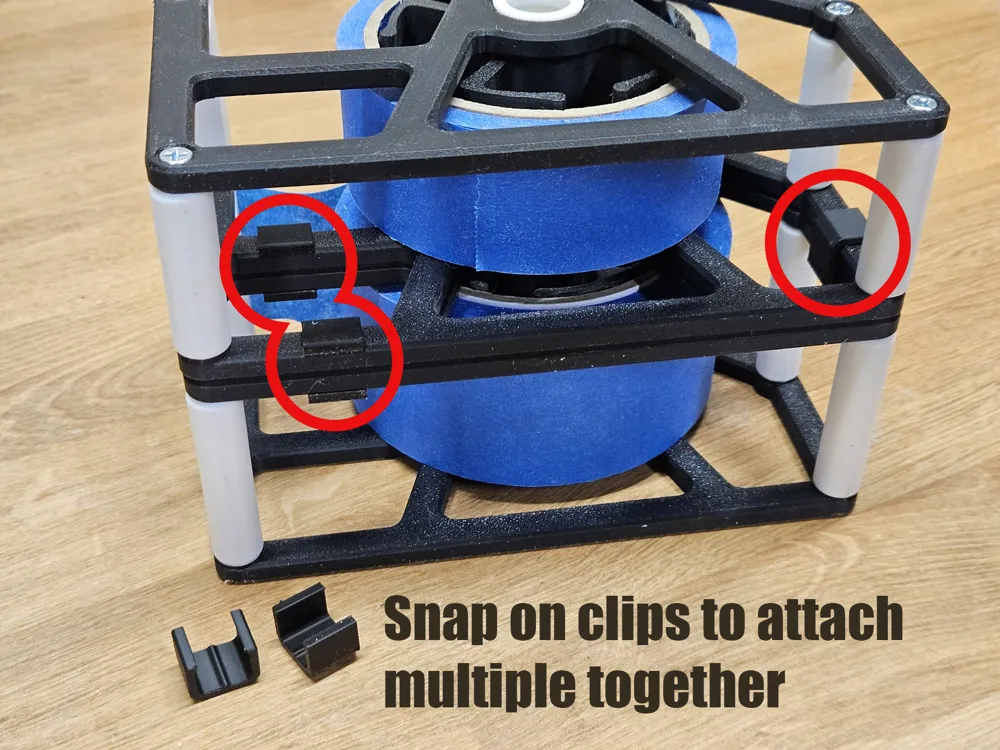
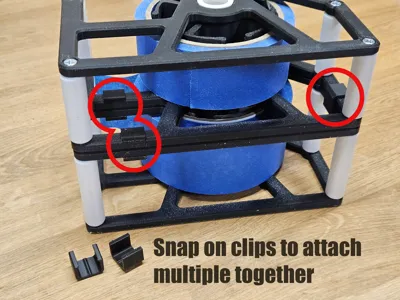
- Snap on clips - allows you to link multiple dispensers together.
Bill of Materials
- You will need eight #6 wood screws for the body and four #6 wood screws for the mounts (optional). For most, I use 3/4 inch, but for the thinner versions you may need 1/2 or 3/8 inch screws.
- Metal blade from your standard saran/aluminum foil boxes
Printing Instructions
I've provided print profiles for some of the more common sizes.
Start by picking between 3 inch (ex. masking/duck/packing tape) or 1 inch (ex. scotch/electrical tape) in the width you want. For each sizes you will need:
- Left Side (1)
- Right Side (1)
- Cutter (1)
- Spacer (3)
- Spindle (1)
- Wall Hook (2)
- Wheel (1)
- Spindle Clamp Block (1)
The 3 inch core will accept up to 5 inch rolls of tape. If you need larger rolls, please see the "Custom Sizes" section at the bottom.
Other Sizes / Manual Setup
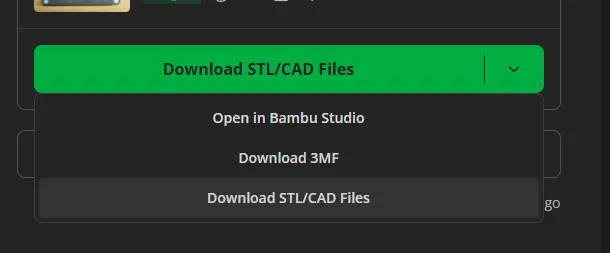
If you want one of the other sizes or are using a different slicer, you can click the arrow and change it to “Download STL/CAD Files” to get all the sizes. There is one folder for the sides per core diameter and then a bunch of folders for each width.
Print Orientation
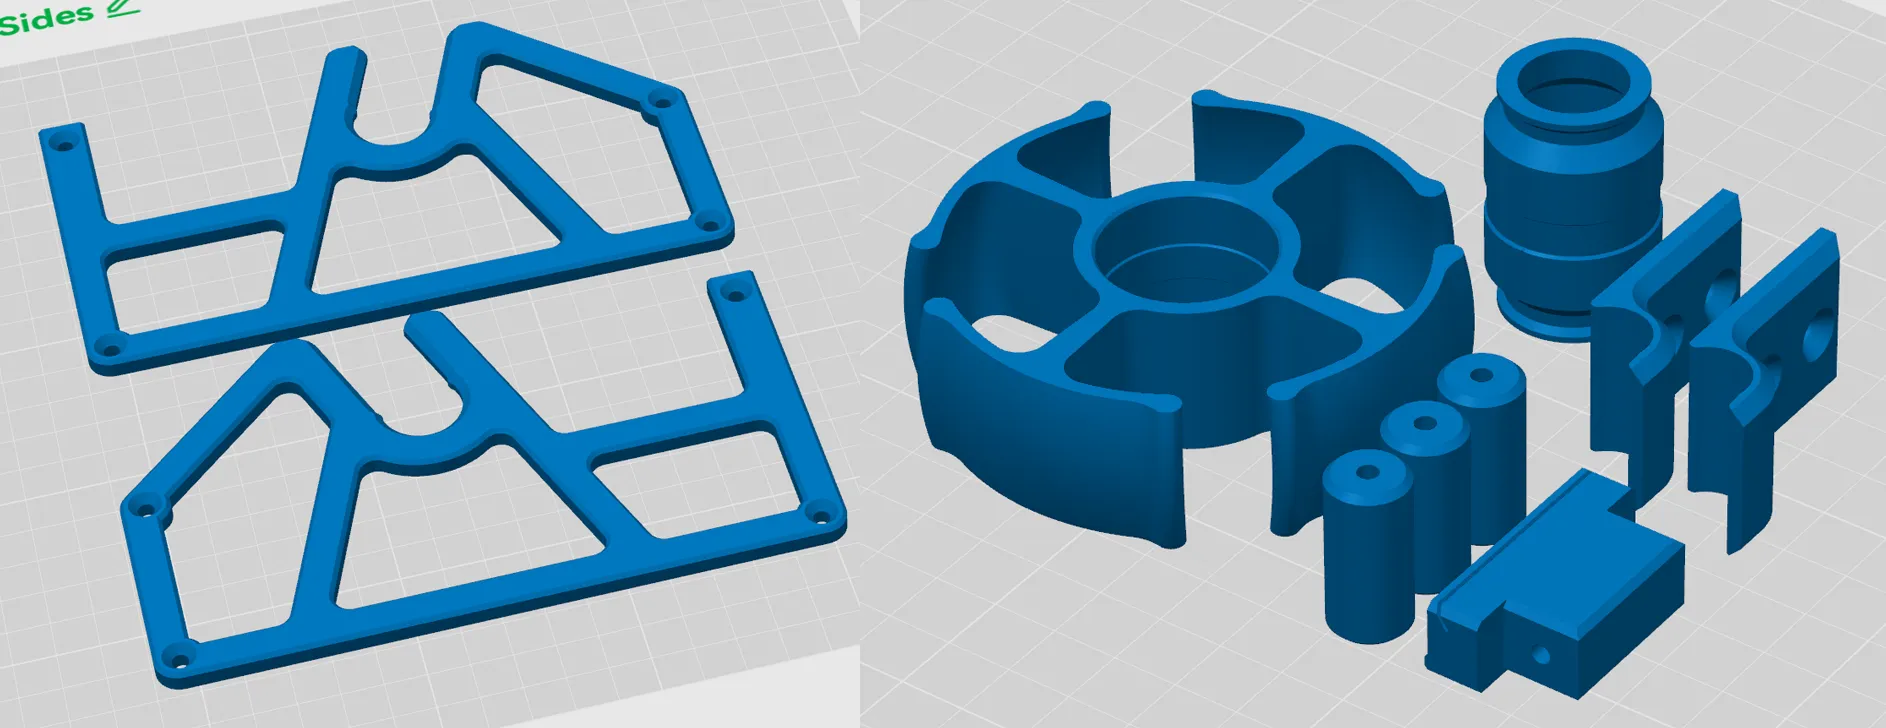
Here is an example for print orientation, requiring no supports. Print the sides so the counter sink is facing up, and make sure to print the cutter with the slot up.
Assembly
1. Body
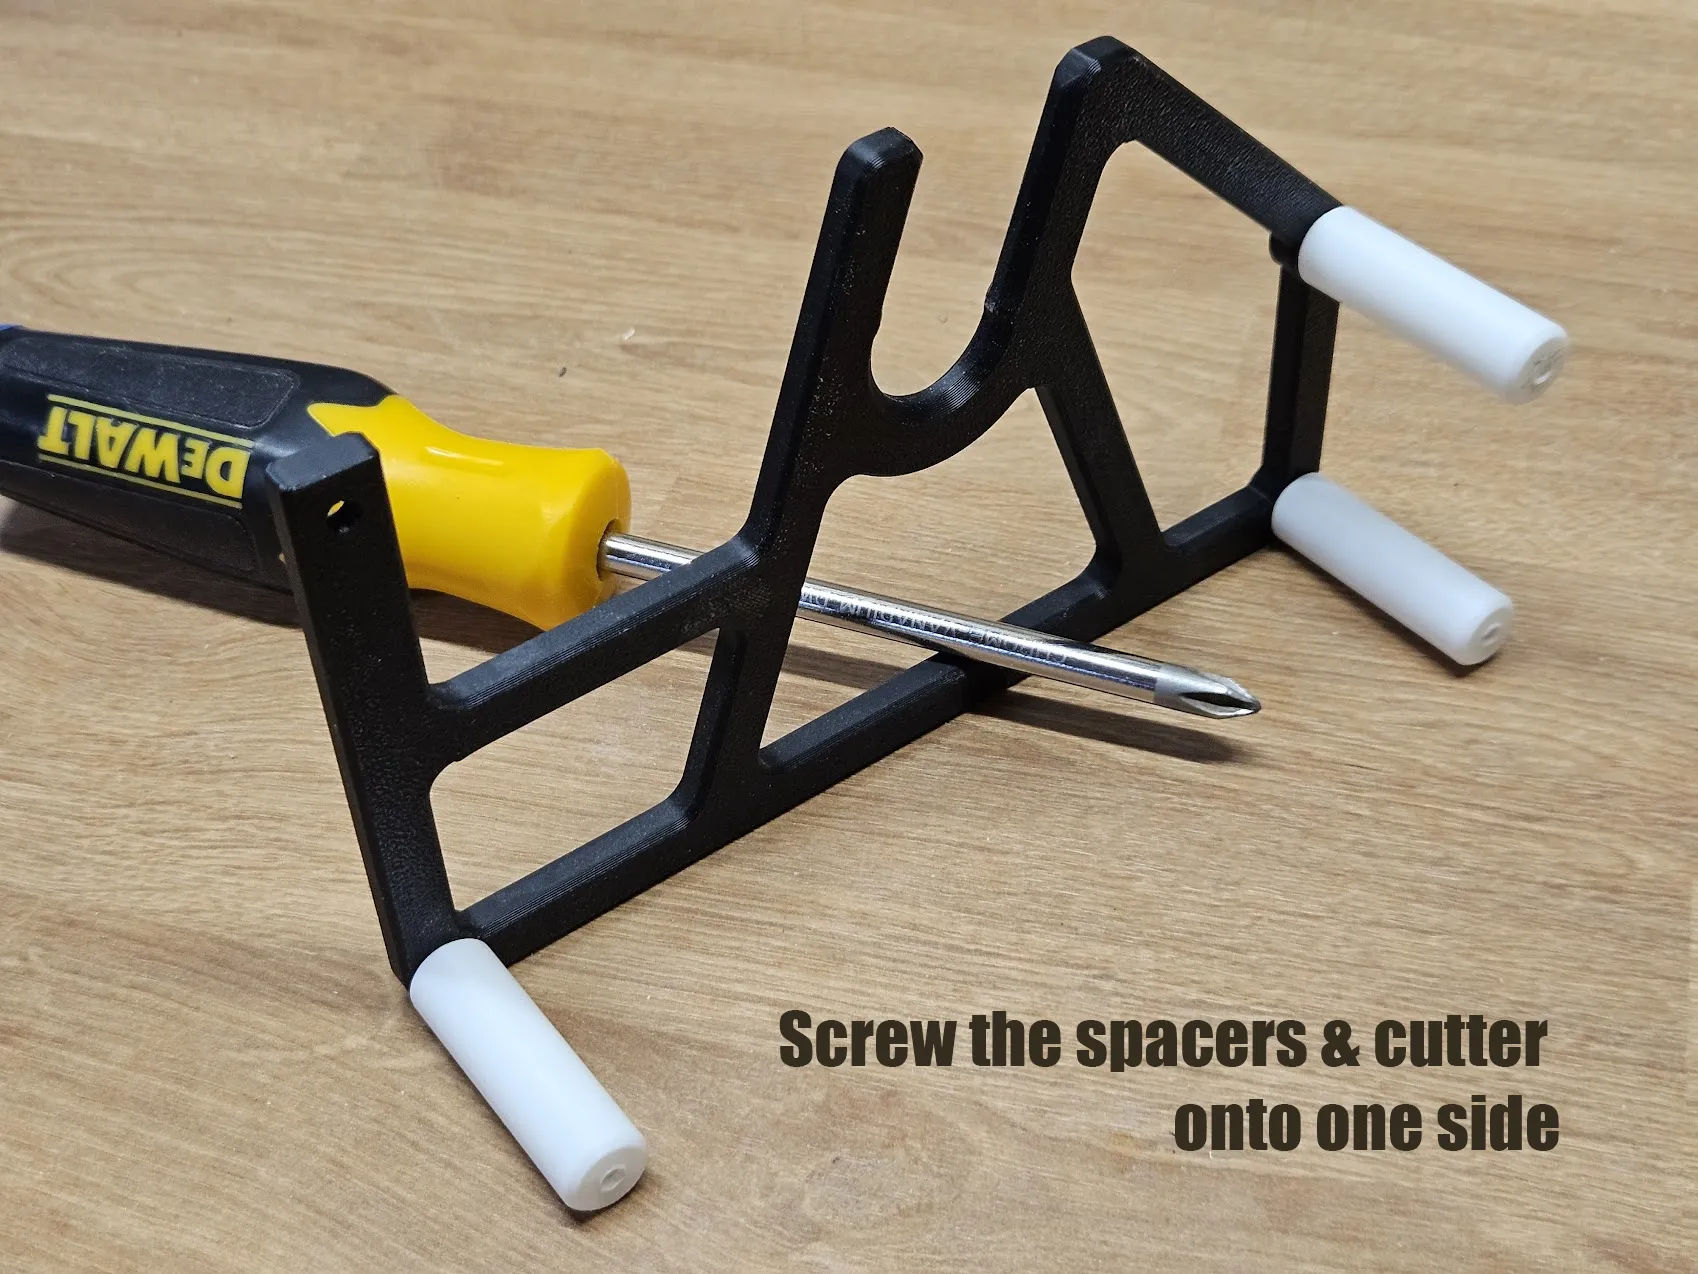
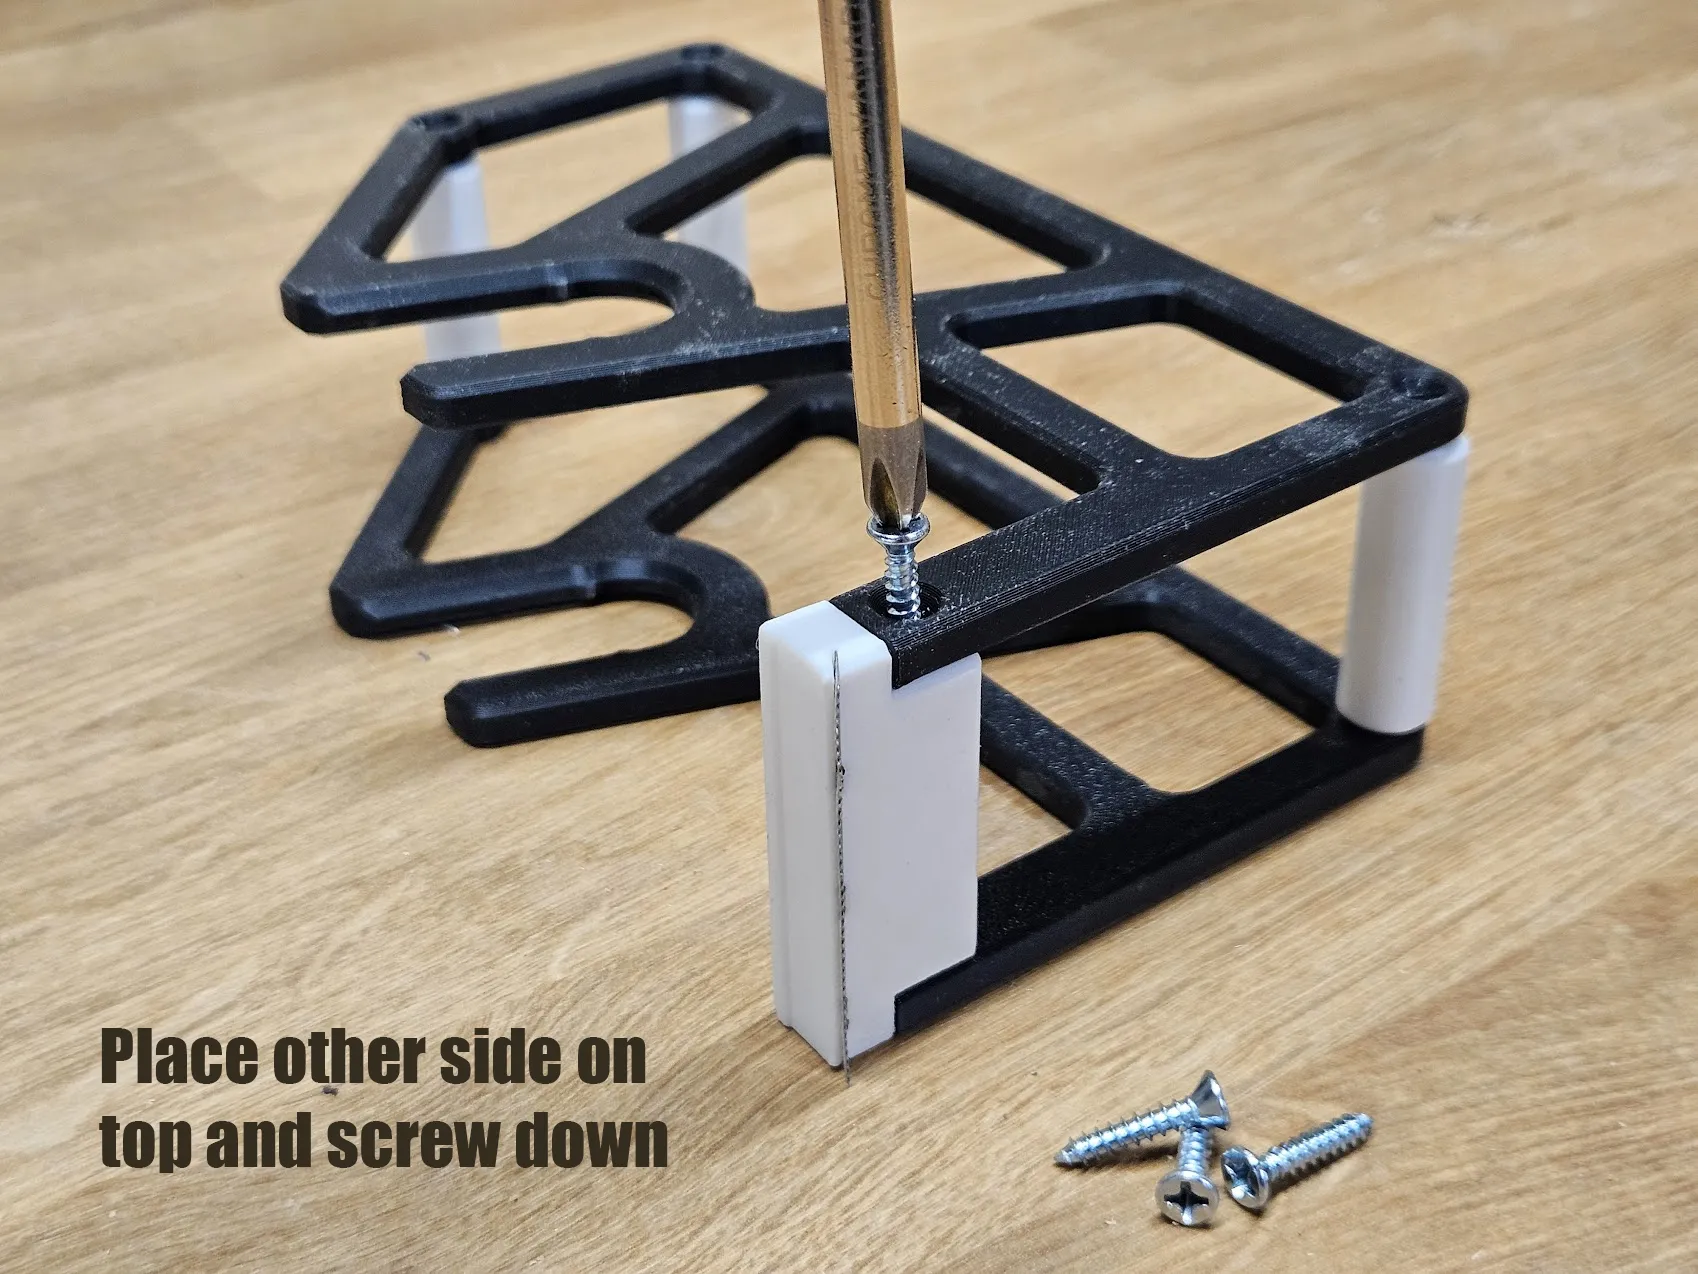
Simply start by screwing a spacer onto one side at the back and bottom holes, followed by the cutter onto the top front hole. Then do the same to screw the other side onto it. The screws can be a little tight the first time as you cut the threads into the plastic. If you have a #6 tap, it makes it much easier but I did all mine without.
2. Wheel & Spindle
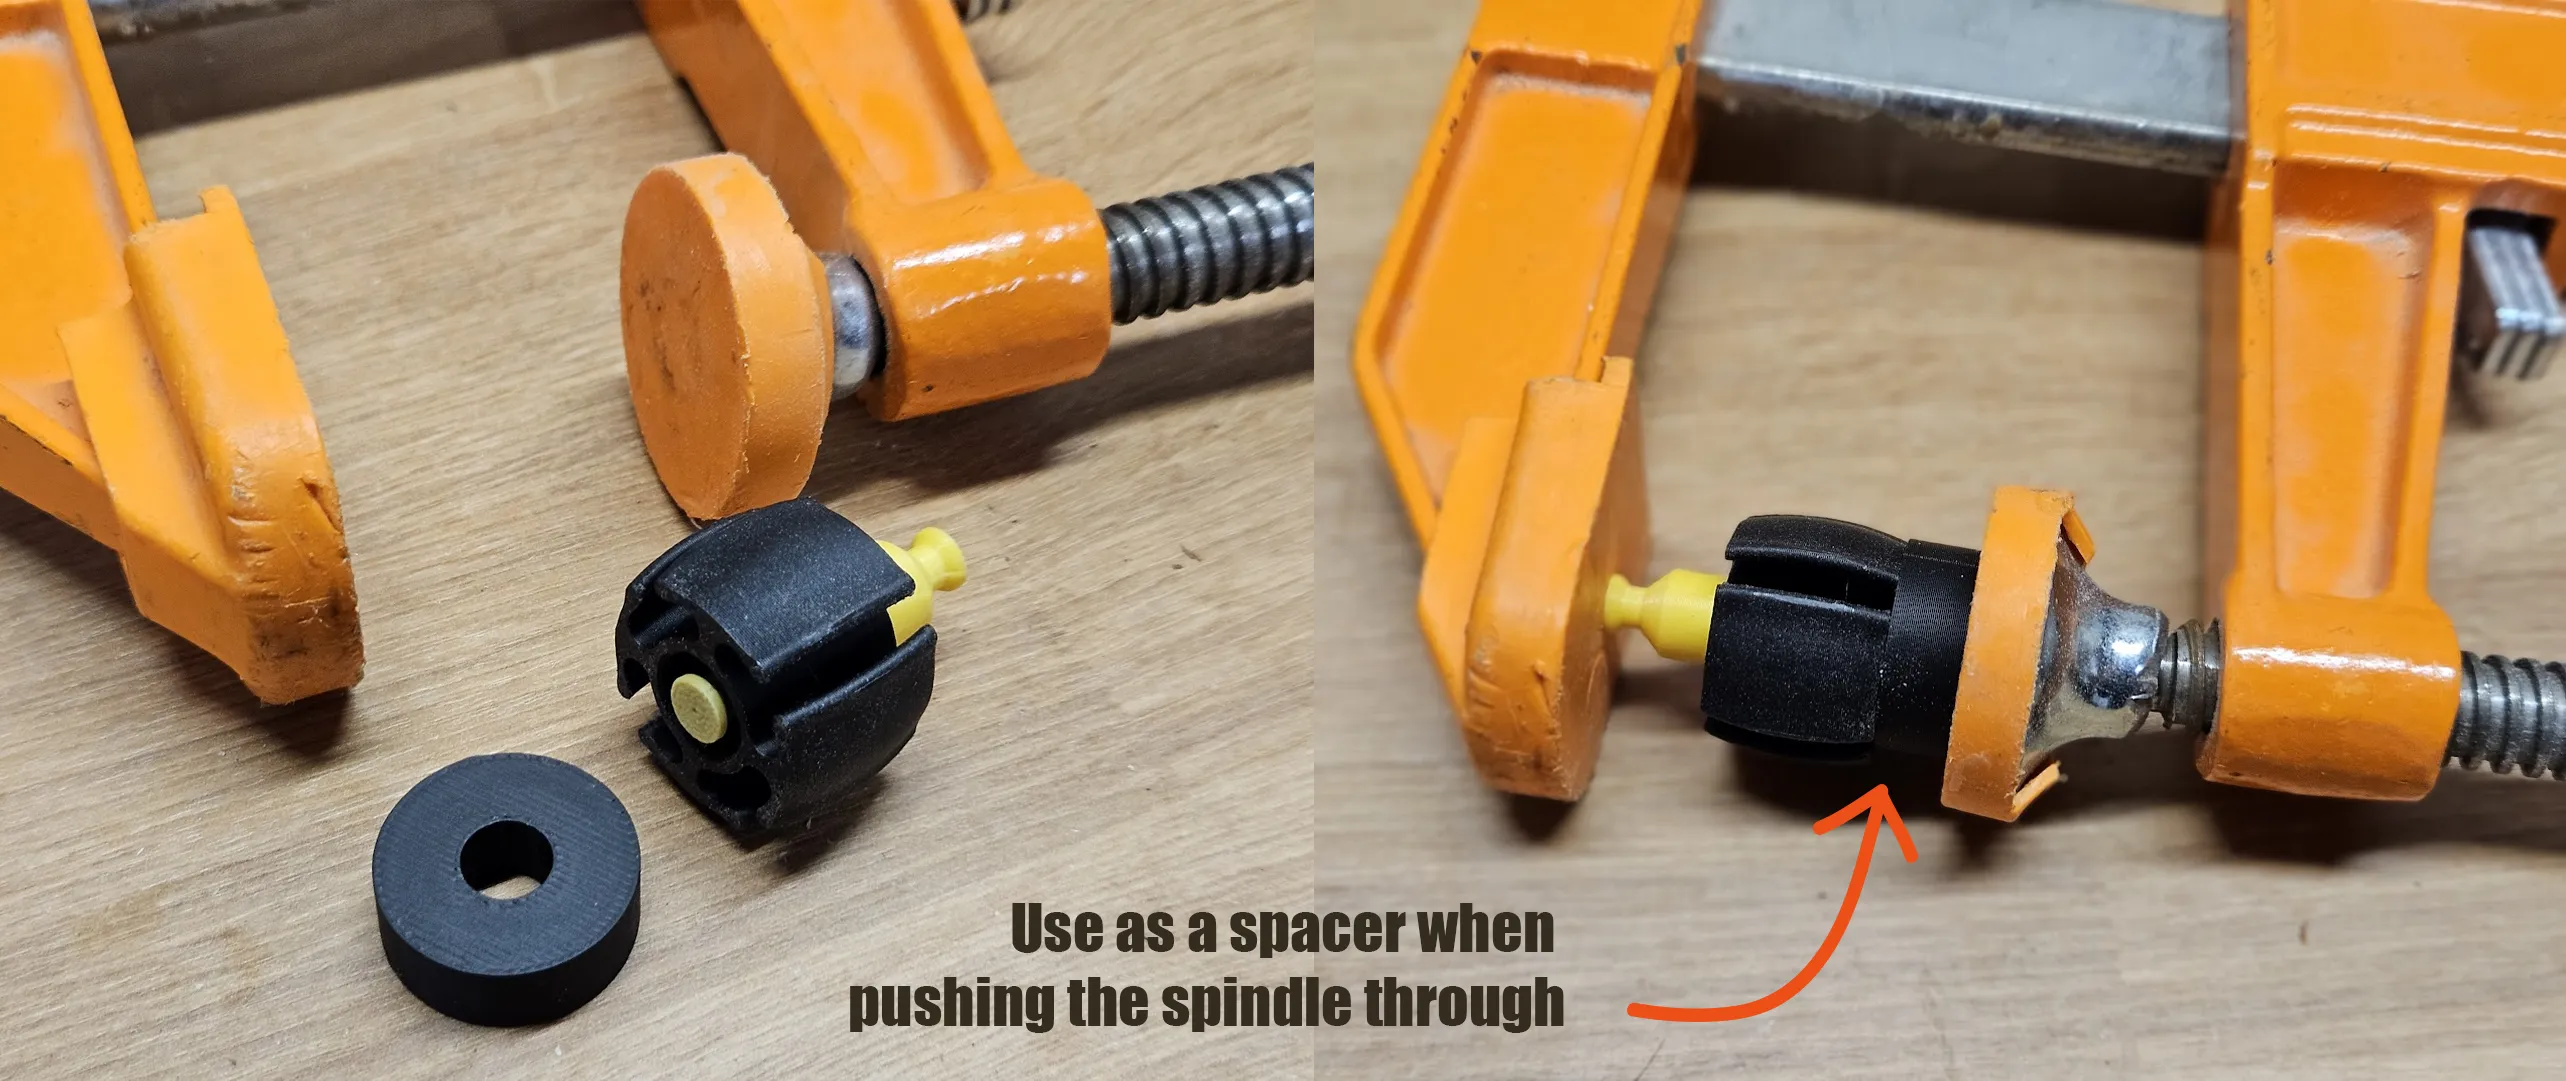
The spindle is designed to be a very tight fit into the wheel, this is normal. Highly recommend using a clamp or a vice to slowly push the pieces together. Use the “Spindle Clamp Block” plate print as a spacer when clamping to allow the spindle to fully seat, or you could drill a hole in a block of wood.
3. Blade
For the blade, cut a piece off of the aluminum foil blade the length of the cutter. You may need to flatten the divots with a hammer. After I like to bend a slight curve to it so it pushes up against the sides of the slot helping hold it as the slot may be a little loose. You can glue it in if you'd like.
4. Inserting Tape
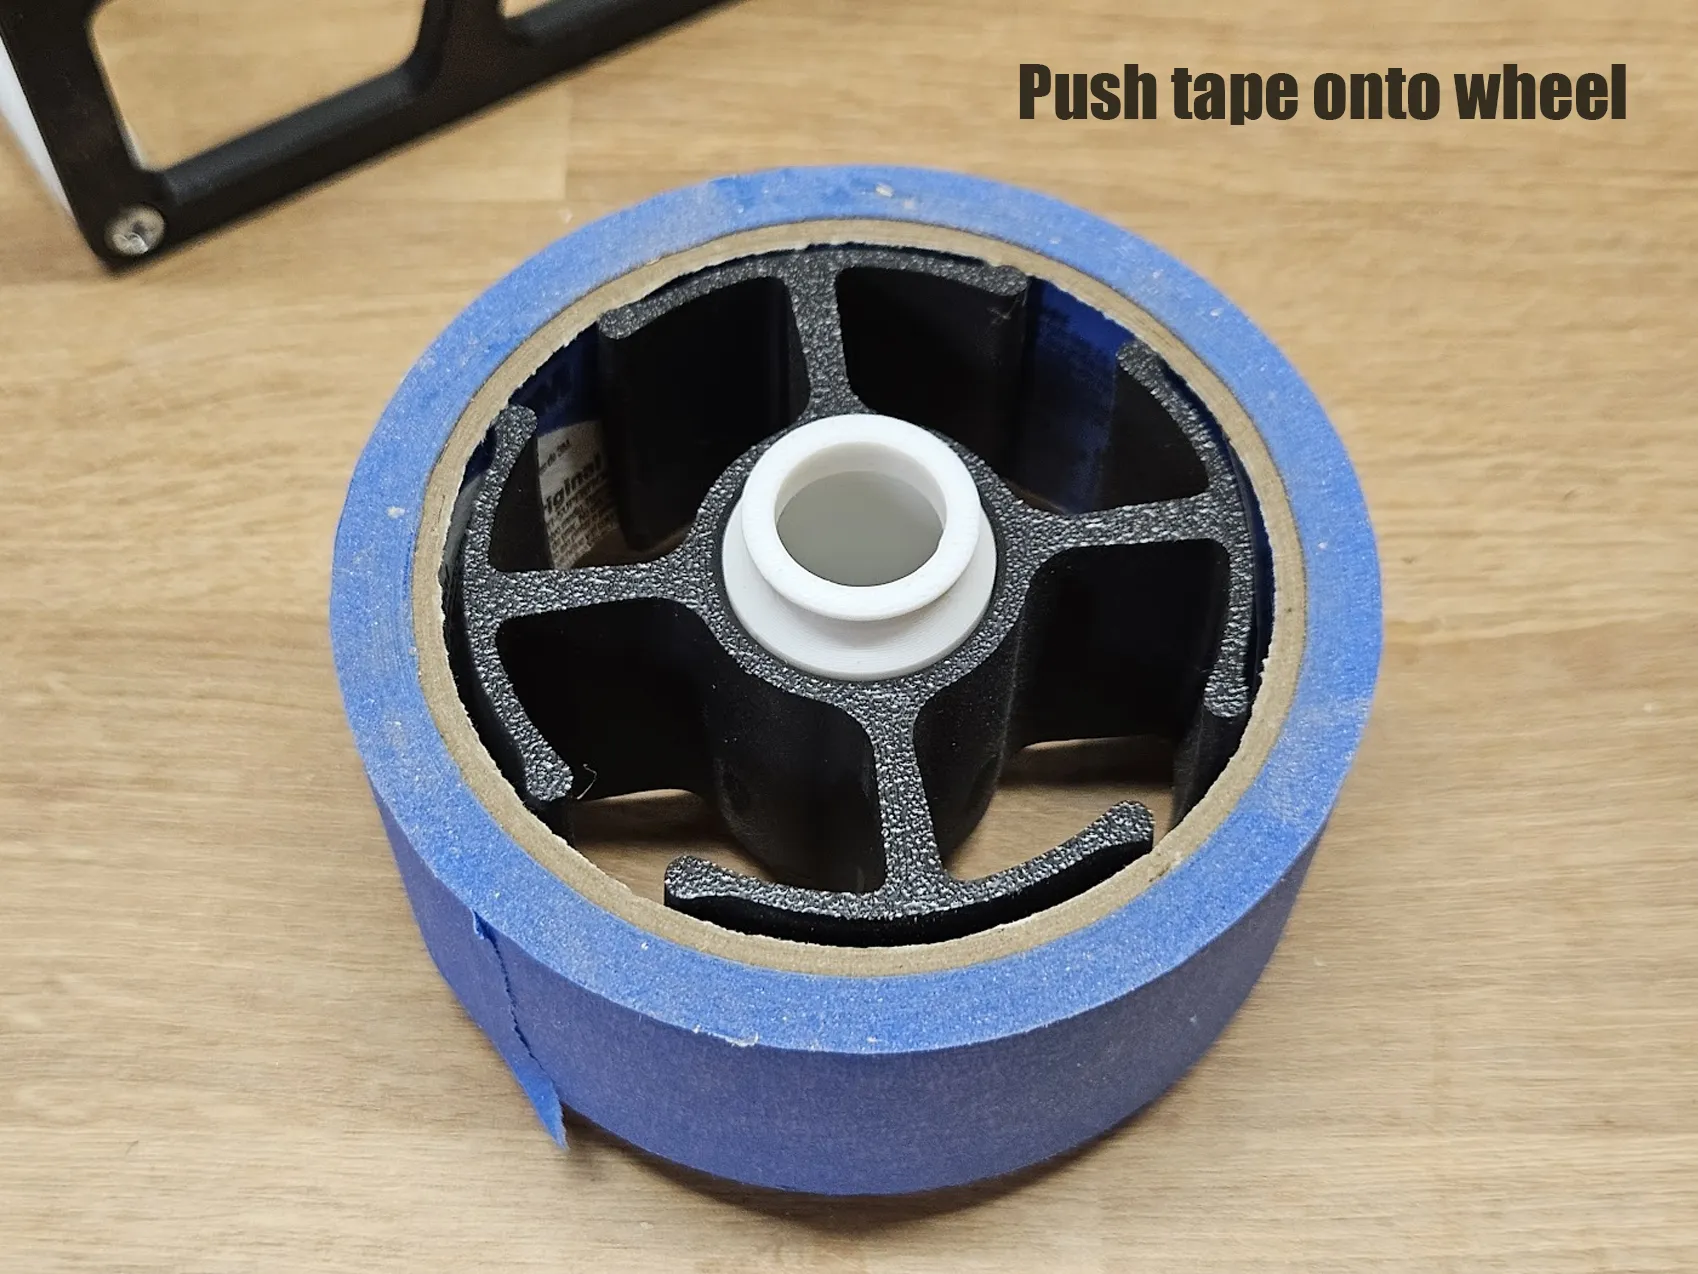
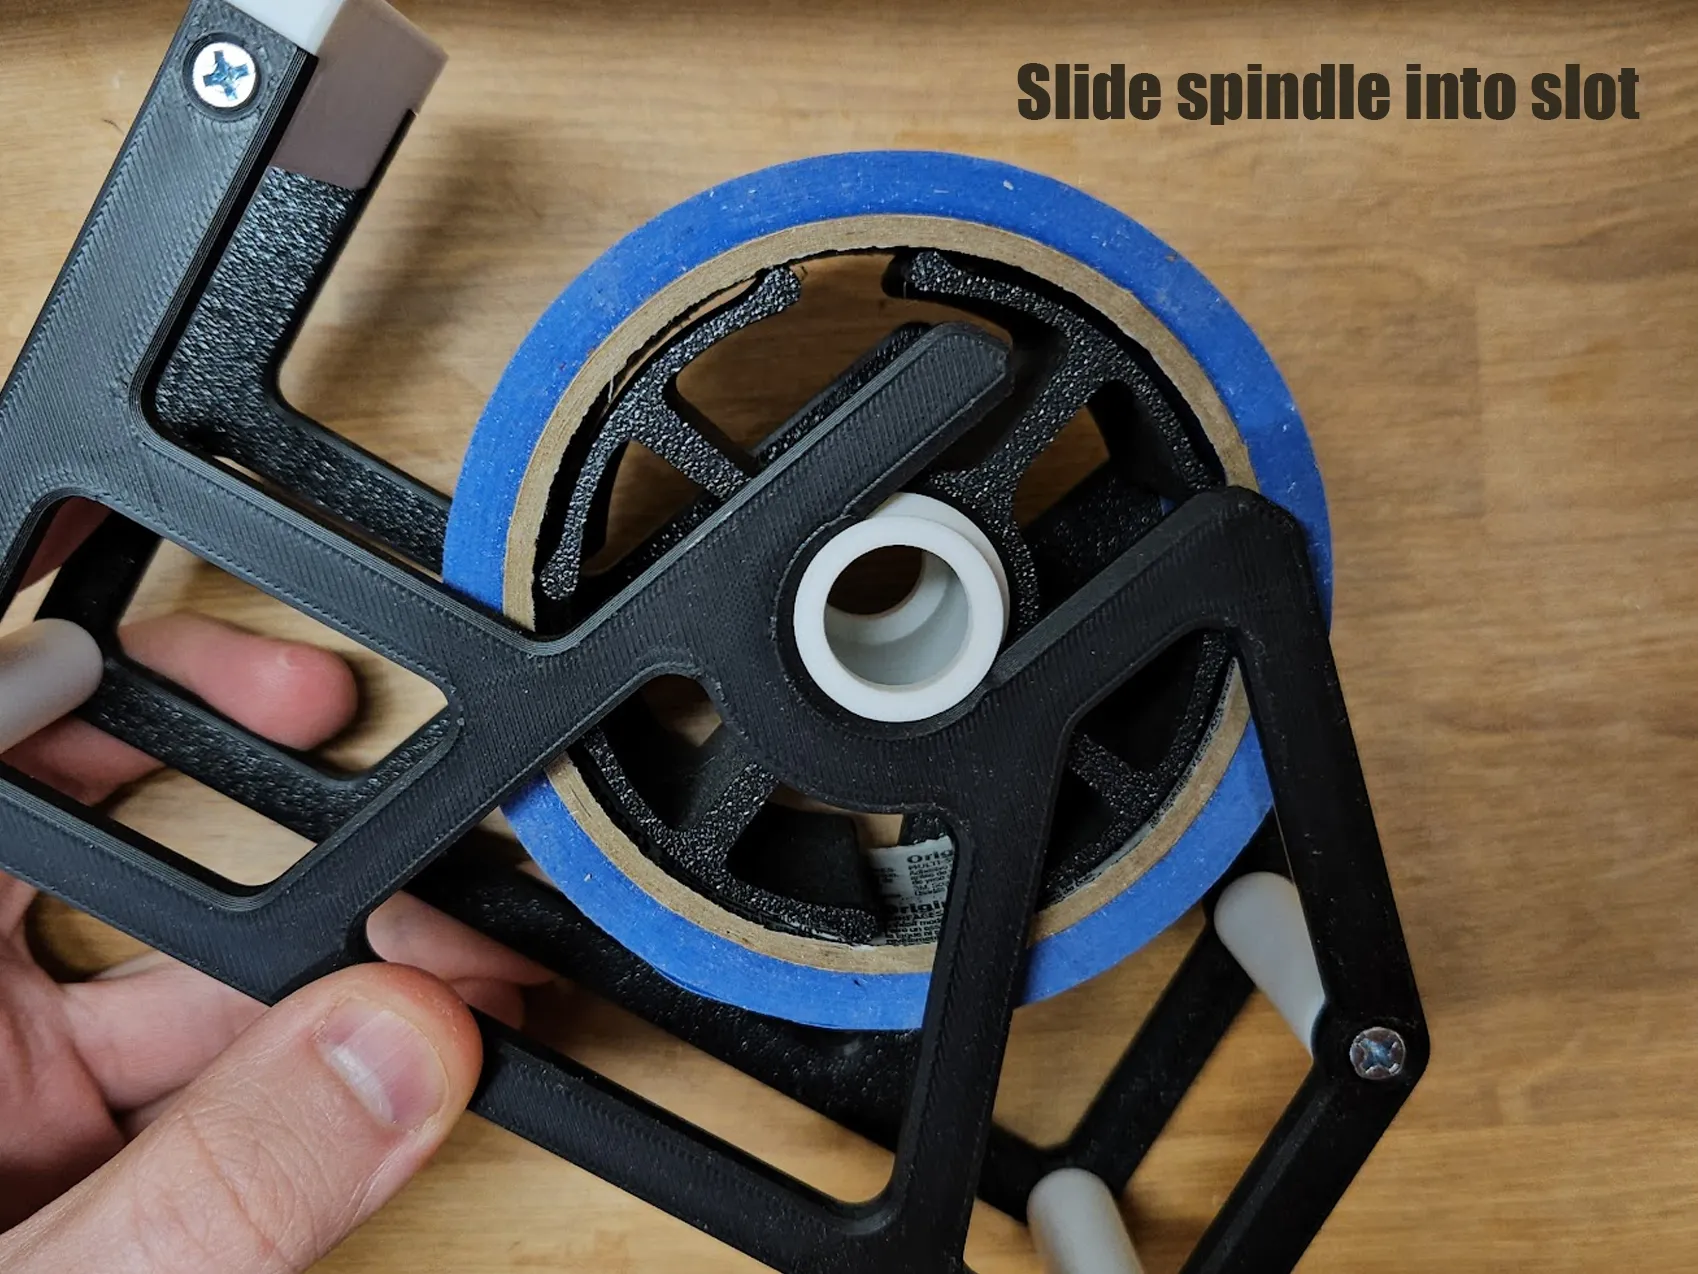
All thats left is to push on your tape roll, and then insert the spindle into the slot. It will click into place and wont fall out if you tip it over.
Wall Mount
This comes with hooks for each size tape. Simply screw it to the wall and then the back spacers hook onto them. I start by screwing on the top mount, sliding on the dispenser, and then positioning the bottom mount. This firmly holds it against the wall, but easily slides up and off the mount. Again, these use the #6-¾ wood screws.
With how the spacers are designed, you can either mount it vertically or horizontally.
Snap On Clips
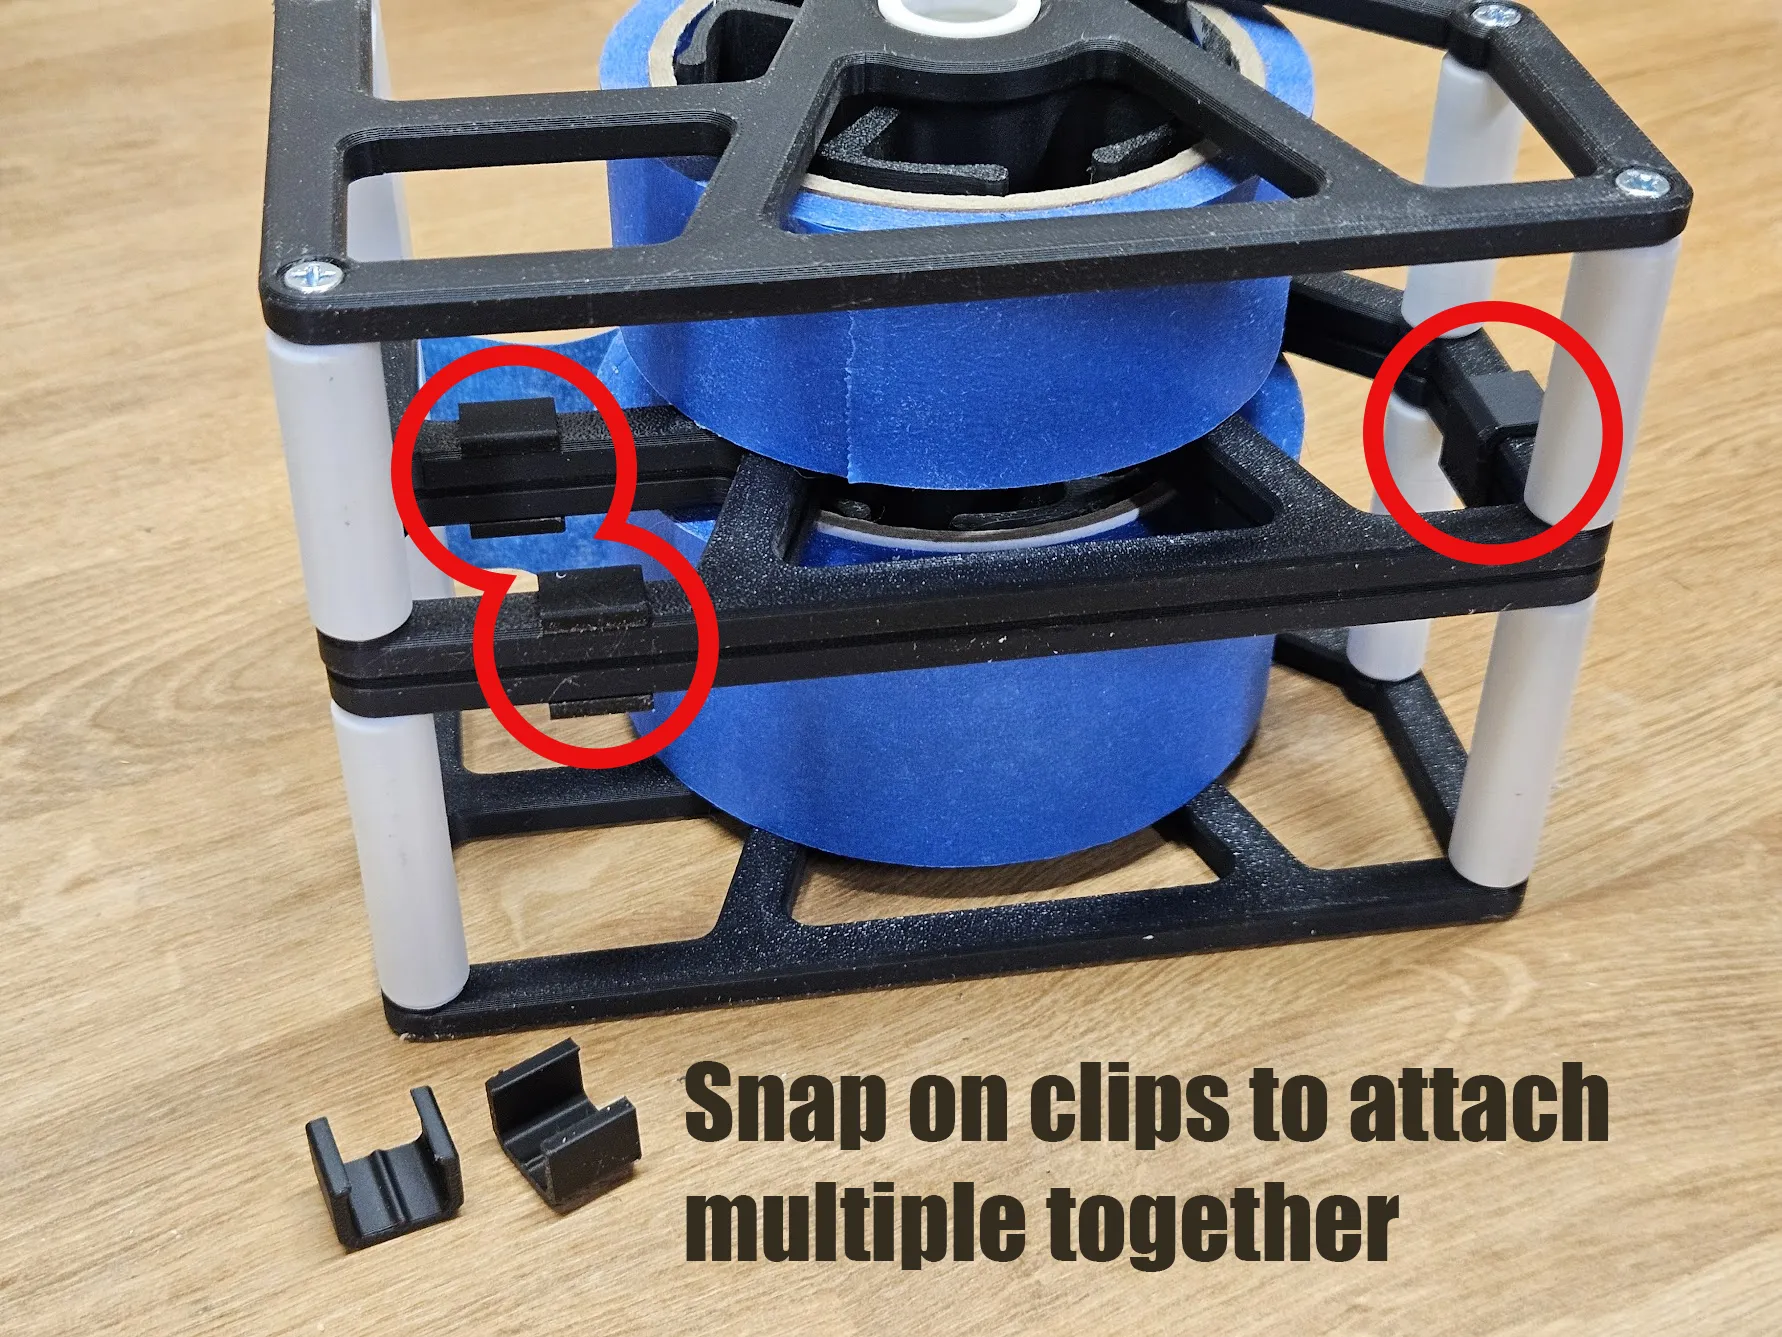
Use the snap on clips to attach multiple dispensers together. Avoid putting them on the angled sections as it may interfere with the roll if its full. If you are wall mounting, just make sure to put them somewhere they wont interfere with the mounts.
Filament Choice
I've printed all mine in PLA and they've worked great. It may be desirable to print the sides out of a harder plastic so the spindle lock bumps don't wear down if you plan on removing the tape roll a lot but a year later mine are still good.
Custom Sizes
Currently, customizations require Autodesk Inventor. If theres a size you want, let me know and I'll try to add them. I can generate any size greater than 1" core. If you have Inventor, download and open the project and then the assembly. There is an XLSX file which can be used to customize the holder, and after changing a parameter, go to the Manage tab and click “Update”.
- Width - Width of the tape roll
- Core Diameter - Diameter of the inner roll
- Max Tape Diameter - Diameter of a full roll of tape
- Spindle Diameter - Diameter of the spindle
I plan to remake the project in OpenSCAD so it can be customized right here on MakerWorld.
License

You shall not share, sub-license, sell, rent, host, transfer, or distribute in any way the digital or 3D printed versions of this object, nor any other derivative work of this object in its digital or physical format (including - but not limited to - remixes of this object, and hosting on other digital platforms). The objects may not be used without permission in any way whatsoever in which you charge money, or collect fees.


Comment & Rating (38)