
Planetary Gearbox for 030 Motor
Print Profile(1)

Bill of Materials


Description
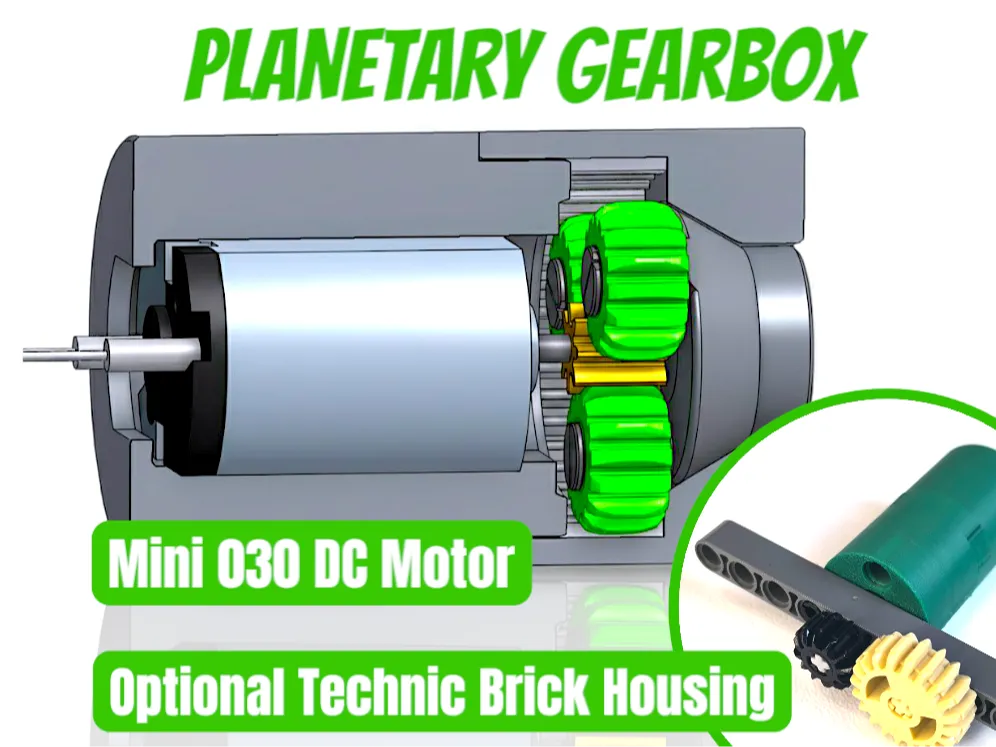
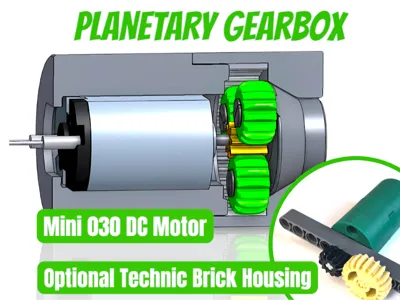
Planetary Gearbox for 030 Micro DC Motor
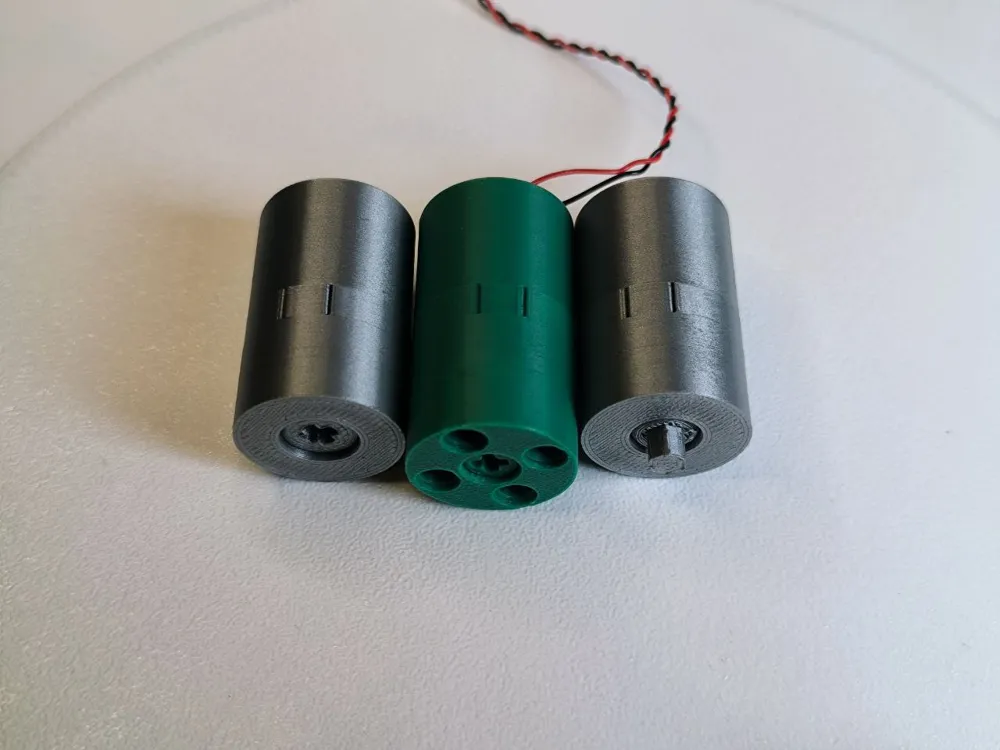
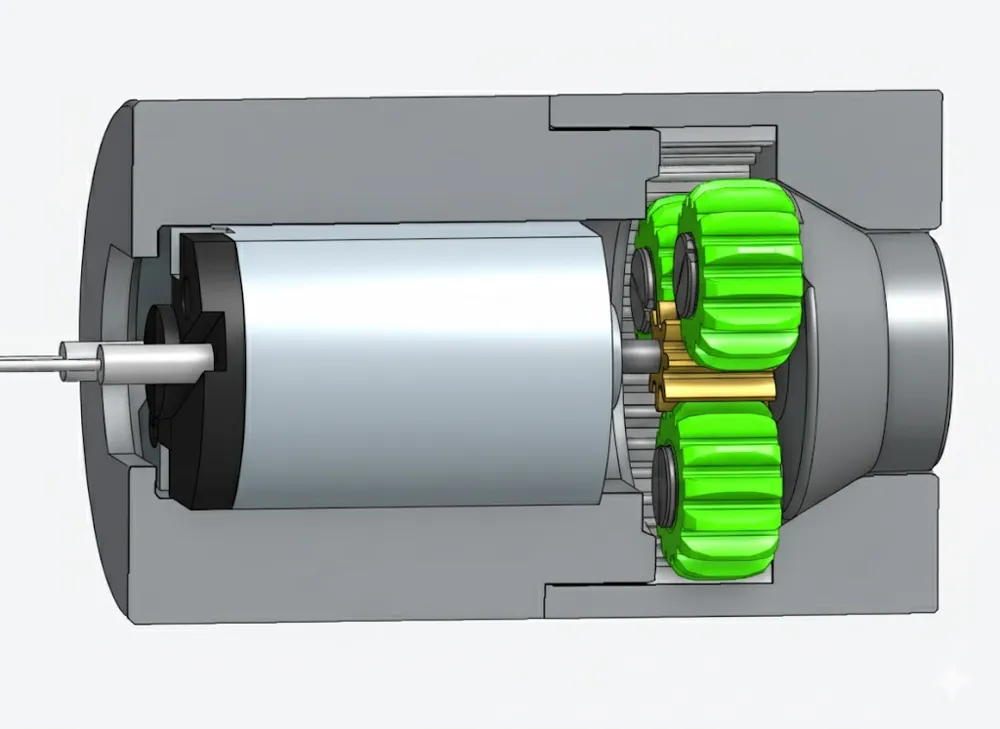
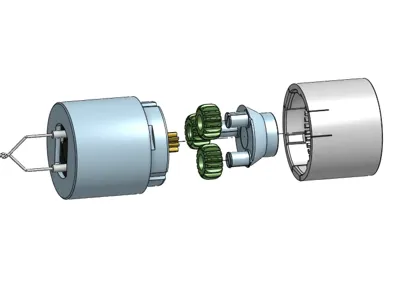
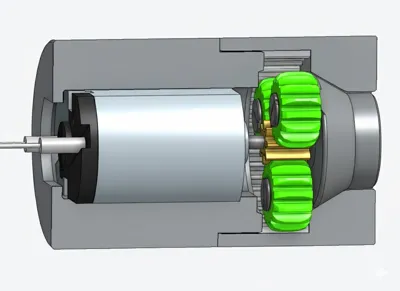
I’ve been experimenting with the 030 micro DC motor and planetary gear systems and designed a relatively well-functioning, ultra-compact gearbox. The focus was on optimizing the gearbox for FDM printing and ensuring good printability without overhangs that would require supports. The play and tolerances were intentionally made a bit larger to ensure proper functionality. The gear ratio is 1:6, which gives the 030 motor a theoretical speed of about 500 rpm. Due to additional friction, this speed is slightly reduced. The entire housing is only about 37 mm long and has a diameter of 23.4 mm.
I haven’t yet thought of a model where I’d like to use the gearbox myself, but you’re very welcome to use it in your own projects.

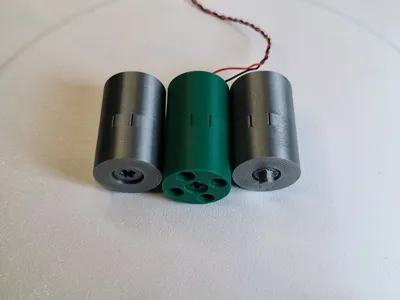
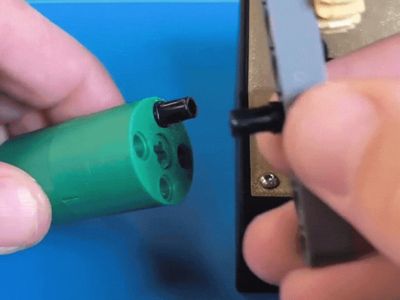

While designing it, I noticed its similarity to a Technic motor from building blocks, so I added pin holes and an axle mount. This makes it possible, for example, to power Technic models using CyberBrick.
3 Options in the print profile:
- Plate 1: Blank Gearbox → Step Files are also uploaded to the RAW Files for adaption to your project
- Plate 2: Technic Brick compatible Gearbox → The box is a bit longer for the pin holes
- Plate 3: Example with 5mm Hexagon Shaft
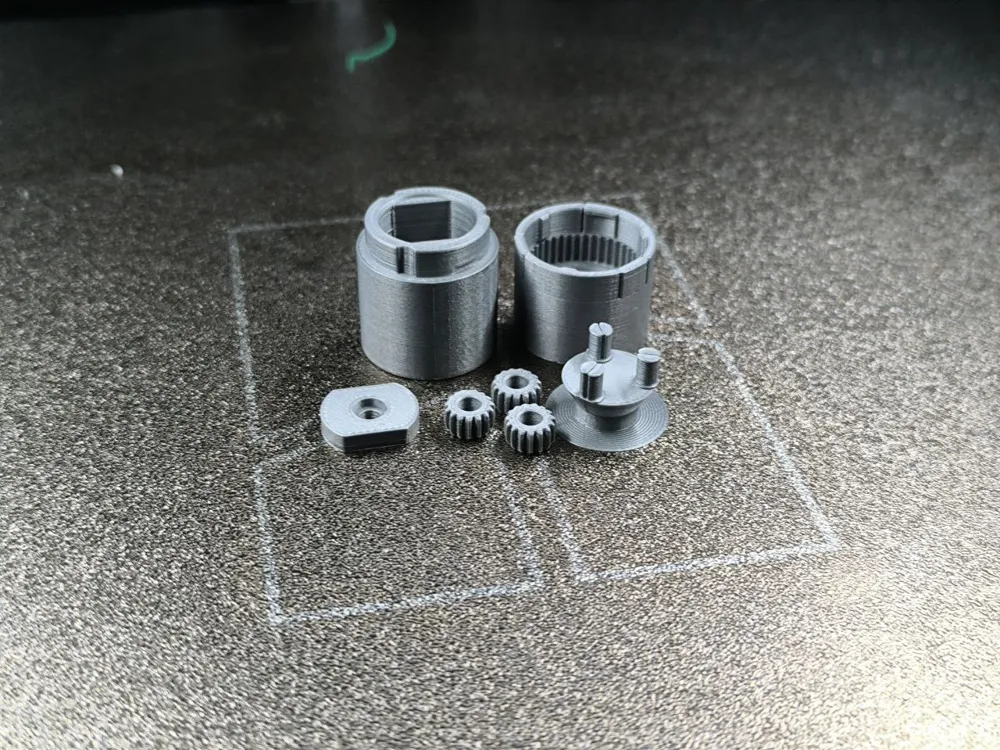
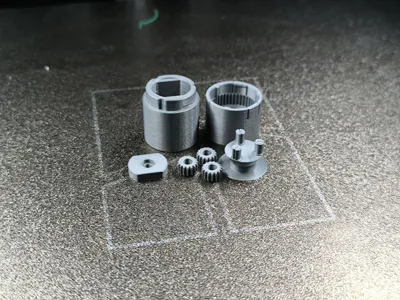
I printed with 0.4 Nozzle with a reduced “outer wall width" for the gears. Maybe a 0.2 nozzle can do better results.
The gears have more play than usual. If you think the gears are to tight or to loose you can adjust the 3 gears with the X-Y compensation in the slicer.

BOM:
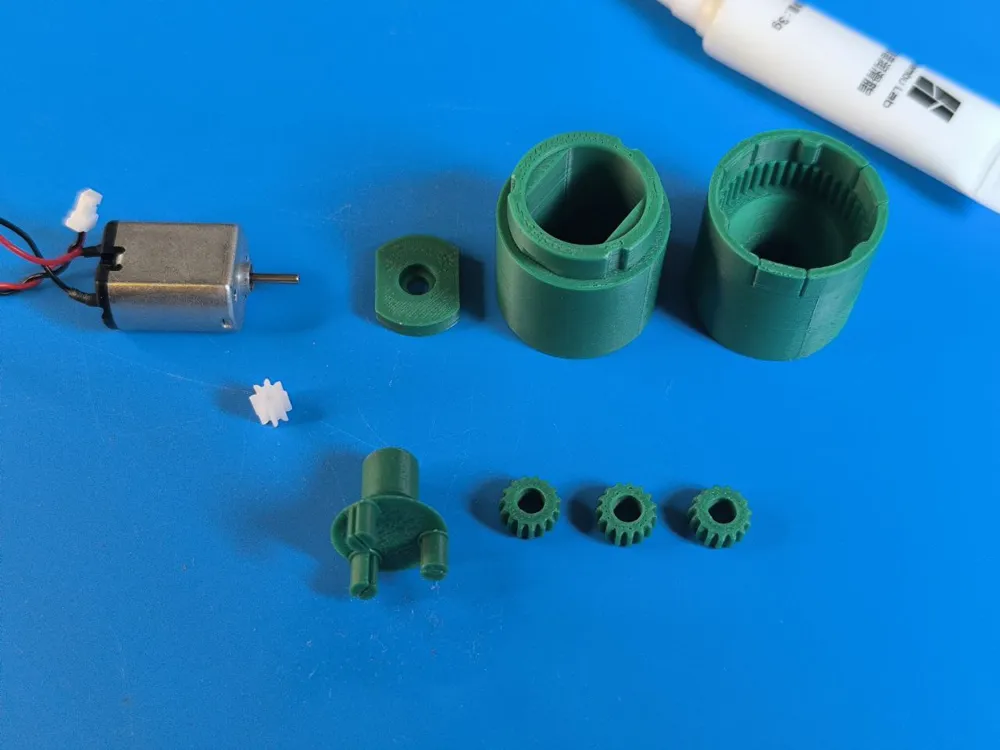
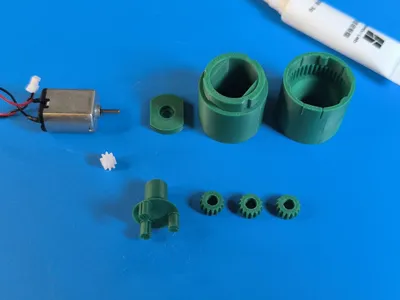
1x 030 DC Motor (Included e.G. in Beginner Kit and CyberBrick Kit)
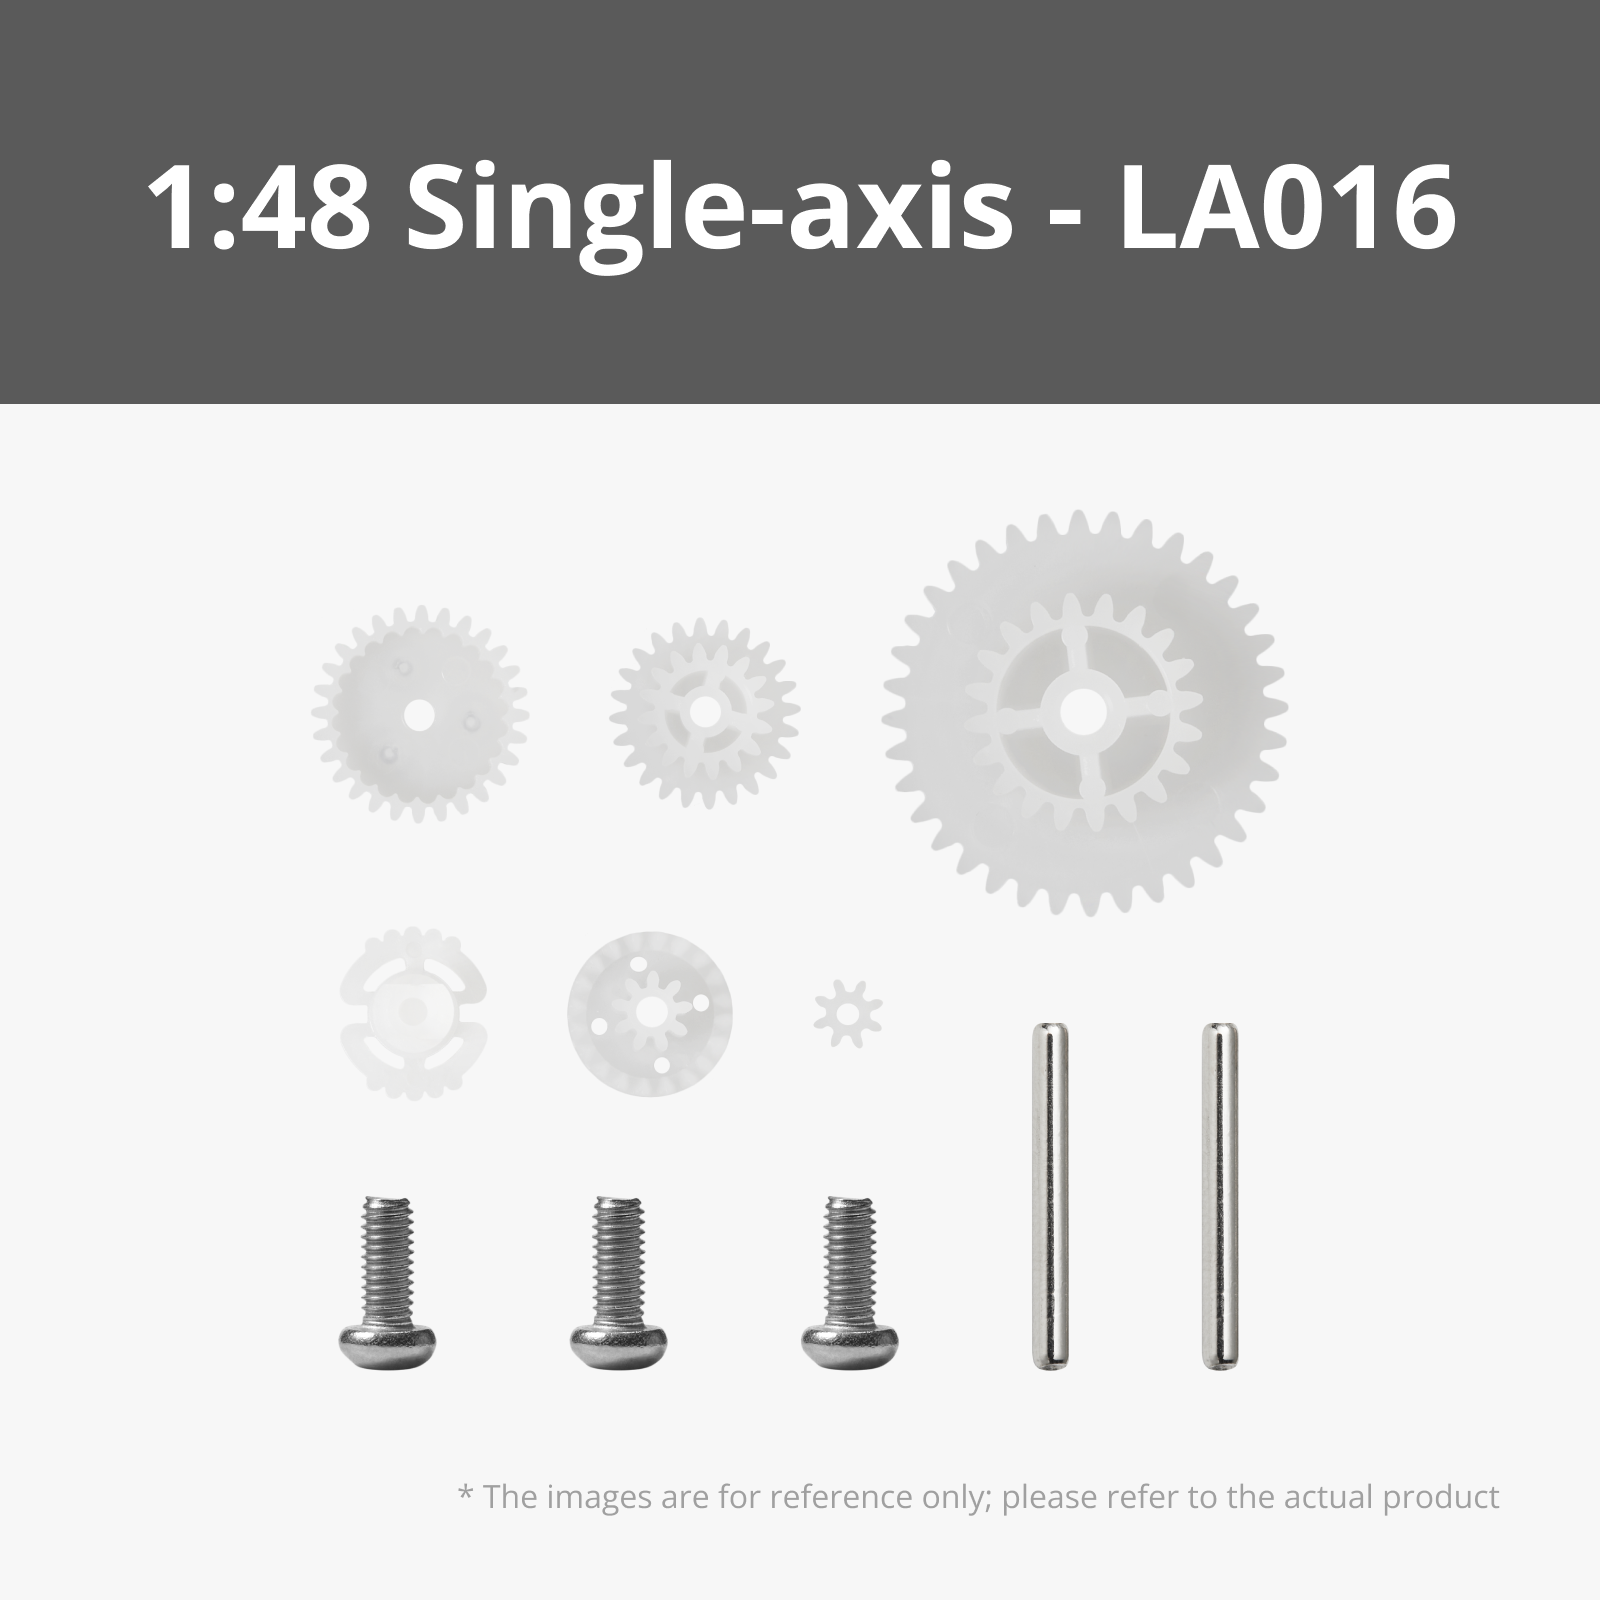
1x 8-tooth gear, which is included for example in the Beginner Kit and in every reduction gear kit.
I added the the 030 Motor and a reduction gear kit into the BOM, also added the Beginner Kit into the BOM which includes both parts.
✅ Uncheck for you're choice!
Assembly:
Check if all components printed smooth.
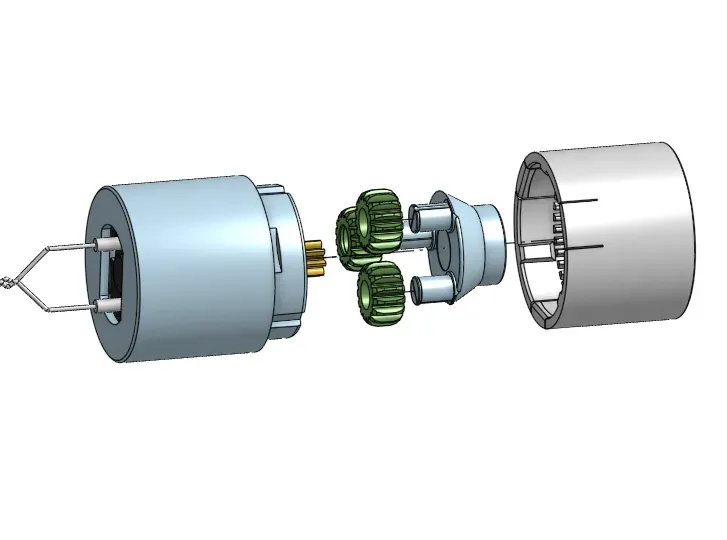
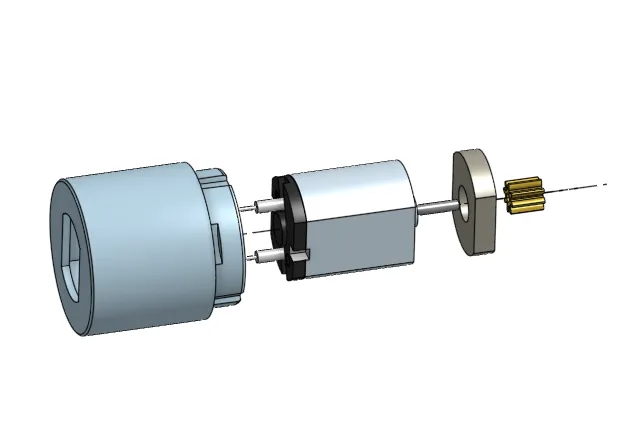
- Insert the motor into the housing
- Insert the distance plate above the motor
- Press the 8 tooth gear on the shaft
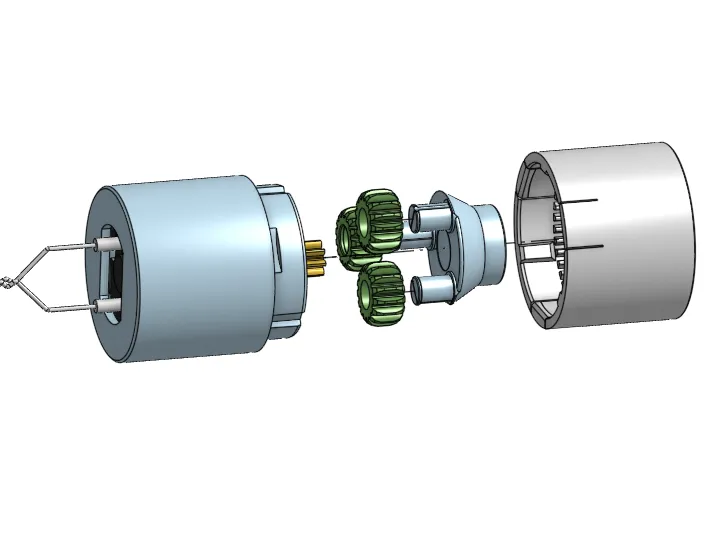
- Push the 3 gears to the pins
- Grease all gears! That's very important, without lubricant gears get a high temperature and can melt together!
Insert the completed shaft into the front housing.
Tip: You can first install it rotated 180 degrees and run it in using, for example, a cordless screwdriver.
- Check the orientation and push both housings together.
- Finished! You may need to give the small motor a little help until everything has run in.
Don't forget a virtual handshake👍…Happy Printing🎉
Boost Me (for free)
Membership
You want to sell printed objects from my designs or just support my work? Now you can subscribe on Makerworld! Thank you!
License

You may create derivative works based on this object, provided that all such derivative works are published exclusively on the MakerWorld platform and include proper attribution to the original creator. You may not share, upload, host, distribute, or publish this object—or any derivative work of this object—on any other digital platform, marketplace, or distribution channel. Commercial use of this object and any derivative works is strictly prohibited. This includes, but is not limited to, selling, renting, sublicensing, or using the object in any context in which you receive monetary compensation or other financial benefits.


Comment & Rating (28)