Ikea Adapter for LED-Kit 001 with Switch


Print Profile(1)

Description
Introduction
There are already various adapters for the IKEA Kapplake and Strimsaev lights, but they either don't have a proper switch or the light isn't centered. Since I find it impractical to lift the lamp to press the bottom, I have designed adapters for the IKEA Kapplake and Strimsaev lights that can be turned on and off with a small lever at the front
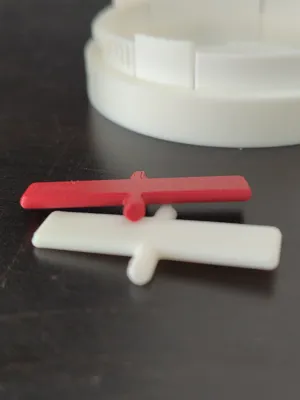
The print profile contains 5 plates. The first two plates are the bases for Kapplake and Strimsaev along with the lever. The third plate contains the individual lever to make it easier to print the lever in a different color
Plates 4 and 5 are alternative versions of the Kapplake and Strimsaev bases. The difference from plates 1 and 2 is that the holder is 1 layer (0.2mm) higher. Both variants work well and it's a bit a matter of taste which one you prefer
Assembly Instructions for Strimsaev
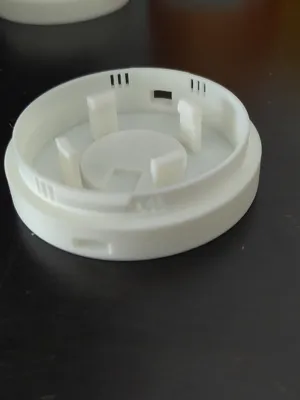
First, the lever must be placed into its holder in the housing. Please note that the lever is printed upside down. For assembly, the round axle must point downwards


The lever must be pushed through the front opening so that the lever lies flat in the recess and completely fills it

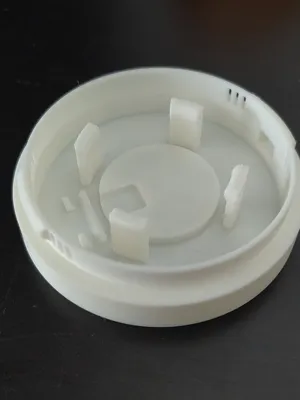
Now you can insert the Strimsaev light. Make sure that the power connector aligns with the rear opening:

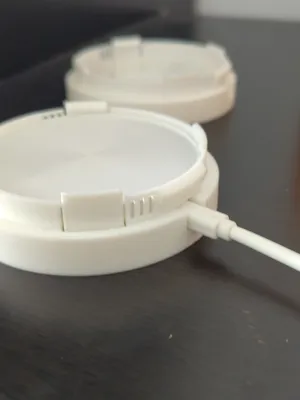
Finally, connect the power cable:

Now you can screw on a lampshade that is compatible with the Bambulab LED kit. You can turn the light on and off using the lever at the front:

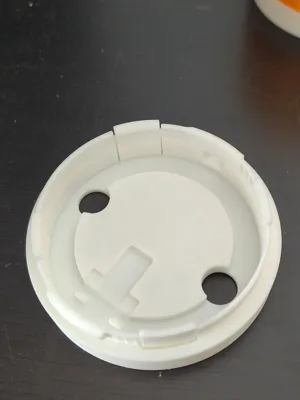
The two holes in the base are for easier removal of the light
Assembly Instructions for Kapplake
As with the Strimsaev base, the lever must first be placed into its holder in the housing. Please note that the lever is printed upside down. For assembly, the round axle must point downwards. The levers are identical for both bases, by the way

The lever must be pushed through the front opening so that the lever lies flat in the recess and completely fills it

Now the power cable must be threaded through the rear opening:

Then connect the light and insert it into the holder:


As with the Strimsaev base, you can now screw on a lampshade and turn the light on and off using the lever at the front.

Miscellaneous
I published the lampshades shown in the pictures here: https://makerworld.com/en/models/1946806-simple-small-lamps-for-ikea-and-led-kit#profileId-2091442
Please contact me if you want to make a remix of my model. If I like the idea, I will send you my OpenSCAD file
Boost Me (for free)
If you like the model, I appreciate comments, likes, and boosts
License
You shall not share, sub-license, sell, rent, host, transfer, or distribute in any way the digital or 3D printed versions of this object, nor any other derivative work of this object in its digital or physical format (including - but not limited to - remixes of this object, and hosting on other digital platforms). The objects may not be used without permission in any way whatsoever in which you charge money, or collect fees.
Comment & Rating (8)