Amaran Verge Soft Light Magnetic Control Grid


Print Profile(3)


Description
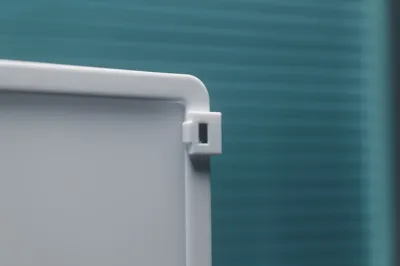
Updated on November 4, 2025, previous print profiles had incorrect dimensions reported by friends, the new version has now been updated, after downloading, it is recommended to check the long side of the grille near the buckle, if it is 202.4mm, it means the configuration is correct, friends who downloaded previously must update the profile before printing again, we sincerely apologize to those who have already printed with incorrect dimensions
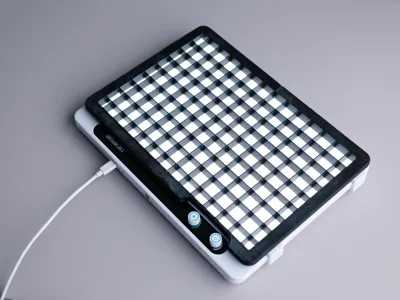
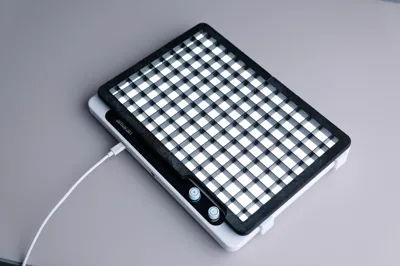
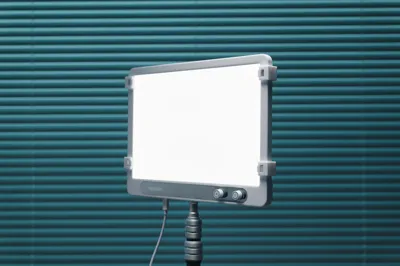
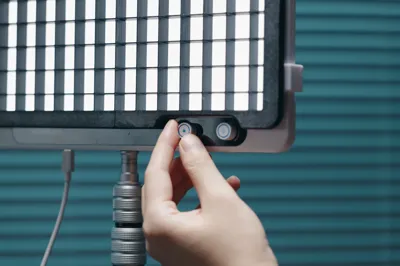
Because the Aputure Amaran Verge soft light does not have an official light control grid, I designed one myself, referencing the buckle design of the Verge Max official grid and the magnetic design of the Ace25 official grid, the buckle can be permanently installed on the light panel, and when light needs to be focused, it can be magnetically attached very conveniently and quickly, I hope this helps friends who use the same photographic light
Non-3D Printed accessories
10mm x 5mm x 2mm N52 magnets, 8 pieces
Recommended tools
502, 495, 406, and other super glues
Printing suggestions
- Theoretically, high-temperature resistant filament should be chosen for lighting accessories, but because the Verge actually doesn't generate much heat, actual tests show that common materials like PLA and PETG also work fine
- The magnetic holes were designed with space reserved for glue, so there is no need to manually enlarge the magnetic holes when printing
- Designed based on the dimensions of the A1 3D Printer, so the grid is split into two parts, if printing with a larger or smaller machine, you can combine or further split them as needed
Assembly notes
- The design intends for the two parts not to be separated after assembly, so the pins of the two grid parts are designed to fit perfectly, due to printing tolerances, assembly might be a bit tight, if it really doesn't fit, you can sand it down a bit
- Be sure to pay attention to the orientation when attaching the magnets
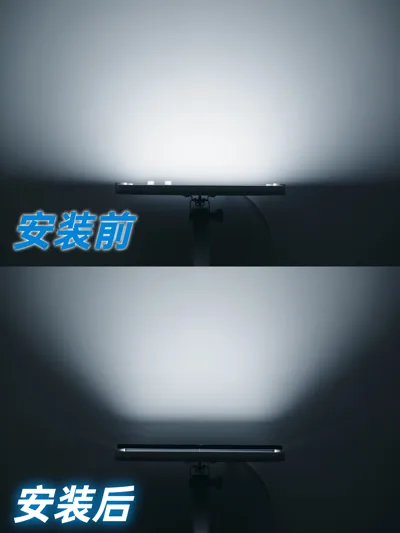
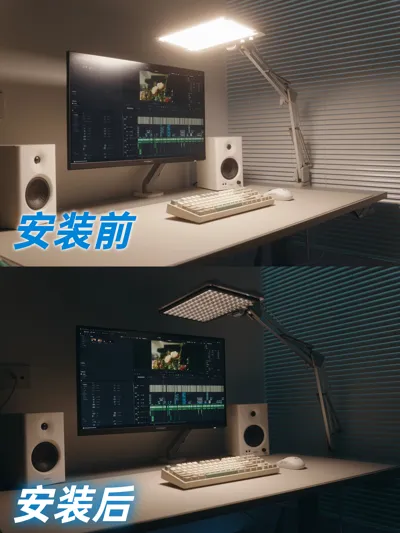
Usage effect: http://xhslink.com/o/fzhrZwXvyW
License
You shall not share, sub-license, sell, rent, host, transfer, or distribute in any way the digital or 3D printed versions of this object, nor any other derivative work of this object in its digital or physical format (including - but not limited to - remixes of this object, and hosting on other digital platforms). The objects may not be used without permission in any way whatsoever in which you charge money, or collect fees.
Comment & Rating (1)