
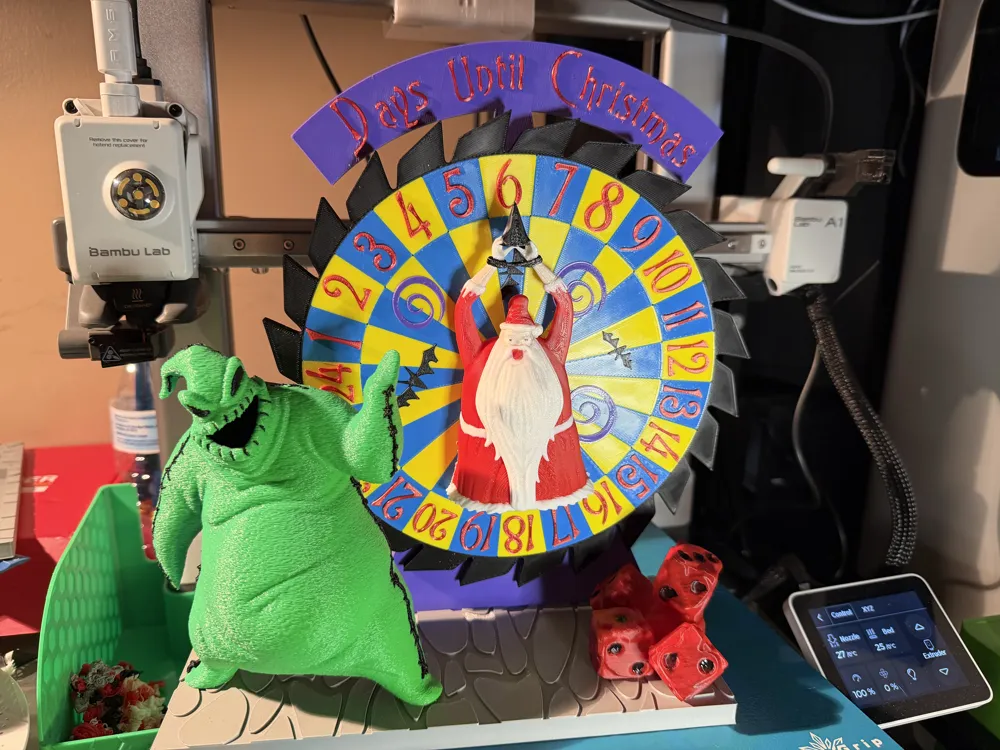
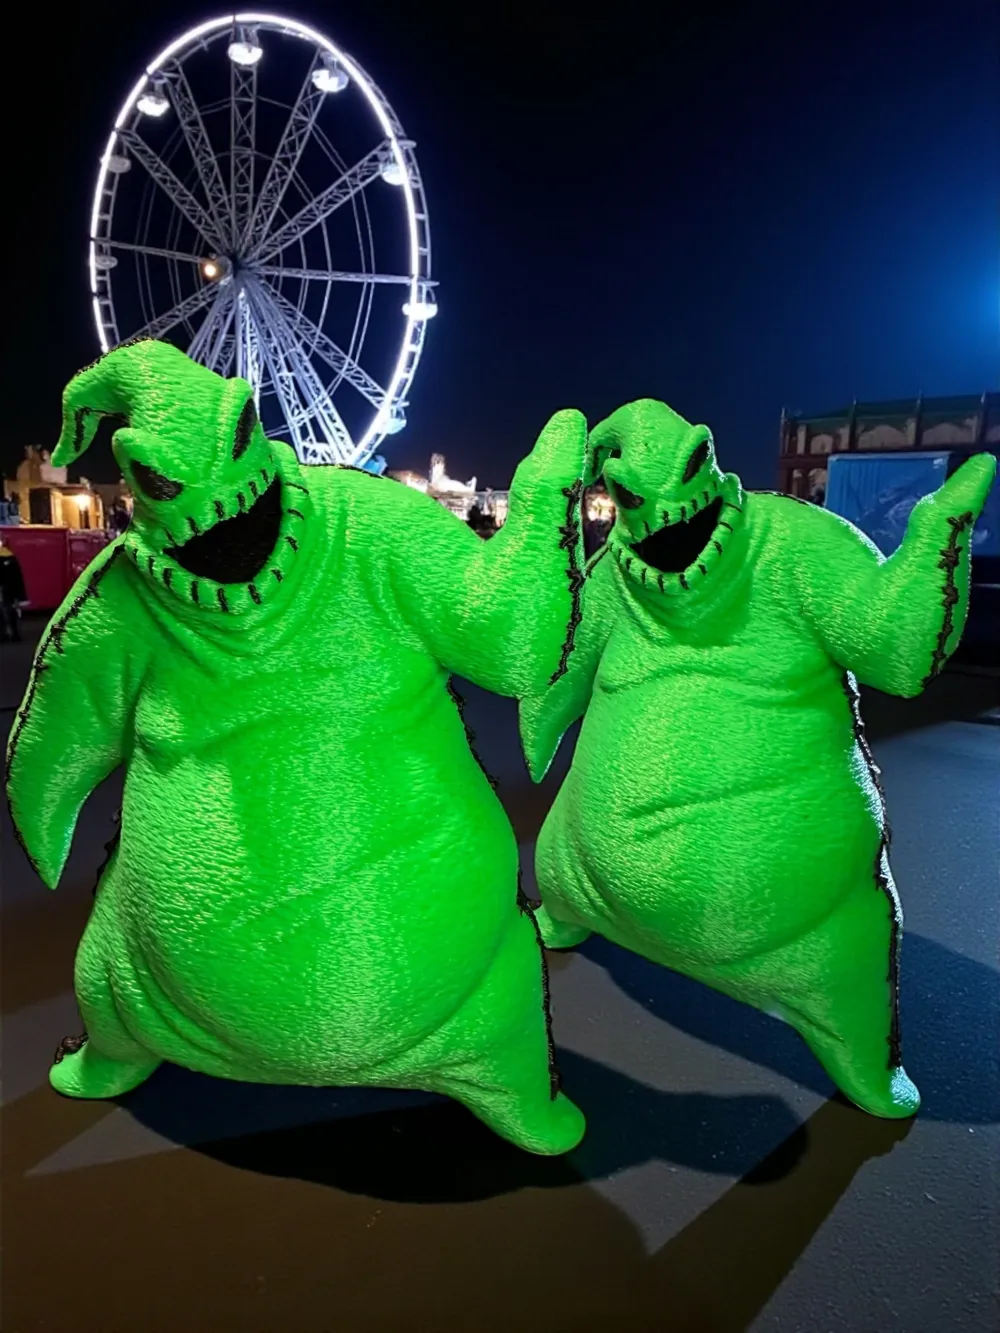
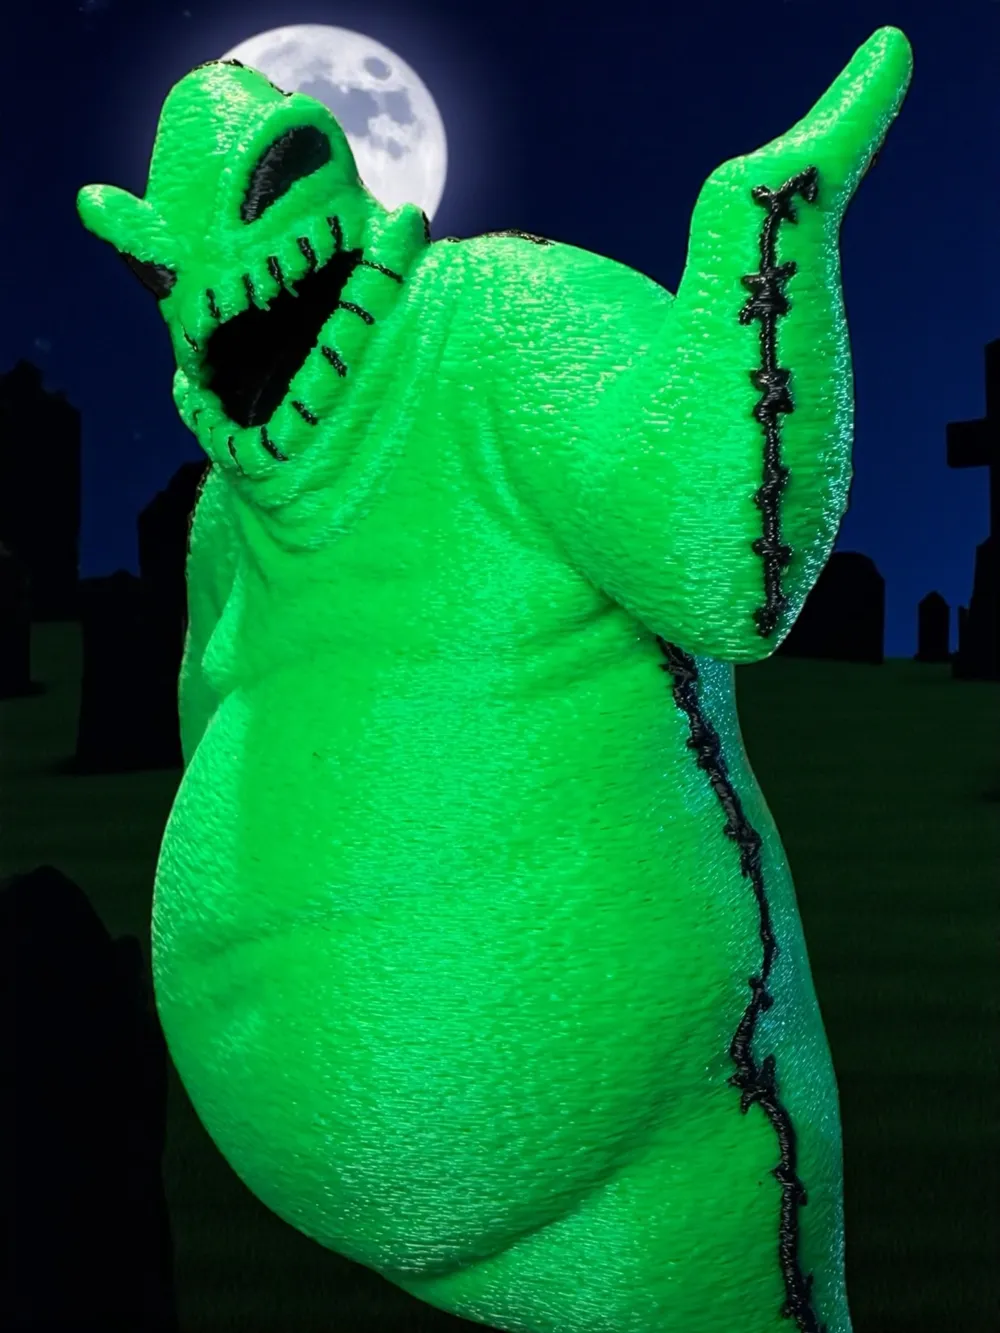
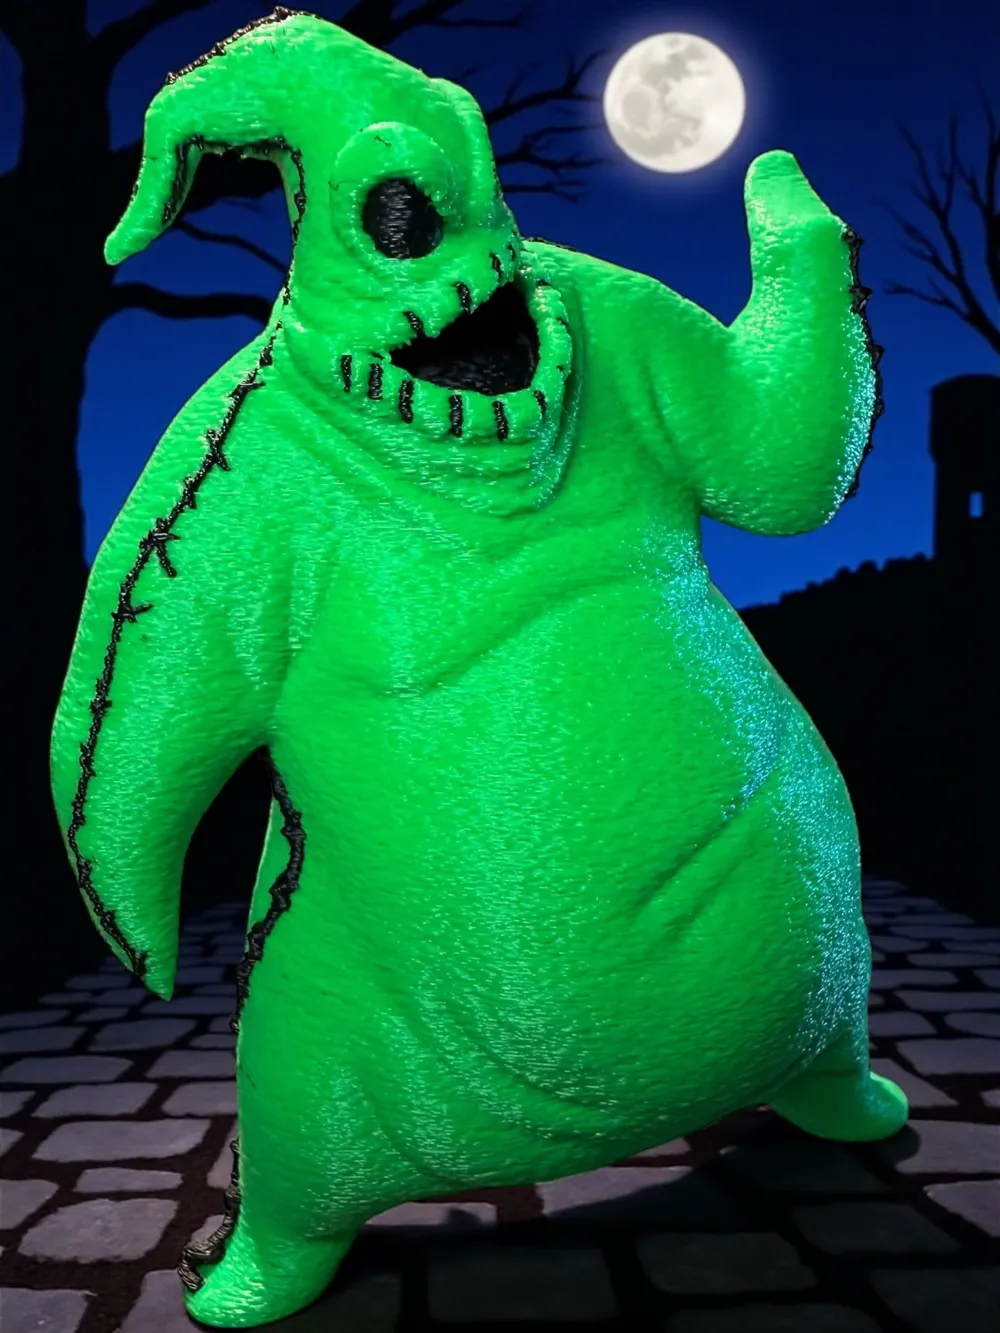
Oogie Boogie's Christmas Countdown
Print Profile(4)


Description
Thanks for checking out my model! Come join the Nightmare 3D community by clicking below! 👇
3D Printing Beginner to Pro hosted by Nightmare 3D
Membership
Want to Sell My Models? Considering joining my membership. I am still new to designing but will be uploading 3-4 models a month. Feel free to message me things you want to see brought to life.
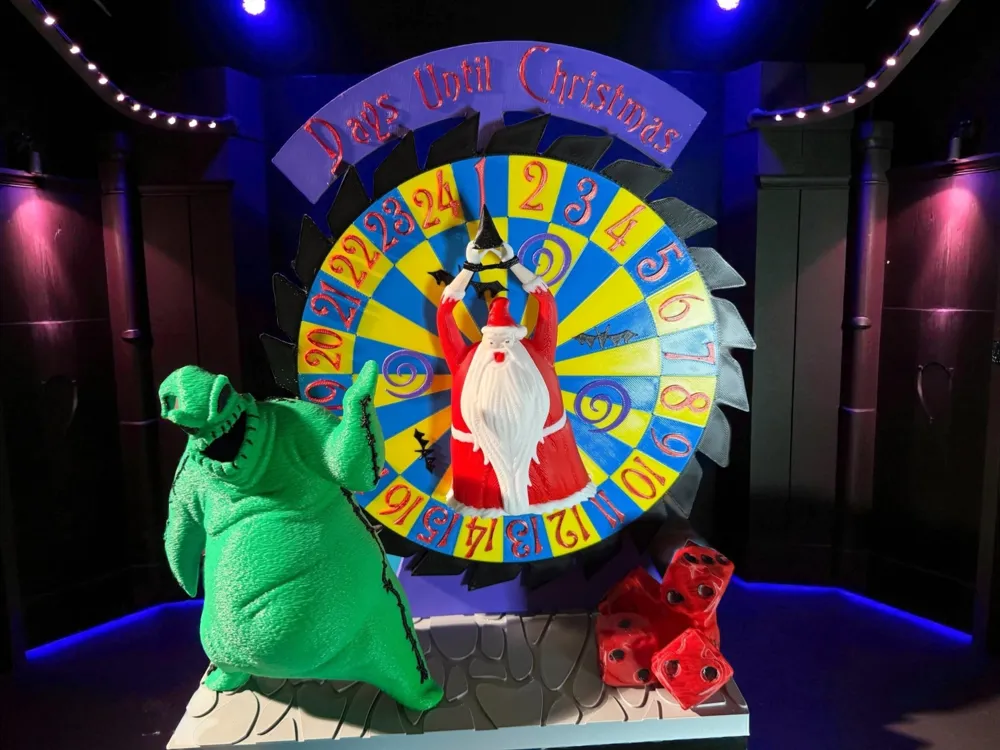
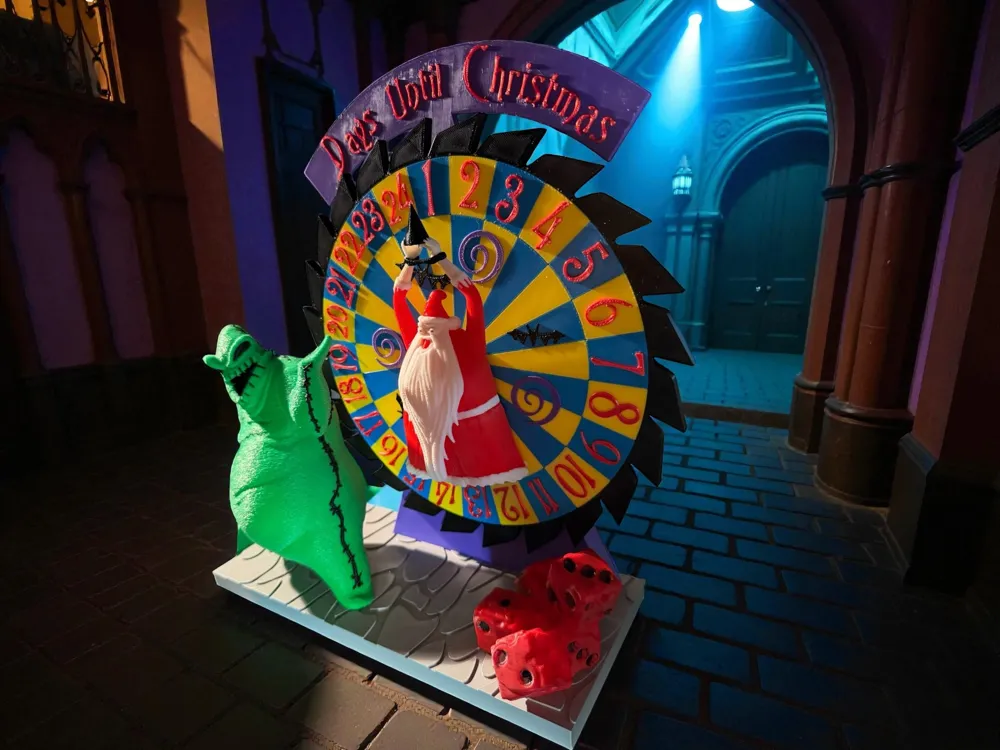
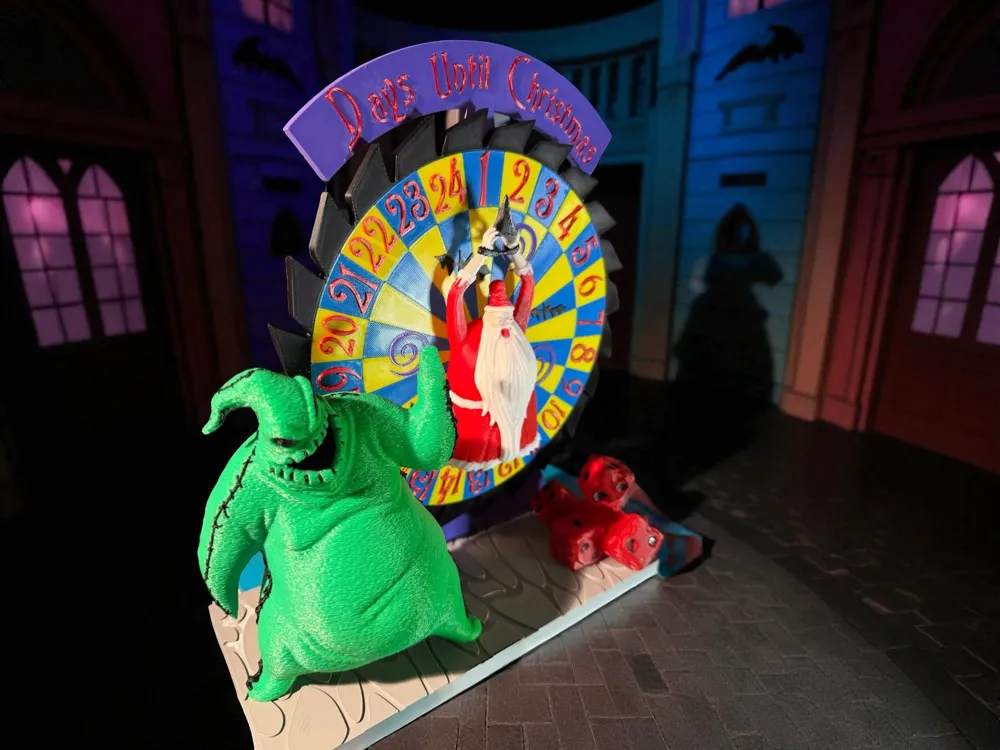
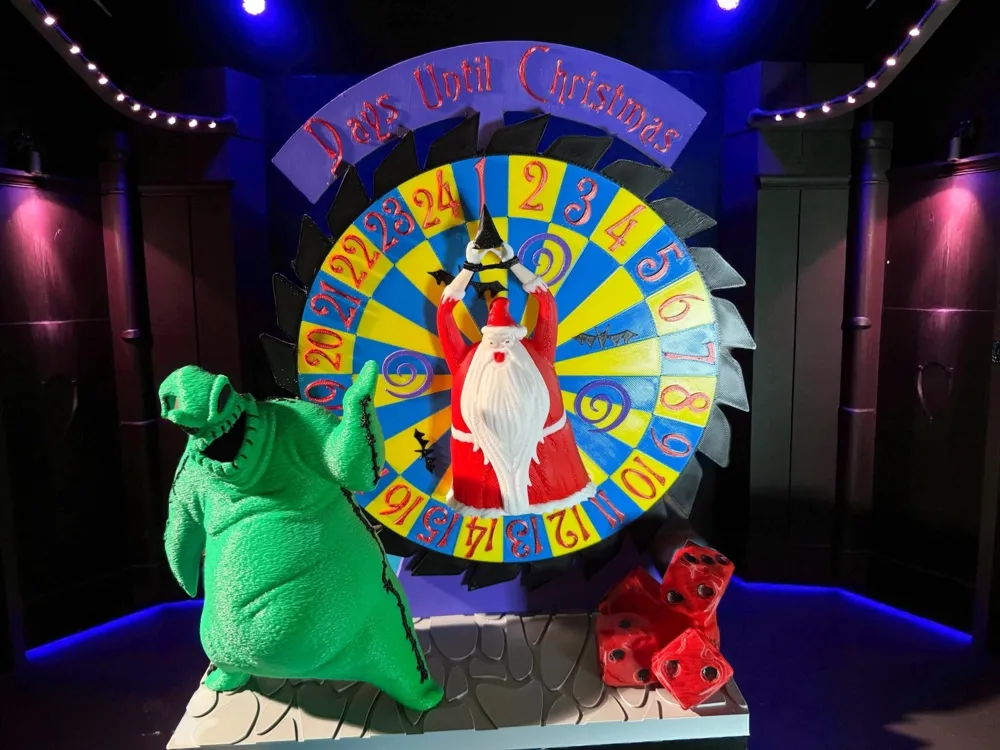
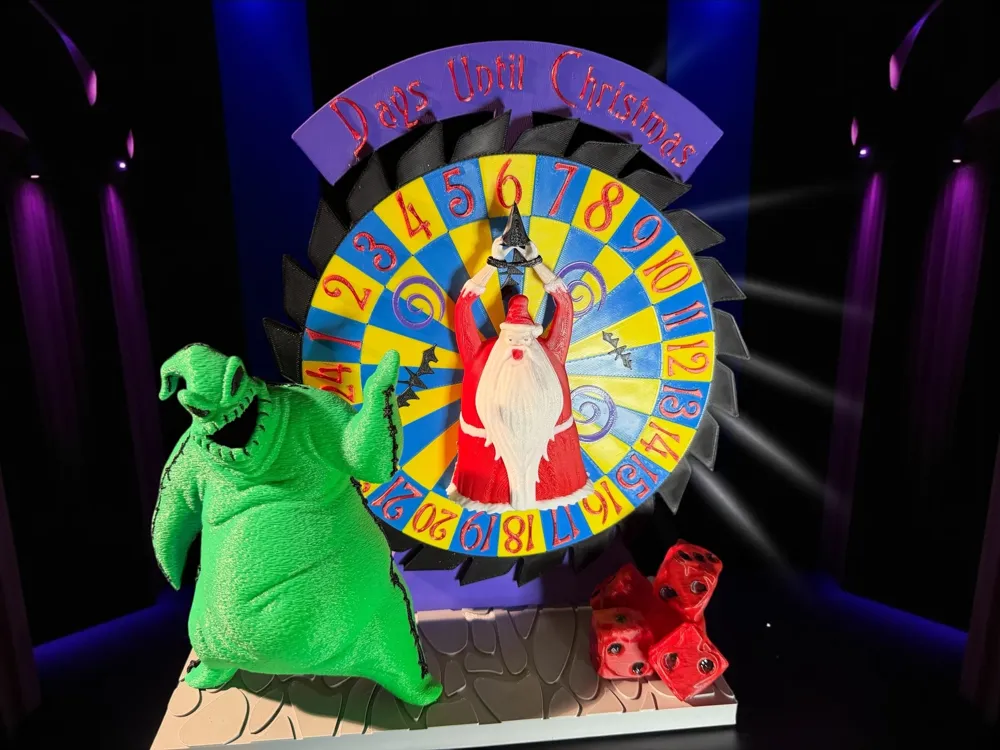
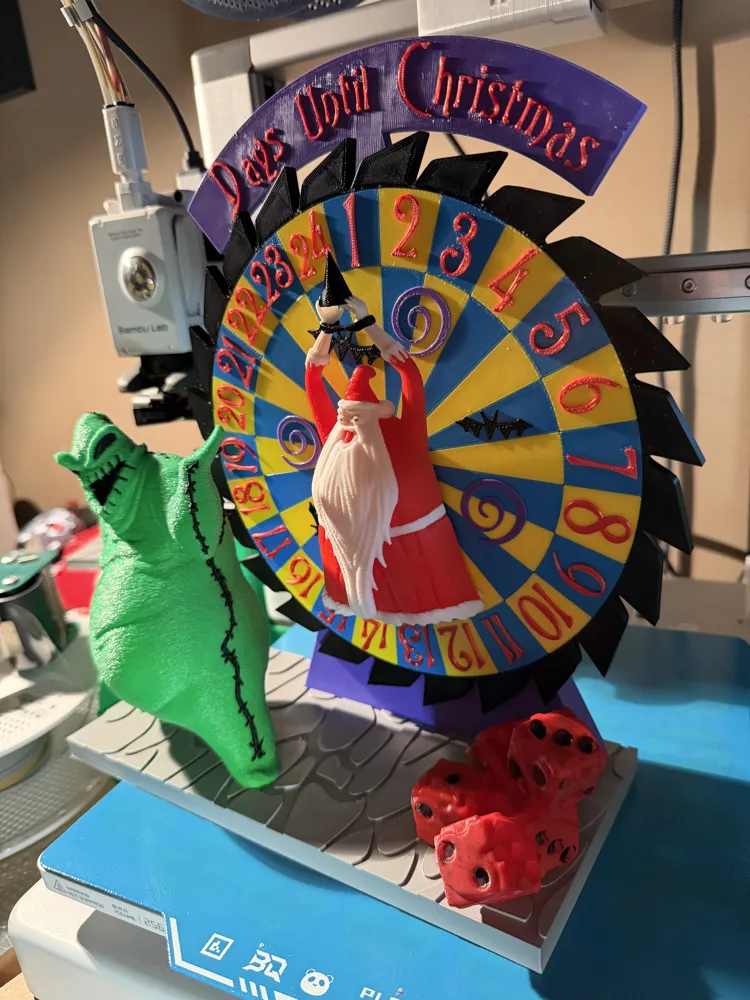
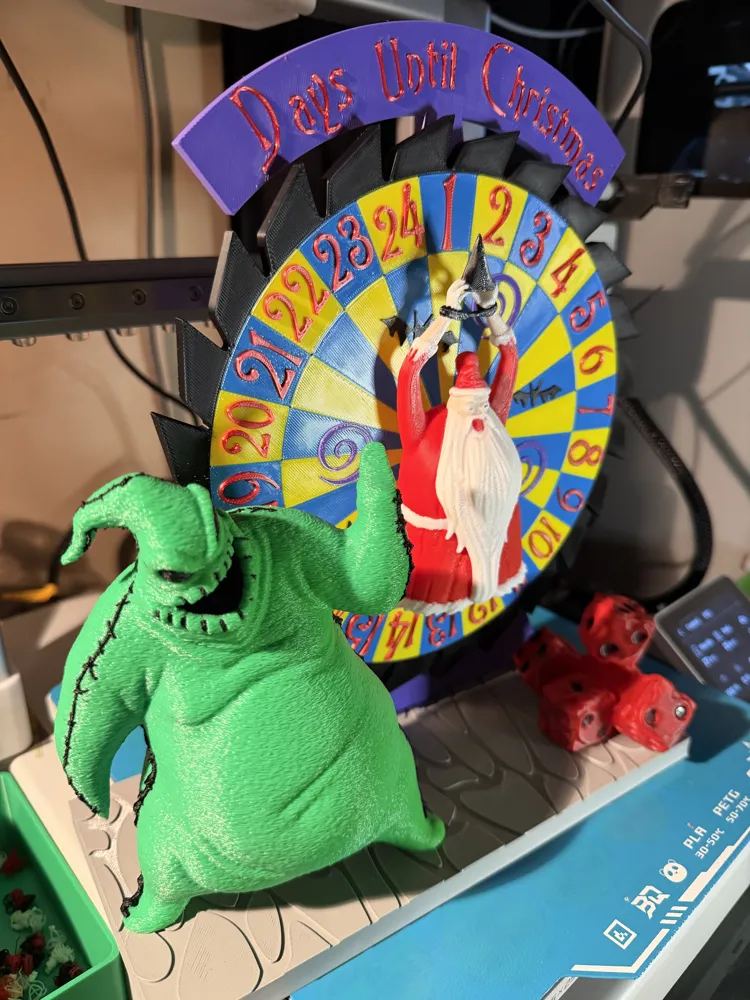
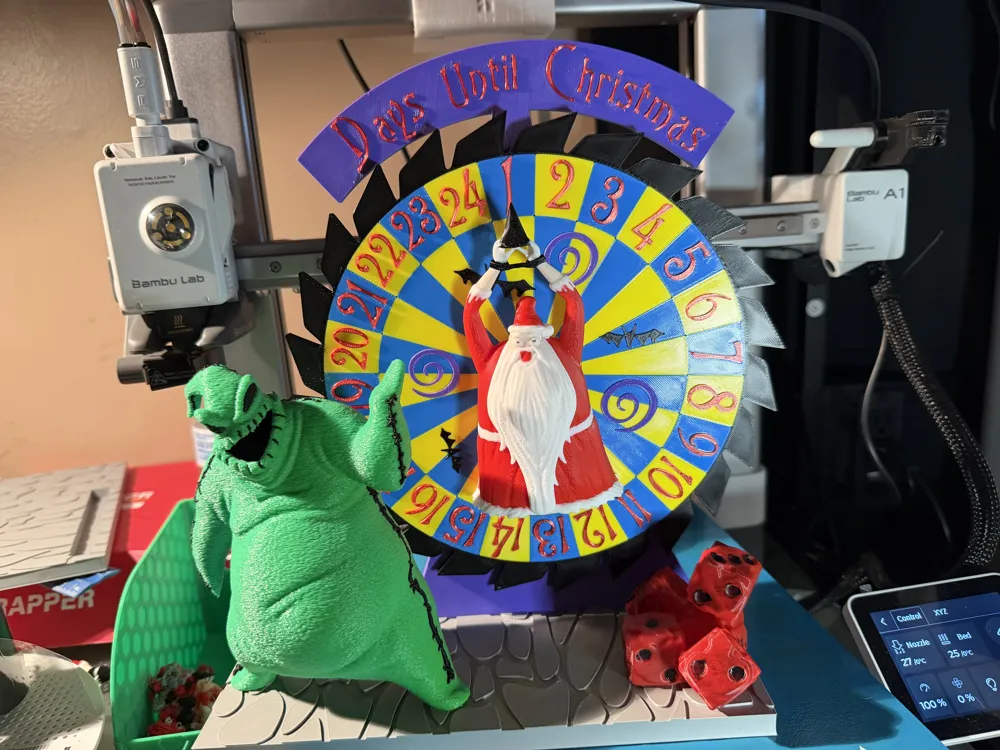
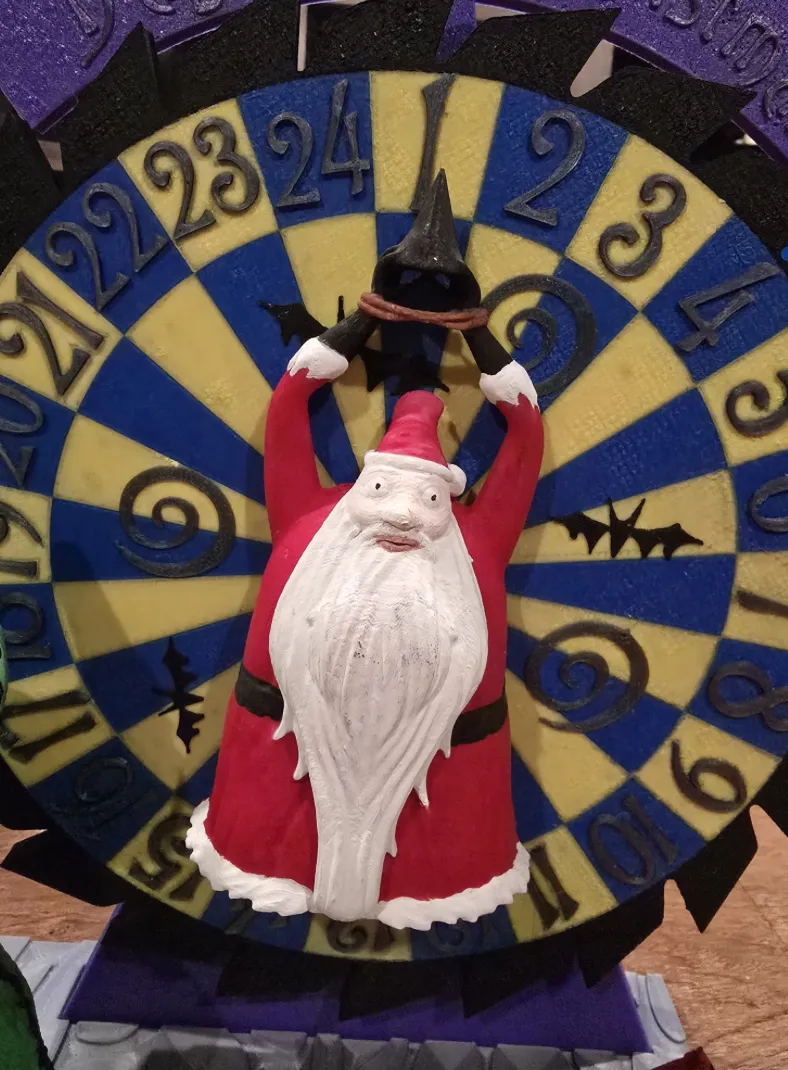
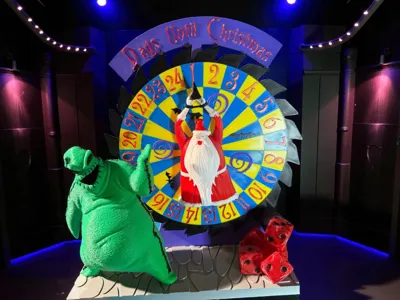
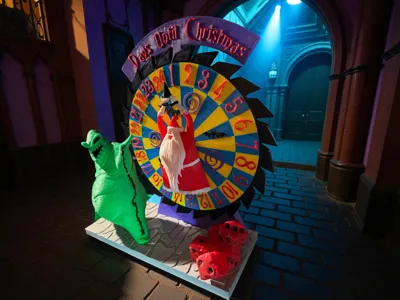
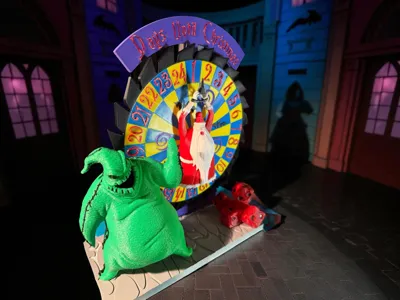
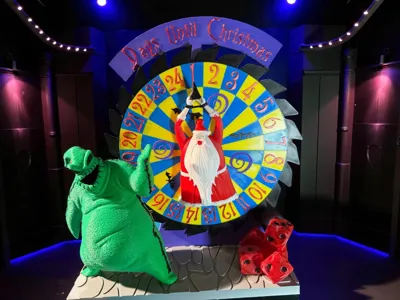
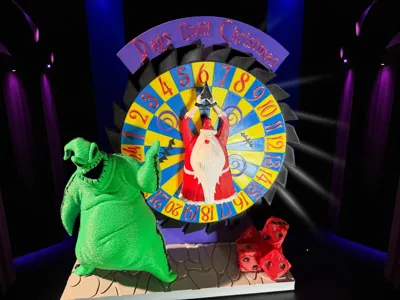
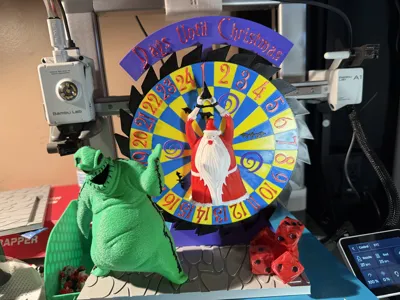
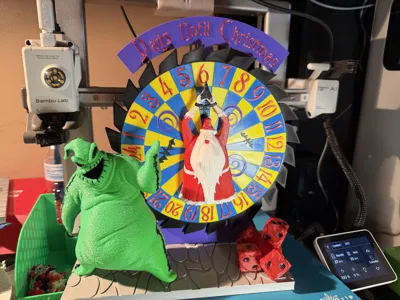
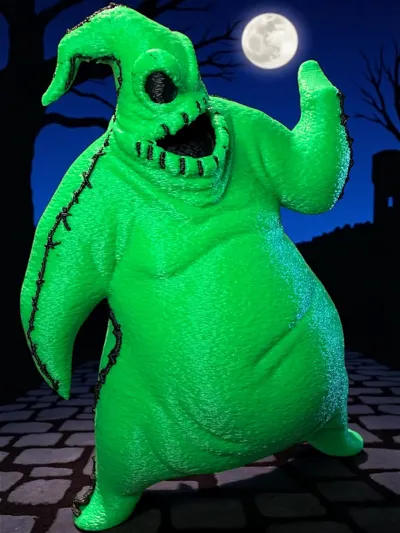
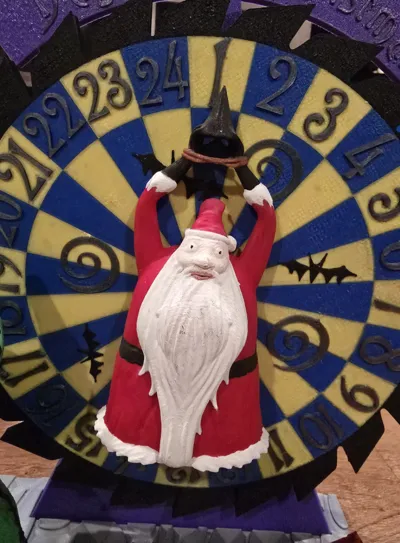
🎲 Oogie Boogie’s Countdown to Christmas 🎅
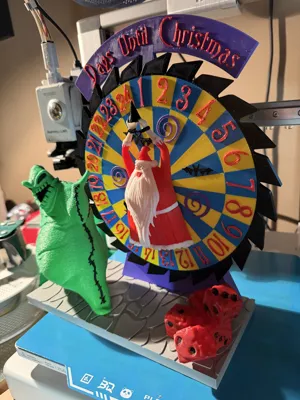
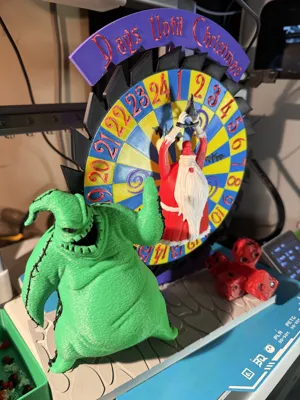
This is a large, multi-part print, and every component is 100% 3D printed!
I designed and built it using Nomad Sculpt and Fusion 360.
UPDATES:
- All Profiles have been update for santa to be moved down into the build plate to make more stable printing.
2. Alternate, more accurate Santa has been uploaded and pictures added, if you want that santa he is available individually in that profile - This comes from user Vmprjessie, thank you!
⸻
🧩 Assembly Notes
You’ll need glue for some sections — always test fit before gluing.
Included Print Profiles:
• ✅ Complete model (all parts)
• 🧱 Base & Upright
• 🎡 Wheel
• 🎲 Oogie Boogie
• 🎅 Sandy Claws
⸻
🛠️ Assembly Steps
1. Insert the bottom upright into the base — the notch should face forward.
2. Insert the peg into the upright (add a few drops of glue on each side), then slide on the upper upright.
3. Use the small spacer first, then slide the wheel onto the peg, followed by a large spacer, and finally attach Sandy Claws. (Mine was a tight press fit, but glue can help secure it.)
4. Optionally glue Oogie Boogie and the dice to the base — or leave them unglued for easier storage.
⸻
⚙️ Print Settings
• Oogie Boogie: 10% Gyroid infill, Fuzzy Skin ON
• Other parts: 8–10% Gyroid or Lightning infill, Fuzzy Skin OFF
• Wheel: 5-color print; separated by object so you can recolor swirls or bats for a 4-color setup.
⸻
🎨 Filament & Tips
All parts are color-separated, but you may need to switch filaments and adjust print order to match the shown colors.
⸻
📸 Show It Off
This is a long print, but totally worth it — the results are amazing!
Drop your make photos below — I’d love to see your versions!
👍 Boosts are always appreciated!
Boost Me (for free)
If you want to see more like this, please drop a Boost and Always leave a review and picture!
License

You shall not share, sub-license, sell, rent, host, transfer, or distribute in any way the digital or 3D printed versions of this object, nor any other derivative work of this object in its digital or physical format (including - but not limited to - remixes of this object, and hosting on other digital platforms). The objects may not be used without permission in any way whatsoever in which you charge money, or collect fees.


Comment & Rating (215)