
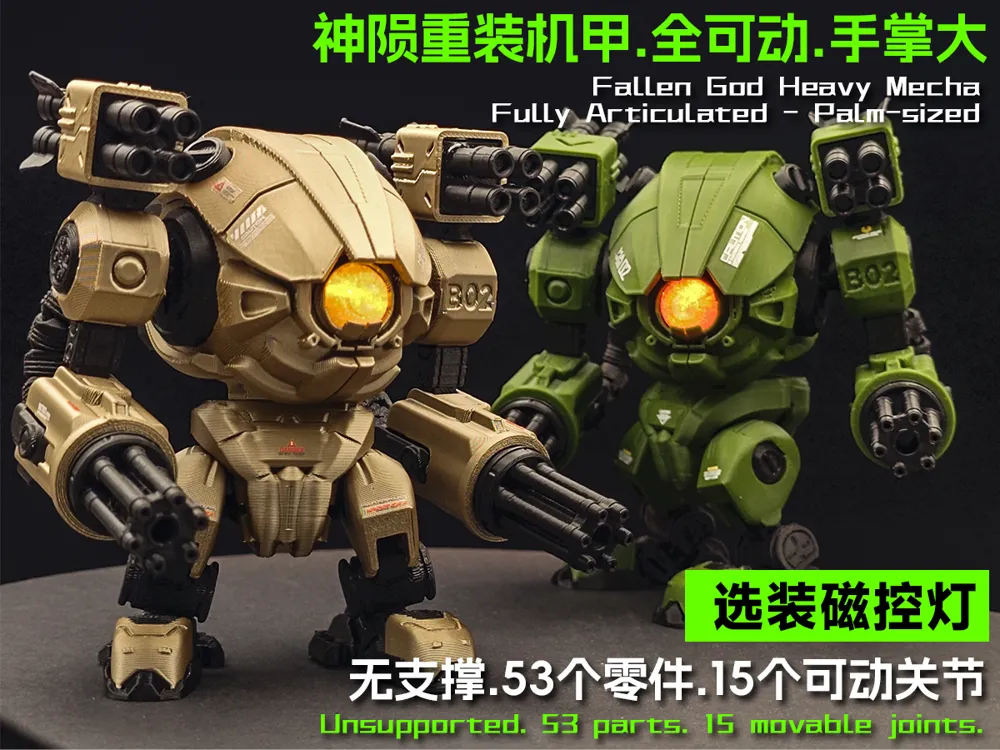
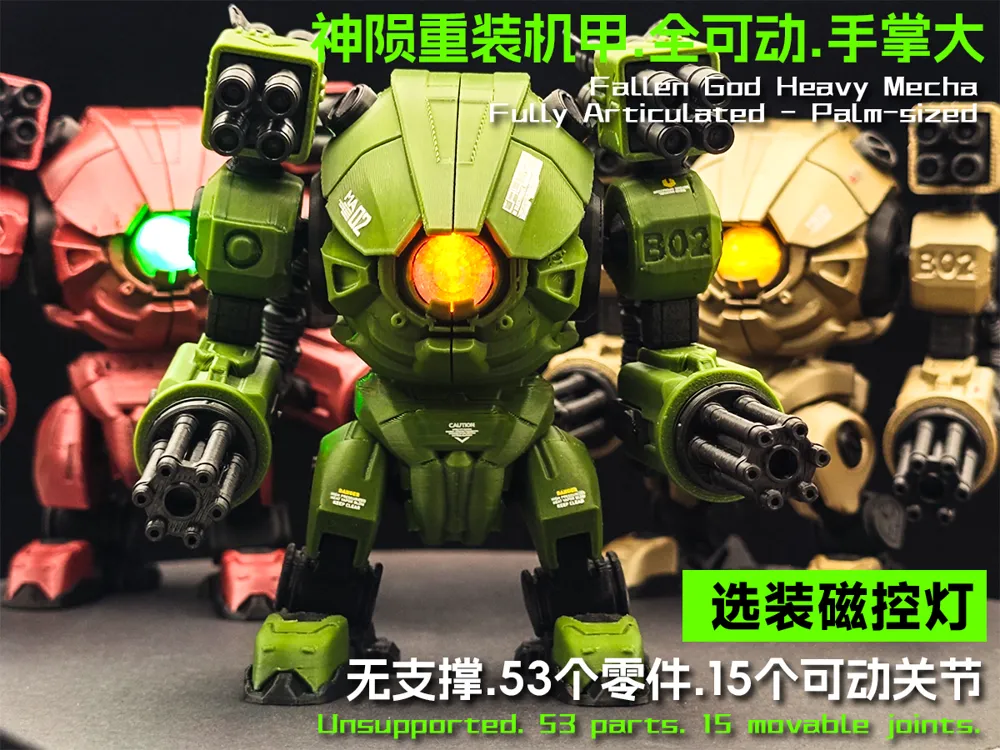
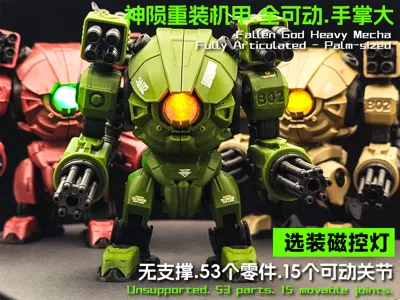

Godfall Heavy Mecha - Fully Articulated - No Supports
Print Profile(2)


Description
Boost Me (for free)
Guys, give me a free "little rocket", which will give me more motivation. Thank you for your support!
Membership
Choose your support: A quick tip or a commercial license to sell prints.
【Follow us, and we'll send you the latest designs as soon as they're available!】
Please make sure to apply glue or heat bed spray before printing. Don't let the first layer stick poorly or "fall off", which may result in incomplete or messy prints. If you're a beginner, we recommend you check out the "Tips for Beginners" at the bottom.
Apply glue stick to the bed before printing to prevent parts from falling
Read the assembly instructions first, then proceed
This original mech took over 20 days to design, repeatedly test, and optimize
For commercial use, please go toMakerworld.Subscribe for a commercial license Thank you for your support and respect
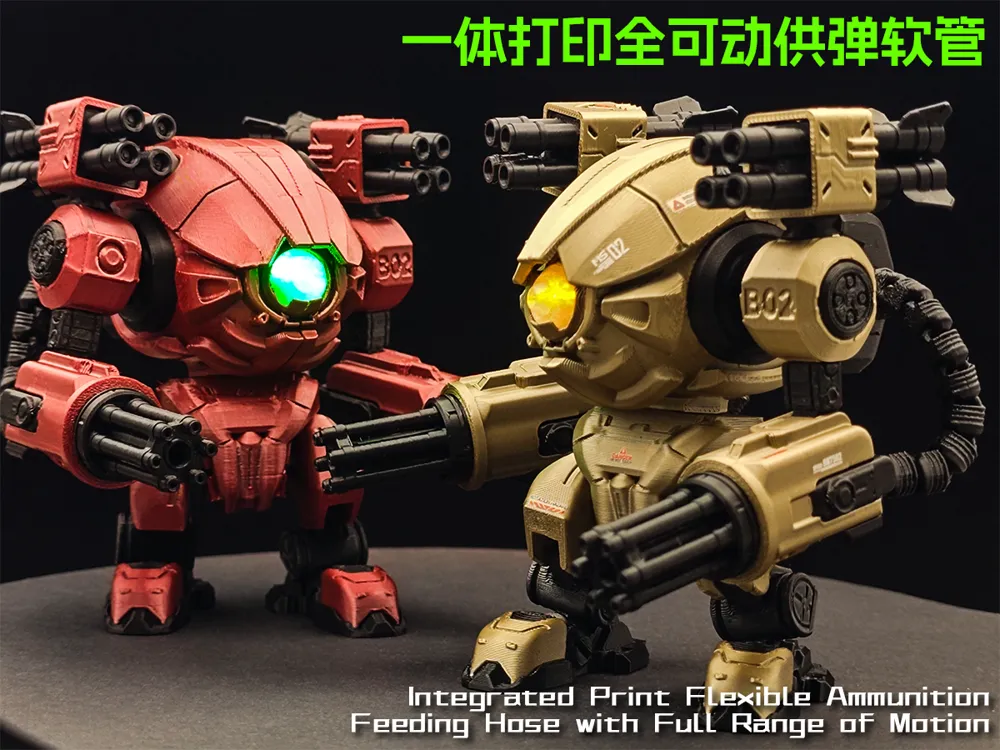
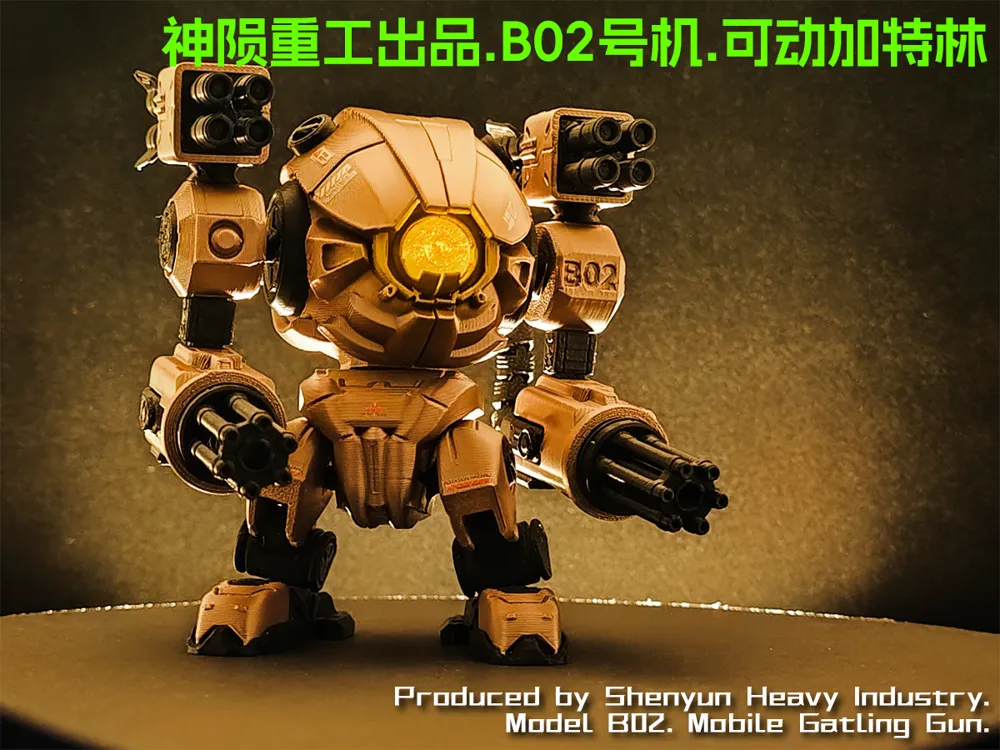
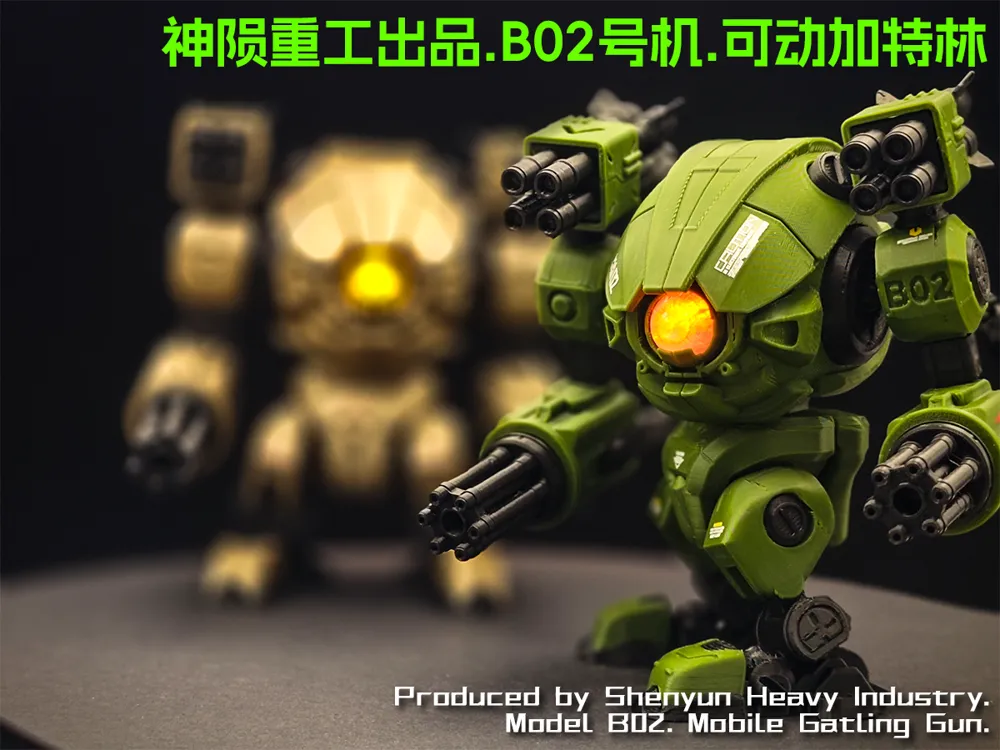
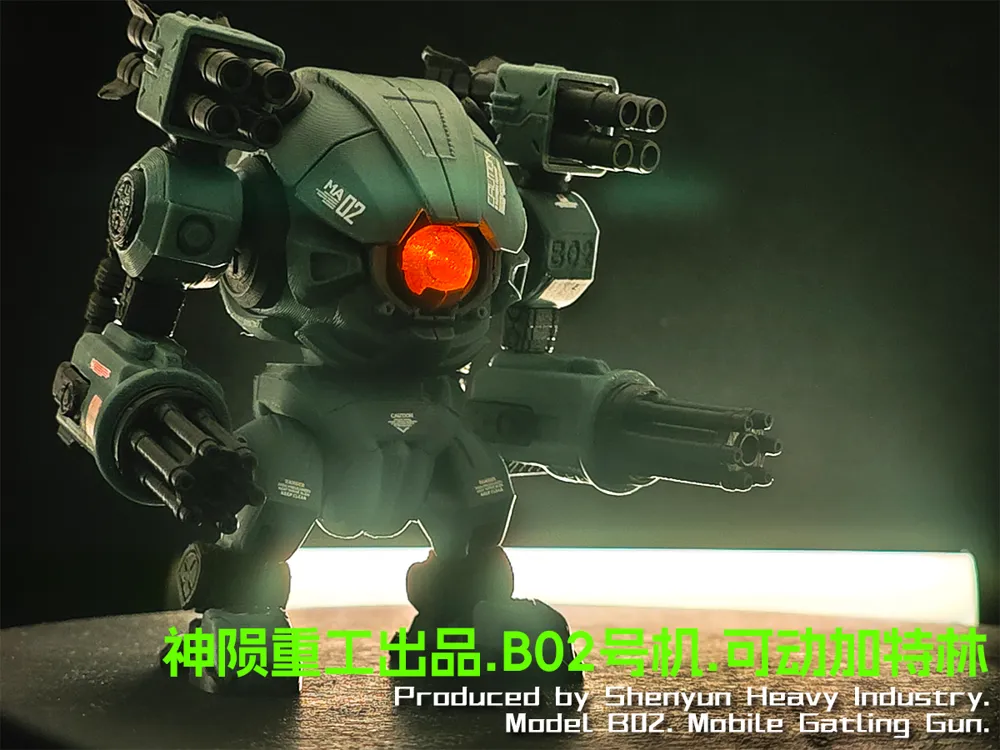
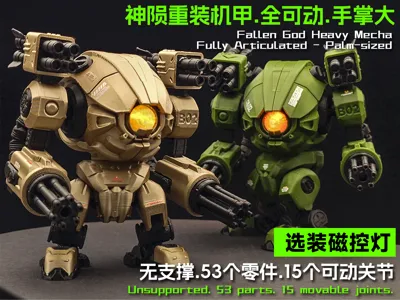
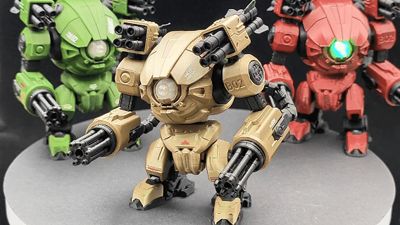
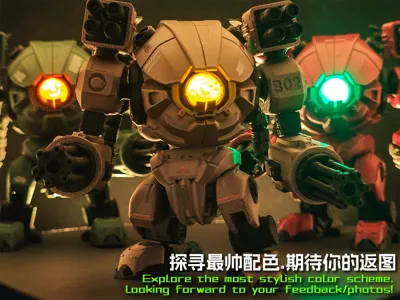
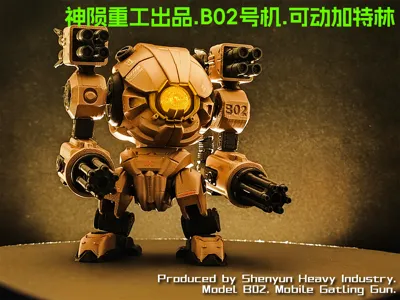
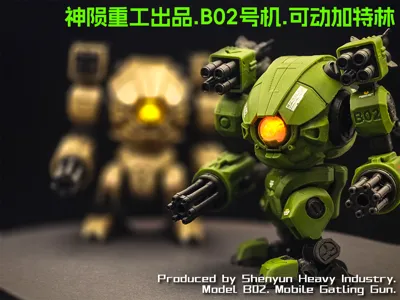
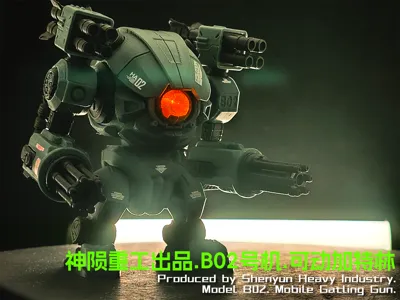
Heavy Mecha - Unit B02 by Shenyun Heavy Industry

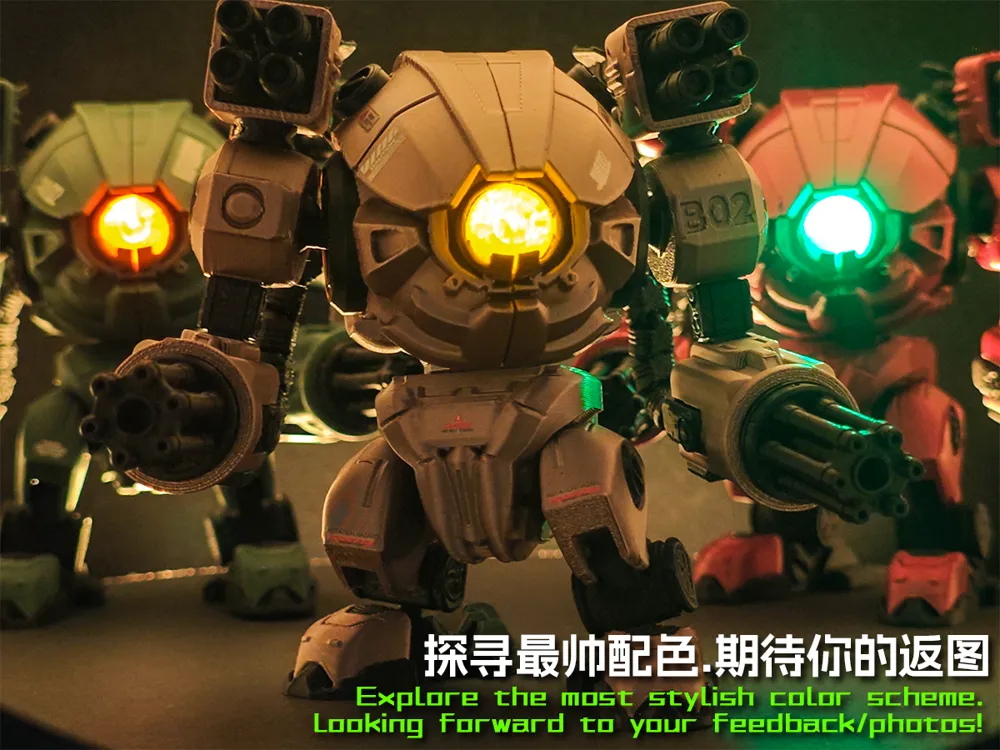
Note: All photos are taken with a phone, not AI-generated images
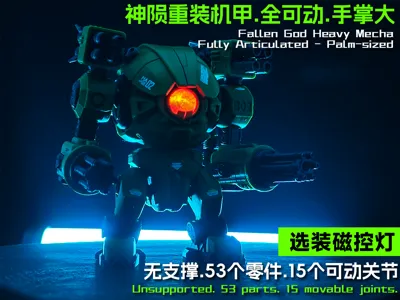
• 15 articulated joints, 53 parts
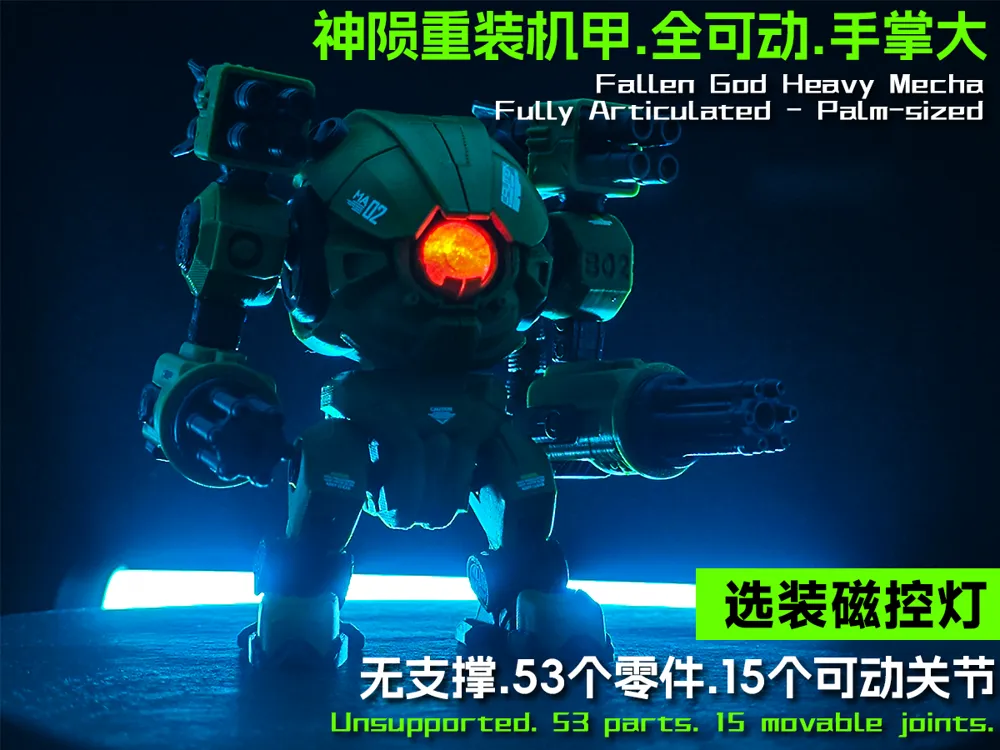
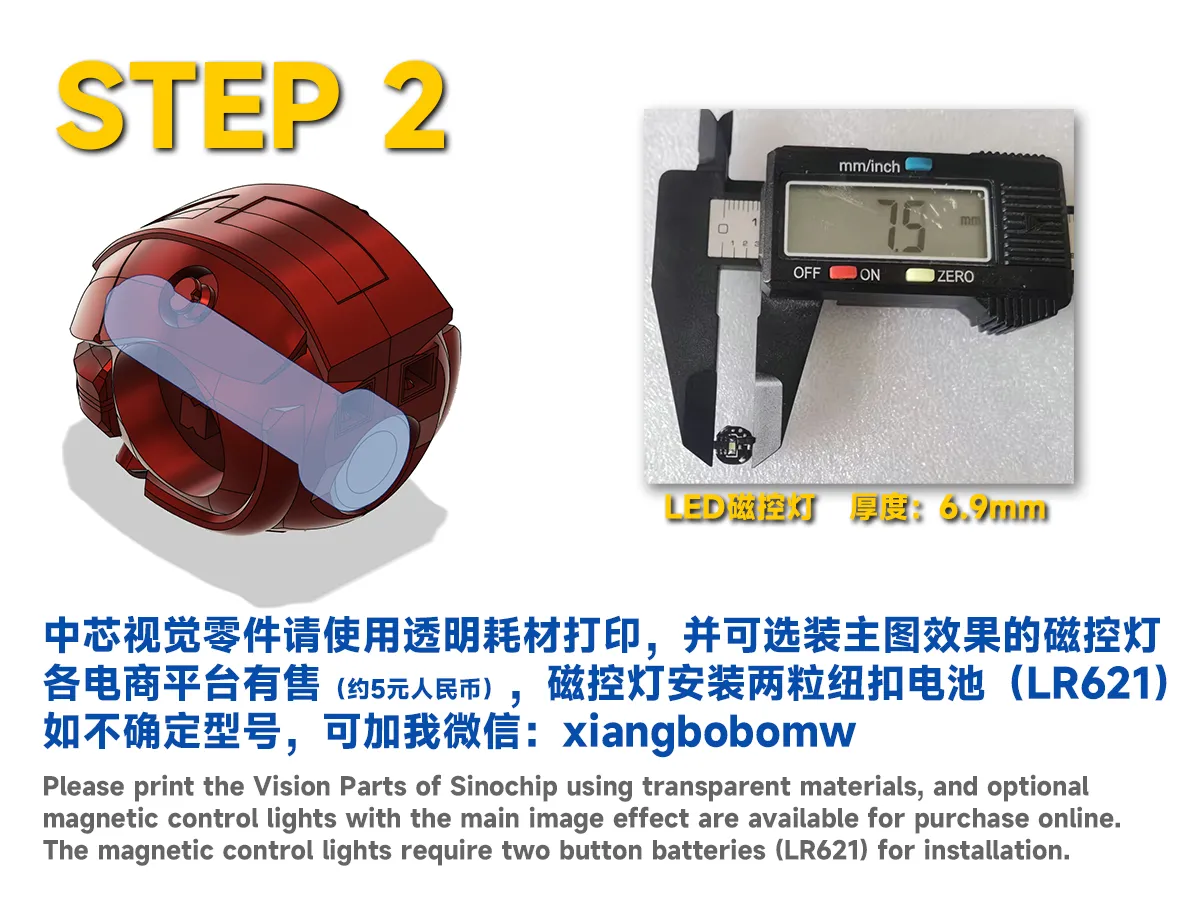
• Button cell magnetic control light (AG1), optional, available on e-commerce platforms (less than 5 RMB)
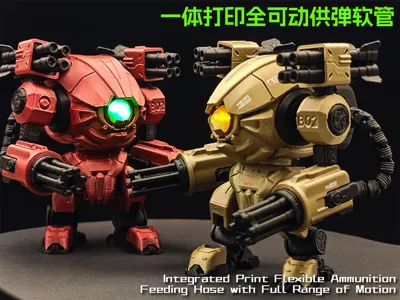
• Print in Place, fully articulated ammunition feed hose
• Rotatable Gatling gun
Filament Suggestions & Assembly Instructions:
- PETG is recommended for joints, due to its high toughness
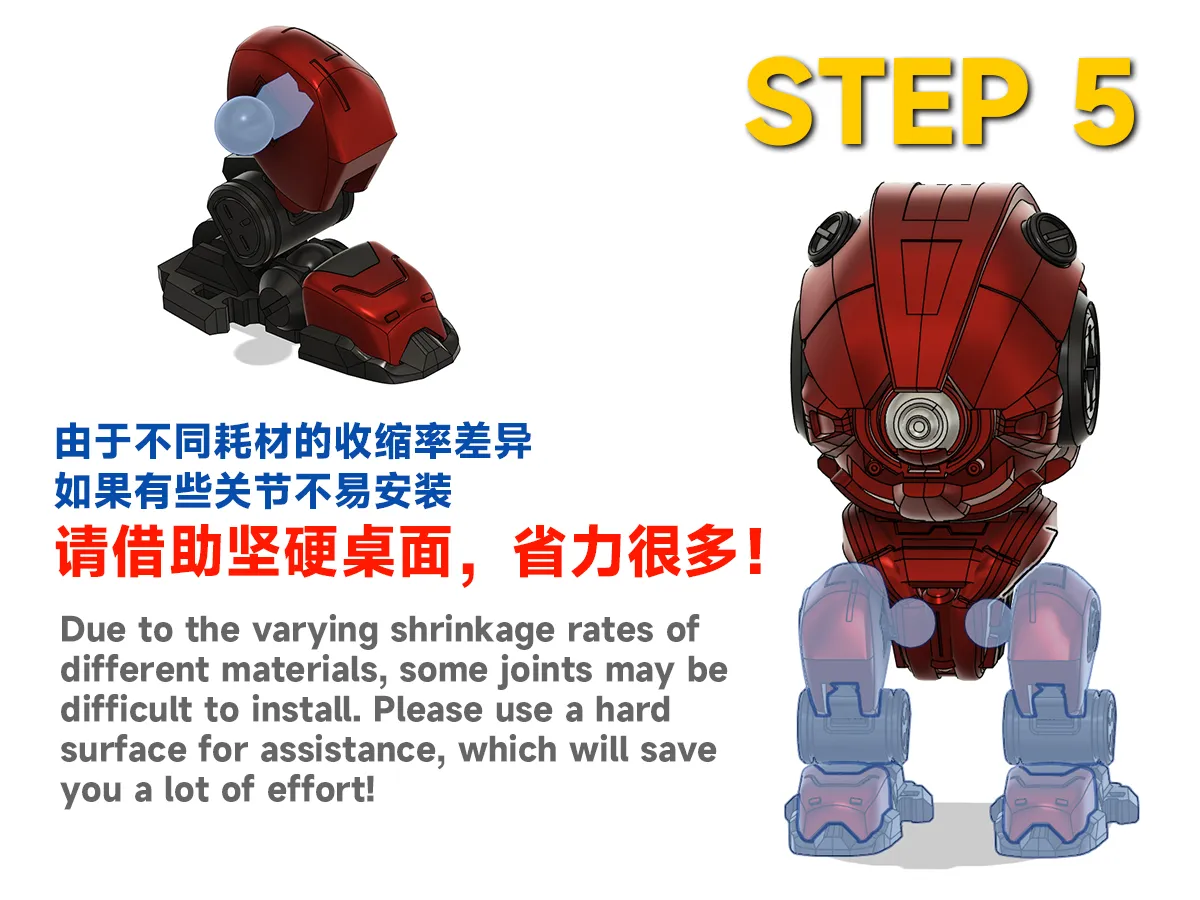
- Different filaments have different sinkage rates, resulting in varying assembly tightness, you can use a hard desktop to install the joints
- If installing the magnetic control light, please print the eyes in transparent color
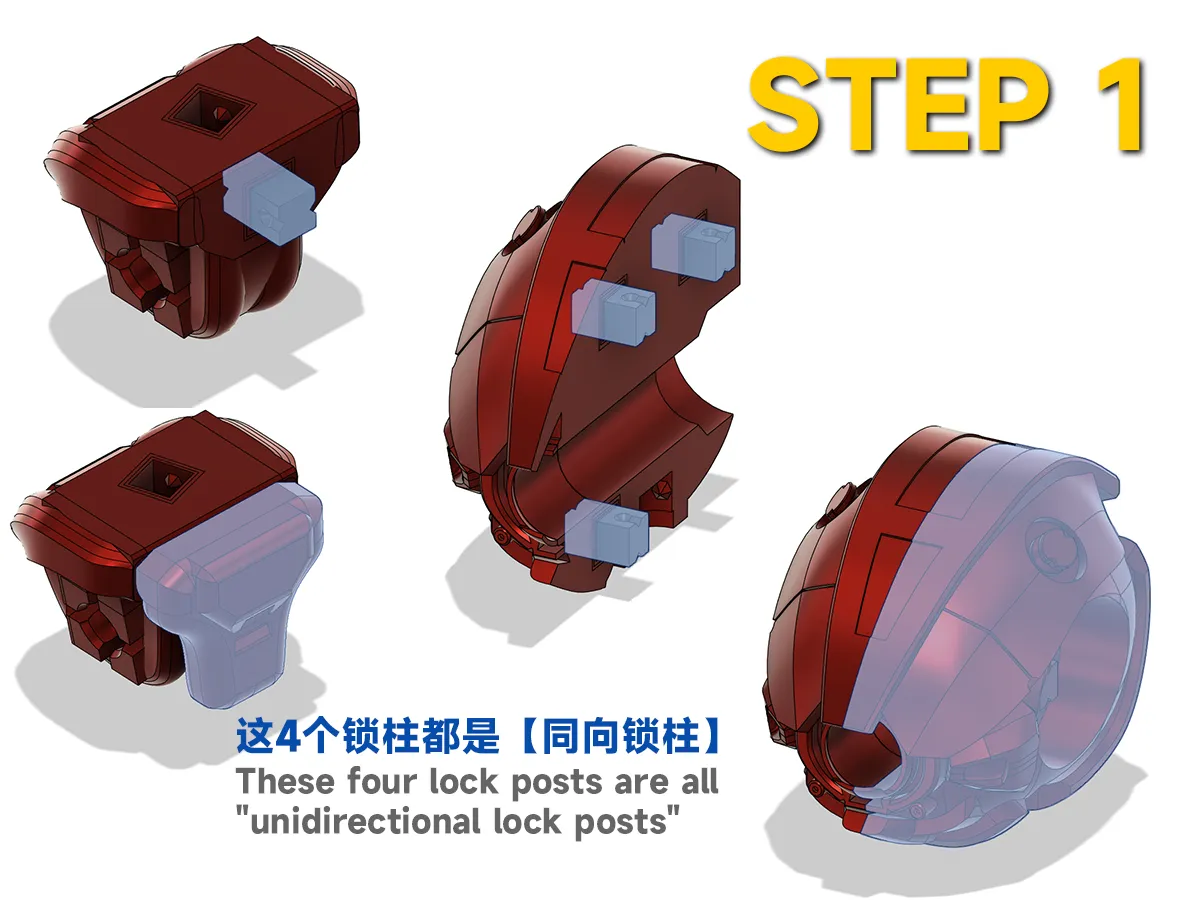
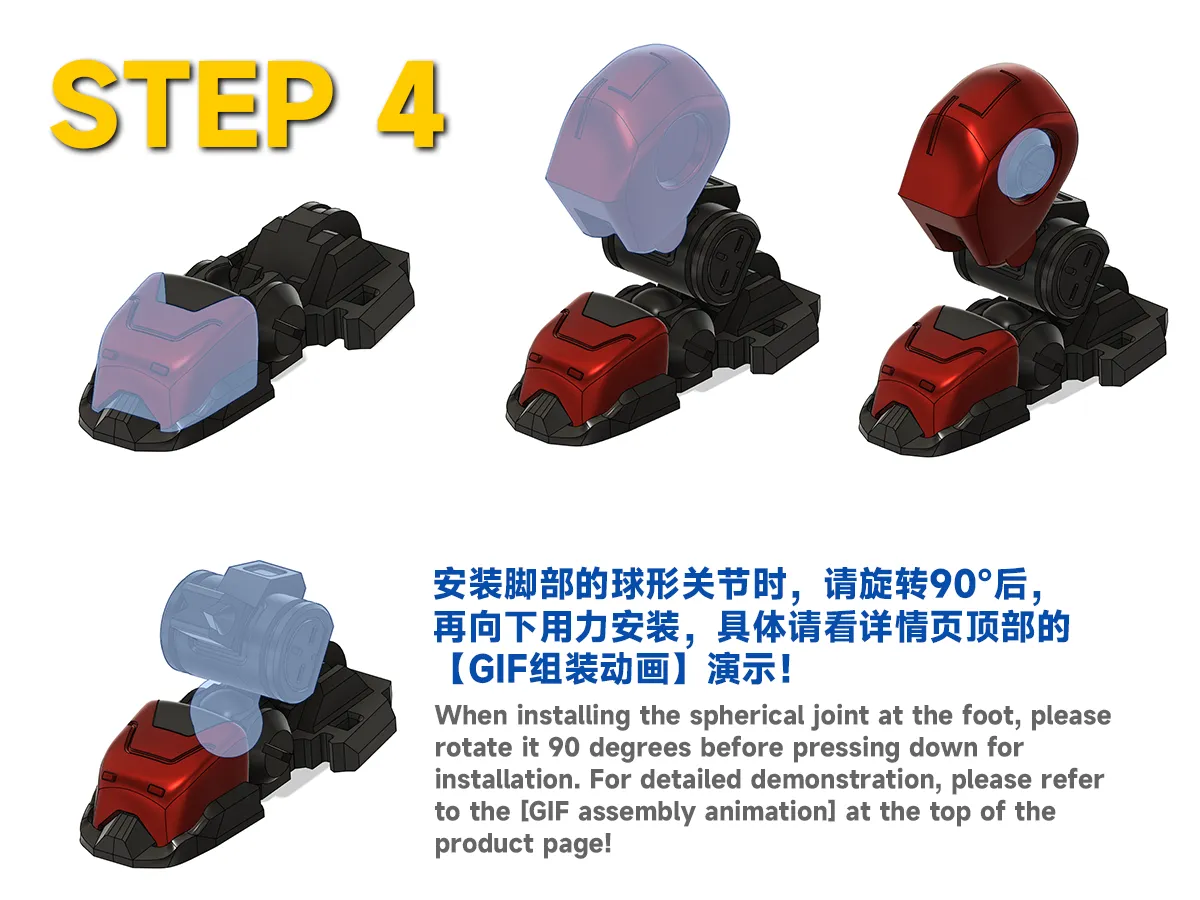
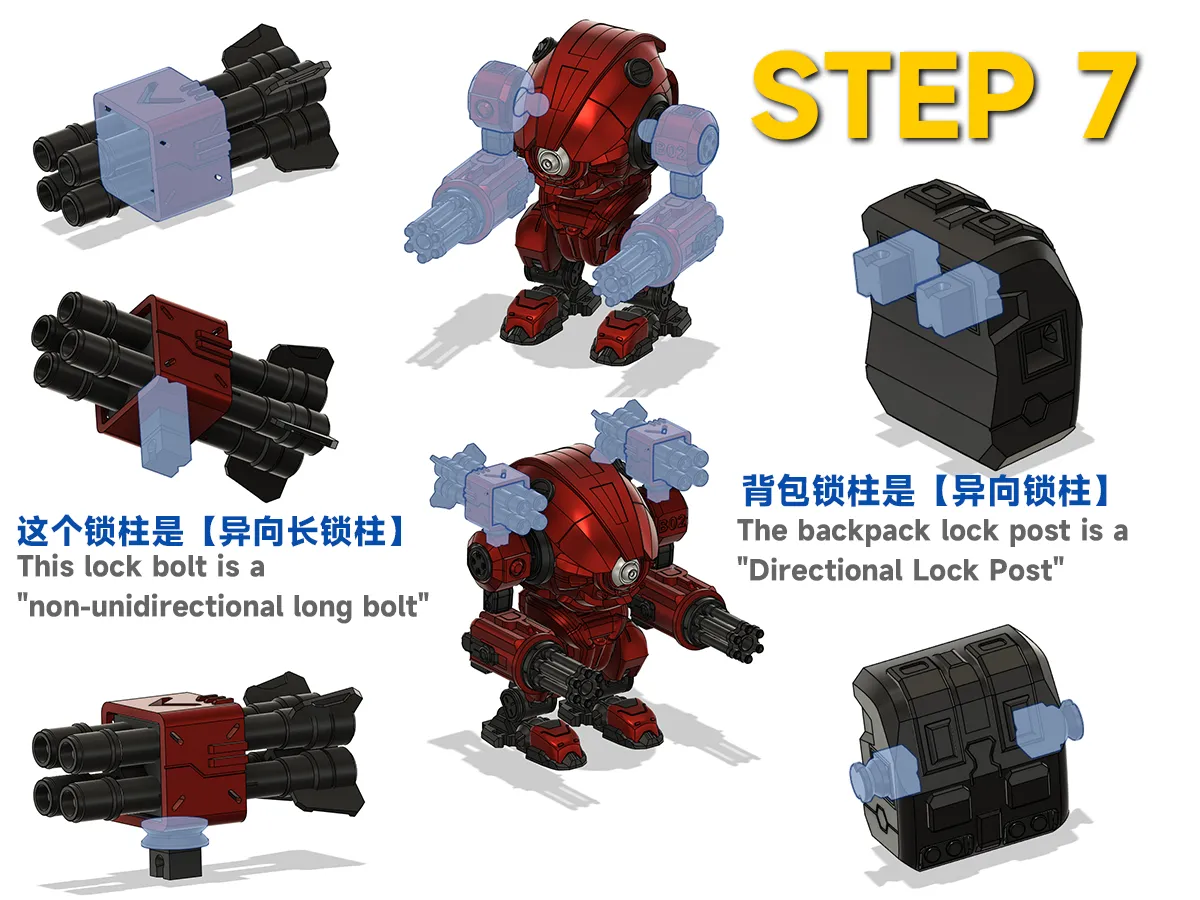
- Joint parts have same-direction locking teeth and opposite-direction locking teeth, please identify carefully before assembly
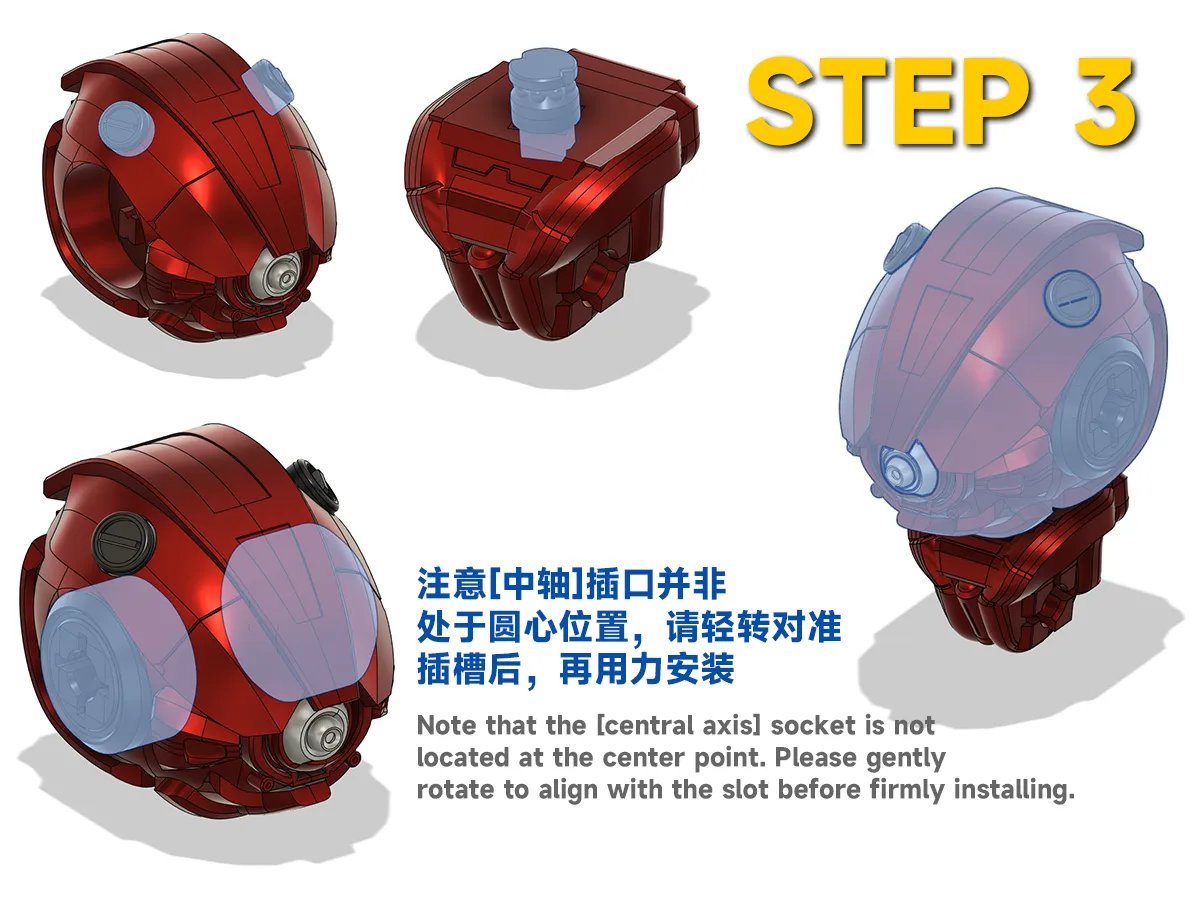
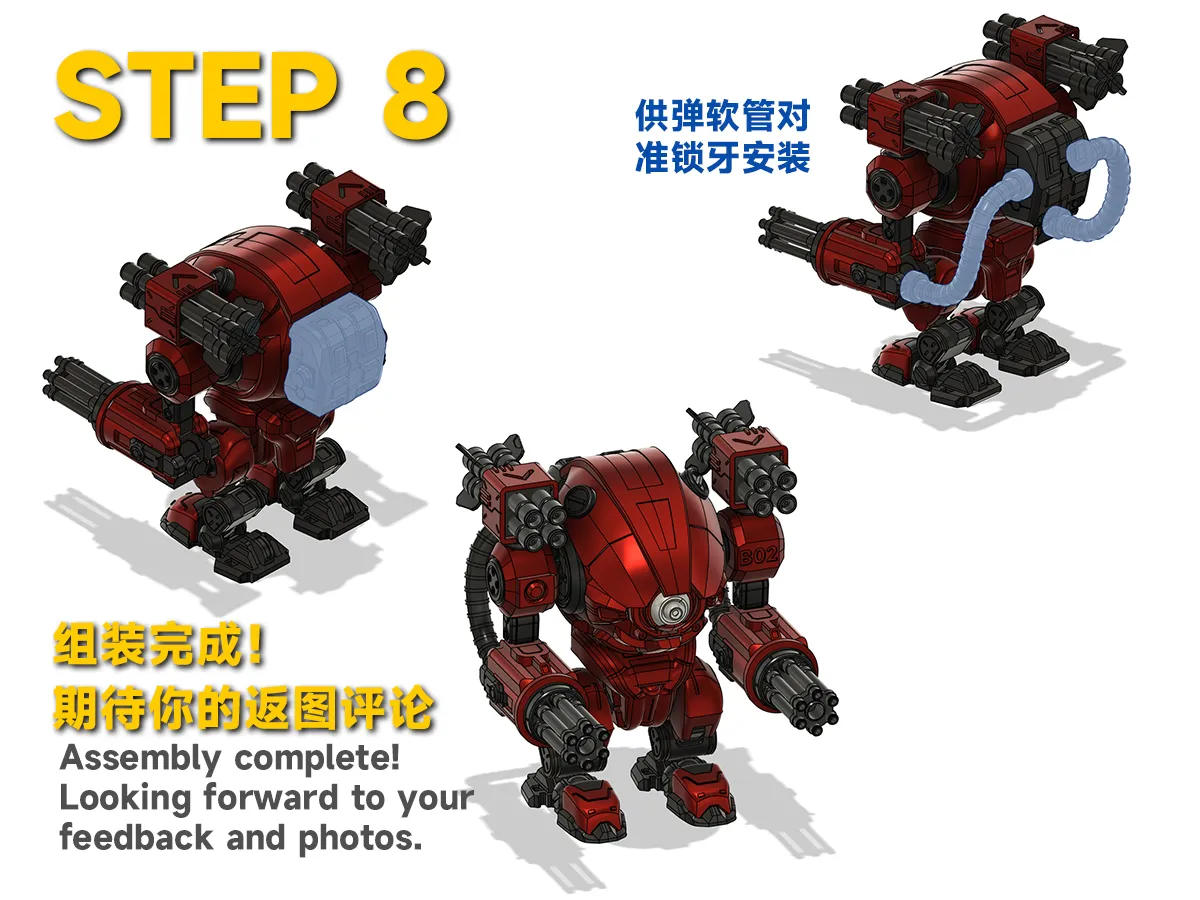
- For all joints, after aligning the direction of the locking teeth gap, then press firmly to install
Although my output is not high, I strive for perfection, I hope everyone continues to like and support it
Welcome to join the VX fan group to participate in design discussions and share experiences: xiangbobomw
Assembly Instructions - Tap on GIF animations on mobile to load:

Demo Video - Please like, favorite, and share~
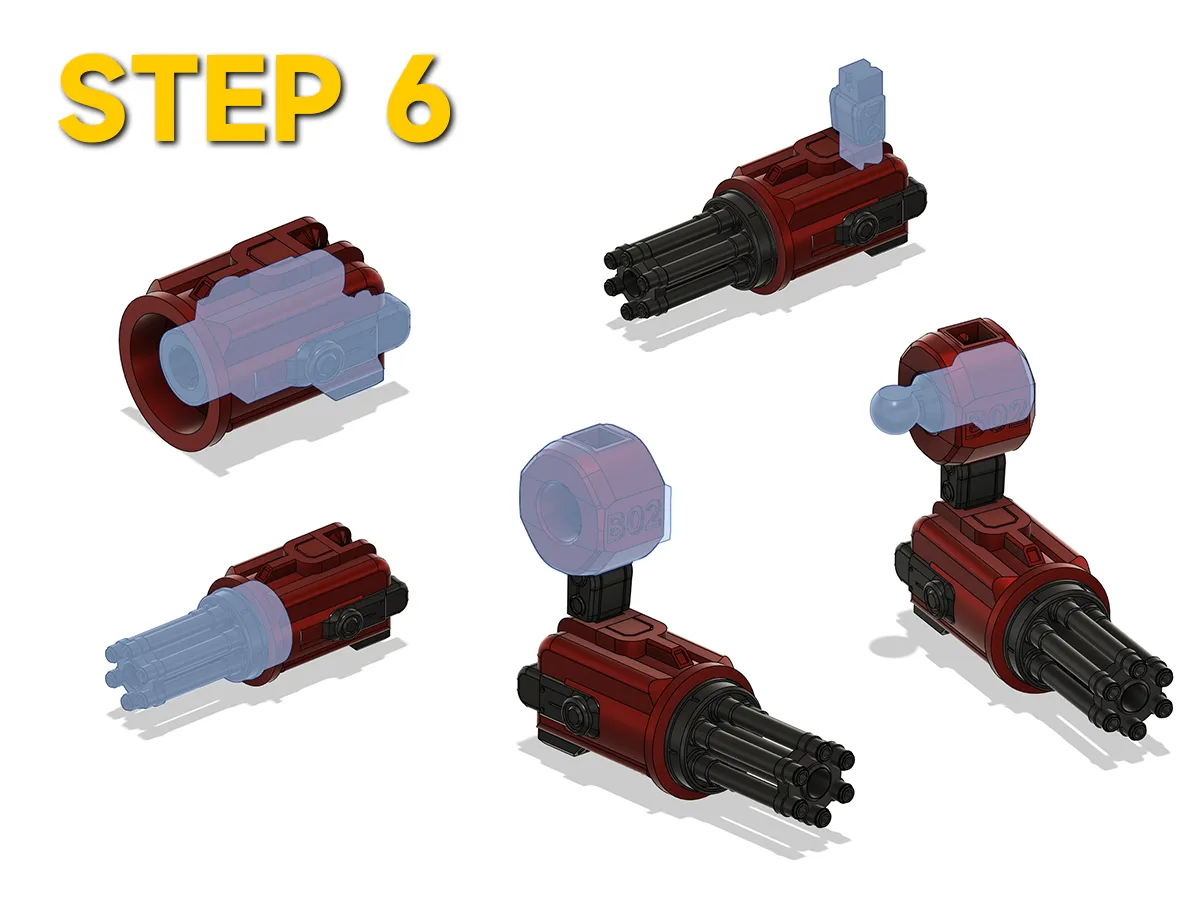
Graphical Installation Instructions
Boost Me (for free)
Guys, give me a free "little rocket", which will give me more motivation. Thank you for your support!
License

You shall not share, sub-license, sell, rent, host, transfer, or distribute in any way the digital or 3D printed versions of this object, nor any other derivative work of this object in its digital or physical format (including - but not limited to - remixes of this object, and hosting on other digital platforms). The objects may not be used without permission in any way whatsoever in which you charge money, or collect fees.


Comment & Rating (137)