P2S and X2D Display Protection Flip Cover


Print Profile(4)


Bill of Materials

Description
Boost Me (for free)
Hey folks, if you like my model, leave a comment below, preferably with a picture. Also, feel free to give it a boost if you can. Because that way I can get more filament and design more great practical things for you. Not a must, but a nice gesture😉
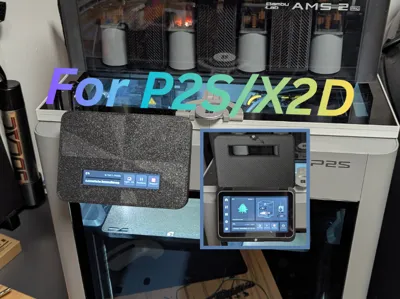
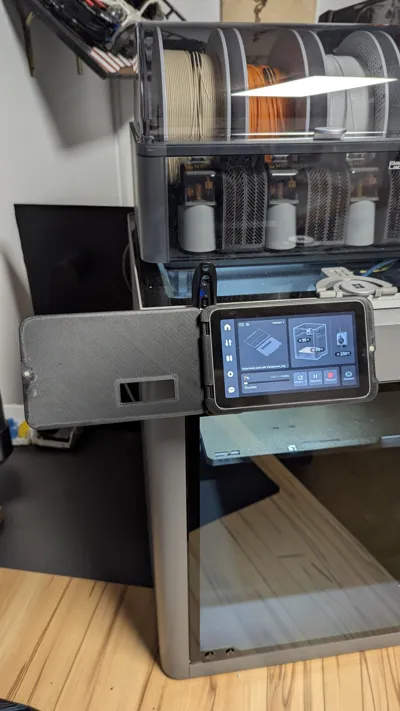
Since the pretty new P2S and X2D (the same display) have received a beautiful display but unfortunately no cover or protection, I designed this!
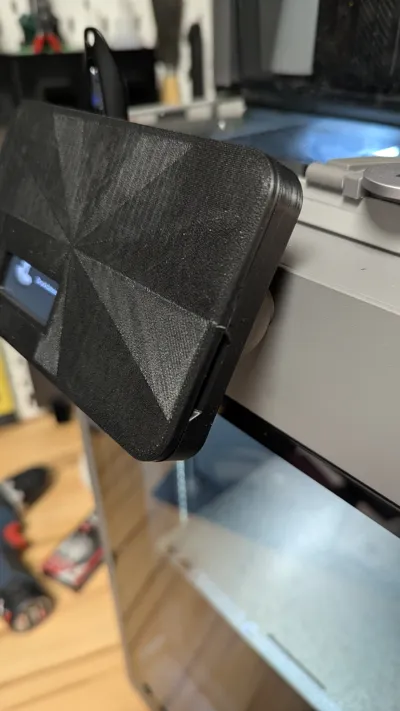
My requirements were a simple design, hinges that are not visible from the front, and easy assembly without much fuss🤙. The only thing you need to get are magnets with dimensions of 4mm diameter and 2mm height. They are available in the Bambu Store but certainly also in the vastness of the internet😜
This model offers all possibilities. Hinges left, right, top, without a window, small window or large window. I have fulfilled your wishes that I have received. I liked the window for displaying the status, as I didn't want to open it every time.
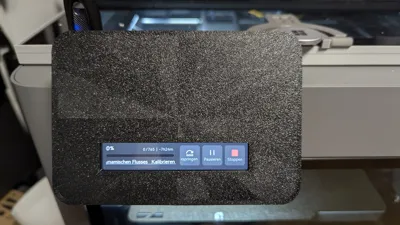
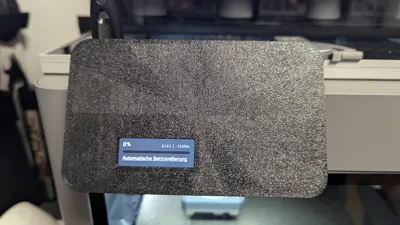
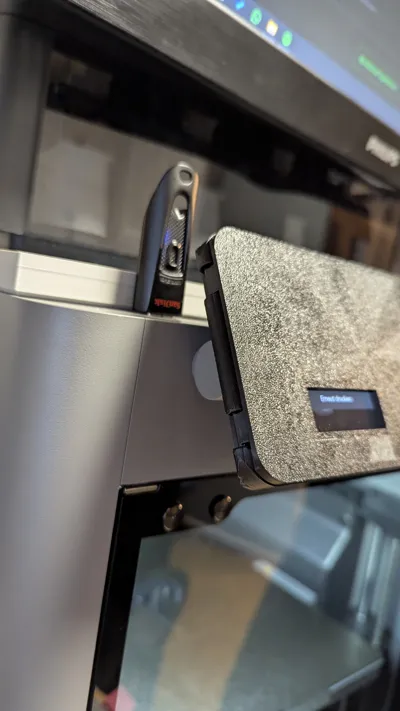
In the version with the short window, only the status display is visible.
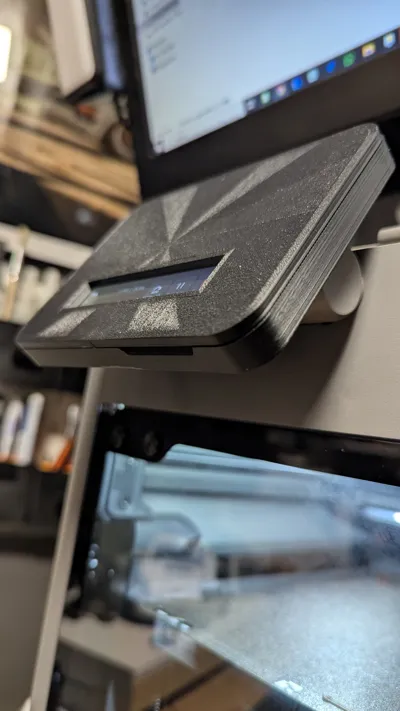
In the version with the large window, skipping, pausing, and stopping are also visible.
Assembly is very easy and hopefully easy to understand with the following pictures. The somewhat tricky part is getting the frame onto the display. The prerequisite for this is that the printer is calibrated and the filament undergoes flow calibration once at the beginning, which the P2S has. Because the frame is designed very precisely, it fits on a bit tightly. It's supposed to fit well😉
If it's too tight for you, you can let me know or perhaps make it 1 percent larger in the slicer. It won't affect the function.
You can also choose a different first layer pattern if you want. I thought this one was quite nice, but everyone has different tastes🤙
I have also uploaded the print profiles in such a way that you can easily select the version you want from your phone. Then, in the next step, you decide whether it should have a small, large, or no window by selecting the appropriate print plate.
Now for the assembly:

The first step is to glue the magnets into the frame and cover
 | 
|
 |
Second step, place the cover offset on the frame as in the picture and then slide it to the left into the hinges
 | 
|
Third step, you open it up and push the bar into the groove as shown in the picture. The curve of the bar should be towards the wave of the cover.
 | 
|
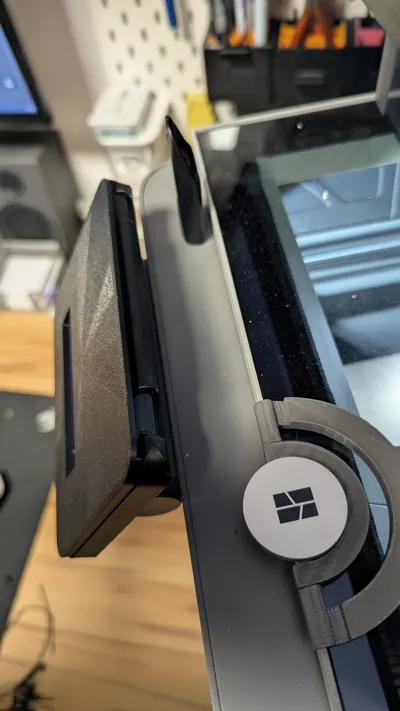
Fourth step, you then mount the frame onto the display. Carefully slide it on evenly. Towards the end, close the cover and push it completely flush against the display. The frame should then protrude 1mm at the back
 | 
|
 |
 |
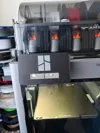
Done
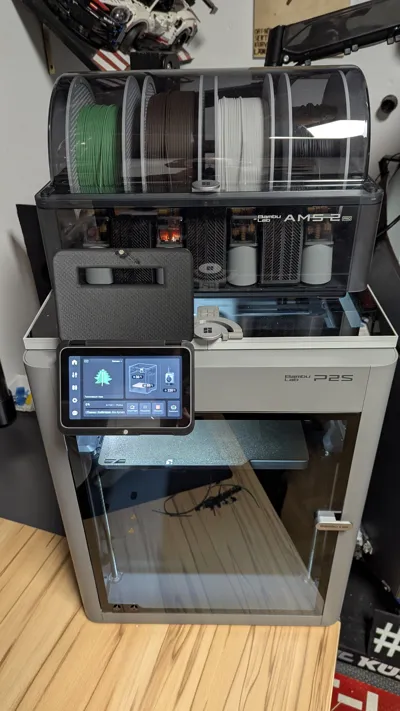
And now your display is protected, and you always have the status in view. Or not, if it's the cover without a viewing area
Feel free to leave a comment about how you like it and if it worked. A picture with it is also not wrong 🤙
If something about my model doesn't suit you and you want to give less than 5 stars, please contact me beforehand or write the problem in the comments below.
This makes it easier for us Makers to optimize models and fix errors. Because we're all just human😉
You can find an example for ratings here:
https://wiki.bambulab.com/en/makerworld/tutorials/rating-guidelines
License
You shall not share, sub-license, sell, rent, host, transfer, or distribute in any way the digital or 3D printed versions of this object, nor any other derivative work of this object in its digital or physical format (including - but not limited to - remixes of this object, and hosting on other digital platforms). The objects may not be used without permission in any way whatsoever in which you charge money, or collect fees.
Comment & Rating (147)