
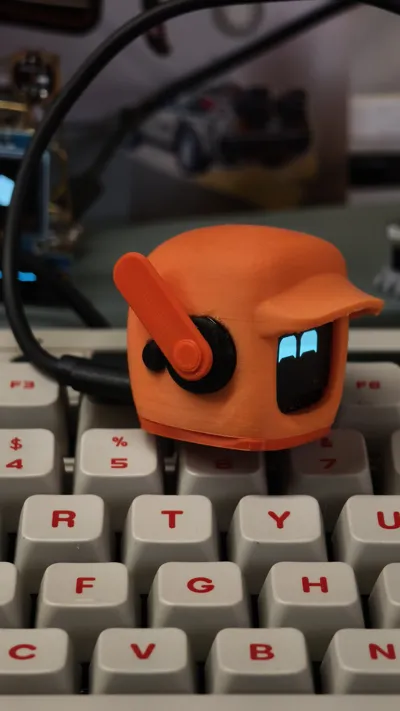
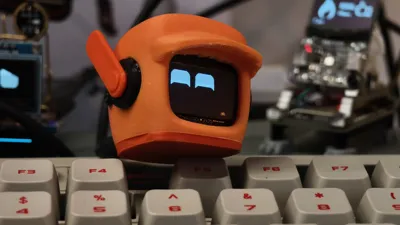
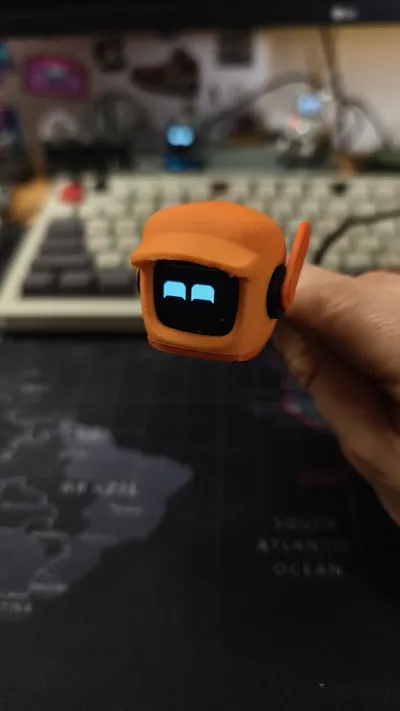
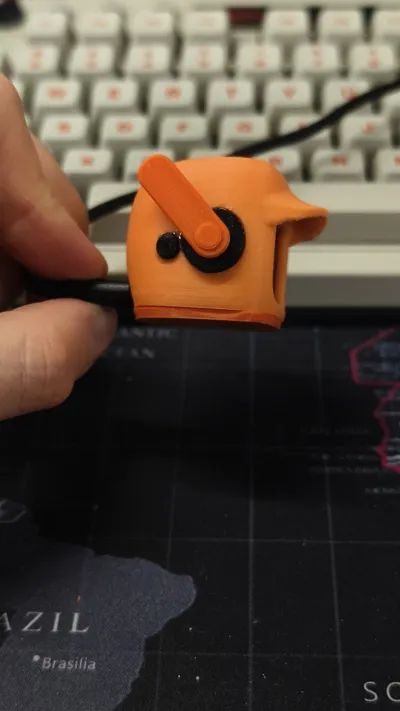
MONSTRIX Robot - Emotional Companion!
Print Profile(2)


Description
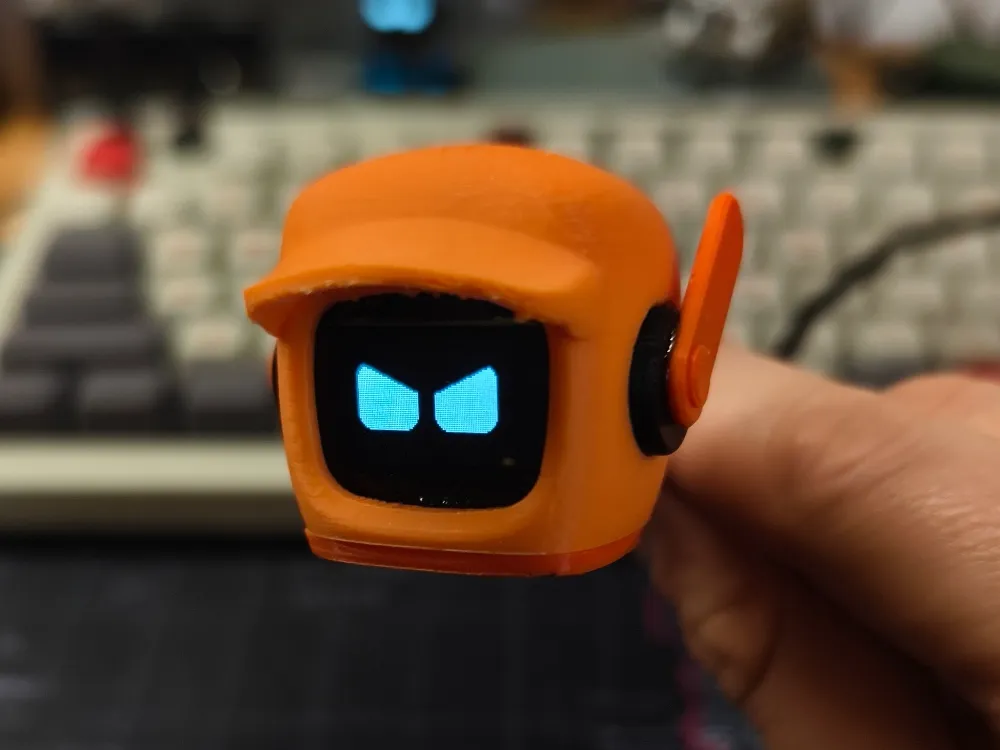
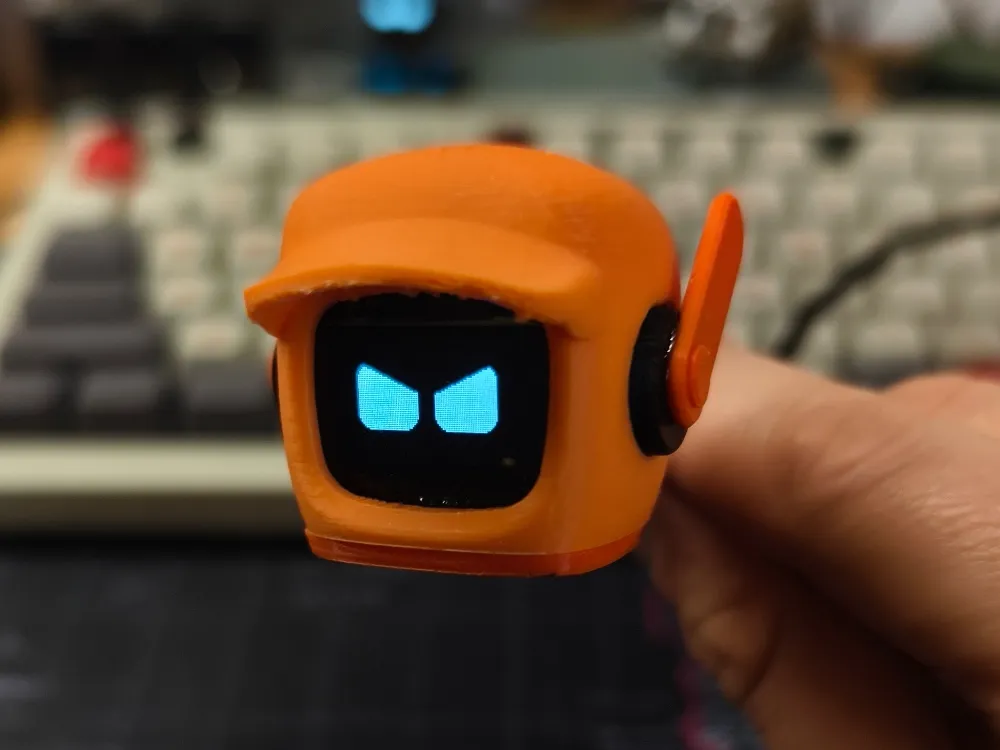
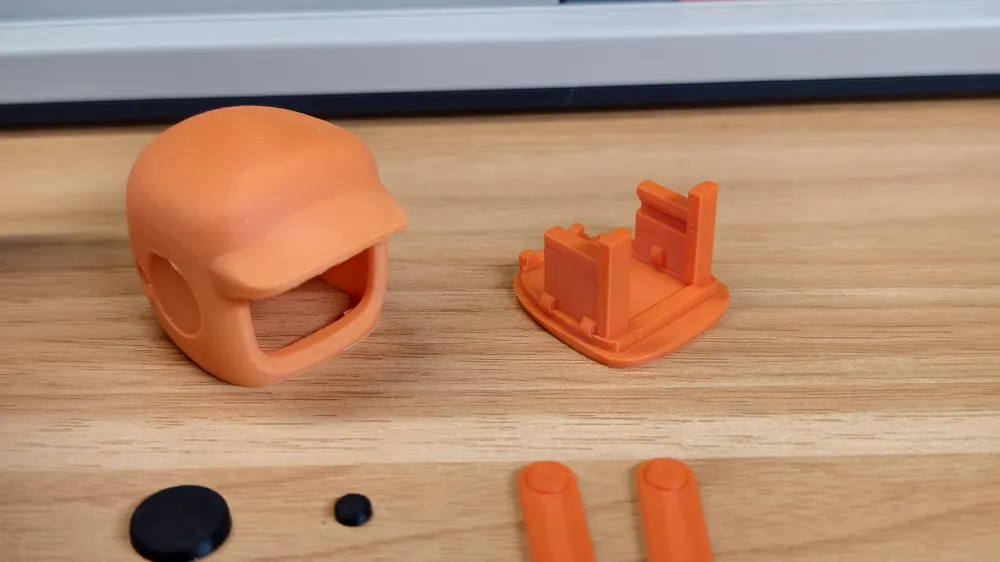
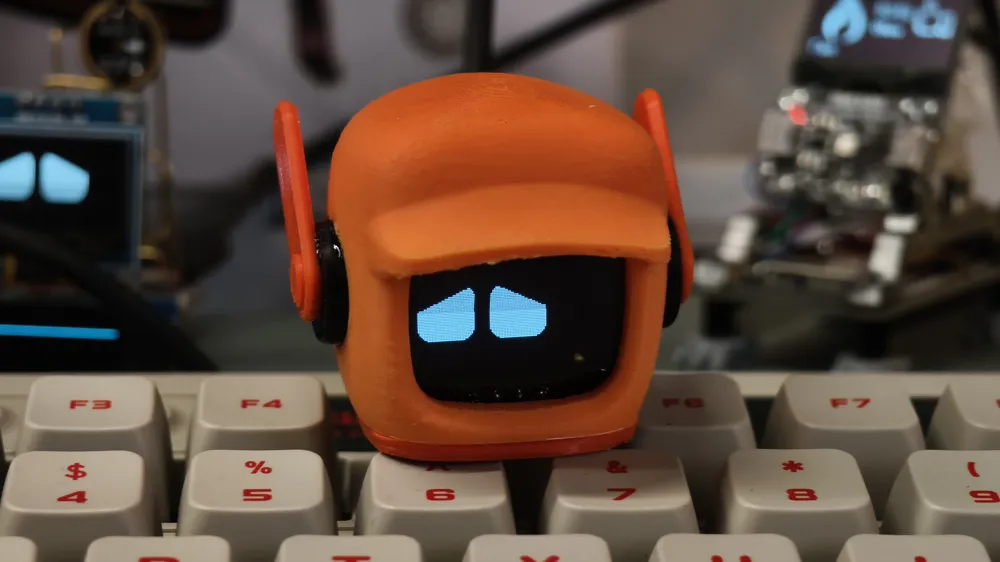
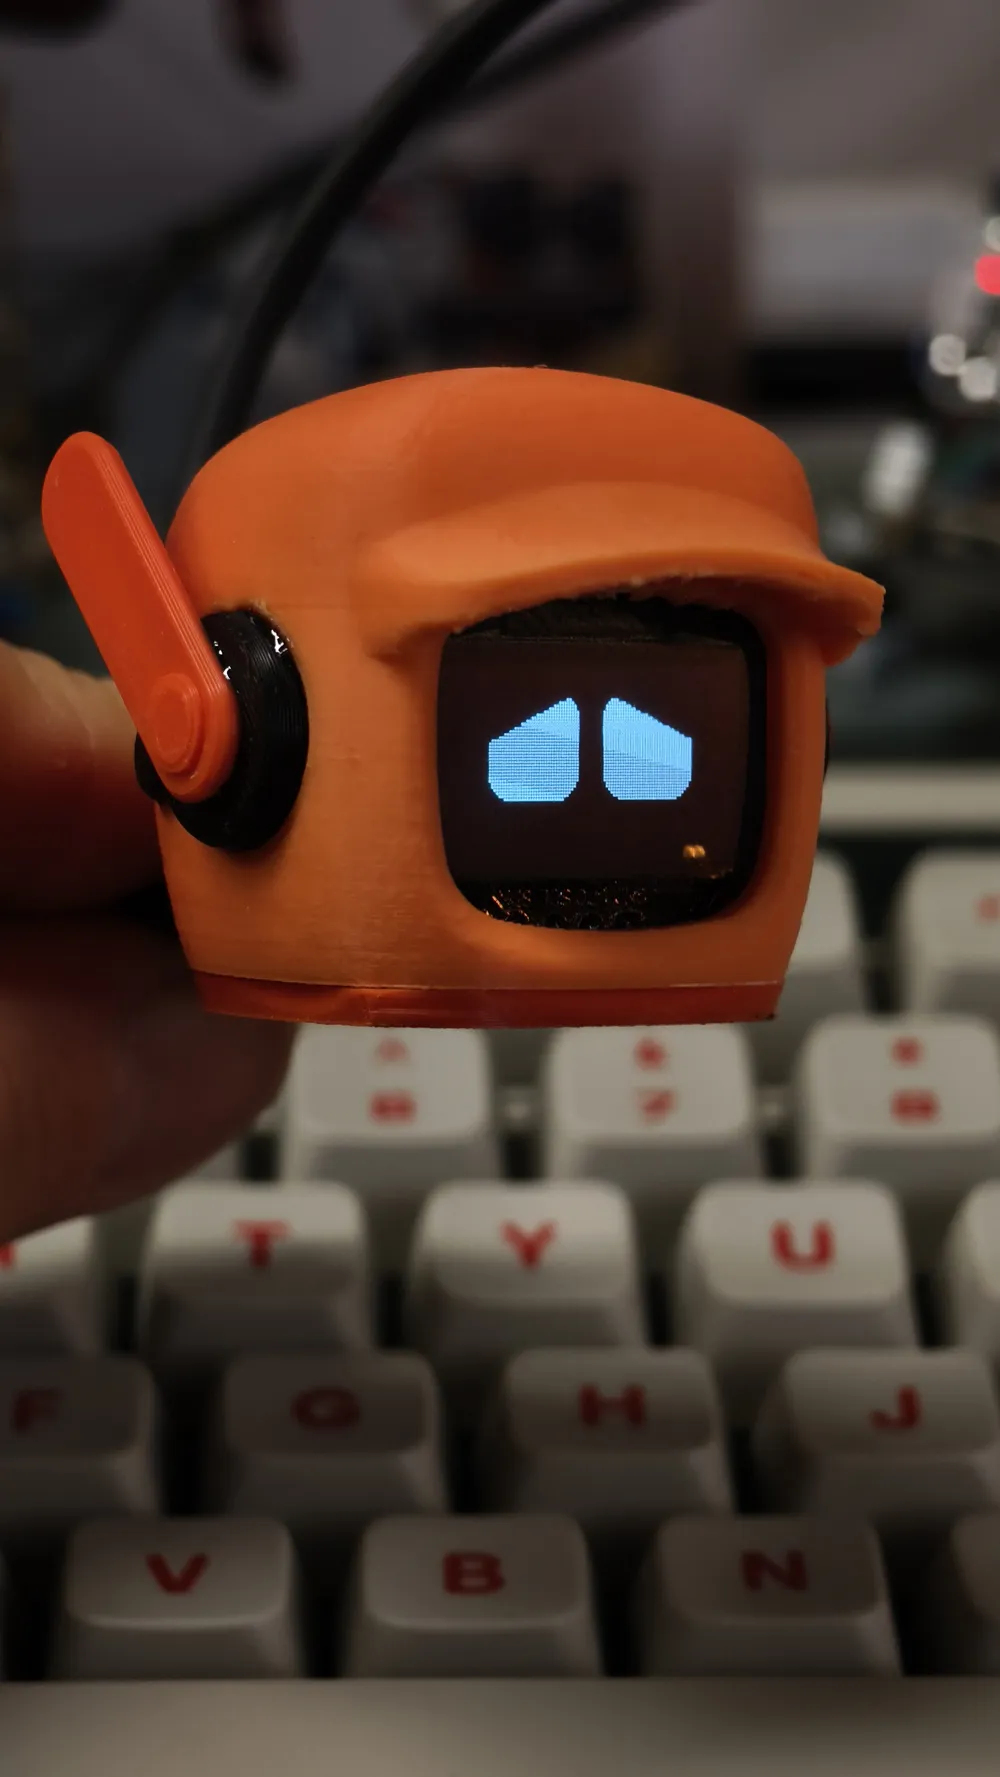
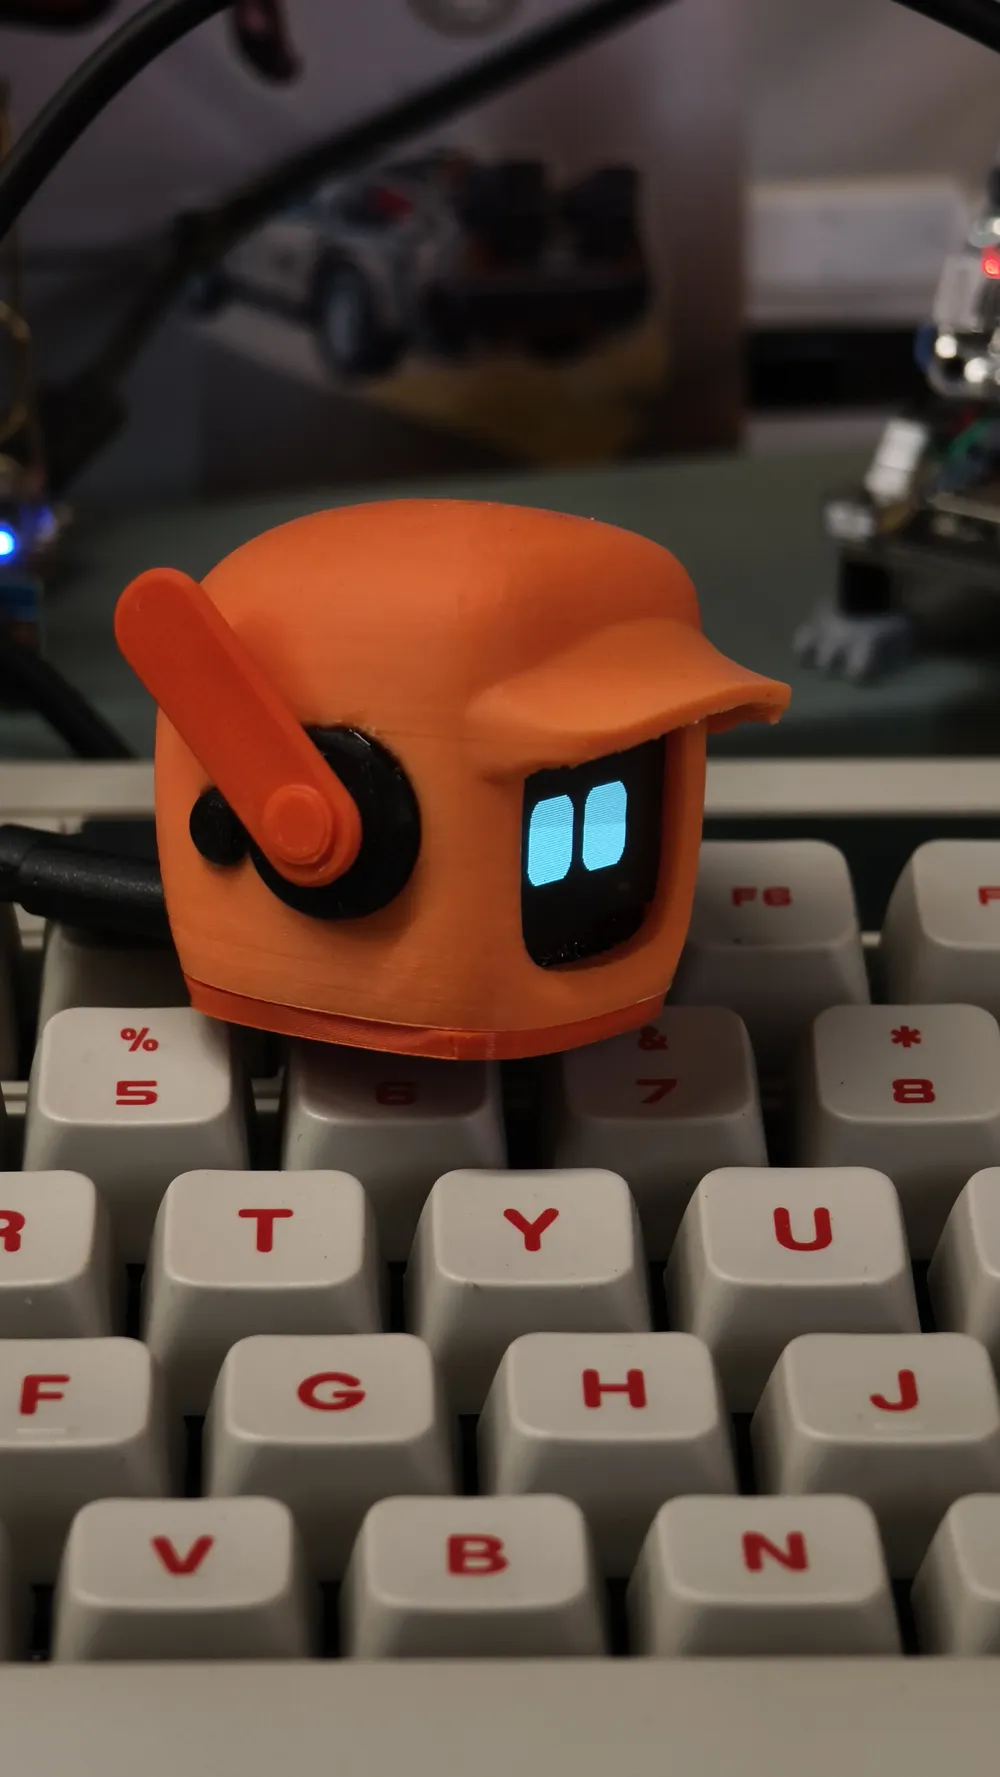
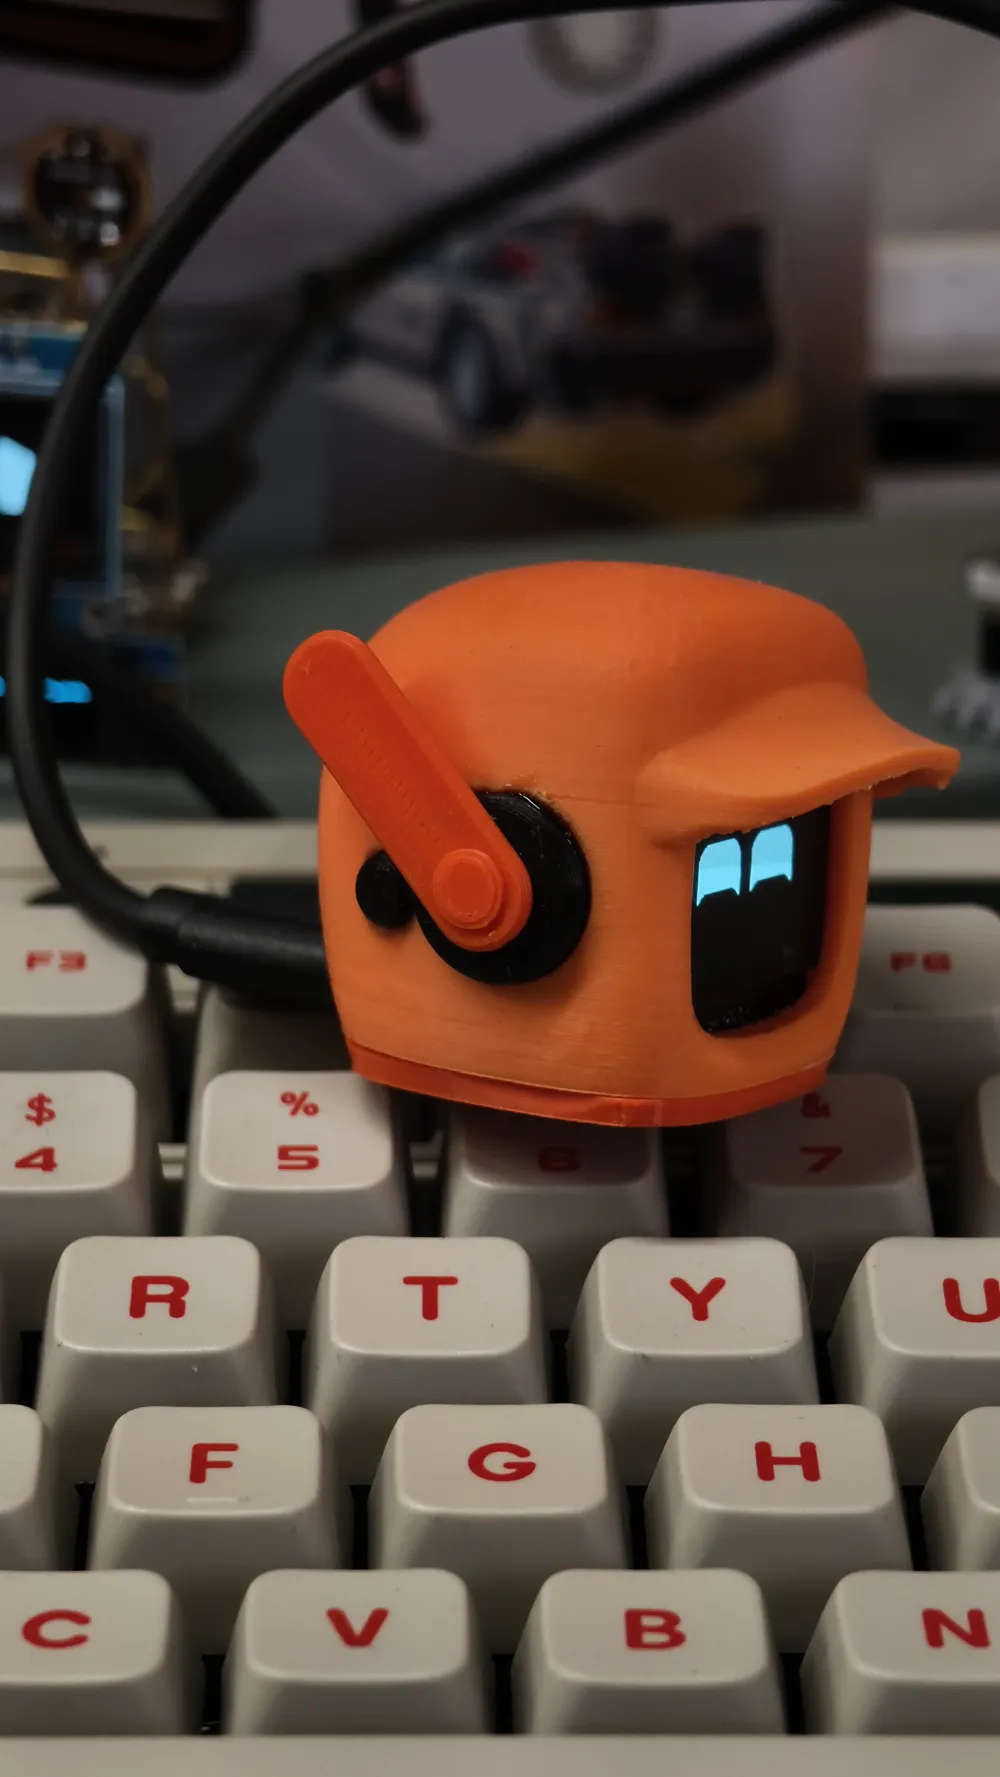
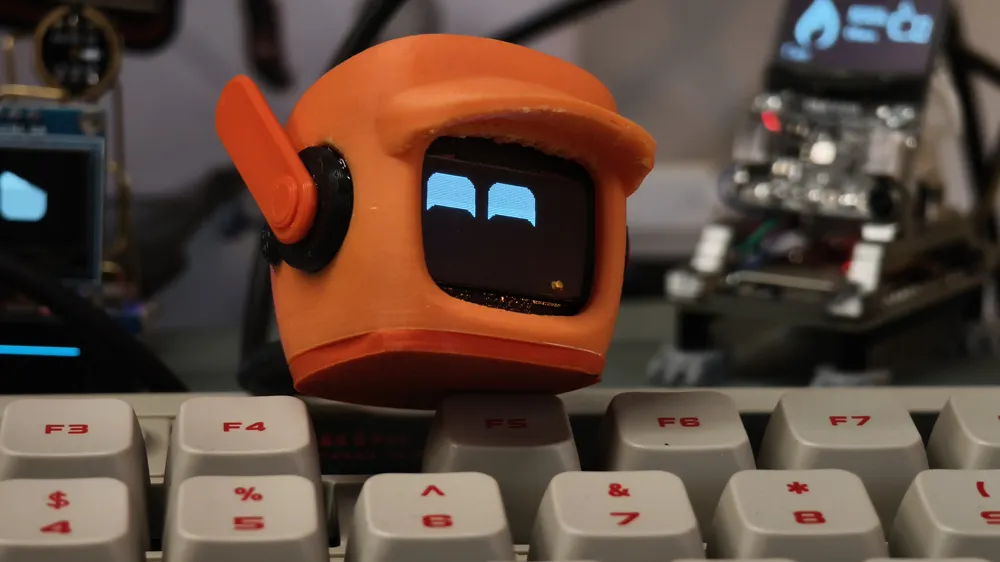
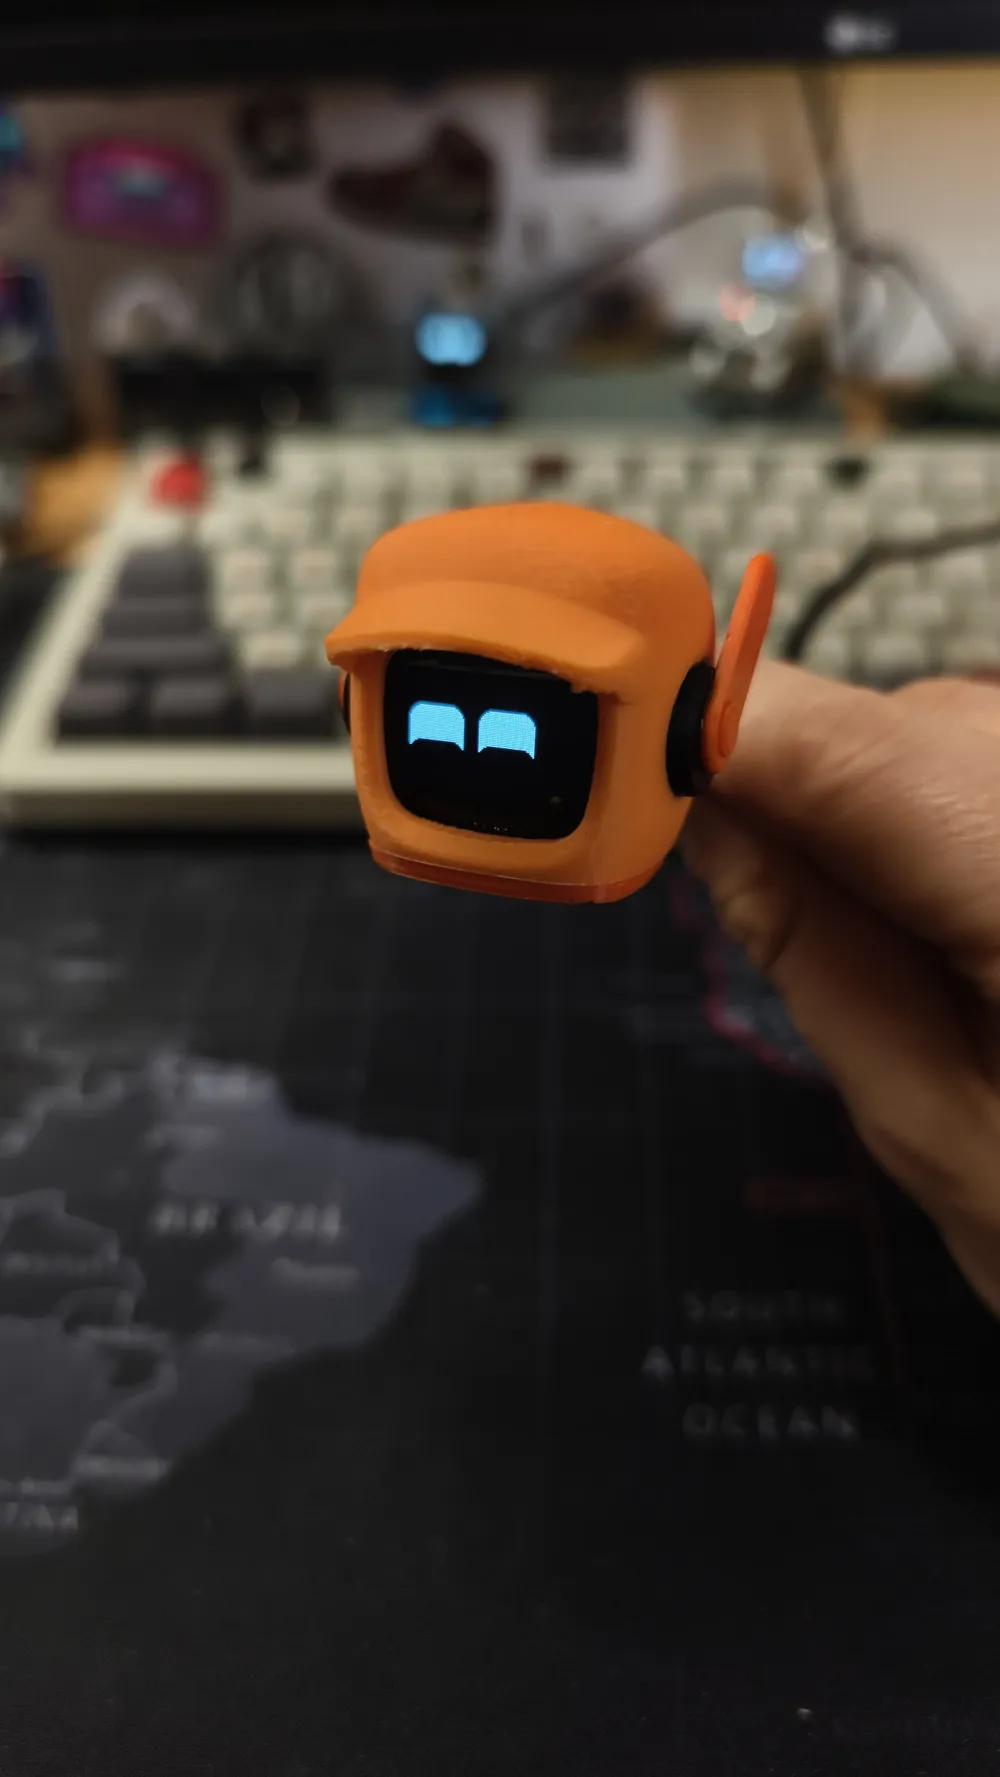
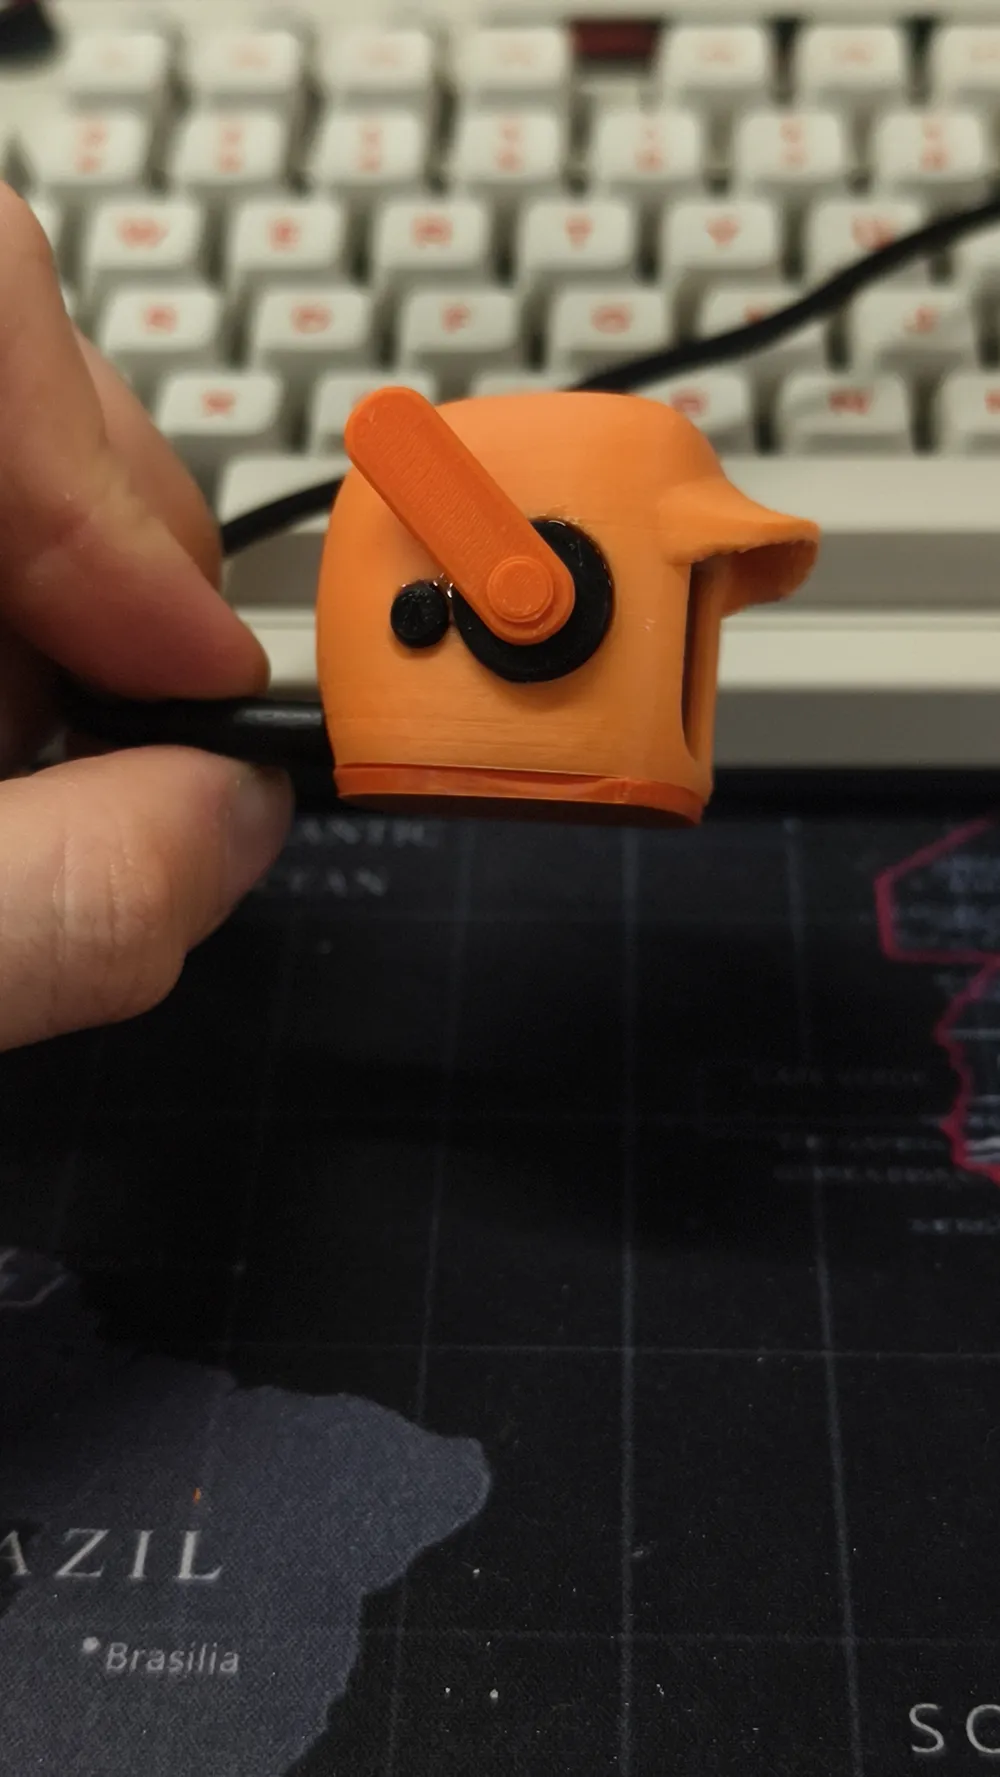
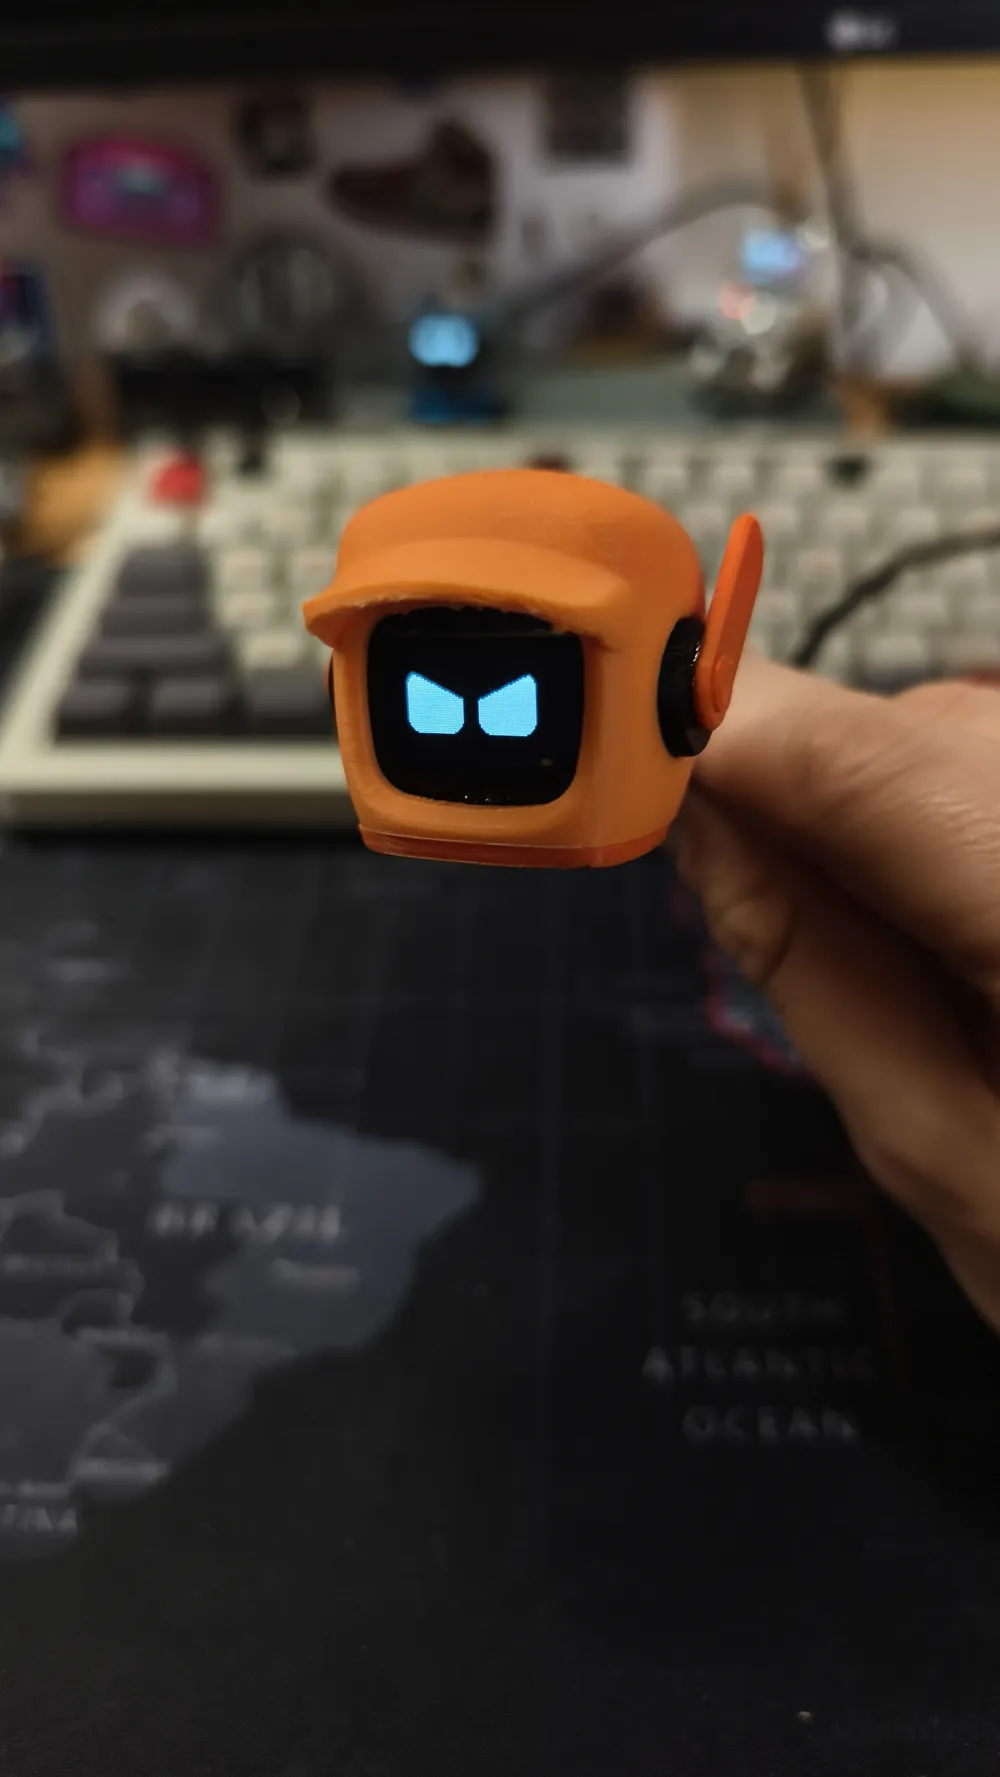
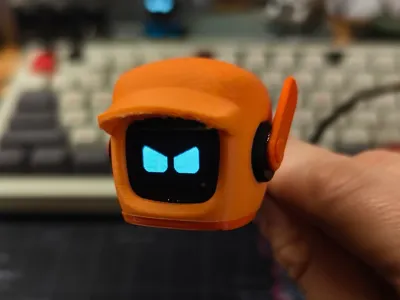
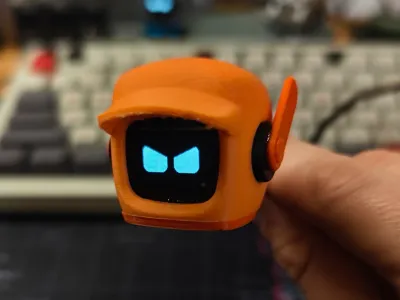
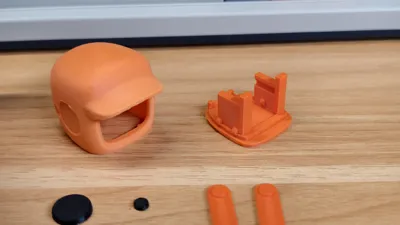
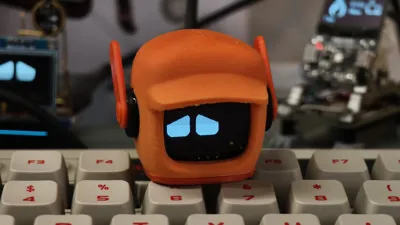
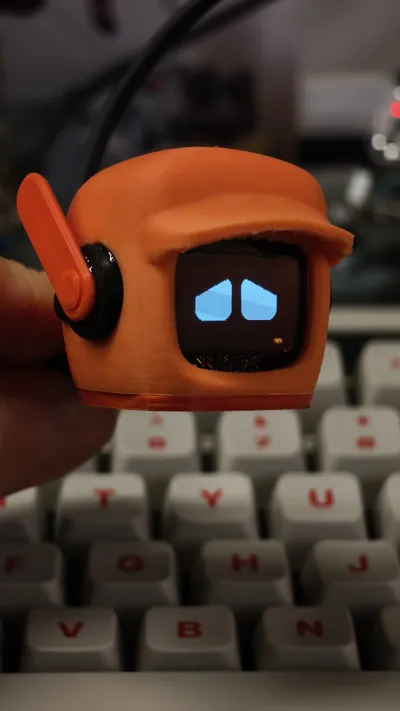
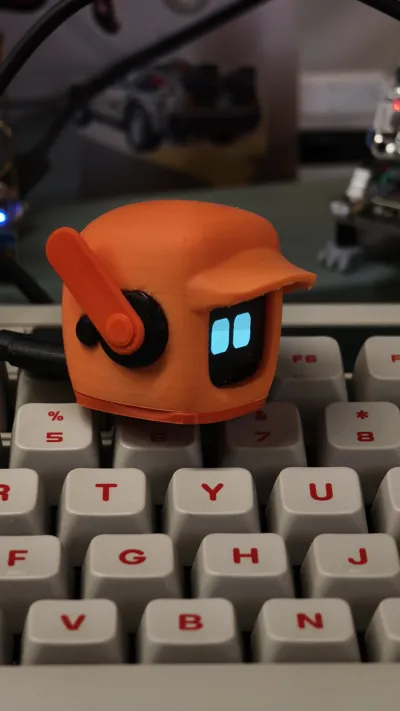
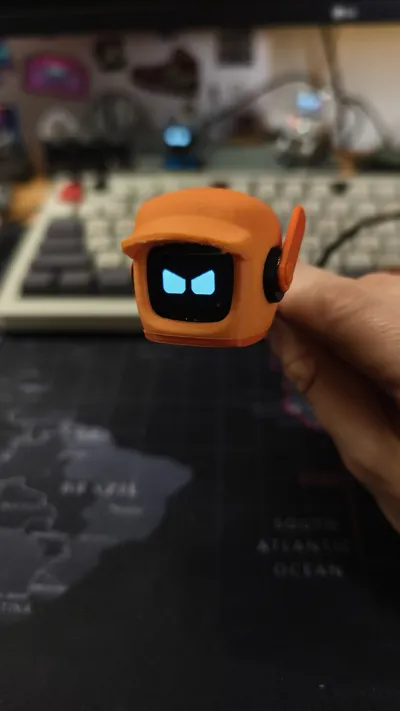
🤖 MONSTRIX Robot - Build Your Own Emotional Companion!
🎬 Inspired by "Love, Death & Robots" Series
Want to bring a living character from your favorite sci-fi series to life? Now it's possible! Meet the compact robot-monster with real emotions and reactions to the world around it.
📋 What You'll Need:
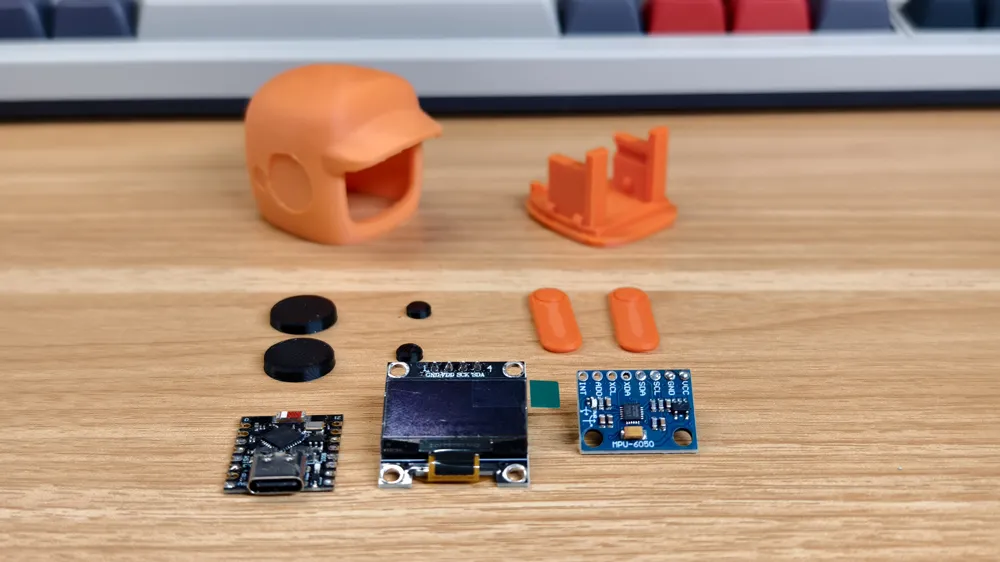
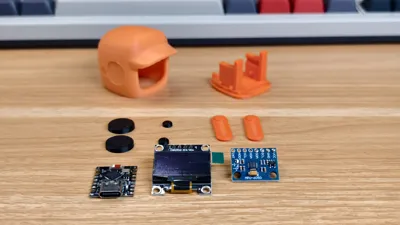
🖨️ 3D Printing:
- Download the housing model from this project
- Material: PLA/PETG recommended
- Settings: 0.2mm layer, 20% infill
- Supports: minimal required
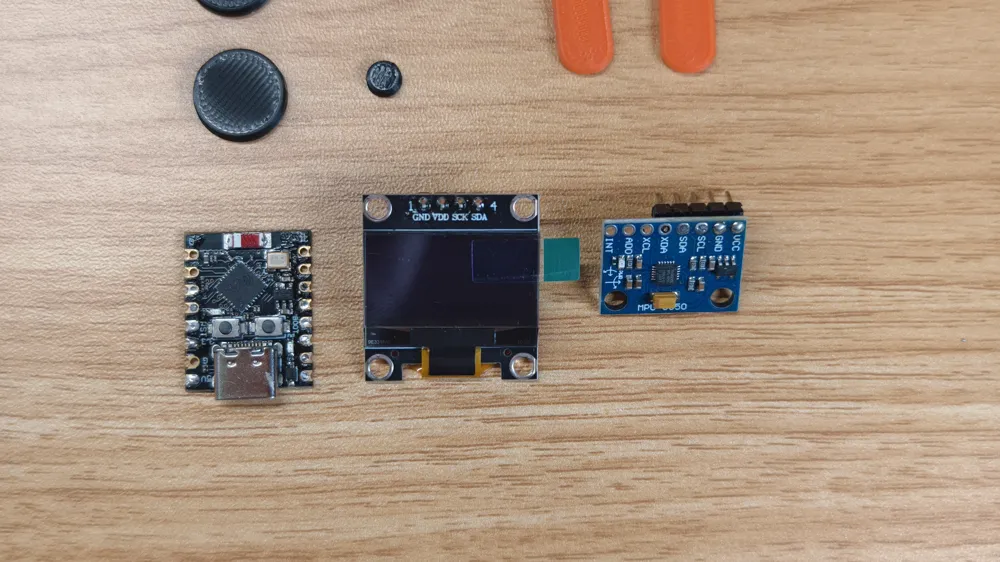
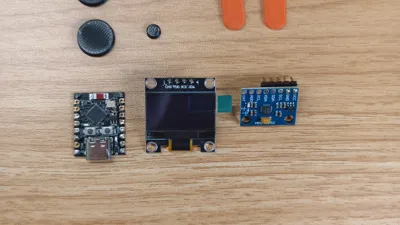
🔌 Electronics:
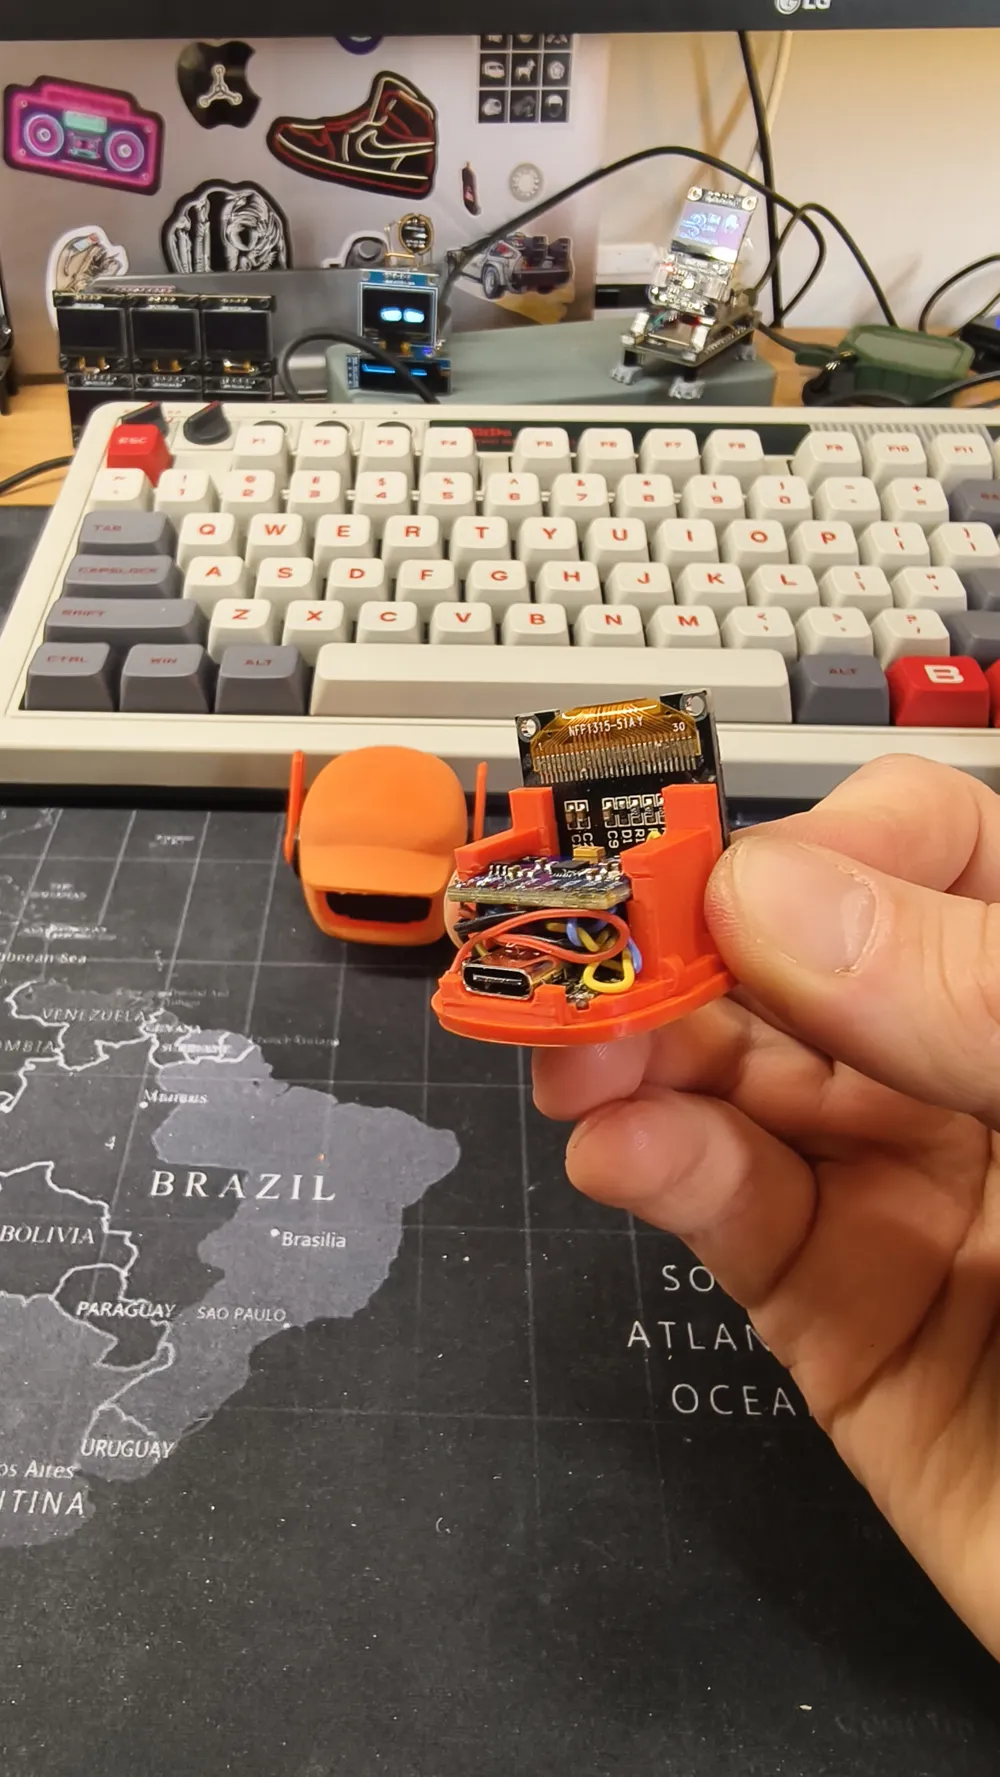
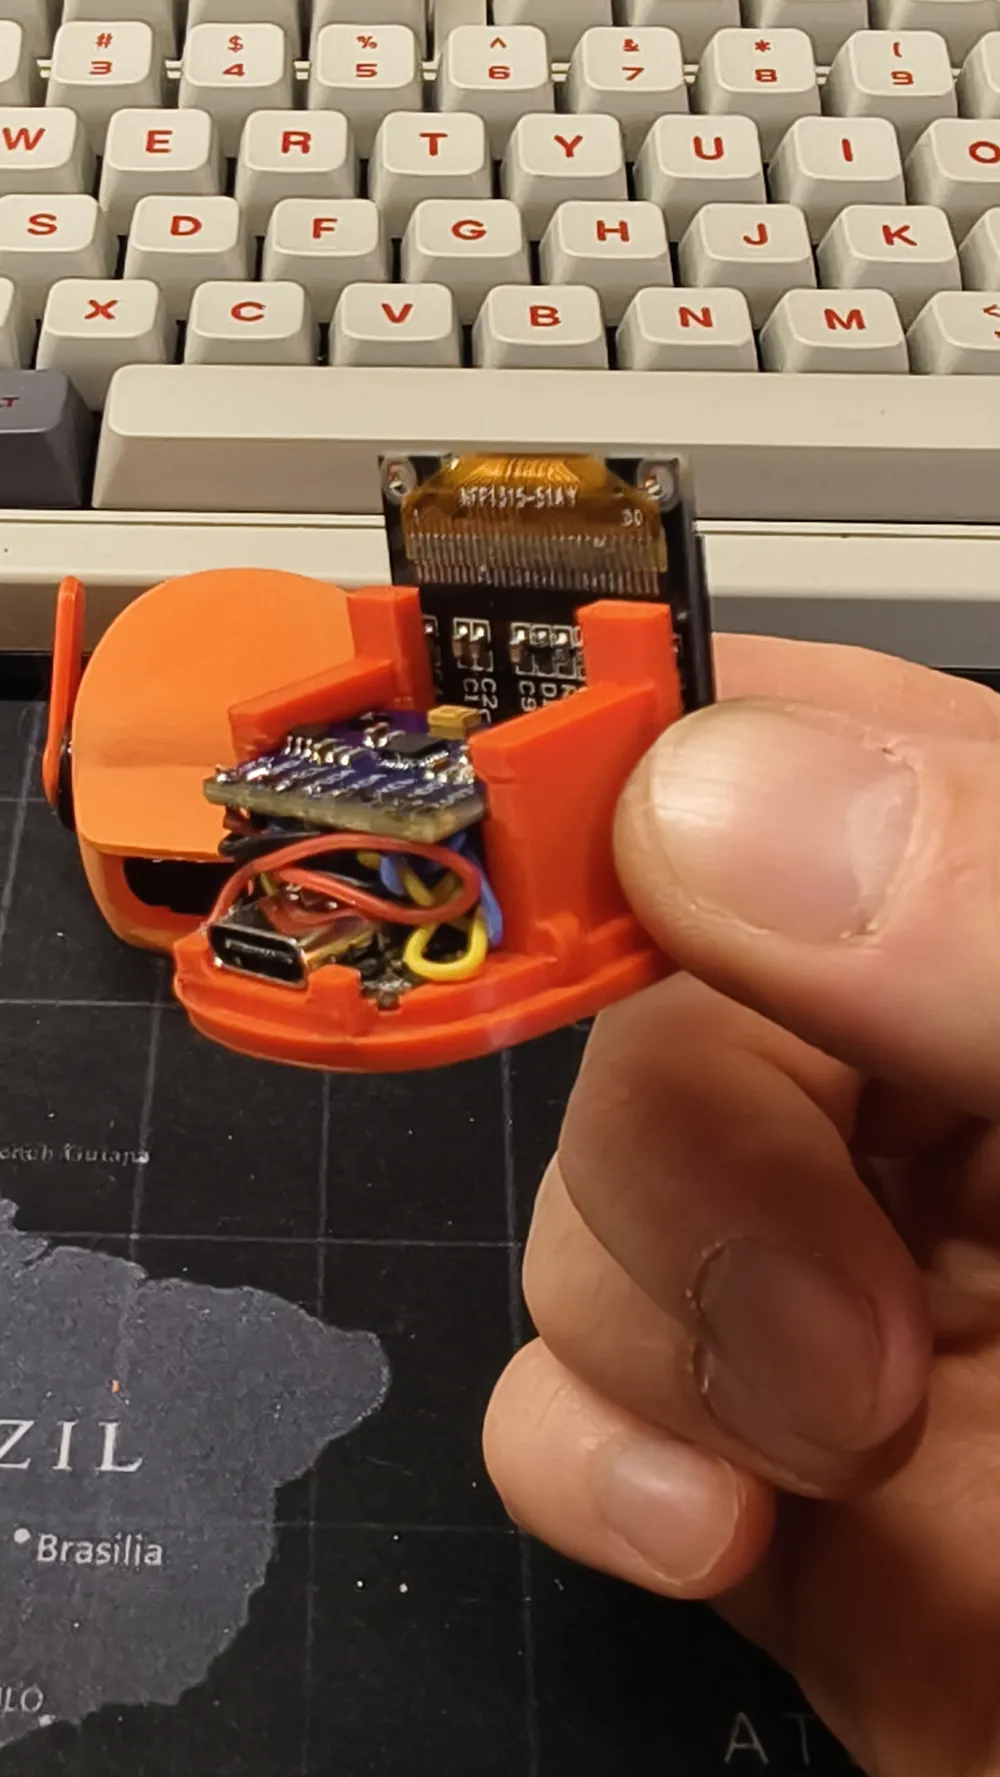
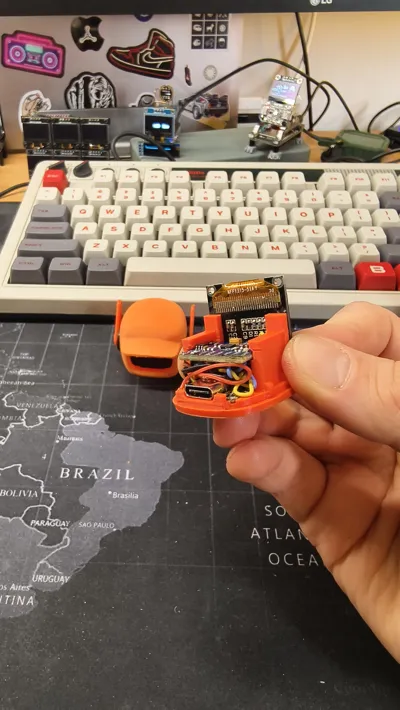
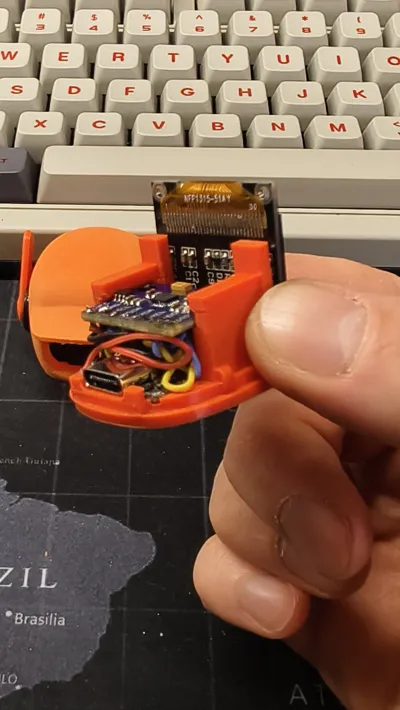
- ESP32-C3 (main brain of the robot)
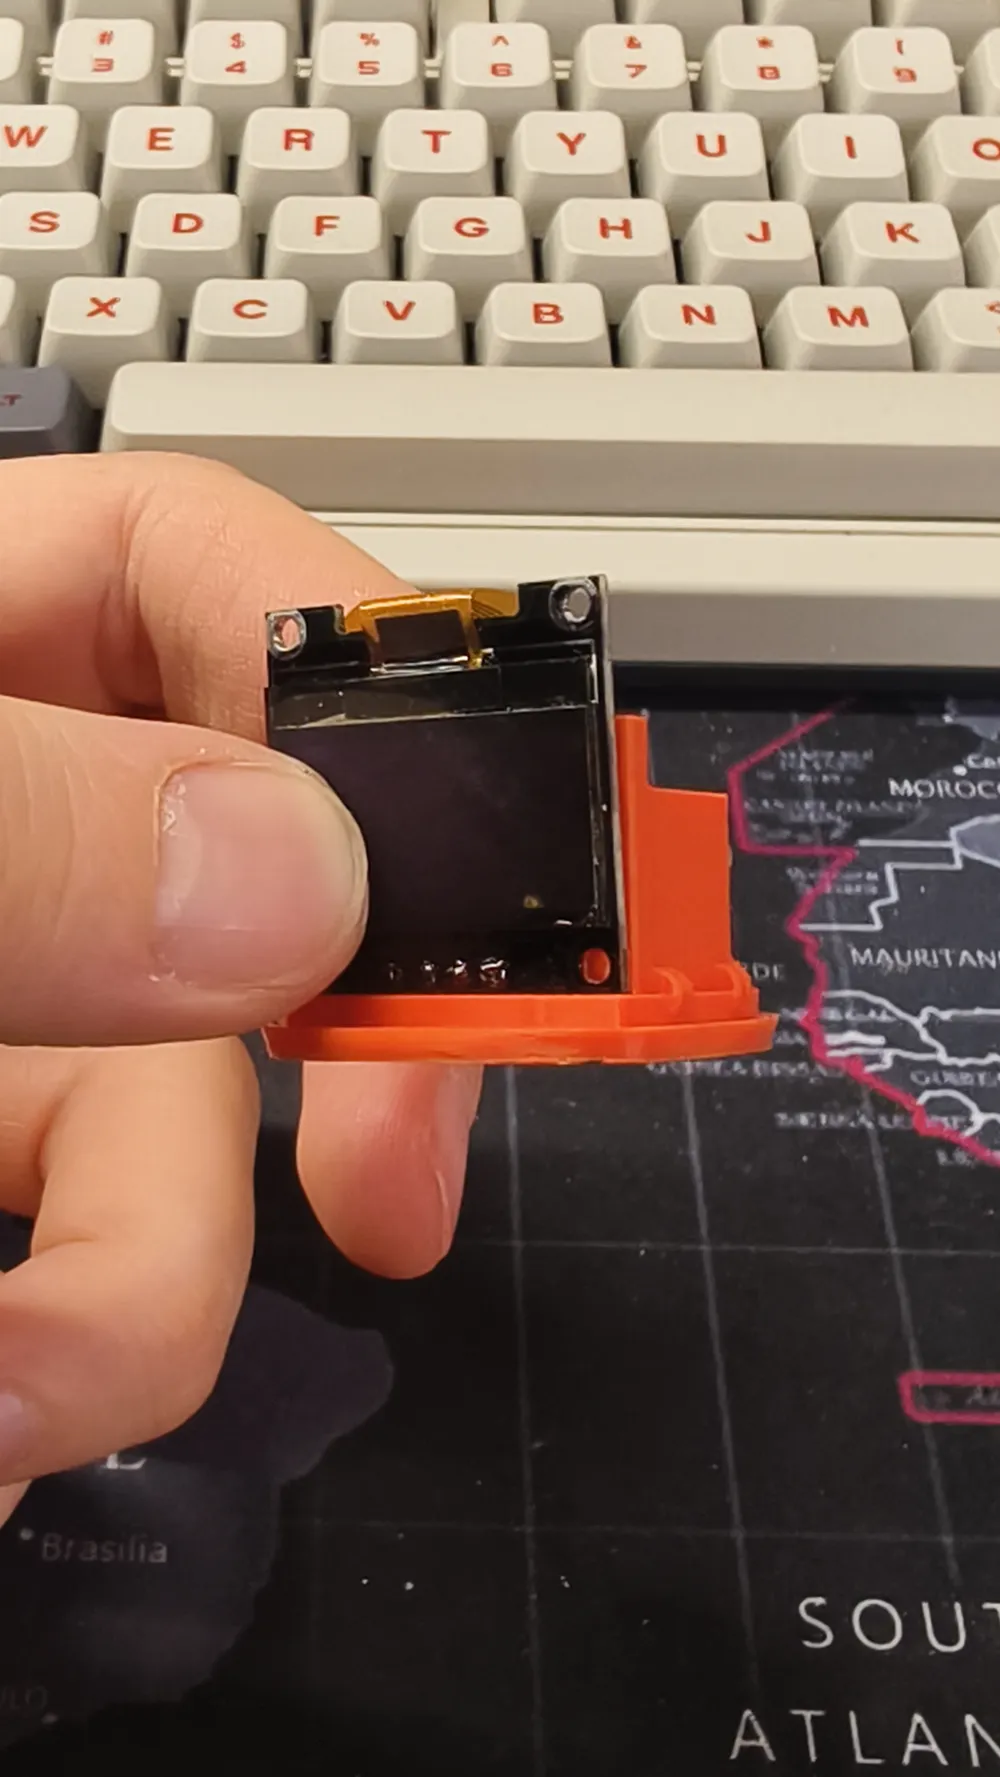
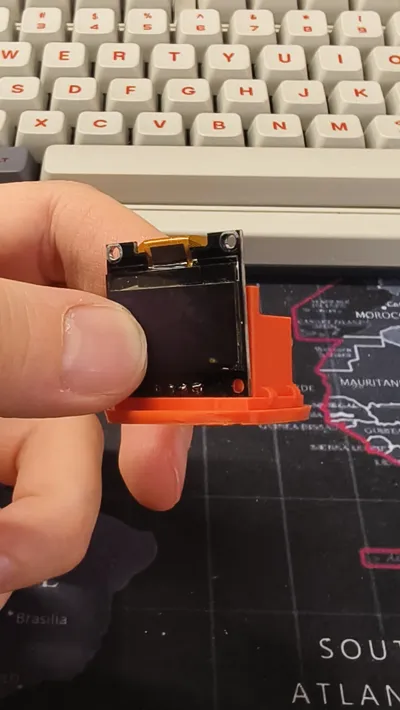
- OLED Display 0.96" (for eyes and emotions)
- MPU6050 (gyroscope for shake reactions)
- Jumper wires and breadboard
💾 Software:
- MONSTRIX firmware (download link below)
- FluxGarage_RoboEyes library for eye animations
- Or flash your own custom firmware!
😍 Robot Capabilities:
🎭 Emotional Reactions:
- Automatic emotion changes every 6 seconds
- Shake reaction - robot gets angry when shaken!
- Multiple expressions: joy, sadness, surprise, anger, sleepy
- Customizable emotion timing in code
👁️ Eye System:
- Realistic blinking animations
- Smooth transitions between emotions
- FluxGarage_RoboEyes library with 15+ expressions
- Ability to add custom animations
🧠 Smart Behavior:
- Motion detection via gyroscope
- Adjustable sensitivity thresholds
- Power-saving sleep modes
- Wi-Fi ready for future upgrades
🔧 Assembly in 1 Hour:
- 🖨️ Print the housing (30 min)
- 🔌 Connect electronics (20 min)
- 💾 Flash firmware (5 min)
- 🎉 Enjoy your robot! (∞)
🔌 ESP32-C3 Robot Wiring Diagram
📋 Connection Table
| Component | Component Pin | ESP32-C3 Pin | Purpose | Wire Color |
|---|---|---|---|---|
| OLED 0.96" | VCC | 3V3 | Power | 🔴 Red |
| OLED 0.96" | GND | GND | Ground | ⚫ Black |
| OLED 0.96" | SDA | GPIO8 | I2C Data | 🔵 Blue |
| OLED 0.96" | SCL | GPIO9 | I2C Clock | 🟡 Yellow |
| MPU6050 | VCC | 3V3 | Power | 🔴 Red |
| MPU6050 | GND | GND | Ground | ⚫ Black |
| MPU6050 | SDA | GPIO8 | I2C Data | 🔵 Blue |
| MPU6050 | SCL | GPIO9 | I2C Clock | 🟡 Yellow |
🔧 I2C Device Addresses
| Device | I2C Address | Description |
|---|---|---|
| OLED SSD1306 | 0x3C | OLED display for eyes |
| MPU6050 | 0x68 | Gyroscope/accelerometer |
⚡ Power Specifications
- Voltage: 3.3V for all modules
- Current Consumption:
- ESP32-C3: ~80mA (active mode)
- OLED 0.96": ~20mA (when active)
- MPU6050: ~3.5mA (active mode)
- Total: ~100-110mA
🔍 Troubleshooting
❌ If devices not found:
- Check power - measure 3.3V on VCC pins with multimeter
- Check soldering - ensure reliable connections
- Check I2C lines - SDA and SCL should be pulled up to 3.3V through 4.7kΩ resistors (usually present on modules)
⚠️ If display flickers or glitches:
- Ensure stable 3.3V power supply
- Add 100μF capacitor between VCC and GND
- Check wire length (max 20cm for I2C)
🔄 If gyroscope doesn't respond:
- Check MPU6050 calibration
- Ensure module is stationary during initialization
- Verify correct address (0x68 or 0x69)
📐 Assembly Recommendations
- Wire length: maximum 15-20cm for stable I2C operation
- Shielding: use twisted pair for SDA/SCL if wires are long
- Soldering: use flux for reliable connections
- Mounting: secure modules in housing, avoid vibrations
🚀 Ready for Programming!
After wiring according to this diagram, your ESP32-C3 robot is ready for MONSTRIX firmware!
🚀 Ready-to-Use Firmware:
📱 MONSTRIX Firmware (Recommended):
- Features: auto emotion cycle + shake reactions
- Download: [GitHub link]
- Settings: easily customizable parameters
- Support: active community
🎨 DASAI MOCHI Support:
- Supports alternative DASAI MOCHI firmware
- More customization and features
- For advanced users
🛠️ DIY Programming:
- Create your unique behavior logic
- Add light, sound, distance sensors
- Possibilities limited only by imagination!
⚡ Upgrades & Modifications:
🔋 Autonomous Power:
- Add Li-Ion 18650 battery
- TP4056 charging controller
- Up to 12 hours runtime
📡 IoT Capabilities:
- Wi-Fi control and monitoring
- Smart home integration
- Remote emotion configuration
🔊 Sound Effects:
- DFPlayer Mini module for sounds
- Robotic voice library
- Voice command reactions
🌈 RGB Lighting:
- WS2812B LED strips
- Light synchronized with emotions
- Ambient mood lighting
📚 Learning Materials:
🎥 Video Assembly:
- Complete build process on YouTube
- Step-by-step instructions
- Configuration tips
📖 Documentation:
- Wiring diagrams
- Code explanations
- FAQ for common issues
💬 Community Support:
- Telegram group for discussions
- Help for beginners
- Sharing modifications
🎯 Perfect For:
✅ Electronics Beginners - simple assembly, ready firmware
✅ Experienced Makers - wide customization possibilities
✅ Sci-Fi Fans - bringing characters to reality
✅ Educators - excellent learning project
✅ Parents & Kids - collaborative creativity
🏆 MONSTRIX Robot Features:
- 🎯 Minimalism - compact size, maximum functions
- ⚡ Energy Efficient - optimized code
- 🎨 Aesthetic - beautiful cyberpunk design
- 🔧 Simple - assembly without special skills
- 🌐 Open Source - all code available for learning
🎉 Conclusion:
This robot isn't just a toy - it's a complete platform for learning robotics, programming, and 3D printing. Start with the basic build, then develop the project in any direction!
Join the MONSTRIX community and create the future together! 🚀
⭐ If you like this project - give it a star and share with friends!
🔔 Subscribe for updates to not miss new monsters!
#MONSTRIX #ESP32 #Robotics #3DPrinting #LoveDeathRobots #DIY #OpenSource
This remix is based on


License



Comment & Rating (54)