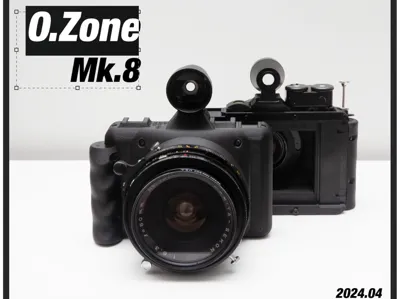
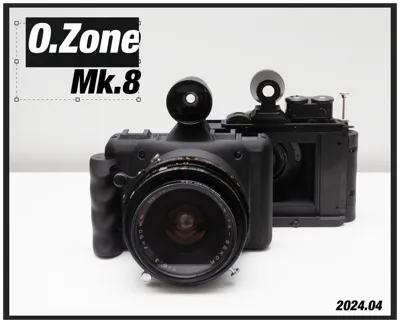
O.ZONE Mk.8 Modular 6x9 Medium Format Film Camera


Print Profile(1)

Description
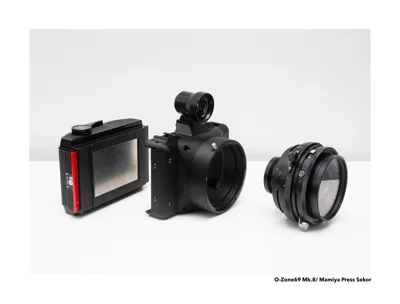
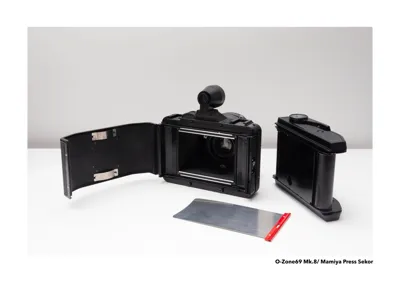
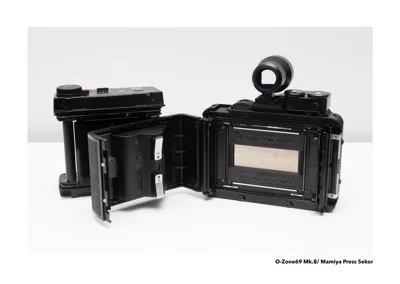
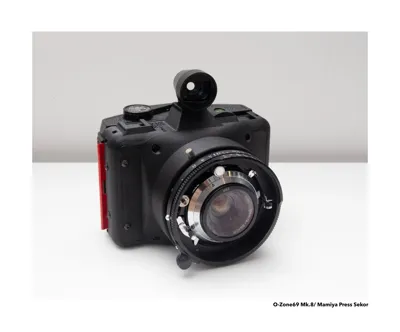
O.Zone Mk.8 – Modular 3D Printed Medium Format Camera
Excited to finally release the Ozone Mk.8 as open source.
This camera has been tested and refined by over 100 users worldwide and has become a proven, reliable system for modular film photography.
Overview
Ozone Mk.8 is the evolution of the original Ozone system, first introduced through the open-source Mk.7 project.
It continues the idea of building cameras by hand, merging modern 3D printing with the tactile, analog tradition of film photography.
This model represents a major turning point for the Ozone line, setting the foundation for the later FW series.
The Mk.8 is designed for Mamiya Press lenses and Graflok 23 film backs, including Horseman 6×9 or 6×7, and Mamiya RB67 or 6×8 backs.
It can also be used with ground glass adapters for semi-large format use.
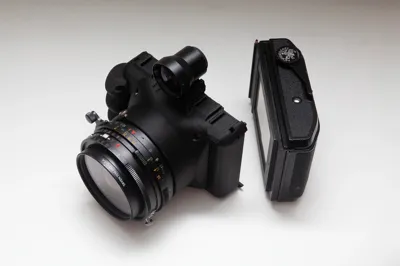
All major components are printable and modular, allowing full customization, modification, and maintenance.
Design Concept
The Ozone project began as a personal exploration into how analog photography could coexist with modern fabrication.
The idea was never to replicate an existing camera but to rethink what a camera could be when the boundary between builder and user disappears.
Ozone cameras are not mass-produced. They are handmade, measured, and tuned to precise alignment with each print.
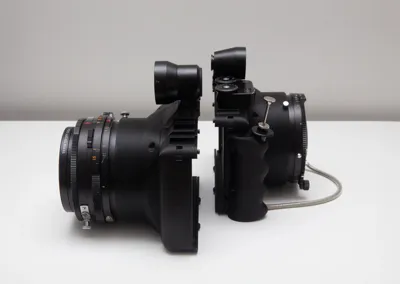
The Mk.8 reflects this philosophy — a clean, modular structure optimized for both precision and flexibility.
Each design decision, from the reinforced flange alignment to the offset grip geometry, was made to preserve film-plane accuracy while remaining portable and lightweight.
It is a camera built for those who love to build.
Key Features
• Modular 3D-printed body optimized for Mamiya Press mount
• Compatible with Graflok 23 film backs (Horseman 6×9 / 6×7 / Mamiya RB / 6×8)
• Designed for wide-angle lenses: 50mm, 65mm, 75mm, 100mm
• Structural reinforcement using carbon-fiber PETG for rigidity and heat resistance
• Threaded metal inserts (M2 / M3) for reliable mechanical connection
• Internal light baffles for complete light-seal integrity
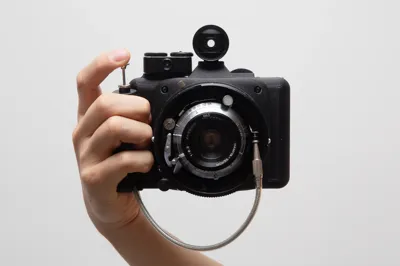
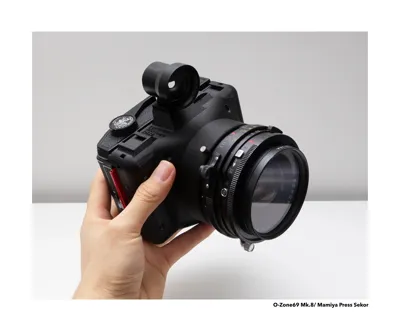
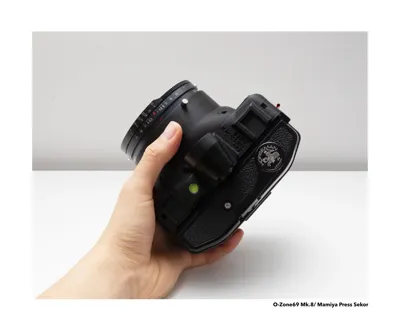
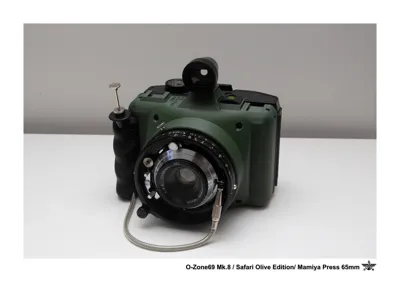
• Ergonomic detachable grip for improved handheld use
Film and Lens Combinations
| Lens | Film Back | 35mm Equivalent | Usage |
|---|---|---|---|
| 50mm | 6×9 | ≈21mm | Ultra wide, landscape, architecture |
| 65mm | 6×9 | ≈28mm | Wide general purpose |
| 75mm | 6×9 | ≈35mm | Street, travel, balanced perspective |
| 100mm | 6×9 | ≈45mm | Portraits, moderate telephoto |
| 100–250mm | Ground Glass | — | Semi-large format focusing use |
Material and Build
Material: PETG-CF (Carbon Fiber Reinforced PETG)
Stronger than PLA and resistant to UV and heat deformation up to 85°C
Body Weight: ~160g (without lens or back)
Full Setup Weight: ~1.1kg with 65mm lens and film back
Dimensions: 135 × 65 × 107mm
Tripod Mount: 3/8” thread
Recommended Print Settings
• Material: PETG-CF or ABS
• Layer height: 0.16–0.20 mm
• Infill: 25–35%
• Wall thickness: 3–4 perimeters
• Supports: as needed (under lens mount and grip area)
• Orientation:
– Body flat on base with supports under lens cone
– Grip printed upright for strength
• Minimum bed size: 200 × 200 × 200 mm
🧰 Build Guide & Materials
Required Hardware
• M3 6 mm hex screws ×10
• M3 heated inserts ×10
• M2 self-tapping Phillips screws 4 mm ×4
• M2 thumb screw 6 mm ×1
• M2 heated brass insert (M2 × 4 × 3.2 mm) ×1 → for lens cone
• Tripod adapter 1/4″ to 3/8″ ×1
Recommended Strap
• Peak Design or any anchor-type strap lug
Assembly Steps
- Print all parts in PETG-CF for maximum strength and heat resistance.
- Insert heated brass inserts using a soldering iron for clean threading.
- Assemble components in sequence, hand-tighten first, then secure lightly.
Tips:
• Do not overtighten the film-back bottom lock. It needs just enough torque to stay in place without stressing threads.
• Ensure all inserts sit flush for proper alignment.
• Lightly sand or file mating edges before final tightening for smoother fit.
License
CC BY-NC-SA 4.0
Free for personal or educational use.
Commercial reproduction or resale requires permission from the author.
Community Notes
The Ozone community has been the heart of this project.
If you build or modify this camera, tag #ozonecamera and share your process — I often feature community builds on Instagram.
Every print, every adaptation, every scratch adds to this ecosystem.
Make sure to check out Ozone Instagram (@o.zone69) for builds, updates, and other ongoing projects.
Please keep me posted. I love seeing your work — that’s my main joy in making these cameras.
I also assembled and tested this printed version myself, and there are other models like FW45, FW69, and Mk.G that are not yet released but will come later.
Boost Me
Do you like my work?
Boost Me (for free)
Boost me here so I can maybe buy a roll of filament with your boosts.
Designed and tested by Ryan Oh (O.Zone)
San Diego, 2025
License
You shall not share, sub-license, sell, rent, host, transfer, or distribute in any way the digital or 3D printed versions of this object, nor any other derivative work of this object in its digital or physical format (including - but not limited to - remixes of this object, and hosting on other digital platforms). The objects may not be used without permission in any way whatsoever in which you charge money, or collect fees.
Comment & Rating (19)