
Crystal J-20
Print Profile(1)

Description
Boost Me (for free)
3D printing a model often takes multiple test prints, which uses a lot of time. Providing a creator with even a small amount of PLA/PETG can help them test and share more helpful models like yours!

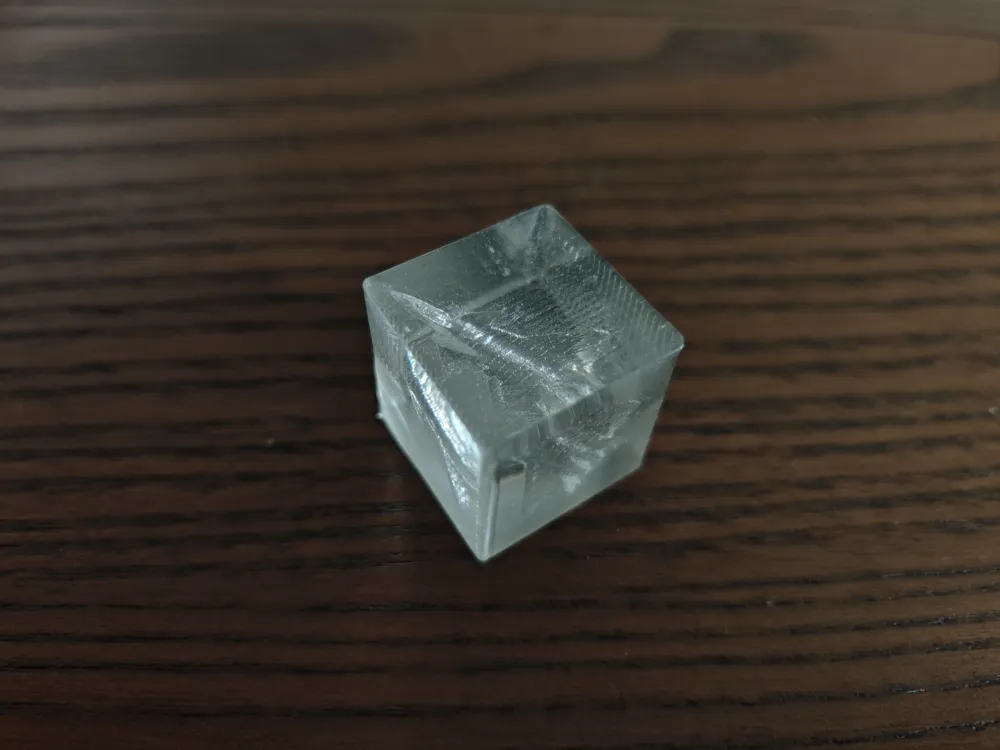
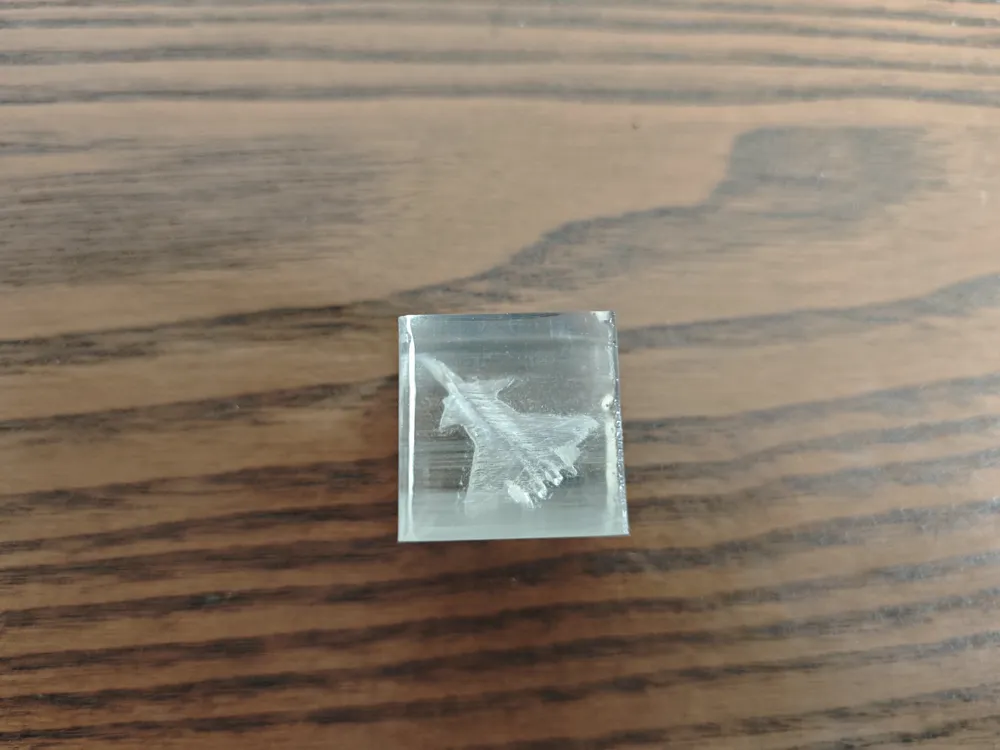
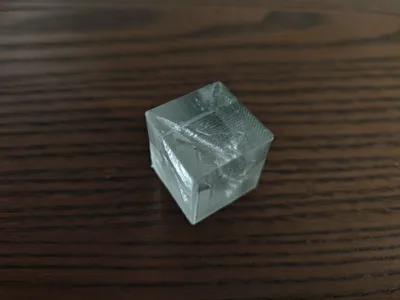
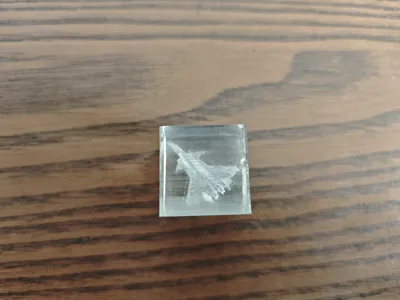
Crystal Transparent PETG J-20
Printing perfect transparent filament requires strict conditions, achieved when filament dryness, filament flow rate, temperature, leveling, layer height, and machine status are all in perfect condition
Please refer to the Bambu Lab Wiki Transparent PETG filament printing guide: https://wiki.bambulab.com/zh/knowledge-sharing/transparent-petg
and refer to the transparent print checklist for further optimized transparent parameters: https://makerworld.com.cn/zh/models/1624129
This is a model that requires actual parameter adjustment to achieve full transparency, not a model that becomes transparent with one-click printing
Please use PETG filament for printing, transparent PLA will become translucent or have a frosted glass appearance due to light refraction after the thickness exceeds 2mm
WARNING!! This is not a model that can be directly completed with one-click printing, do not initiate printing directly
Full process reference video: https://www.bilibili.com/video/BV1Ta1XBGEgd/?vd_source=a9f9d6ddf3f5e944129916fcc4749a73#reply281847712560
Printing preparation checklist:
Must use a smooth build plate to ensure a flat bottom surface
Machine maintenance is required before printing, otherwise incorrect bed leveling parameters will cause white lines to spread upwards from the first layer by at least 5mm, re-tighten the screws behind the hotend and then re-level the bed, do not lift or move the smooth build plate after running bed leveling, do not check bed leveling when initiating a print to avoid overwriting leveling parameters, also do not check automatic flow calibration, otherwise your calibrated data will not take effect
Completely dry filament is required, slight moisture will cause a small amount of water vapor during printing, leading to white lines (filament must be thoroughly dried, and only freshly opened filament can be printed without drying, otherwise it's easy to get white marks in many prints even with correct parameters)
Need to use a shorter PTFE tube (<40cm) to connect directly to the A1's extruder, try to avoid routing through the AMS, instead, use an independent dry box, connecting directly to the extruder, even slight stretching of the filament is fatal for transparent PETG flow rate calibration
If conditions permit, enclose the machine or use a machine with active chamber heating, in winter, the smooth plate's adhesion is not as good as a PEI build plate, and it's prone to warping due to cold air
Flow Rate Calibration: Right-click to load the rounded rectangle from standard models, then scale it to a 2.56mm*2.56mm*1mm filament patch model, print this filament patch based on the previous steps, use the seepage method or check for material deficiency against light, adjust the first layer flow ratio and top layer flow ratio at the bottom of the first layer quality settings to complete (if not available, open developer mode at the bottom of preferences), adjust by 0.01 each time, and simultaneously adjust the flow rate in the filament parameters, for white lines, increase (the flow rate) until white lines disappear and the interior is fully fused and transparent, adjust by 0.01 each time, only after printing a perfect filament patch should you print the model to ensure internal transparency, tuning the flow rate to a perfect state usually requires PETG to be adjusted from 0.95 to 0.98-1.01, related to filament diameter and whether there is drag resistance
- Only when the interior is completely fused can post-processing achieve the surface effect, without post-processing, everything except the bottom surface will appear frosted, only after post-processing can it be as transparent as possible, you can use UV resin or sandpaper for polishing, here, UV resin was used for post-processing, each surface was self-leveled for 2 minutes, defoamed for 3 minutes, and cured with a UV lamp for 5 minutes, the entire process took about 1 hour
Wishing you smooth sailing on your print — no stringing, no failed prints!
If you found this helpful, a like would mean a lot! And if you download the files , you'll help me earn filaments from Bambu Lab. This lets me test-drive and share more awesome models with the community!
Want to see more?
Check out my other designs on my profile
License

You shall not share, sub-license, sell, rent, host, transfer, or distribute in any way the digital or 3D printed versions of this object, nor any other derivative work of this object in its digital or physical format (including - but not limited to - remixes of this object, and hosting on other digital platforms). The objects may not be used without permission in any way whatsoever in which you charge money, or collect fees.


Comment & Rating (7)