A1 AMS Filament Buffer, AMS Hub Bracket, AMS mod


Print Profile(3)


Bill of Materials


- BT3-23 Screw *3 (for top mount latch) x 2: https://eu.store.bambulab.com/products/ams-lite-top-mount-screws-kit?id=47431202701660
- Filament Buffer x 1: https://eu.store.bambulab.com/products/filament-buffer
Description
Utilize Your Old Filament Buffer for AMS on Bambu Lab A1 / A1 Mini (AMS Hub Bypass Mod)
Description:
Bambu Lab recently rolled out a software update for the A1 and A1 mini printers, expanding their compatibility to work with AMS, AMS2 Pro, and AMS HT units.
This model allows you to easily utilize the original Filament Buffer that came bundled with the first generation AMS unit (product link) instead of purchasing the new A1-series AMS Hub. This is a fully functional and seamless modification.
What You Will Need (Required Components):
- This 3D-printed model (files provided here)
- The original Filament Buffer (from the first-gen AMS)
- AMS Lite 4-pin Cable Extension (e.g., this one)
- M3x23 Screws (original Bambu Lab screws, e.g., leftover from the AMS Lite Top Mount Screws Kit)
Installation Steps:
- Print the 3D model provided.
- Screw the 3D-printed part onto your existing Filament Buffer.
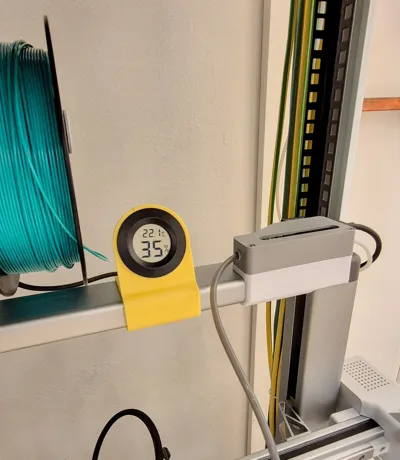
- Clip the assembled module onto the top frame of the printer (refer to the provided photos for placement). The filament buffer holder is not glued or screwed. It just clicks onto the upper ramp.
- Connect all cables and Bowden tubes.
- Follow the instructions in the printer's update dialogue to finalize the connection.
Printing Recommendations:
| Setting | Value |
|---|---|
| Material | PETG (PLA also functional) |
| Layer Height | 0.24 mm |
| Supports | Yes (Normal) |
| Infill | 15% Gyroid |
For more detailed official instructions on AMS connection, please refer to the Bambu Wiki: https://wiki.bambulab.com/en/a1/manual/ams-connection-guide#step-2-assemble-the-bracket
Model added:
Dust cap for filament buffer
Boost Me (for free)
I appreciate your support and feedback! Thank you.
License
You shall not share, sub-license, sell, rent, host, transfer, or distribute in any way the digital or 3D printed versions of this object, nor any other derivative work of this object in its digital or physical format (including - but not limited to - remixes of this object, and hosting on other digital platforms). The objects may not be used without permission in any way whatsoever in which you charge money, or collect fees.
Comment & Rating (20)