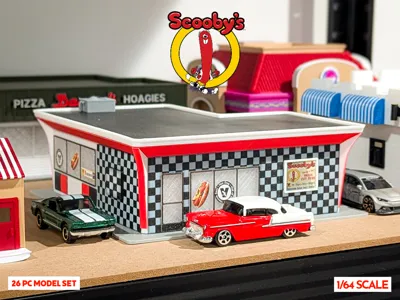
Scooby's Hot Dogs Model Set - 1:64 Scale Diorama


Print Profile(1)

Description
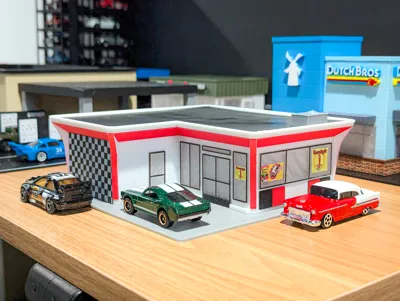
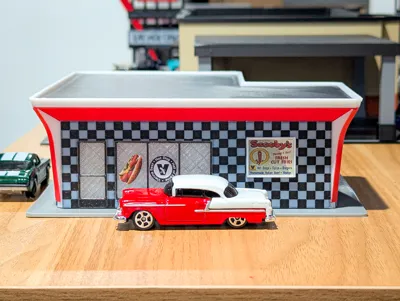
Scooby's is a well-known, popular spot for classic Chicago hot dogs in the western Chicago suburbs. The quality of the food is always great and consistent. They are so good that the restaurant was even inducted into the Hot Dog Hall of Fame!

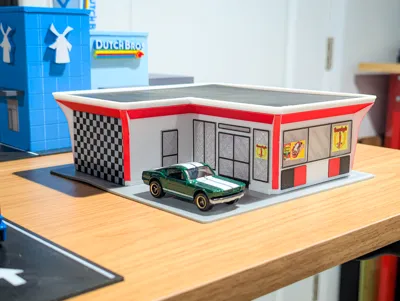
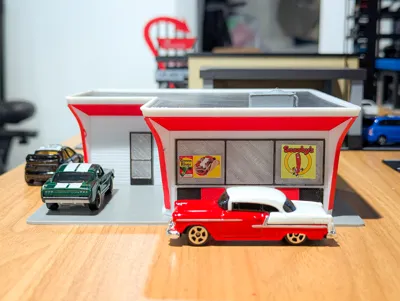
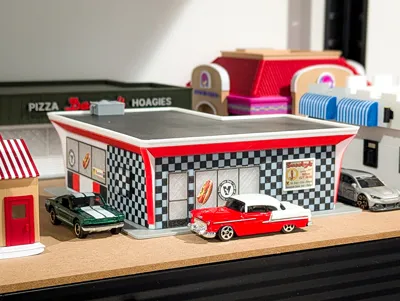
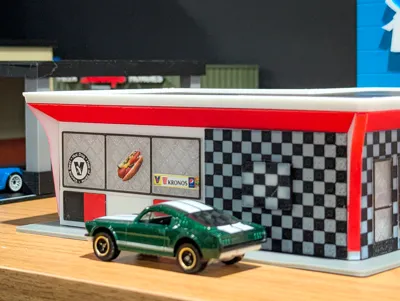
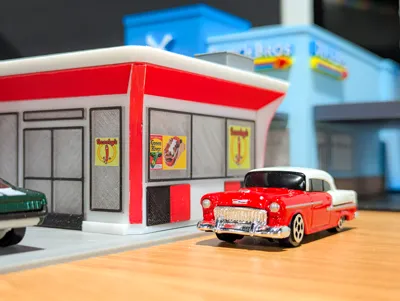
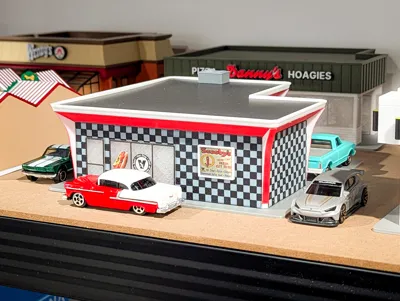
The hot dogs aren't the only thing that makes Scooby's stand out. The restaurant building is super unique with a retro design, classic red and white color scheme, and checkerboard patterned walls.
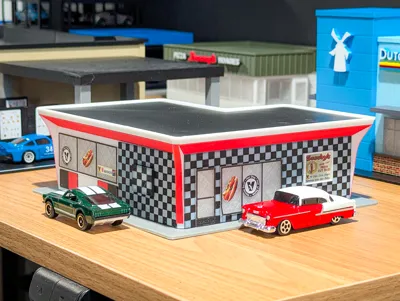
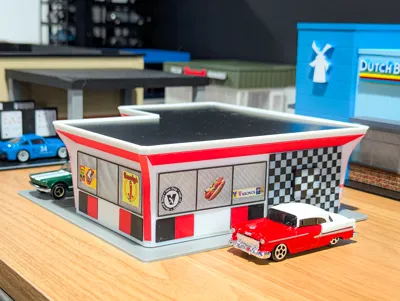
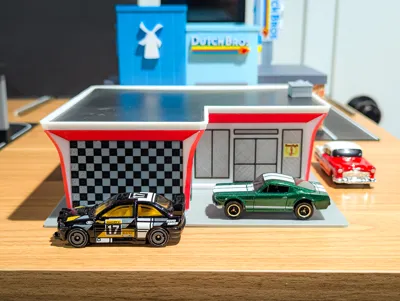
There are 3 checkerboard walls - front, side, and back wall. The front and back wall are very similar in size, so to tell which wall is which, the back wall will have the squares cut off on the right side (see image below highlighted in the yellow box).

The 5 corner angled posts are printed in white PLA and then the front face is colored with acrylic paint markers. I originally looked at printing the parts with the AMS, but the print time and filament waste was quite high for these small parts, so I decided to just paint them with markers which took less than 5 minutes. You can certainly print them in multi-color but just be aware of the longer print times and waste. If you want to color them, make sure to use acrylic paint markers (I found a 30 pack for about $12 on Amazon) as they will not bleed or fade like regular markers.

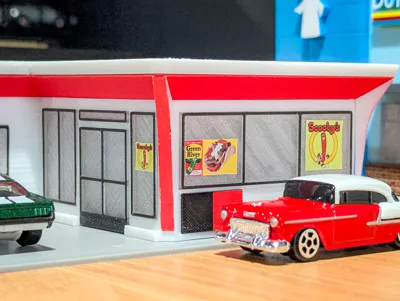
- To avoid any peeling on the doors and windows, I used PETG translucent filament for the windows and PETG black for the top layer. If you use PLA translucent, then use PLA for the top layer.
- I used super glue for the checkboard walls, doors and windows, and the corner posts.
- Shoutout to MakerWorld user @Sir_Stigma who makes awesome accessories at 1:64 scale. I printed their AC unit model which is what I used on the roof of my model.
- Assembly guide and signage PDFs are included. I cut out the signage with scissors and used a glue stick to attach them to the model. Feel free to play around with the placement of the signs.
Filaments Used:
- Sunlu PLA Black
- Sunlu PLA White
- Elegoo PLA Gray
- BL PLA Matte Scarlet Red
- BL PETG Translucent Clear
- BL PETG Black
More model sets are in the works so stay tuned! Follow along on my Patreon for more updates and exclusive content! Thank you all for your support! Feel free to reach out with any questions or suggestions for future models. Enjoy!
Boost Me (for free)
If you enjoy this print, please consider giving me a Boost! All of my designs are original, created by me, and shared with the 3D printing community. I do all of this in my spare time in between working full time and spending time with my family. I enjoy designing and making things to help grow this community of makers. Thank you for your support!
Membership
Support us even further by subscribing to our TOP LAYR and COMMERCIAL LICENSE LAYR memberships!
Documentation (2)
License
You shall not share, sub-license, sell, rent, host, transfer, or distribute in any way the digital or 3D printed versions of this object, nor any other derivative work of this object in its digital or physical format (including - but not limited to - remixes of this object, and hosting on other digital platforms). The objects may not be used without permission in any way whatsoever in which you charge money, or collect fees.
Comment & Rating (9)