
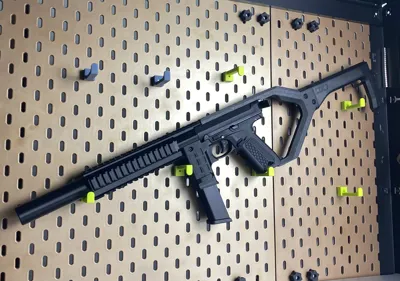
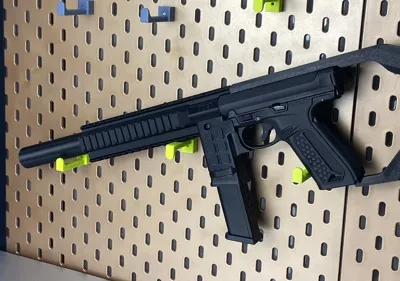
AAP 01 Pistol Airsoft Conversion Kit to SMG
Print Profile(2)


Bill of Materials



- M5 X 8 Screw for charging handle x 1: I didn't find M5x8 mm screws in the bill of materials database, so you have to buy one separately.
Description
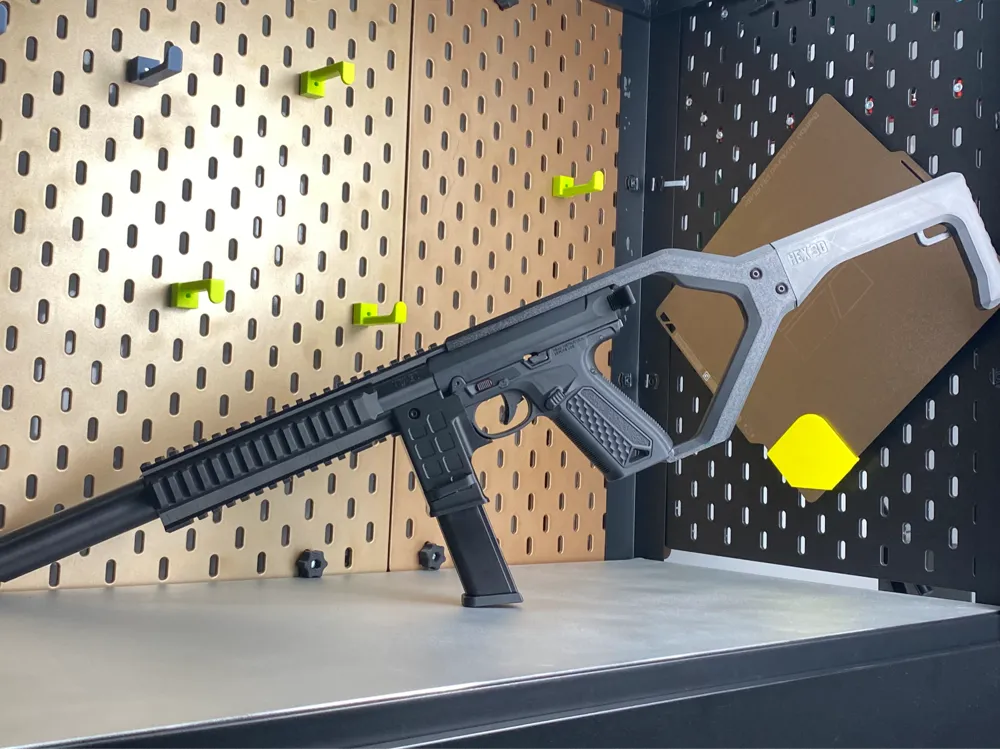
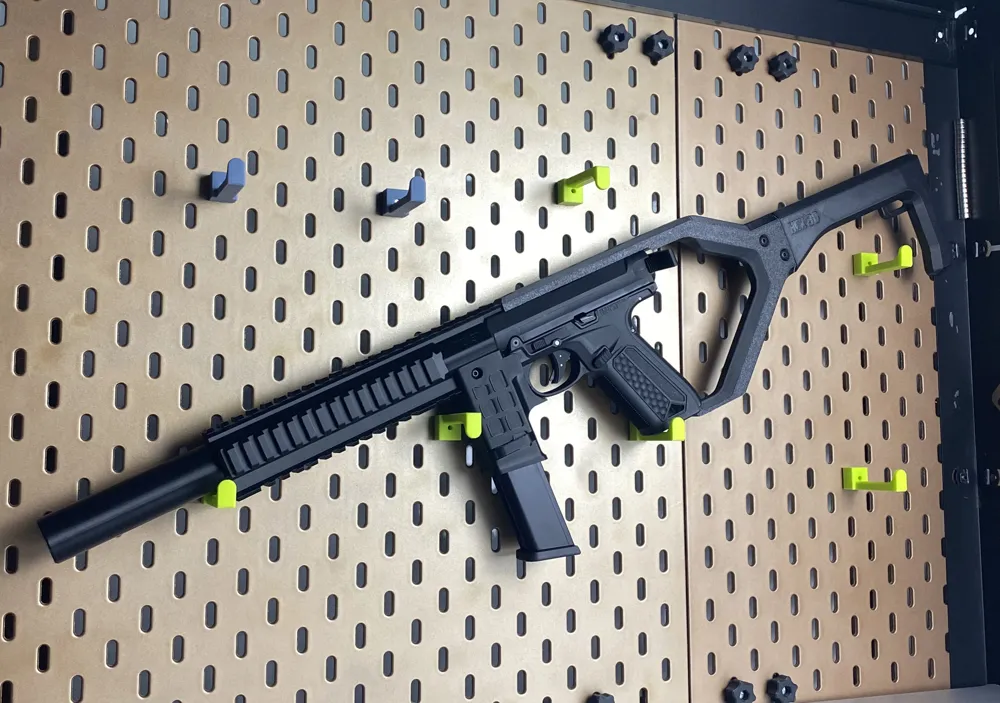
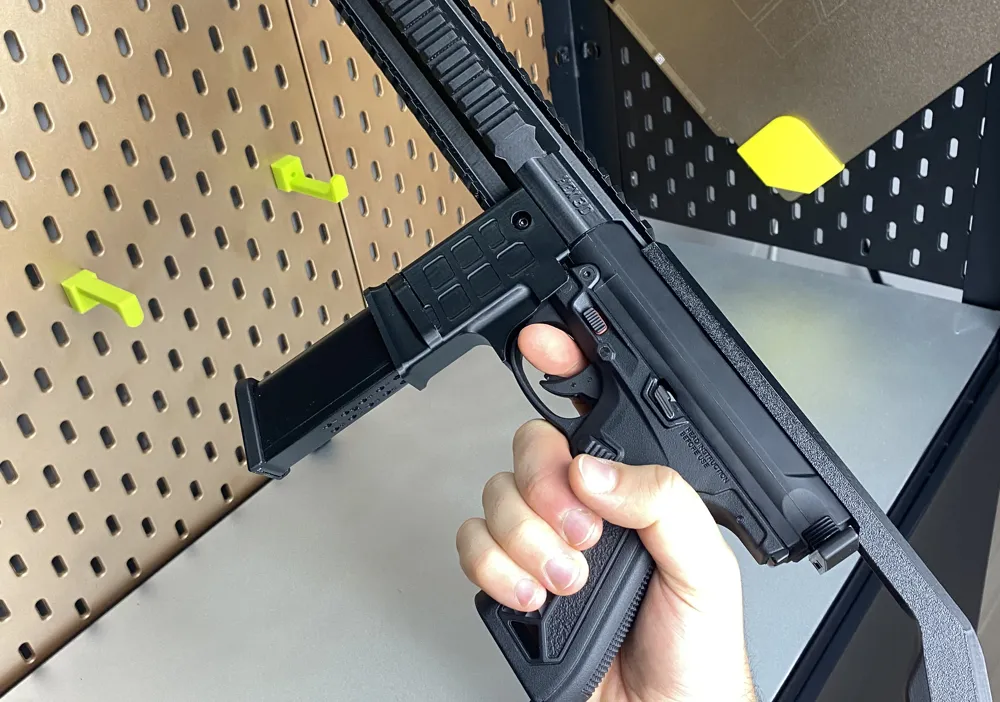
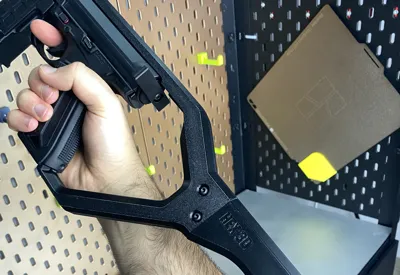
I have always wanted to have a robust and reliable conversion kit for my AAP 001 Airsoft Pistol, so I designed my own one. It was inspired from SMG's and M4 rifles, but I tried to contribute with my own vision and ideas.
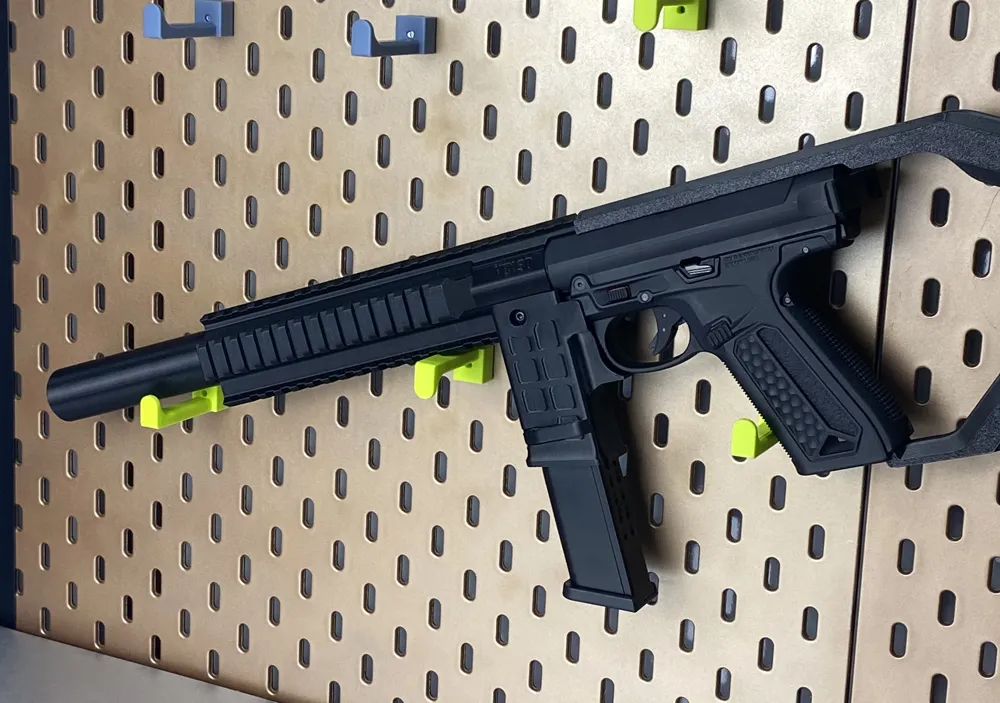
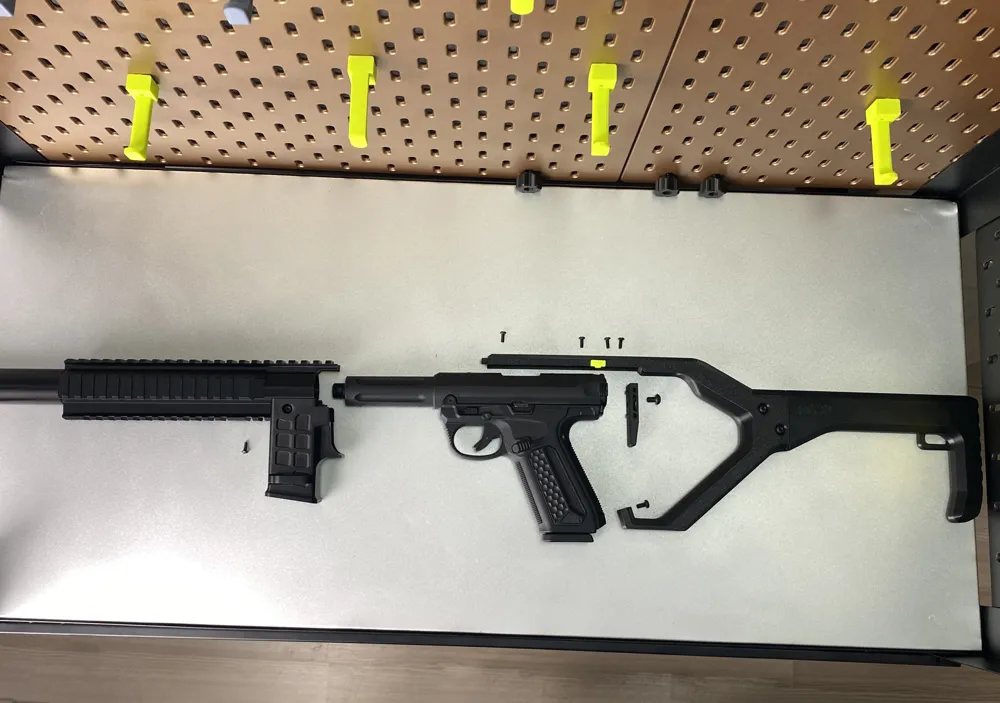
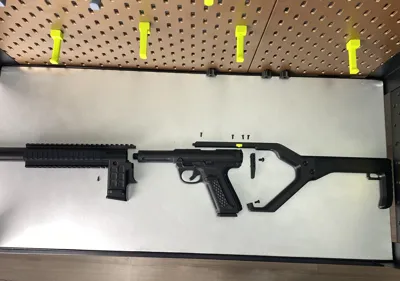
This kit contains:
- handguard
- silencer (cosmetic)
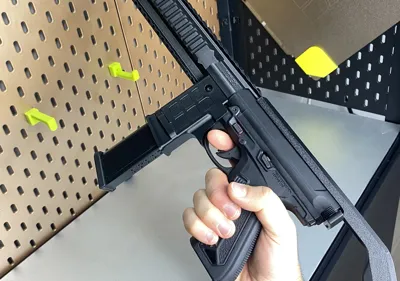
- mag holder
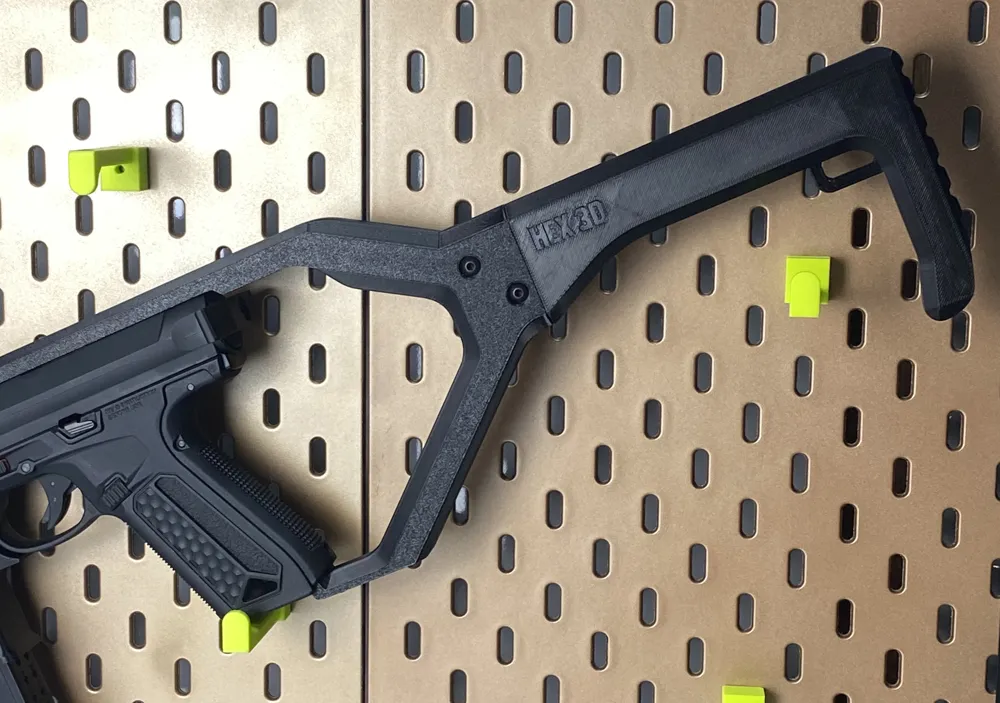
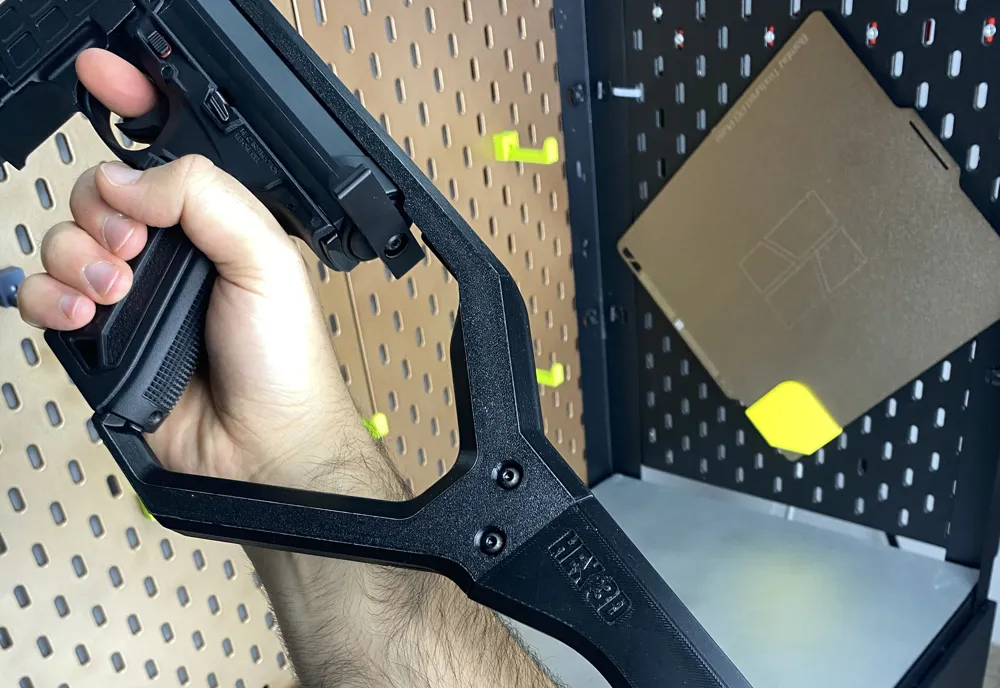
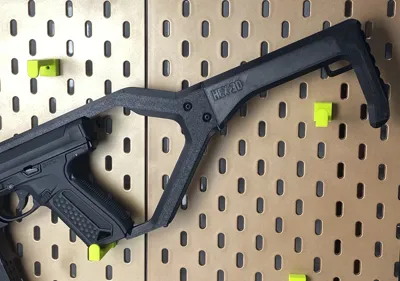
- stock (no folding, just fixed)
- charging handle
- A VERY IMPORTANT SMALL PART that goes in the back sight hole
Instructions:
1. First you need to take down the front and back sights, and then the barrel ending cap.
2. IMPORTANT: Insert the small part in the back sight hole, to secure and prevent the charging unit to slide outside. The pistol won't work without this small part.
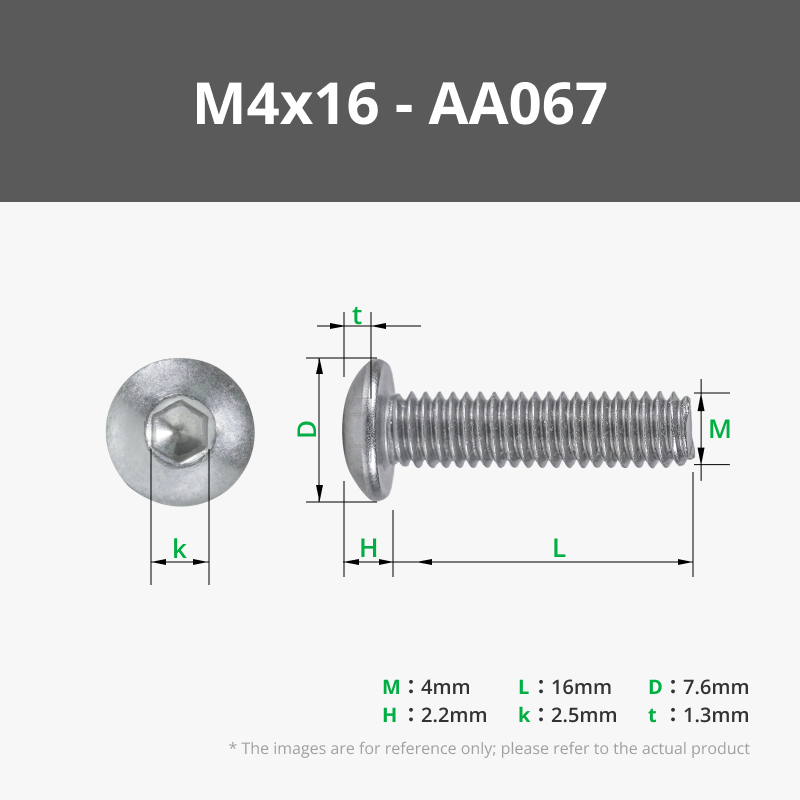
3. Fix the Stock Bridge in place and secure it using 4 screws M3 x 8 mm for the top part and one screw M4 x 8 for the bottom hole. Use 2 screws M4 x 16 mm to connect the ending of the stock.
4. Slide in the handguard and secure it using 2 screws M2.5 x 5-8 mm. (*Note: I just enlarged the two bottom-barrel screw holes, so that I can use M3 screws instead of M2.5 screws. M3 screws feel more secure in my opinion.)
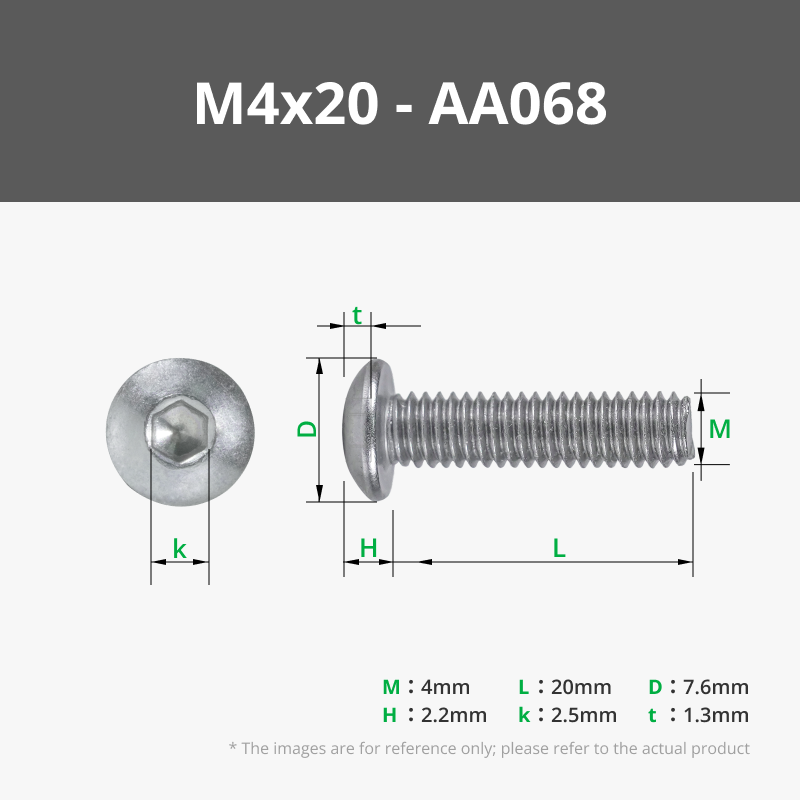
5. Slide in the Mag Holder and secure it with one screw M4 x 20 mm.
6. Attach the silencer and secure it with a screw M3 x 8 mm.
7. Attach the charging handle and secure it with a screw M5 x 8 mm.
License



Comment & Rating (45)