Australian Pedestrian Crossing Button Purse


Print Profile(1)


Description
Boost Me (for free)
Enjoy my work? Boosting is a free and easy way to show your support that helps me a lot! Click this banner to boost me!
🚦 Australian Pedestrian Crossing Button Handbag
Inspired by the iconic Australian pedestrian crossing signal button - but make it fashion!
Details:
- 💡 Fully 3D printable design (no AMS required!)
- 🧩 All coloured pieces print separately and glue together easily
- 🔩 Includes a 3D printable hinge for the flip-top lid
- 👜 Add your own strap — or print a matching chain for the full look
- 📱 Spacious interior fits an iPhone Pro Max and other daily essentials
A perfect blend of urban art and Melbourne Humor.
⚙️ Considerations
- 🧴 Assembly: Requires superglue or contact cement for final assembly.
- 🔗 Strap: No chain or strap provided — print your own or attach any crossbody/handbag strap you like.
- 🧠 Fit: Some parts may need to be pressed firmly into place — this is intentional for a snug, seamless finish.
- 🖨️ Printing Tips:
- When printing directly from the STL, orient the front face down and enable supports to achieve a perfectly flat face and clean detail holes.
- Use ironing and low layer heights for the detail pieces. The main bag prints beautifully at 0.2 mm layer height.
- 📏 Scaling: Not recommended to scale down much further — the included size (both STL and profile) fits an iPhone Pro Max perfectly.
- 🪡 Customization Tip: Line the inside with fabric or cork during assembly to reduce rattling and give it a premium finish.
🧰 Assembly Guide
- Prepare the Front Plate
Place it on your work surface face up.
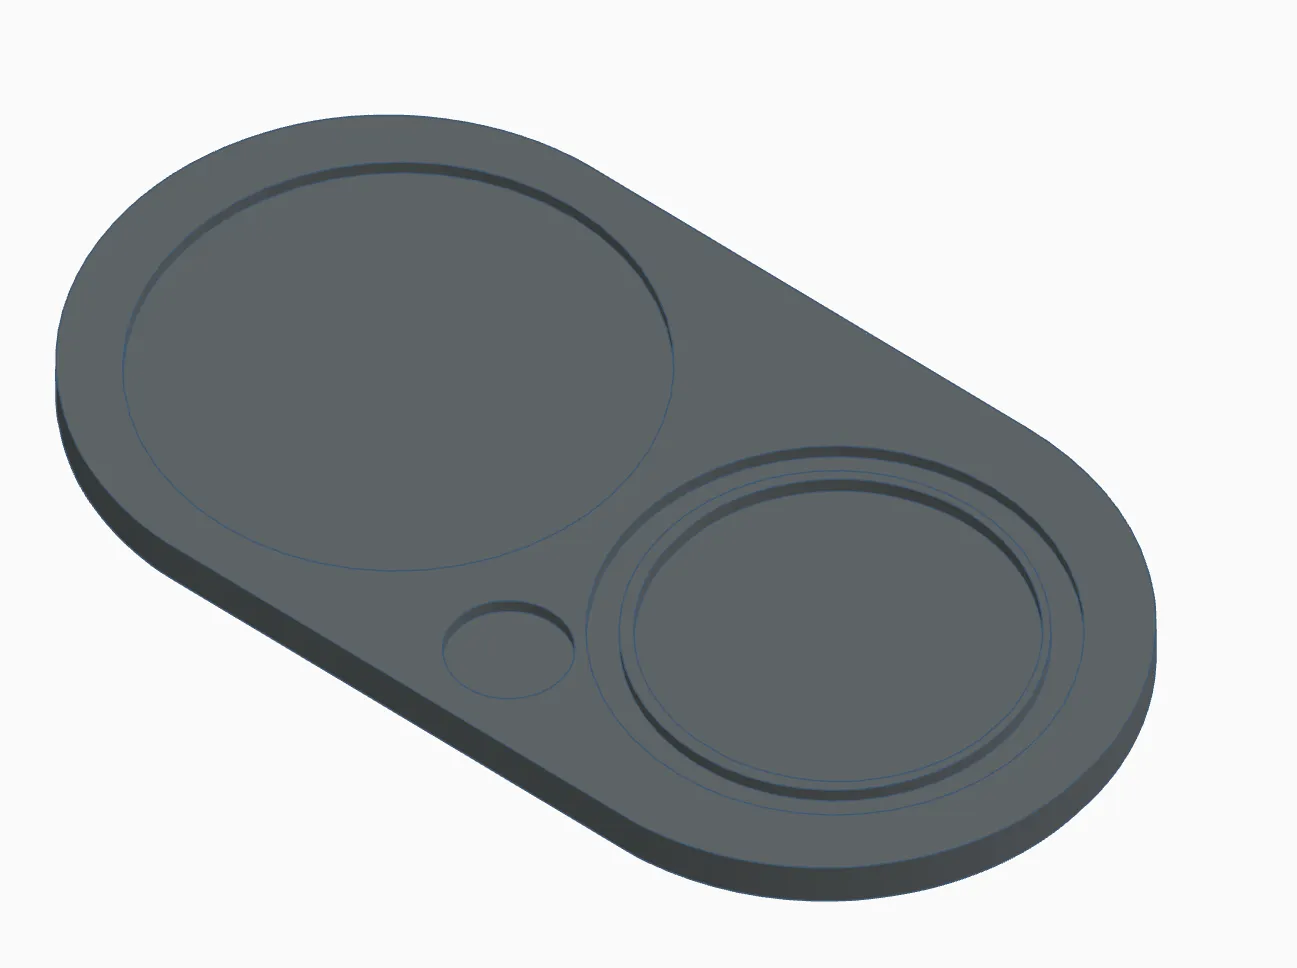
- Clean the Detail Indents
Remove the small support disks from the circular indents where the detail pieces will be glued.

- Add the Details
- Apply a small amount of superglue or contact cement into each indent - the same indicated regions as above
Insert the two silver button pieces, green “light”, and blue arrow indicator into their respective slots. This may require some force for some tightly fitting pieces.

- Attach the Directional Arrow
- Add a touch of glue into the arrow-shaped slot on the blue indicator.
Insert the silver directional arrow, and rotate it (and the blue circle) however you like — it represents the direction of the crossing.

- Install the Hinge Bolt
- Once the front piece is dry, flip it over.
Apply glue to the hinge bolt hole/peg and secure the hinge bolt in place. Allow to dry fully. (See image, the ‘tube’ goes in the hole marked)

- Attach the Door
Slide the door piece onto the hinge bolt to create the functional lid. Careful not to get glue on the door so that it stays free swinging

- Assemble the Body
- Apply glue inside the U-shaped cutout on the bag’s edge.
Position the main body of the bag, ensuring glue is also applied to the opposite hinge bolt hole for a secure fit. Glue locations marked in green

Press all components together firmly.


- Finish It Off
- Once the glue has set, attach your favorite strap or handle — printed or store-bought — and you’re ready to go!
Membership
Want to sell this as a commercial product? Check out my commercial membership which gives you the right to sell any of your prints of my files, anywhere. Plus, it supports me in doing what I love!
Documentation (1)
License
You shall not share, sub-license, sell, rent, host, transfer, or distribute in any way the digital or 3D printed versions of this object, nor any other derivative work of this object in its digital or physical format (including - but not limited to - remixes of this object, and hosting on other digital platforms). The objects may not be used without permission in any way whatsoever in which you charge money, or collect fees.
Comment & Rating (0)