
Gridfinity Adapter for Tesla Model S/X Console
Print Profile(1)

Bill of Materials



Description
What is this?
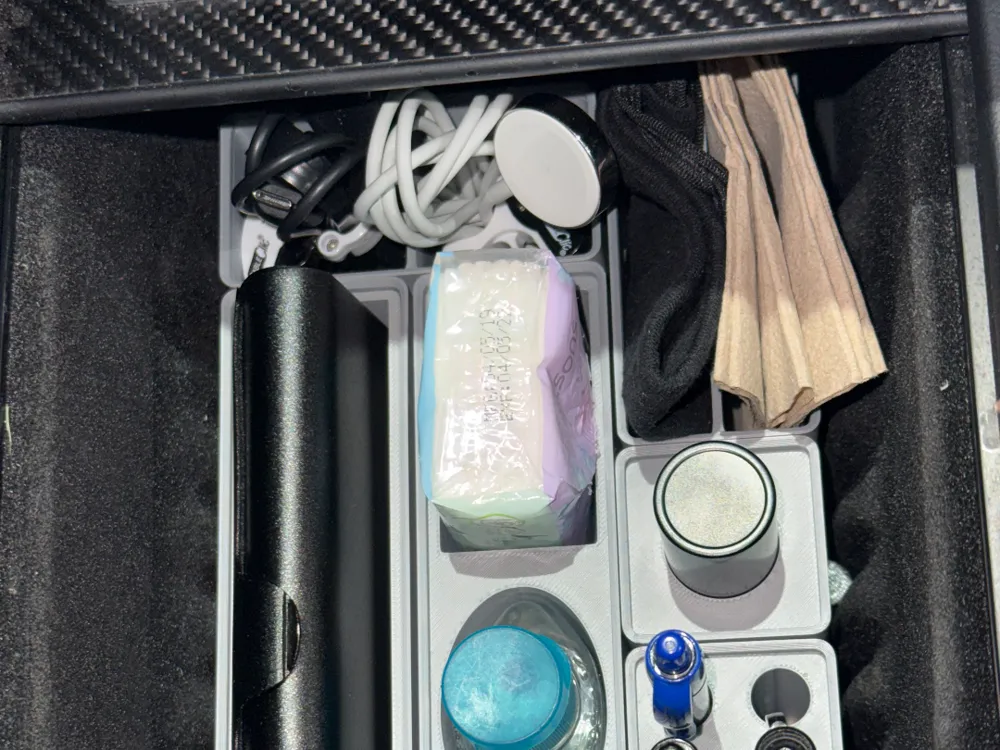
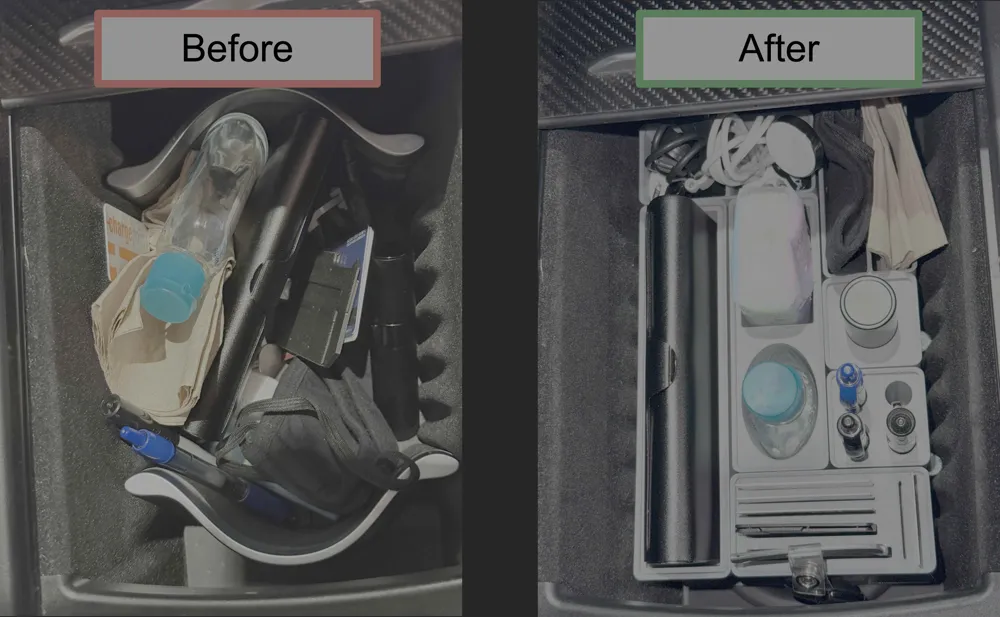
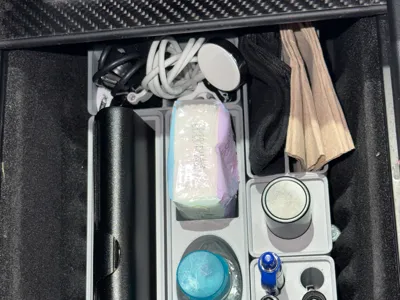
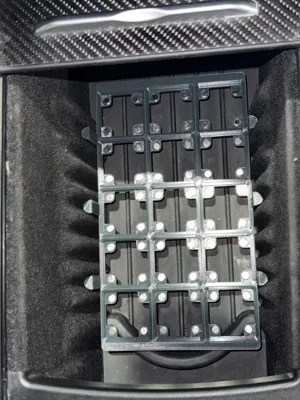
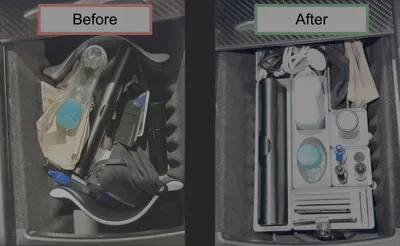
Adapter to convert your Model S/X console to a 5x3 Gridfinity setup.
Compatibility
Tesla Model S console from late 2016 to late 2020 (before the 2021 refresh).
Tesla Model X console from 2016 to late 2020 (before the 2021 refresh)
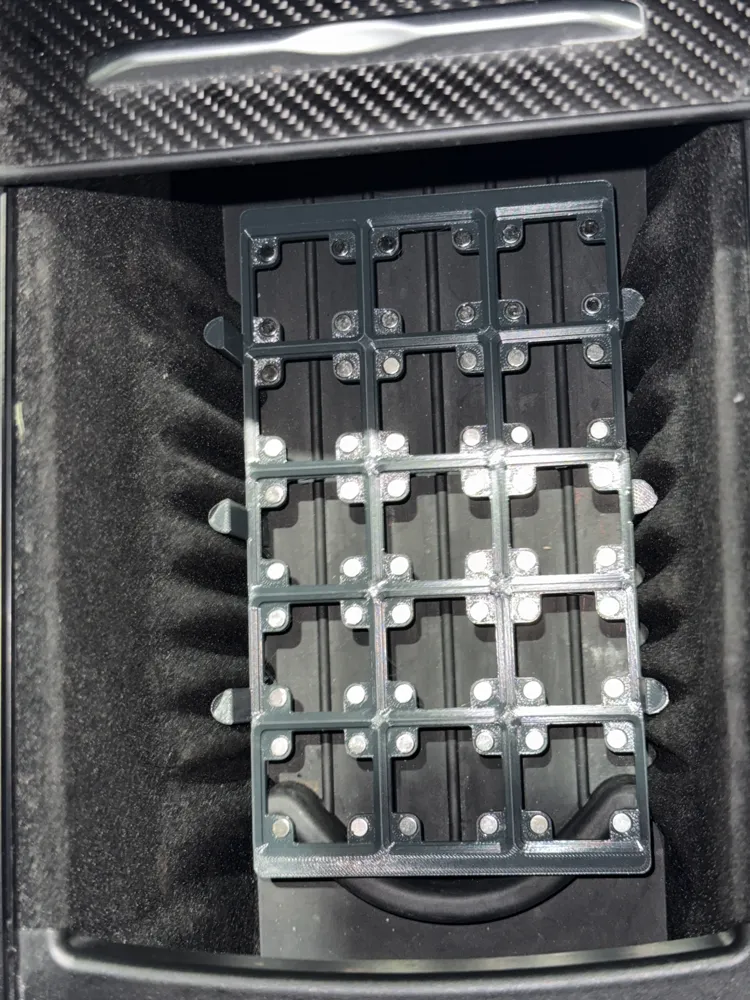
No modifications to the console itself are needed - this is a slip fit and uses friction from the “ribs” where the cup holders would normally mount.
Instructions
- Print the adapter and most likely the “post” risers. I used and recommend PETG as it handles heat better. ASA, ABS, Nylon or Polymaker HT-PLA (high temp PLA) will work well too. I recommend avoiding regular PLA.
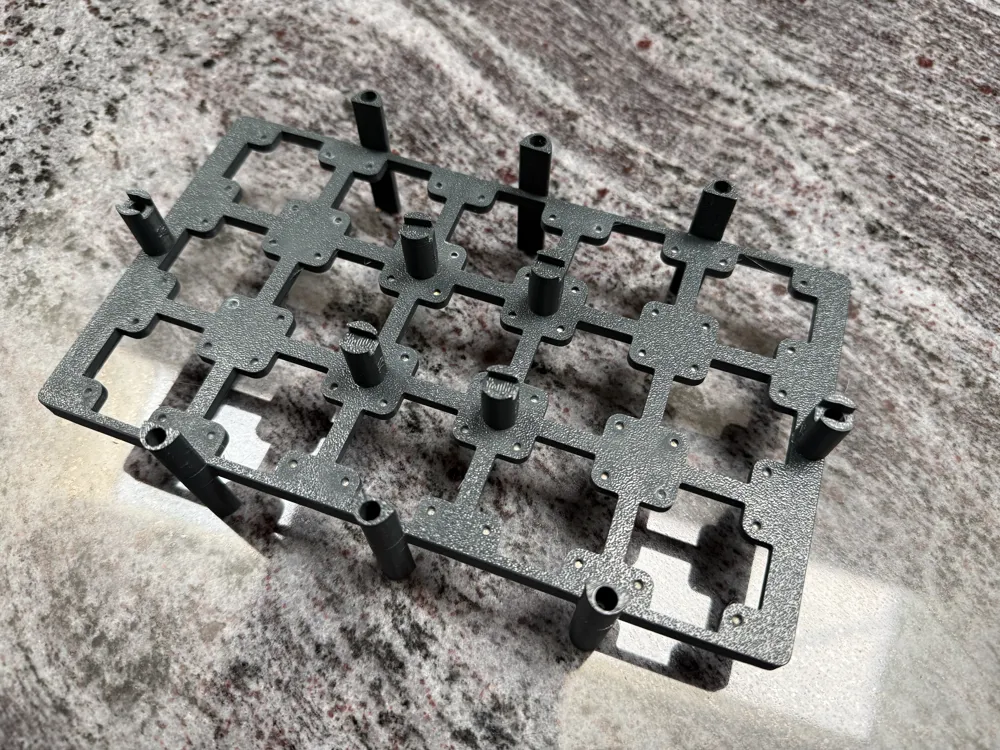
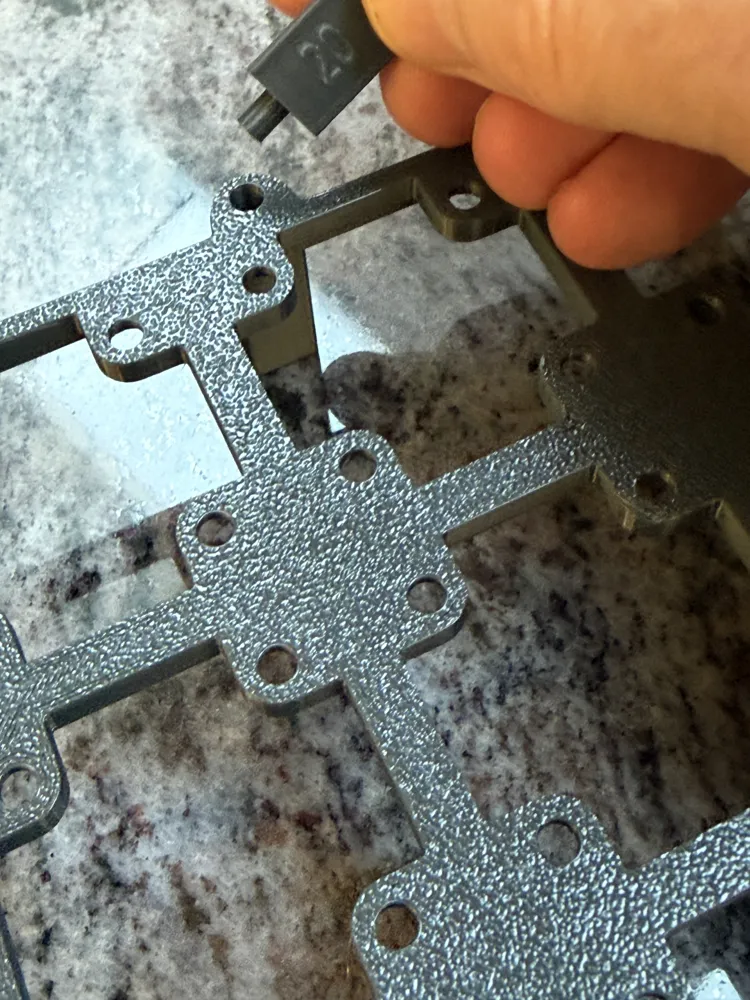
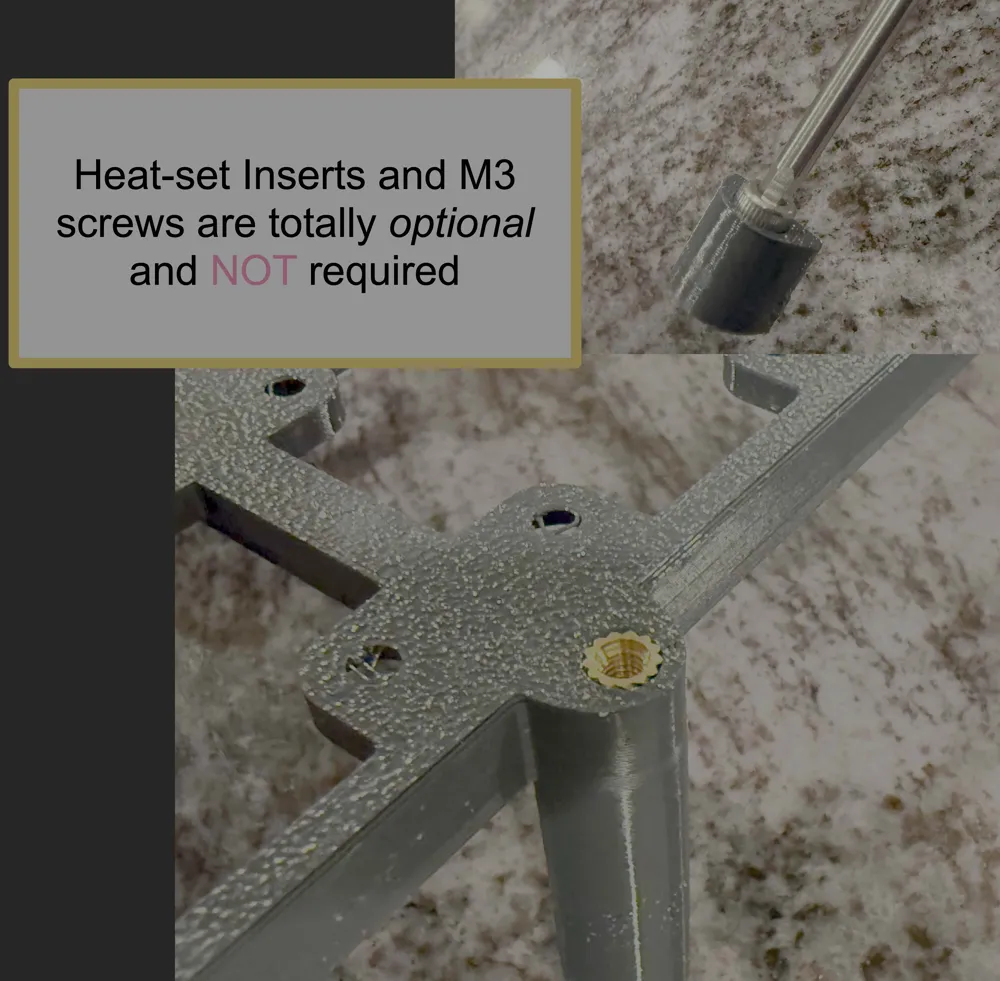
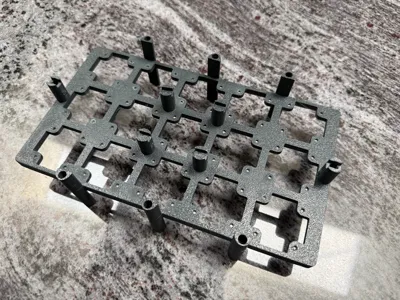
- There are 6 half-moon “risers” that you insert into the bottom of the adapter (see the photos). Or, optionally, you can use M3 bolts (I used M3x6mm bolts). There are 6 other risers that have cut outs on their base that will straddle the raised lines in the rubber console mat. These risers go in the middle (4) and one each at the front and back of the adapter (again, see the photos).
- Remove the cup holders from your console.
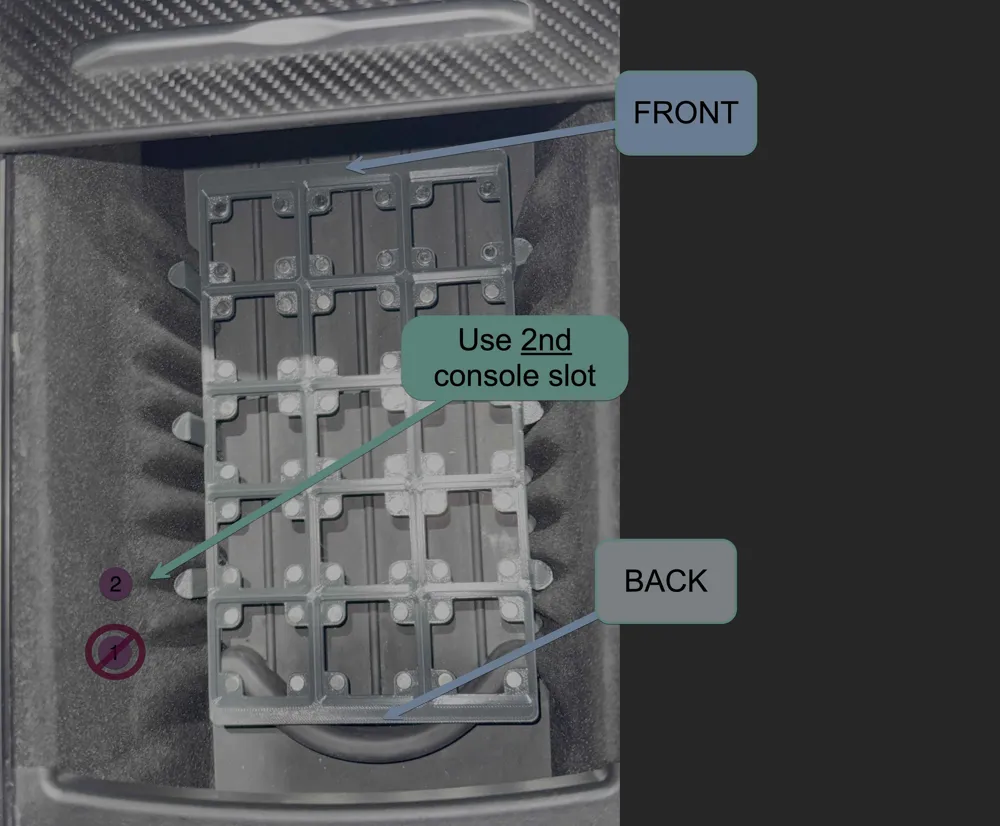
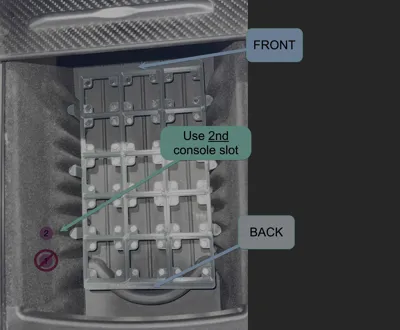
Position the ‘Back’ of the adapter so the first “column” is in the SECOND console slot. While this model is NEARLY symmetrical, there is a ‘front’ and ‘back’ and the model has text to inform you of which is which. Getting the right orientation will ensure that the flip-open phone charging door does not come in contact with any rear-most Gridfinity bins.
Options
No non-3D printed parts are required! Just print the adapter and the “post” risers on the second plate and you're all set.
However, there are a few optional parts that can be utilized if you so wish (I did!).
Magnets
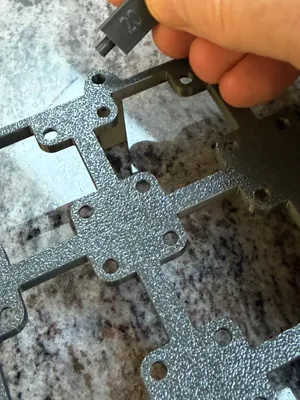
Magnet holes are provided if you want extra secure bins that absolutely will not move around. You would need 60 (sixty) 6x3 magnets and you can click the convenient link in this page to get them directly from Maker Supply if you don't already have them.
Heat set inserts
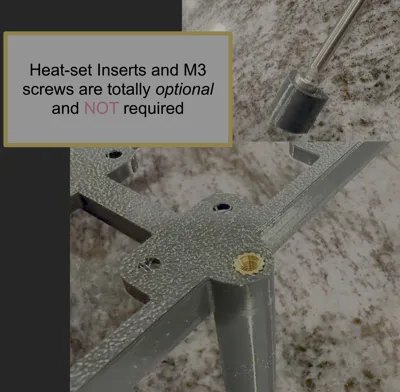
If you prefer not to use traditional post-and-hole connections for the ‘risers’ that go between the adapter and the console floor, you can use heat set inserts instead. If you go this route, use the M3 risers instead of the “post” ones - you only need one set or the other, not both.
I used M3 x 5.7mm inserts from CNC Kitchen. You could probably get by with a slightly shorter length though. I used the Superserter to easily insert the heat set inserts and I highly recommend that tool (or something like it).
Boost Me (for free)
Never expected but always appreciated. Boosts, follows, comments and make photos are all very much appreciated.
Boosters
Thanks for the Boosts! I don't take them for granted and am very humbled and appreciative when I receive them and want to shout out any boosters here for a special thanks.
Epic Double (2X) Boost Supporters!!
Awesome (1X) Boost Supporters!
License

You may create derivative works based on this object, provided that all such derivative works are published exclusively on the MakerWorld platform and include proper attribution to the original creator. You may not share, upload, host, distribute, or publish this object—or any derivative work of this object—on any other digital platform, marketplace, or distribution channel. Commercial use of this object and any derivative works is strictly prohibited. This includes, but is not limited to, selling, renting, sublicensing, or using the object in any context in which you receive monetary compensation or other financial benefits.


Comment & Rating (8)