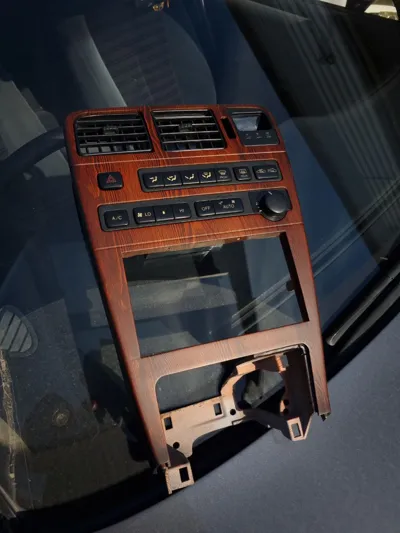
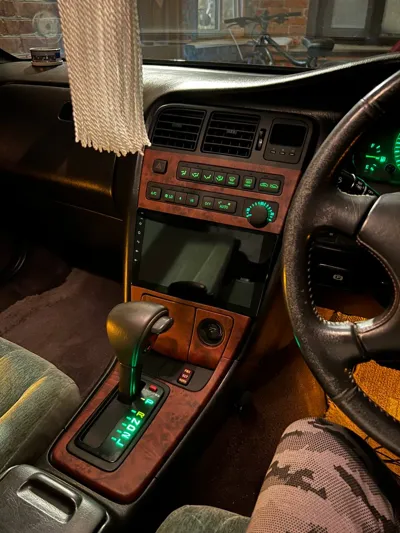
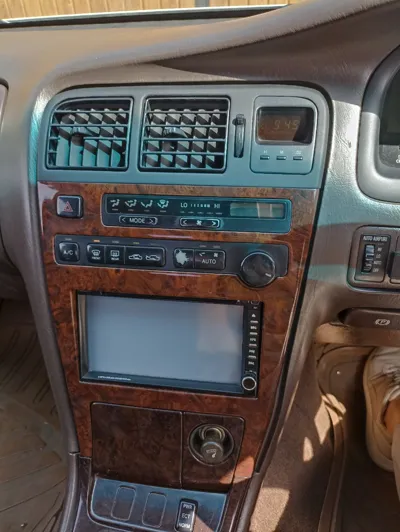
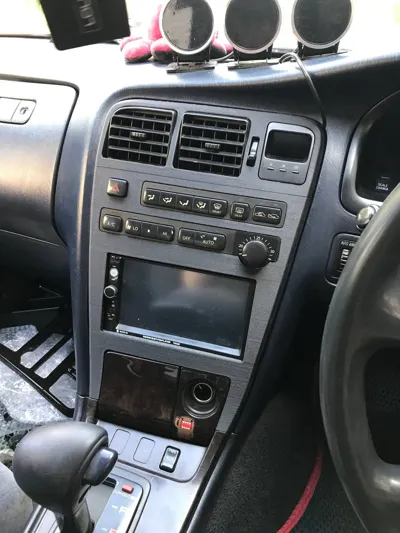
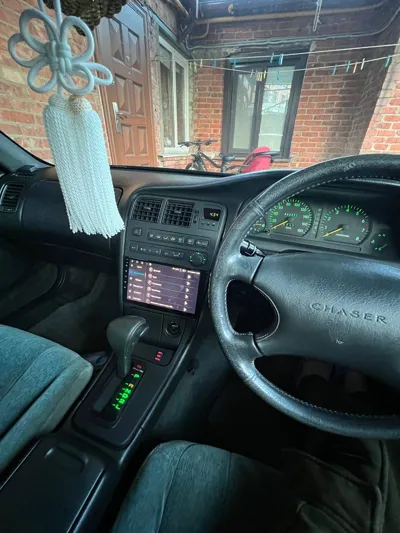
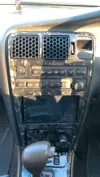
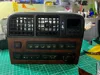
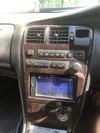
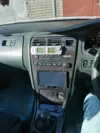
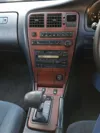
jzx90 center console


Print Profile(1)

Description
Instructions from ABS_BOX
for the manufacture of the jzx90 center console

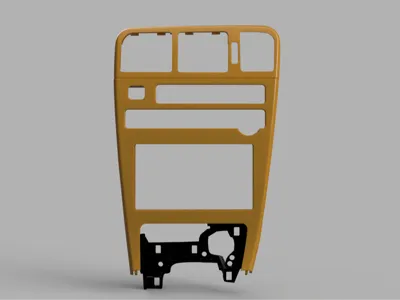
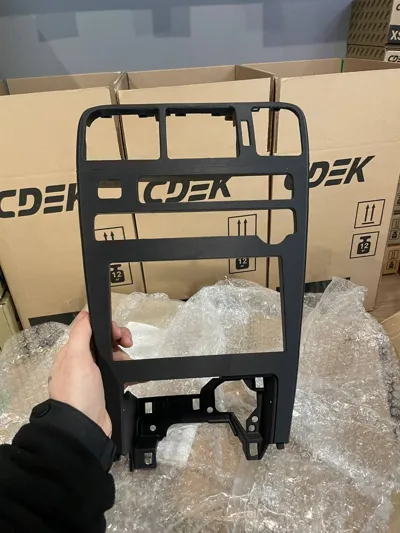
This archive contains 3D files of the jzx90 central console, intended for independent 3D printing and subsequent assembly. The files were modeled by me personally based on a scan of the original factory part, after which they were repeatedly checked, printed and installed on the car.
I post files online and provide access to them without restrictions. I want the TOYOTA MARK II jzx90 car to continue to please its owner, so that every car enthusiast has the opportunity to make such a rare and fragile, due to time, interior detail.
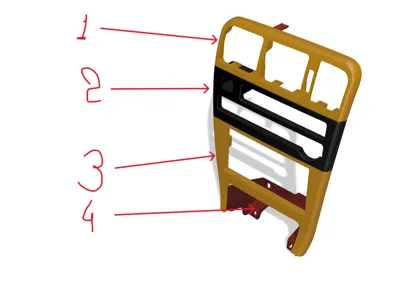
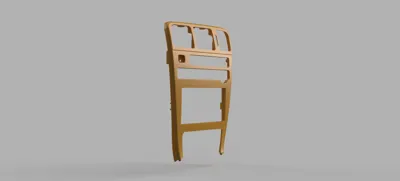
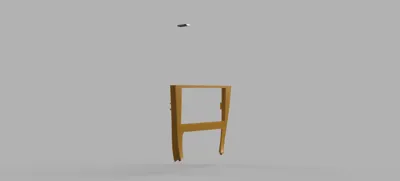
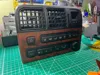
The “central console” product consists of 4 parts, which are fastened together with bolts and nuts with a diameter of 2.5 mm, then the joints are coated with a mixture of acetone and ABS plastic, which is used for greater reliability. The models already have holes for bolts and nuts. Before printing, it is necessary to study all models and select the optimal placement on the table, taking into account the highest quality printing of the front surface. Size for 2DIN standard tape recorder.
When modeling, I deliberately divided the center console into 4 parts in order to be able to 3D print the product with a small table size and overall dimensions, while at the same time minimizing the defect rate of the product as a whole.
Dimensions of the center console parts in mm:
1-part 254x87x34 (Length x height x depth);
Part 2 254x94x34;

Part 3 254x211x30, the largest part;
Part 4 173x101x100.
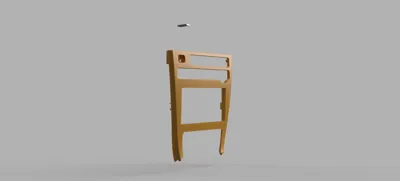
The archive contains a “mount” file - this product must be printed from polyurethane (TPU) with a hardness of D-55-60. A total of 4 fasteners are required. In the center console they are secured with pieces of thread through special holes; for this it is better to use PETG plastic.
IMPORTANT!!! When assembling and installing on the car, take into account the shrinkage of the plastic used. In my work, I use only engineering types of plastic with minimal shrinkage rates, so my printed products, when installed on a car, have minimal gaps between themselves and the body elements.
For printing, I recommend setting the following settings:
-layer height 0.15-0.18 mm
-layer width 0.5 mm
- consumption 0.99-100
- wall thickness of at least 5-6 lines
- bottom thickness, lids 30-40 layers
- other tinctures at your discretion.

My channels can be found at the following links:
https://www.instagram.com/abs_box/
Please support my work and then many more 3D models will appear in the public domain! I look forward to your responses, suggestions, cooperation.
I wish you successful printing, founder of ABS_BOX
Documentation (15)


Comment & Rating (7)