
Pumpkin Goose – The Cutest Halloween Candy Bowl
Print Profile(4)


Description
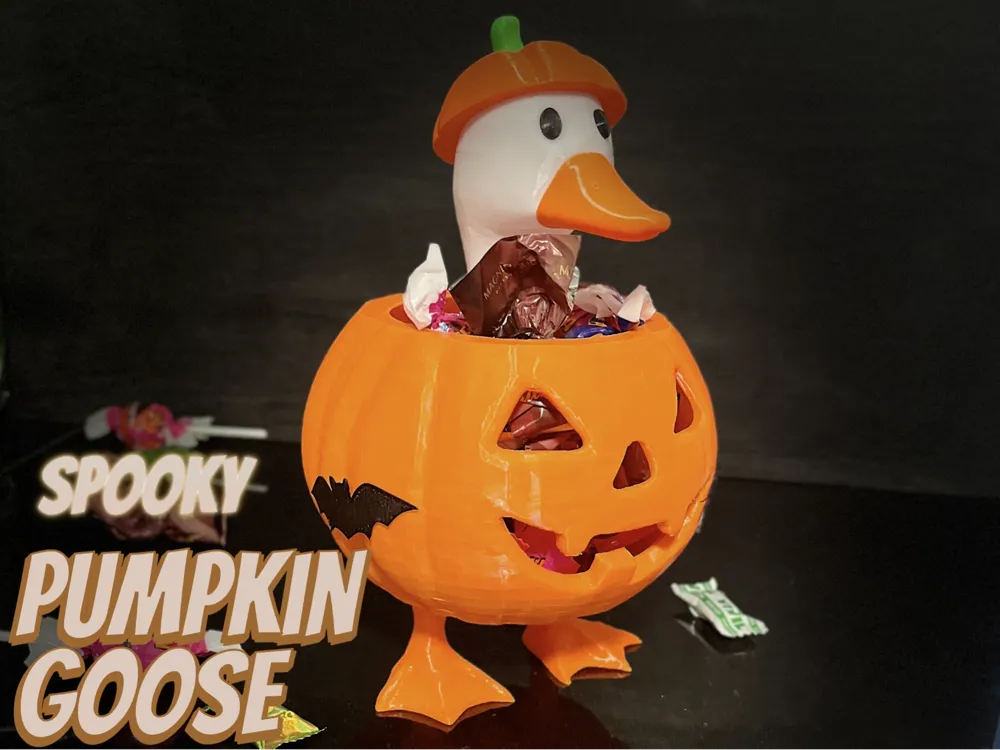
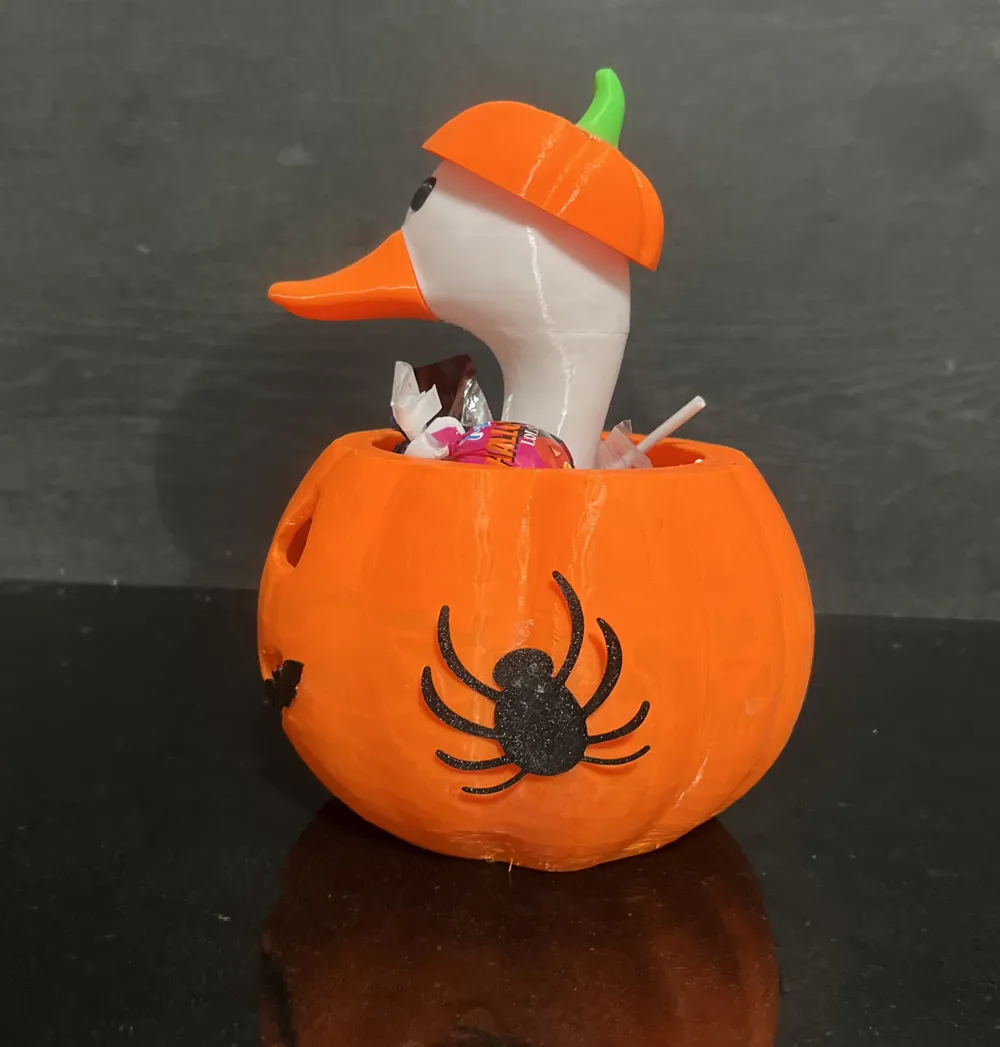
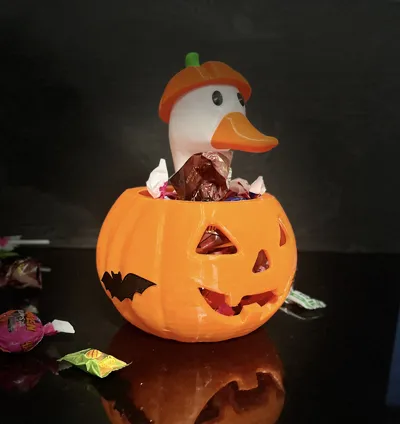
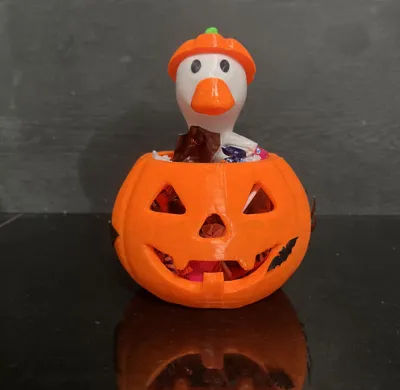
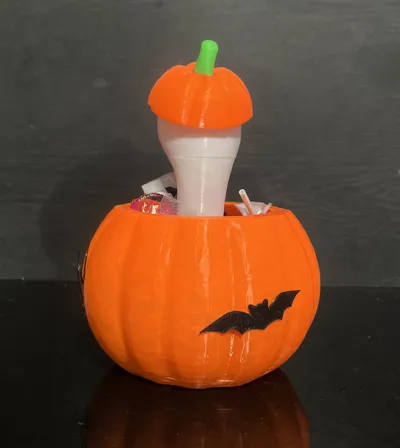
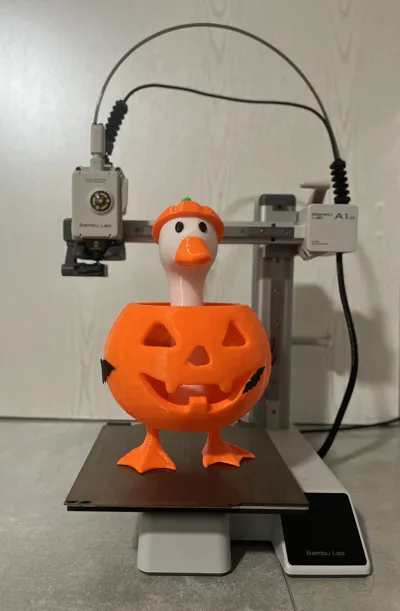
The Pumpkin Goose – The Star of Halloween Night
Once upon a spooky autumn evening, a curious goose wandered through a pumpkin patch.It loved Halloween so much that it decided to slip right inside one of the pumpkins — and that’s how the Pumpkin Goose was born!
Now it´s here to bring charm, fun, and a touch of Halloween magic to your home.
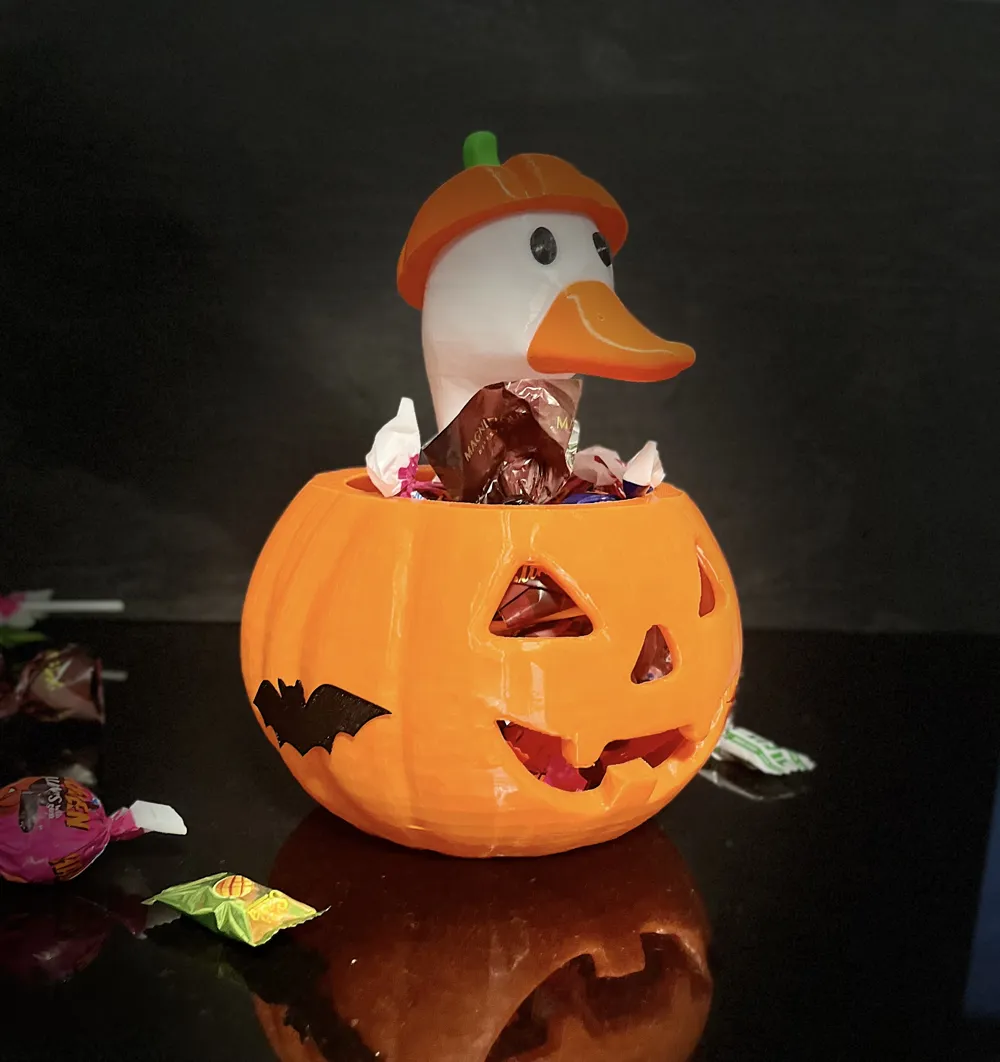
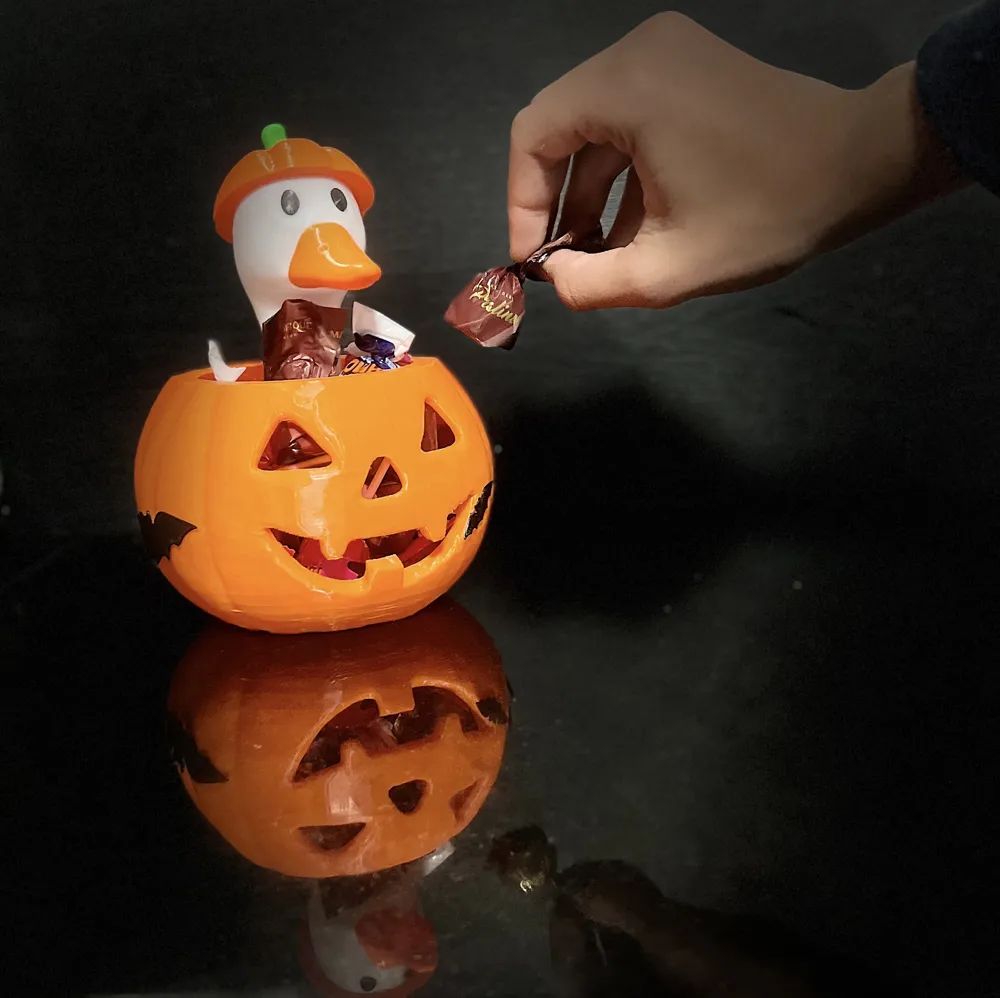
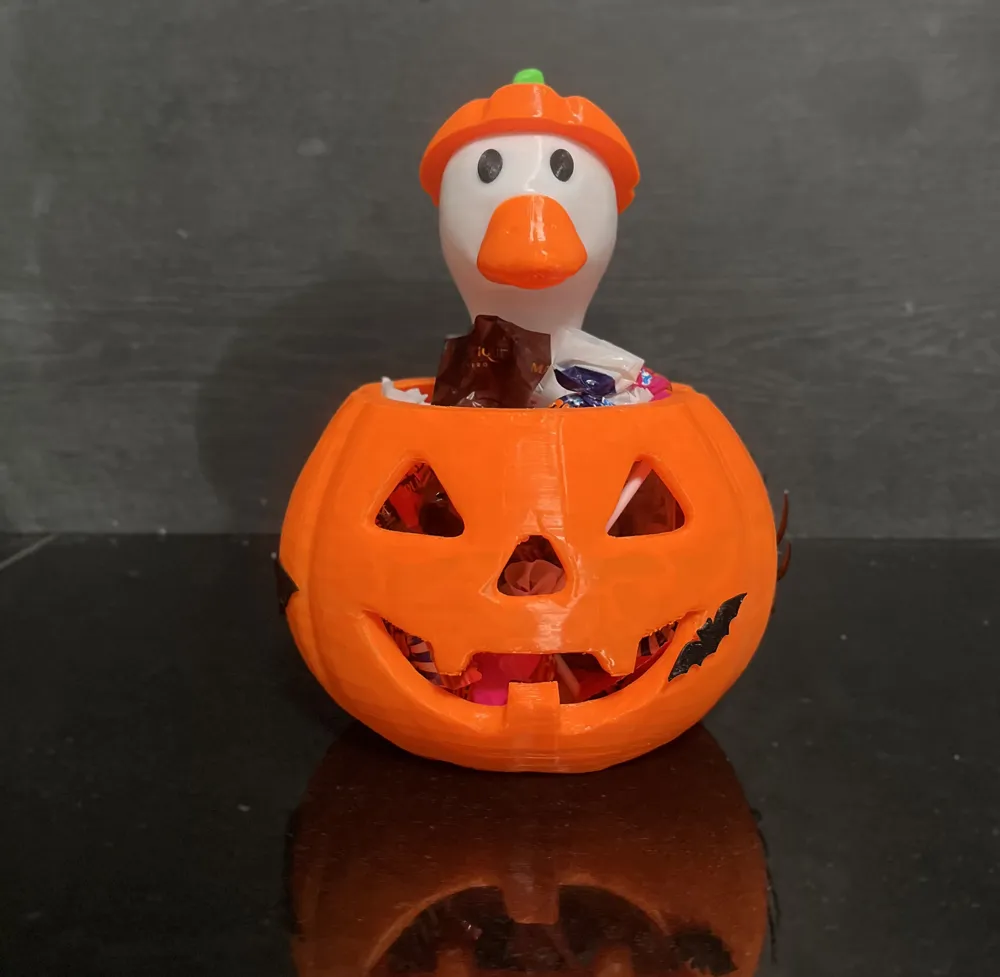
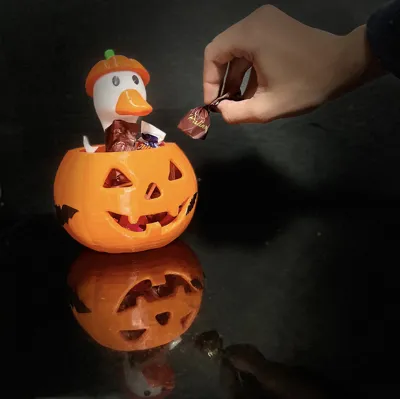
This adorable goose isn’t just a piece of decoration — it is also a functional candy bowl! You can fill it`s pumpkin belly with sweets for your Halloween guests or set it by the door so little trick-or-treaters can help themselves.
🕷️ Decorate with fun!
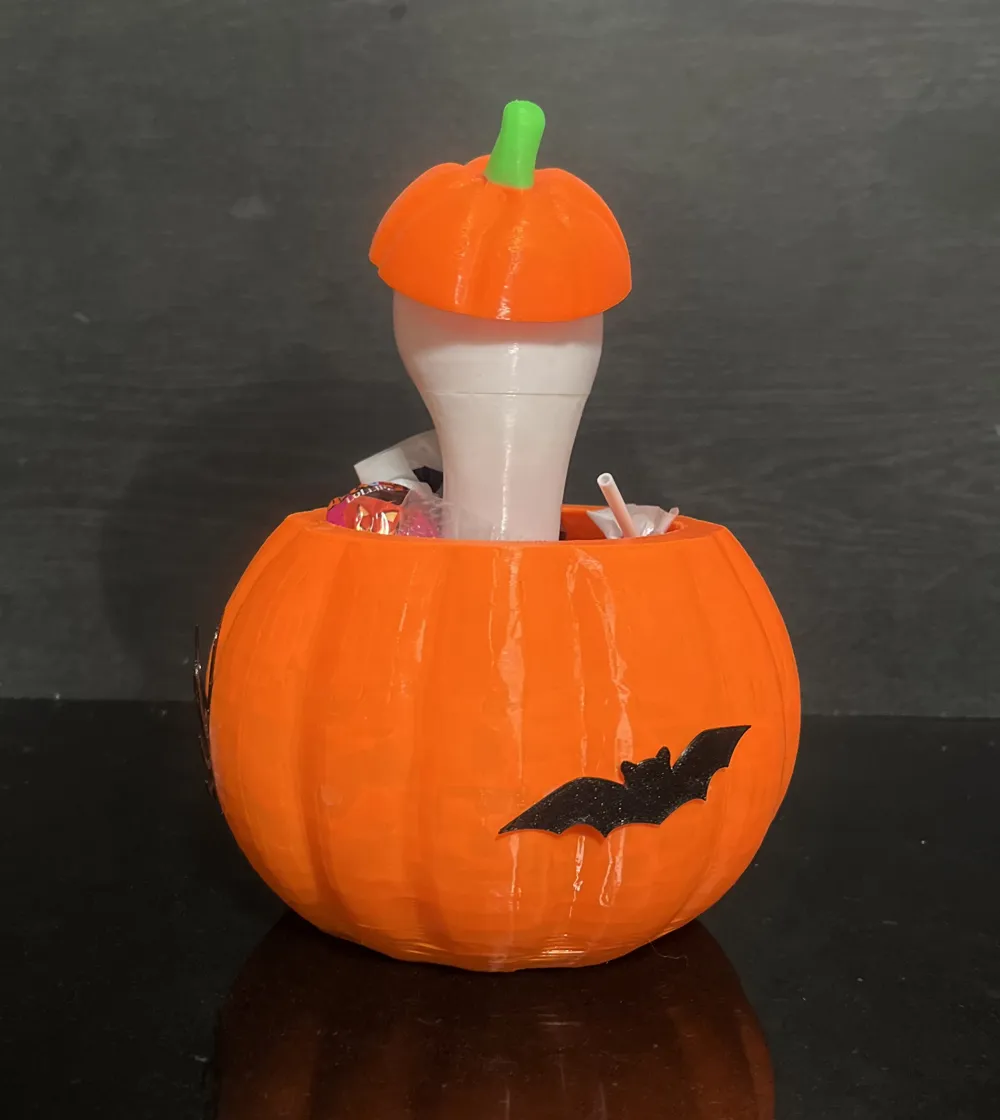
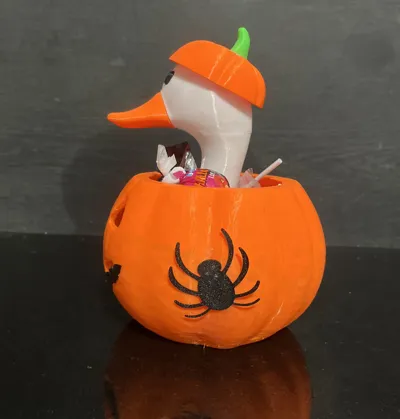
You can decorate the goose with the included spider (1 size) and bats (3 sizes) to match your spooky style. Mix and match — every setup becomes a unique little Halloween scene!
Everyone can print it because no AMS is needed since the goose is split into parts which also ensures printing with less supports.
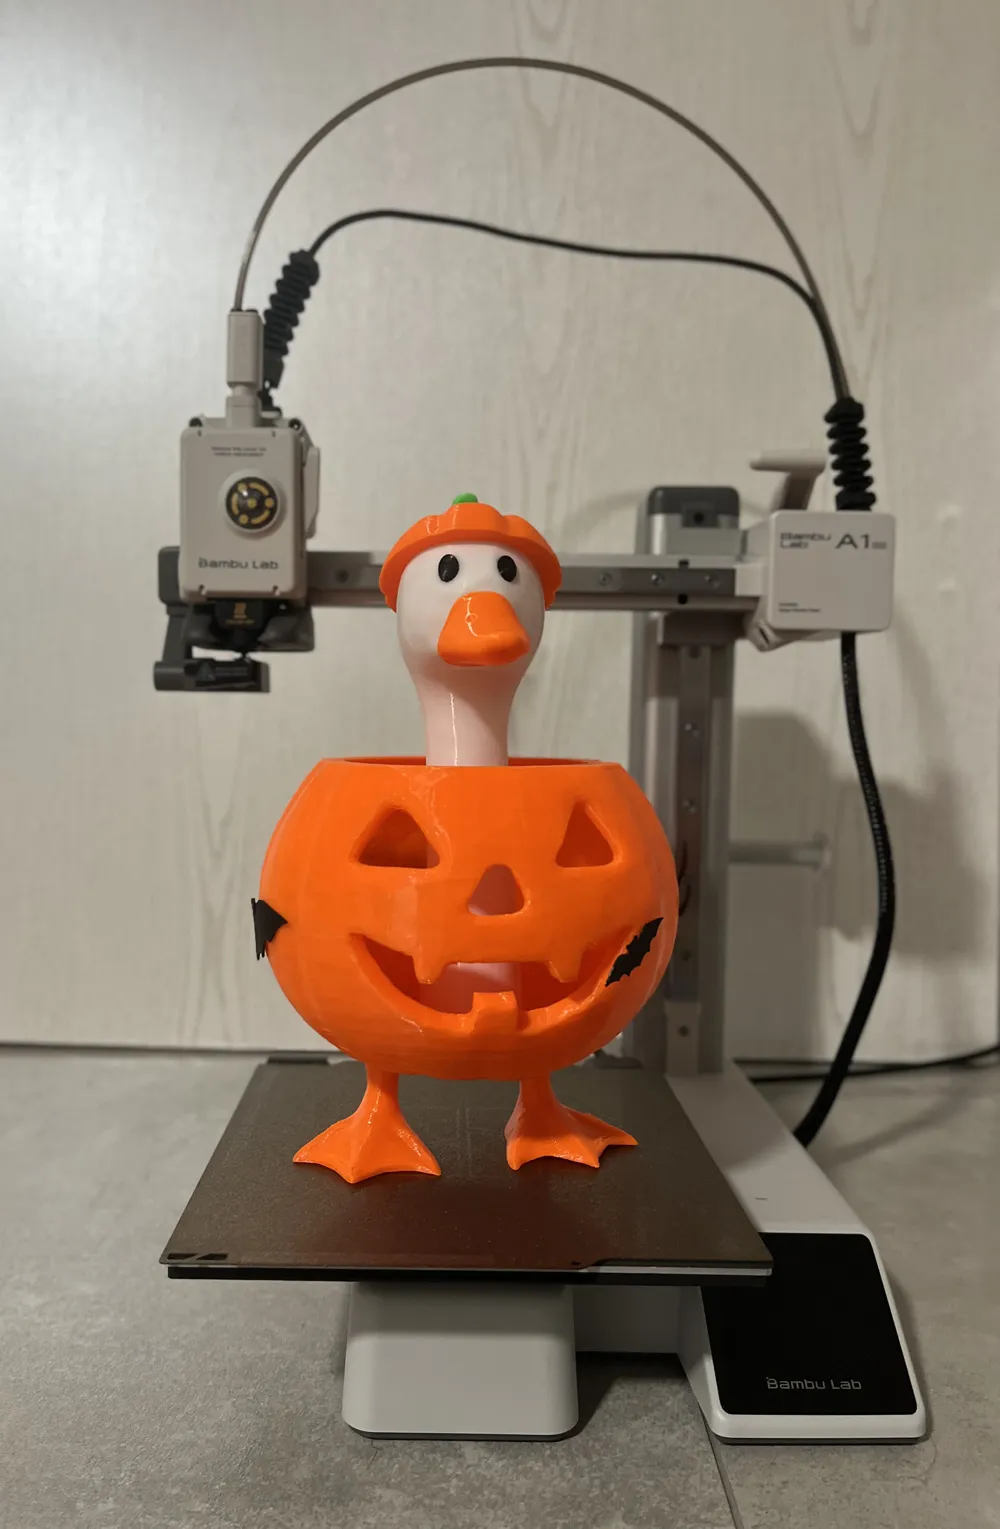
🦶 The leg module is optional, so you can display it standing tall or sitting low on your table, shelf, or porch.
For a sturdier outdoor setup, you can even print it in PETG – making it more resistant to the weather when used as a candy bowl outside.
There are two sizes: The A1 Mini version(like the one shown in the pictures) is about 16cm x 16cm x 25 while the 150% version is around 24,5cm x 24,5cm x 37.5cm.The 150% version is not printable on the A1 Mini.
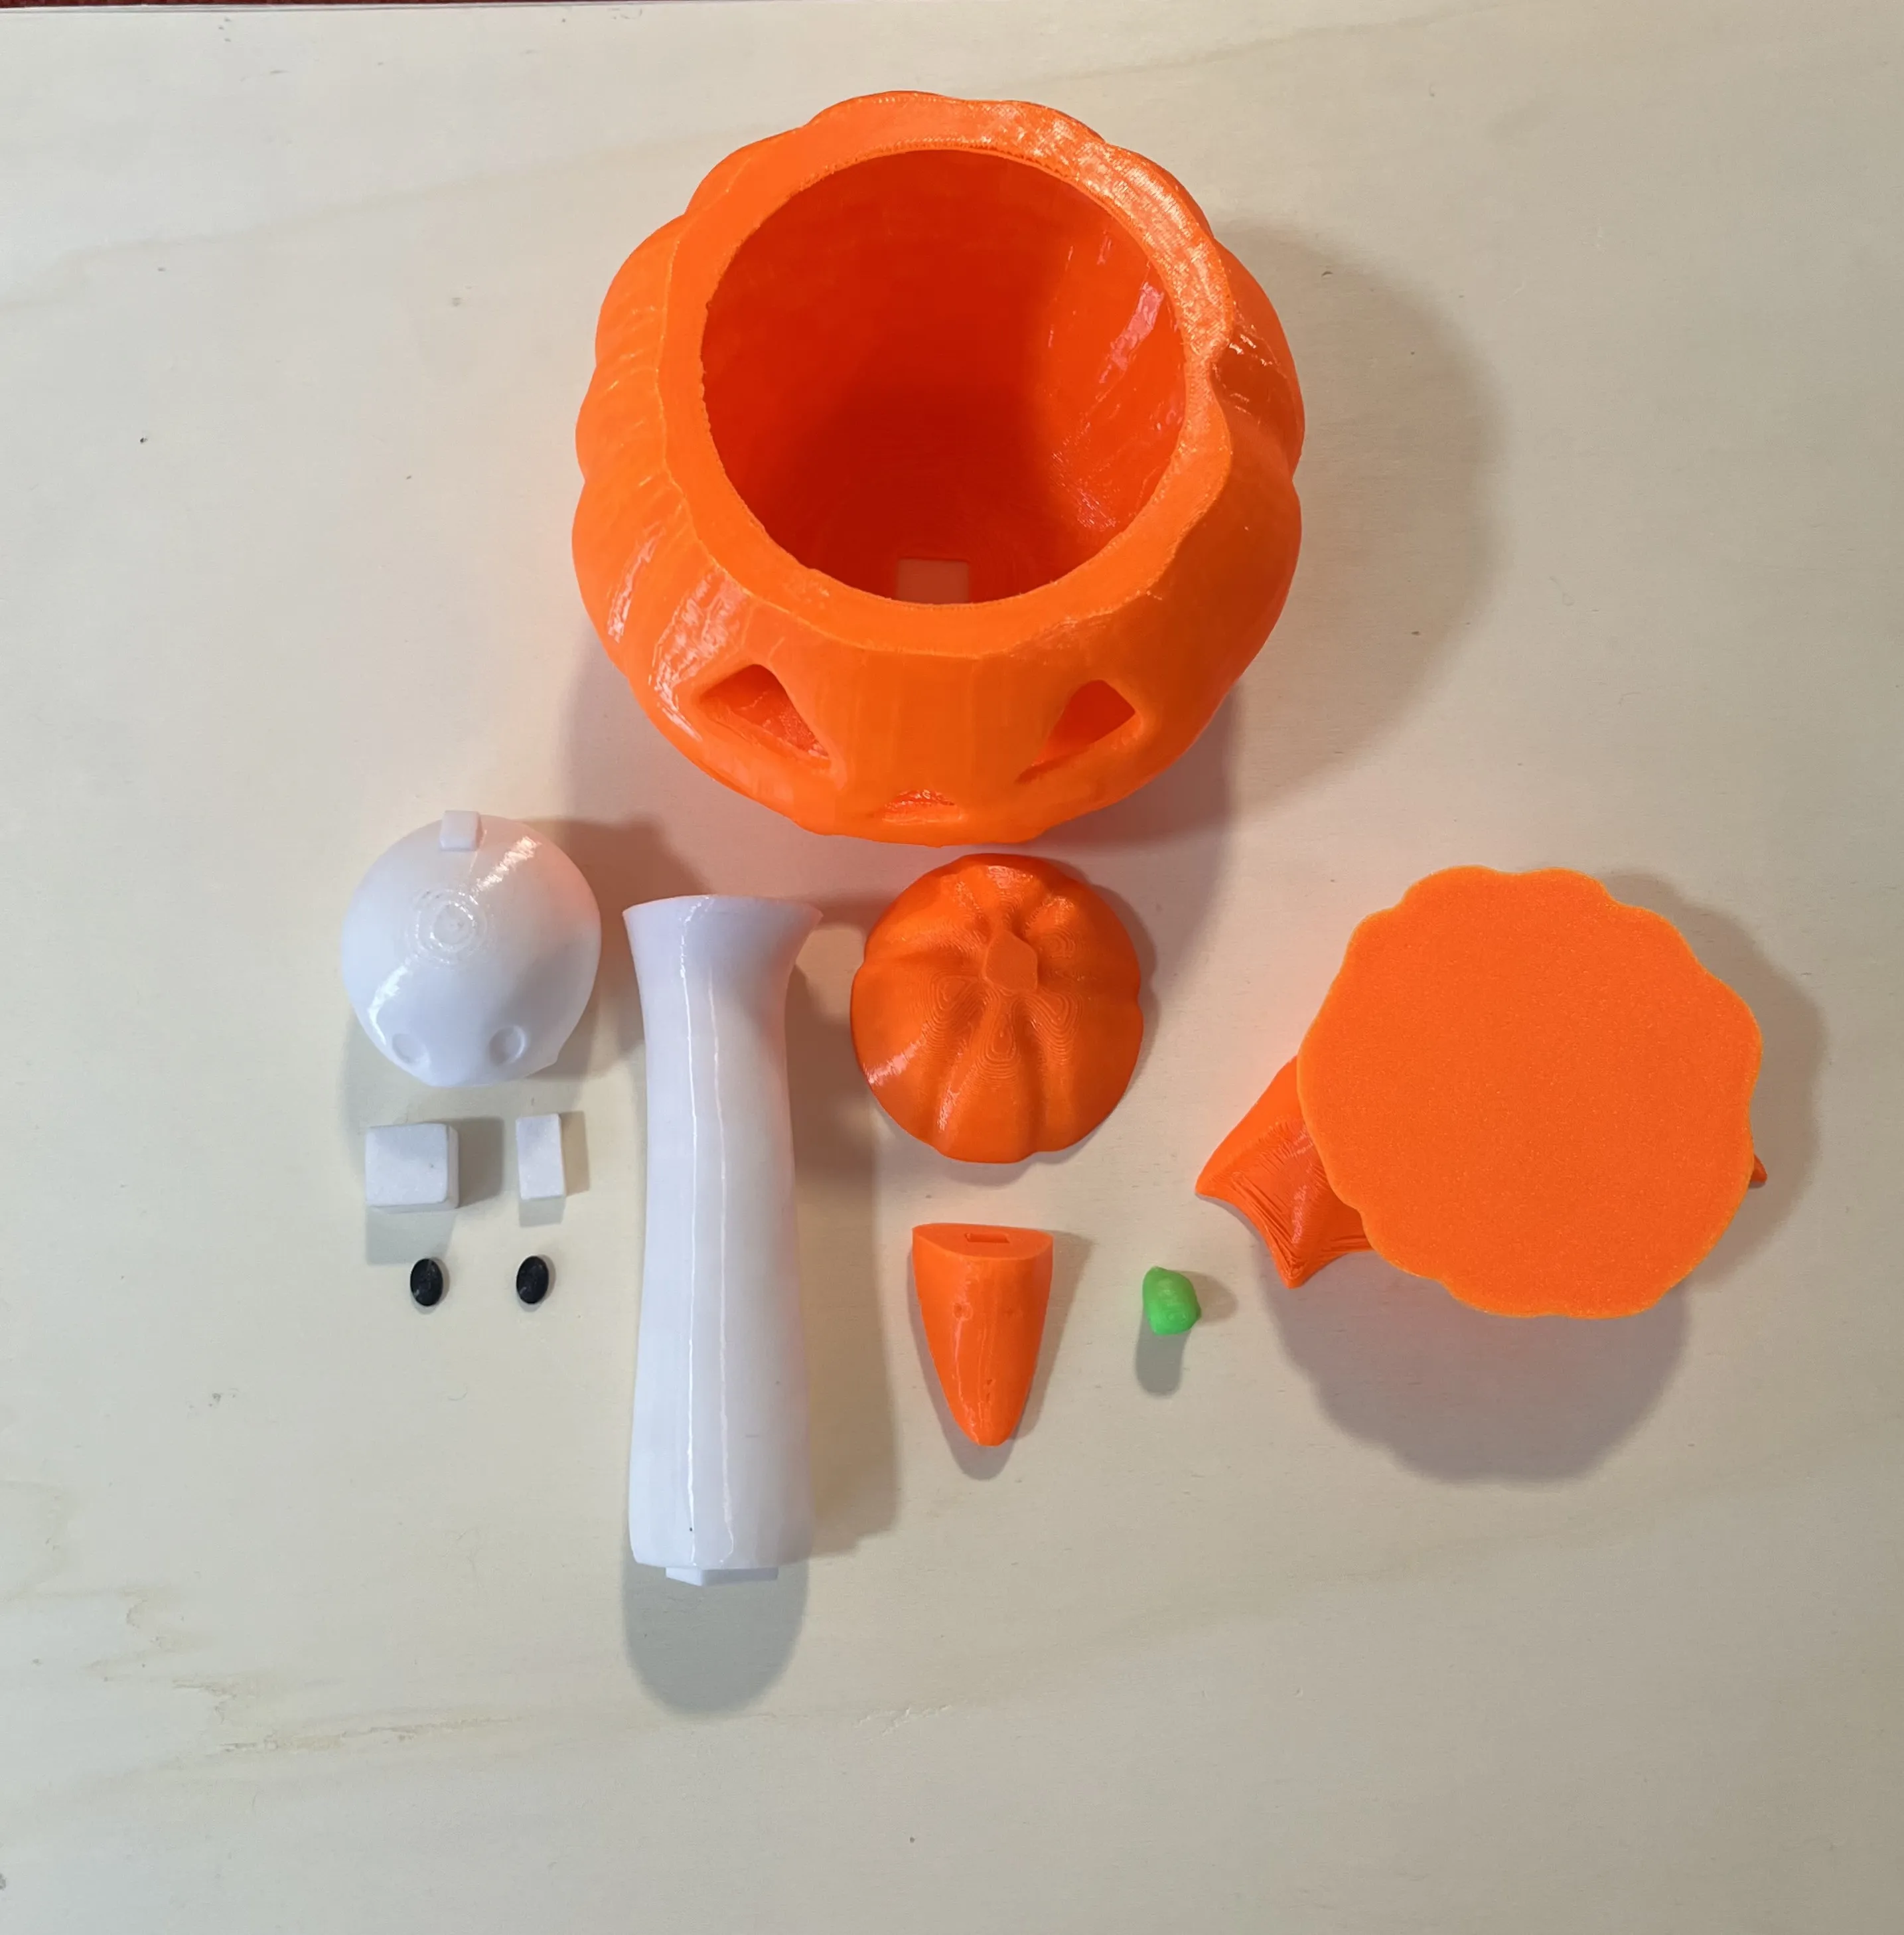
With this assembly guide you will have your Pumpkin Goose assembled in no time!Note that you will need some superglue for the assembly.Please be careful when working with superglue.
These are all the parts you need in order use the Pumpkin Goose with the legmodule.If you don`t want to use the leg module you can skip on the leg module(it is at the very right of the picture).
Step 1:
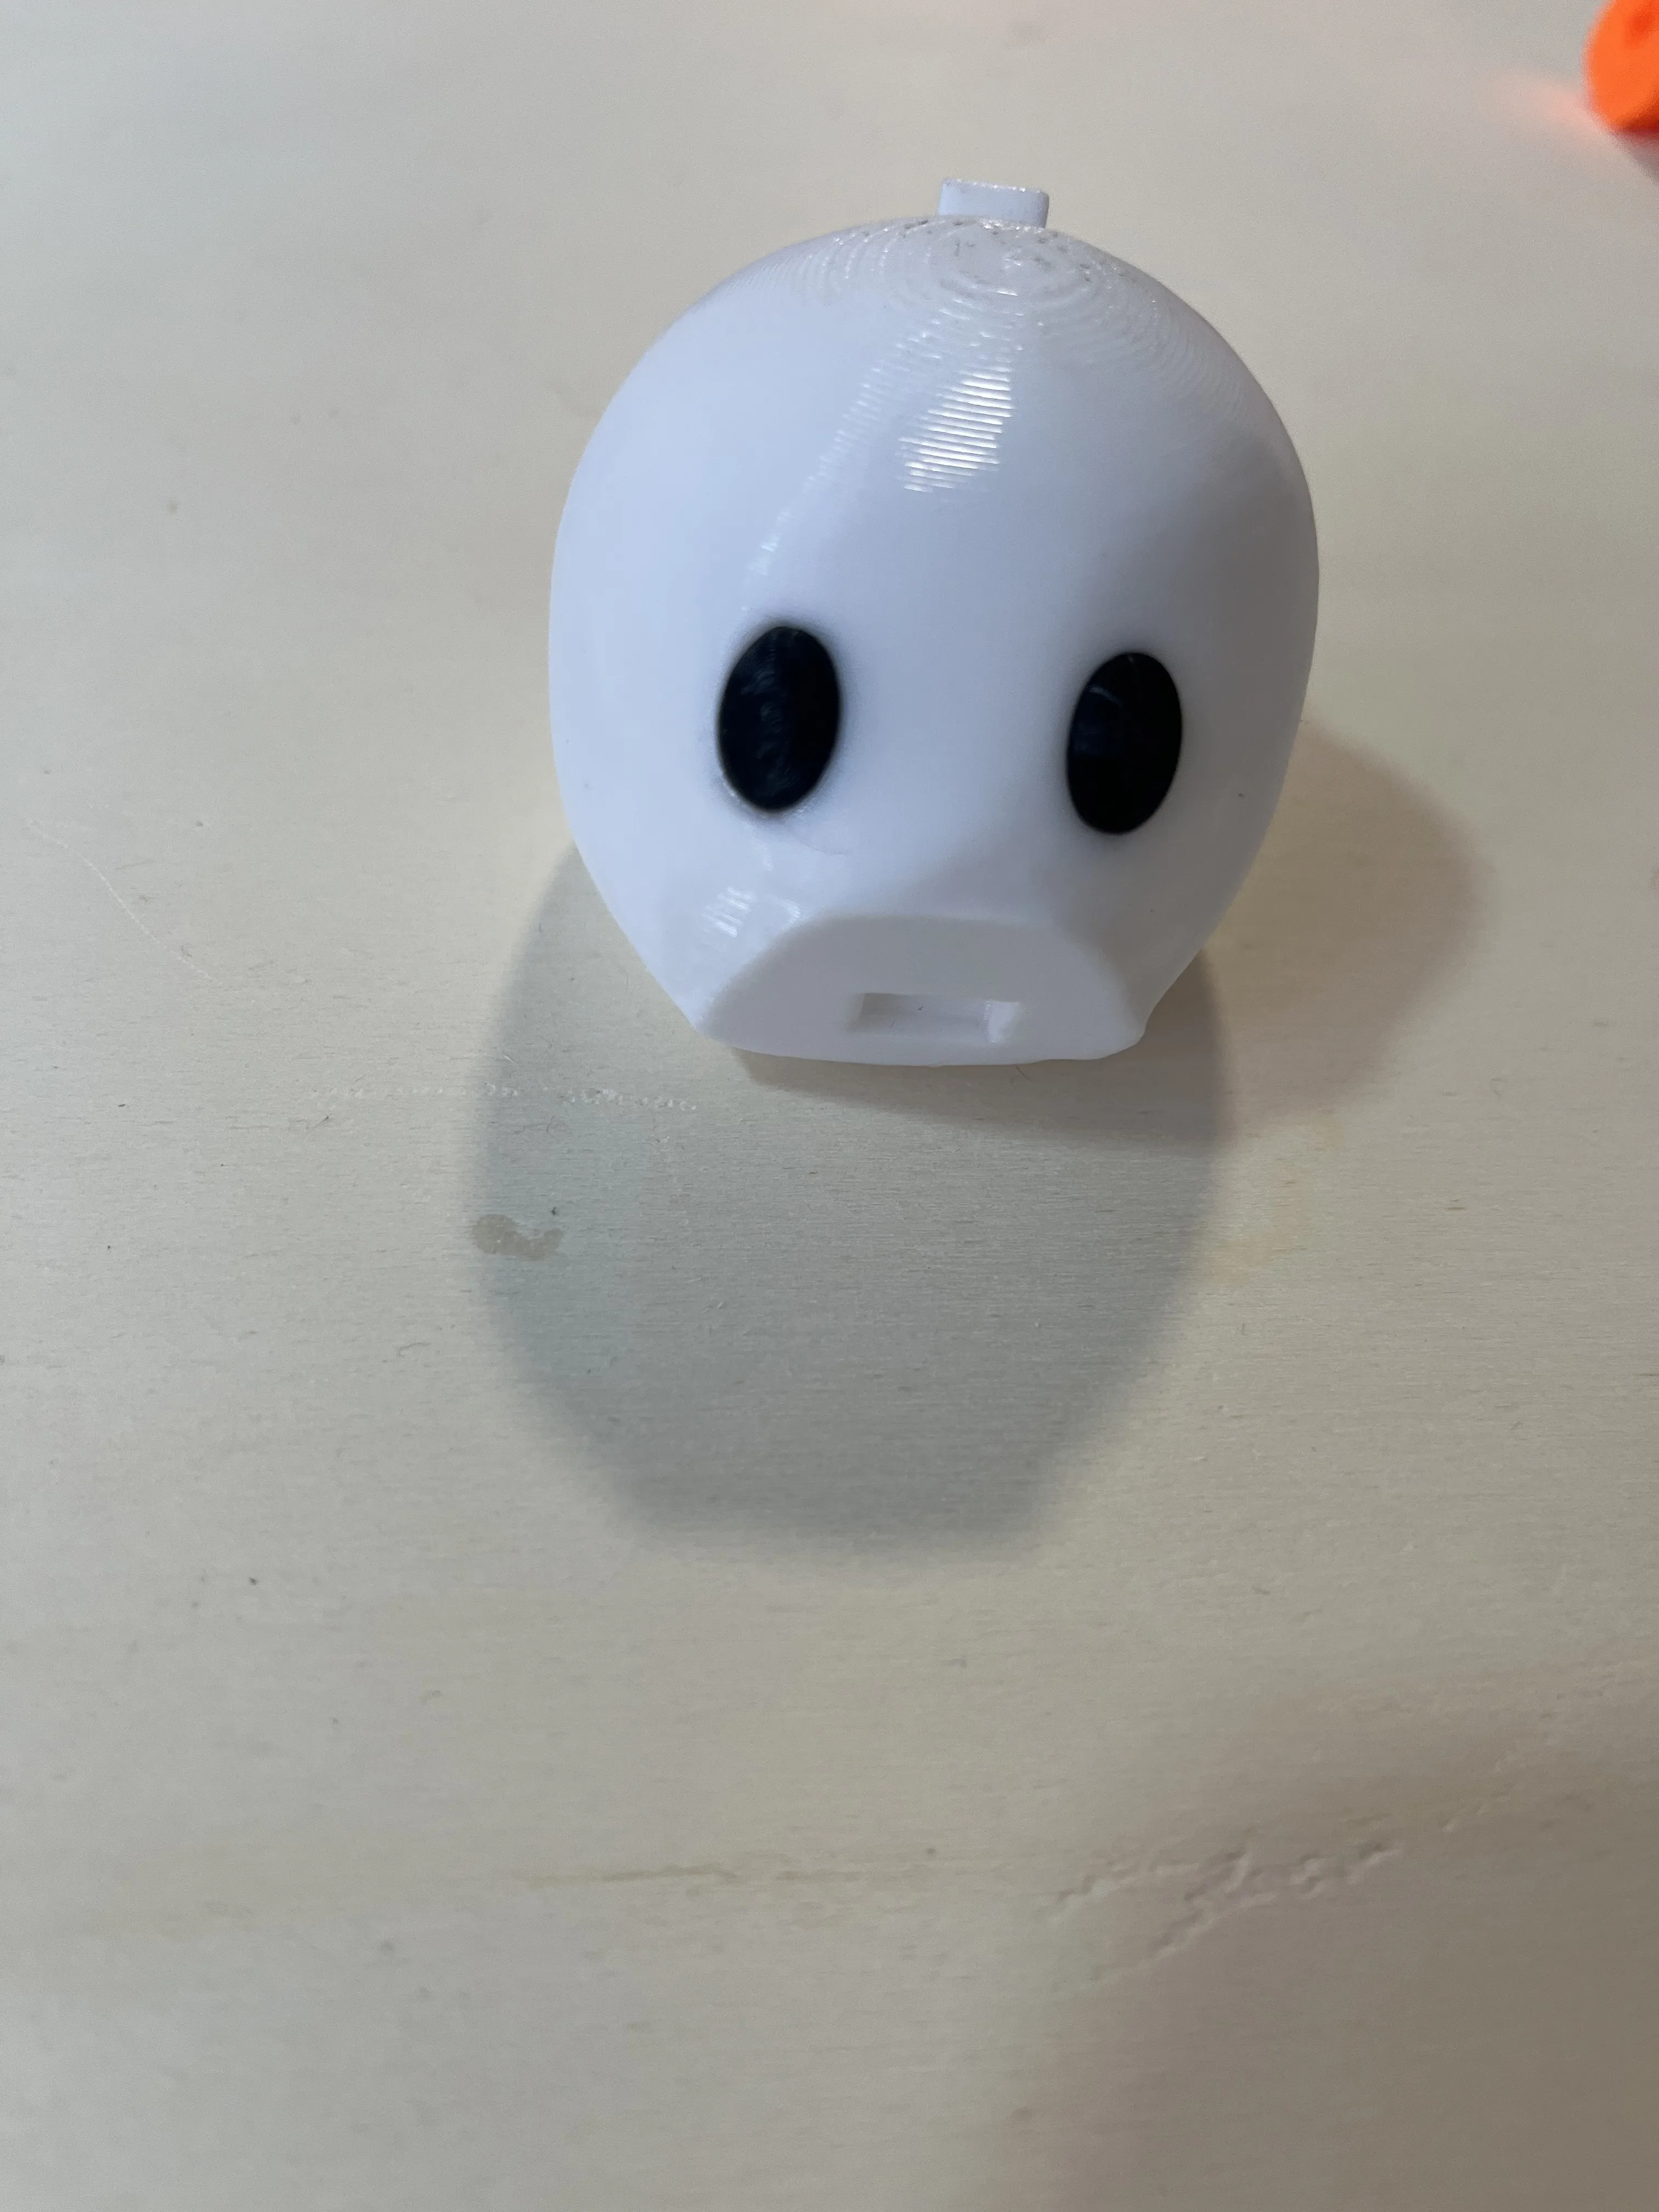
Apply some Superglue into the oval cutouts in the head and put the eyes in there.
Step 2:
Put the narrow cuboid into the back of the beak.No glue is needed.
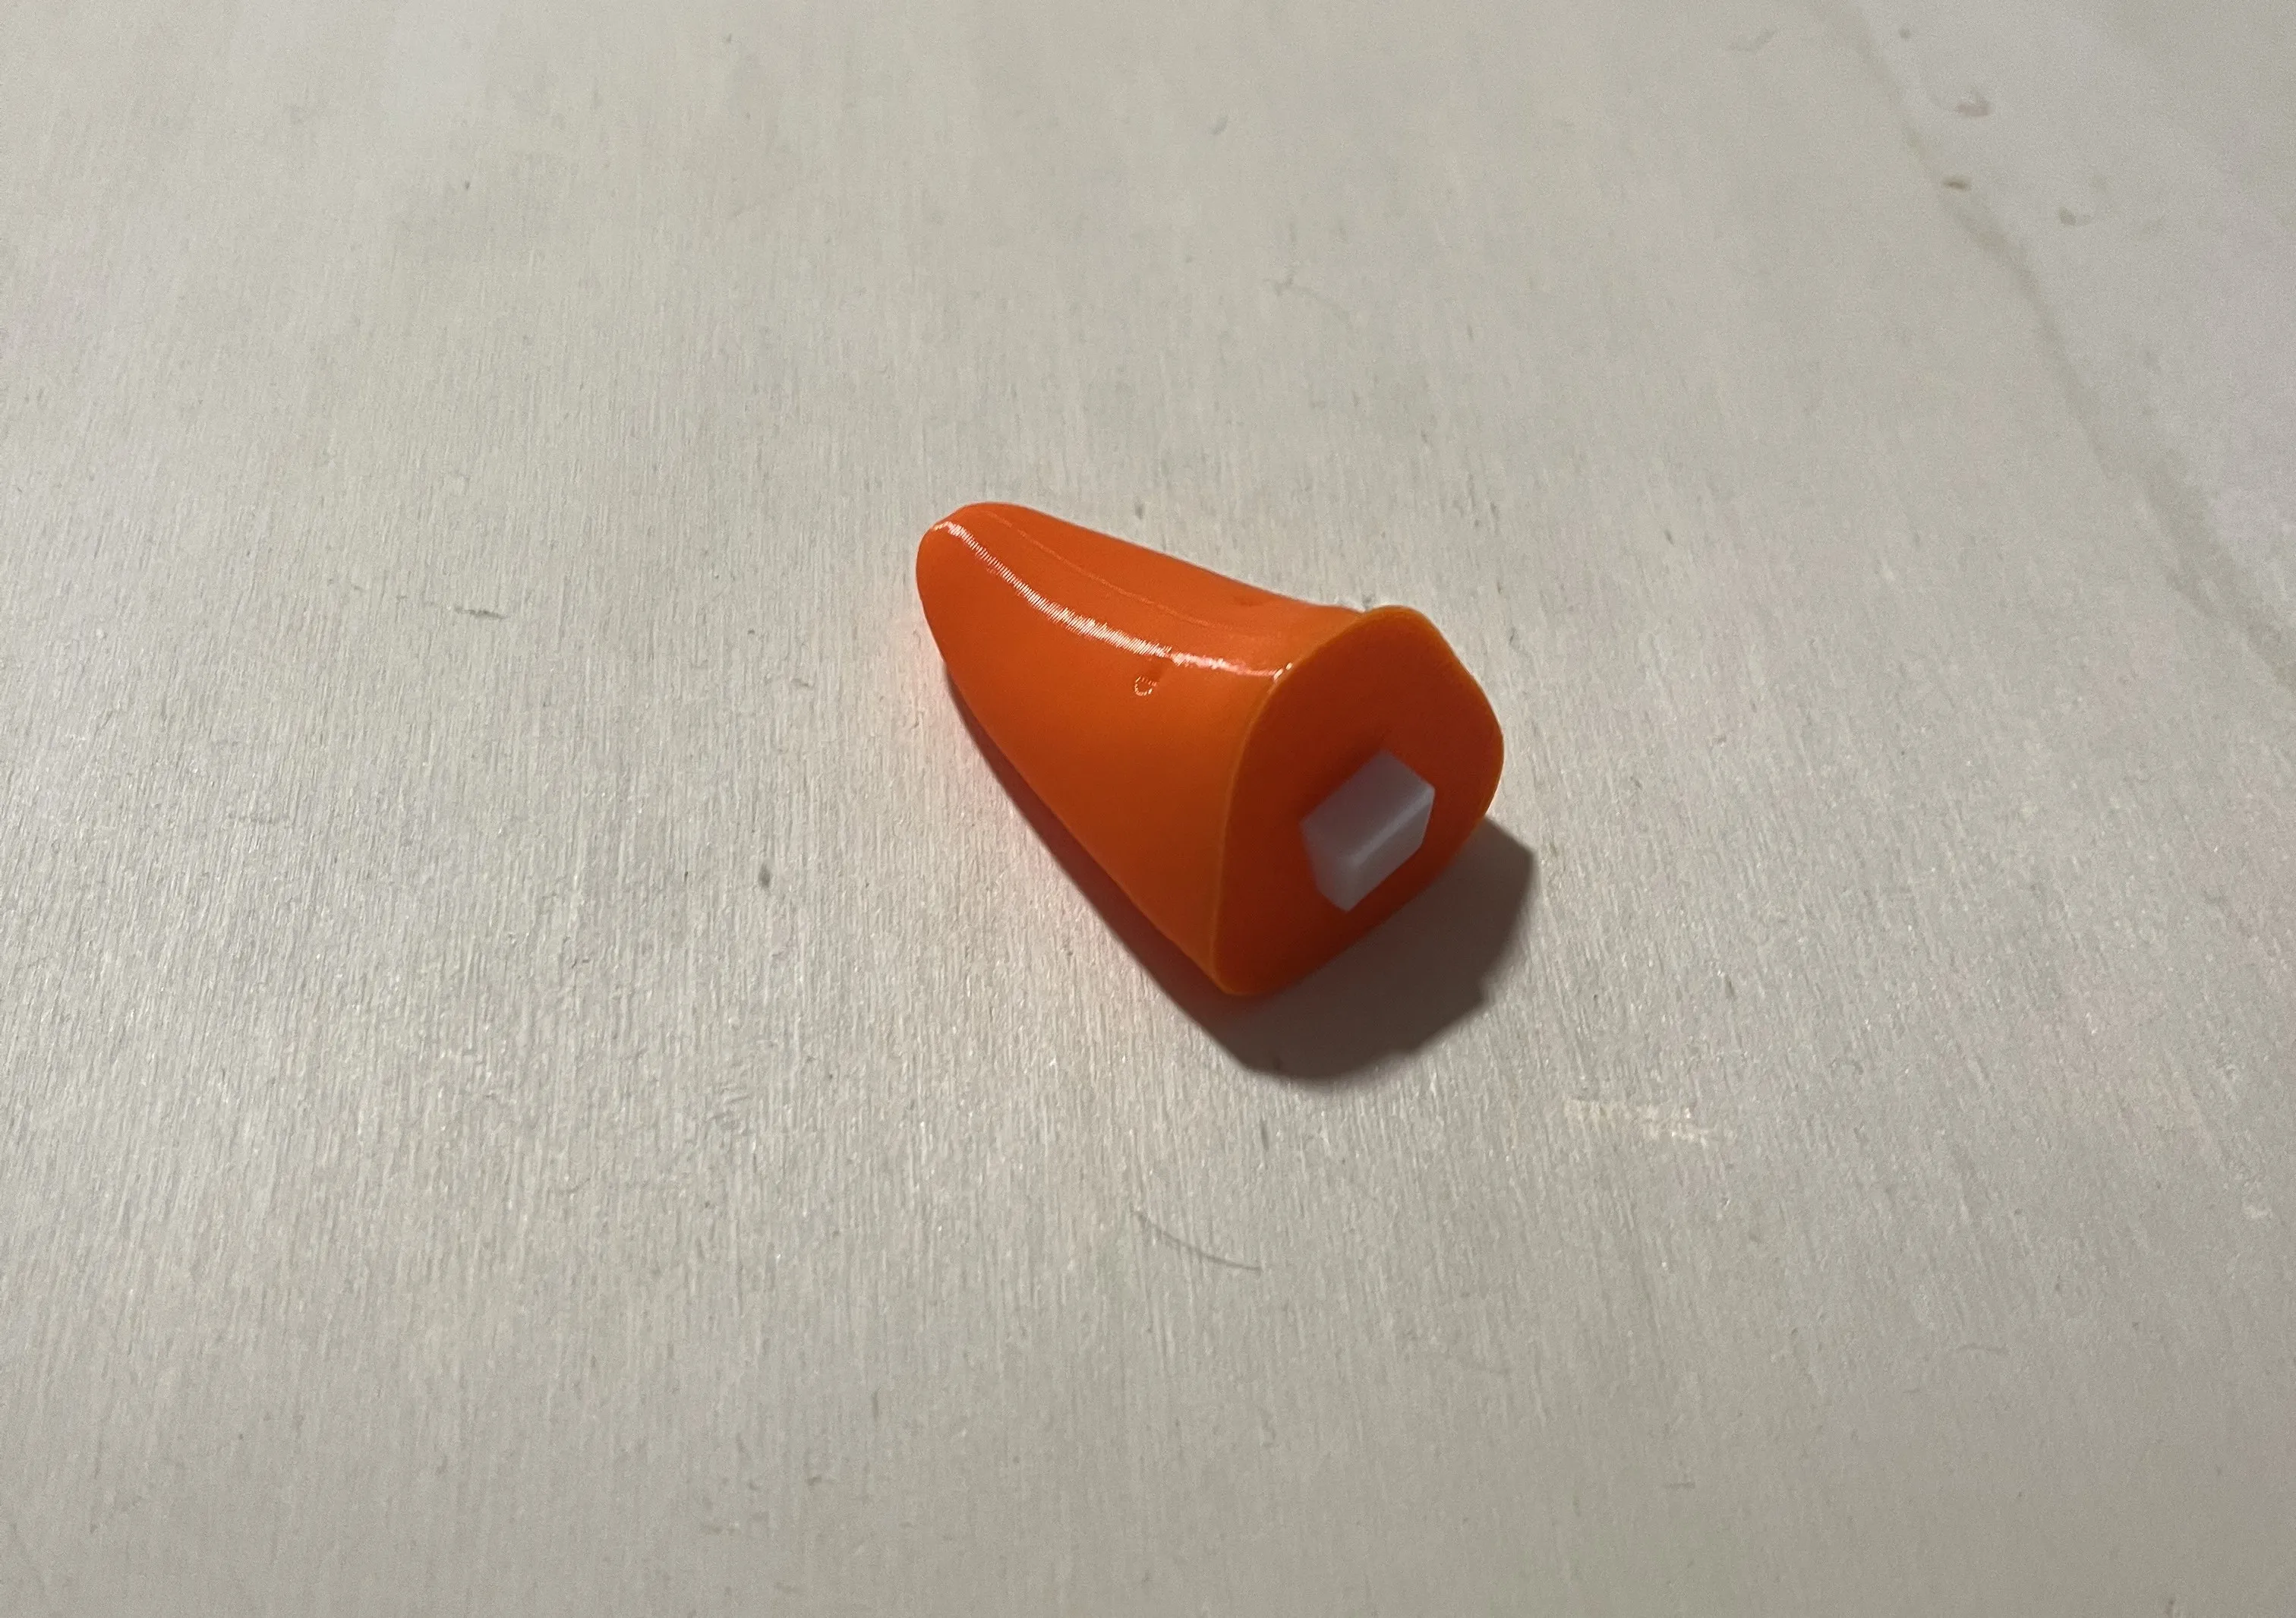
Step 3:
Align the beak with the cuboid facing to the head like this.Glue may be needed.
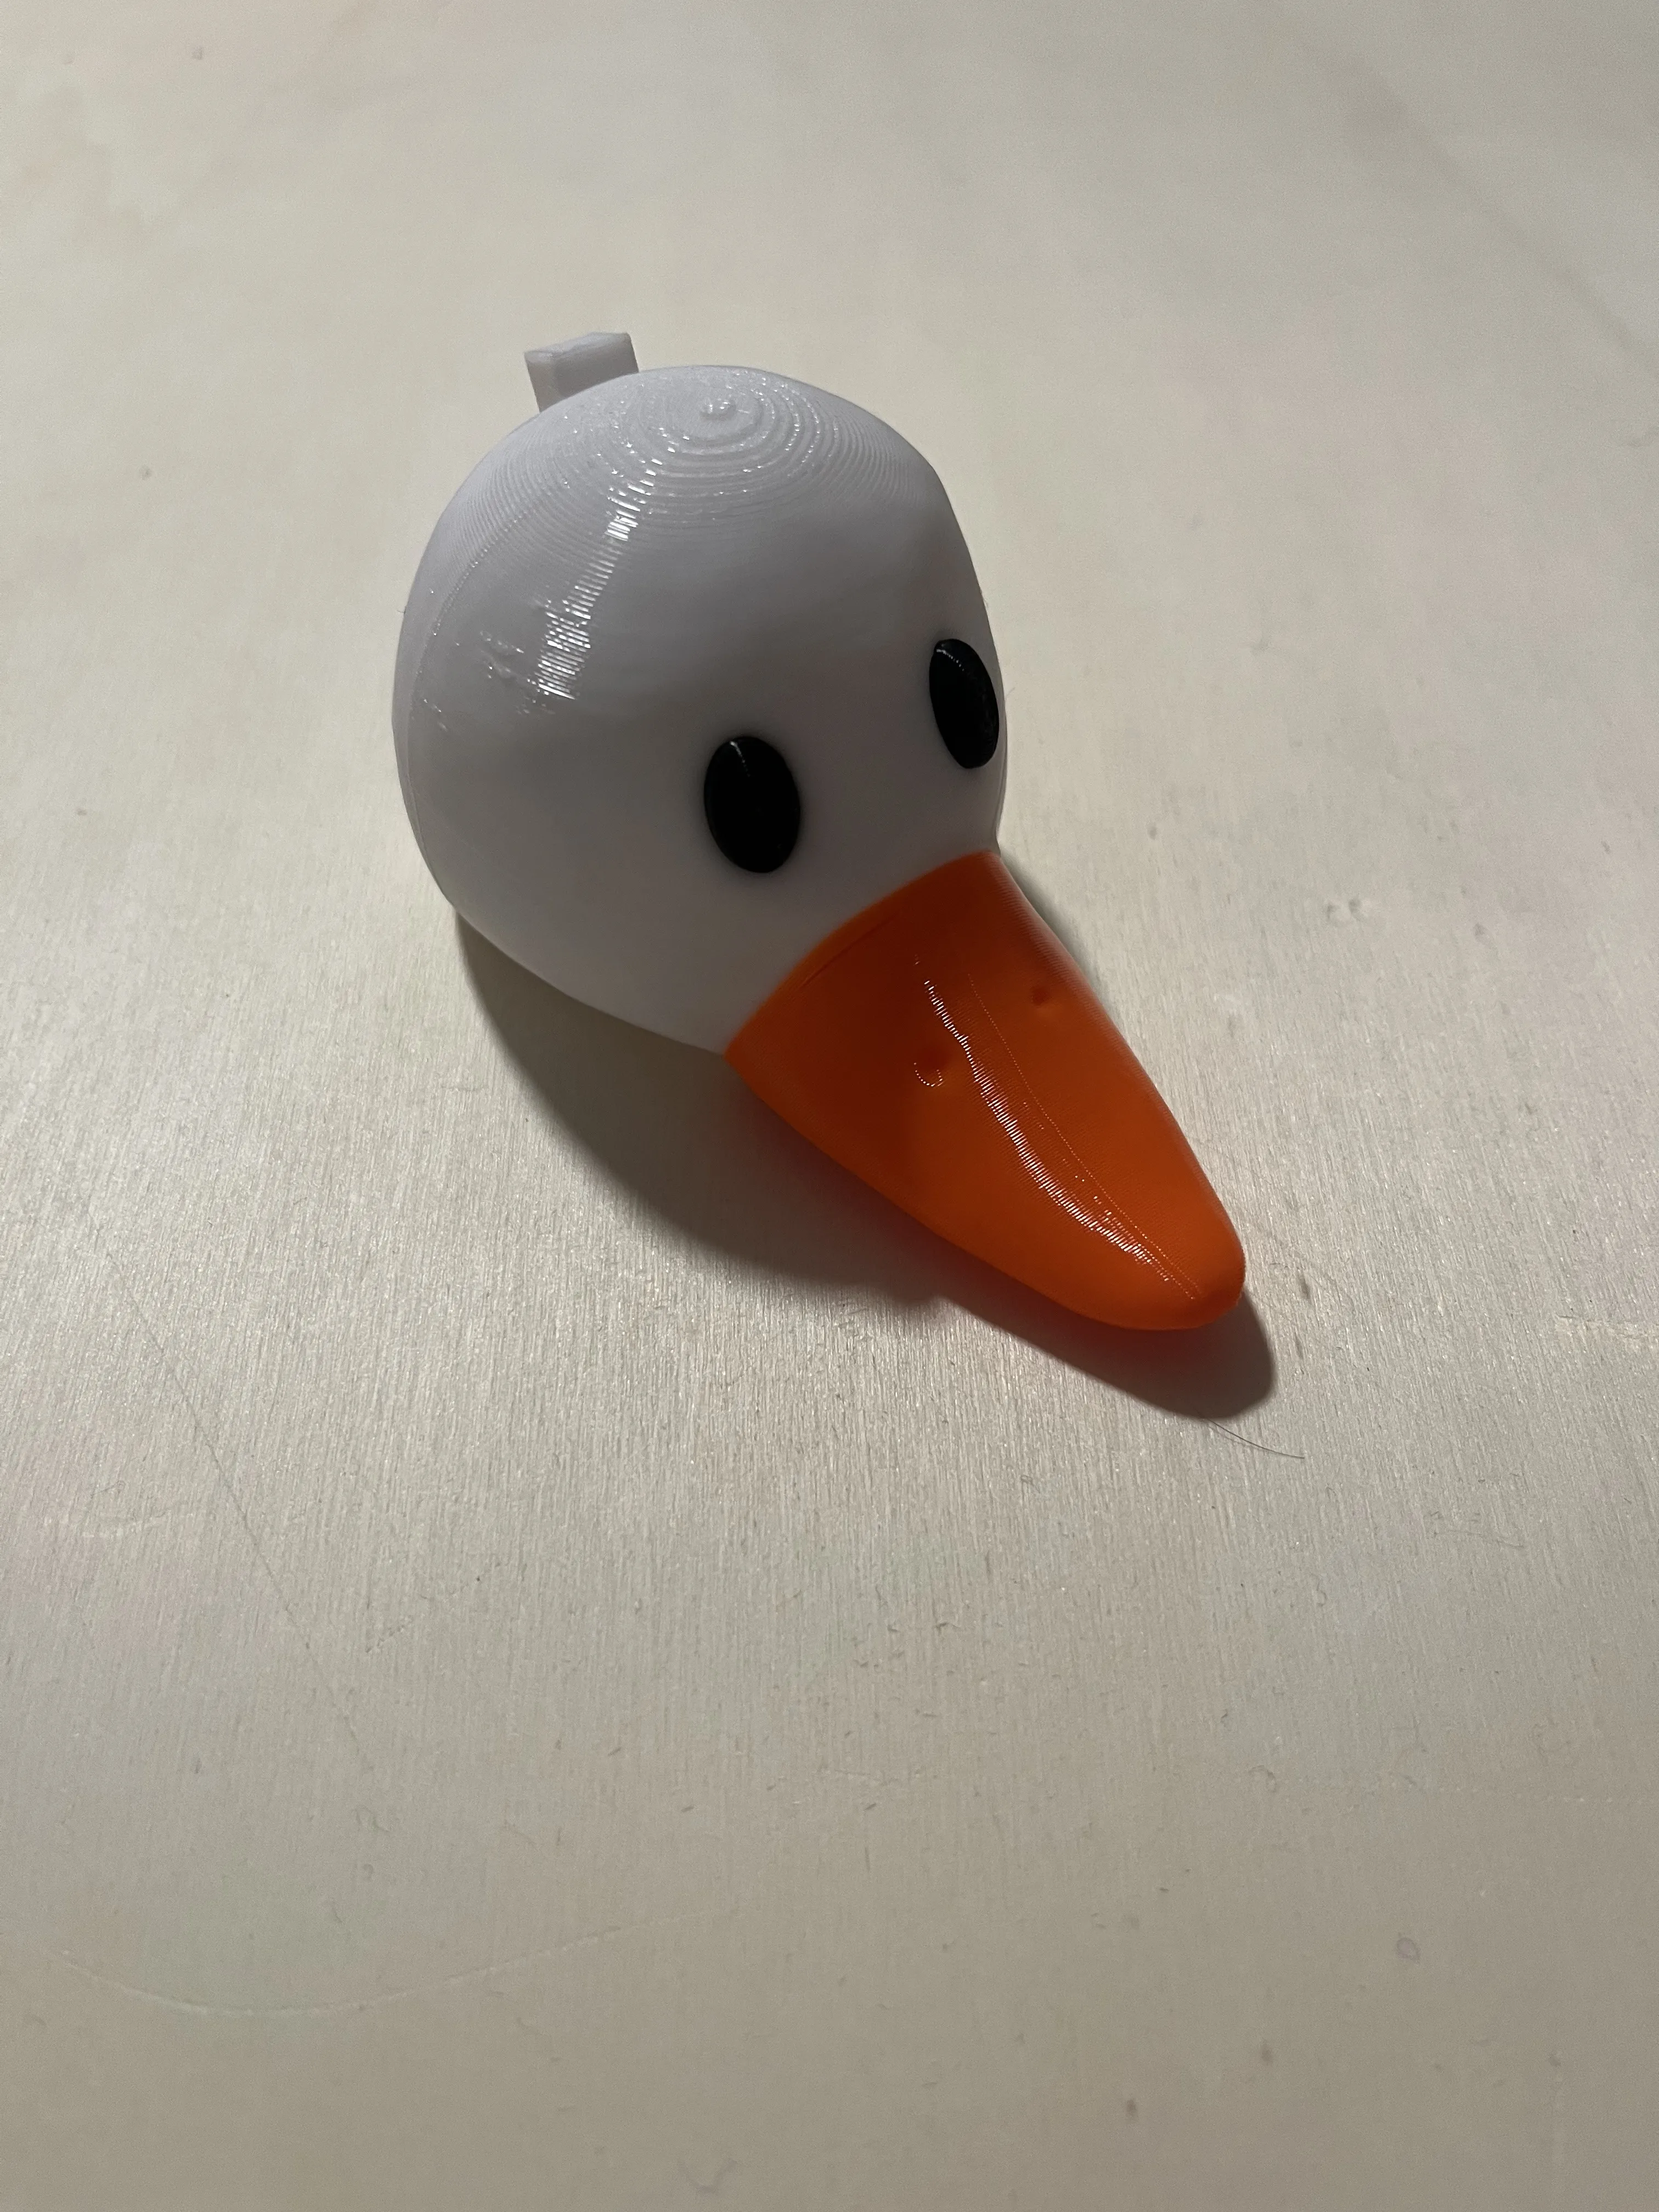
Step 4:
Glue the stem onto the pumpkin hat as shown in the picture below.You can orientate it right by aligning the shape of the two surfaces.
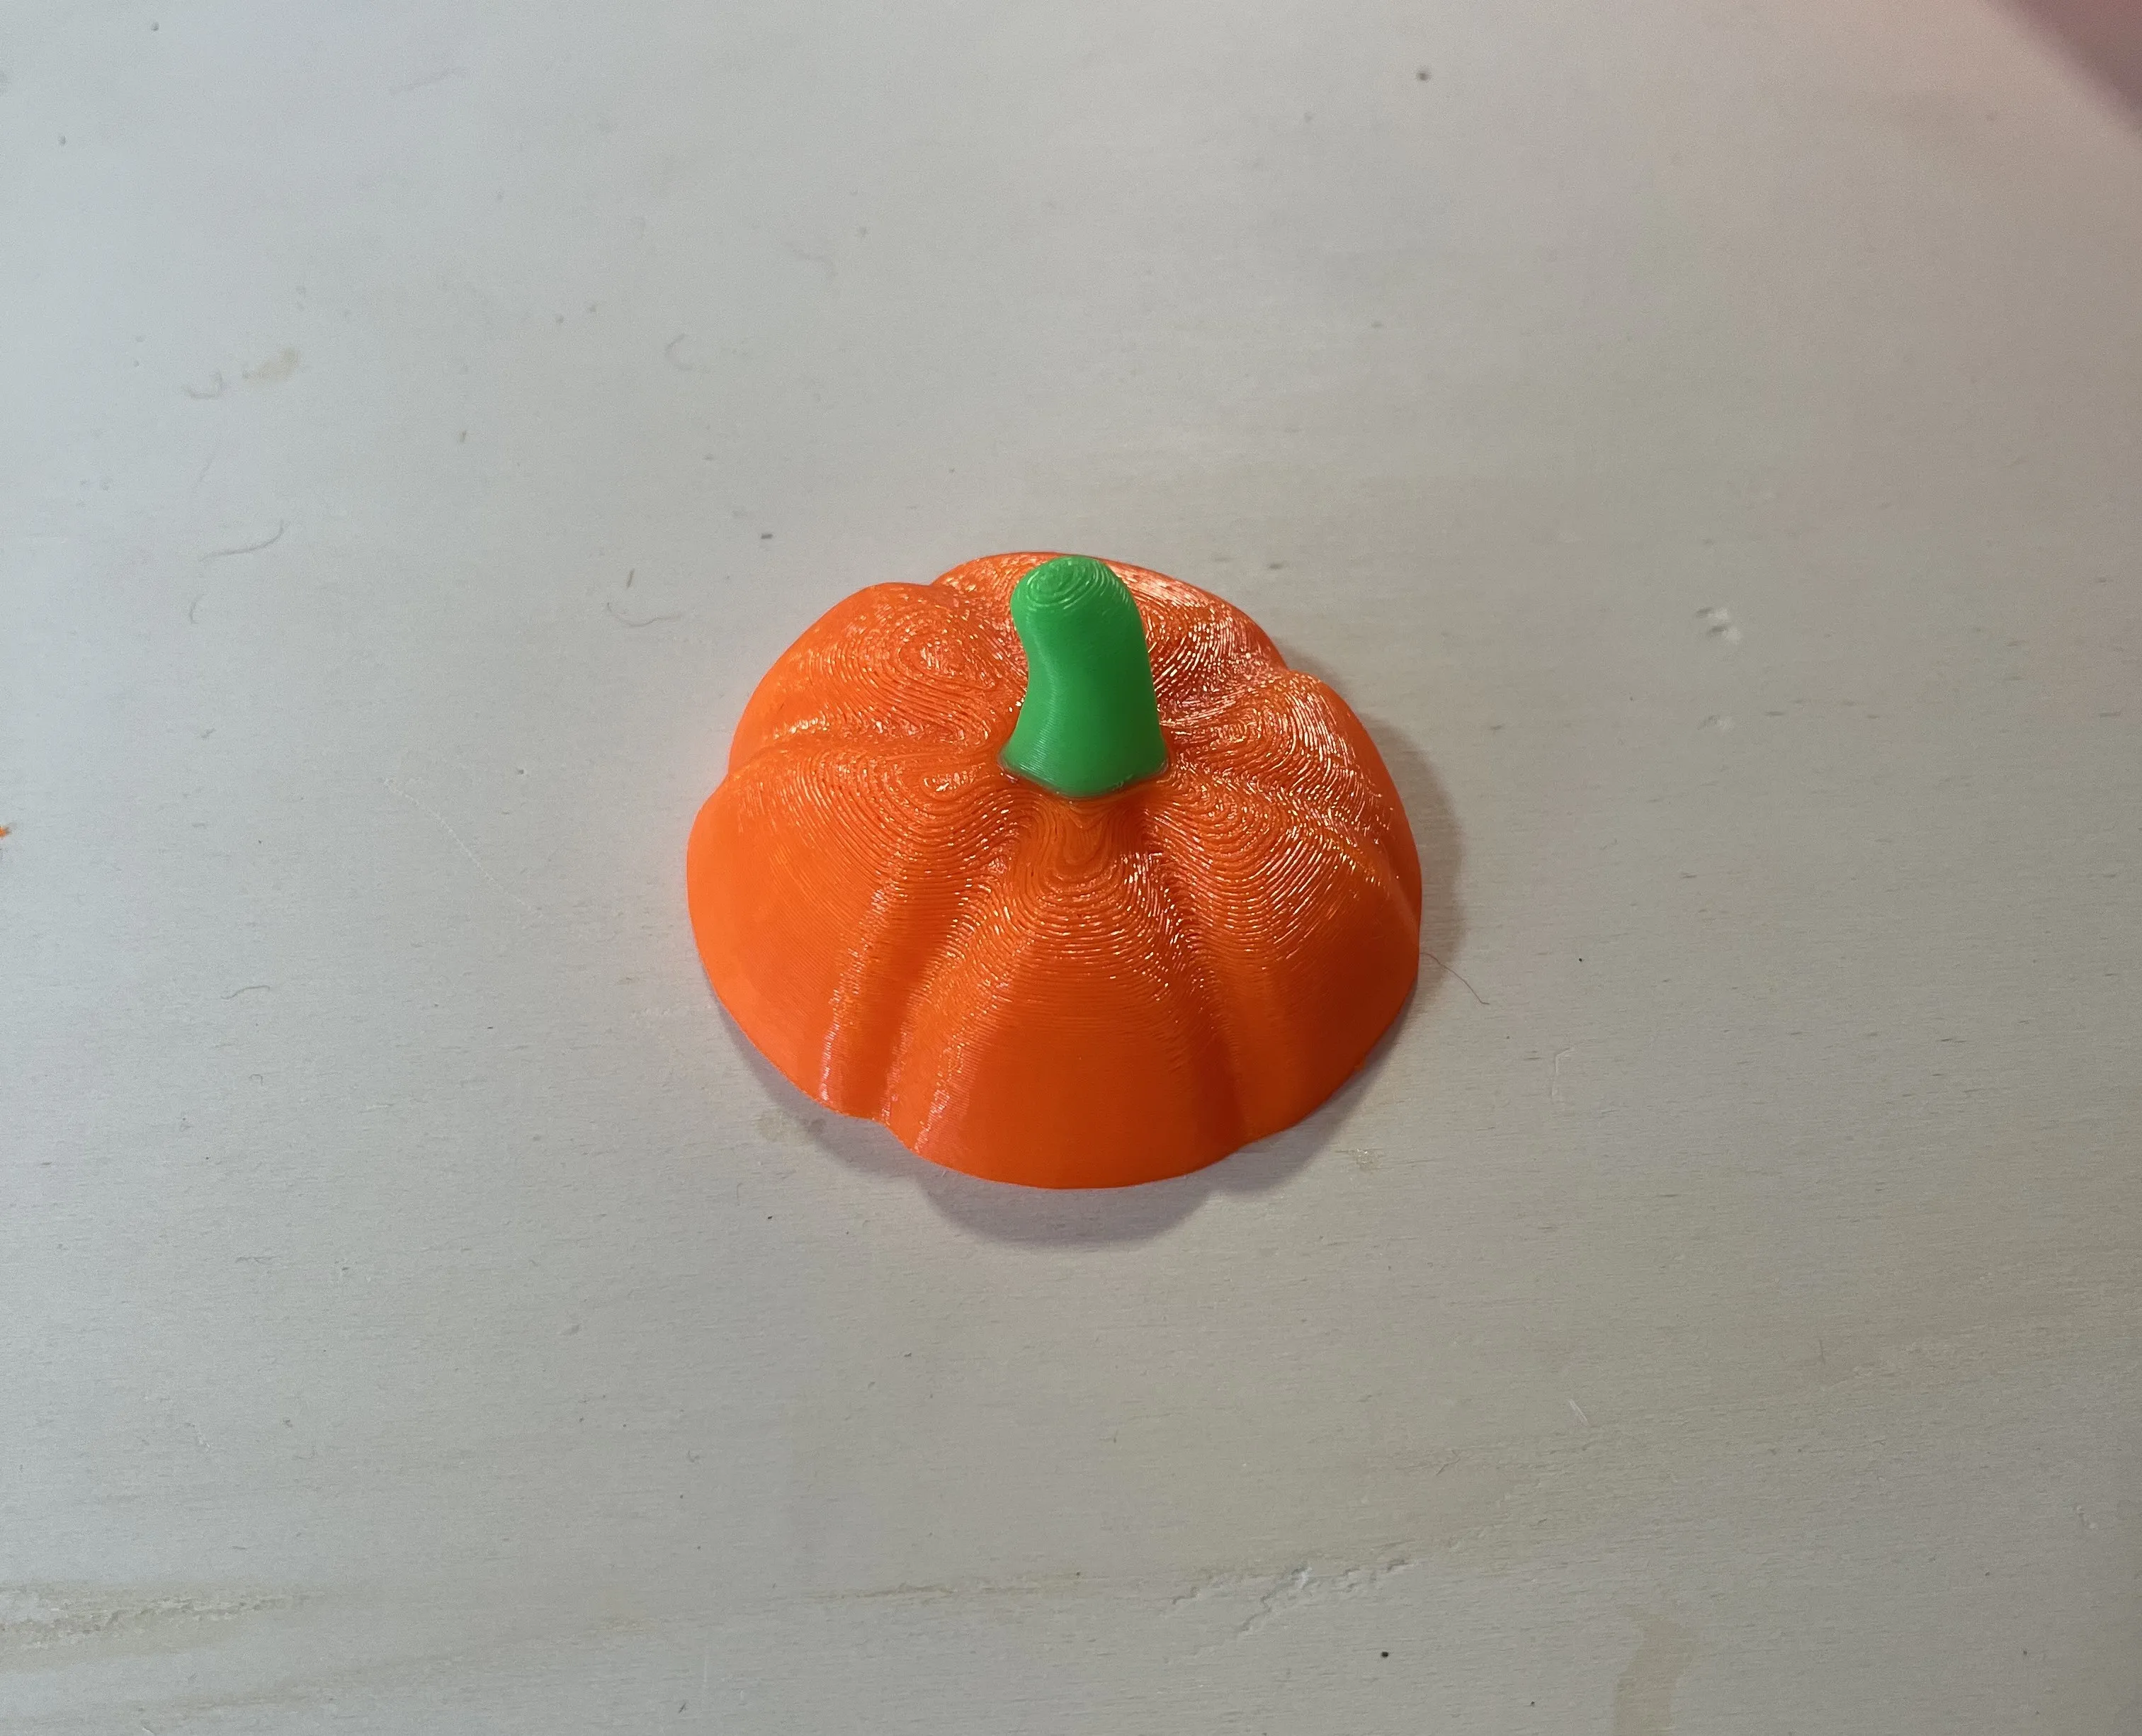
Step 5:
Glue the square piece into the cutout in the neck.
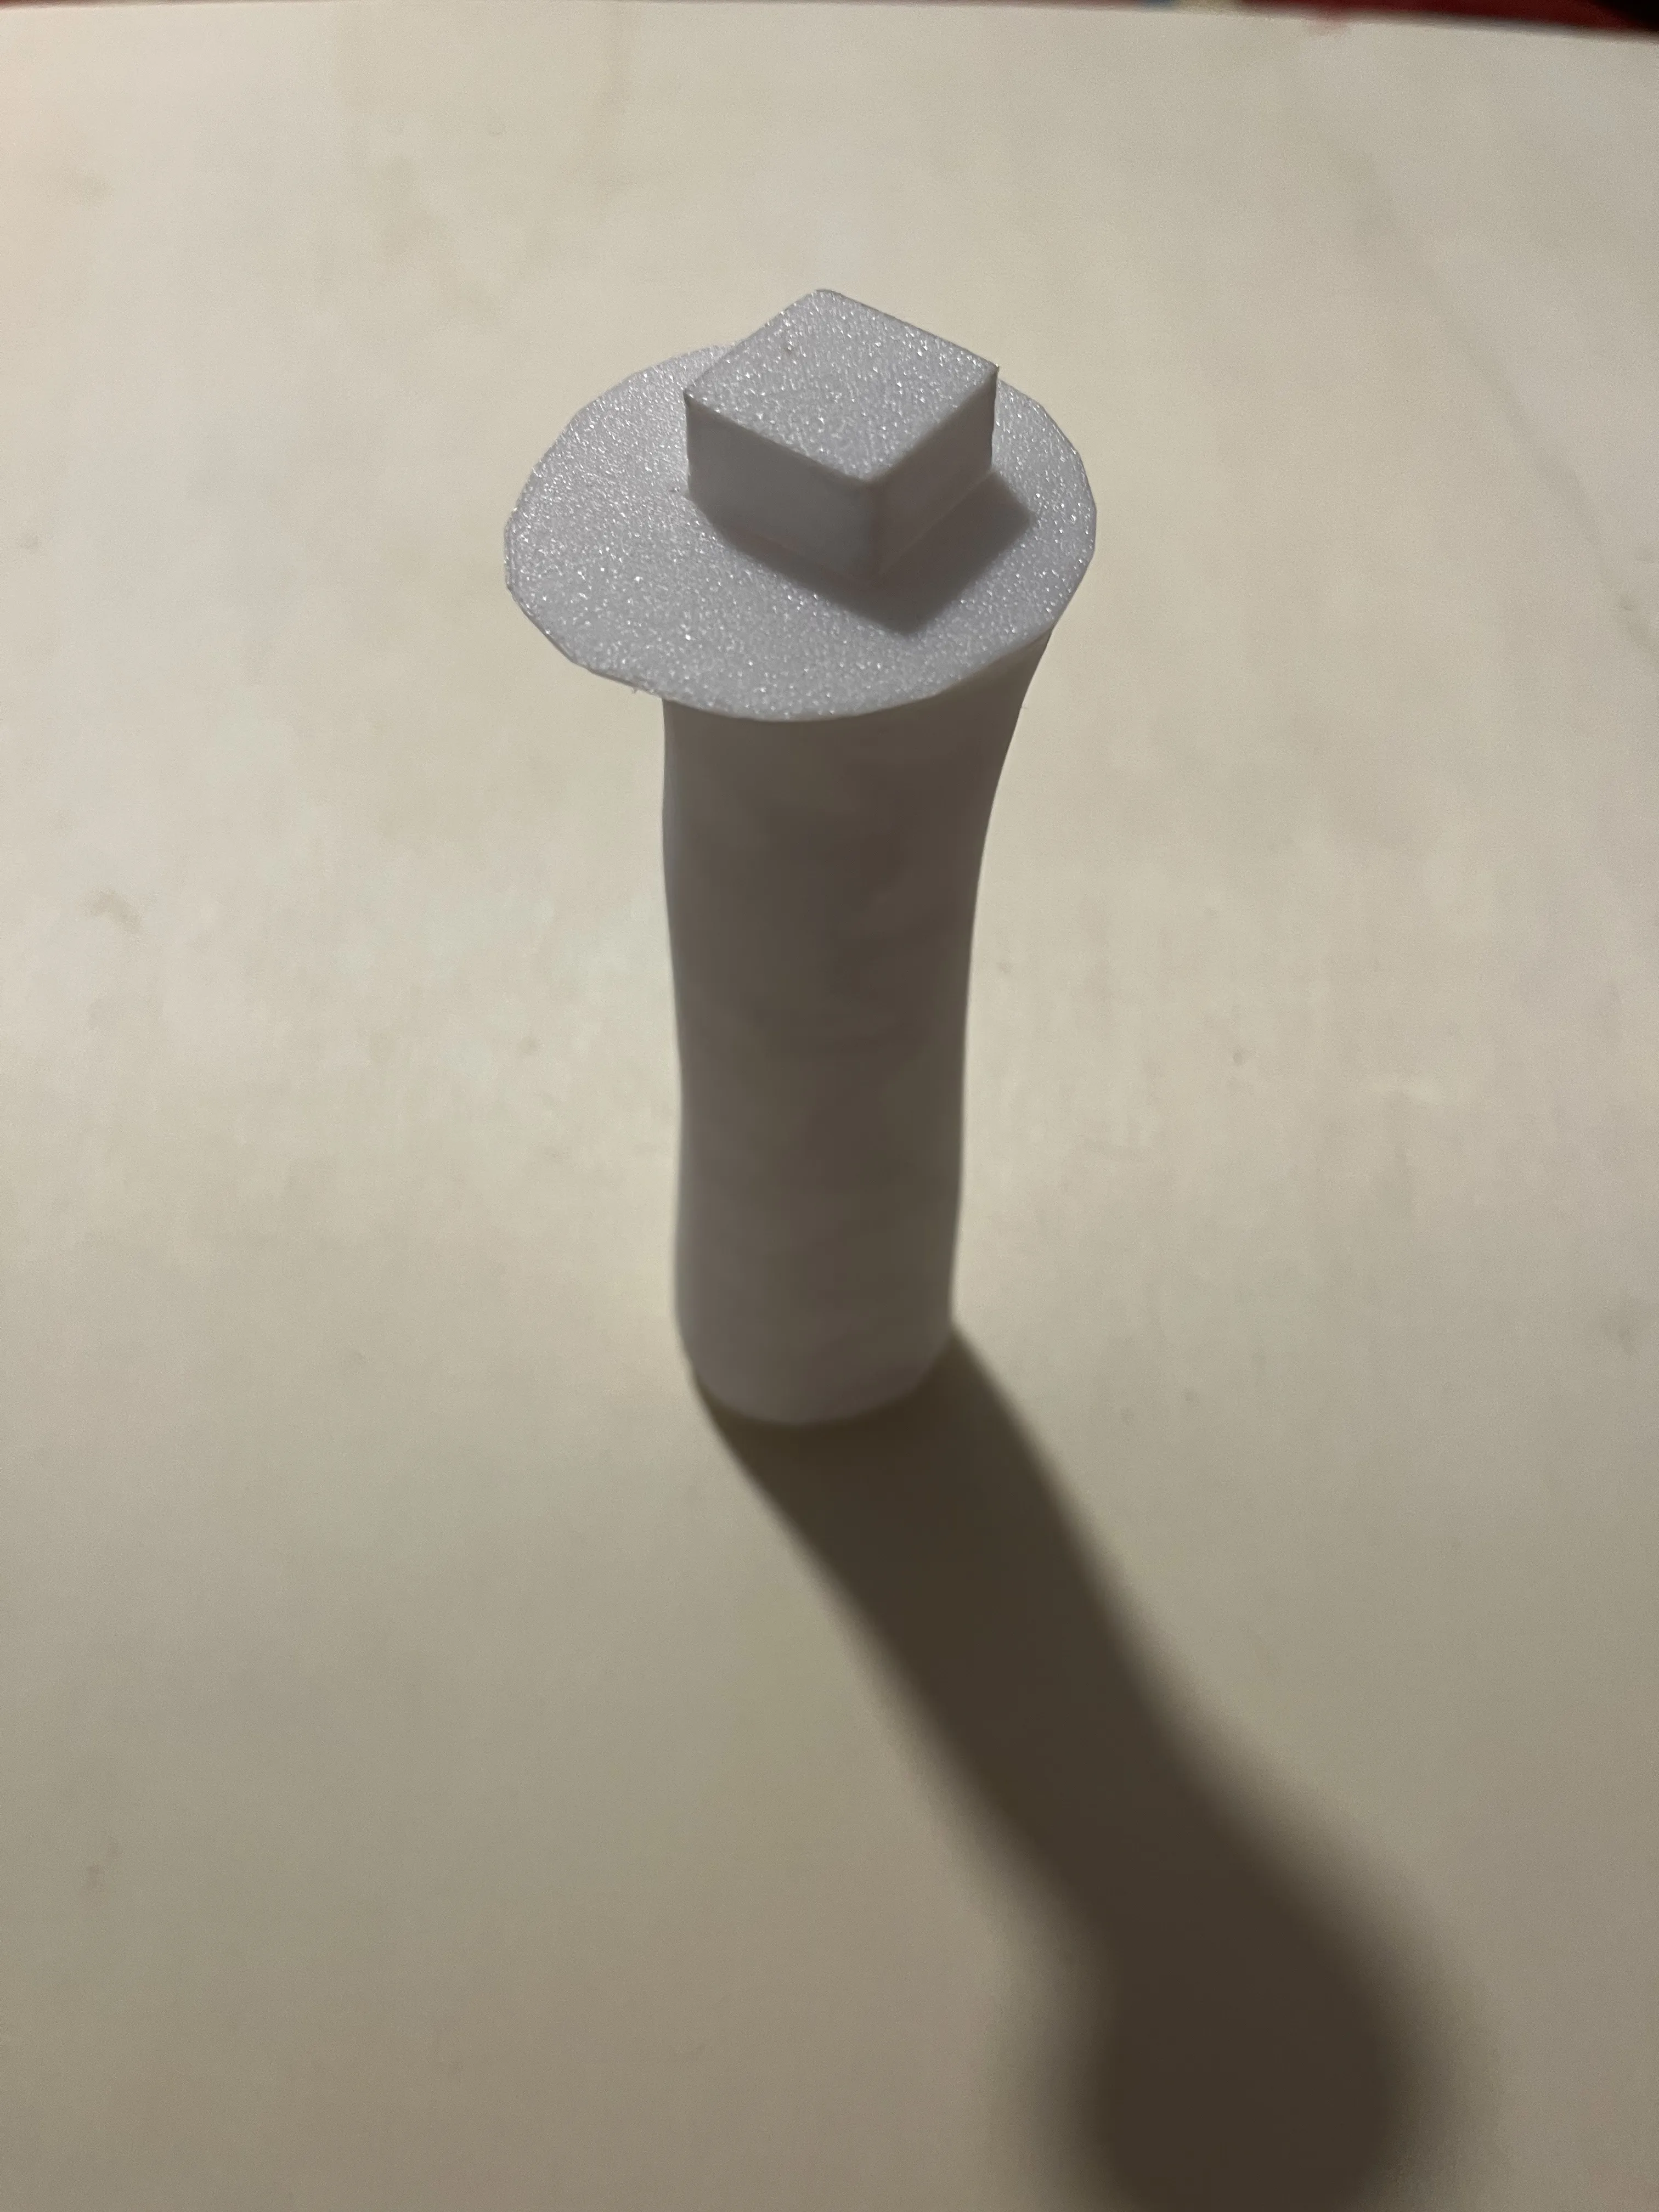
Step 6:
Apply some glue onto the top of the cube that you have just insertet and put the goose`s head onto it.Make sure that the hole in the head and the cube allign and angle the head appropiately.Then put the hat onto the head.Make sure to align the grove in the hat and the piece sticking out from the back of the head.It should make a little clicking sound.
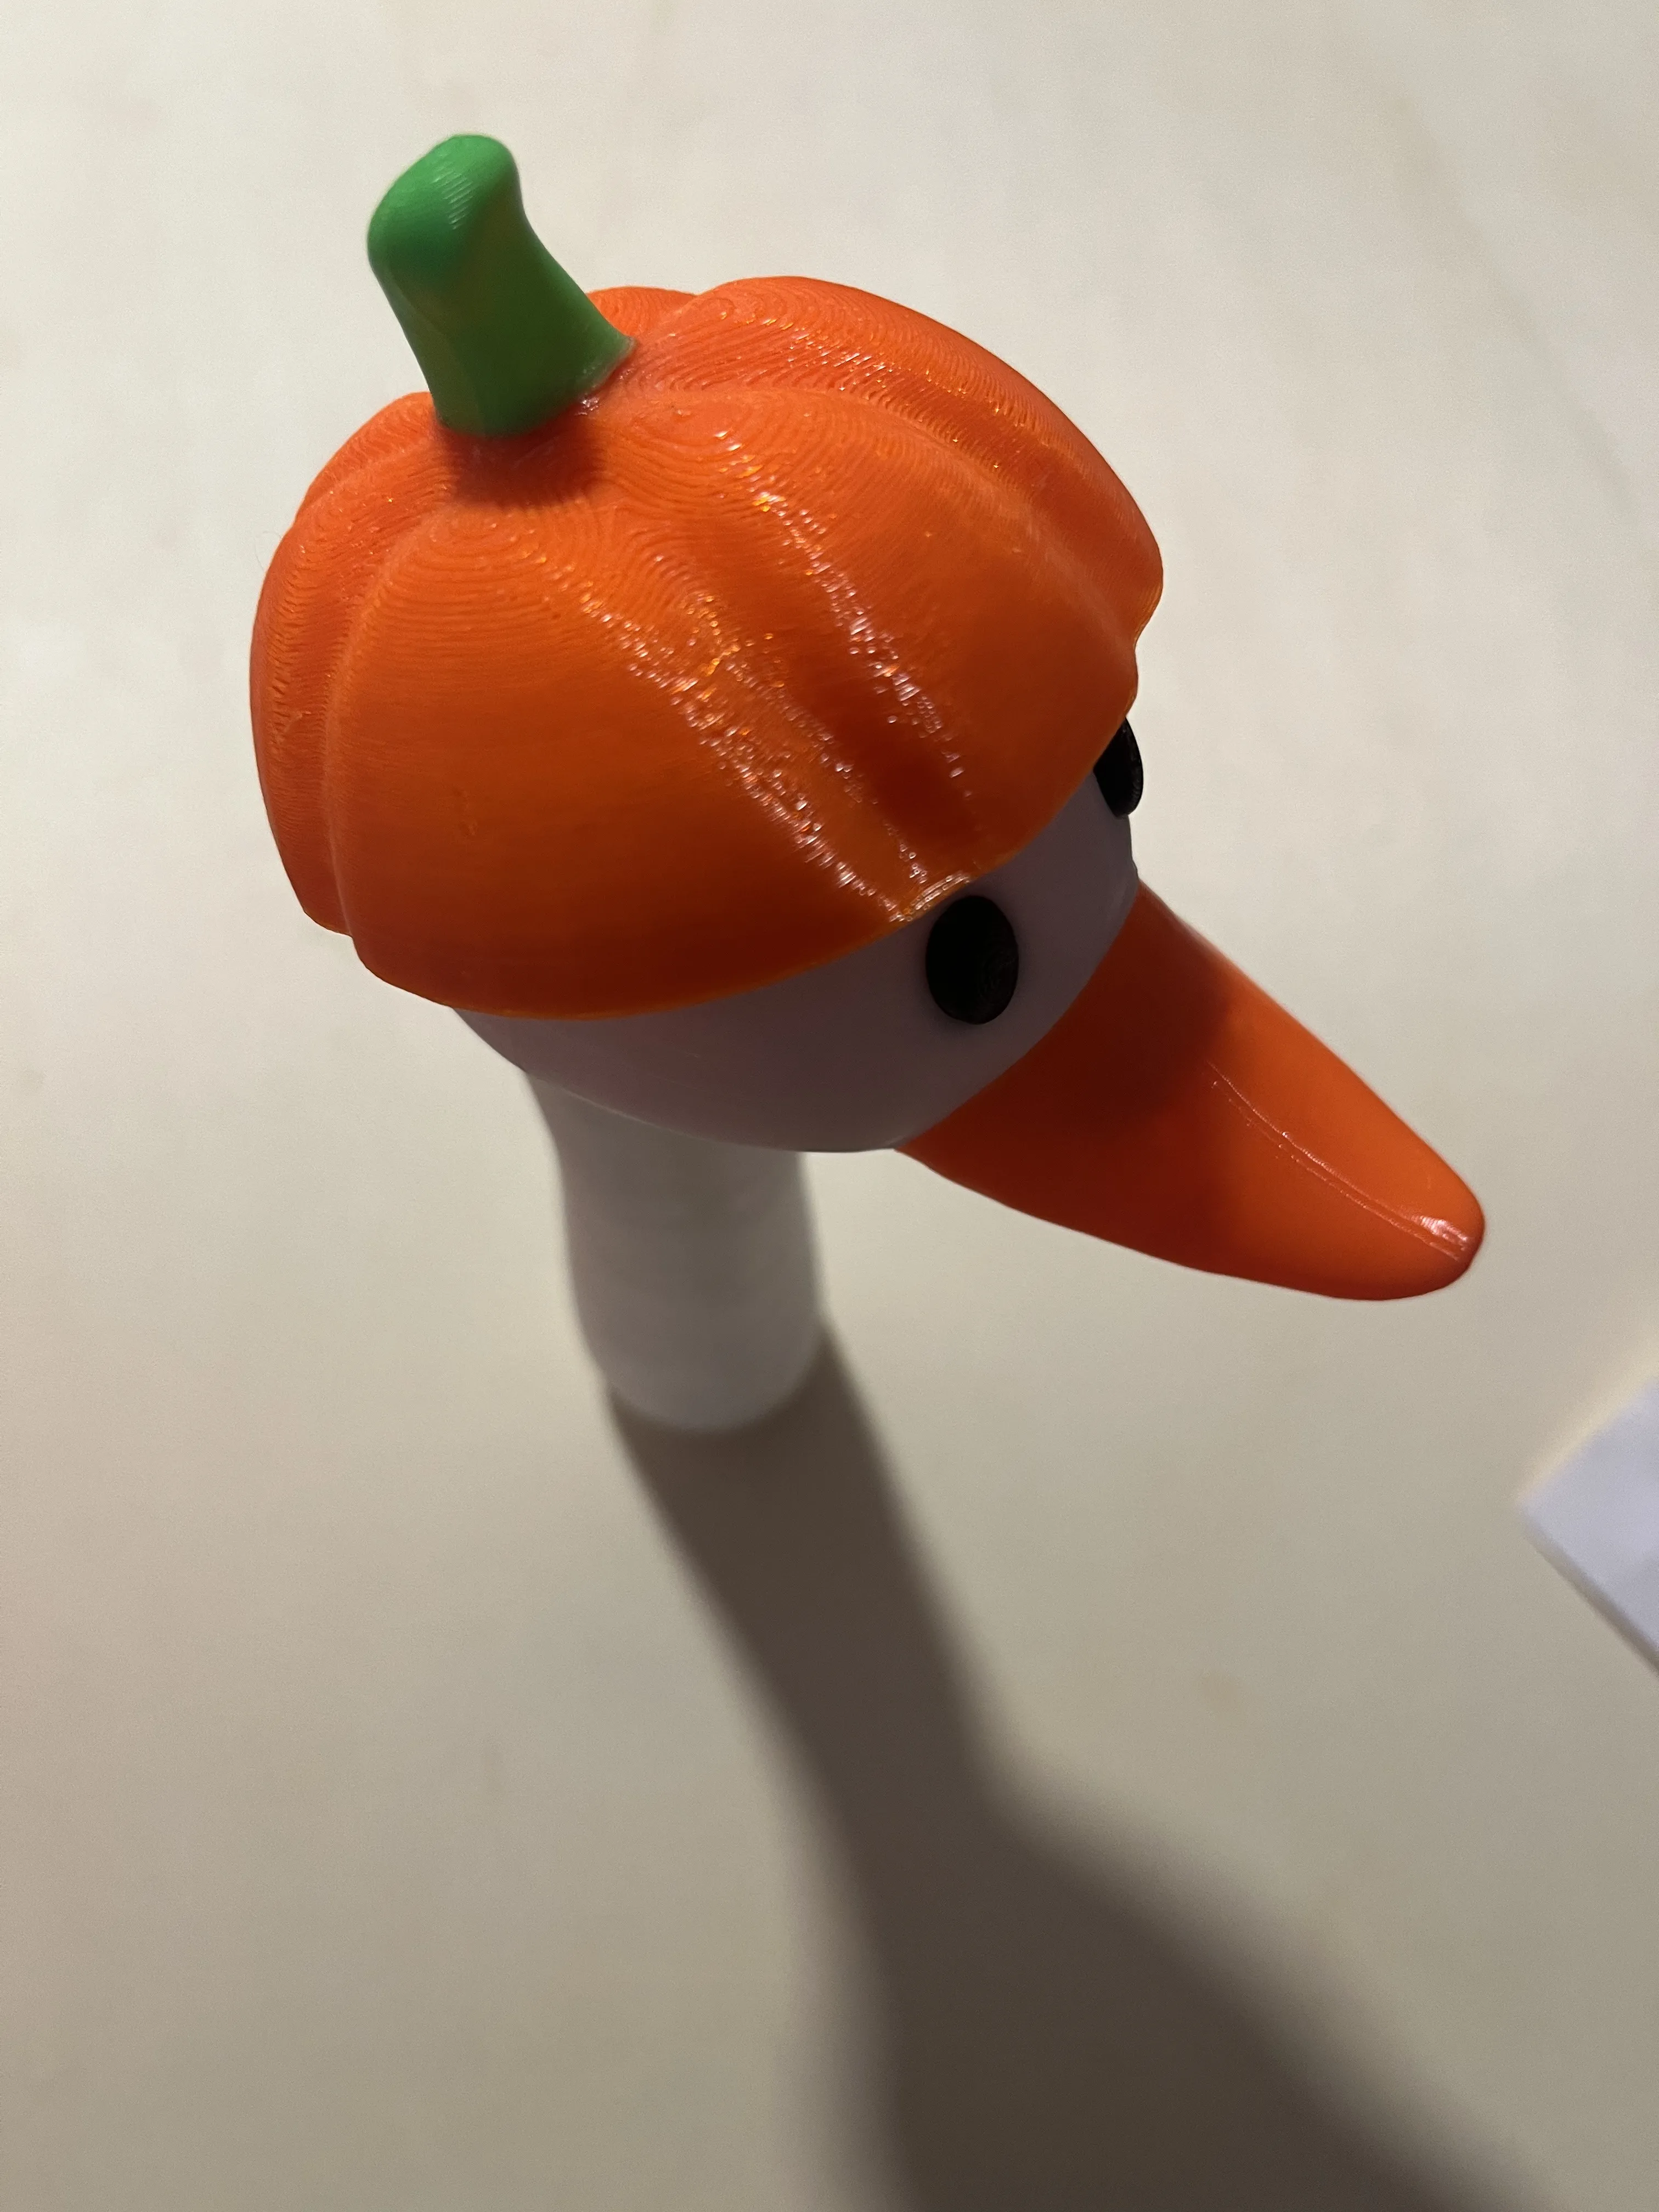
You can skip this step if you want to use the Pumpkin Goose withou the leg module.
Step 7:
Glue the leg module onto the pumpkin as shown in the picture below.You can orientate it right through the groves and bottom and top surfaces of the pumpkin and legmodule.
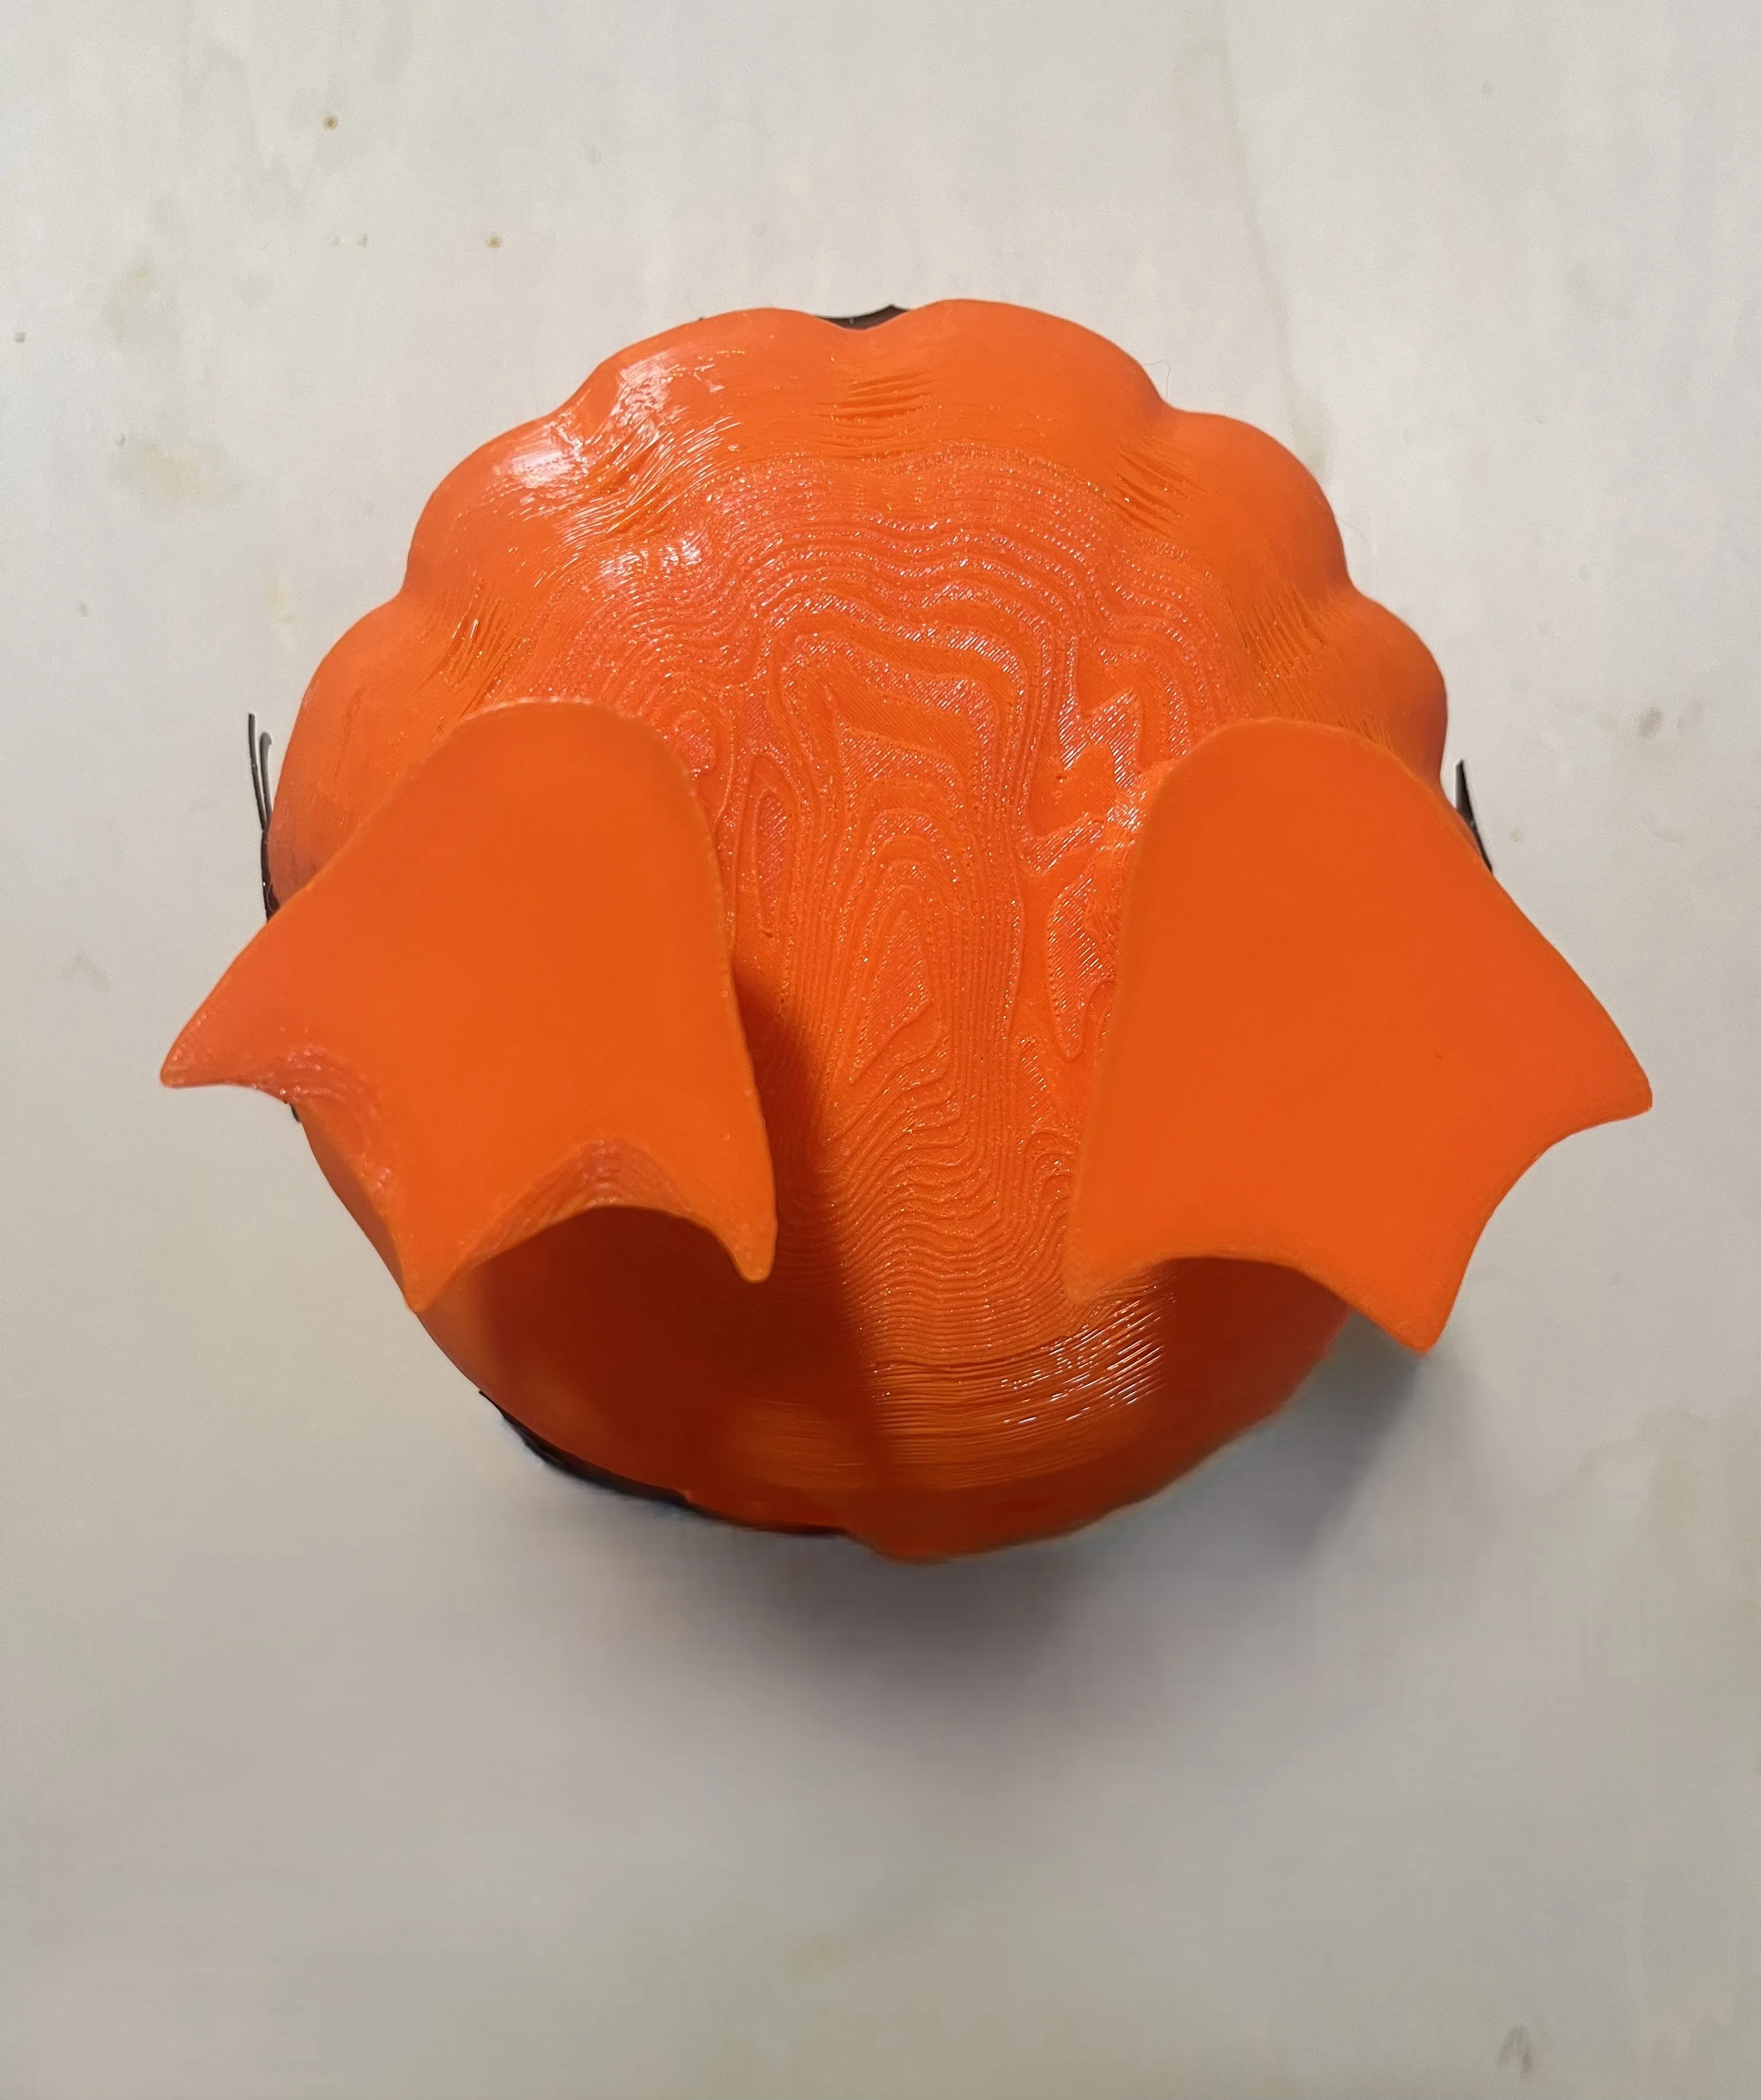
Step 8:
Apply some glue onto the sides of the cube that sticks out of the neck and align it with the hole that is at the bottom ot the pumpkin.Make sure that the head is facing the face of the pumpkin.
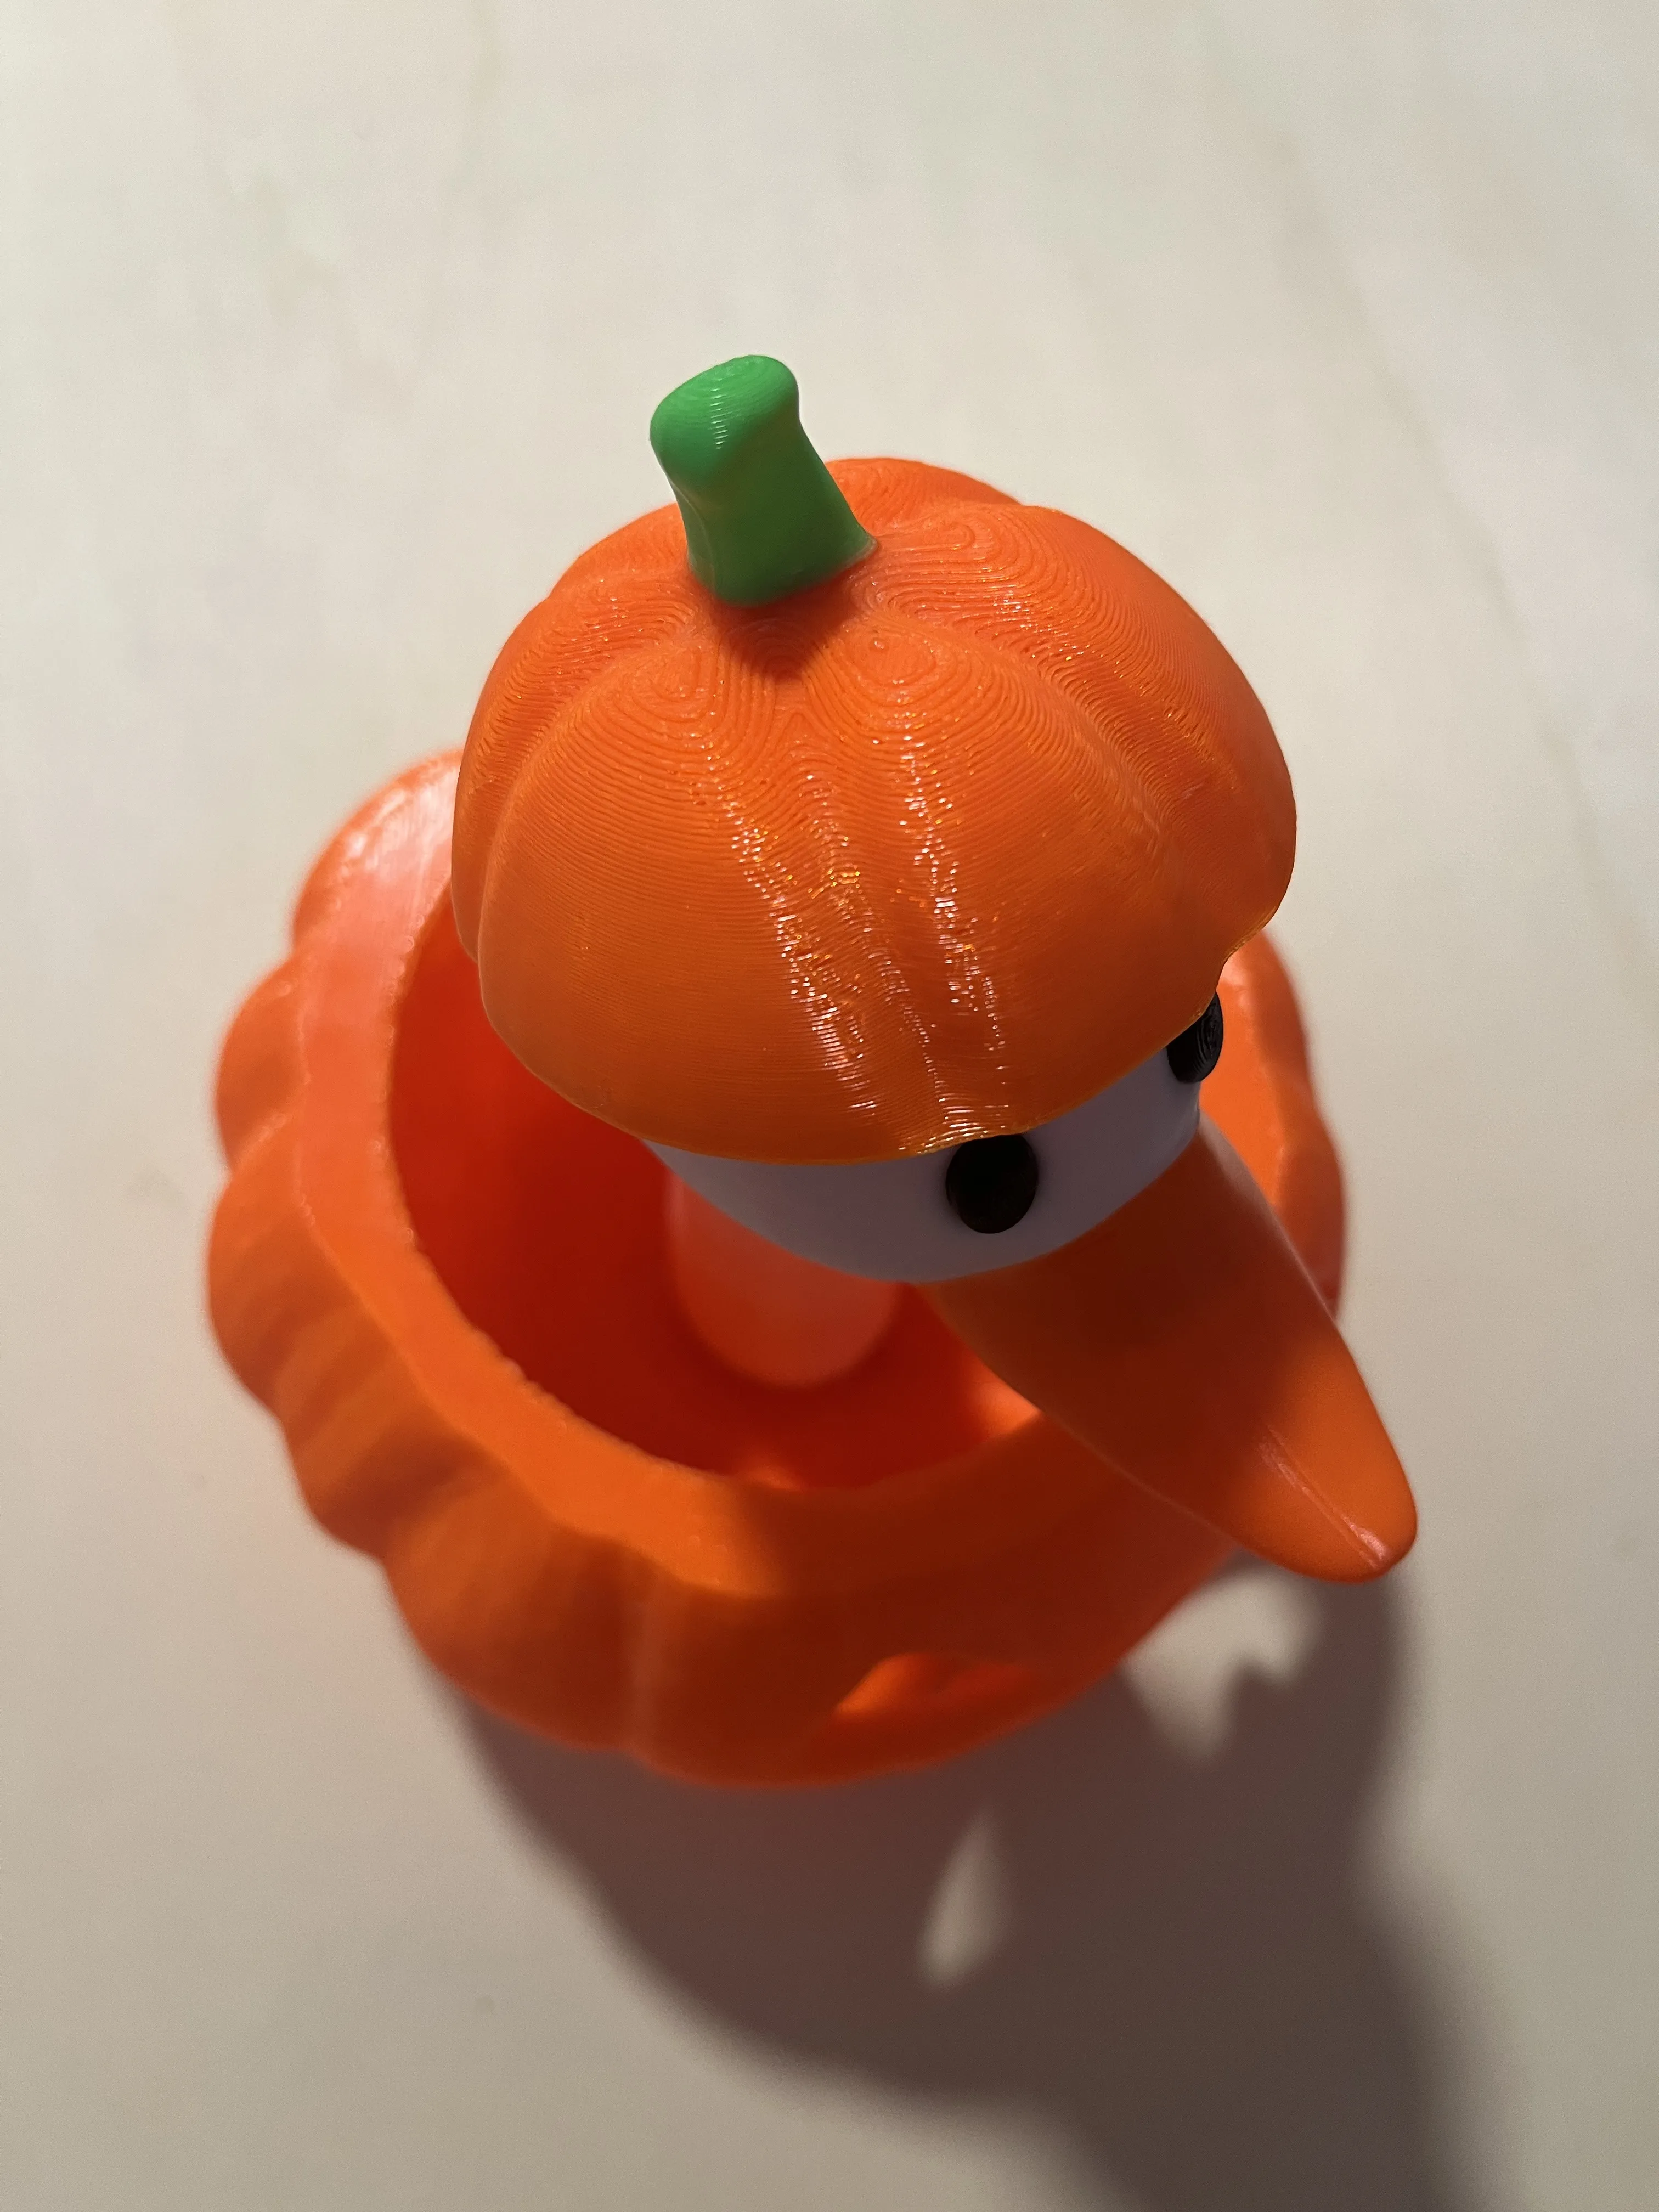
Pro tip:If you have glue stuck on your hands, you can remove it by putting salt on them and rubbing them under water.
And with that your Pumpkin Goose is ready for standing proud on your porch, welcoming visitors with candy, or glowing on your table as a Halloween centerpiece. This charming goose will turn every head and steal every heart.
🎃 Happy Halloween – and have fun decorating your Pumpkin Goose! 🦇
License

You shall not share, sub-license, sell, rent, host, transfer, or distribute in any way the digital or 3D printed versions of this object, nor any other derivative work of this object in its digital or physical format (including - but not limited to - remixes of this object, and hosting on other digital platforms). The objects may not be used without permission in any way whatsoever in which you charge money, or collect fees.


Comment & Rating (3)